Bonnie Hunter pioneered the “webbing” method for sewing units into a block.
Go Bonnie! I LOVE this method.
It took me a bit of time to understand this method because I was making it harder than it needed to be. It is pretty simple when you understand the concept, and it makes keeping units in a block in the right order and orientation so much simpler. I
am using Bonnie’s webbing method to make the blocks for the current half-square triangle quilt now on the design wall. OK, it has taken over the design wall and pushed aside the red quilt blocks–though I made a bunch of those yesterday. But, it would be SO EASY to get these individual units going in the wrong direction, which means unsewing activity. So I am grateful for Bonnie’s method.
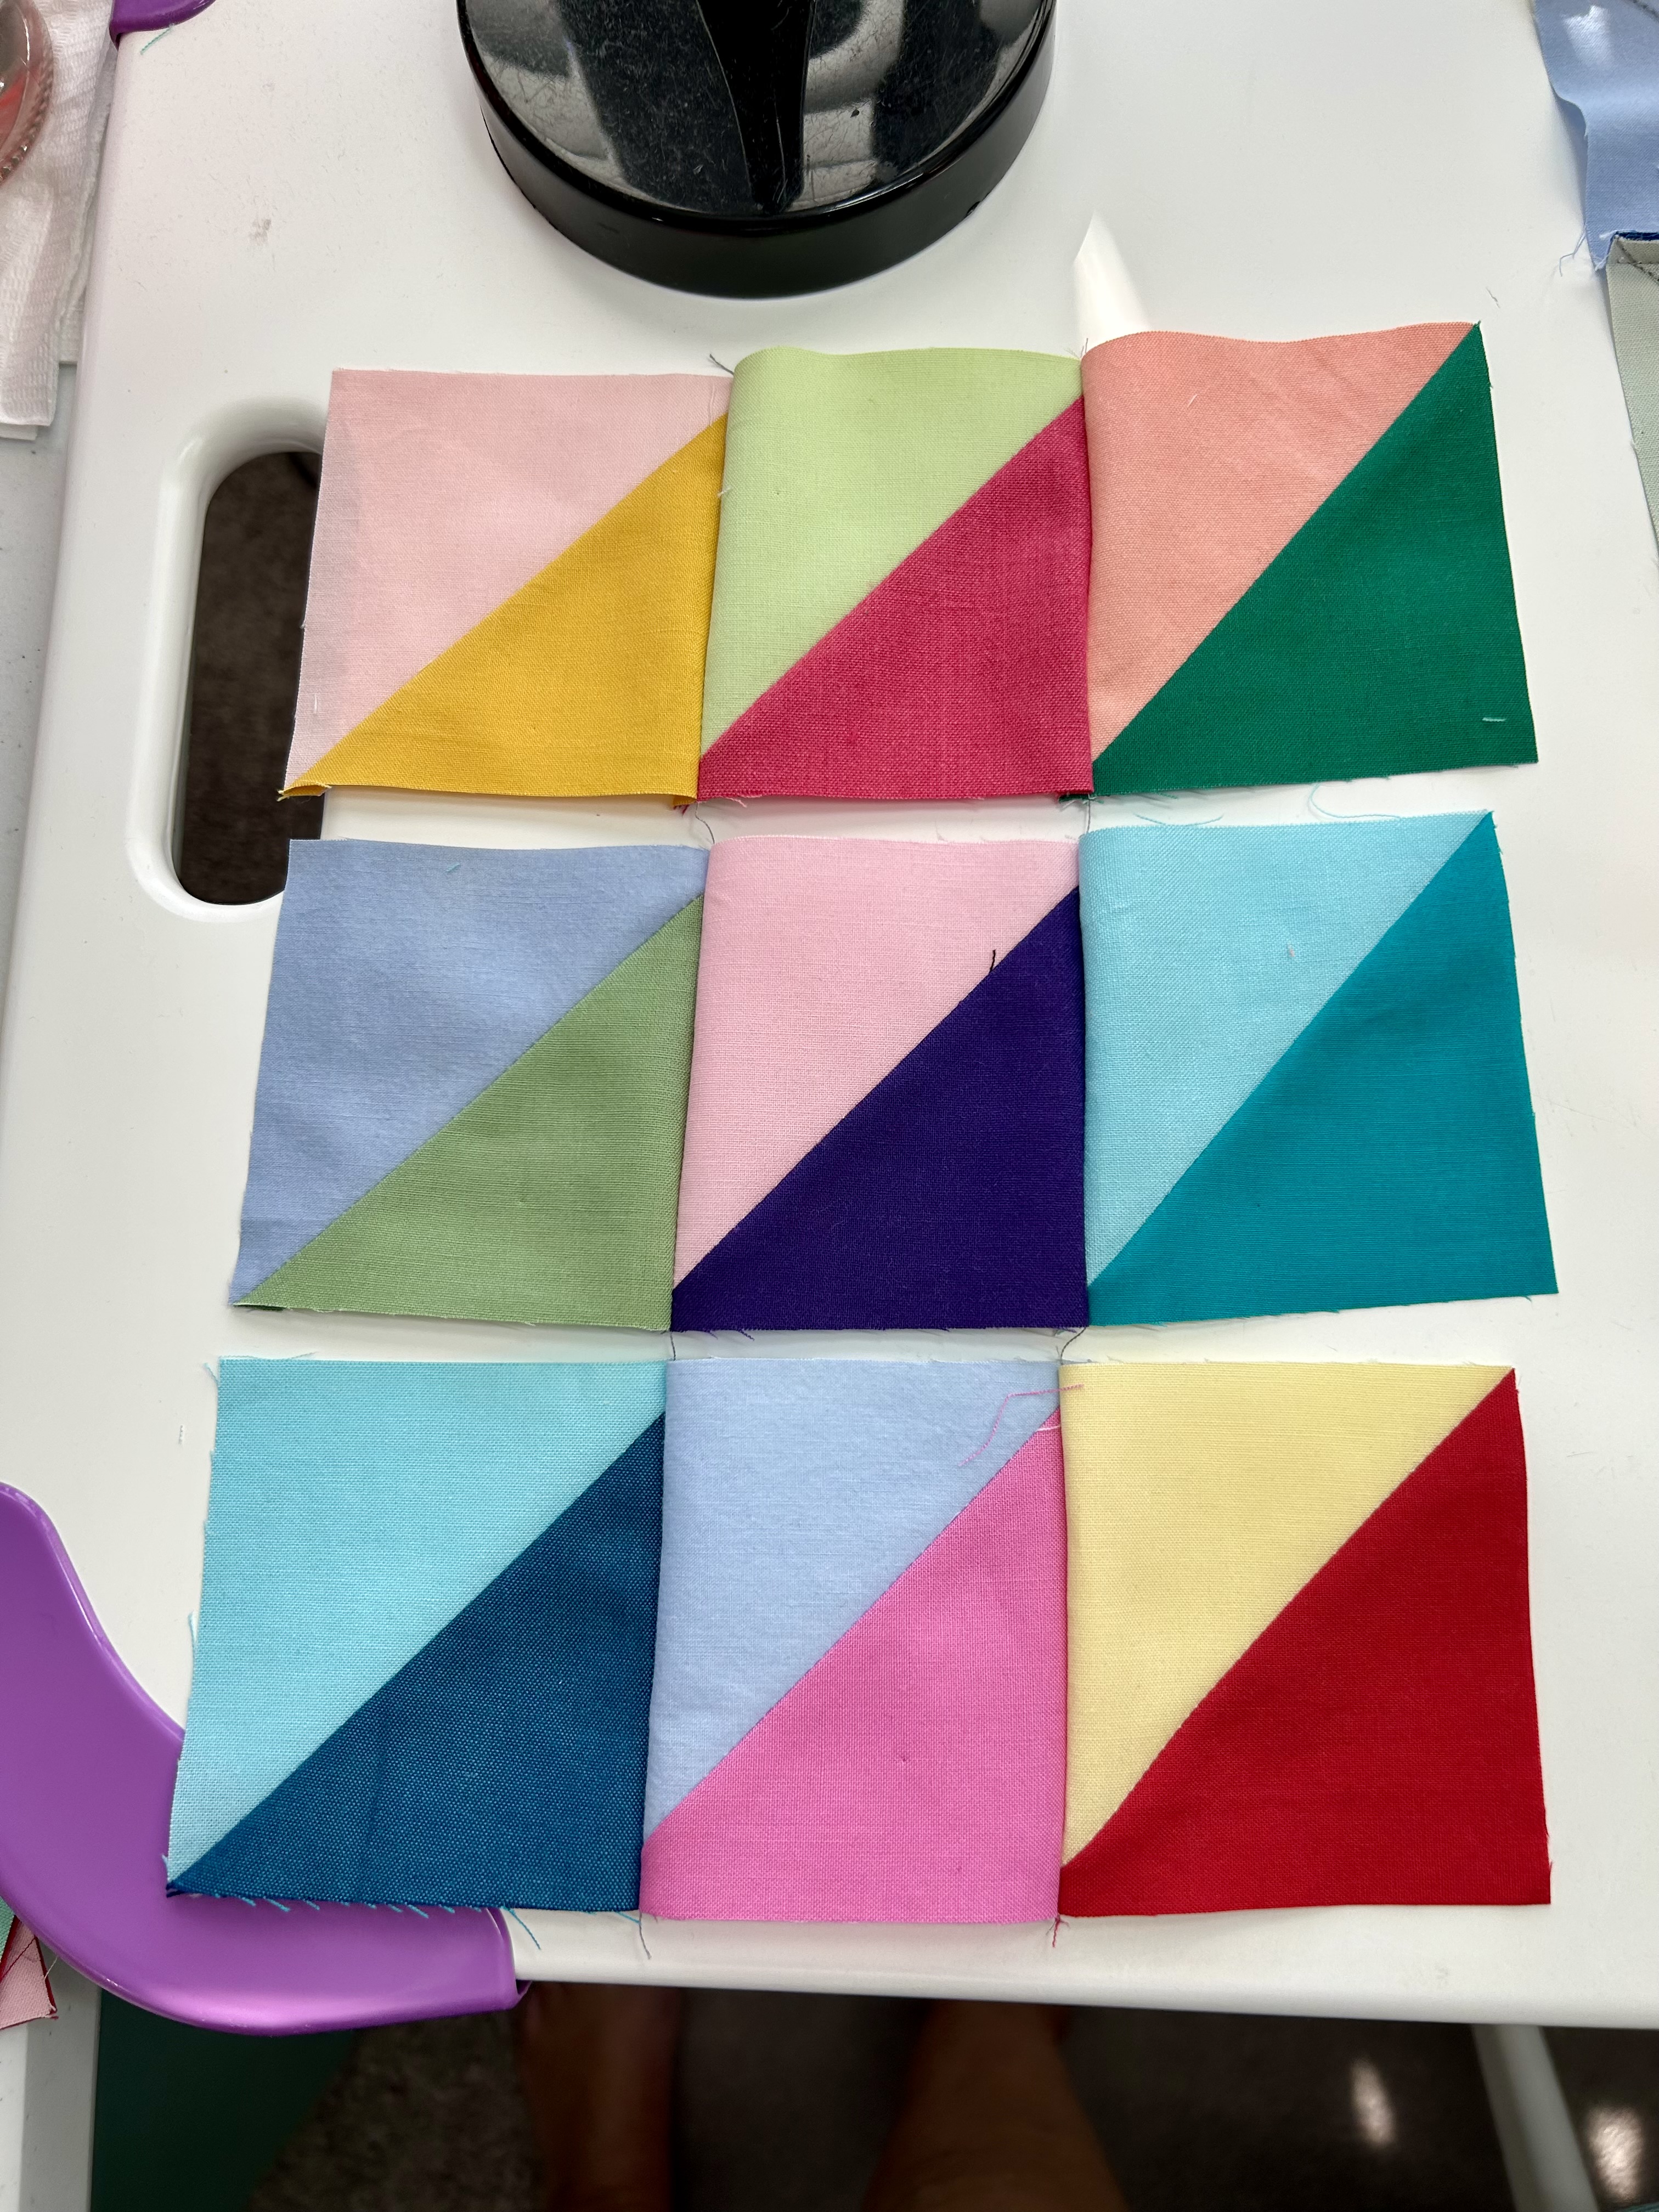
First, lay out your units in the correct order. Then sew the top 2 units on the top row together, left to right of course, leaving aside for the moment the third unit. Chain down and sew the next two blocks (the second row) WITHOUT cutting the thread to the first row. Then do the next two blocs (the third row down). NOW you can cut the thread or chain piece something else so you can cut off your string of blocks that are “webbed” together.
Now, sew the third row down–the blocks that are waiting to be joined–BUT DON’T CUT the threads between the rows. See how the last block is just layed across it’s mate–which is just how you would sew it webbed or not.

Now you have your block all webbed together and ready to be sewn together.
Now I press the rows so the seams will but up nicely before I join the two rows. I am pressing the two outer rows one way and the inner row the other way.

Here’s a finished block, now sewn into its place in the quilt. It’s perfect, as you can see, after each unit was trimmed with the Bloc-Loc ruler.

Bonnie’s tutorial is for a 16-patch block. Do take a look as the 16-patch is just as easy as this 9-patch above is. And, it’s a fast method.
https://quiltville.blogspot.com/2022/12/two-over-one-is-how-its-done-block.html
