As a lover of beaches and the coast, of course I see Pelicans all the time. But I didn’t really know much about them. So this video from the Cornell Lab’s “All About Birds” was really fun to watch.
There are two types of Pelicans in the USA: brown and white. The brown feed in the ocean, and the white in fresh water inland. We mostly see the brown pelicans. The white pelicans we see are mainly winter visitors, according to my AI.
These birds have similar bodies, but they feed very, very differently.
Copy this link if it doesn’t open for you from this page and paste it into your search engine.
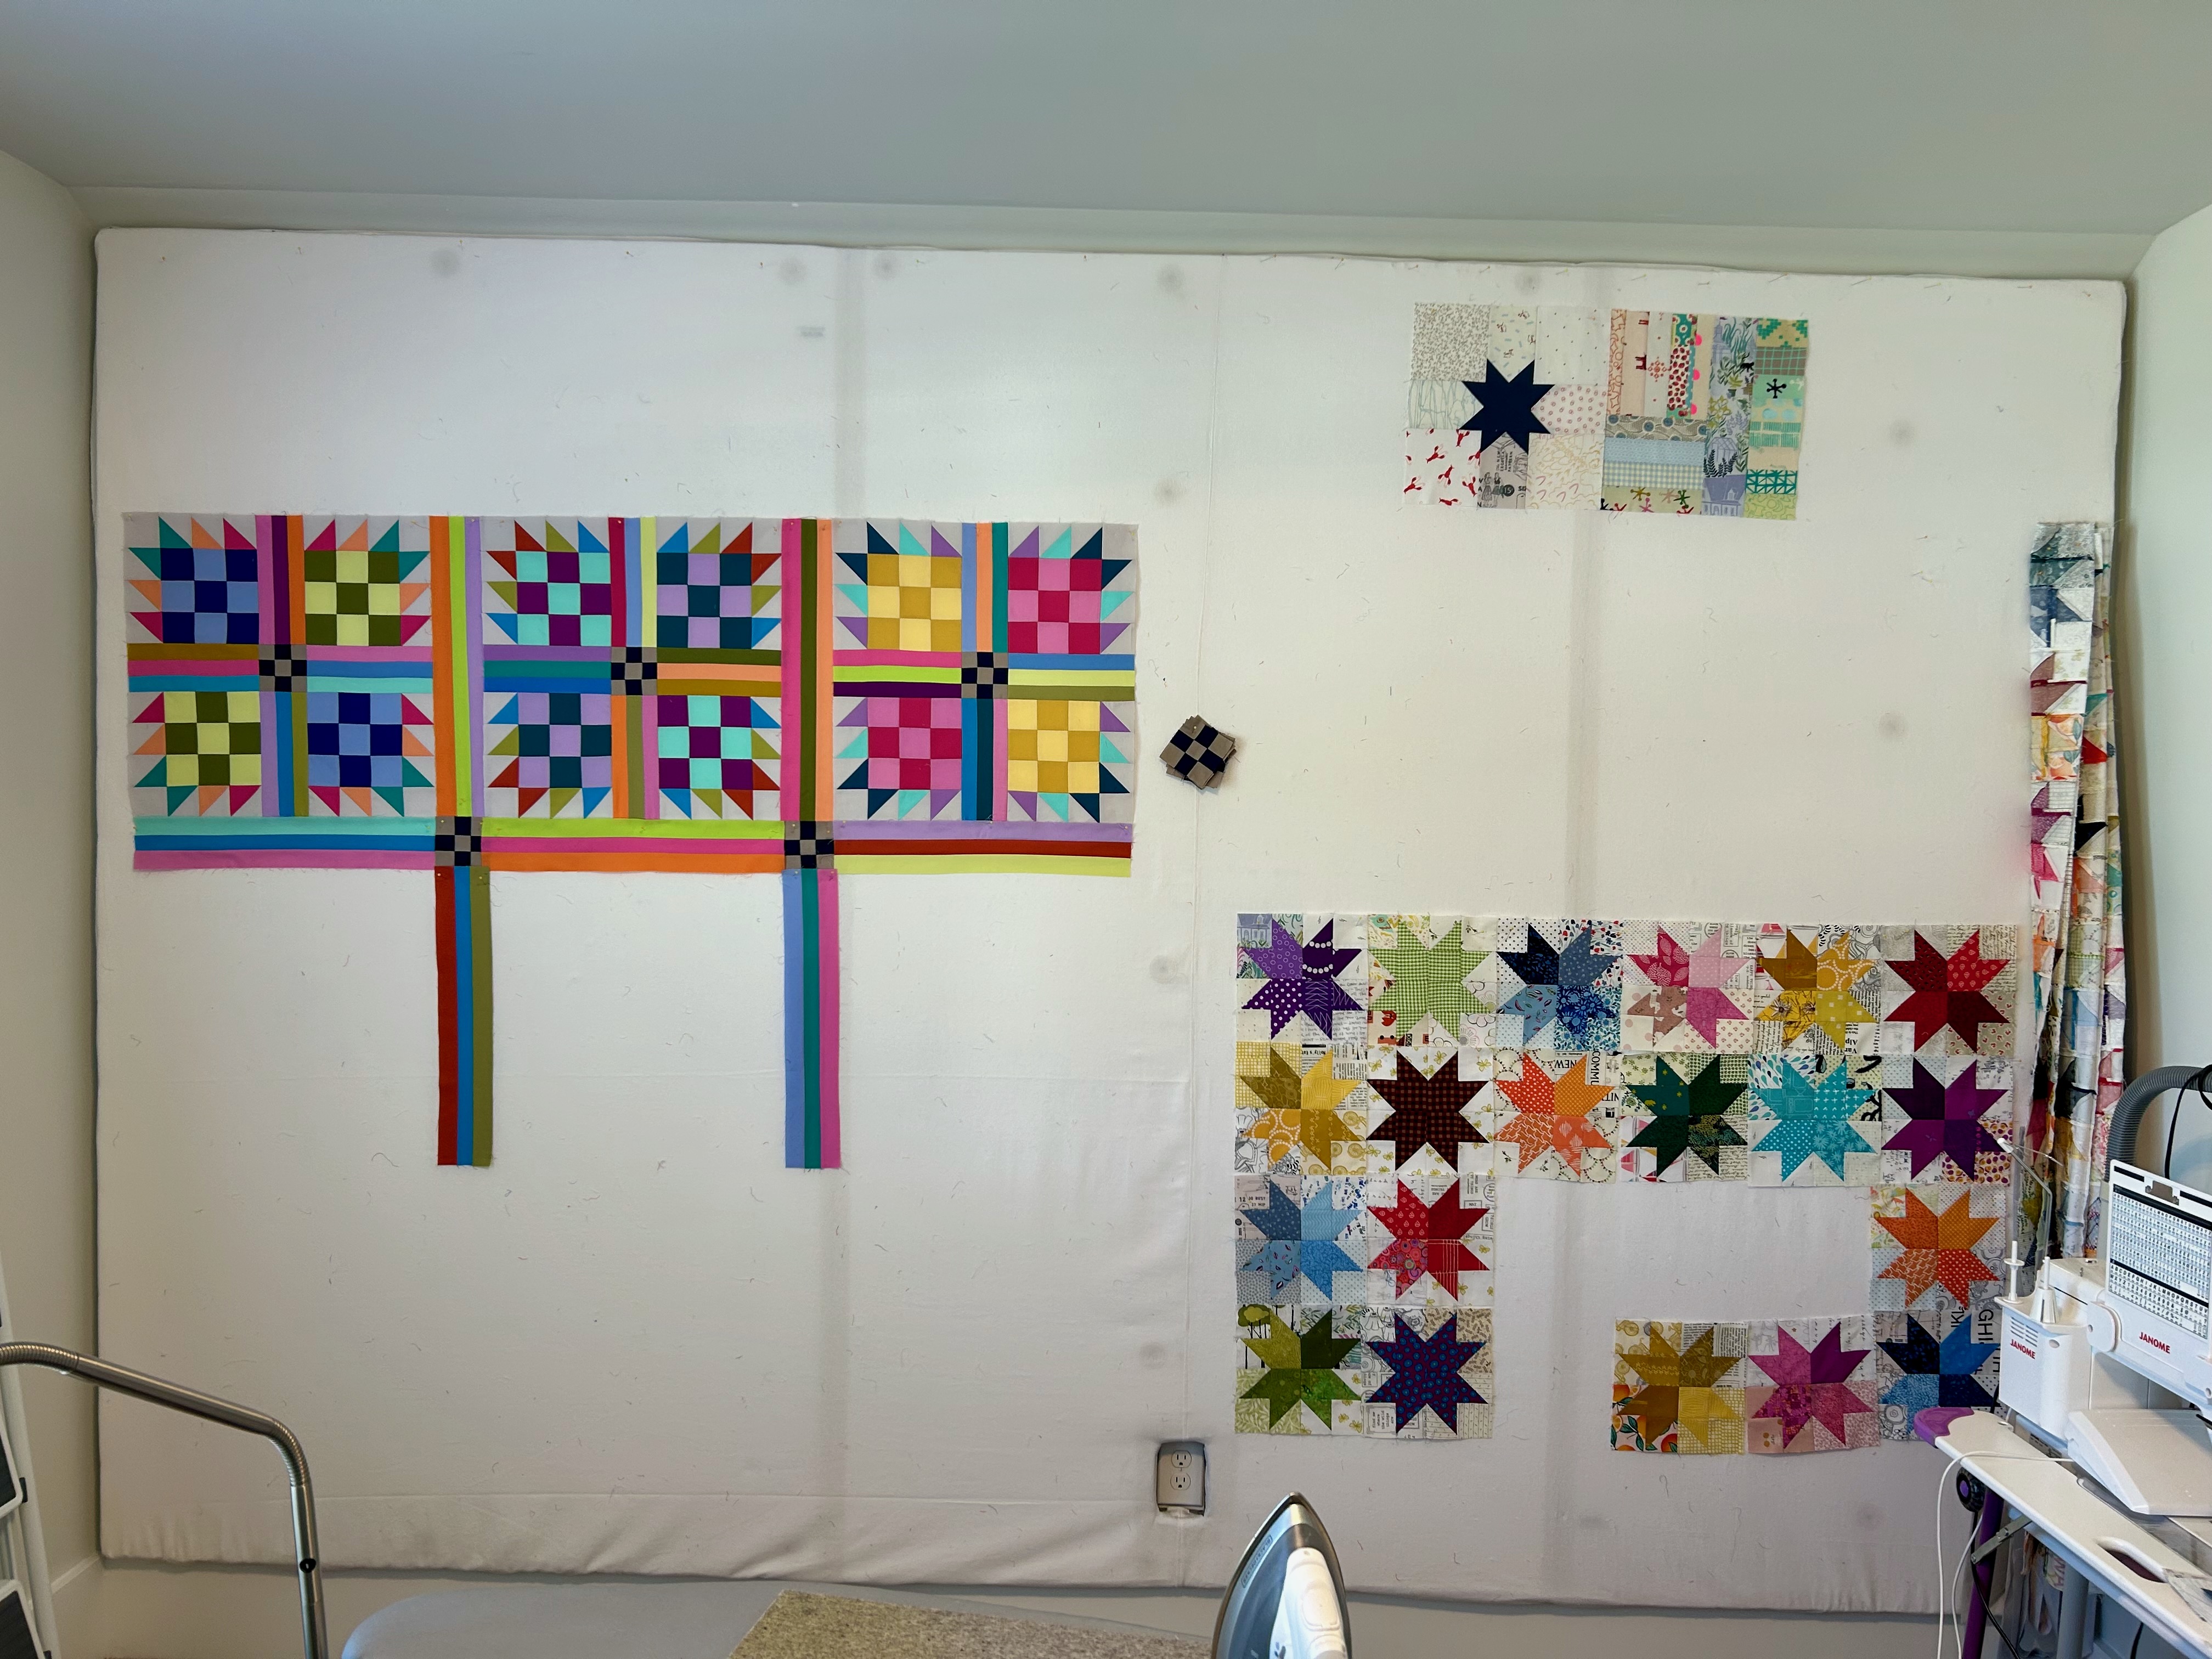
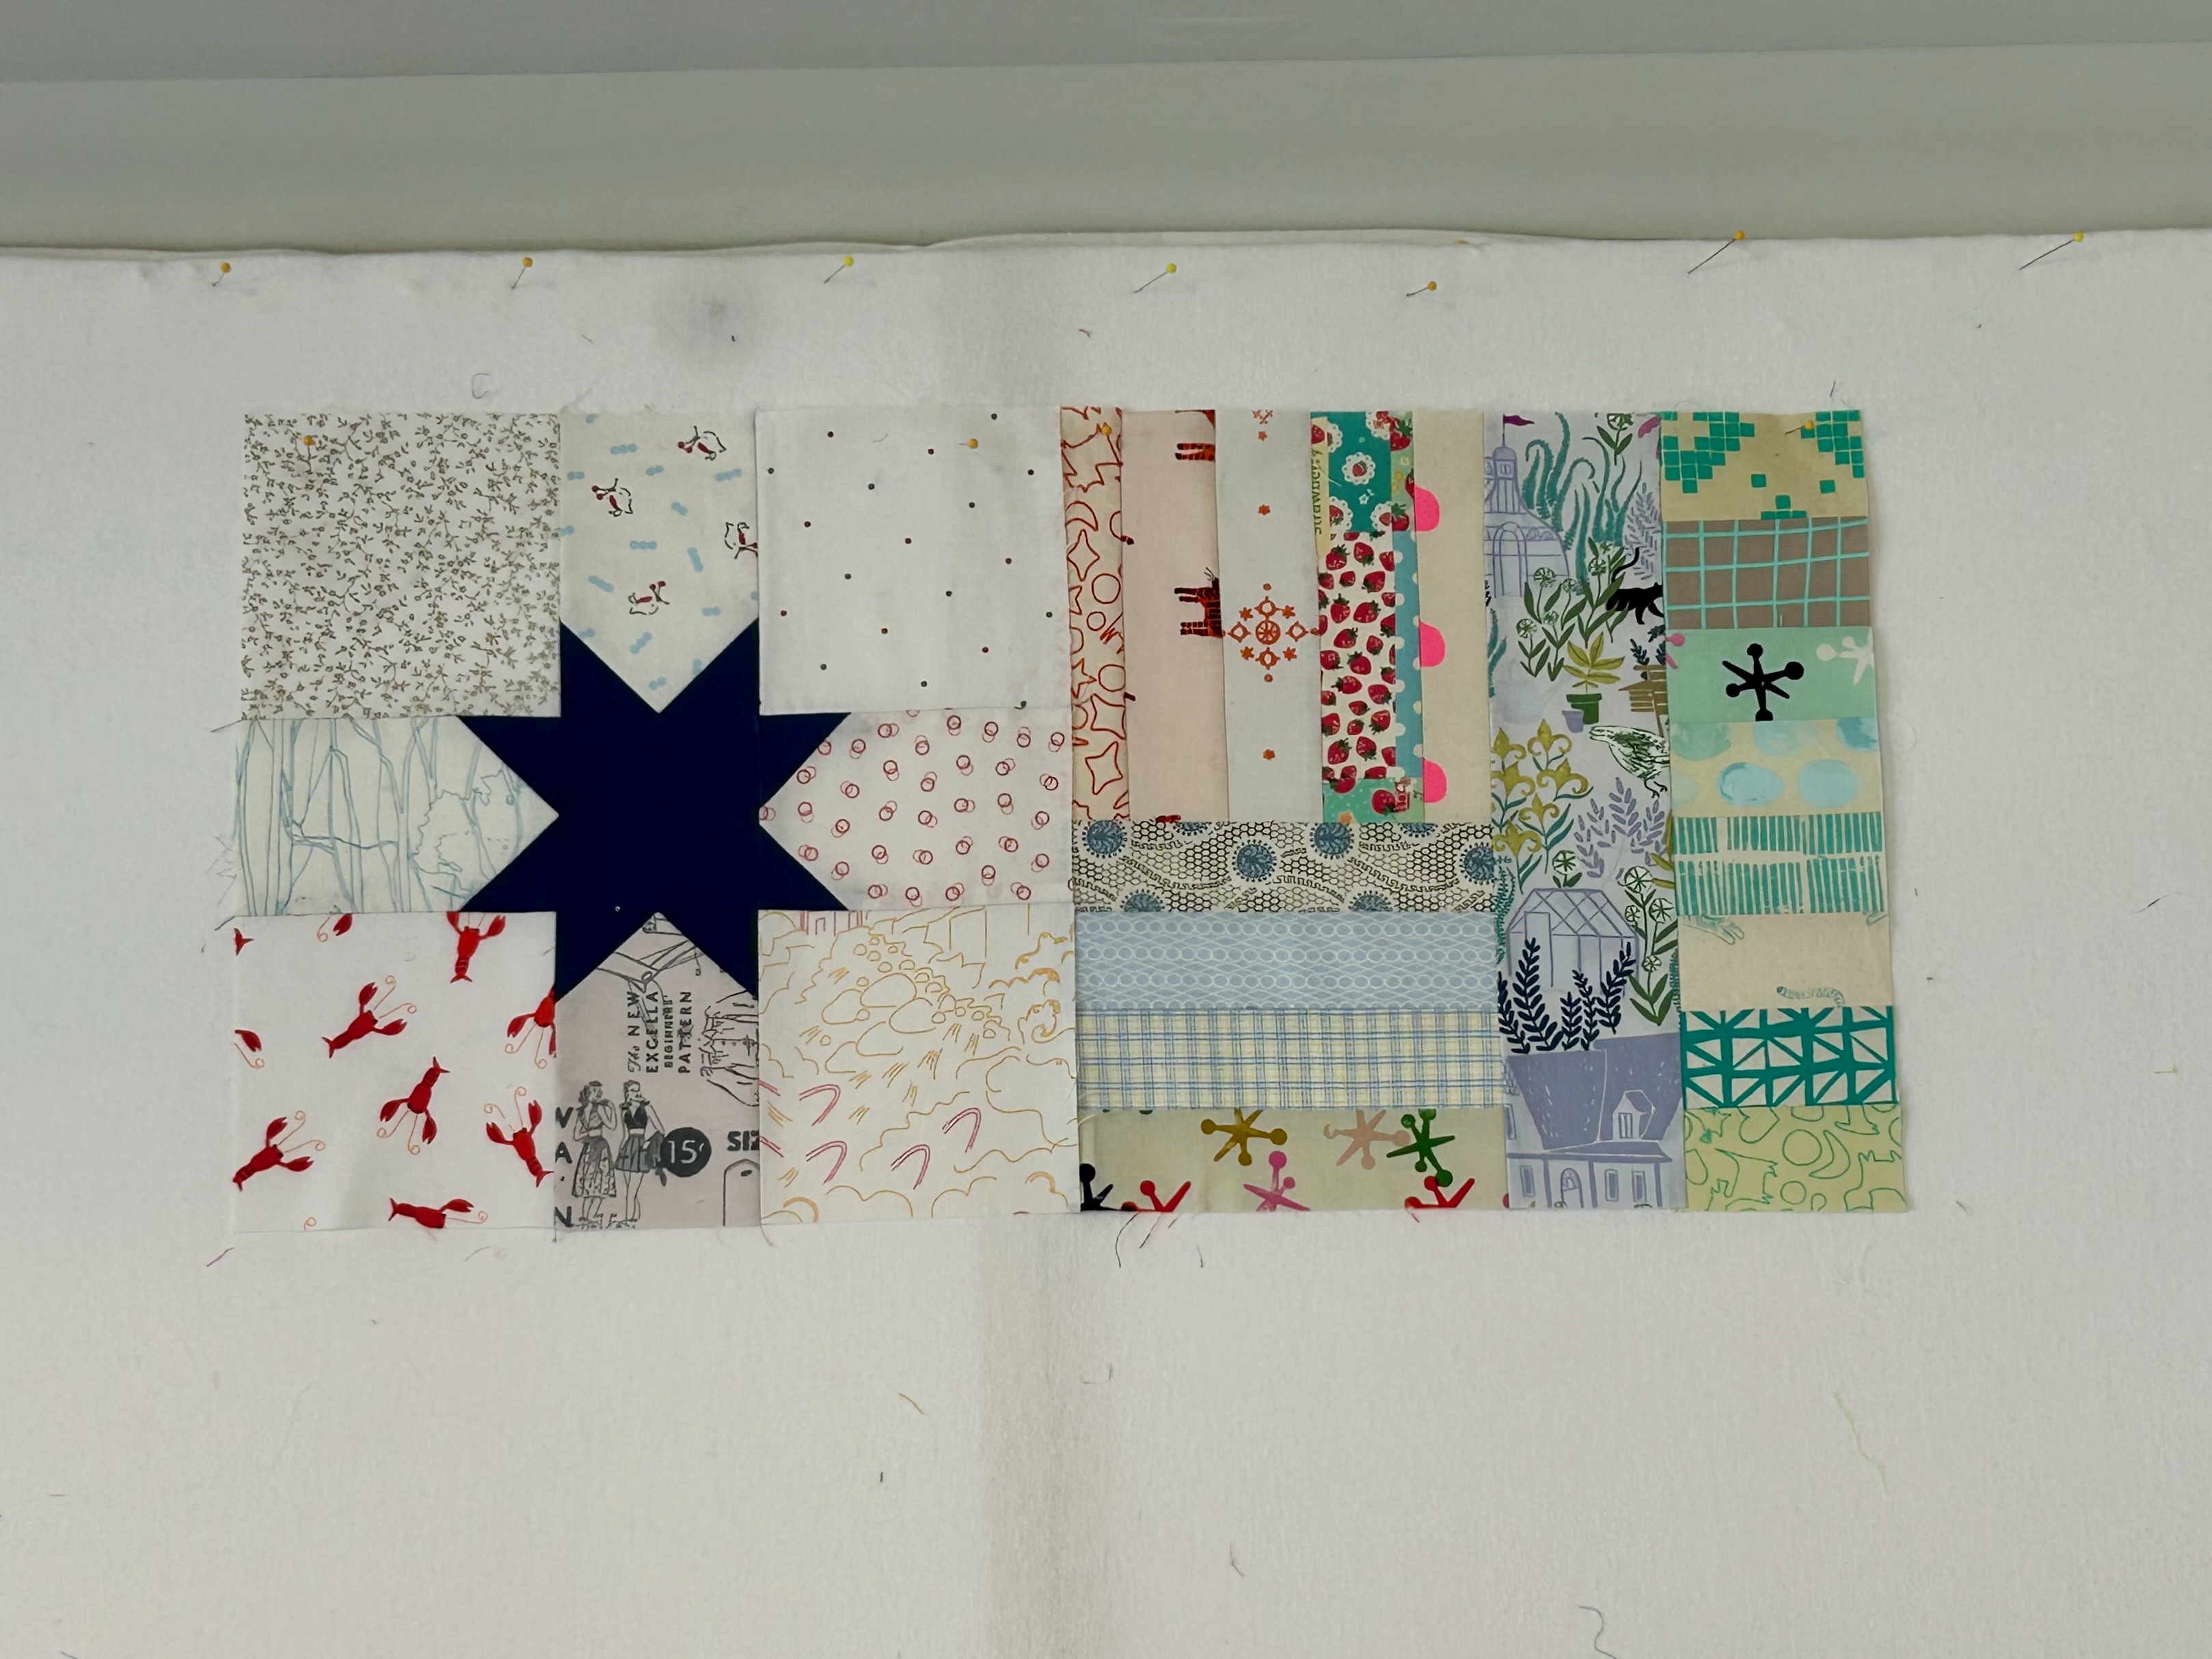
This design wall looks emptier, but it is filling up fast, LOL. That’s always a very fun situation.
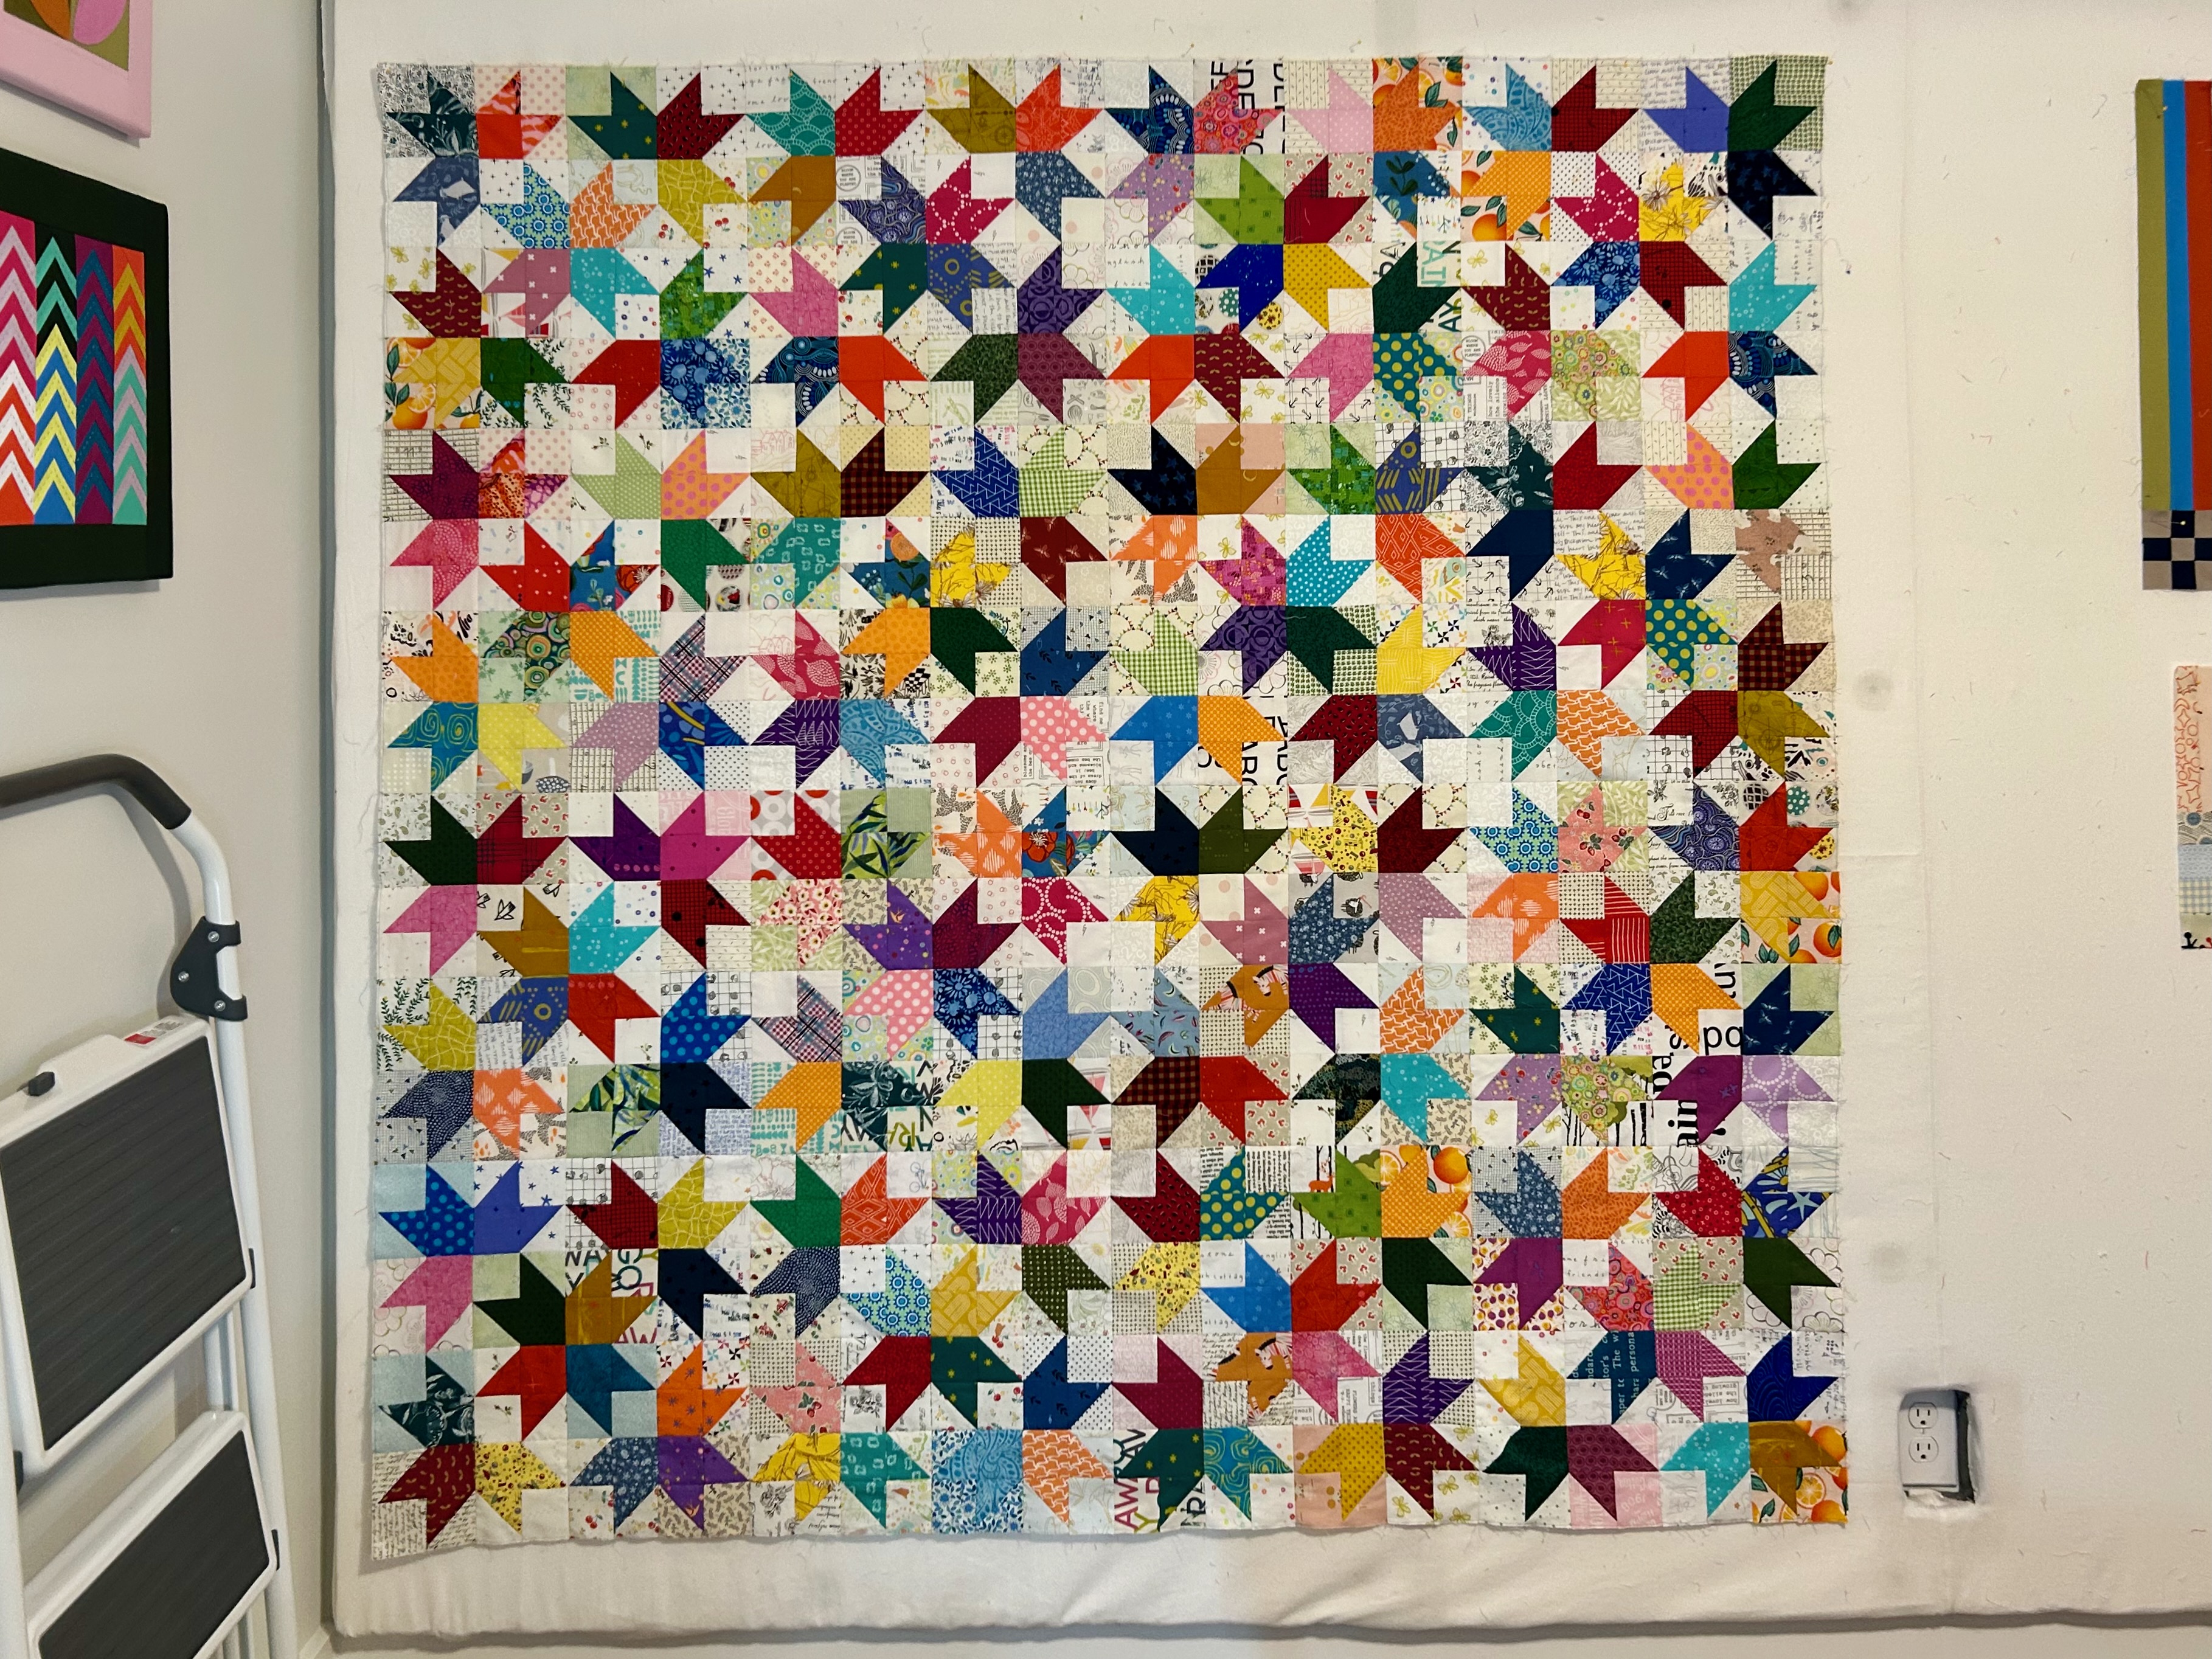
The folded completed top on the right is waiting for the longarm, which is presently occupied. It is made from Bonnie Hunter’s 2026 free leader/ender block, “Tulip Swirl.” See a pic of it below.
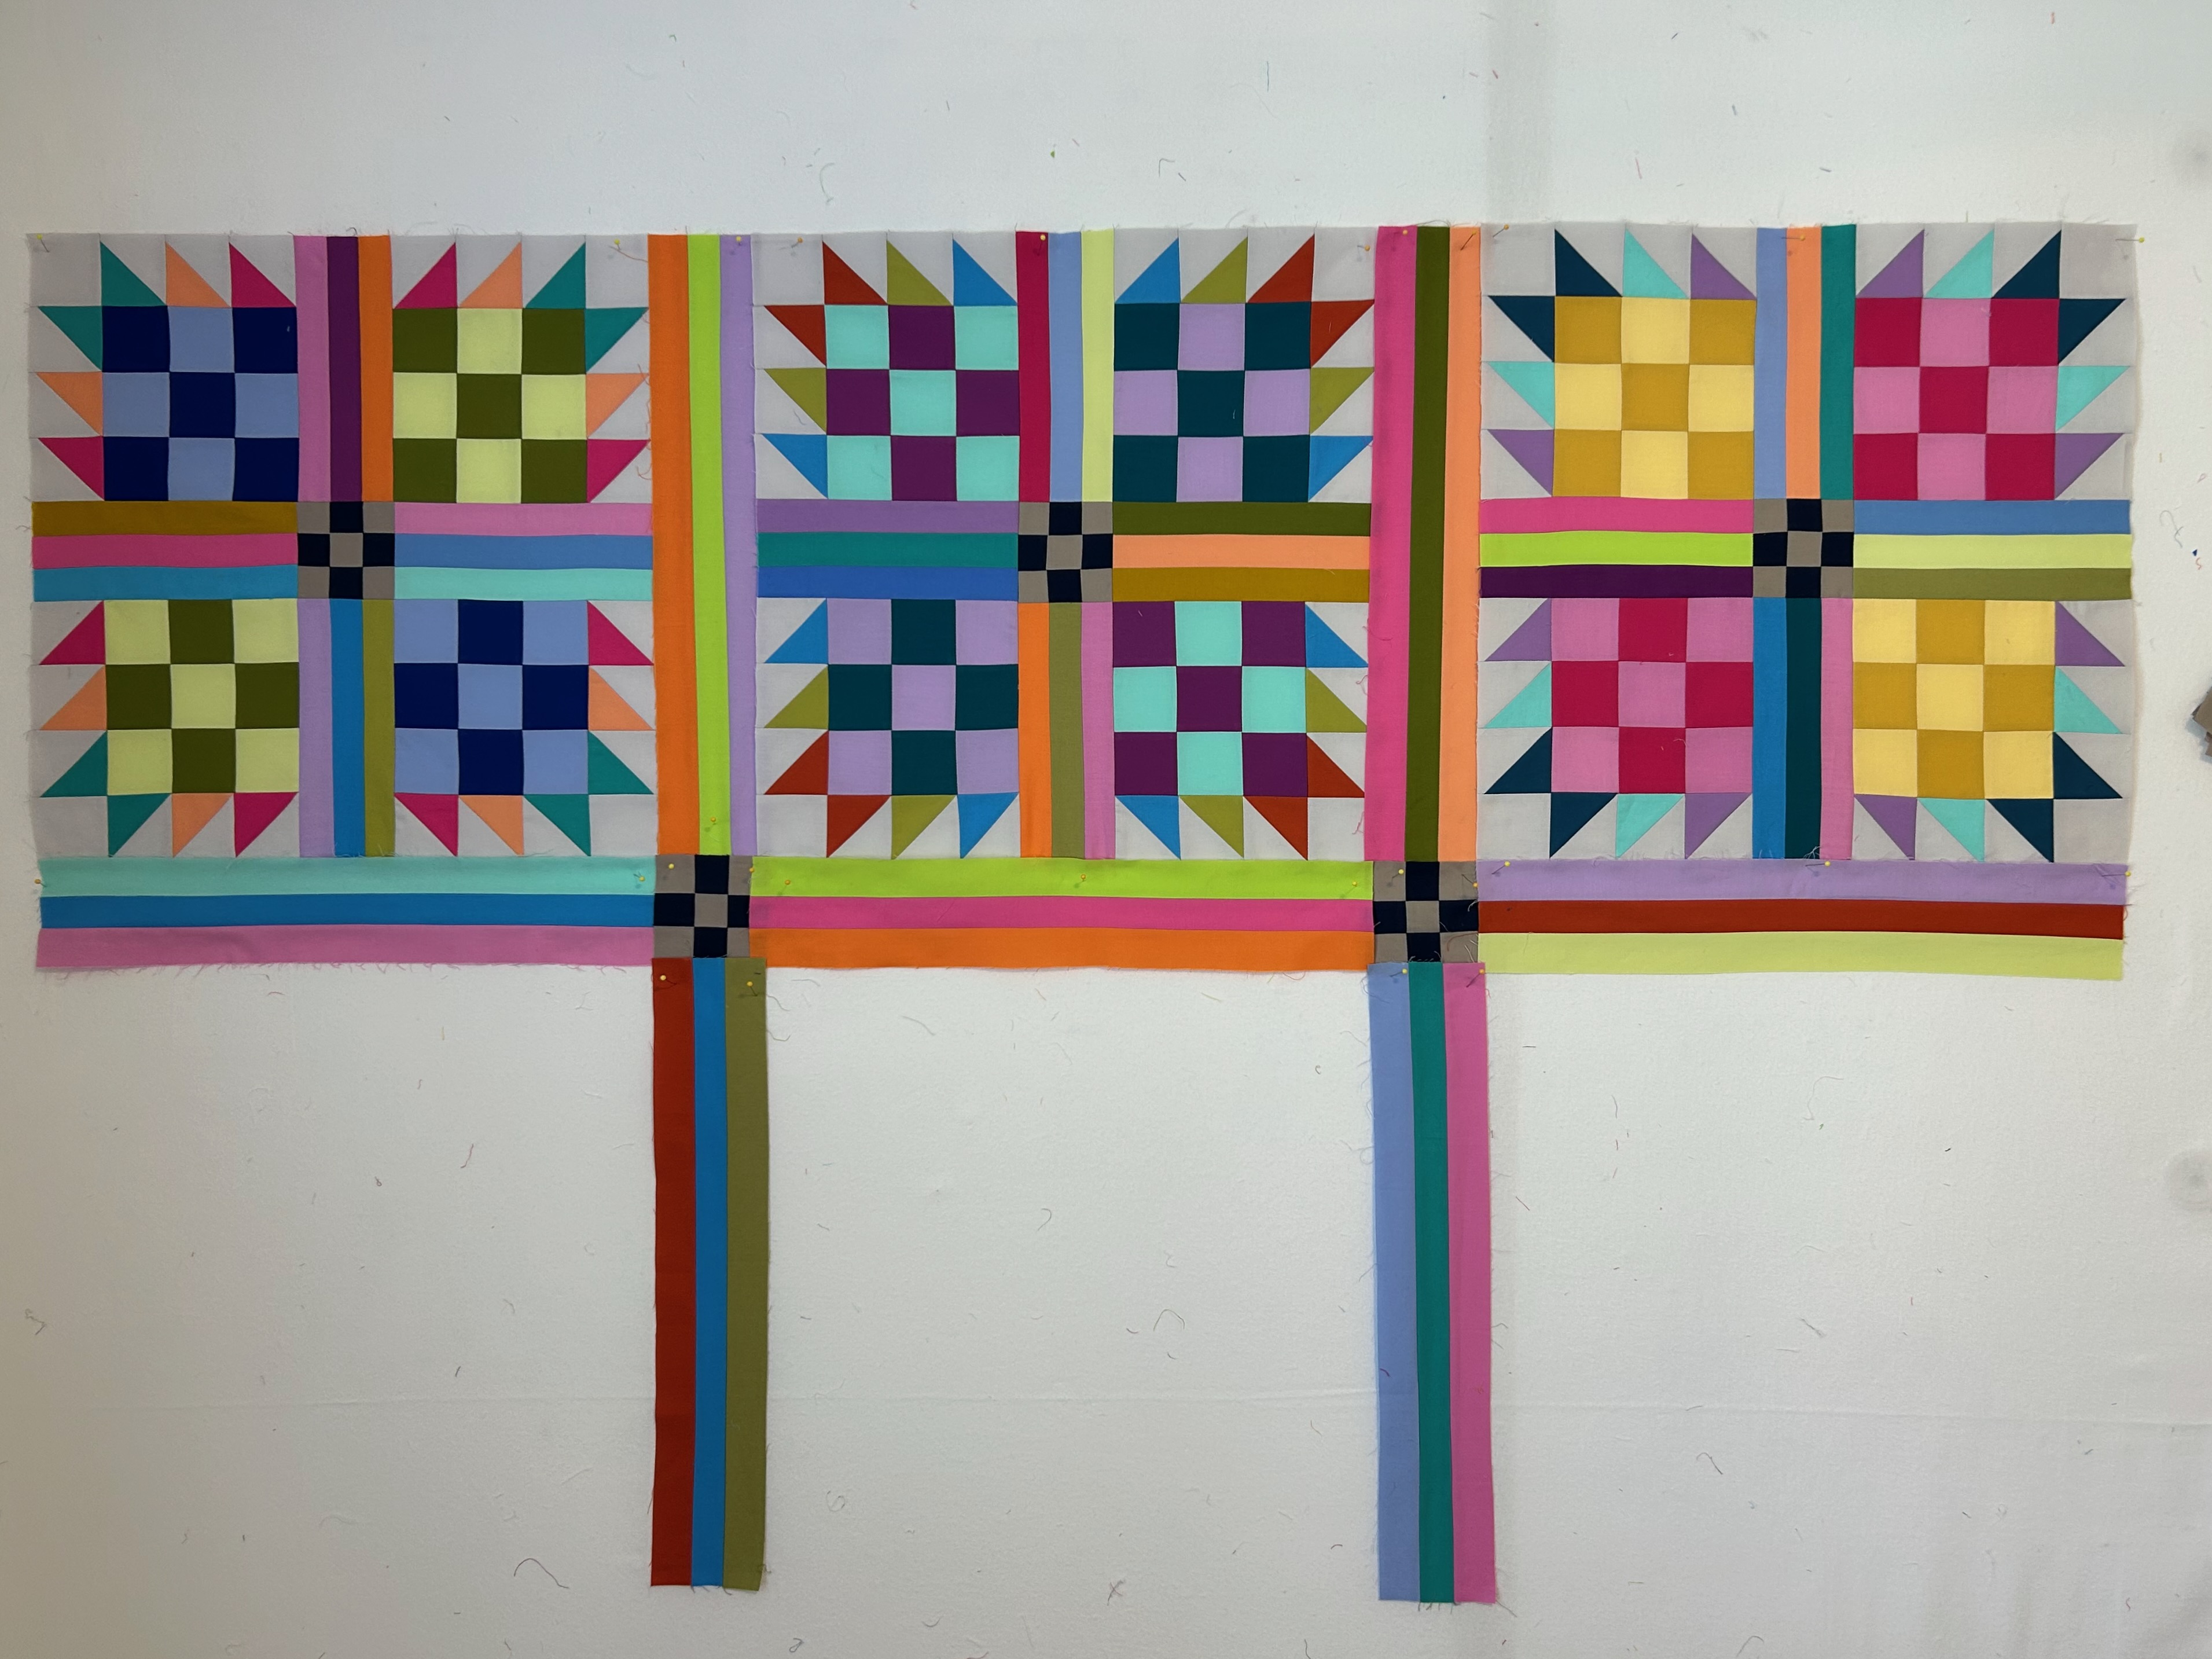
The project on the left is Then Came June’s “Goldie” pattern.
I’ve started the second row. These blocks are big (19 inches finished), and so, so handsome. It’s a “bear paw” version, of course. BUT, the sewing for this block has to be absolutely perfect, or points are lost and sashings don’t match up properly. Every single unit has to measure perfectly, and every added piece means the result has to also be measured and if not perfect, resewn until it is.
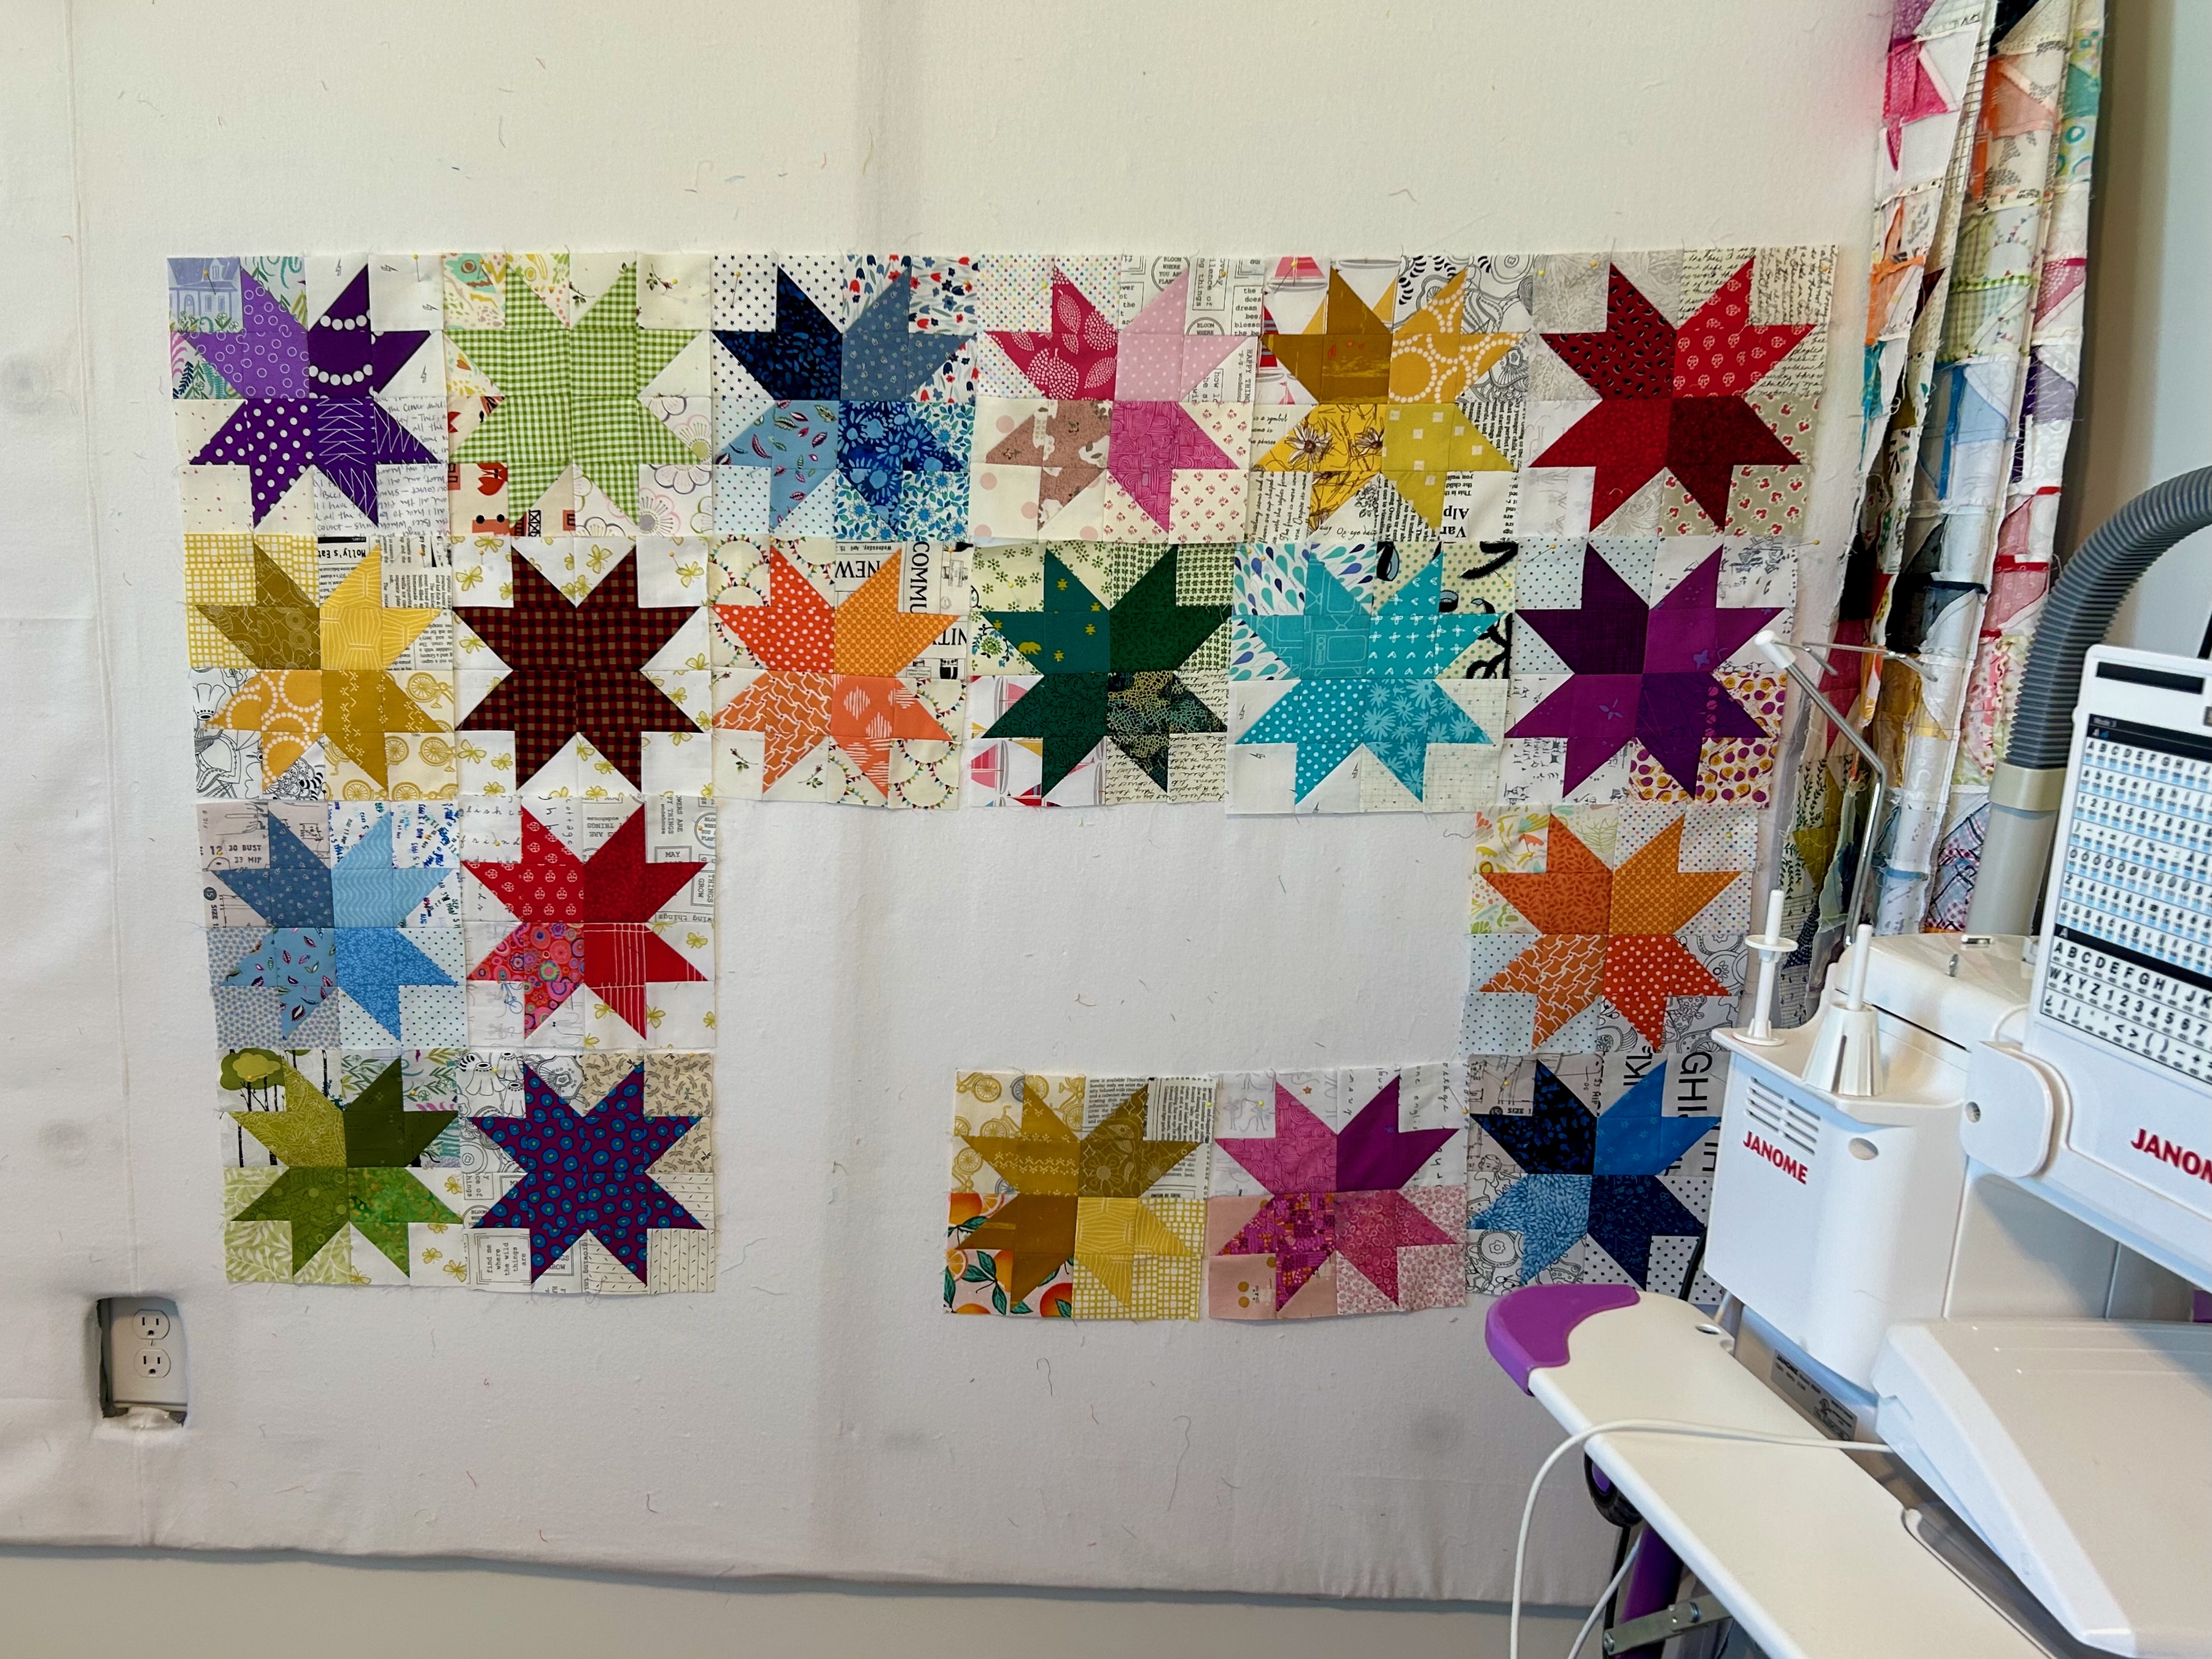
The finished top waiting to go on the longarm (and for a backing) is a different layout than this star layout below, which is a bit more orderly I think. There are so many ways to use this “Tulip Swirl” block, and it is perfect for using up smaller scarps in your stash. Right now, this top is a leader/ender project.
Here’s the finished top waiting for the longarm. The secondary patterns this layout throws out are amazing. This one is a real visual tease.
Rachel LaBour of Stitched in Color recently made two of the star blocks on the left below as her part in her local sewing group’s next donation quilt. Hmmm… I thought, as I had been playing with making neutral blocks from my cut scrap bins. For me, right now, this is sheer play time, and I’ll continue to play with this idea of combining the star block with neutral “slab” 12.5 inch blocks. Maybe I will make different star colors, or maybe just all the dark navy. That’s the fun of having play time.
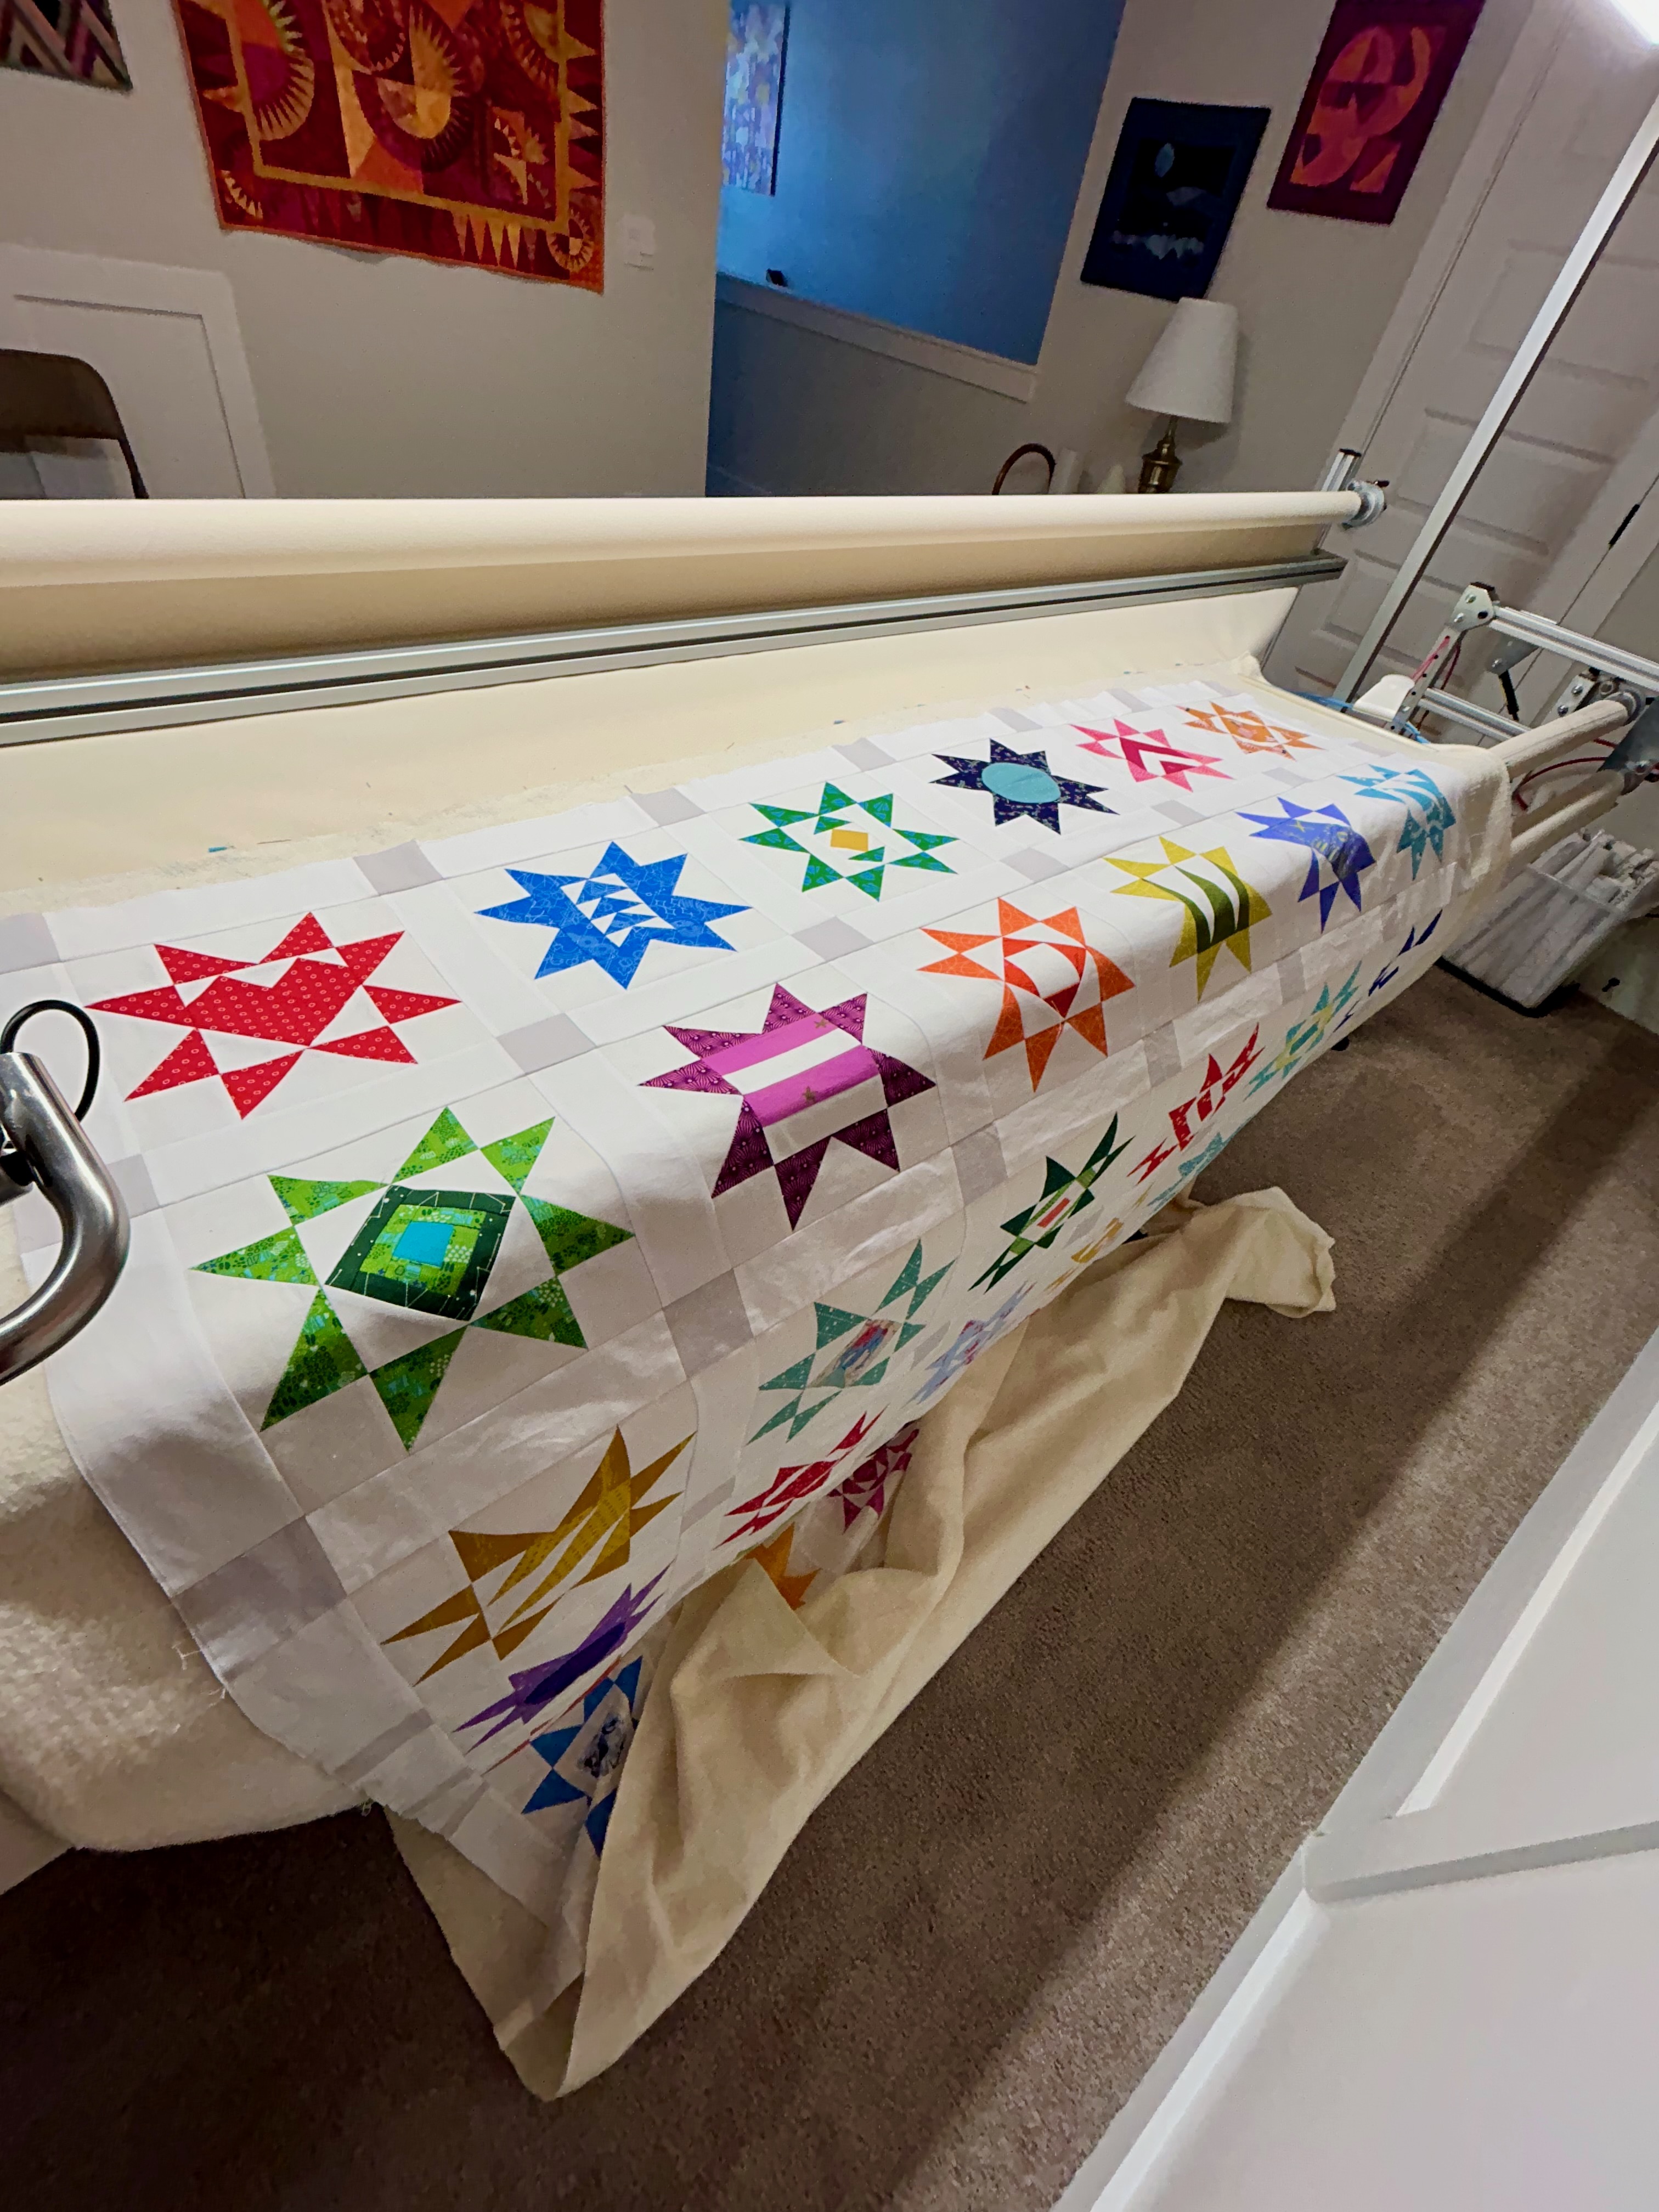
Leila Gardunia’s “Scrappy Stars” quilt is sitting on the longarm, with its backing and batting loaded–and has been sitting for two or more weeks as I couldn’t make up my mind about what pantograph to use. I have now made a decision, for better or worse, and I again need nighttime handwork, so I’ll get this one started…maybe later today. It is, also, a handsome and interesting quilt.
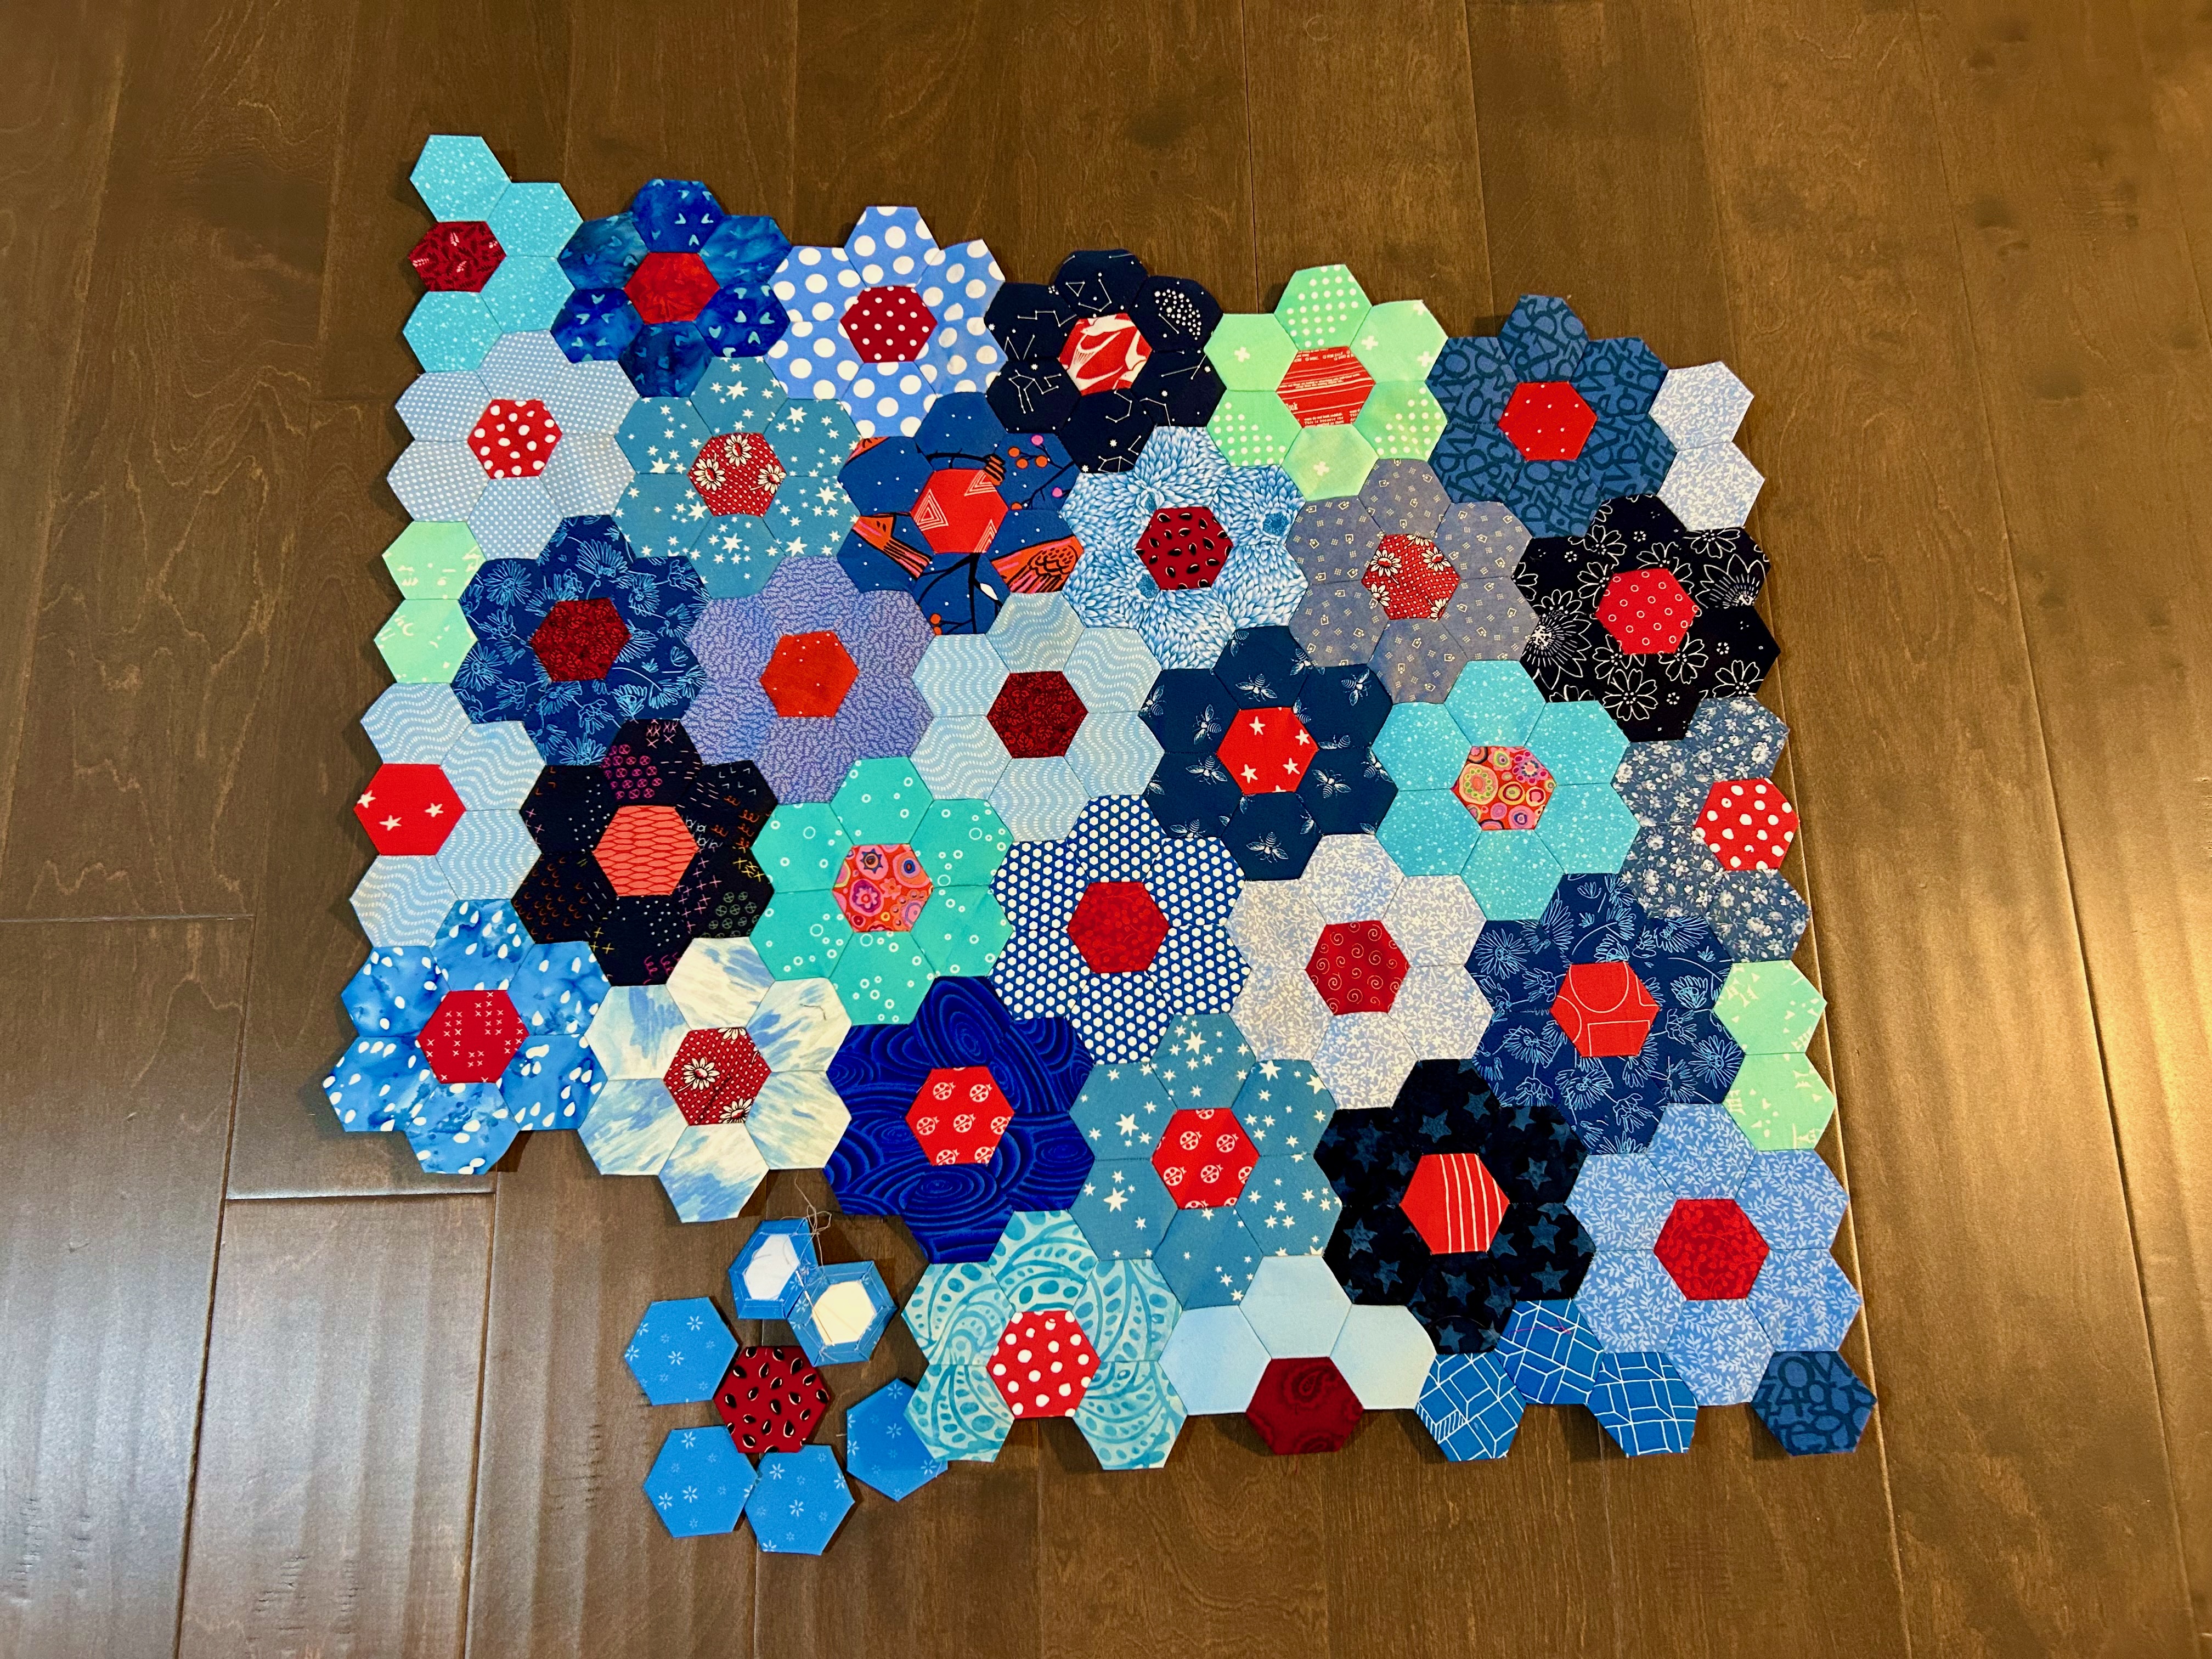
My hexagon project “Bluebells” is finished–it will be a table topper in my 12-month table topper project. I’ll give it a separate post soon. Here’s a reminder of what it looked like in progress.
I got this post from “All About Birds” this morning. They are going to share a live You Tube video on October 26th with Dr. Kaeli Swift that will share her knowledge about crows. It will be recorded, and you will also be sent the link to the video recording after this live event if you don’t have time to watch it live. Dr. Swift will also answer any questions you want to send to her now, and she has a blog too.
I signed up. I’ll likely wait for the recorded video link, but who knows.
The hurricane Isaias went west of us here in Charleston, SC. And the offshore winds that pushed the storm west seem to have died down. We got only 1 inch of rain at my house last night. It will rain today, but it is gentle rain, which we need.
I have been obsessed with my EPP project, and I’m now working to get all the sides to make straight edges, which is happening. These past days of peaceful hand sewing while listening to audio novels has been lovely. I burned myself out on EPP projects a few years back, so I took a rest from them, and I’ve enough hand sewing at night be be content. But this project started happening during the day after my noon meal, so I must have needed a break from the upstairs projects, or…just in general.
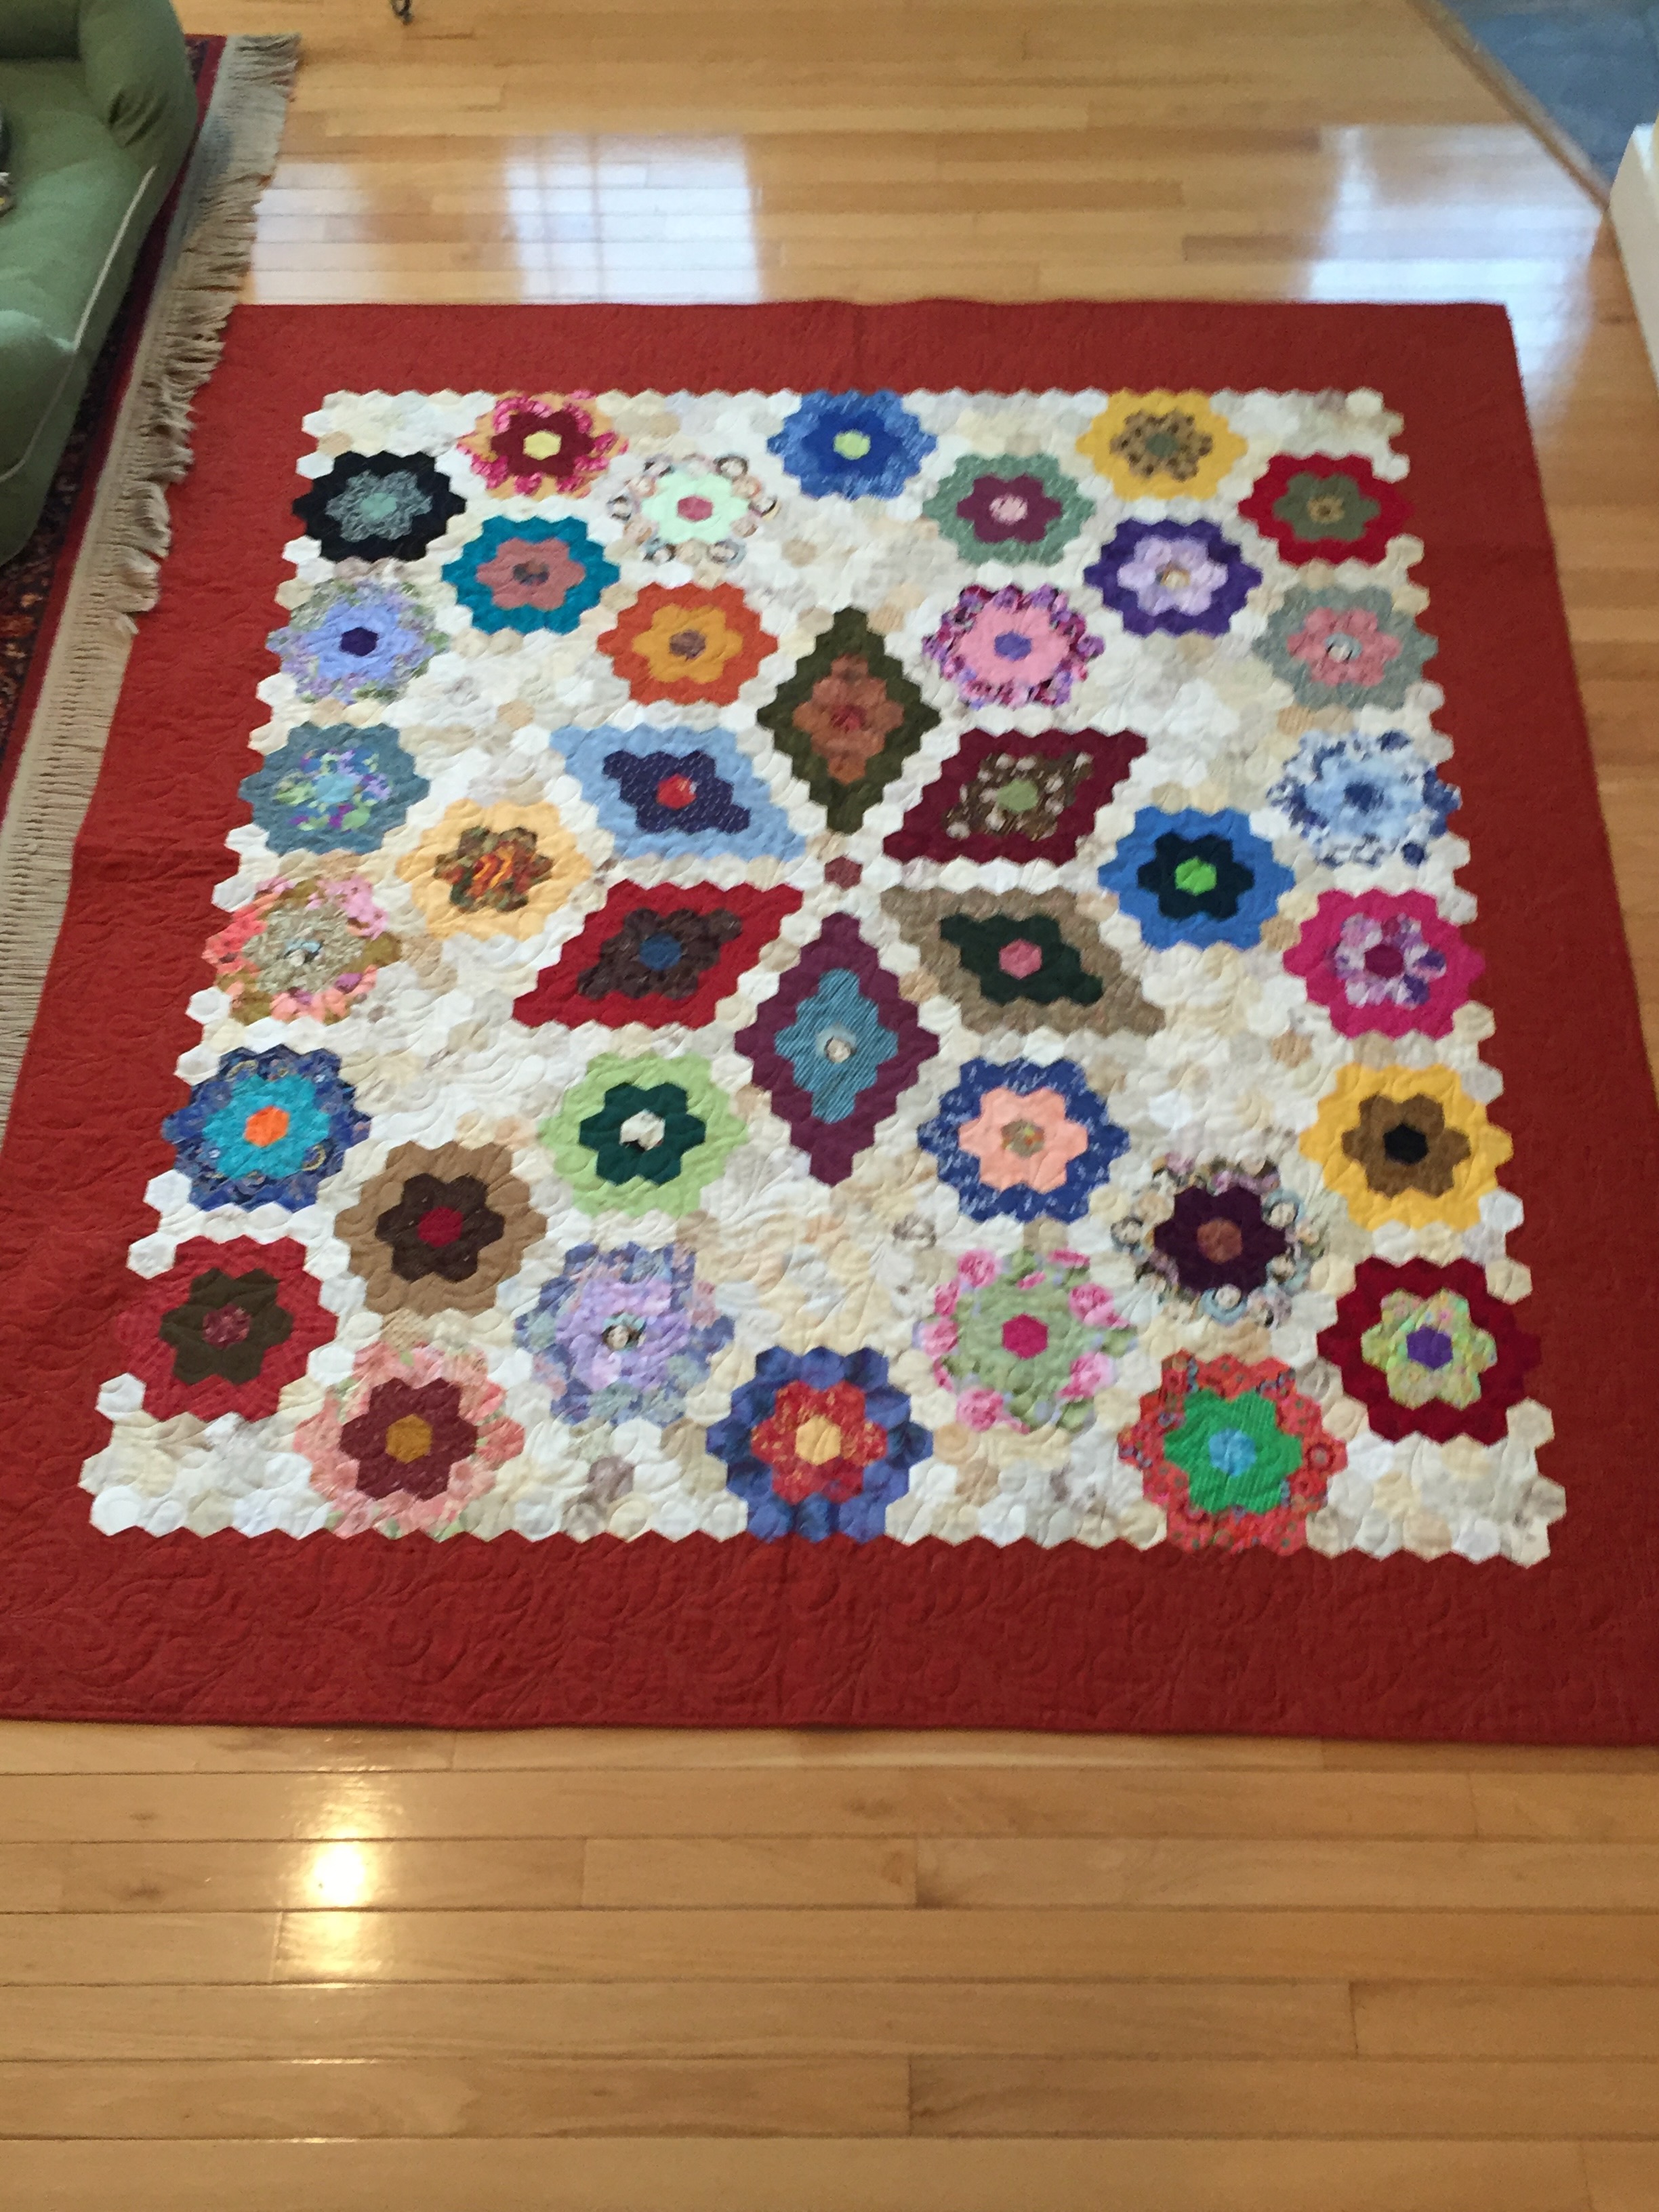
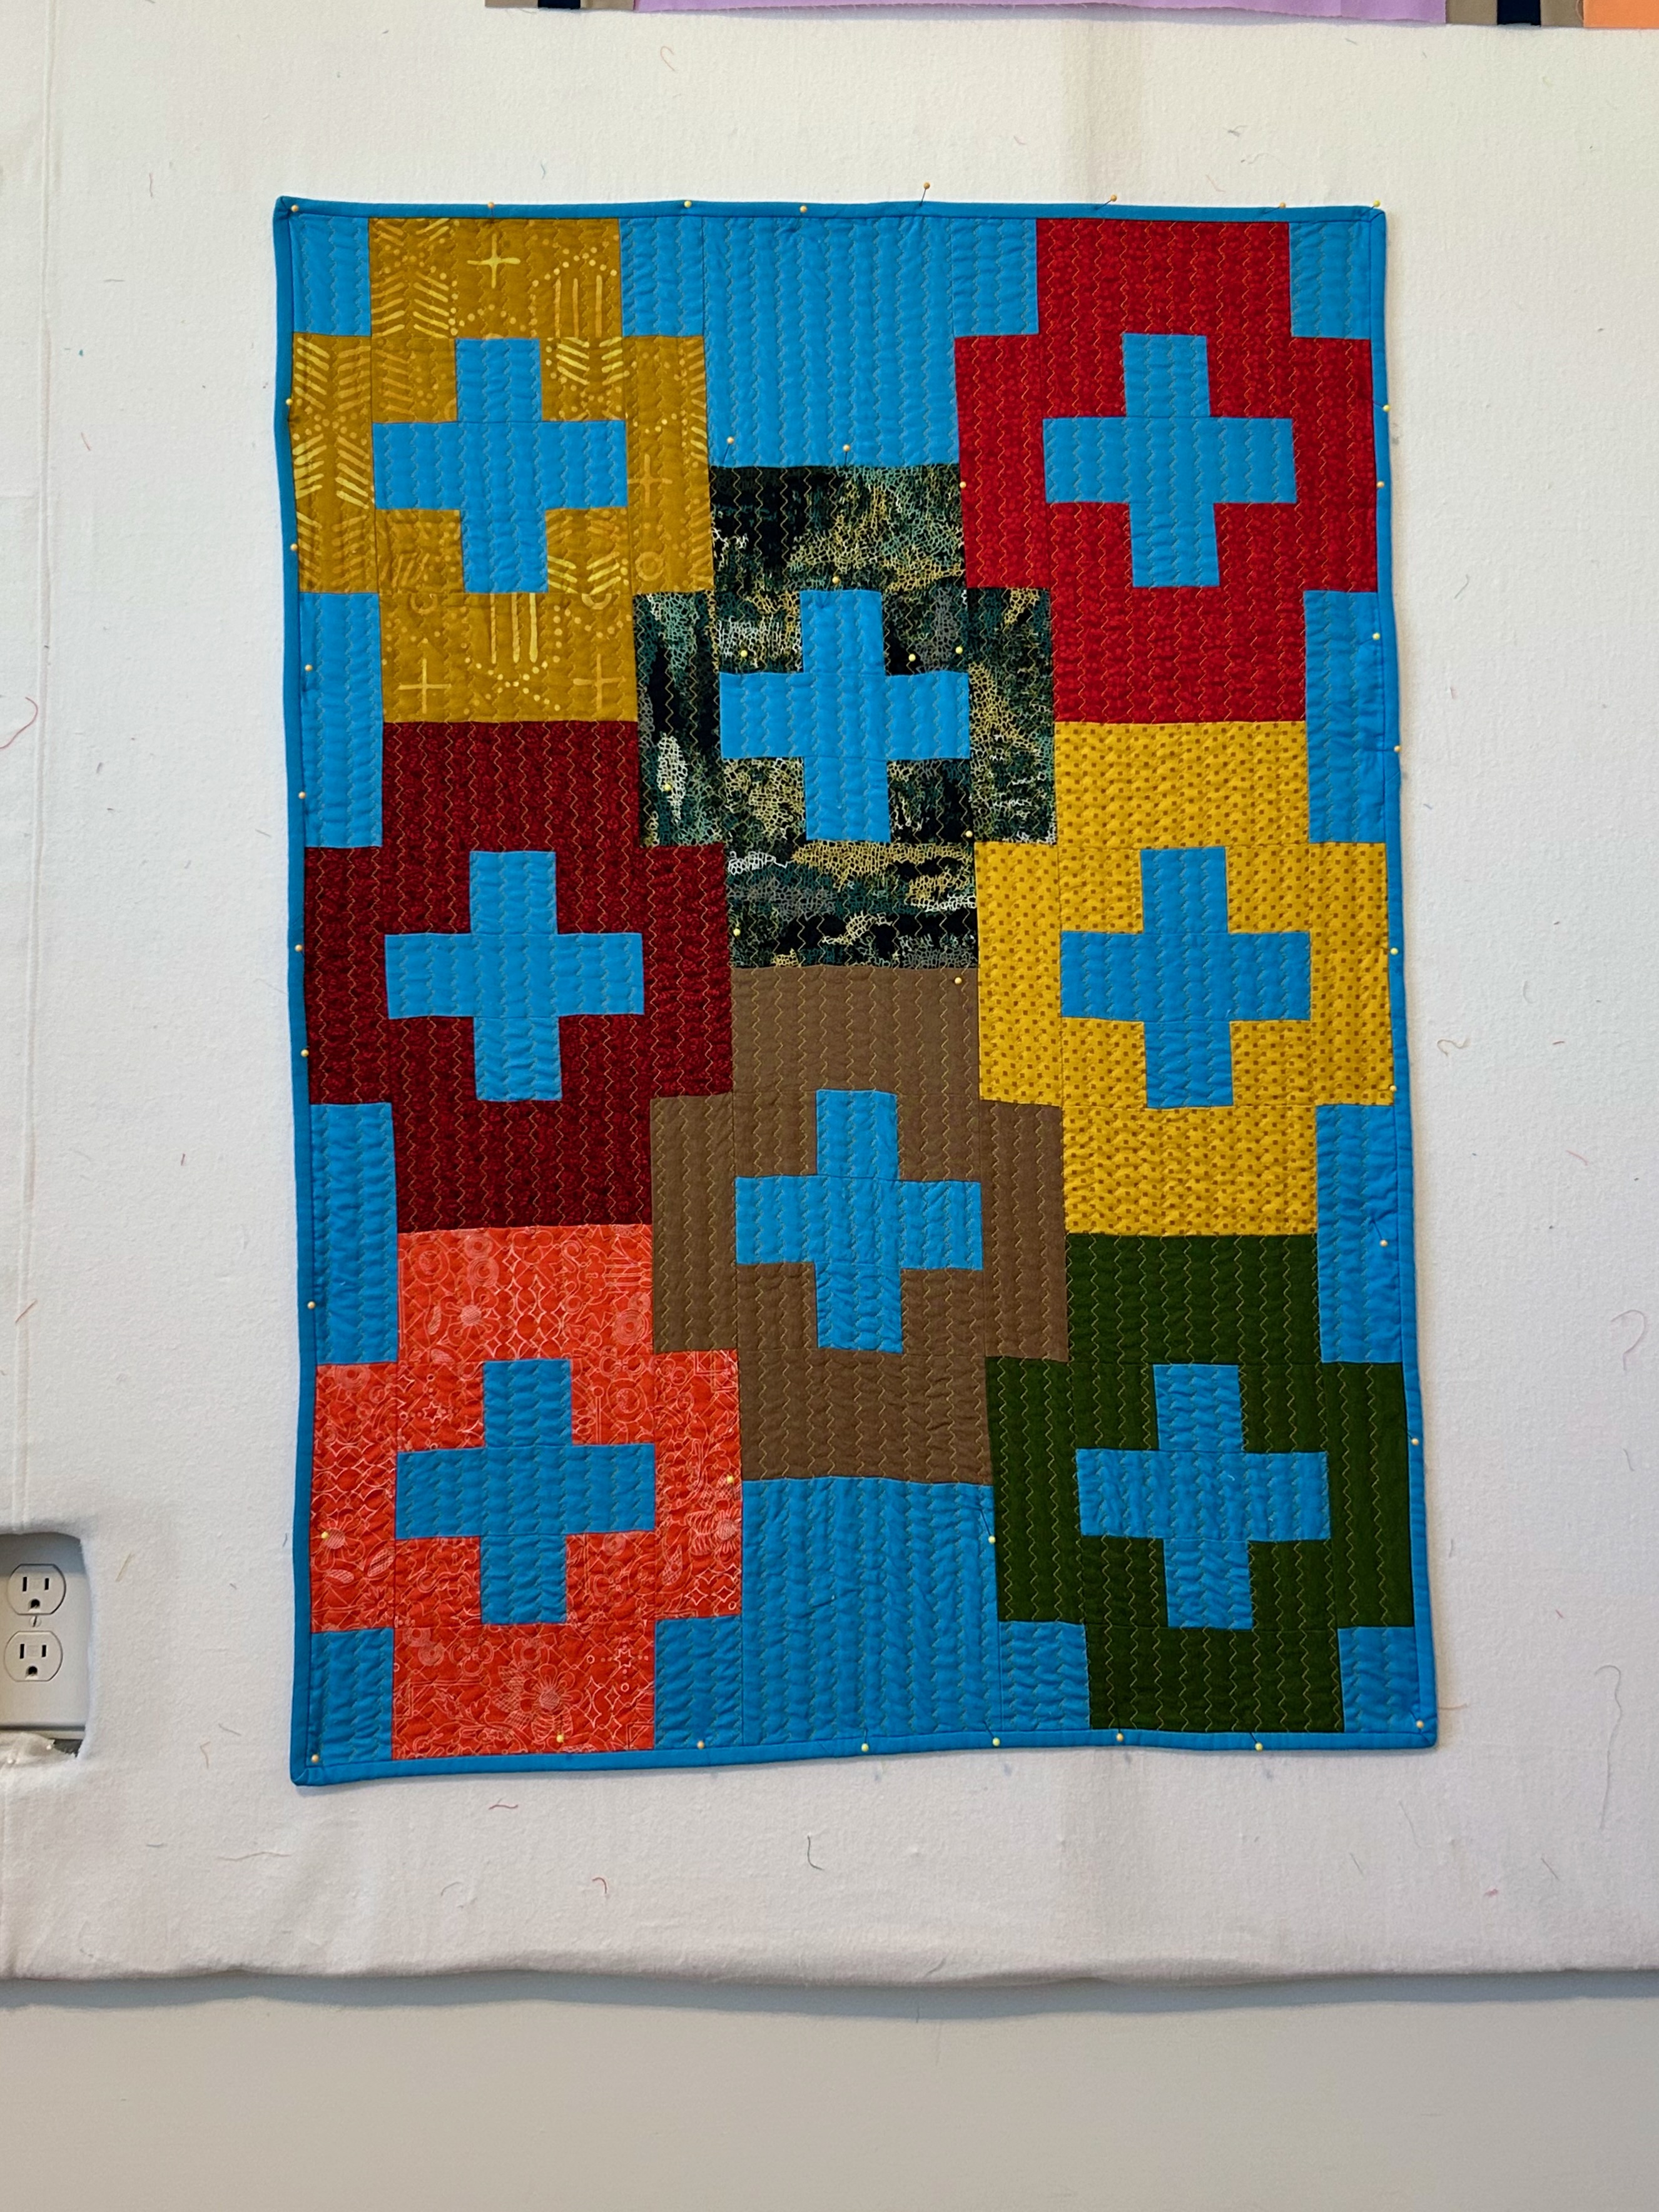
I have not decided whether I will open the side pieces (after a good ironing) and trim the sides and add a regular binding, or if I will sew the sides to borders. I made this quilt back in January 2017 and floated it on borders.
This pic isn’t great as it is now old, and I do have this quilt here with me. I noticed it when I looked for the year on its label that I didn’t include it (it was number 129), so this lack of a date on the label is why I keep an archive. The date on the label has now been added, at which point I noted that the label had my DIL Corinne as its owner. LOL, I think both of us might have forgotten that ownership in the past almost 10 years now.
My blessings today also include a quilt on the longarm that needs some work, the November table topper that is pinned and ready for sewing a grid on my domestic, the “Tulip Swirl” top waiting for a backing and the longarm, a new “Tulip Swirl” layout leader/ender that is growing and is a surprise, the quilt “Goldie” to be continued, and…one block made with neutral fabrics from the scrap bins that is looking at me and smiling.
The weather is cooling, and I’m walking every day. I may walk later today in the gentle rain.
All my family seems to be in fine shape. Of course, there are always ups and downs, but they are all coping with what life brings to them.
I will have a very nice noon meal as soon as I cook it, and maybe I’ll even be able to eat it on my porch as the rain is straight down and gentle.
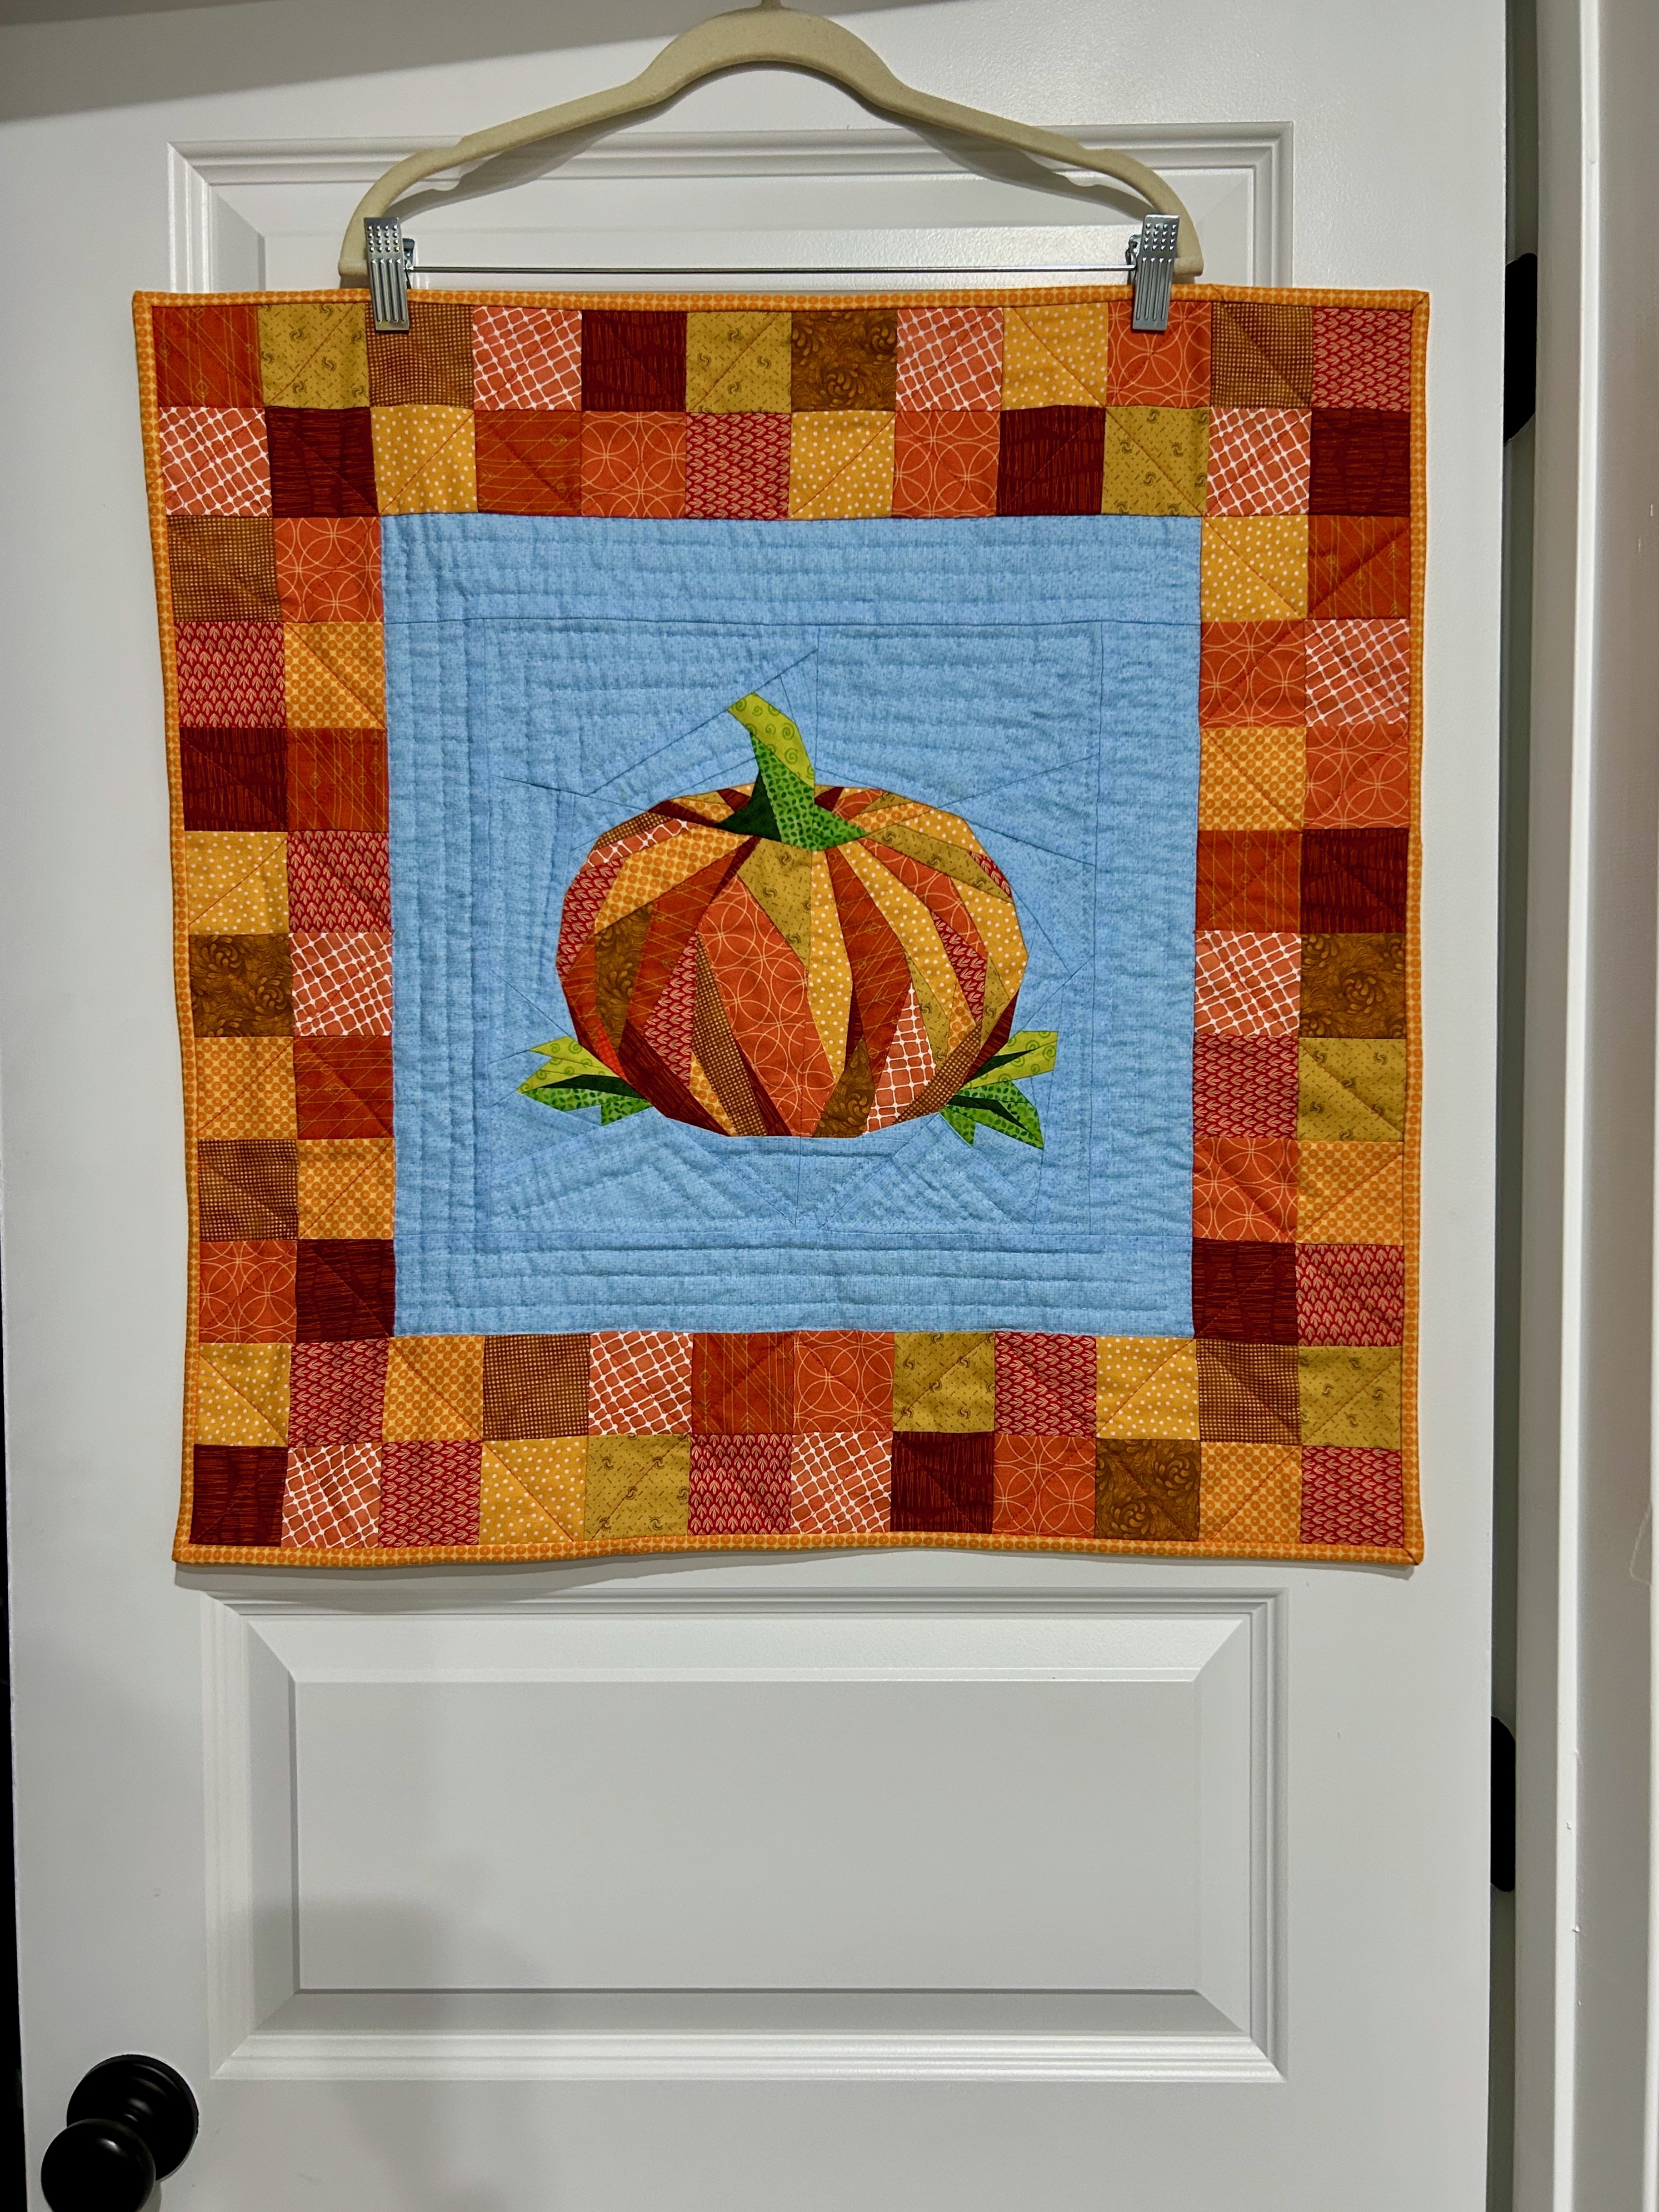
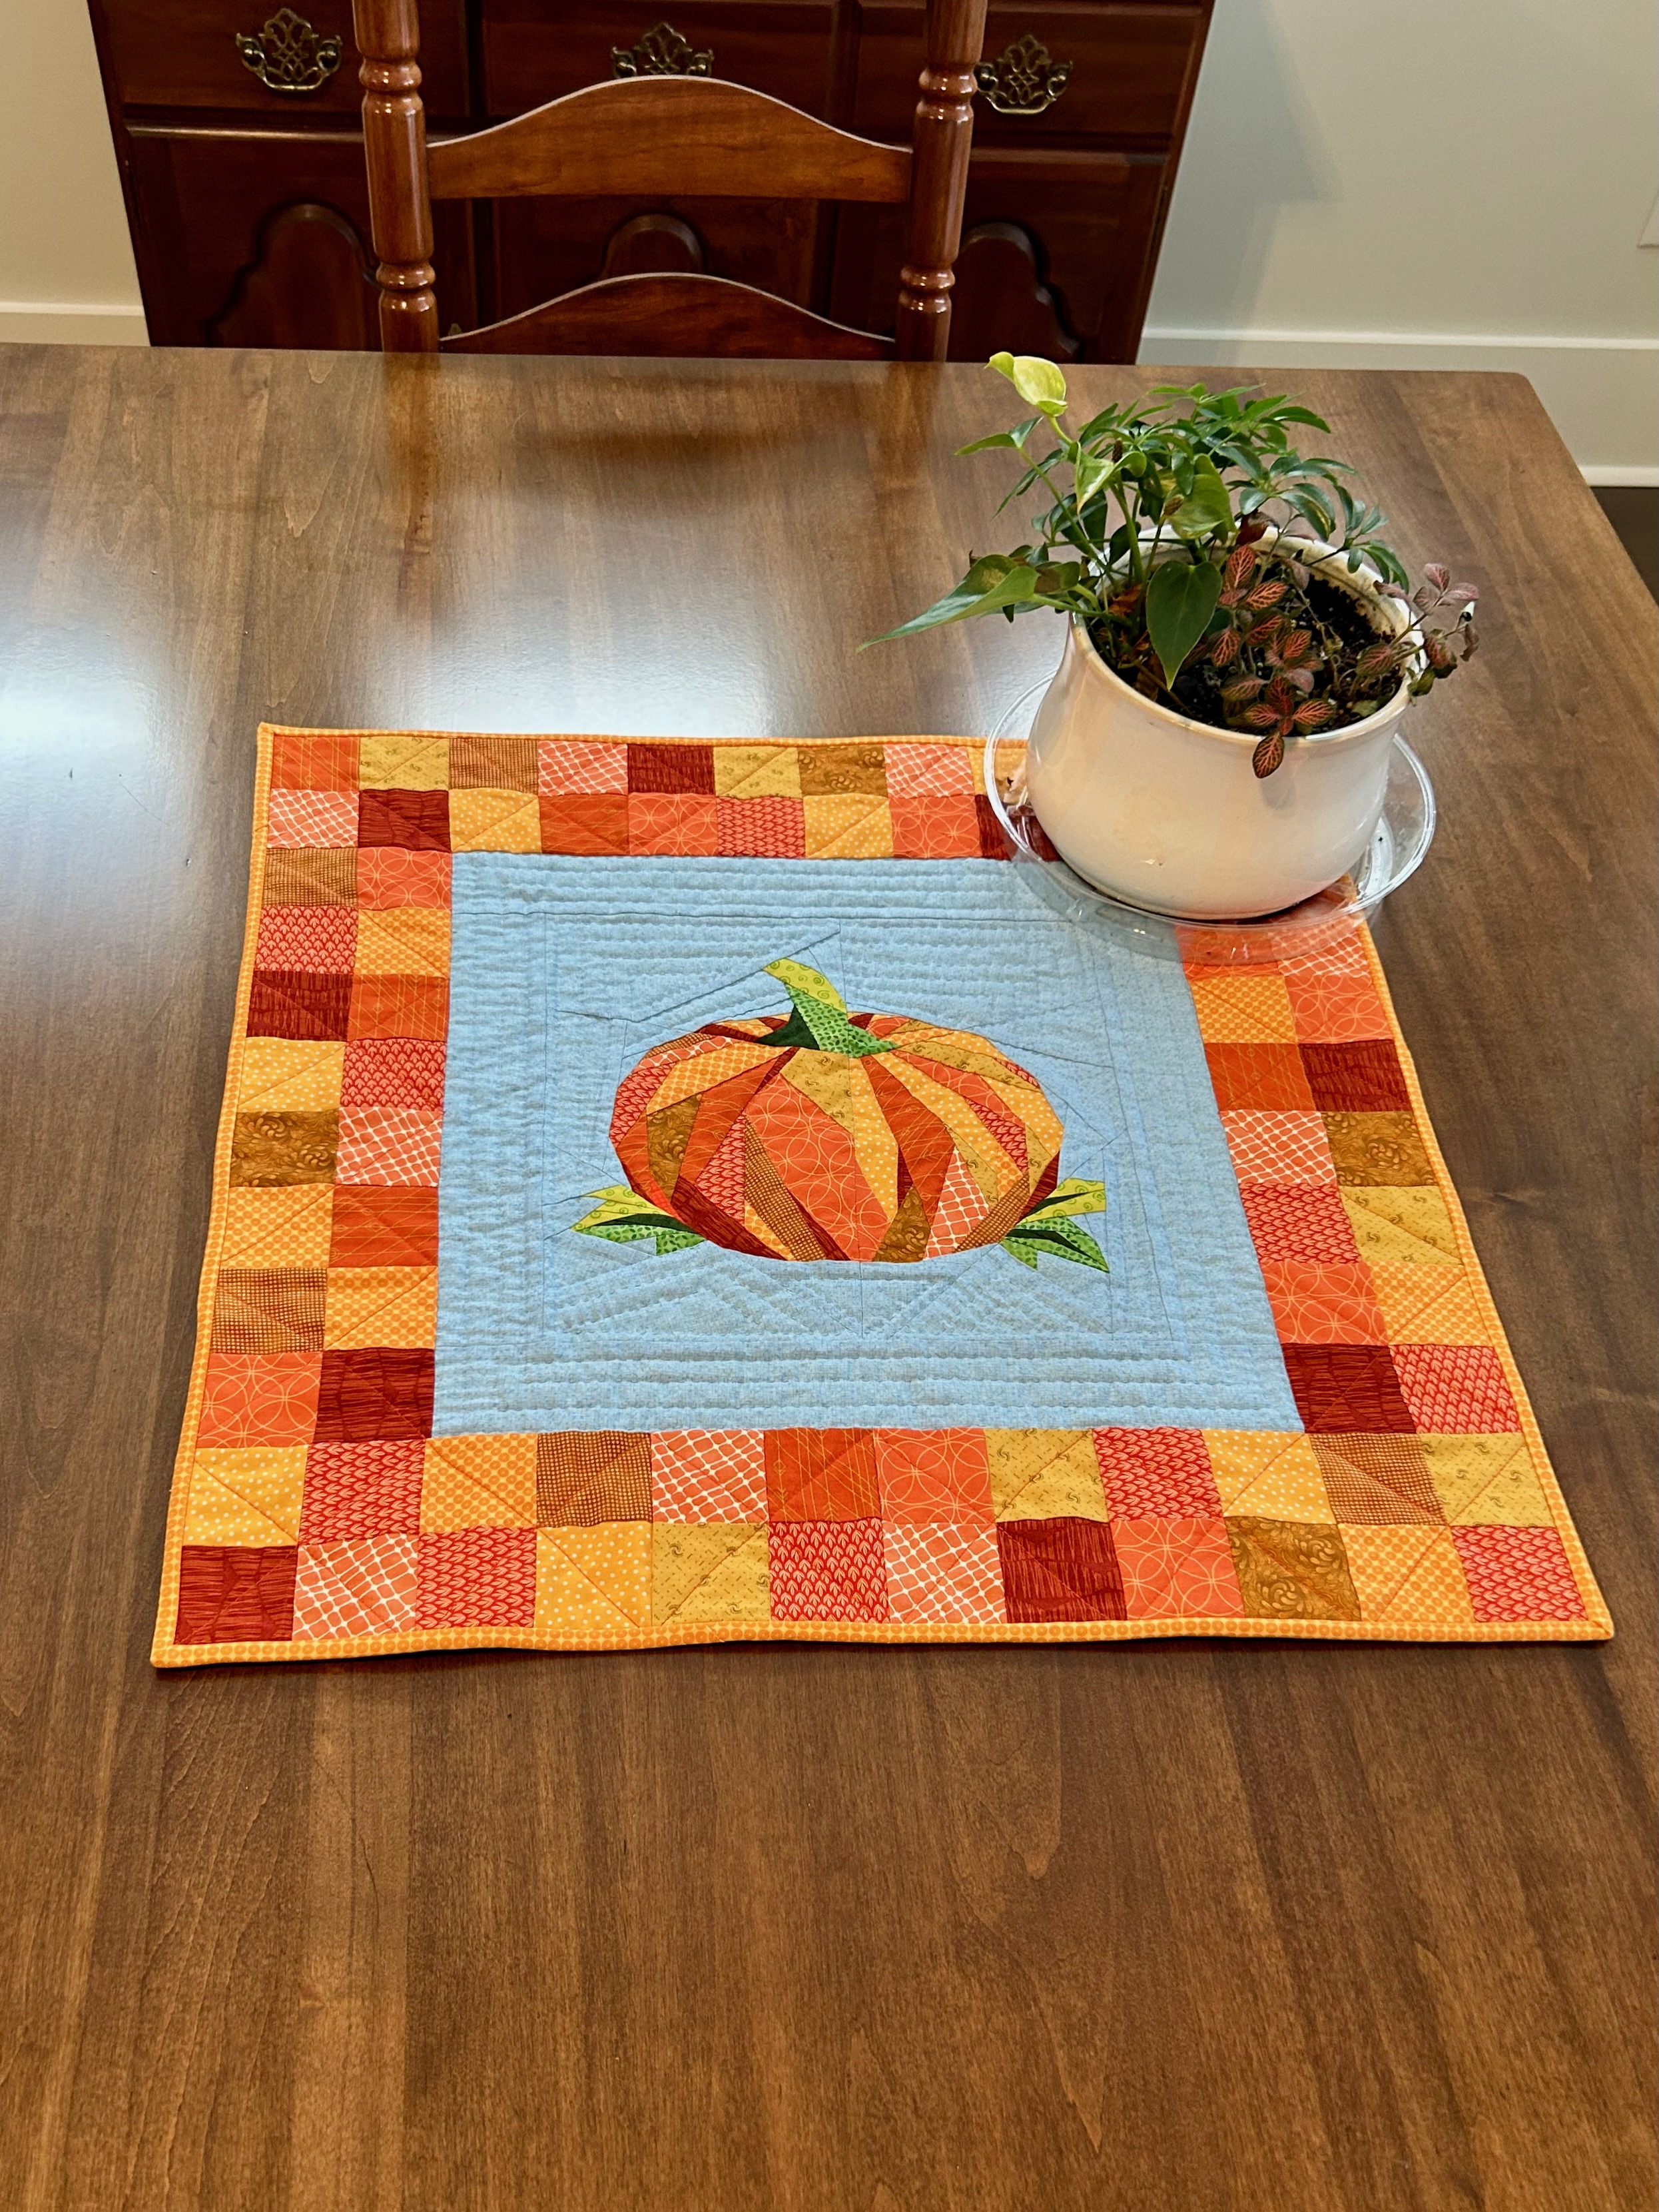
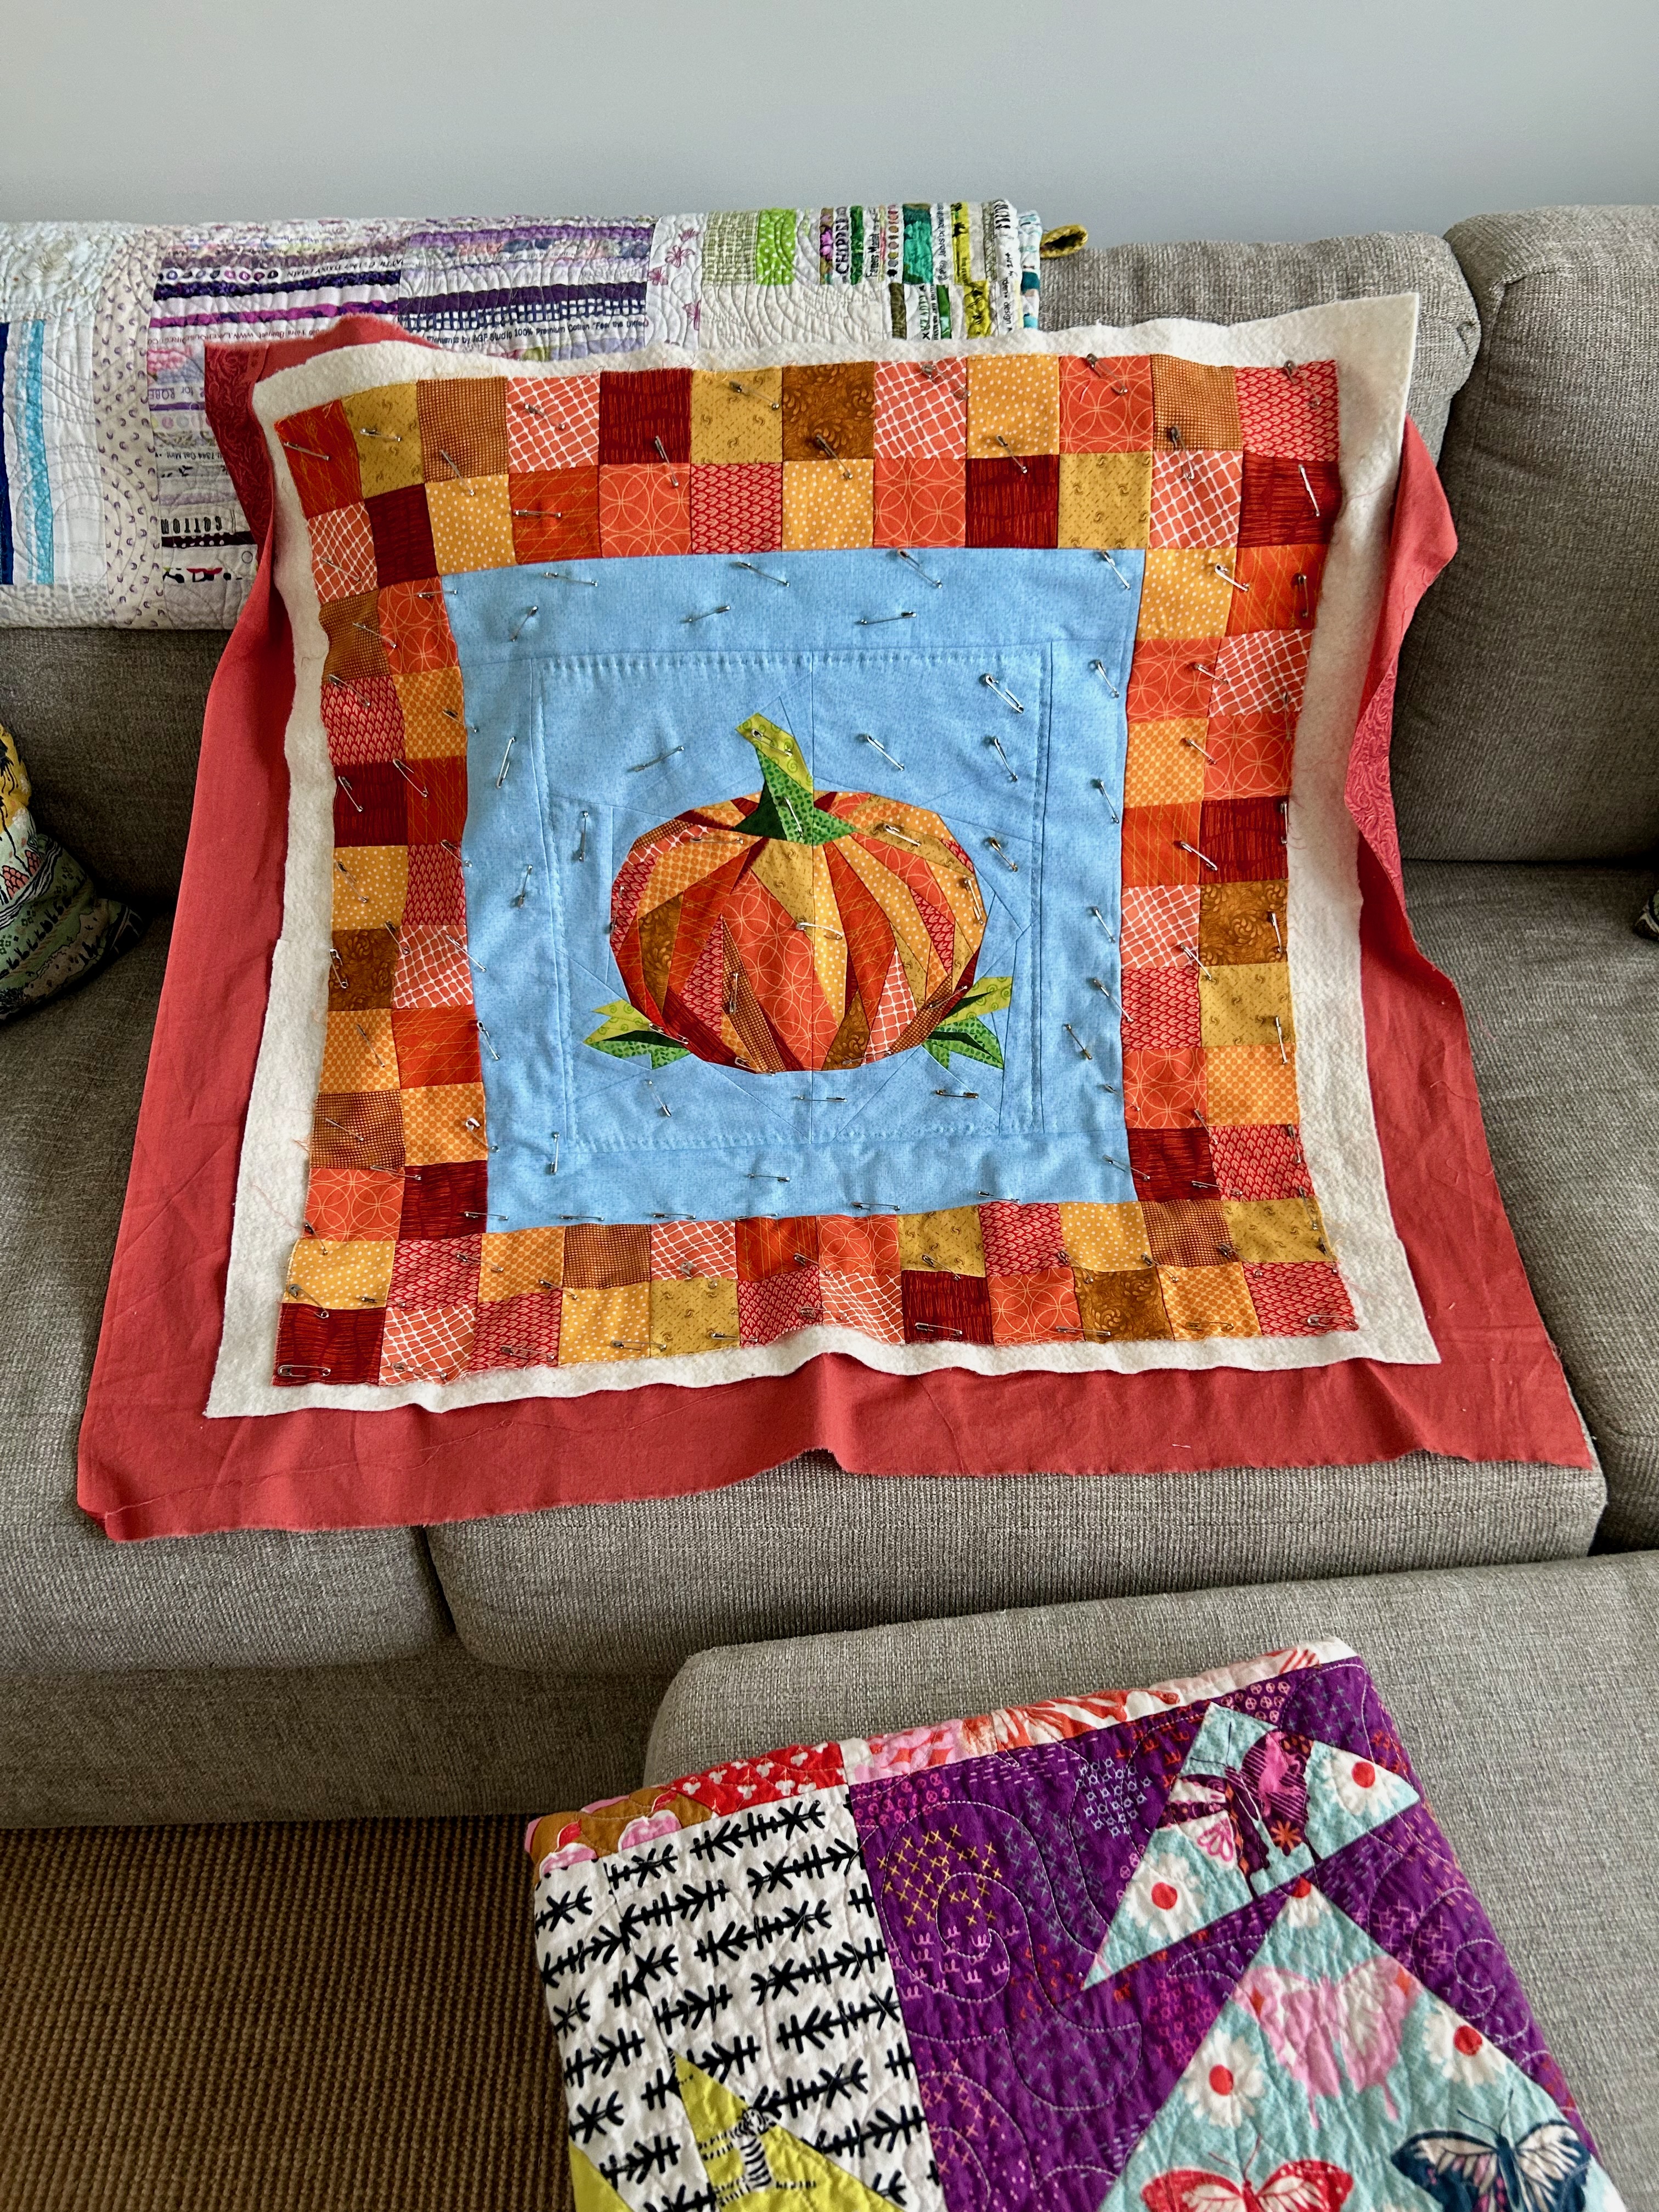
The pumpkin foundation piecing pattern came from Easy Piece Patterns. I used the 12.5 inch version and then added more of the blue for a border before making the orange border. It took me FOUR days to make that pumpkin–and many nights of hand stitching in the blue areas. I matched colors in the pumpkin and just sewed along the edges of the various pieces, which made the pumpkin look almost three dimensional.
So, here’s my October table topper in use:
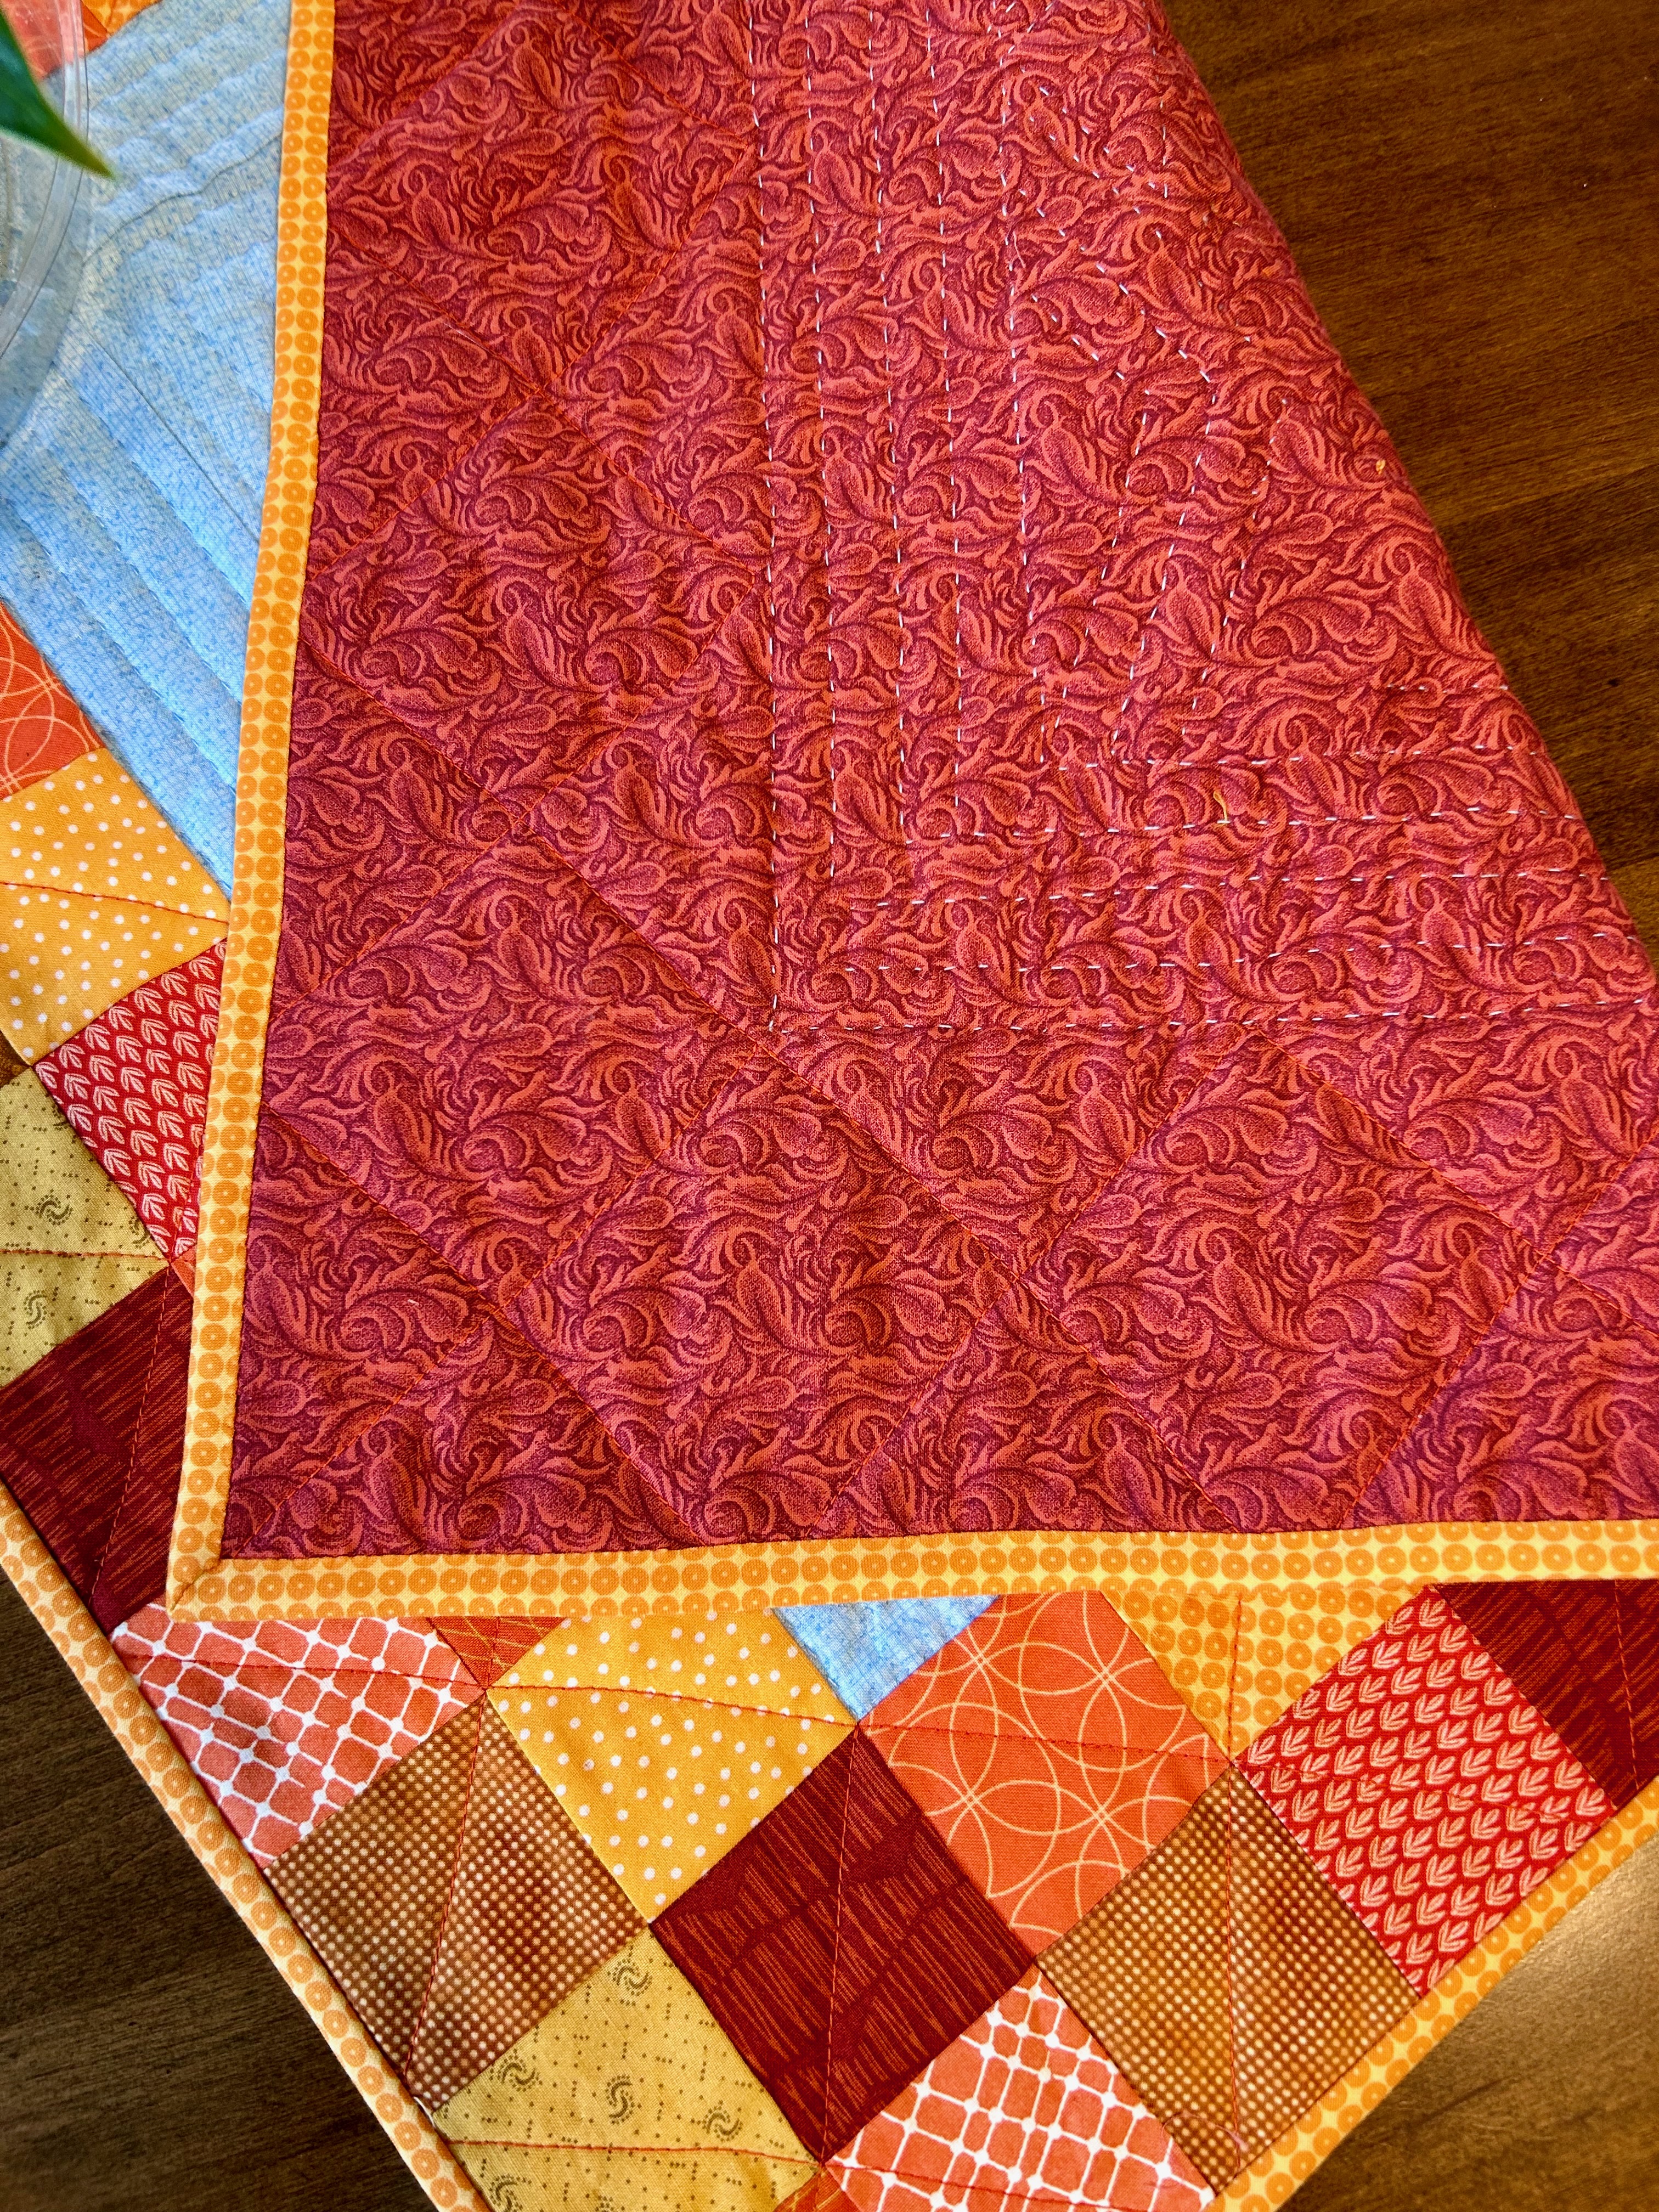
The backing is from my stash–a very, very old (1999) fabric from Jinny Beyer, No. 287, RJR Fashion Fabrics @ Basic Realities. That’s 27 years, which means this fabric also dates the time frame of when I started quilting around 1996 or so. The cheddar binding is also from my stash, but I have long since lost its name.
My November table topper is sewn, layered, pinned, and waiting for me to quilt it on my domestic machine.
I have two finished tops now in line for the longarm. Both started as leader/ender projects until they got too big and needed to be finished to free up room on the design wall.
Here’s “Scrappy Stars” (Leila Gardunia). I have chosen a backing, but need to get it ready to load on the longarm.
And here’s “Tulip Swirl,” finished last night, made from Bonnie Hunter’s 2025 leader/ender block of that name, which is 4.5 inches unfinished. This is one version of many versions that are possible with this block. Holy Cow! So many secondary patterns form with this layout version. The block is 16 inches, and here there are 4 blocks in this 64-inch square version.
I’m not sure where this week went. It has been beautiful fall weather here–cooler, but dry. We are hoping for rain over the next few days.
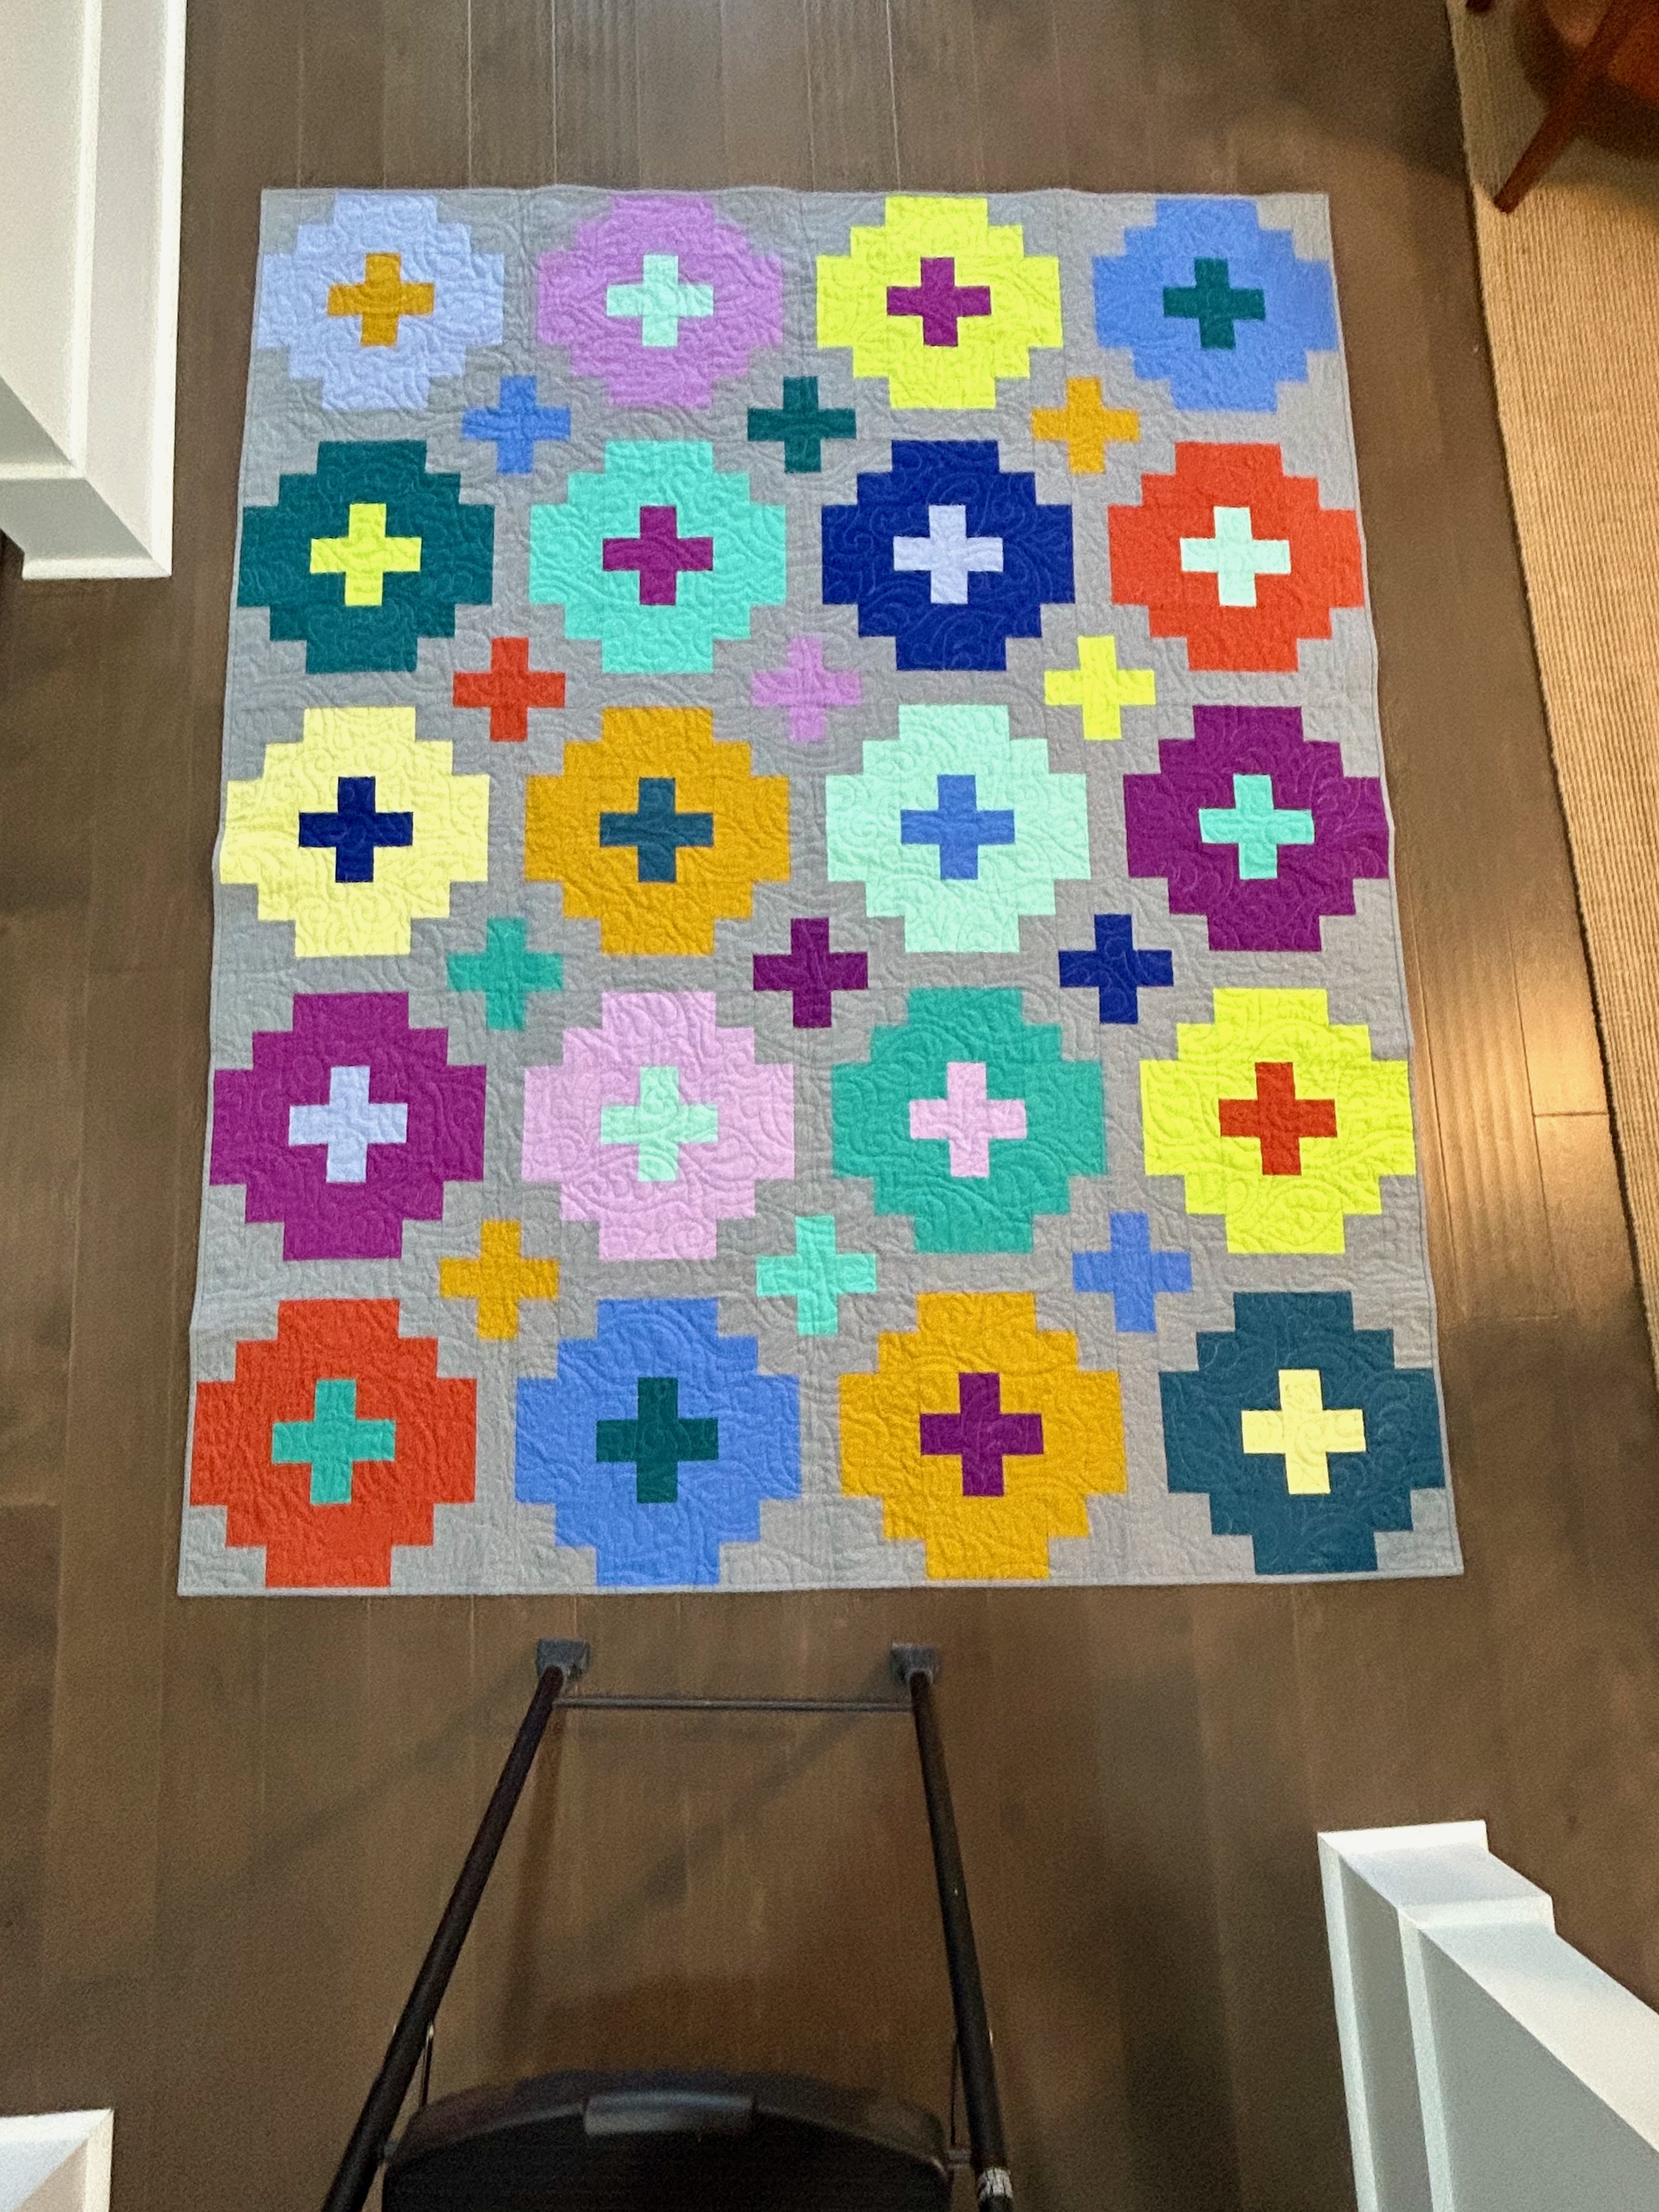
What a handsome quilt from Emily Dennis of “Quilty Love.” And I really enjoyed making it. I especially liked working with color placement to draw the eye around the quilt.
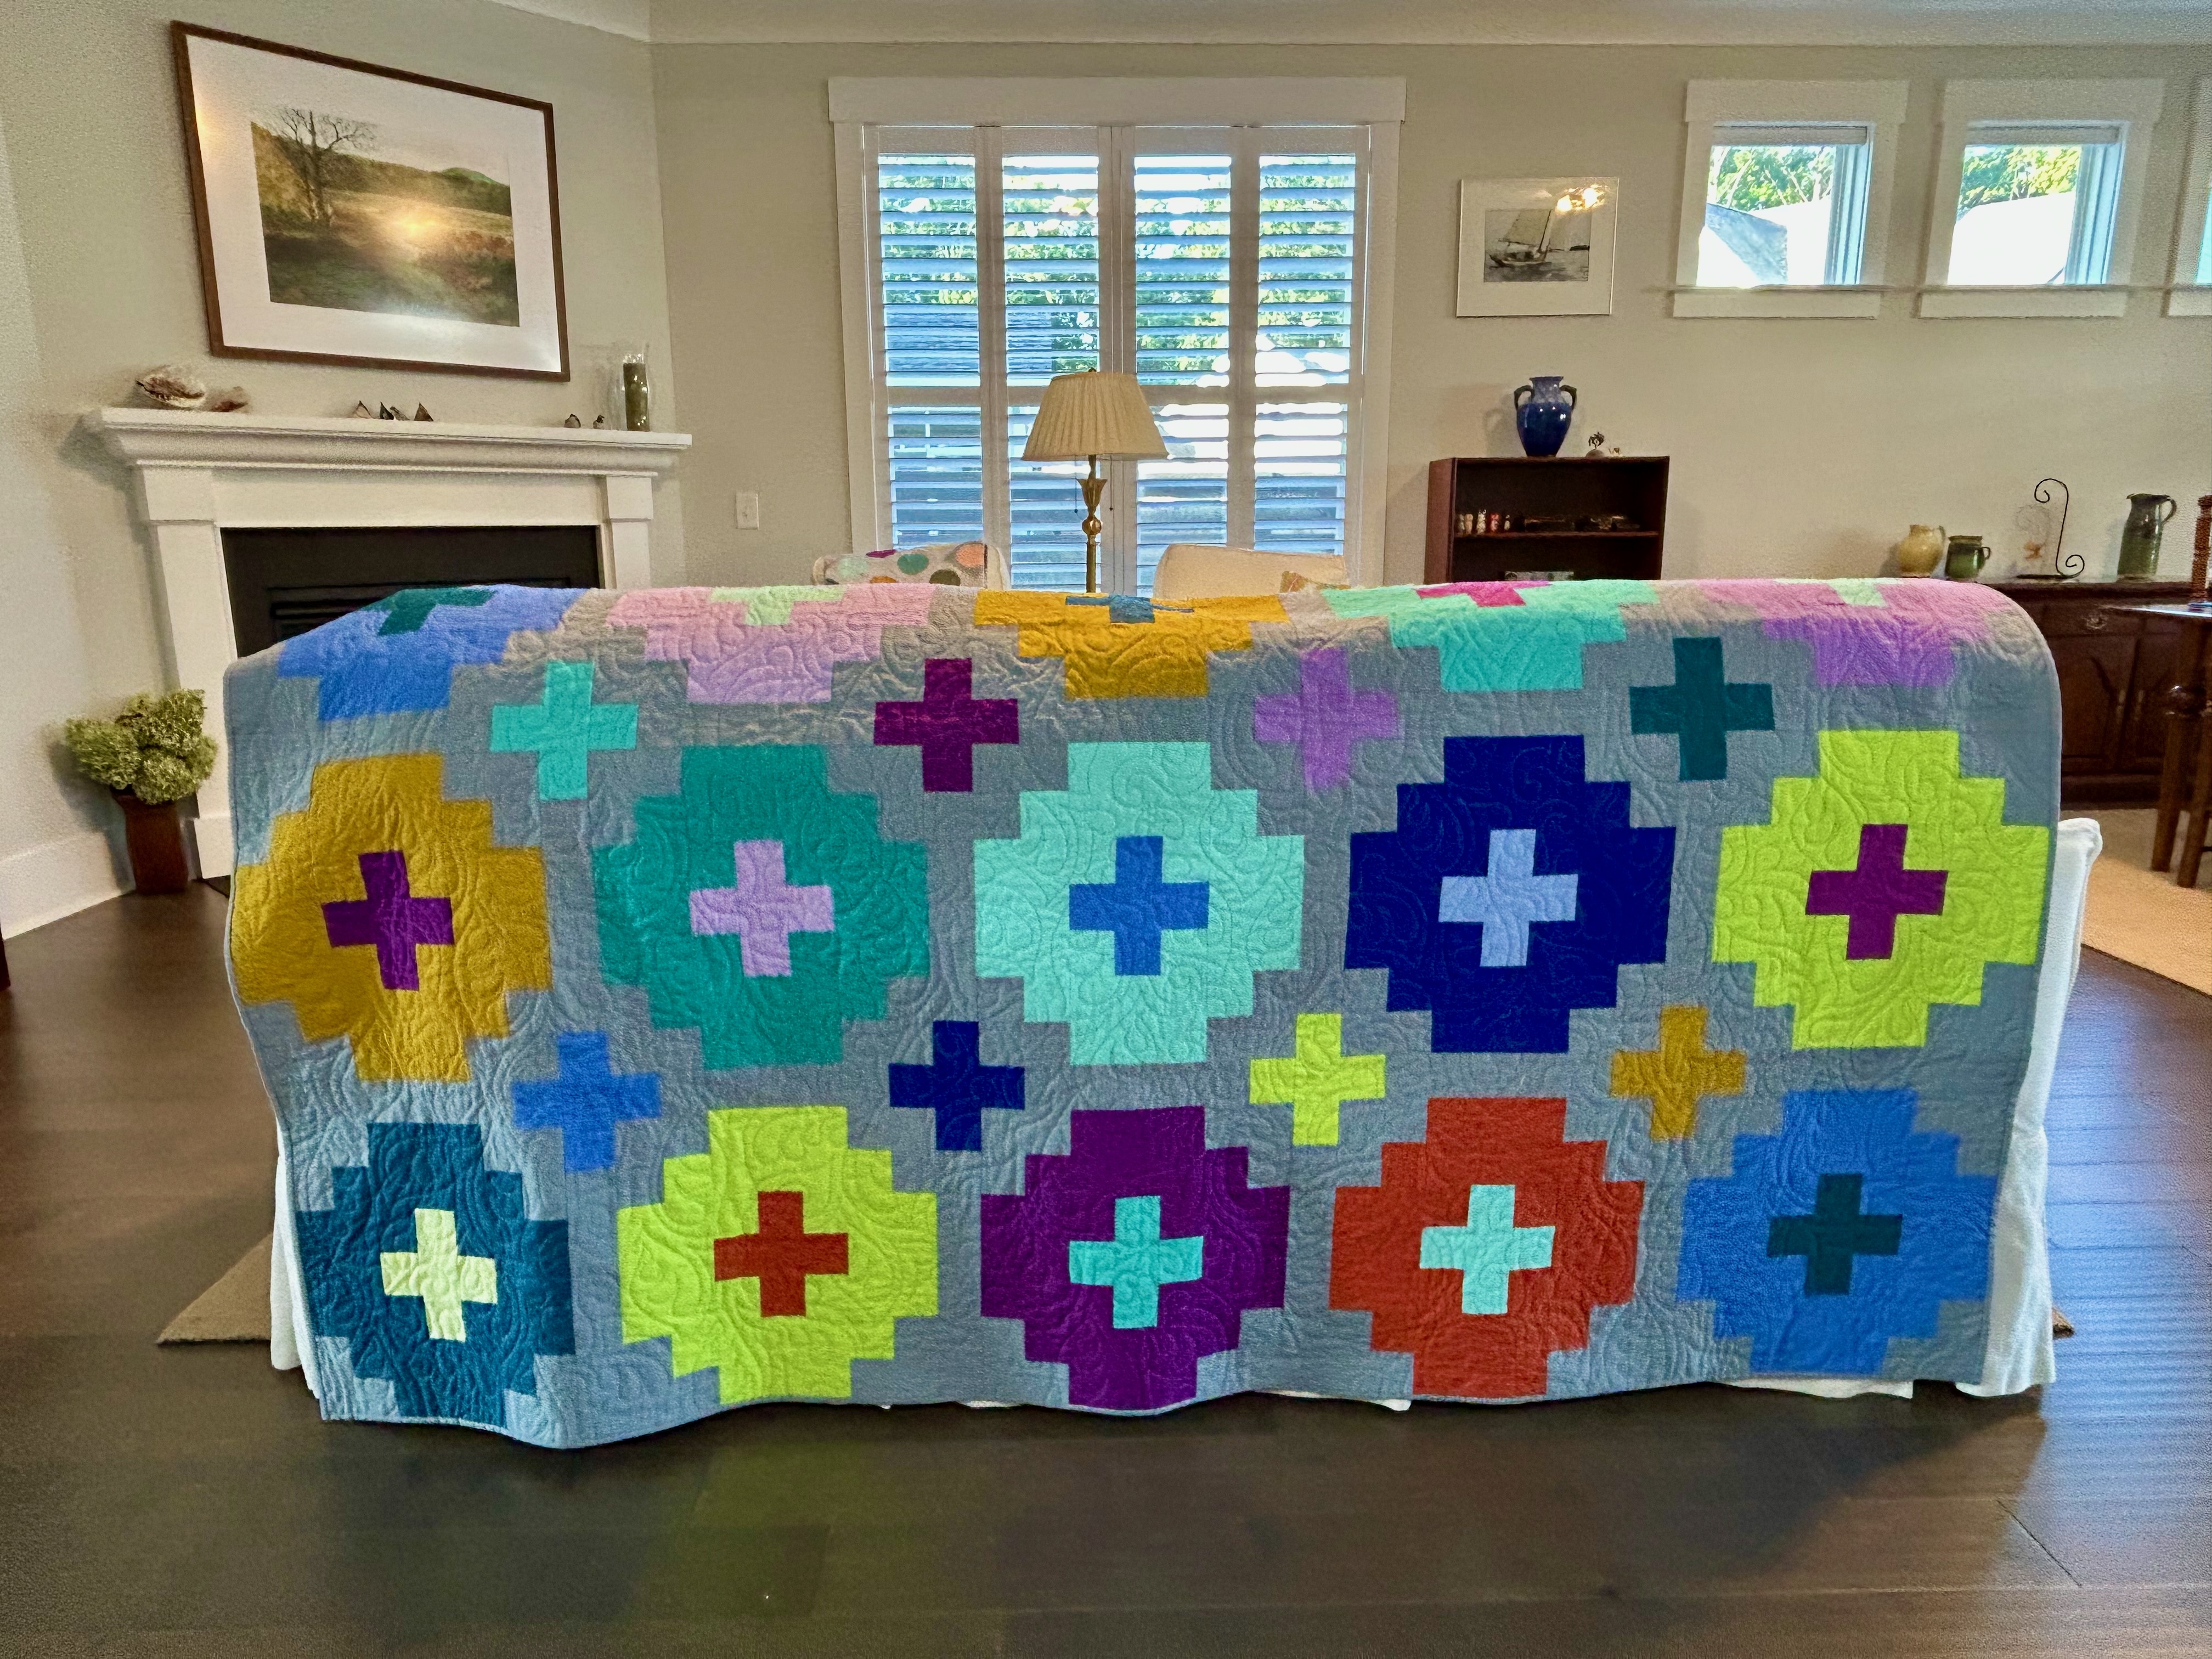
“Cross Tiles” finished at 62 by 78 inches–a perfect lap size. The grey “field fabric” and binding is Kona Titanium. I like the soft look the grey gives this quilt, and though less dramatic than a lighter color in the white family, it will not show smudges and so on as easily.
Here’s a picture to give you a better sense of the size.
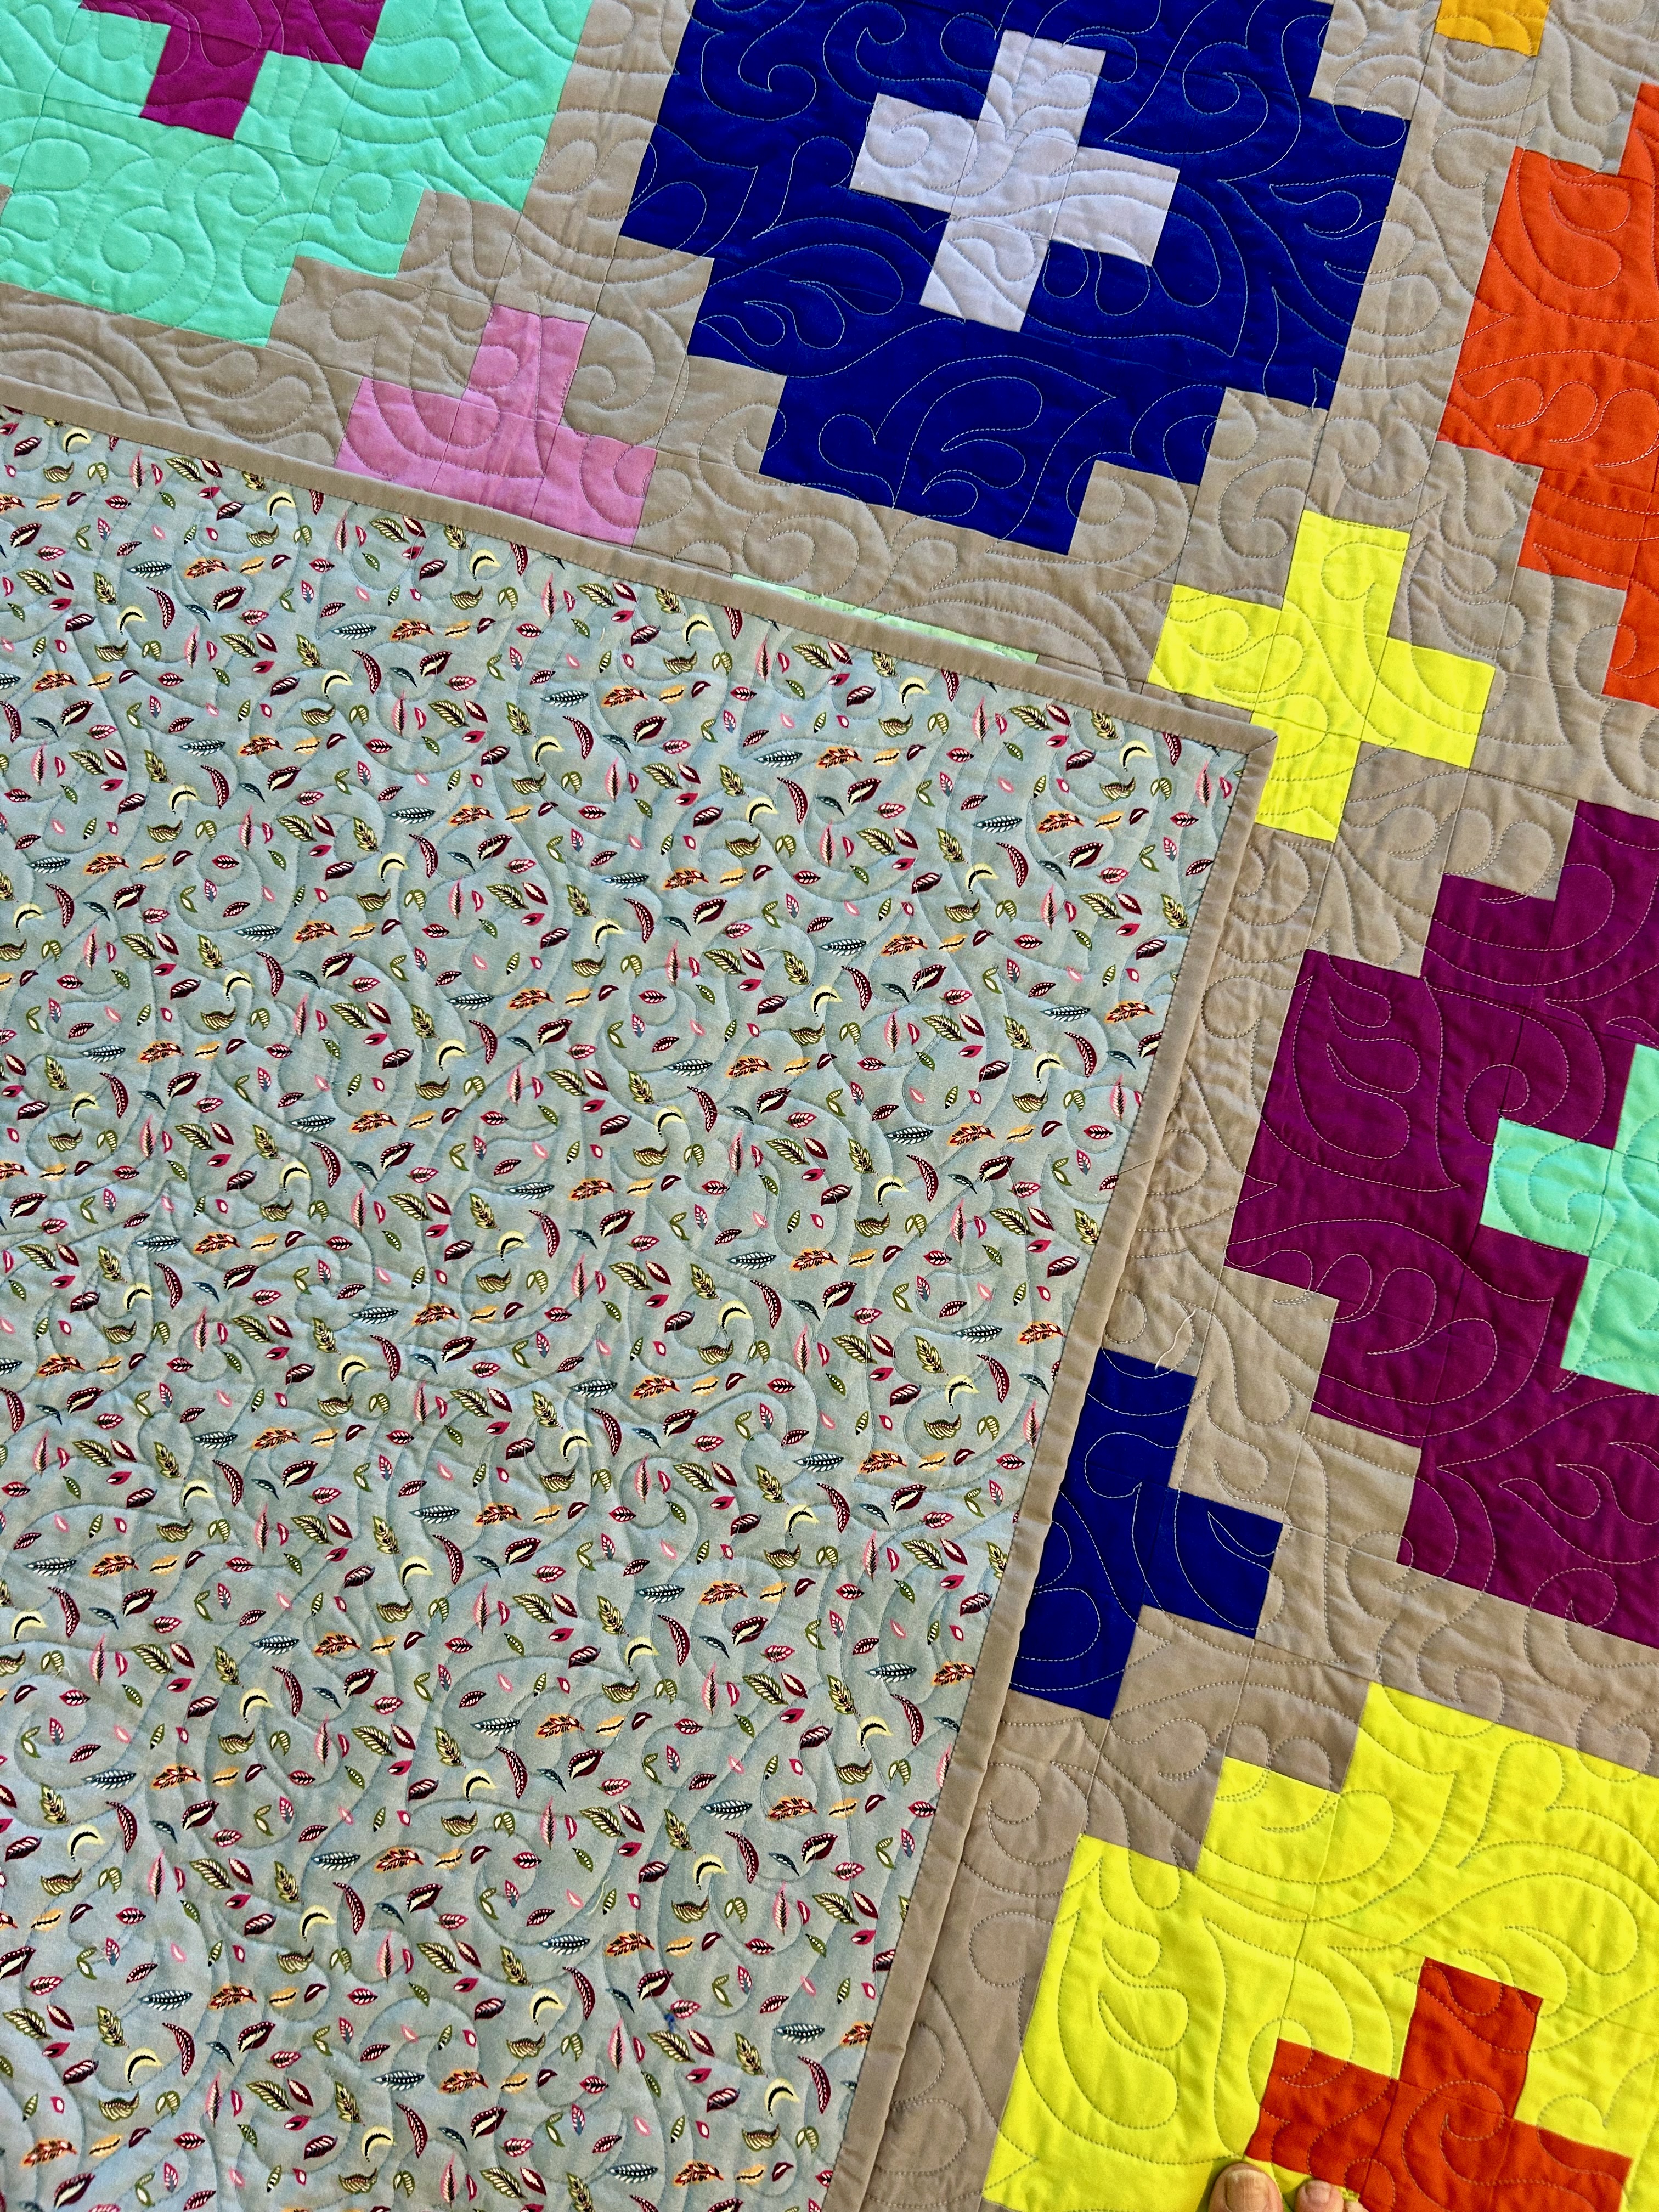
The backing is “Bohemion Garden” from P&B Textiles, DSN#05323. I wanted a backing that didn’t “fight” with the graphic front of the quilt, and I’m really. happy with this choice. The pantograph is “Arcadia” by Patricia E. Ritter.
The choice of quilting thread color is always…interesting. For this quilt, Signature (cotton) Cobalt Blue was very quiet on the back and worked well on the front.
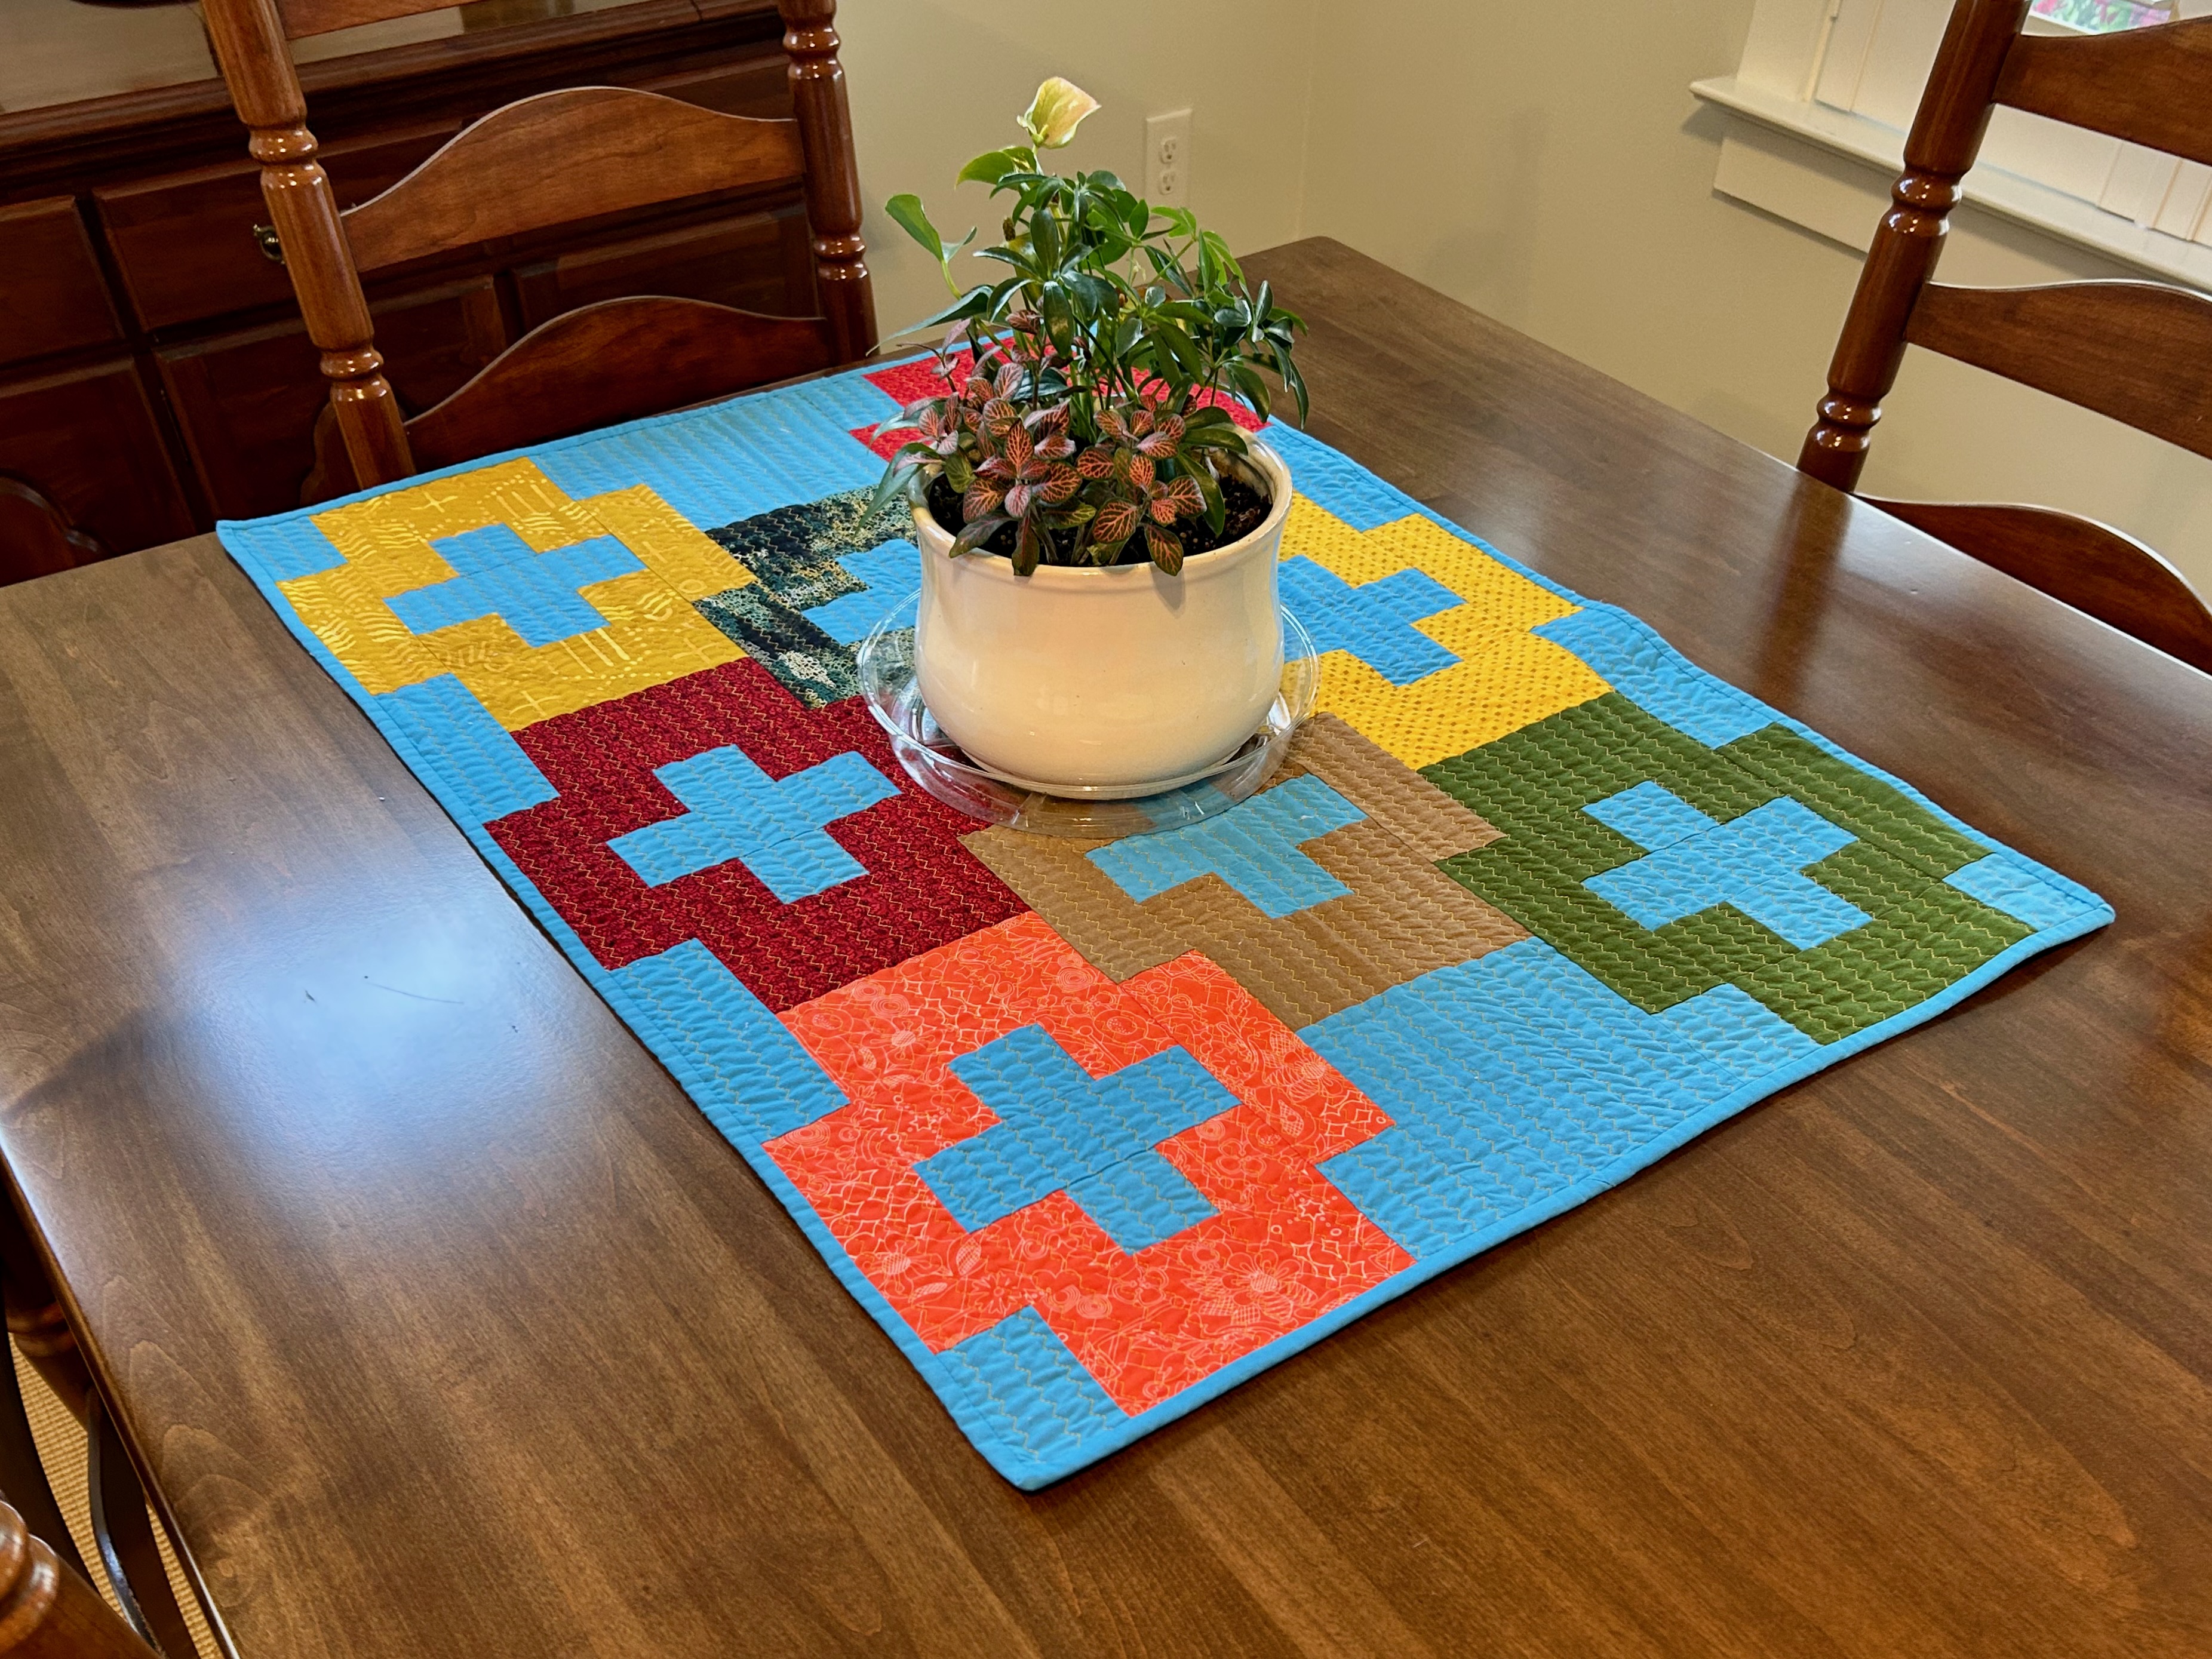
I will be making this pattern again, probably because it sews up fast and is just fun to cut and sew. The other recent pattern I made from Quilty Love, “Plus and Minus” falls into this same category. (And I have future plans to make a larger version.) I named it “Fall in Maine,” and it is part of my 12-month table topper project.
“Pumpkin” is going to be my fall table topper small quilt. It’s 24 by 24 inches. And it took me FOUR DAYS” last week to make that foundation paper pieced pumpkin in the center. Yes! I went on a side trip with at least 4 projects on the design wall waiting for me. But, also yes, “Pumpkin” scratched a quilting itch I had. And what’s the rush, anyway? The design wall projects aren’t going anywhere.
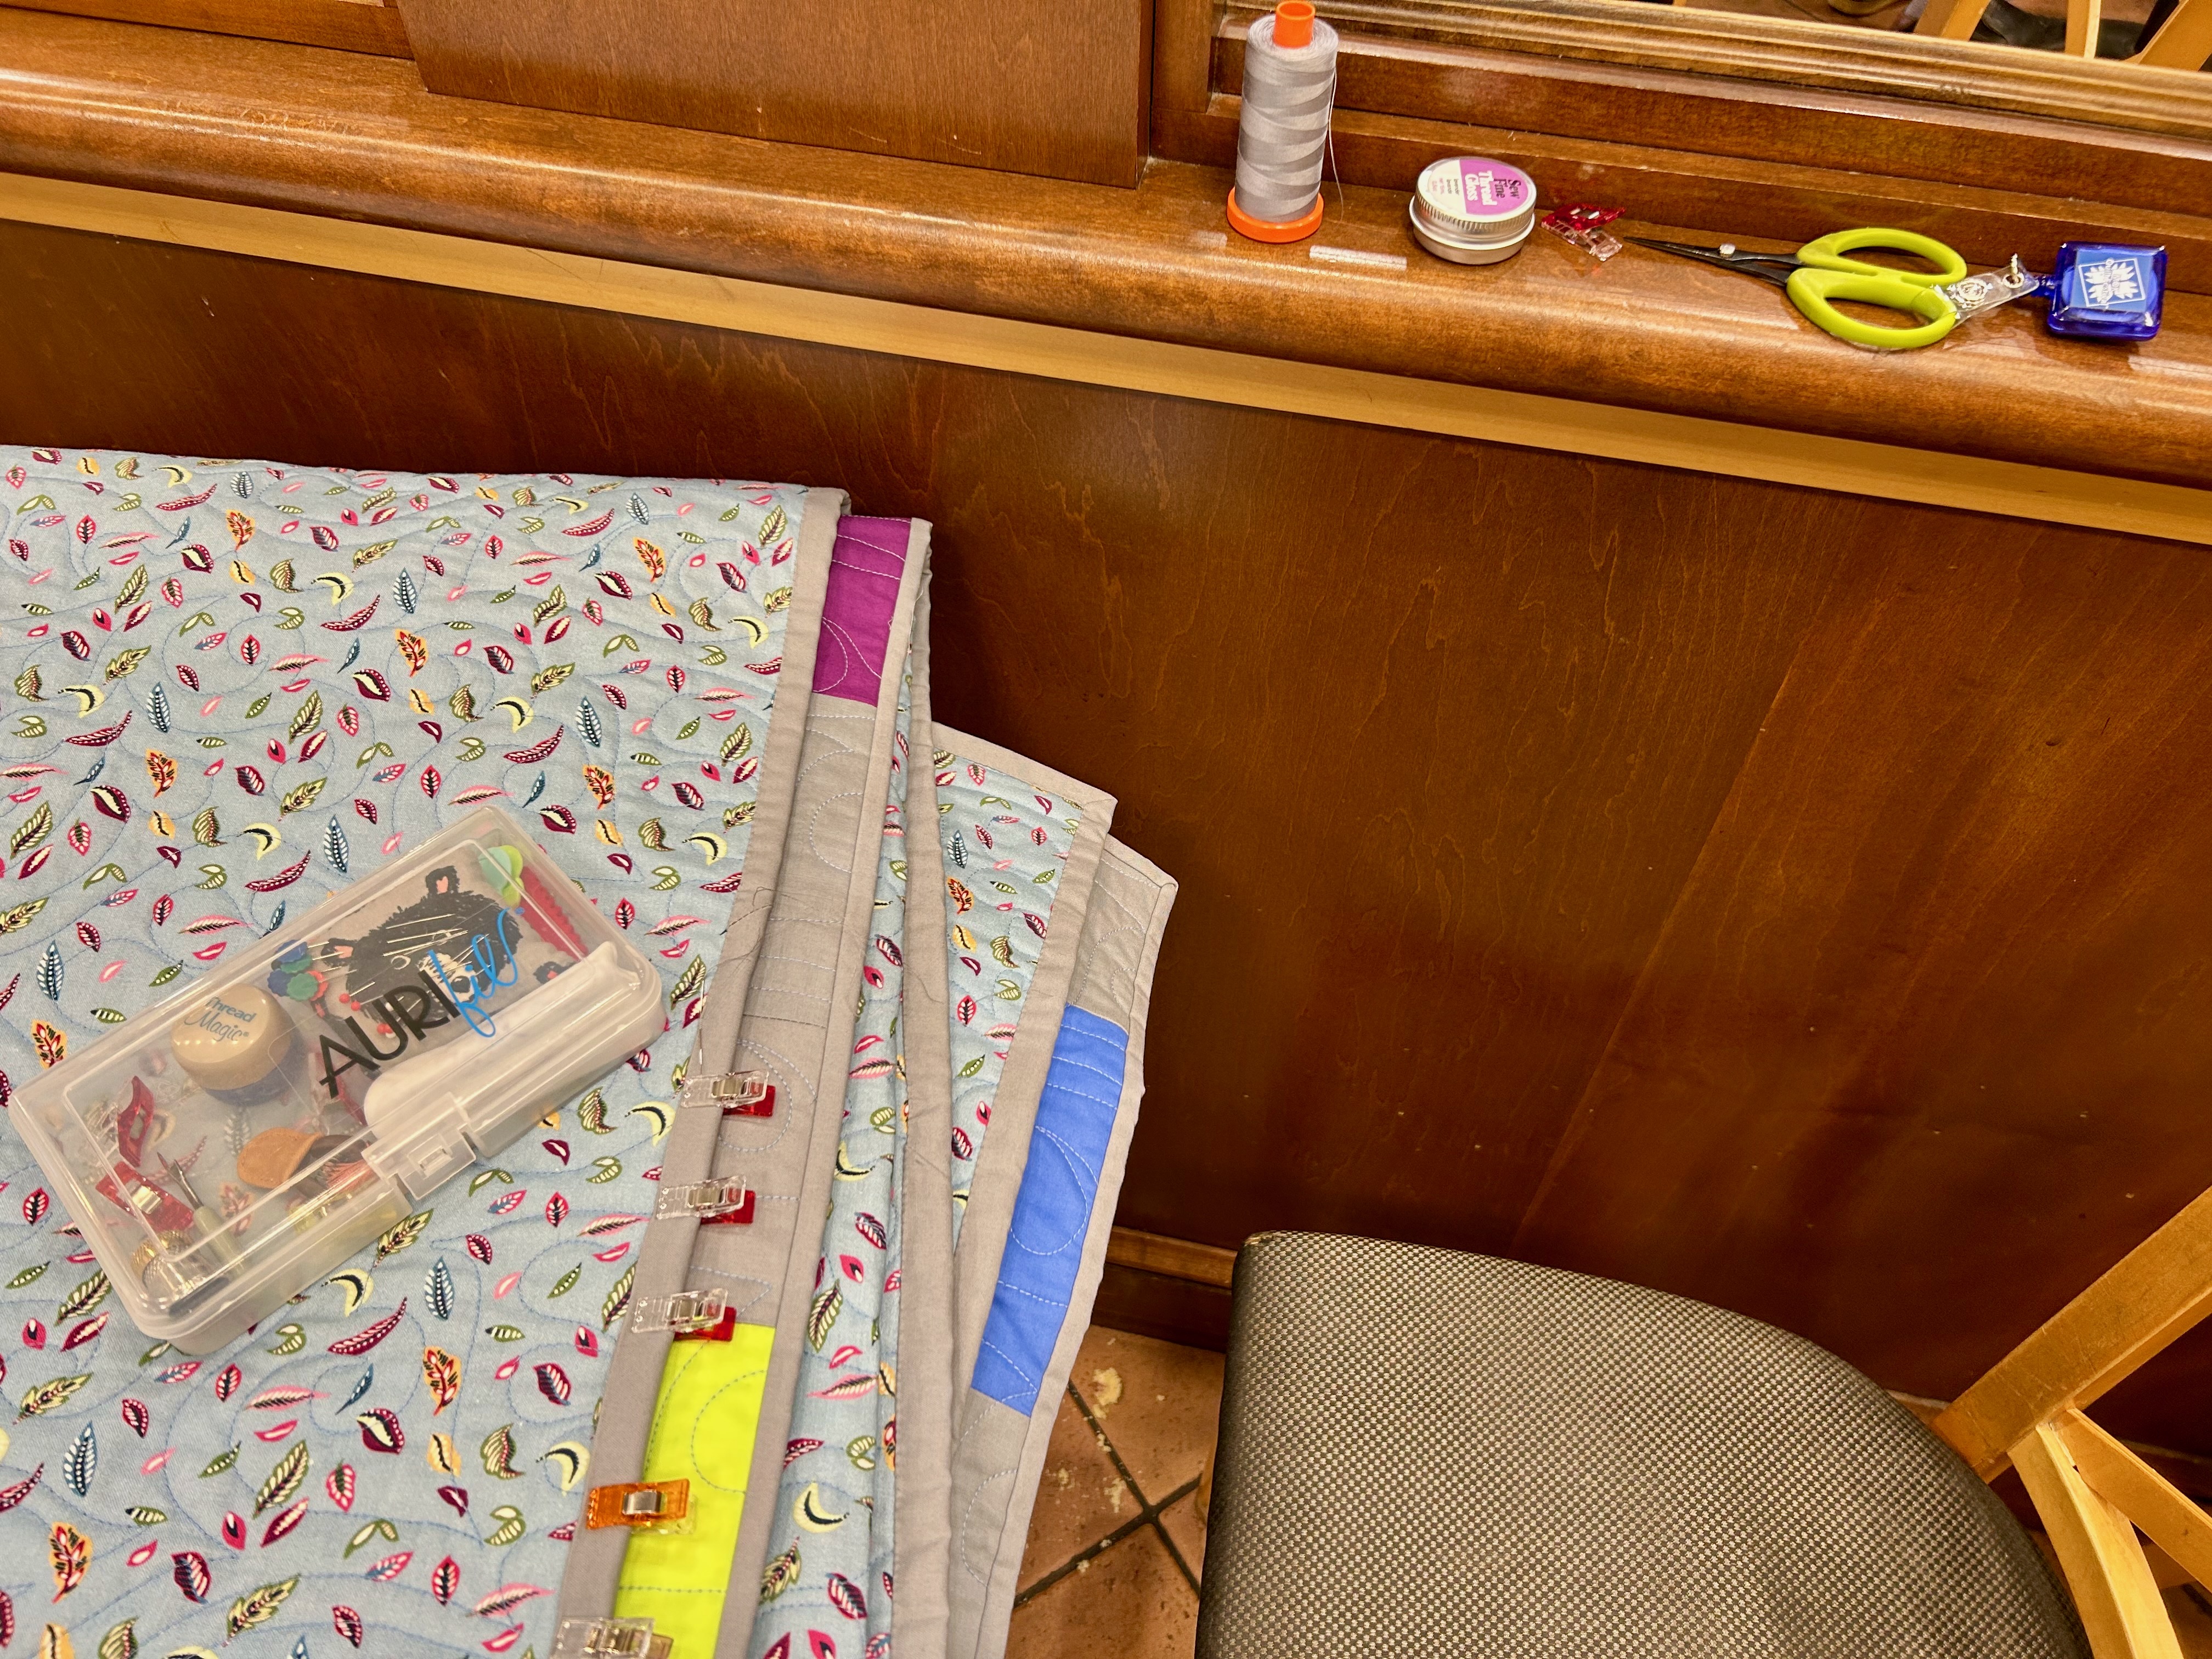
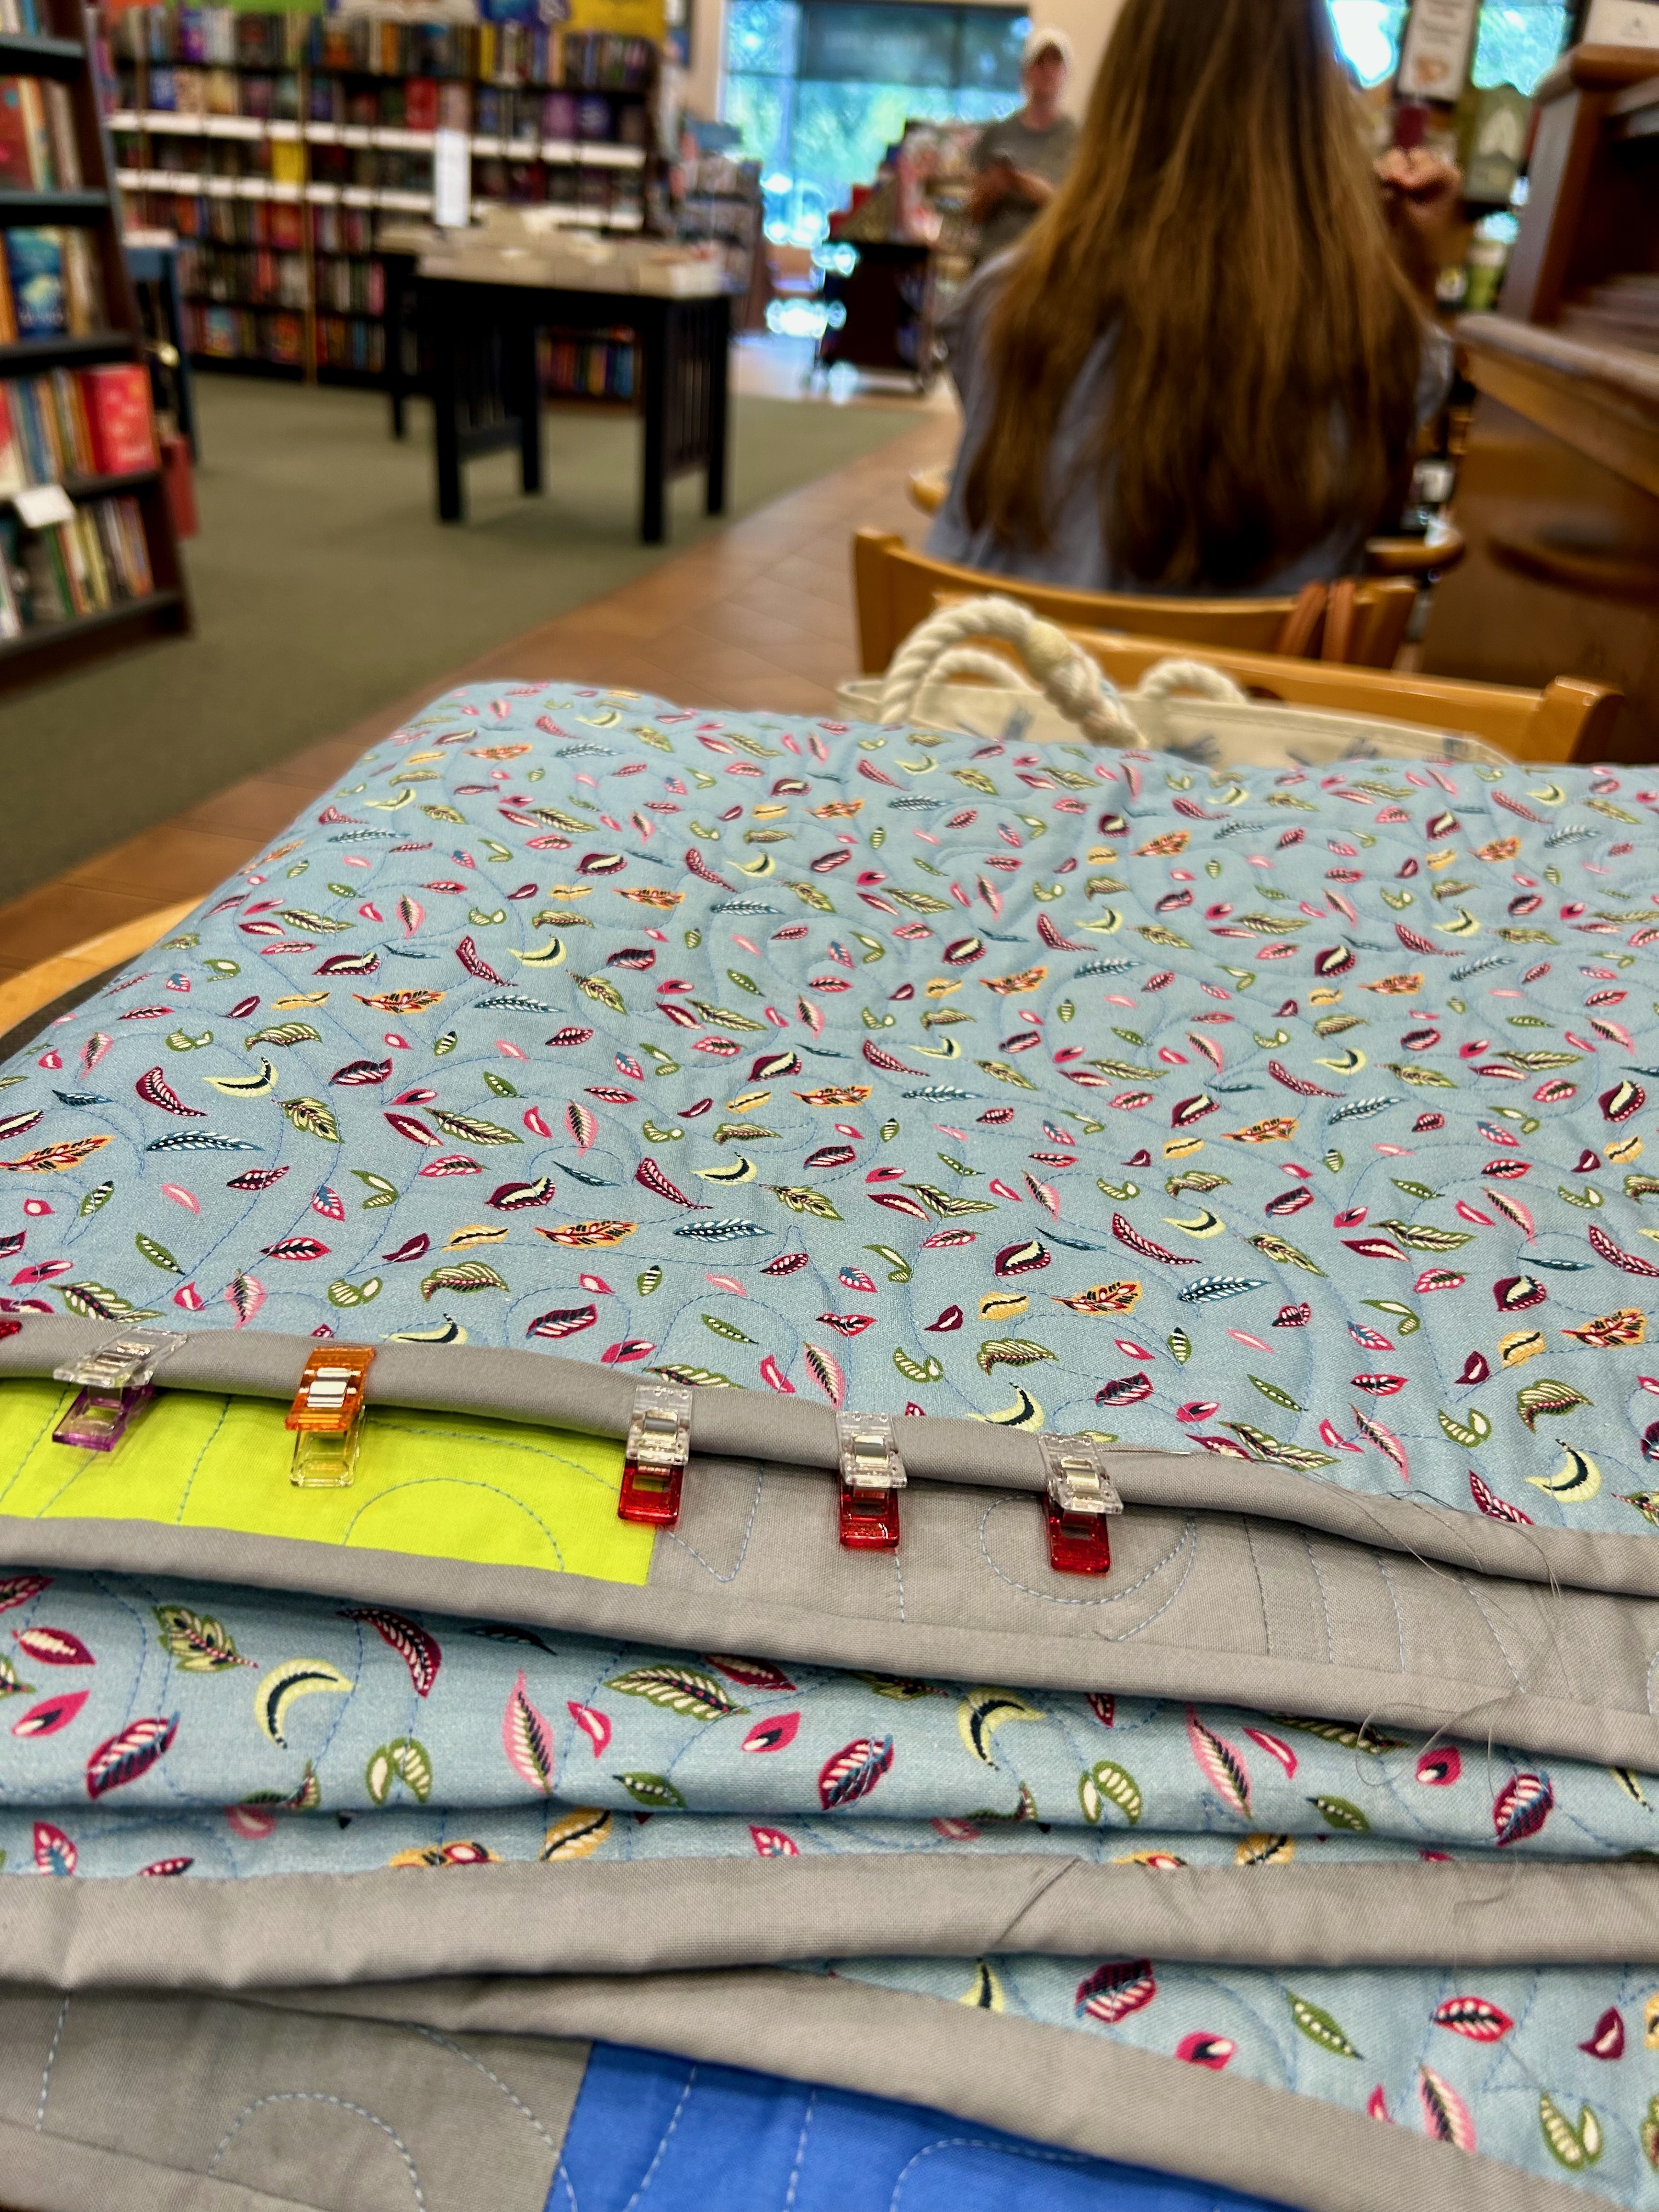
I had grandmother duties on Sunday which involved taking a granddaughter to a tutor session at a local book store. So, I took along “Cross Tiles” to work on her binding, and I made myself a little nest on a small round table.
And in one hour, with no distractions, I was able to bind the whole of one of the long sides.
I cut this binding at 2 1/2 inches as I was thinking maybe I would try to machine stitch it down. But, in the end, I couldn’t do it, and so, the binding went onto the right side, turning to the wrong side to handsew. I normally cut binding at 2 1/4 inches and I like that tight binding so much better.
I finished all the binding later Sunday night! So, pics and information on “Cross Tiles”will be coming soon. “Pumpkin” will be slower as I’m hand quilting it.
How did that happen? This summer flew by for me, and it was a delightful summer, too.
This morning I switched out the table toppers. Here’s “Fall in Maine,” which is meant to remind me of the brilliant blue fall sky and the bright, bright fall leaves set amidst the green “pointy firs.”
My air conditioning is fixed, and the misbehaving zone damper is on order. I think it makes sense to fix that before giving it any more time to…misbehave sporadically. Thus, next summer should hopefully be without air conditioning drama.
It’s going to be a quiet week for me, which is a blessing after last week’s busy schedule.
A quiet week means quilting, gardening, and, as always for me, cooking.
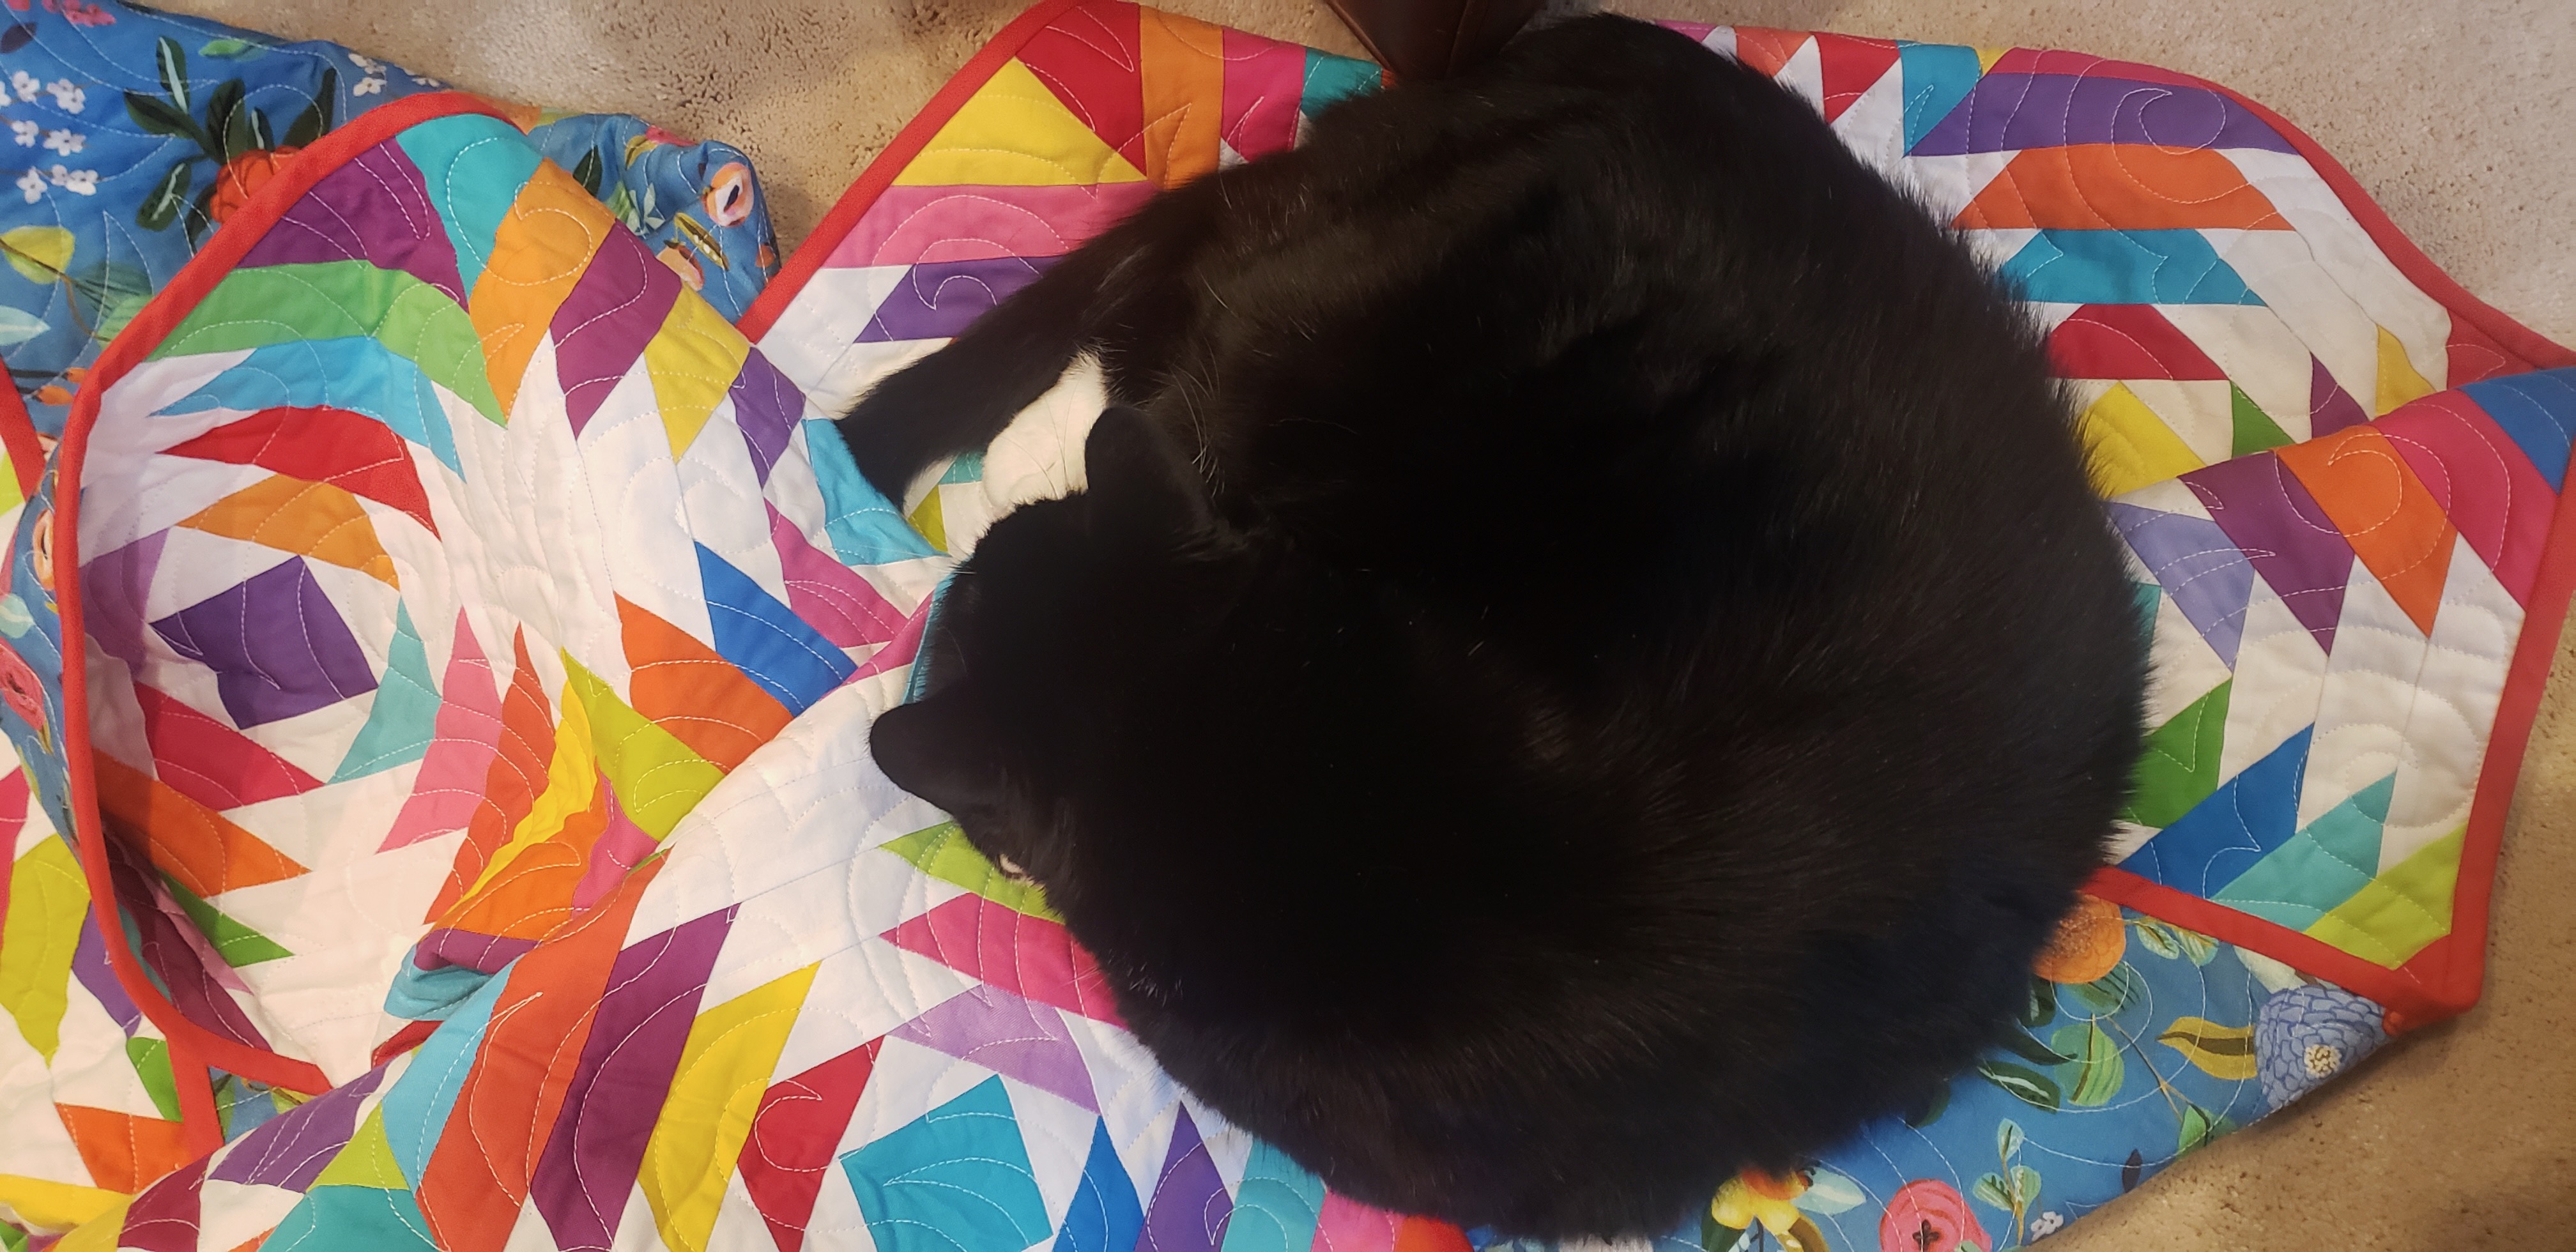
“Bright and Beautiful” has landed in its new home. When it was unboxed at my longtime friend’s house in Colorado, her kitty found it immediately while she was dealing with the empty box. She sent me this picture with the news that it had arrived safely.
It has now been washed (with color grabbers included) and gifted to its intended owner.
“Cross Tiles” is on the longarm. The English Paper Piecing table topper project grows each night. I’ll need 25 blocks plus edge pieces, unless I applique to a border. And look what is happening on the design wall:
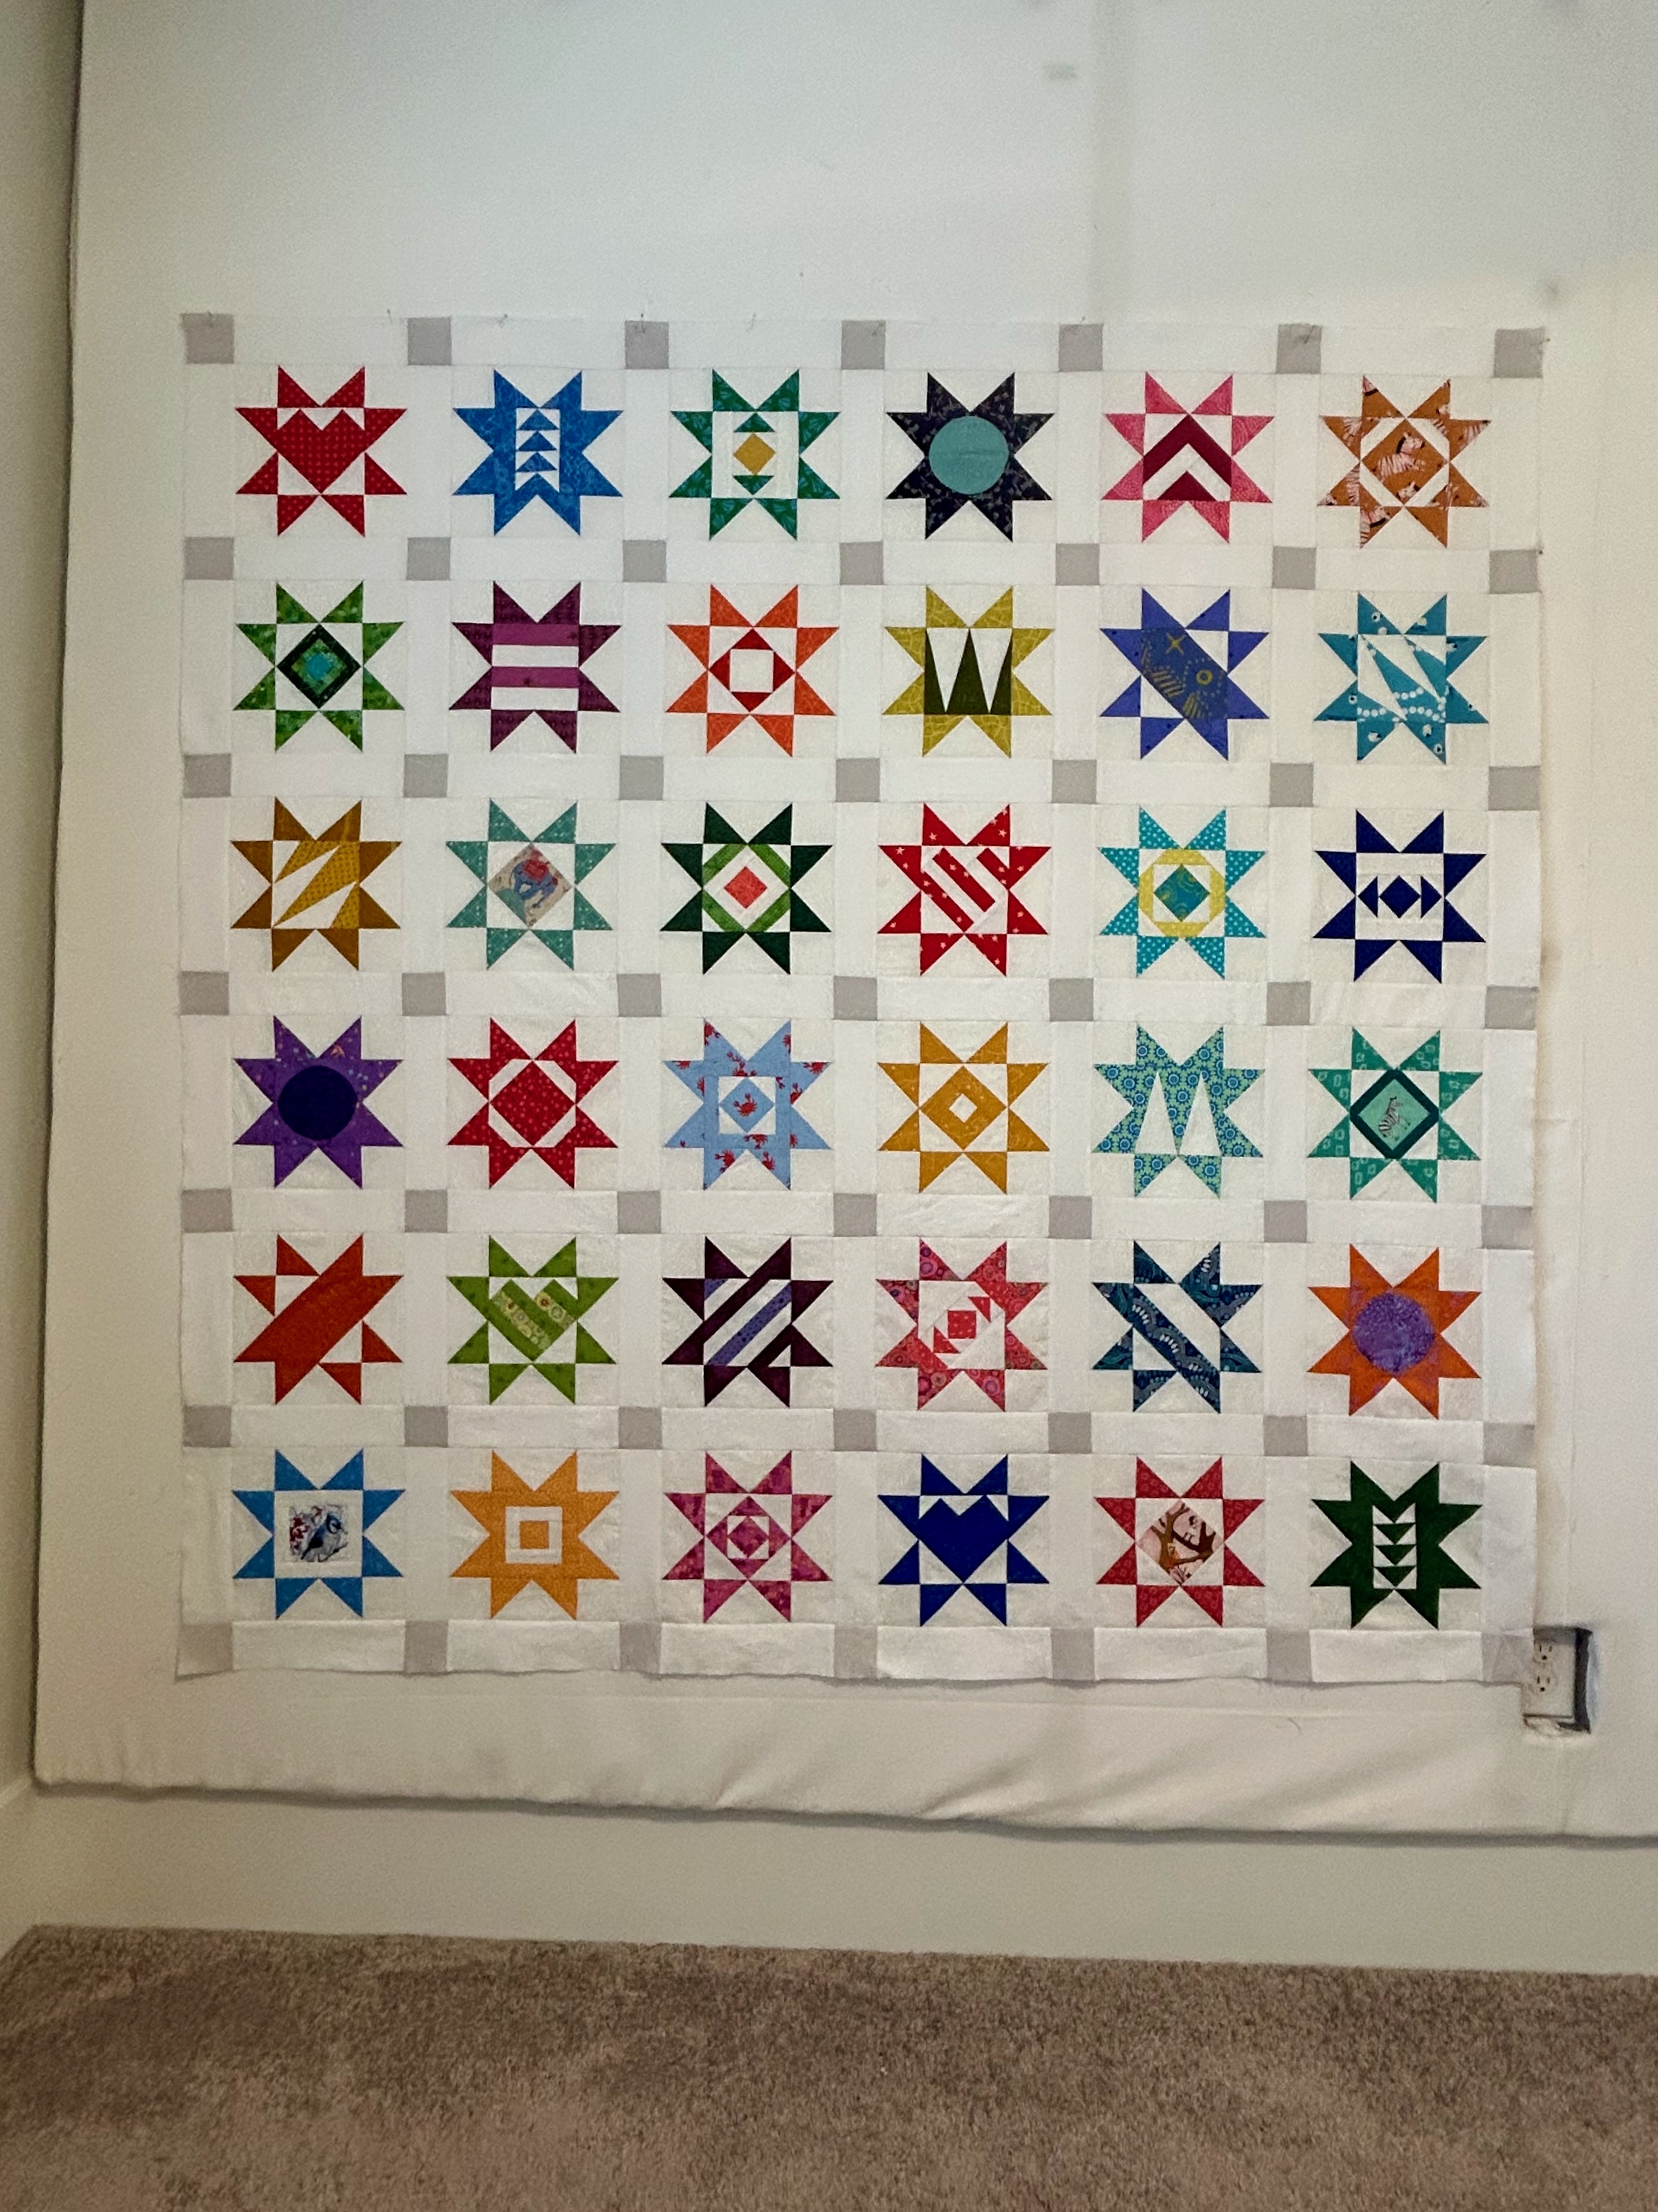
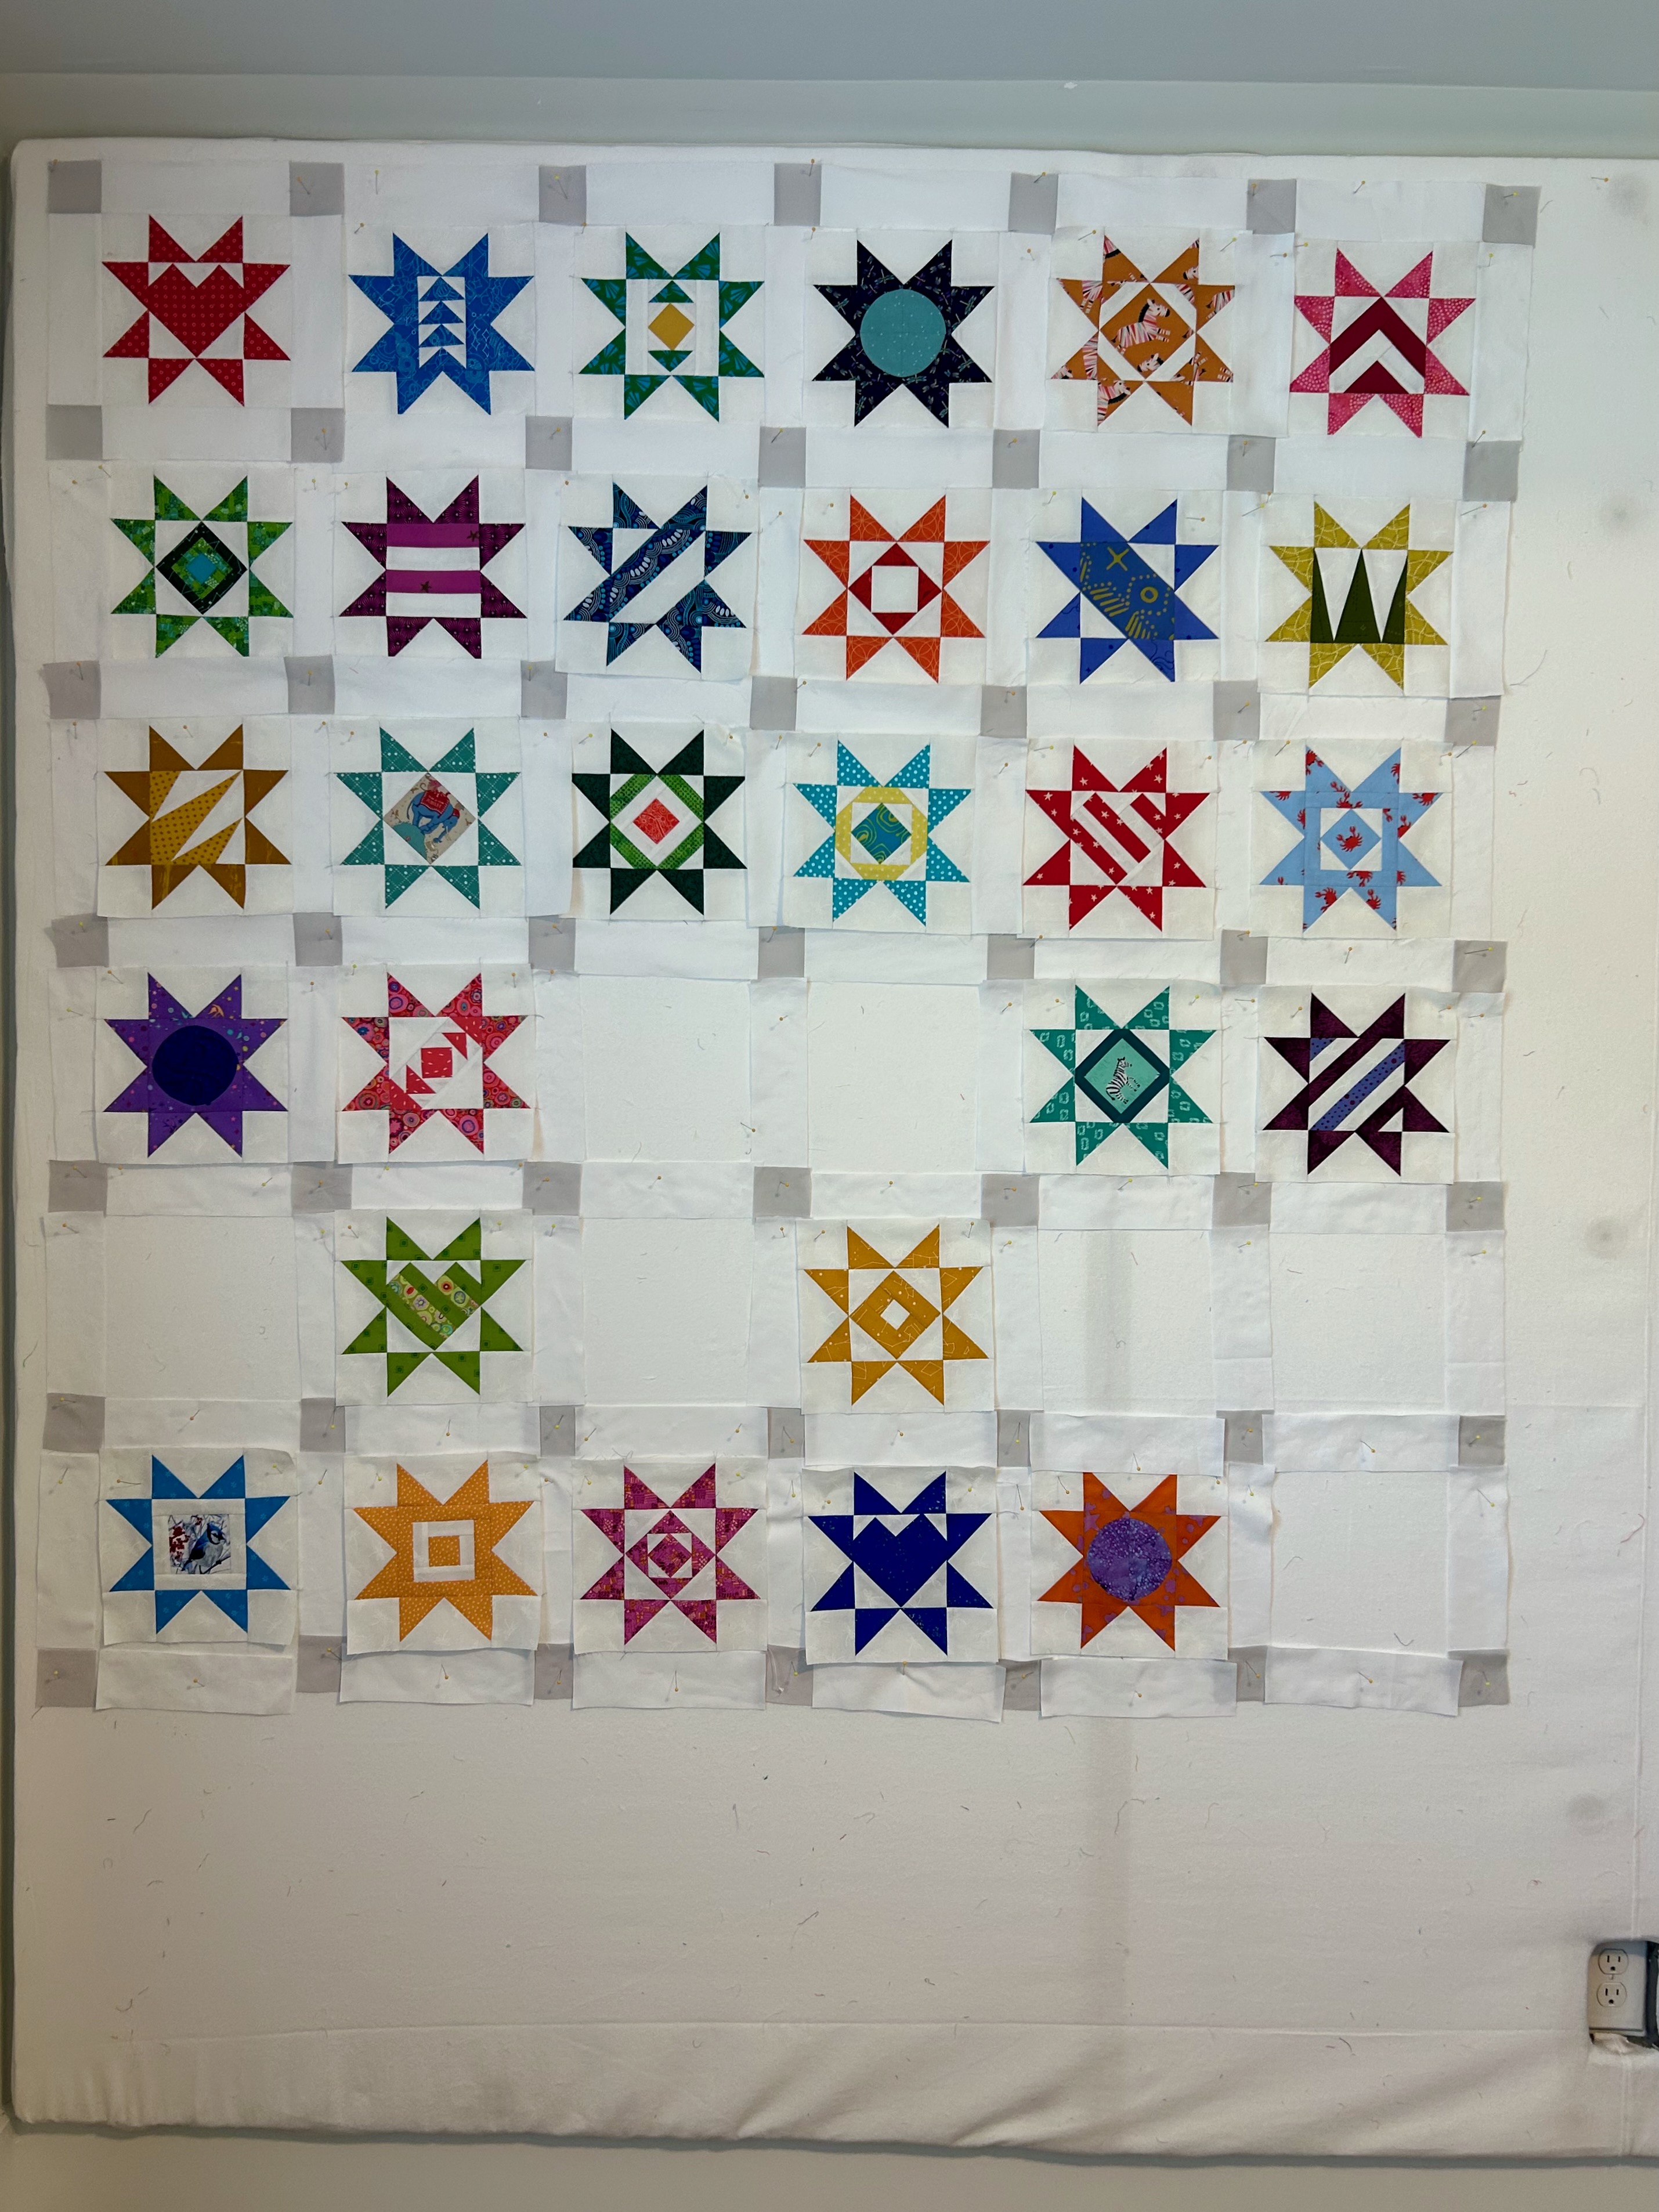
These blocks are Leila Gardunia’s “Scrappy Stars.” I purchased the 8-inch block size and 25 different center patterns and was making blocks slowly as a kind of leader/ender project. But, at some point, a quilt grows in size until it is time to make it the primary project so it can be moved along.
There are two of these blocks in process on my sewing table, so that leaves five more blocks to make–and, then, the the task of sewing the rows and the whole top together. Will it be finished this week? That’s the goal.
This scrappy quilt has been a fun project. Blocks will, of course, get moved around. AND, note that Leila now has now designed “Scrappy Diamond” blocks.
It’s bright and sunny here today. A beautiful day that will not be too hot.
We’ve had good rain, the grass and garden plants are thriving, and it’s much cooler for the moment. Some heat is coming in later in the coming week, but cooler heat as we slide into September.
The Air Conditioning system went out yesterday (again), and the local repairman is enroute as I write. Why is it always on the weekend that appliances and systems stop working?
It’s “clean sheet” day, and the dirty sheets are already washed and dried and put away. The washing machine and dryer are whirring away with other loads, and my bed looks so pretty with its fresh crispness. I love “clean sheet” day. And I love a neatly made bed, which I do first thing every morning.
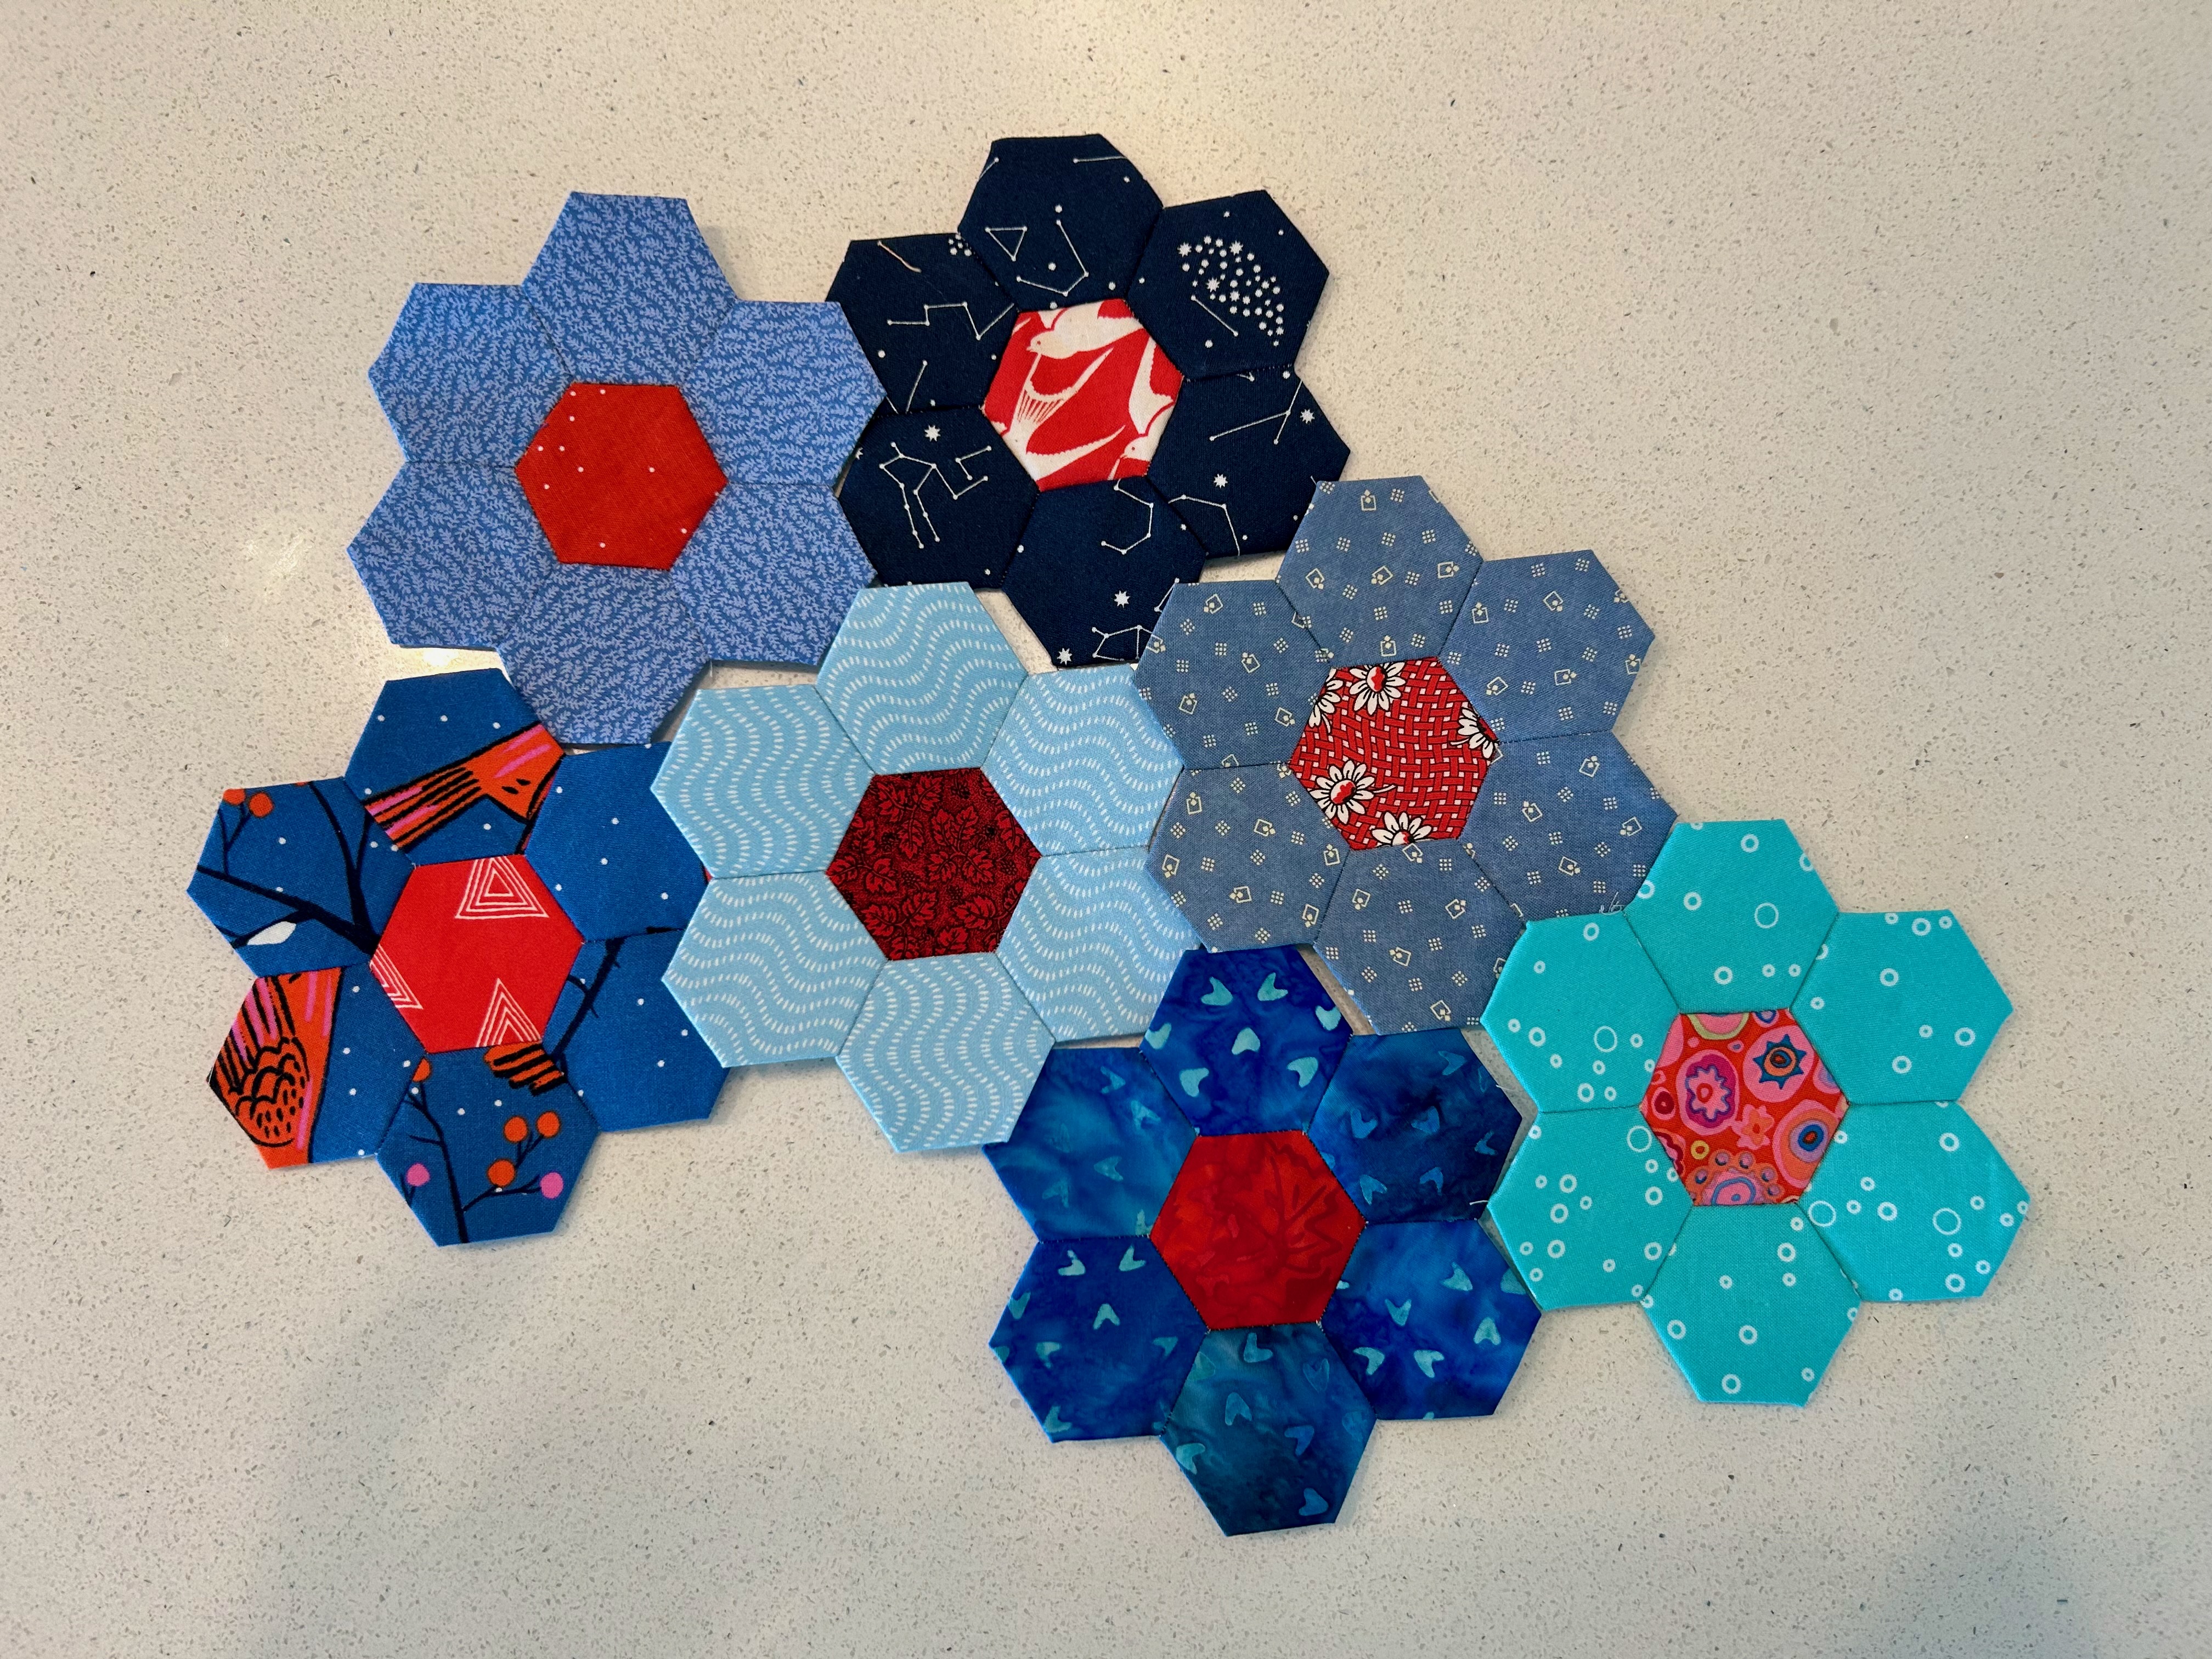
I didn’t have any night hand sewing as I am between quilts for binding work. So, after many years, I seem to have started another English Paper Piecing (EPP) project. You may recall that I burned myself out on EPP and took a 3-year break apparently.
It will be scrappy blues with red centers.
Will it be a winter table topper for my ongoing project of having a table topper for each month of the year? Probably.
And for the first time, I’m not using glue but am hand basting fabric to the paper pieces. It’s working fine, and I actually like that part of the hand sewing.
Ah, the repairman is here, so that’s a big moment of joy found in today’s offerings.