Folding Stored Quilts On The Bias

I have been storing the quilts I’ve been making for my grandchildren for some years now–each grand (of course they all already have quilts from me) will have a handmade quilt from me when s/he is ready to have actual homes of their own. Plus, choices of other stored quilts and from those around the house. And also I have quilts that will be given eventually to family, friends, and various charities here in the Charleston, South Carolina area.

This new house is the first time that I’ve had space to store these quilts where I can see them. The storage area pictured below does not include the quilts I am using or have hung around the house. But you can see that I have whittled down the available quilts for giving away considerably (only a few now in the shelves on the bottom right below)–which feels really good.

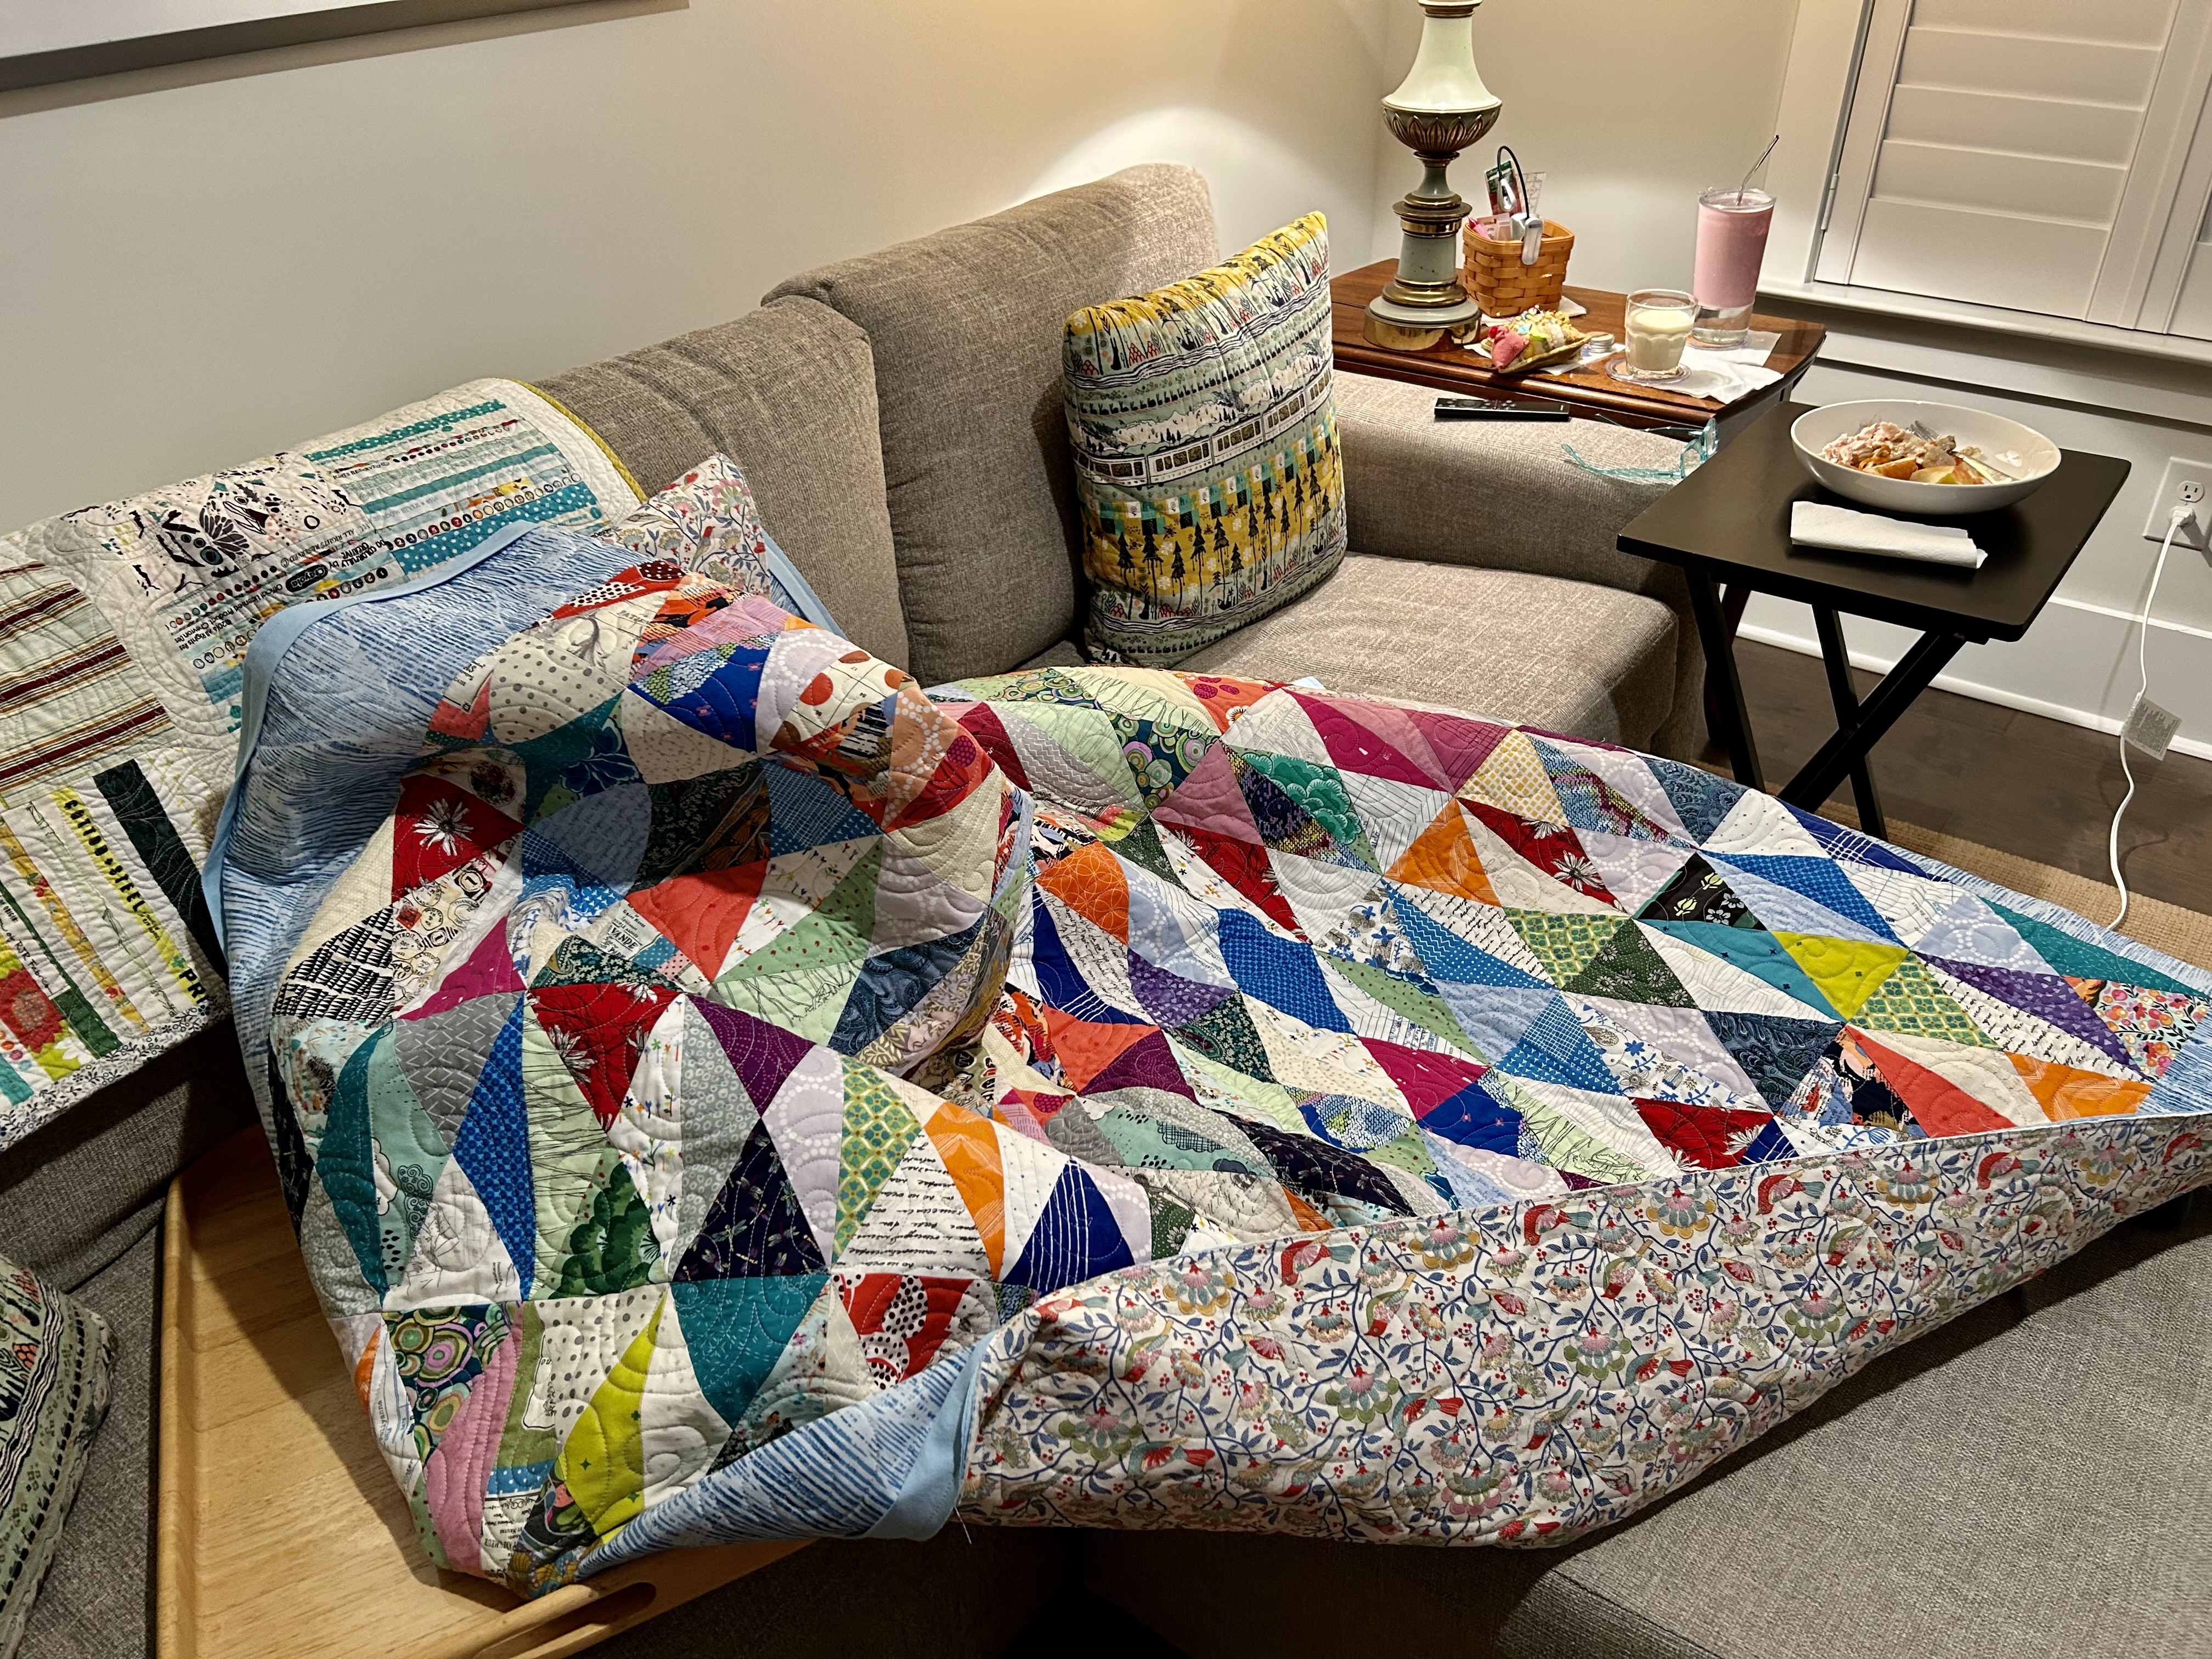
Refolding quilts to prevent folding lines in the quilt from folding along the straight grain is an ongoing chore. But recently, I thought I’d explore more about folding these quilts on the bias–so refolding wouldn’t be needed.

Below is a video on how to fold small, medium, and large quilts. It took me a chunk of an afternoon to refold all of mine, but…DONE. It’s EASY, and it is also possible to refold quilts that are at the bottom of beds by just draping the longer ends over the sides–and the diagonal lines of the quilt are interesting to see when the quilt is folded this way.

From Hailey Stitches on You Tube: how to fold a quilt on the bias – Google Search

“Dancing Hourglass Diamonds” Quilt Is Done

This quilt is the 3rd quilt in my series of 4 using Latifah Saafir’s Hurty Ruler for making half-rectangle triangle blocks. (I’m sorry about the feet of the ladder showing–I can’t get rid of the feet without losing the edges of this larger quilt).

I felt that this busy top needed a border to stop the visual motion that comes with this block. I wasn’t thinking of blue at all when pawing through my stash, but found myself “just wondering” about this blue fabric–leftover from a wideback backing. I had been thinking about red or green. With this blue, however, magic happened instantly.

This pic lets you see the center in a bigger way–and I’m betting your eyes will do what mine do–which is to “see” all the diamonds that form, big ones and little ones dancing all over the place.

To make this hourglass unit, one first makes the half-rectangle triangle unit with the ruler. Next, you cut that unit on the diagonal. Next you pair those two pieces with other pieces to get the four colors of an hourglass block.

In some places, I sewed this hourglass unit to colors that made a more solid diamond, in order to draw the eye around the quilt.

Here’s the backing–a Tilda fabric with which I instantly fell in love. I like the thicker texture of these Tilda fabrics too. The rest of the quilt has been made using my stash, which is partly the goal with this quilt series.

I used the “Lovely” pantograph from Denise Schillinger (sold on Urban Elementz), and I used an ice blue thread. Isn’t the texture wonderful?

This quilt is No. 236, and I am so grateful for this quilty journey.

A Cold Thursday

We are having a period of freezing weather that meant I had to cover my camellias again yesterday and drip water last night. Kalanchoe and the thriving geranium came back inside yesterday. There will be two more nights of this freezing weather here, with tonight being the coldest.

We were getting spoiled with some beautiful sunny and warmer days. The grass was starting to turn green. But, it IS February, and back in Maine, those folks are getting a lot of snow.

Kalanchoe’s floral gifts are still madly ongoing. She’s a crazy lady, for sure. And she brightens up every space she occupies.

Son Bryan covered his camellias with our last freezing spell and was rewarded with these beauties last week.

Camellias have the prettiest foliage too. The leaves are so glossy, green, and sturdy looking. His white one hadn’t opened yet, and I am now coveting a white camellia. That plant is full of buds.

I mounted another block on stretched canvas on Tuesday. It’s 10 by 10. I wanted to play with the Cat’s Cradle ruler. The block size here is 2.5 inches, but this ruler goes up to 4 inches and down to 1.5 inches. Yikes that little one would be…little. I think there is a bigger ruler for this block available now. Hmmm…

I’ve never seen a line of diagonal little squares that I didn’t like, and I wanted to play with that arrangement. Now I’m making 4-inch blocks from scraps–as a scrap buster project–as I have a lot of smaller scraps I can use.

I figured out what to do next with the 4th and final quilt for my half-rectangle triangle series project–made with Latifah Saafir’s Hurty ruler. I’m excited. This quilt is…bold.

The online sew-along project (Scrap Cabin) from Rachel Hauser’s blog Stitched in Color is done and needs to go on the longarm. Yesterday was Patchwork Gals meeting, and we heard about a new apartment project that will house homeless first responders (fire) and vets. I’ll be donating this quilt to those new occupants. The building will be finished in 2026, and the goal for area quilters is to provide 90 quilts, one for each bed.

This project is ongoing in other cities around the United States. And I’m so glad people are doing something about this homeless situation for our fire and soldier veterans. I sure hope it works to help them get restarted with their lives.

Design Wall Projects and Other Tidbits

First, the taller camellia (a birthday gift from my son and DIL) is BLOOMING! Five or six buds survived a fall drought and the freezing temps we had this winter. (Nationwide, this winter is the coldest on record since 1988.)

This bud was small and partially damaged, and I can’t wait to see some of the bigger buds open up. Isn’t it gorgeous? I think it is gorgeous, and I’m going to add 2 more camellias to my garden this spring by removing two gardenias that are so not thriving. The smaller, lower spreading camellia on the other side of the house turned to blooms in the late fall and only now quit opening up buds. It is a deep pink.

The top of my “Scrap Cabin” quilt is done. Thanks Rachel Hauser (Stitched in Color) for this pattern and for the online sewalong in January. Note: Rachel is going to have another sewalong in March if you want to check out her blog. Her new sewalong is a pretty quilt, and there is a nice learning method involved.

This “Scrap Cabin” quilt has chewed up a LOT of scrap fabrics, which was the point. And next time, I’ll not use the lighter greys in the neutral areas of the center as they dumb down the white areas, which are more flamboyant if kept to the white/light family.

Also, I made dumb mistakes while making that fabulous border. Each individual block unit measured properly, but the some border lengths were too long, and the outer edges were too big for the sewn edge. I knew the center was square. Anyway, I was sewing early evening, wanted to finish this top and didn’t measure the length of each border strip against the center before sewing. NO NO NO. I do know better. When I put the finished top back on the design wall, the borders were rippling in places along the edges and the quilt wouldn’t lie flat as one border in particular had to be eased in too much. Ugh! I was able to fix the problem with another long session of fixing the too-long border and tightening up the edge sewing. So I didn’t have to take off all the borders and start over. I know I got out of that mess lightly. MEASURE A BORDER AGAINST THE QUILT BEFORE SEWING.

Here is a link to Rachel’s finished top below so you can both admire it and see what I mean about these neutrals.

My little hand-sewn improv blocks–which I installed into an improv quilt top with my domestic machine–is on the longarm. It’s not large–a small lap size–so this project will finish fast. And it is…cute. I love improv projects. And as you must know if you read this blog at all, I love hand sewing at night.

Waiting in the wings is Month 5 of Tara Faughnan’s online Blocks2 class. The ironed fabrics and all the templates are just…waiting. And the 4th and last quilt in my half-rectangle triangle series is waiting to be finished. And I’ve been making some blocks from Annabelle Wrigley’s “Prickley Pear” quilt pattern to try the alternative setting. I don’t know where this one is going–and maybe not far at all. Maybe, only to the stretched canvas frames. Maybe the trash can, LOL.

Have a great week everyone!

“Dancing Hourglass Diamonds” is Quilted

And, she is trimmed and her binding has been installed, which happened in last Sunday’s quiet–after a long pause in finishing these steps. Recall that this quilt is the third in my half-rectangle triangle series made with the Hurty ruler designed by Latifah Saafir.

The texture on this quilt is really “lovely,” and is from the pantograph “Lovely.”

I’ve been using a small square ruler to trim. my quilts–this one is 9.5 inches. A smaller ruler gives me a lot of control, so thanks to this suggestion months ago from master quilter Bonnie Hunter on her Quiltville blog.

By early evening I had organized the binding and label–and was JUST going to install the label and ONLY start the binding. I had already set up this sewing area which involves surrounding it with extra flat surfaces (ironing board and a table). But everything went along so smoothly that I kept going. I usually sew from about 3 to 7 pm, and then eat and watch tv. I finished this binding by 7:45. I don’t look gift horses in their mouthes, so when something I’m sewing goes this smoothly, I…can’t stop. And, anyway, I needed some night handwork like sewing down binding on a large quilt. Besides, I ate a very late big meal at almost 2 pm.

And here it is–waiting for me after I eat a light supper while watching tv.

This final step is fun for me as it means a quilt is almost ready to share.

Let There Be Light!

My wonderful neighbors have helped me with the light situation in my house. The original lights were/are so, so, so dim–which meant that my upstairs quilt studio was really suffering from the lack of good light. Both rooms!

But, LOOK! See all the light in this room (no windows here) with this new light? I don’t have to turn on the longarm light bar now unless I am actually quilting with it.

We put the same light in the adjacent room where my sewing machines, cutting tables, and design wall live. When dusk happens, that room goes really dark despite all my added floor lights. I am so happy and grateful to my neighbors.

I’ve ordered more of the lights–these big ones as seen above and some flat ones that will just replace the very dim lights in other places in the house. Son Bryan is also on hand to help with this big replacement project–and all the new lights are now here and ready to go.

Below see my very FIRST Tilda fabric–bought for the Dancing Diamonds (third in my half-rectangle triangle block series) that is draped over the longarm in the picture above. (And which is now being quilted.). ***(I finished the quilting on Sunday late afternoon–post to follow soon.)

I love this fabric!! I love the print, of course, but I love the texture and heaviness of it. I am sick and tired of all the quilting fabrics that are so thin that it is difficult to work with them. At the same time, the quilt fabrics are more and more expensive. Quilters now are having to use starch to even cut straight lines on these thin fabrics. Bad Quilt Industry! Go Tilda! Go Kona solids.

I’ve got the center of the scrappy long cabin project done. Recall, this January sewalong is the work of Rachel Hauser’s Stitched in Color blog. Rachel Hauser is a VERY creative and fun scrappy quilter. I’m working on that awesome border now–the corners are all made.

At first I thought the blocks with really strong colors had to be maybe balanced with softer blocks–but I’ve changed my mind. The strong blocks are what are making this quilt sing. AND, this whole project is eating up a ton of the fabrics in my scrap bins. I’ve even had to cut some strips from fabrics in my stash to get the colors I wanted. ***(Now I’m making blocks for the awesome border.)

Tara Faughnan sent us a picture of the block for month 5 of our ongoing Blocks2 online class–along with the new fabric palette. I am so excited about this next block and can’t wait to start working with it. I have the fabric palette assembled, washed, and ready to go. February 1st came in due time, of course–and I’ve got all the materials organized, printed, videos watched, etc. But I will curtail my anticipation until I wrap up a few other projects.

I continue to love my air fryer–especially for french fries. Here, the fries, baby bok choy and some red peppers and carrots (also cooked in the air fryer), and some leftover meatloaf. The air fryer works with only a tiny bit of added oil.

Have a great week everyone!