I’m having a really good birthday week, for which I am grateful.
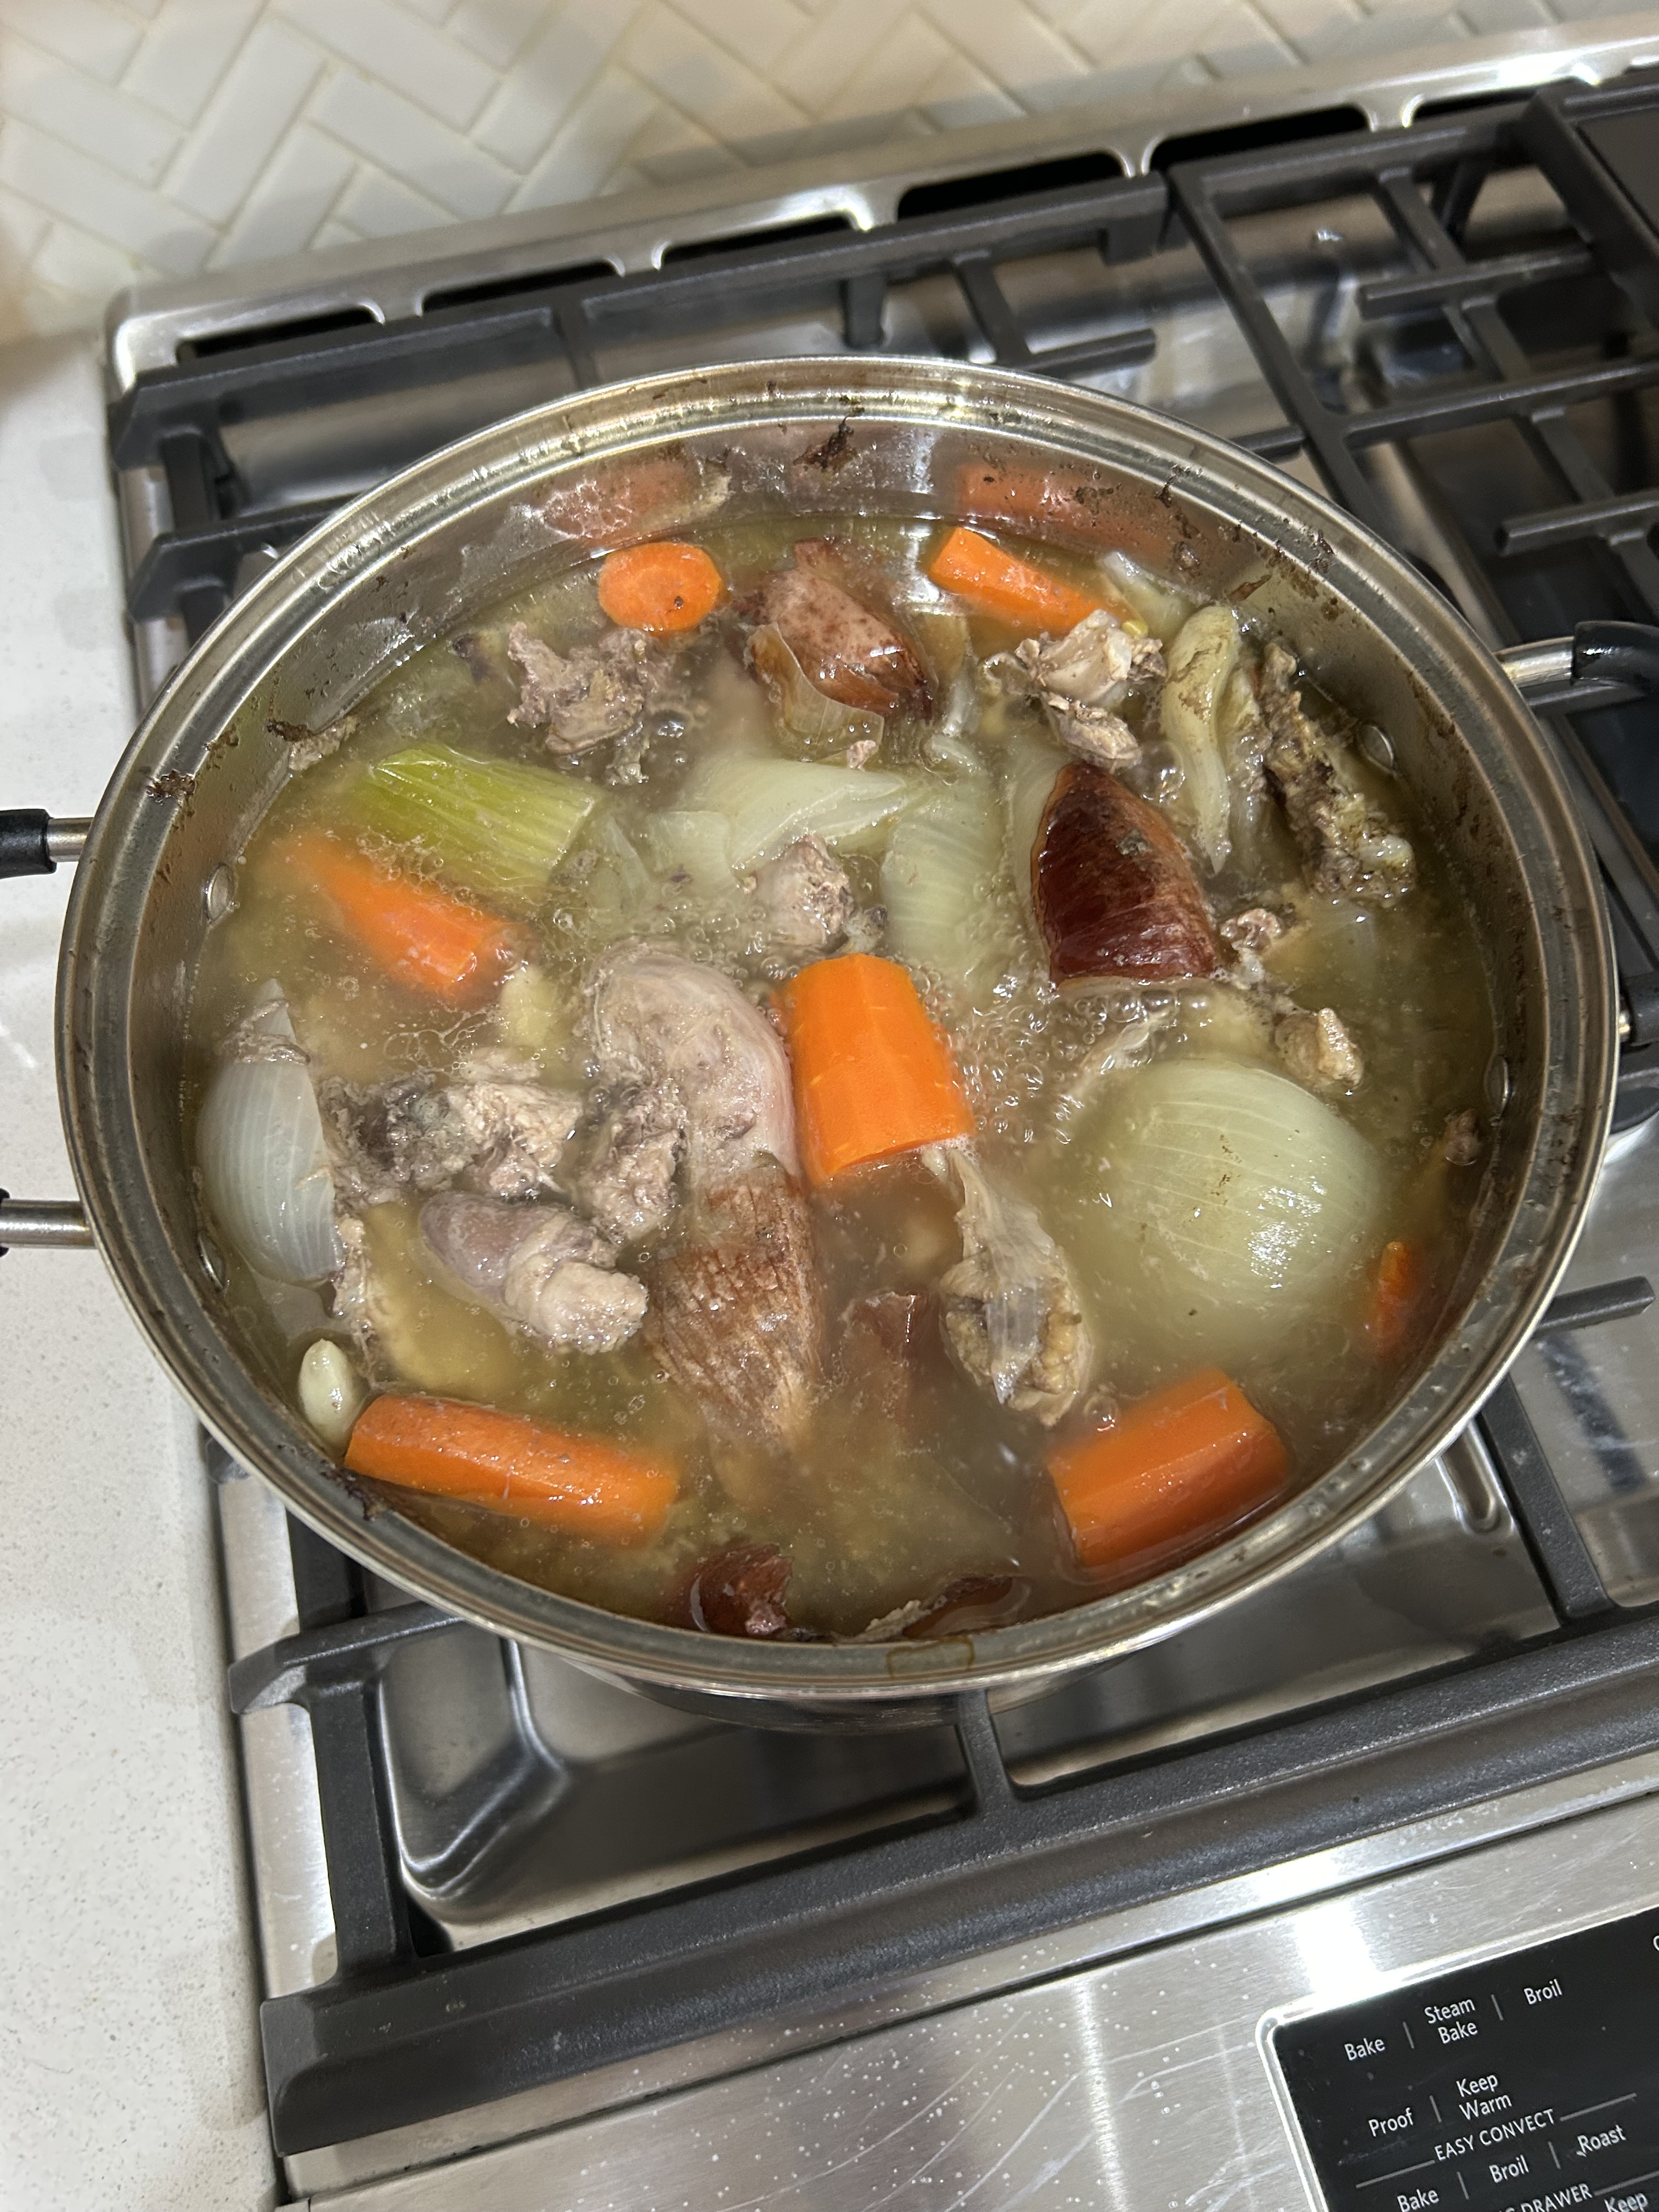
Last Sunday, I made a bone broth as my small refrigerator freezer was getting too full of frozen chicken bones and organs. I can’t cook a bone broth for too long as long cooking produces too much histamine for me. Back in the day I would make bone broths in a big crock pot and cook them for 24 hours, and I recommend that way to make a bone broth as it is easy.
To my broth–made with filtered water–I add savories: onions, carrots, celery, and garlic.
When the broth had cooled, I refrigerated it.
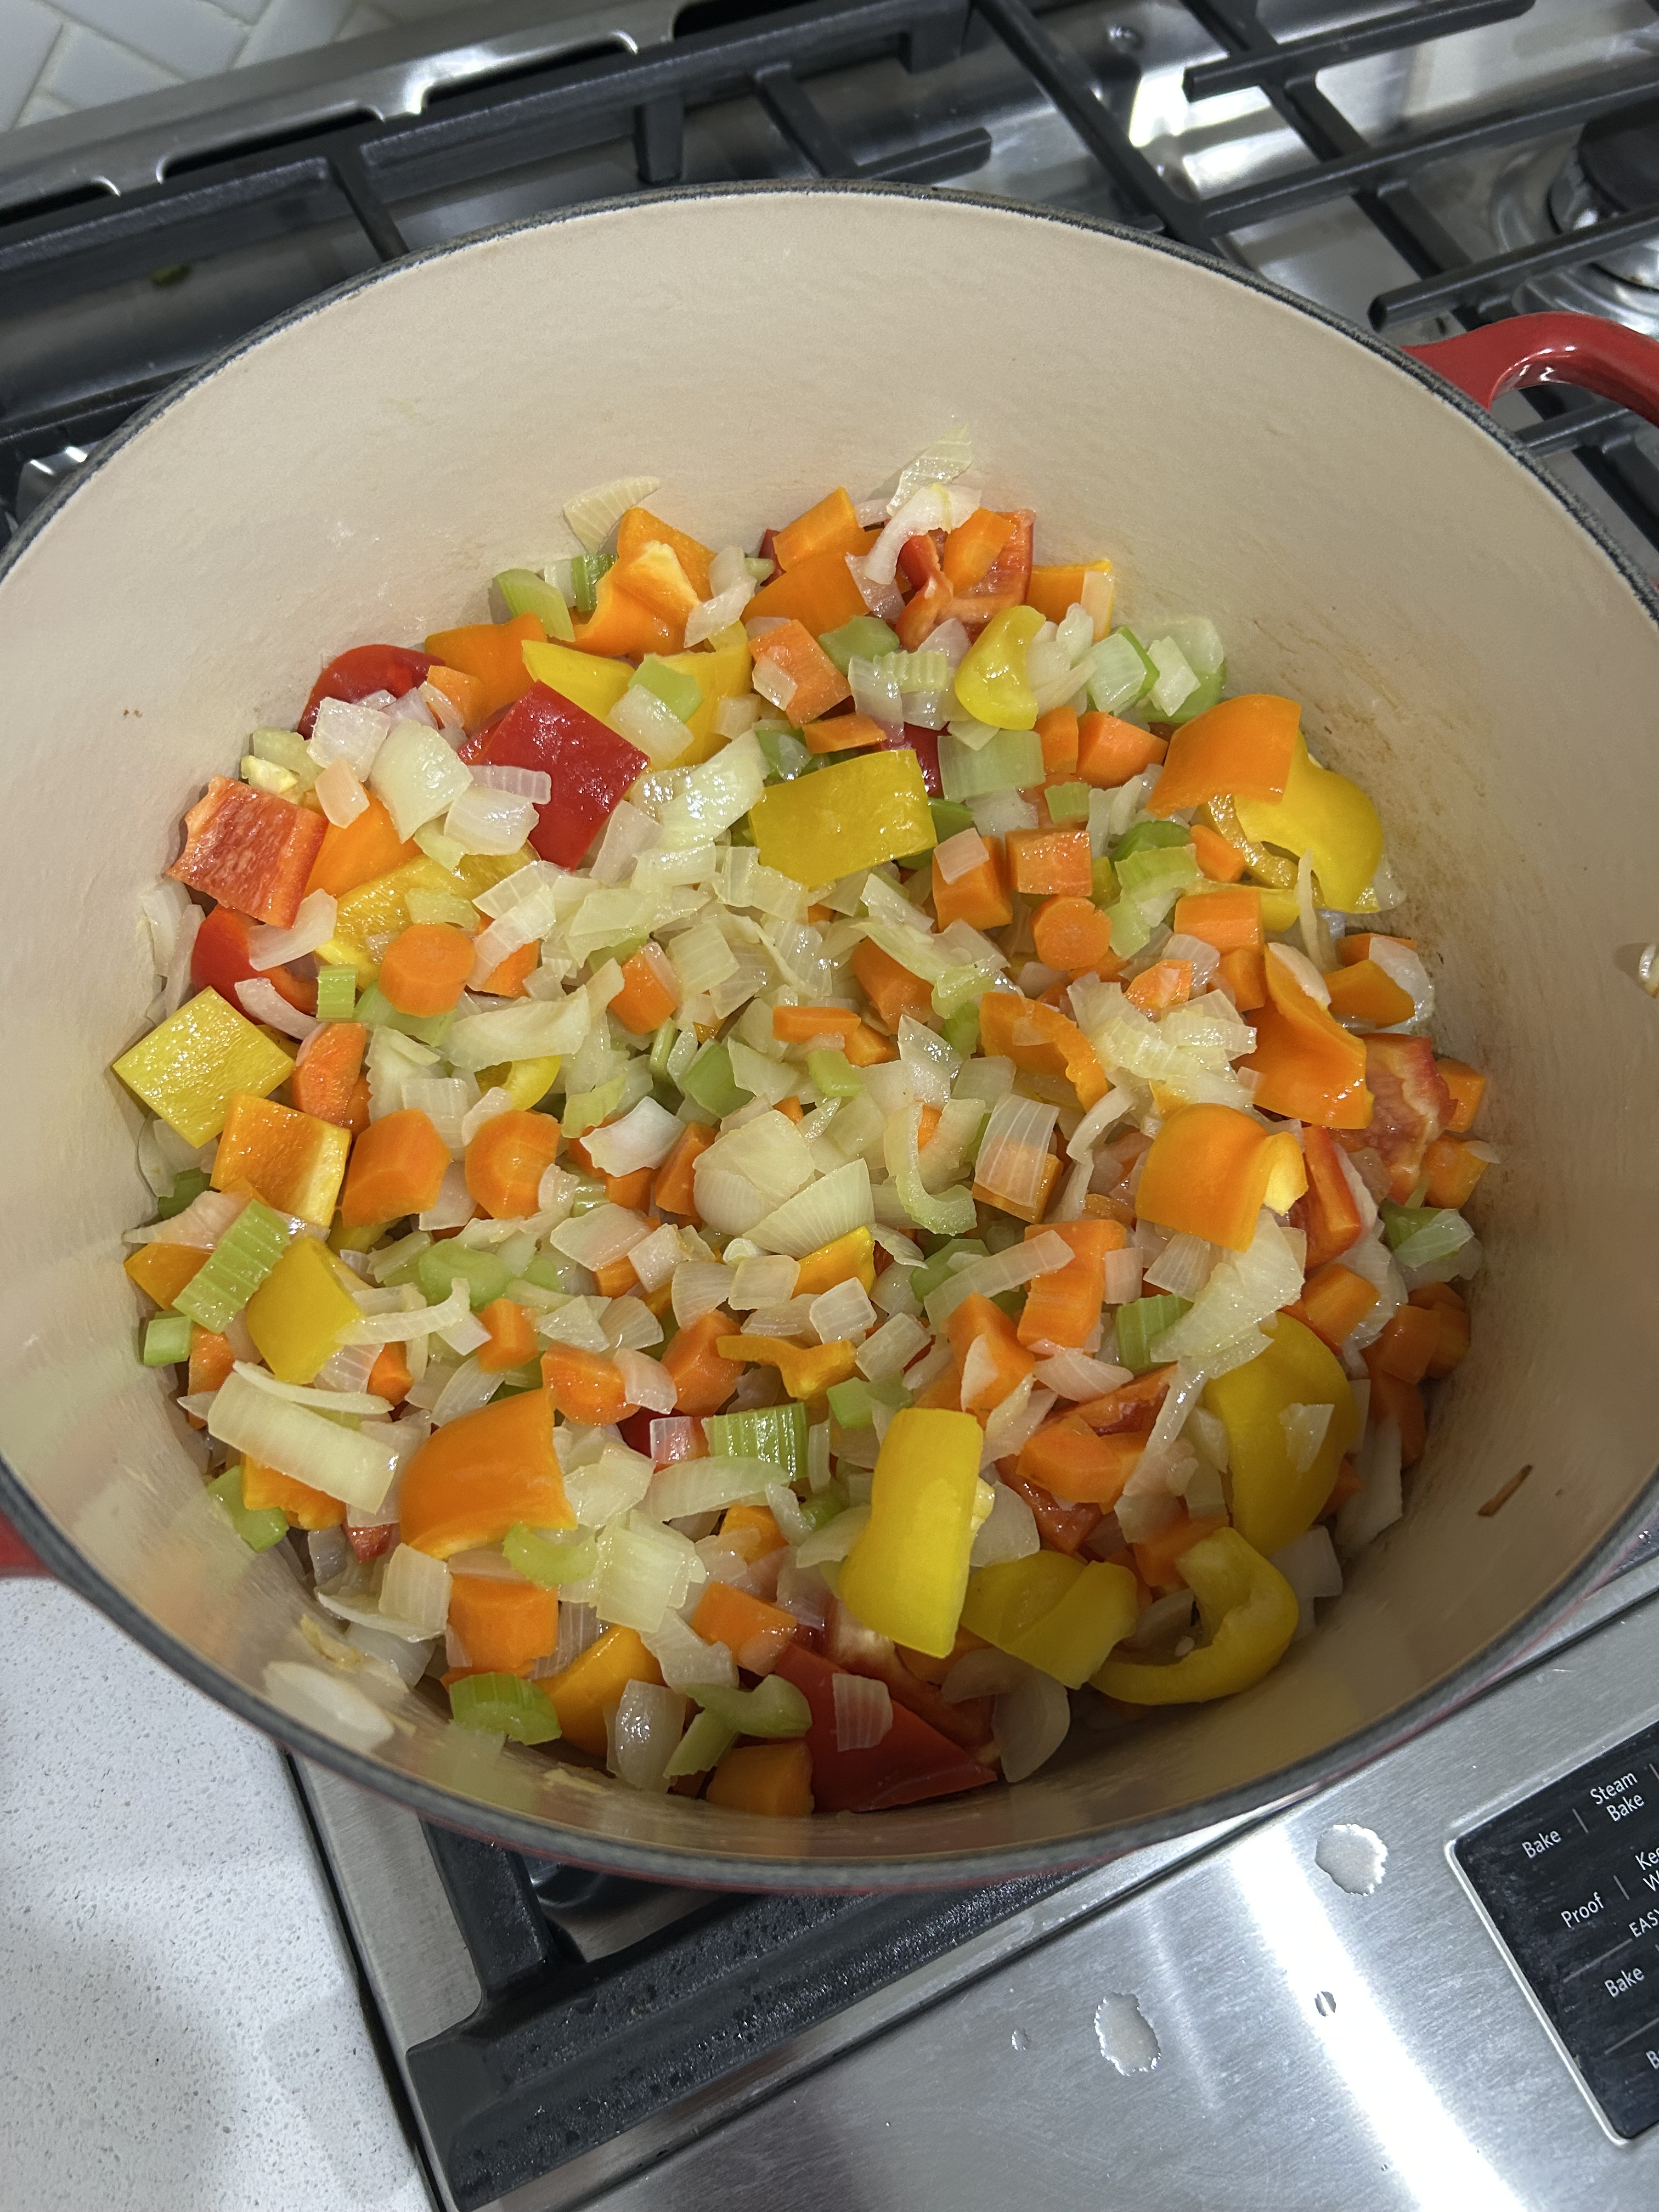
Tuesday morning, I made my chicken soup in between birthday calls, visits, and texts. I gently sautéed onions, carrots, celery, and sweet peppers in duck fat–stirring frequently and cooking on a medium heat until the vegetables begin to slowly caramelize. Don’t rush this step.
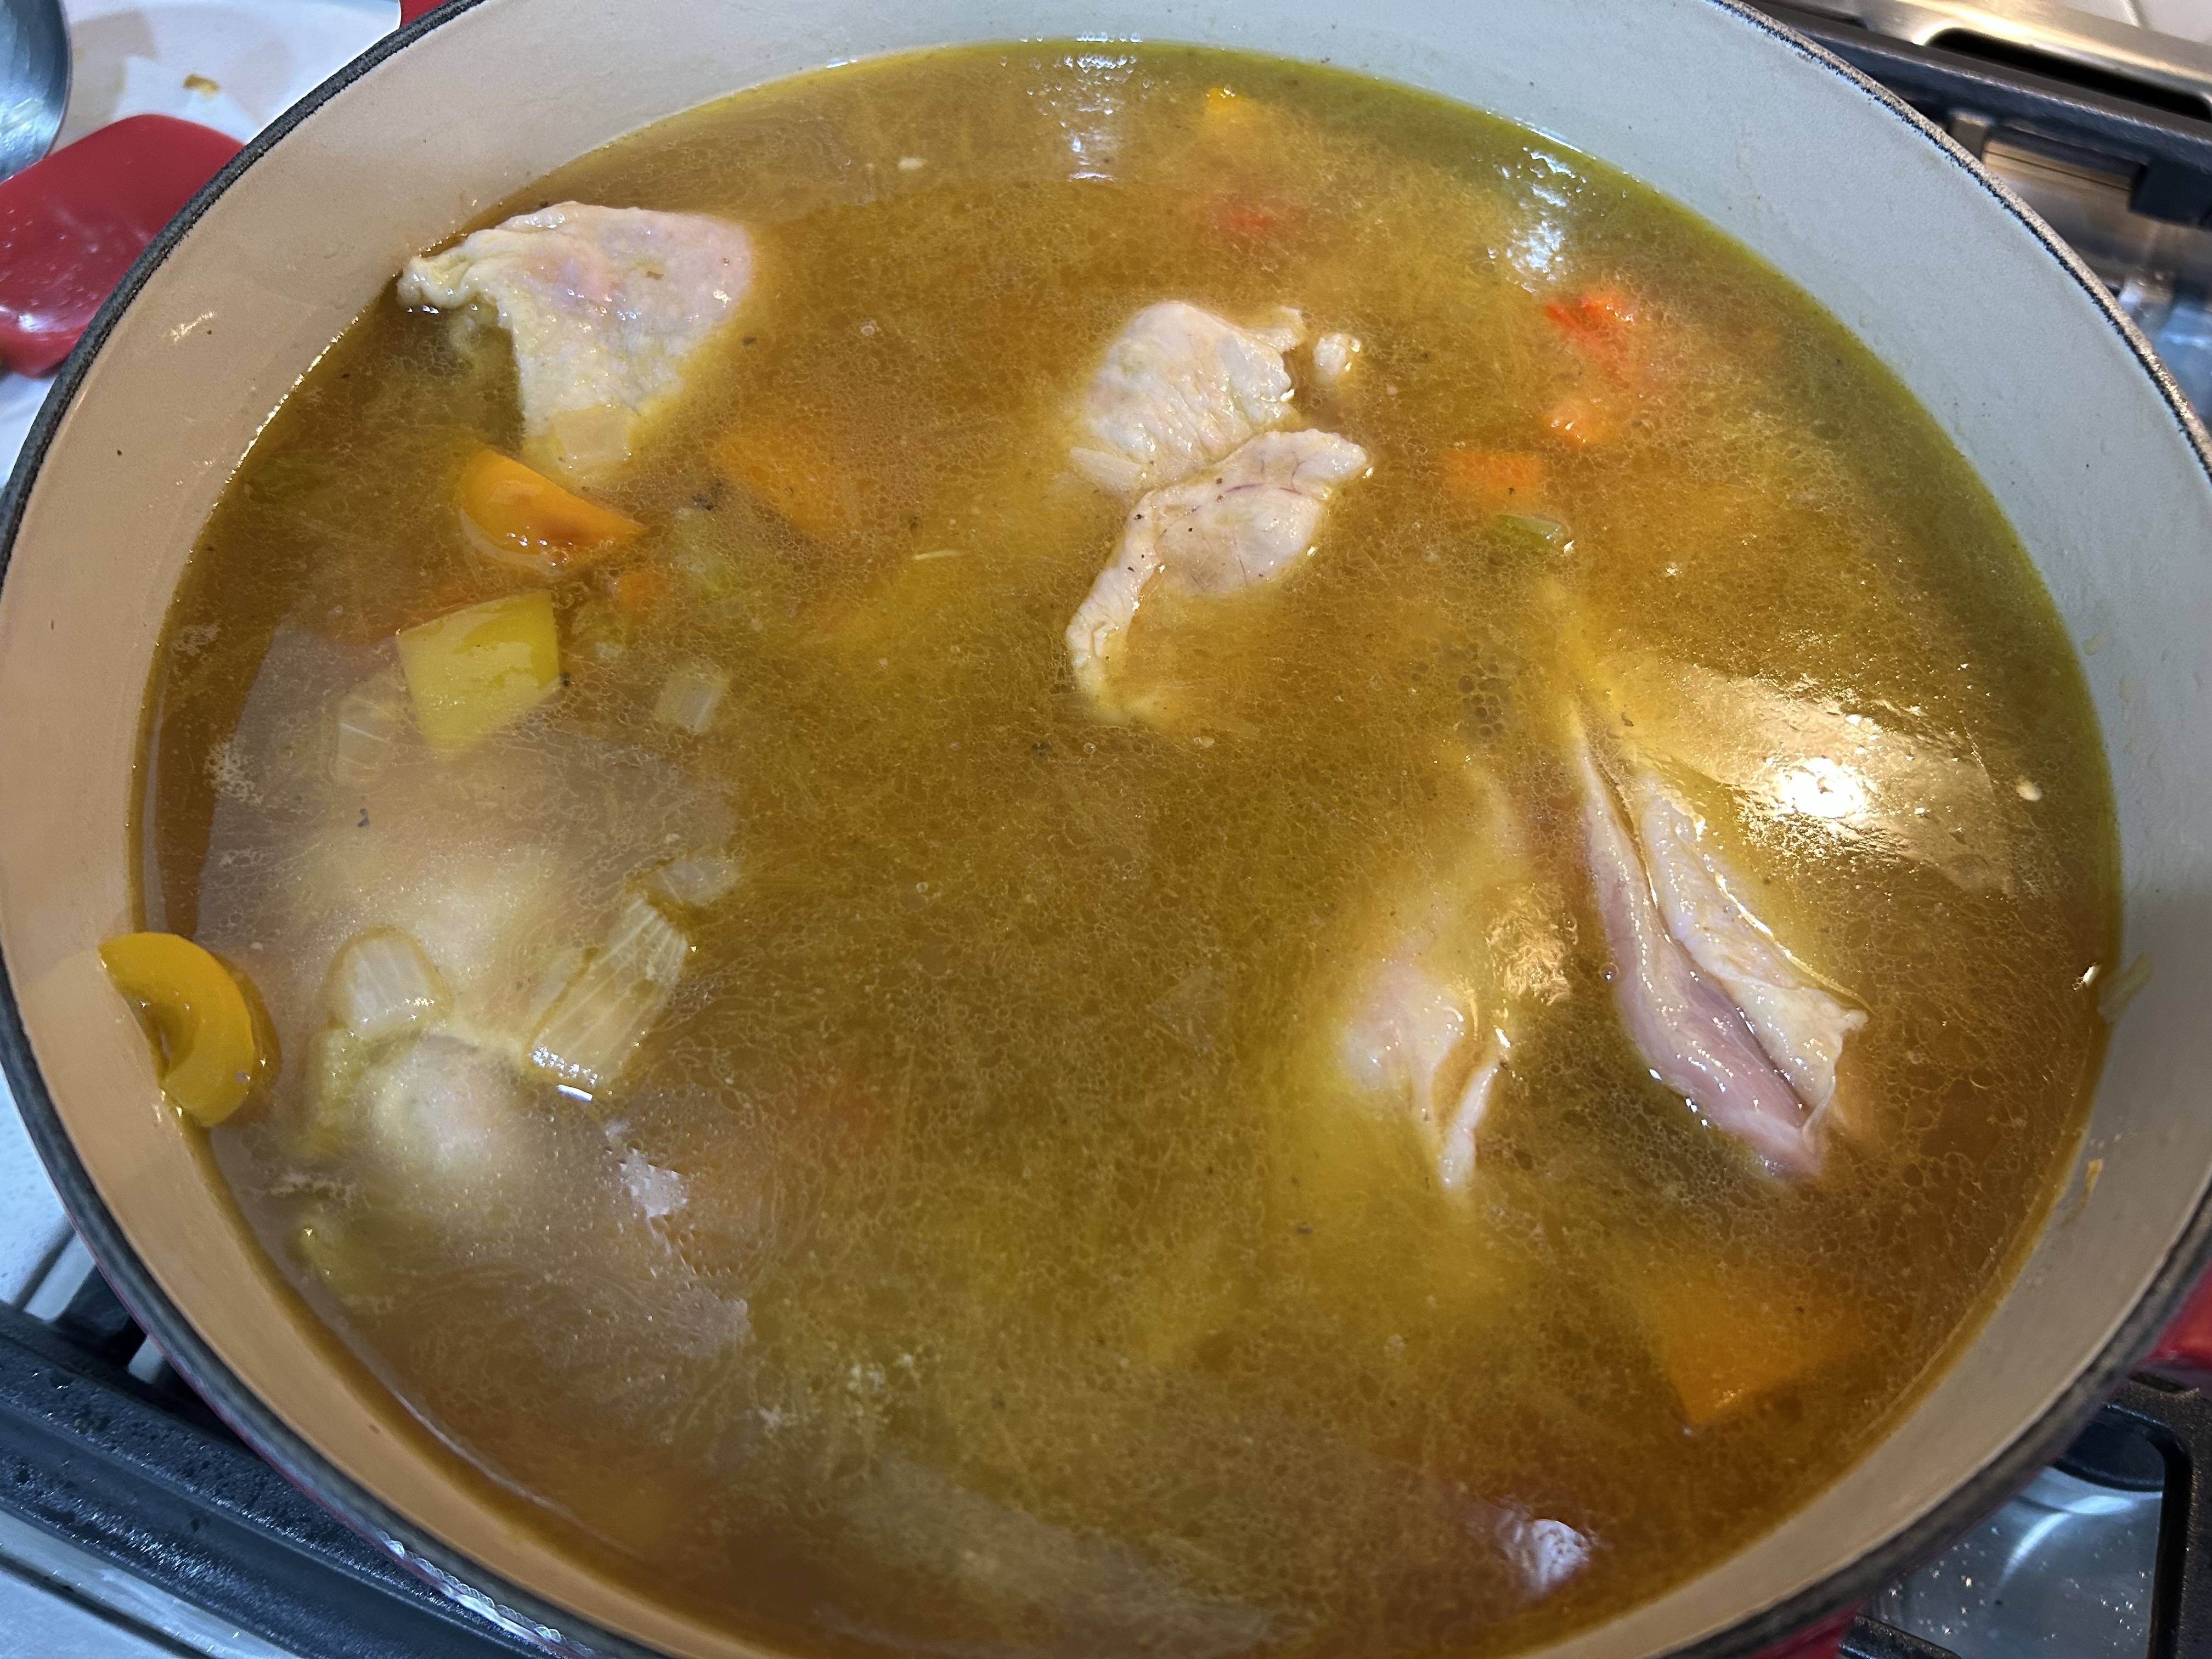
Next I added my saved broth and two packages of bone in, skin on, chicken thighs. There were eight in all. Cook gently until you are sure the thighs are done–the bones add to the bone broth. When done, I fish out the thighs and remove the meat, throw the bones out, and add the meat back to the soup. Look at the gorgeous color of the broth now!!!
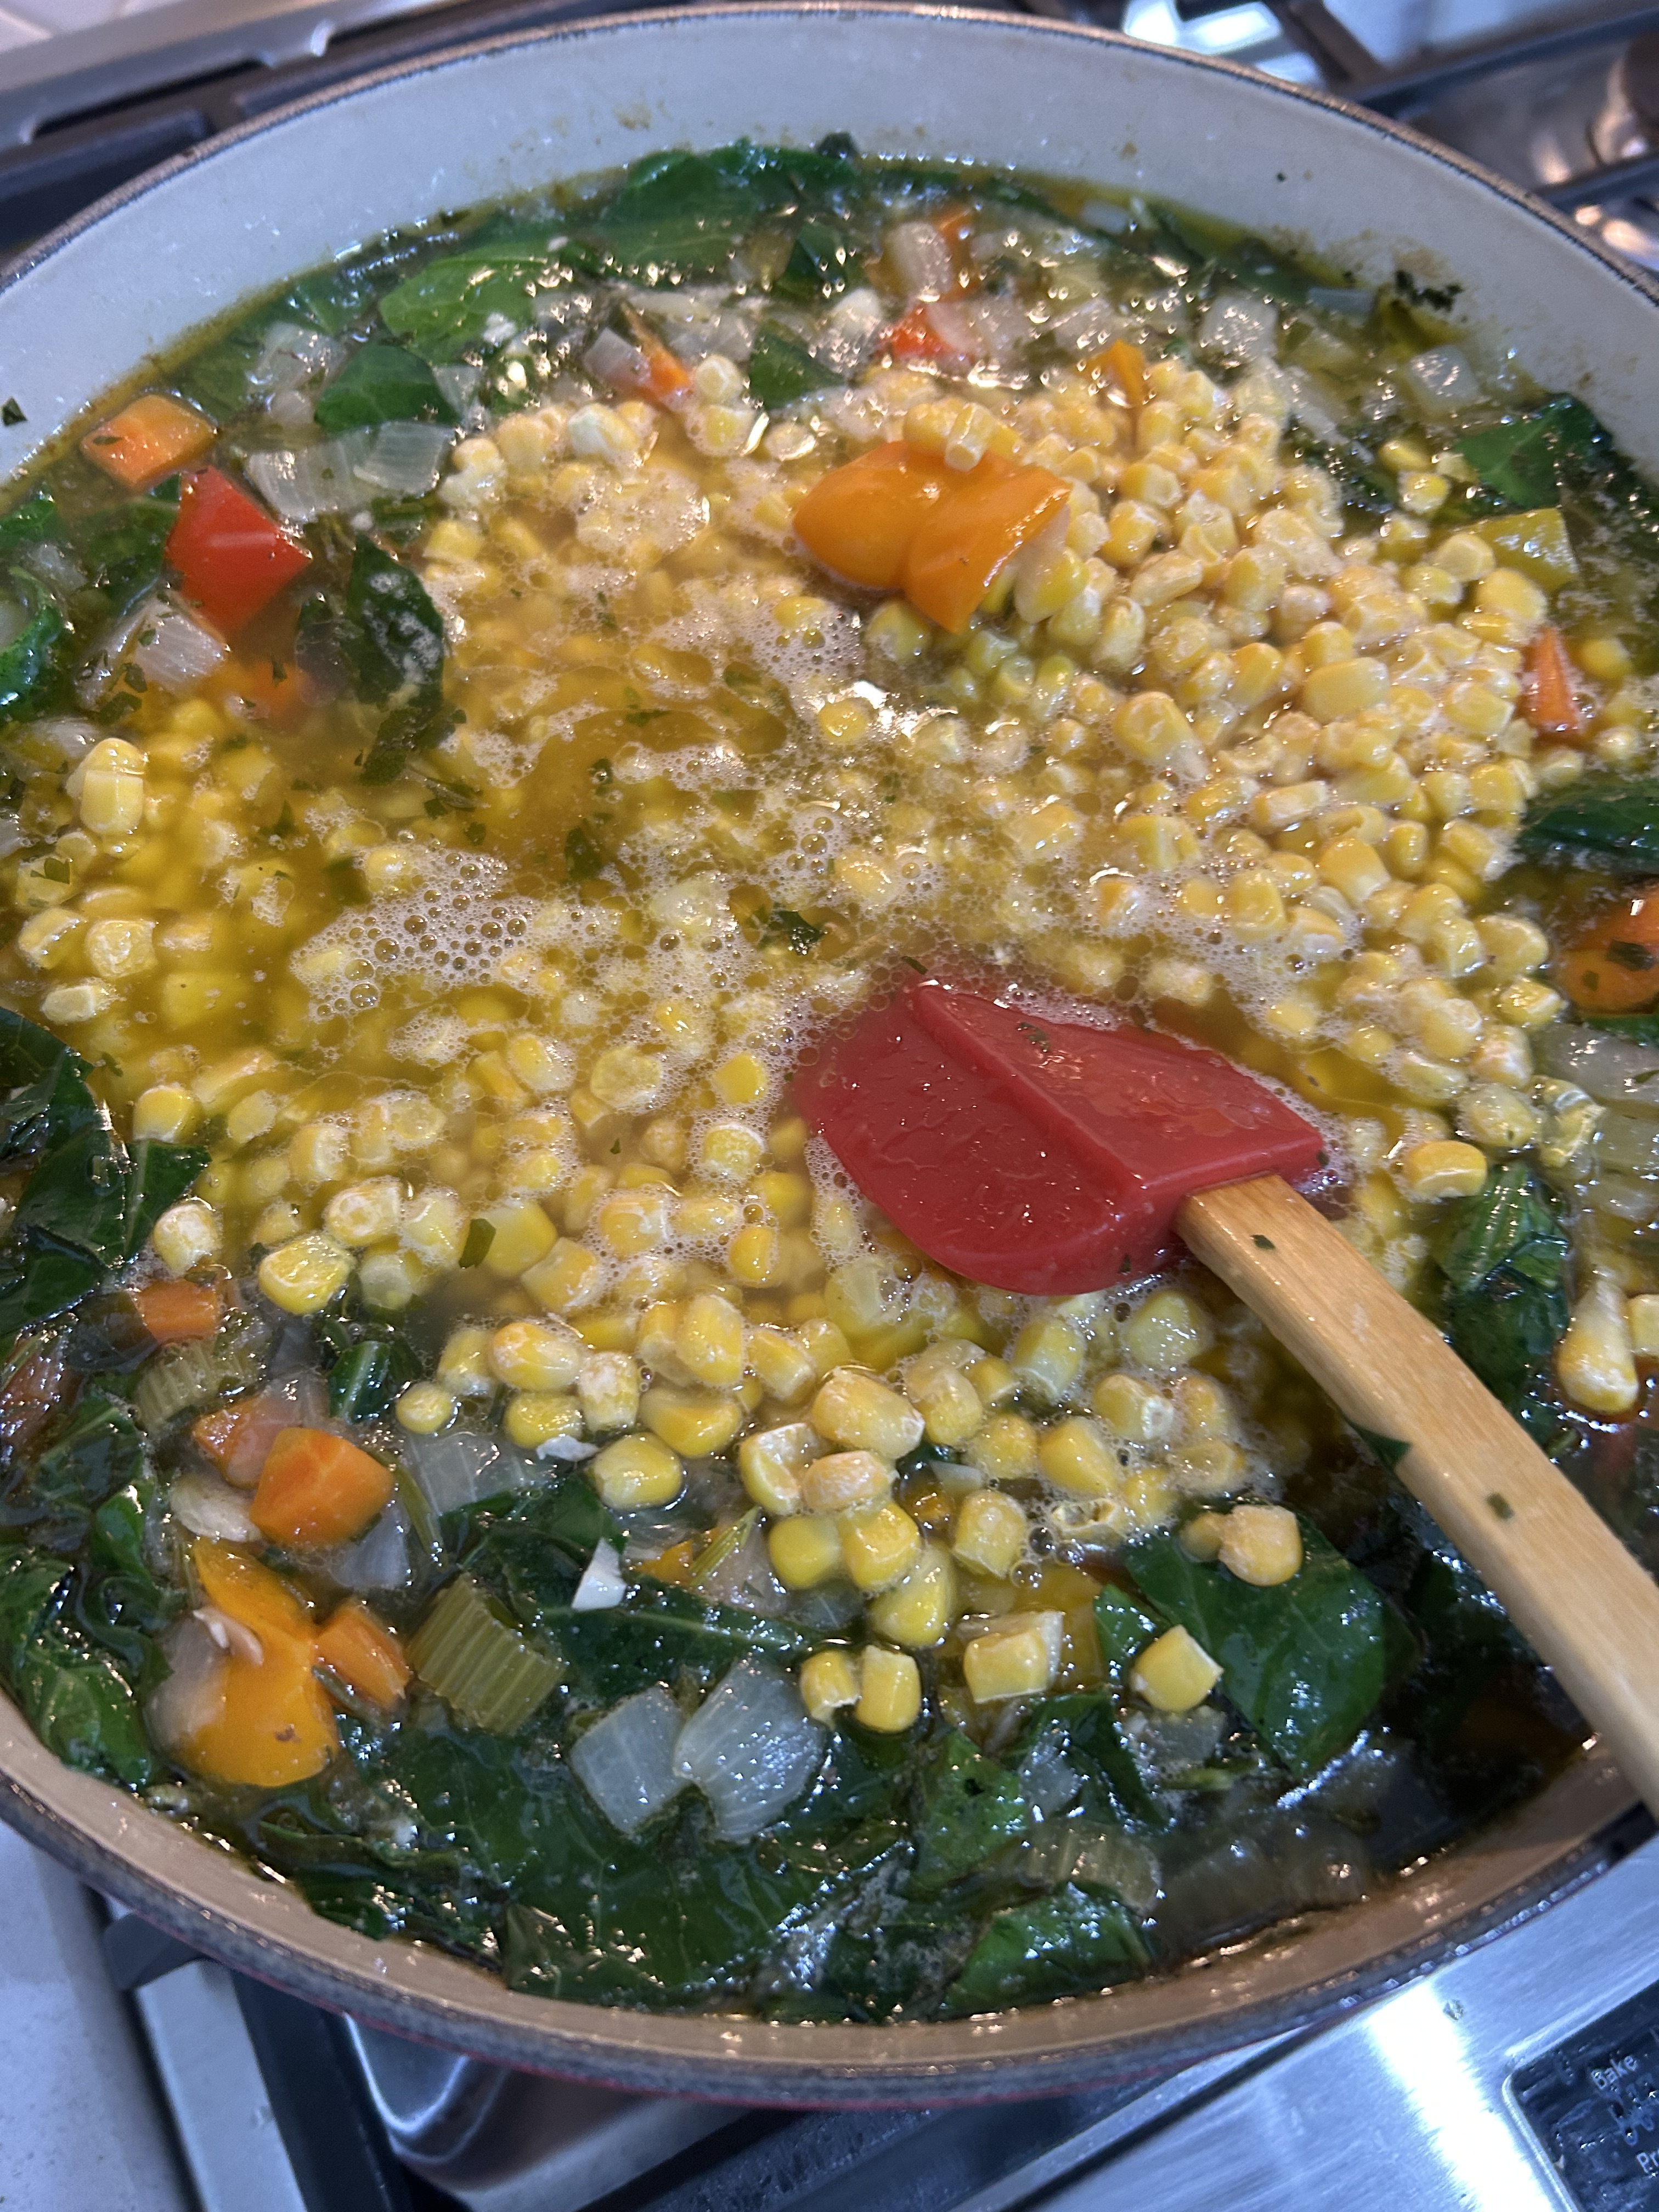
Next I add fresh herbs–I had some frozen parsley I had chopped and saved last fall. From the garden, I added oregano, sage, thyme, and rosemary. And I add chopped garlic at this point as I like for the garlic to have a fresher taste in my soup. AND, I would add the greens at this point: this time, collard greens.

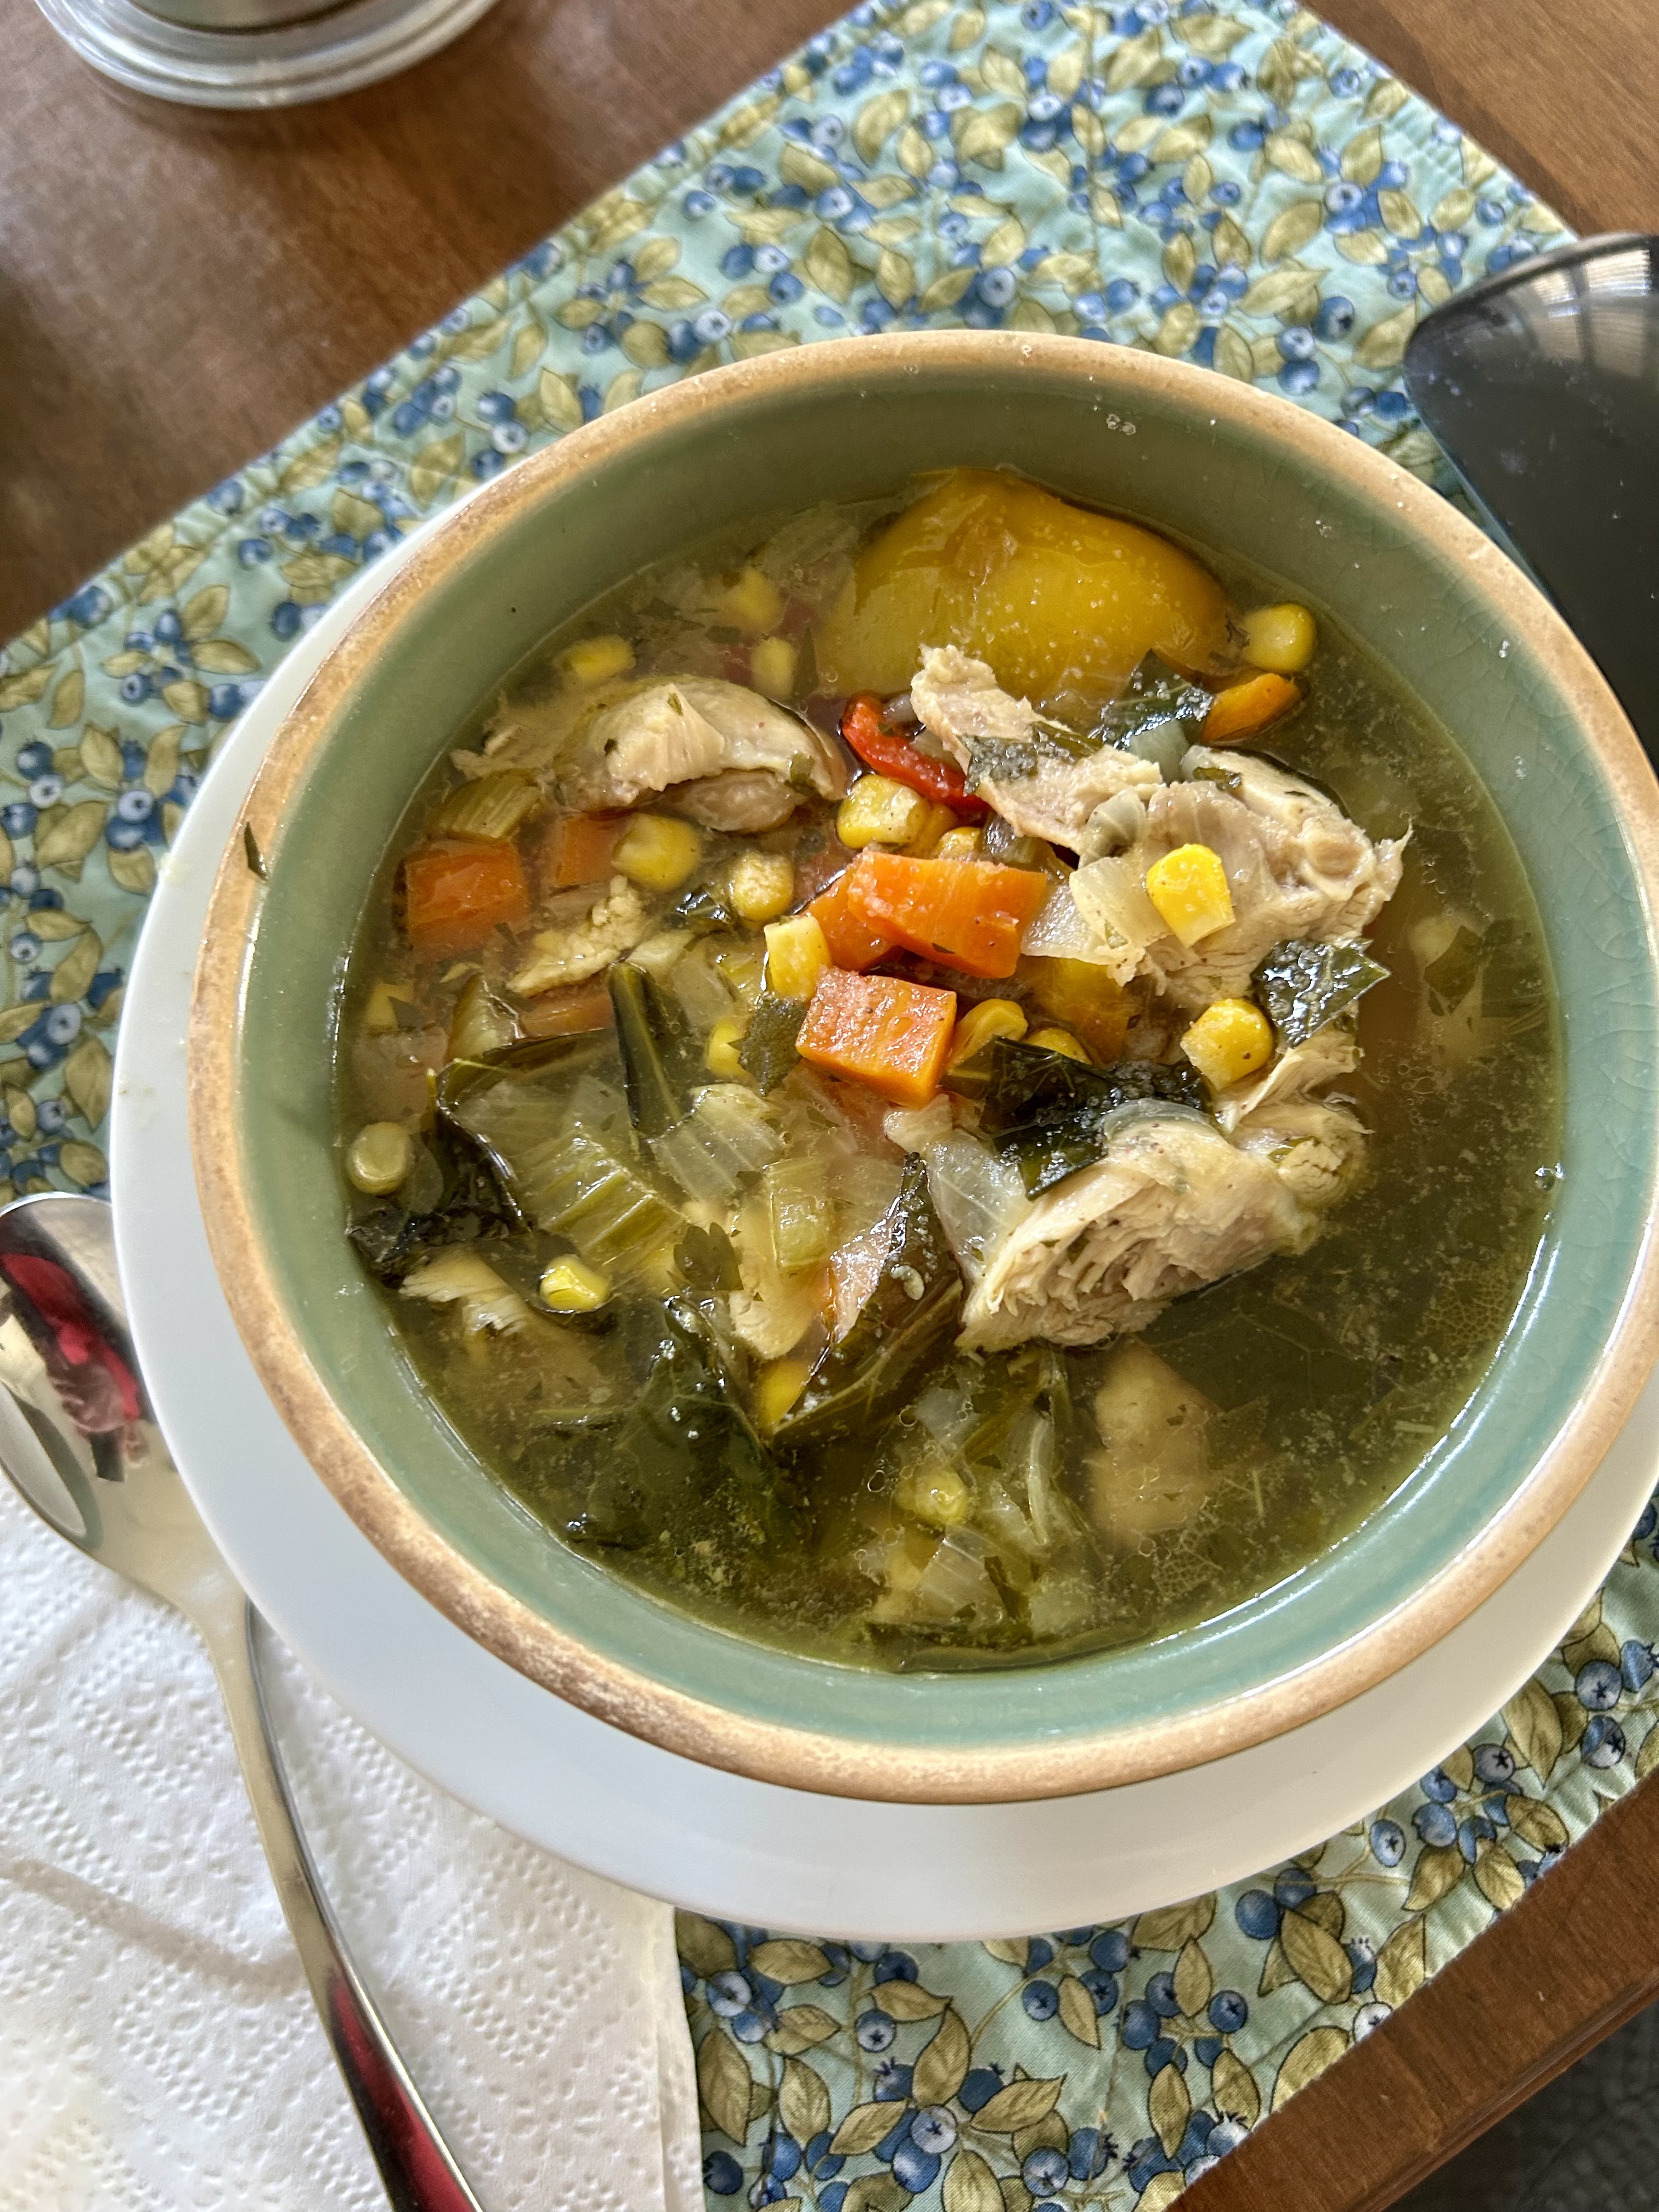
For a starch, I added some frozen corn I had on hand as I love all things corn. I could have used rice, potatoes, squash, or cauliflower as a starch component. (Note that with this expensive Creuset iron/enamel pot, I don’t use any metal instruments as they can and do chip the enamel over time.)
And for my Tuesday birthday noon dinner, I sat down to enjoy my soup, which I’ll have for few days.
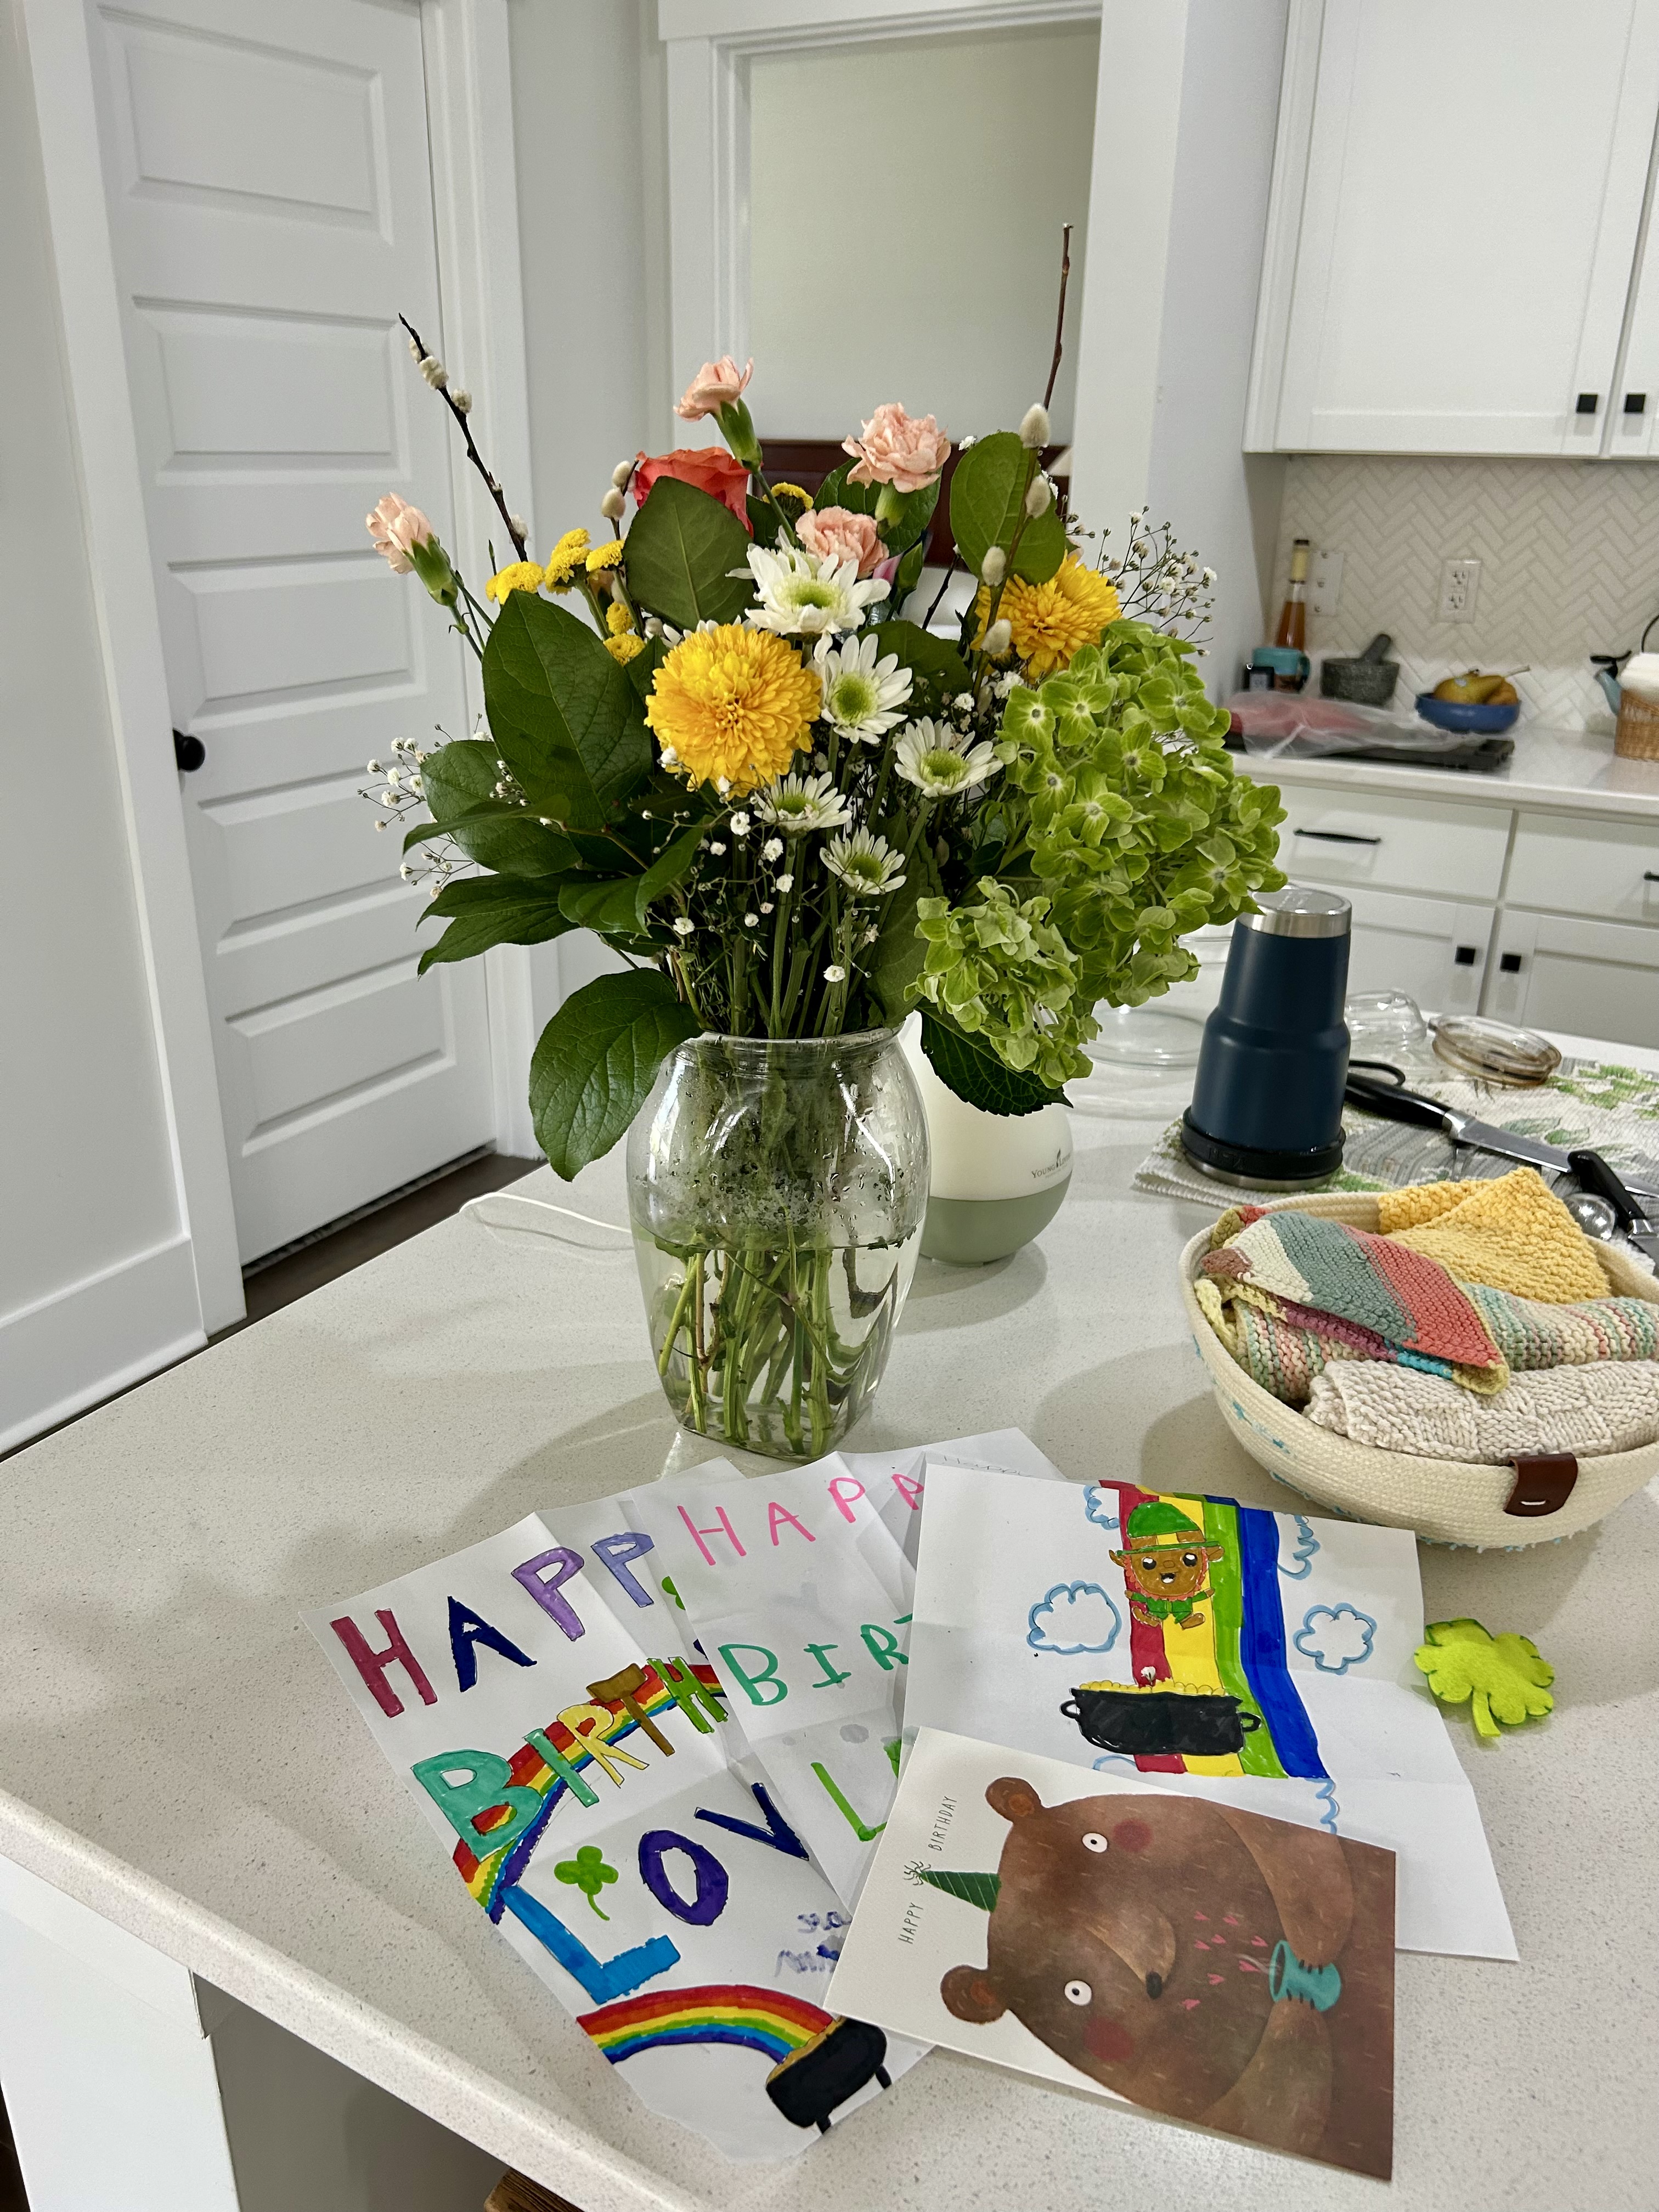
DIL Corinne (whose birthday followed mine on Wednesday, dropped by with flowers and the birthday art wishes from my three granddaughters in that family. My older grandchildren all sent text messages, and my DIL Tami and son Mike will host a joint birthday brunch on Sunday for me and Corinne. Son Bryan came last Sunday and changed all my house filters and smoke detector batteries–something he does for me each year for my birthday (among much other help all year long).
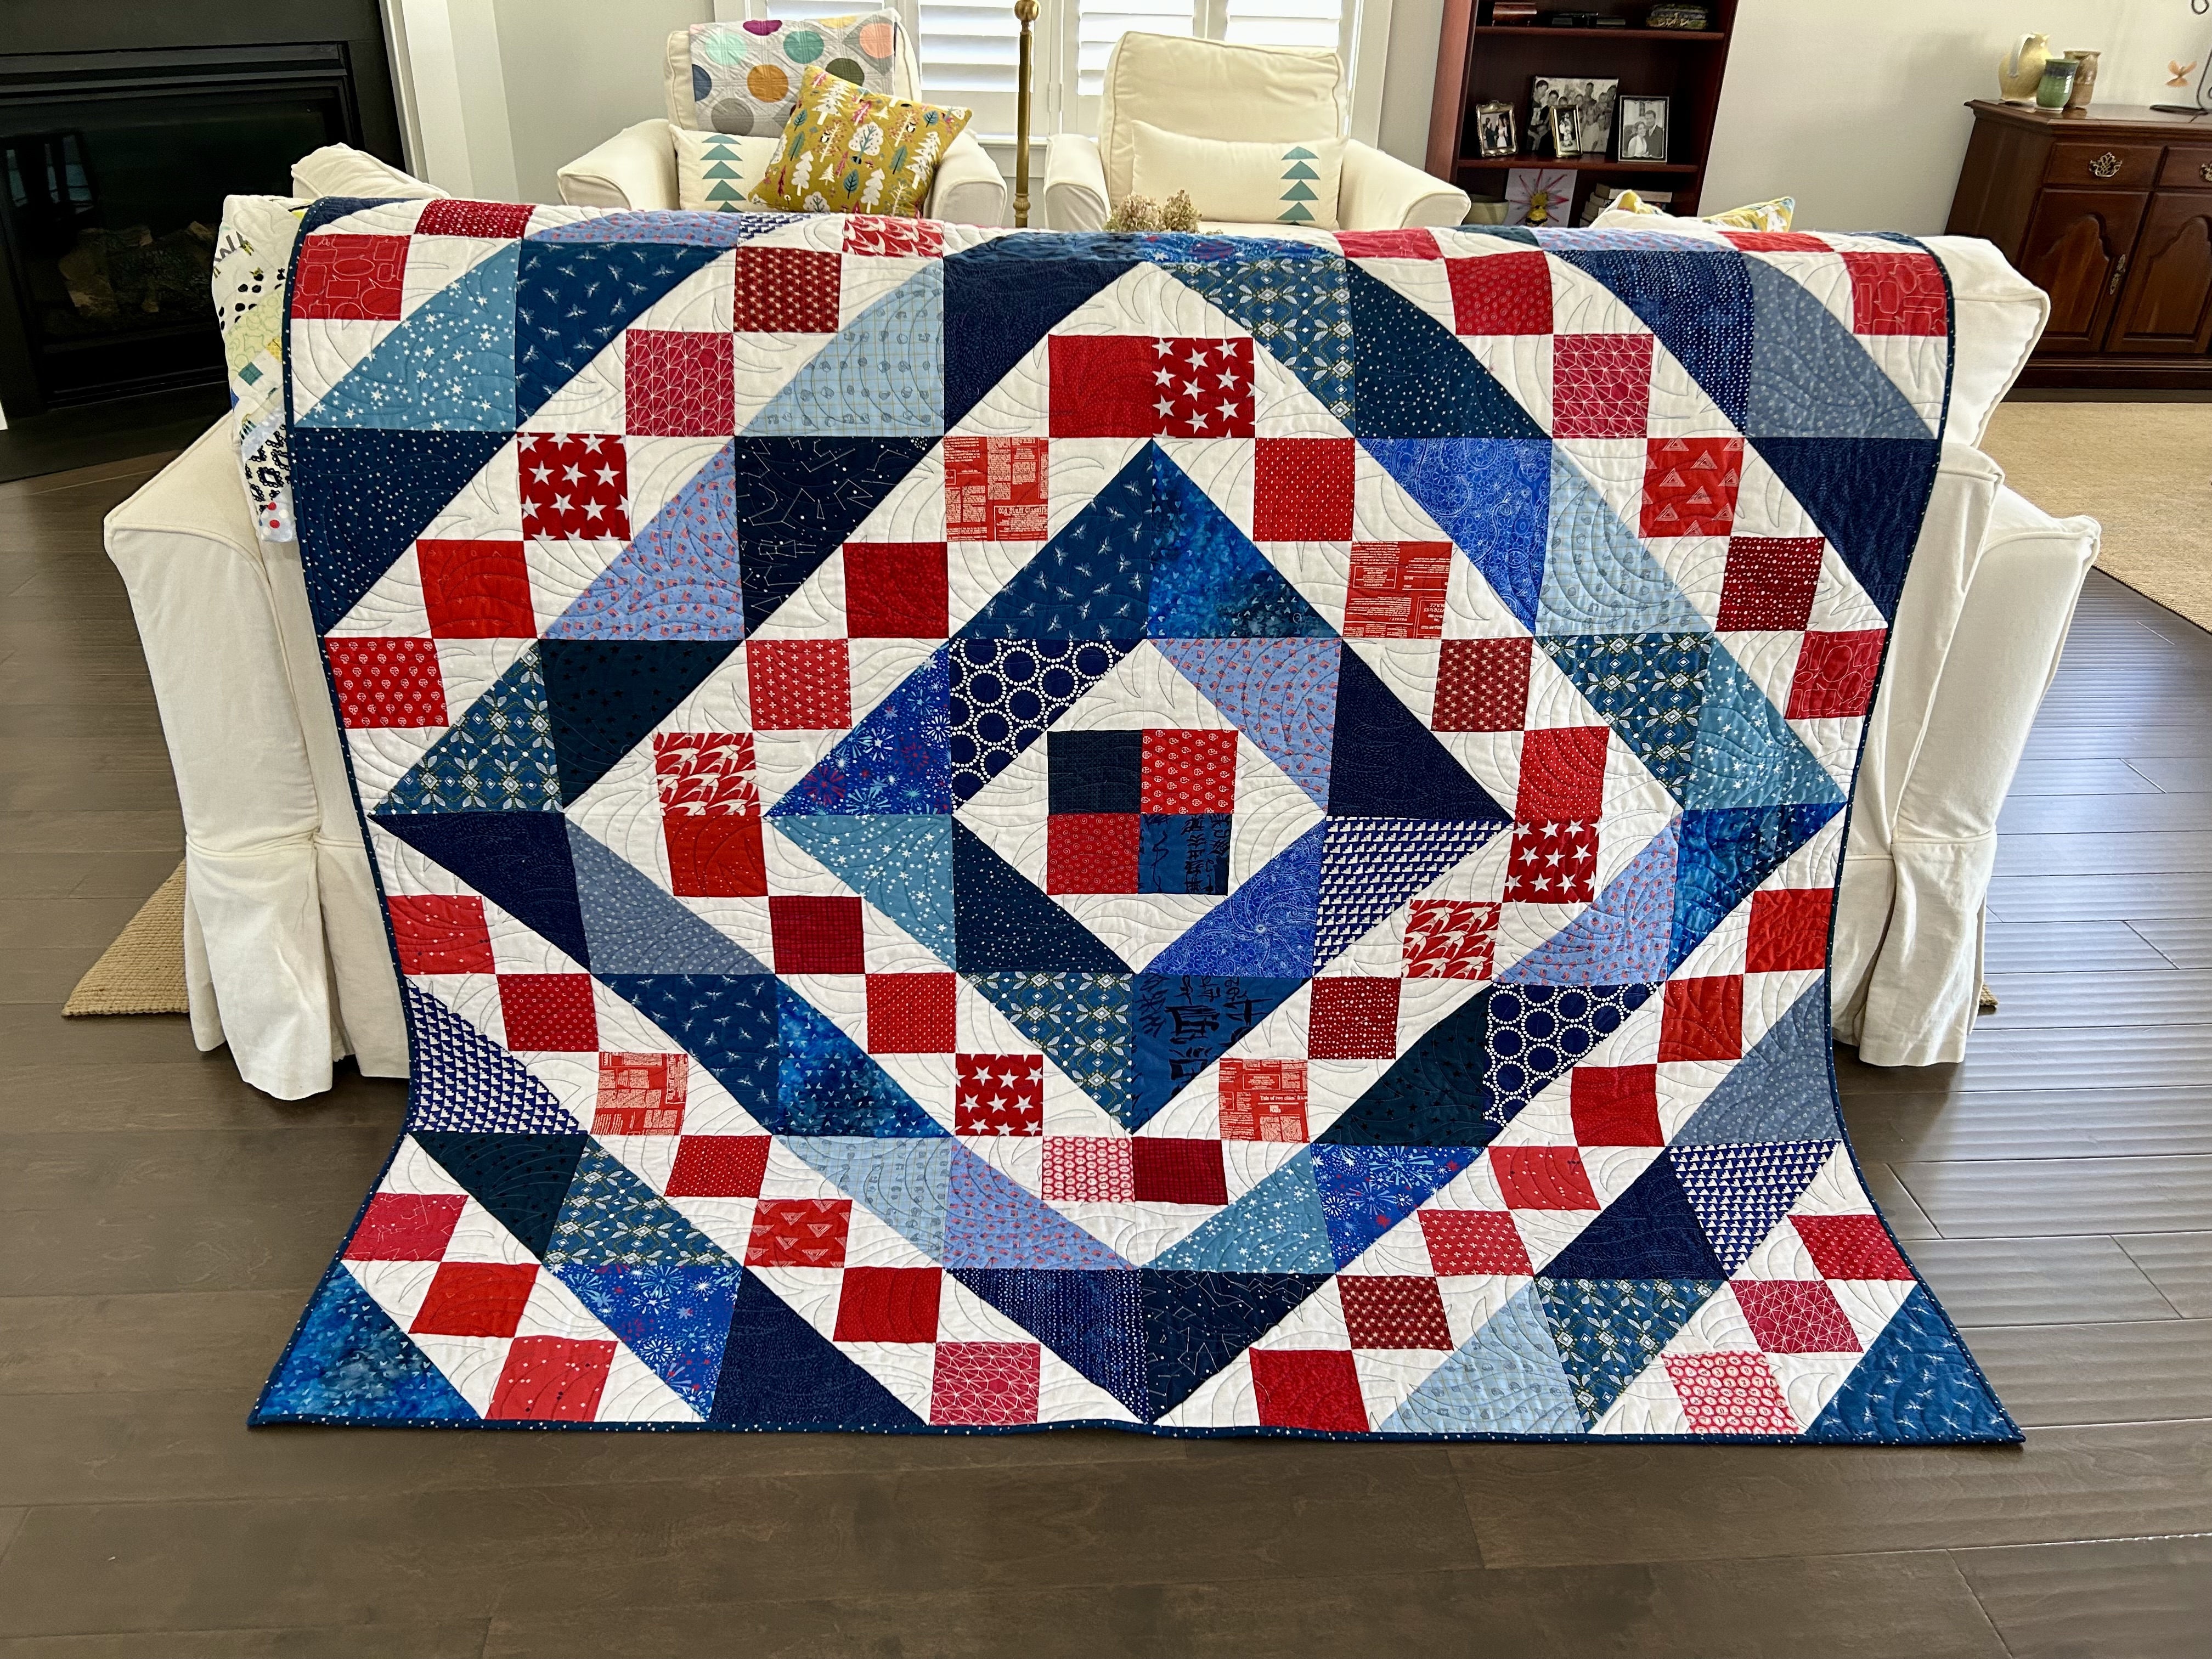
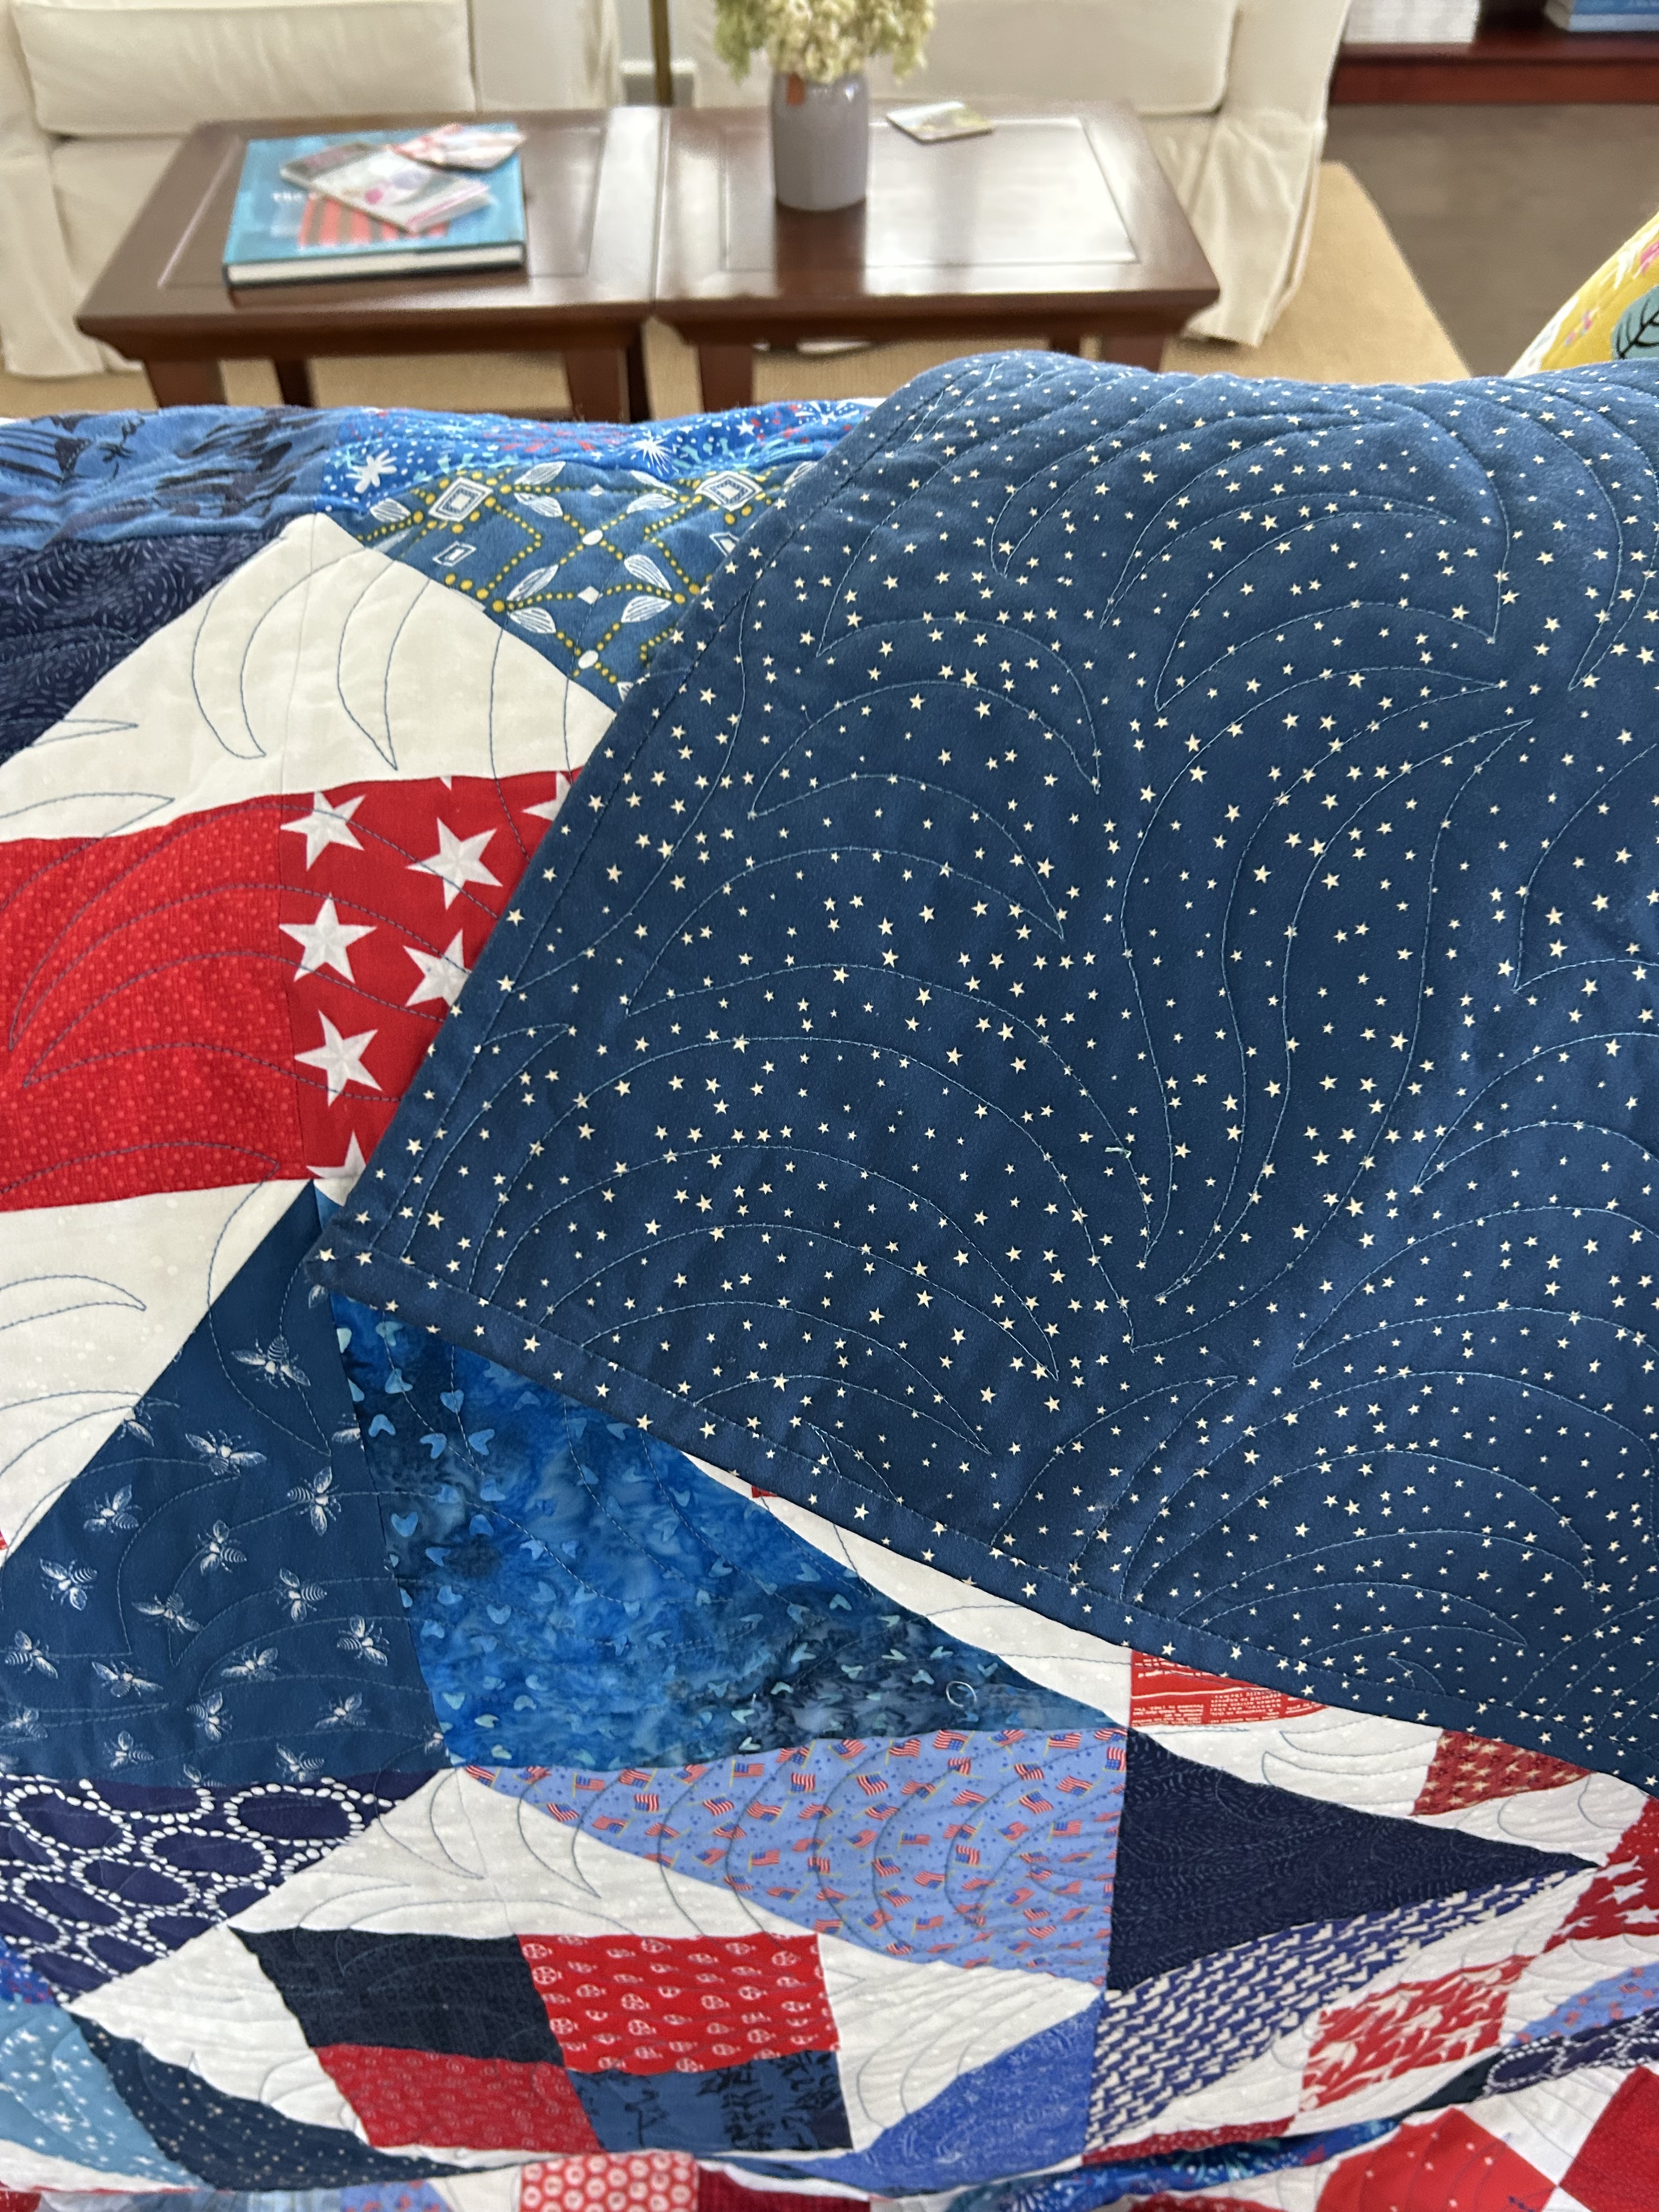
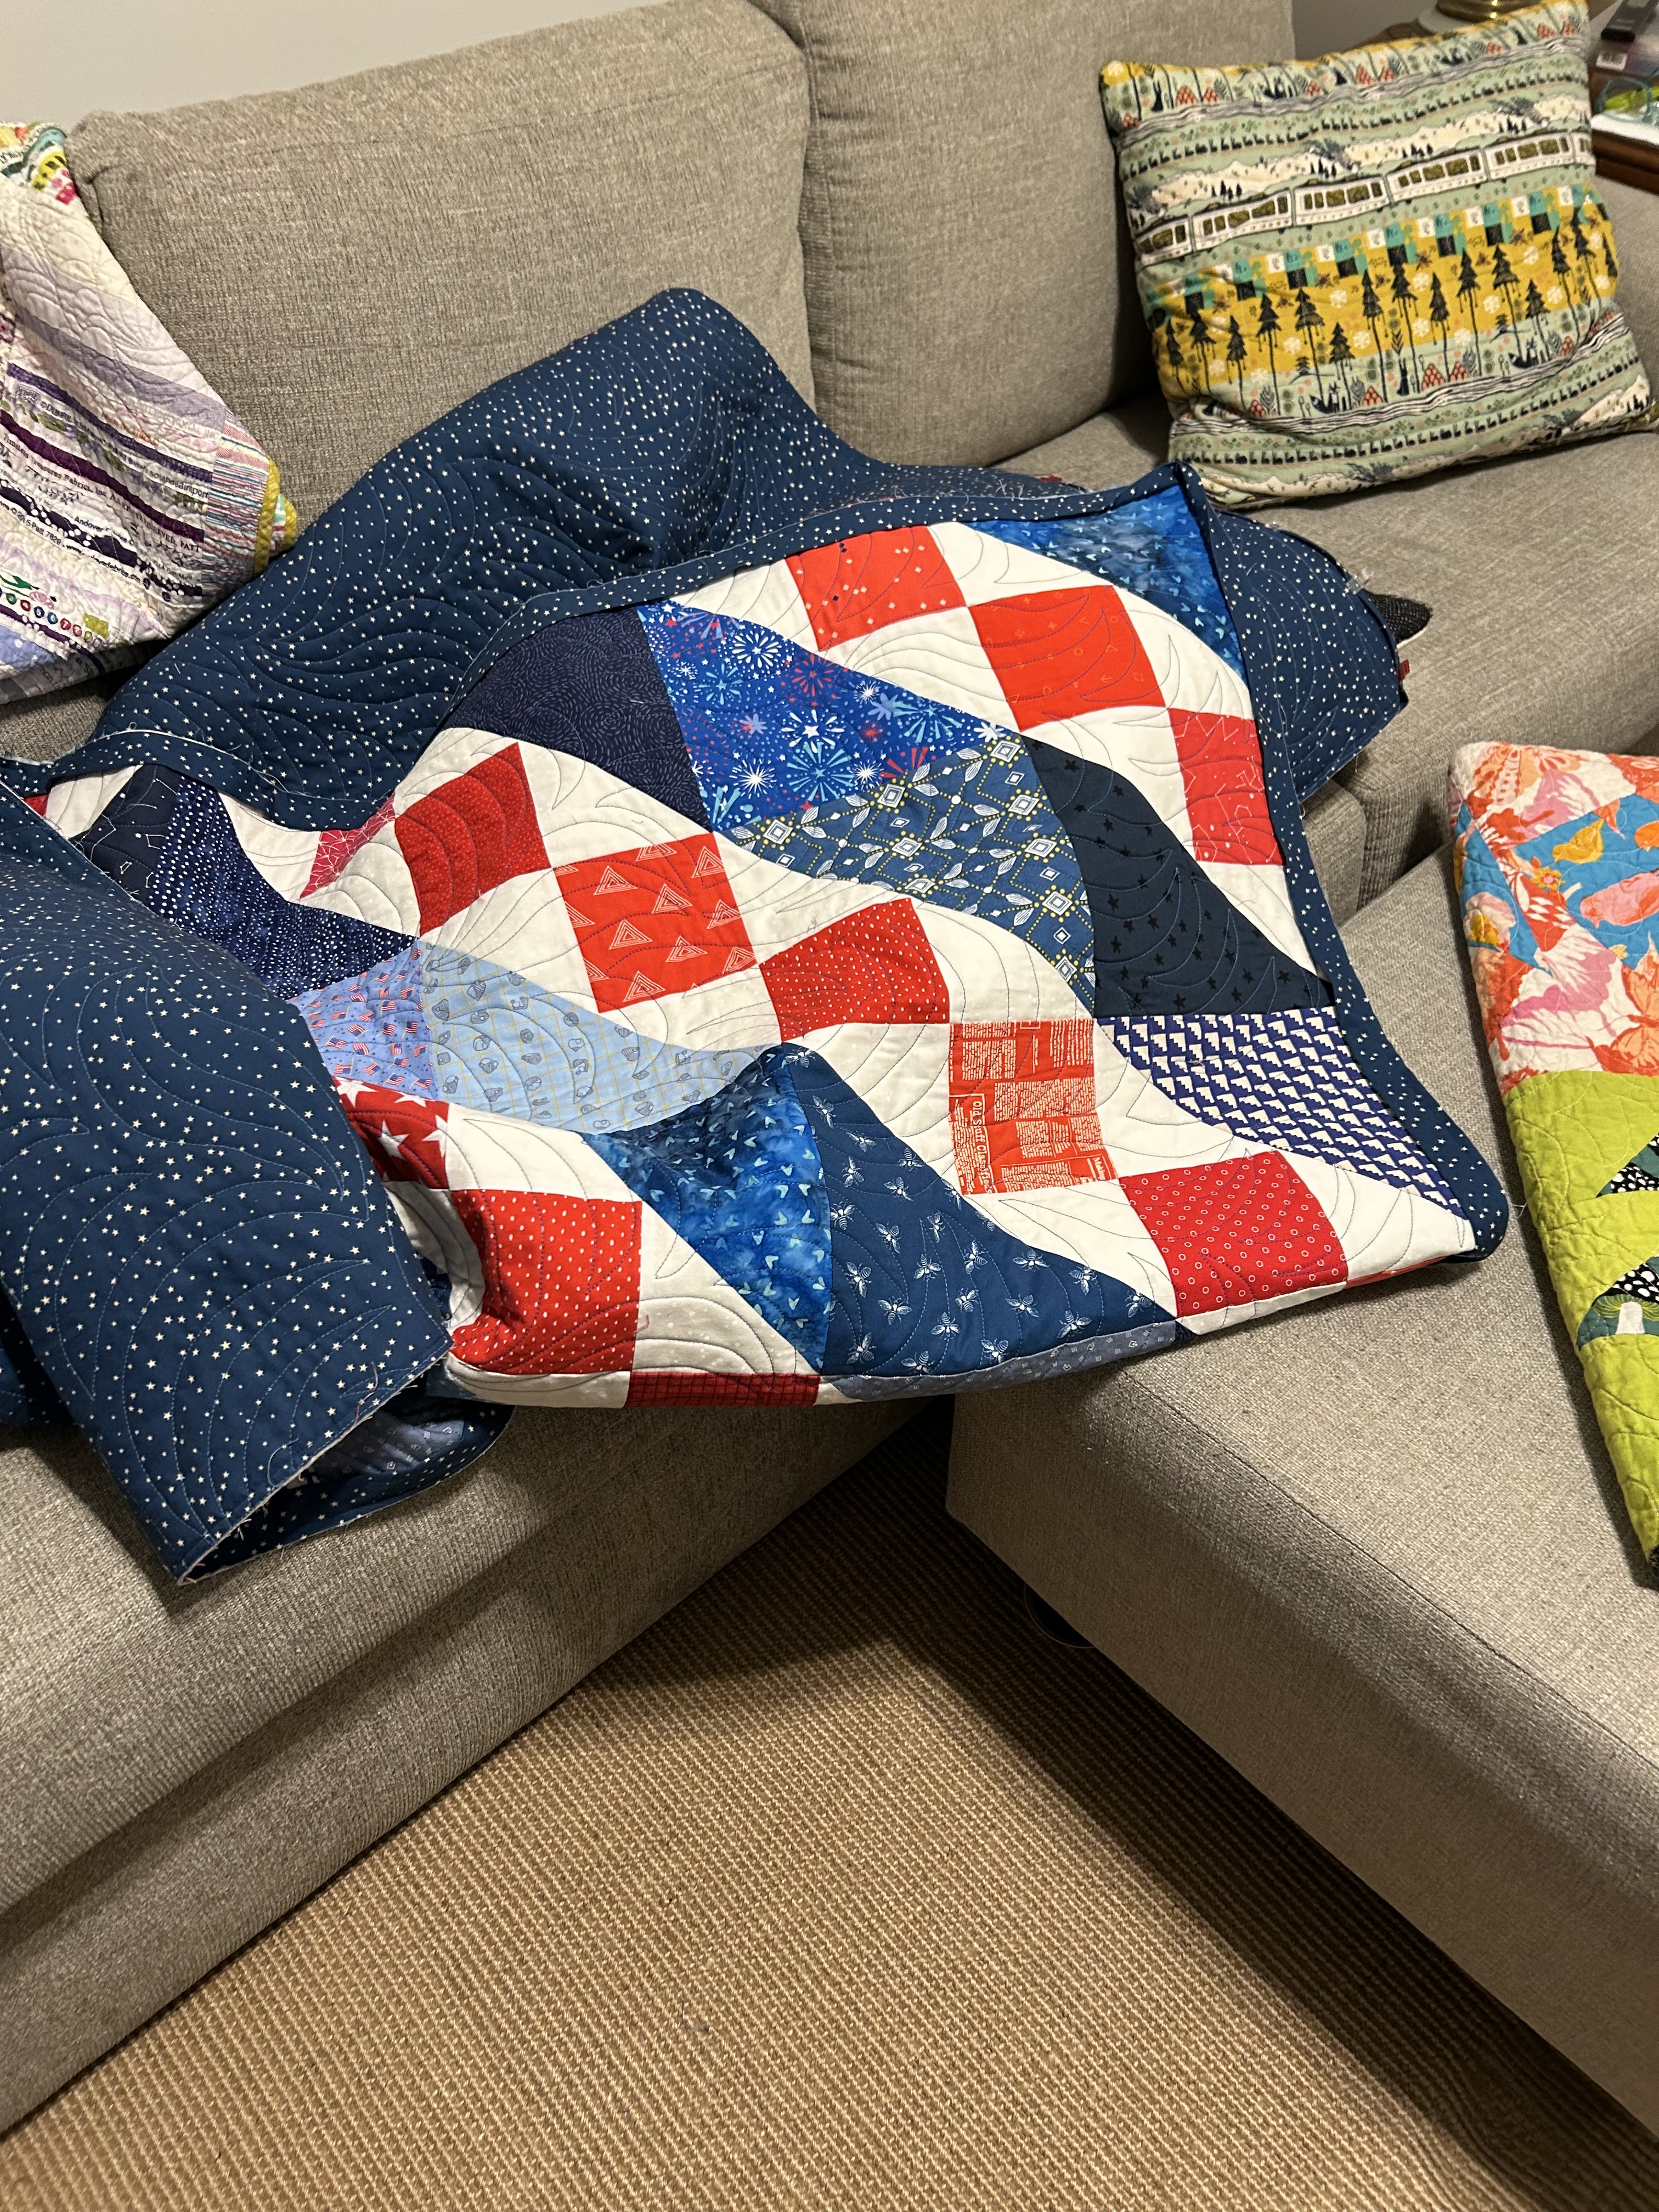
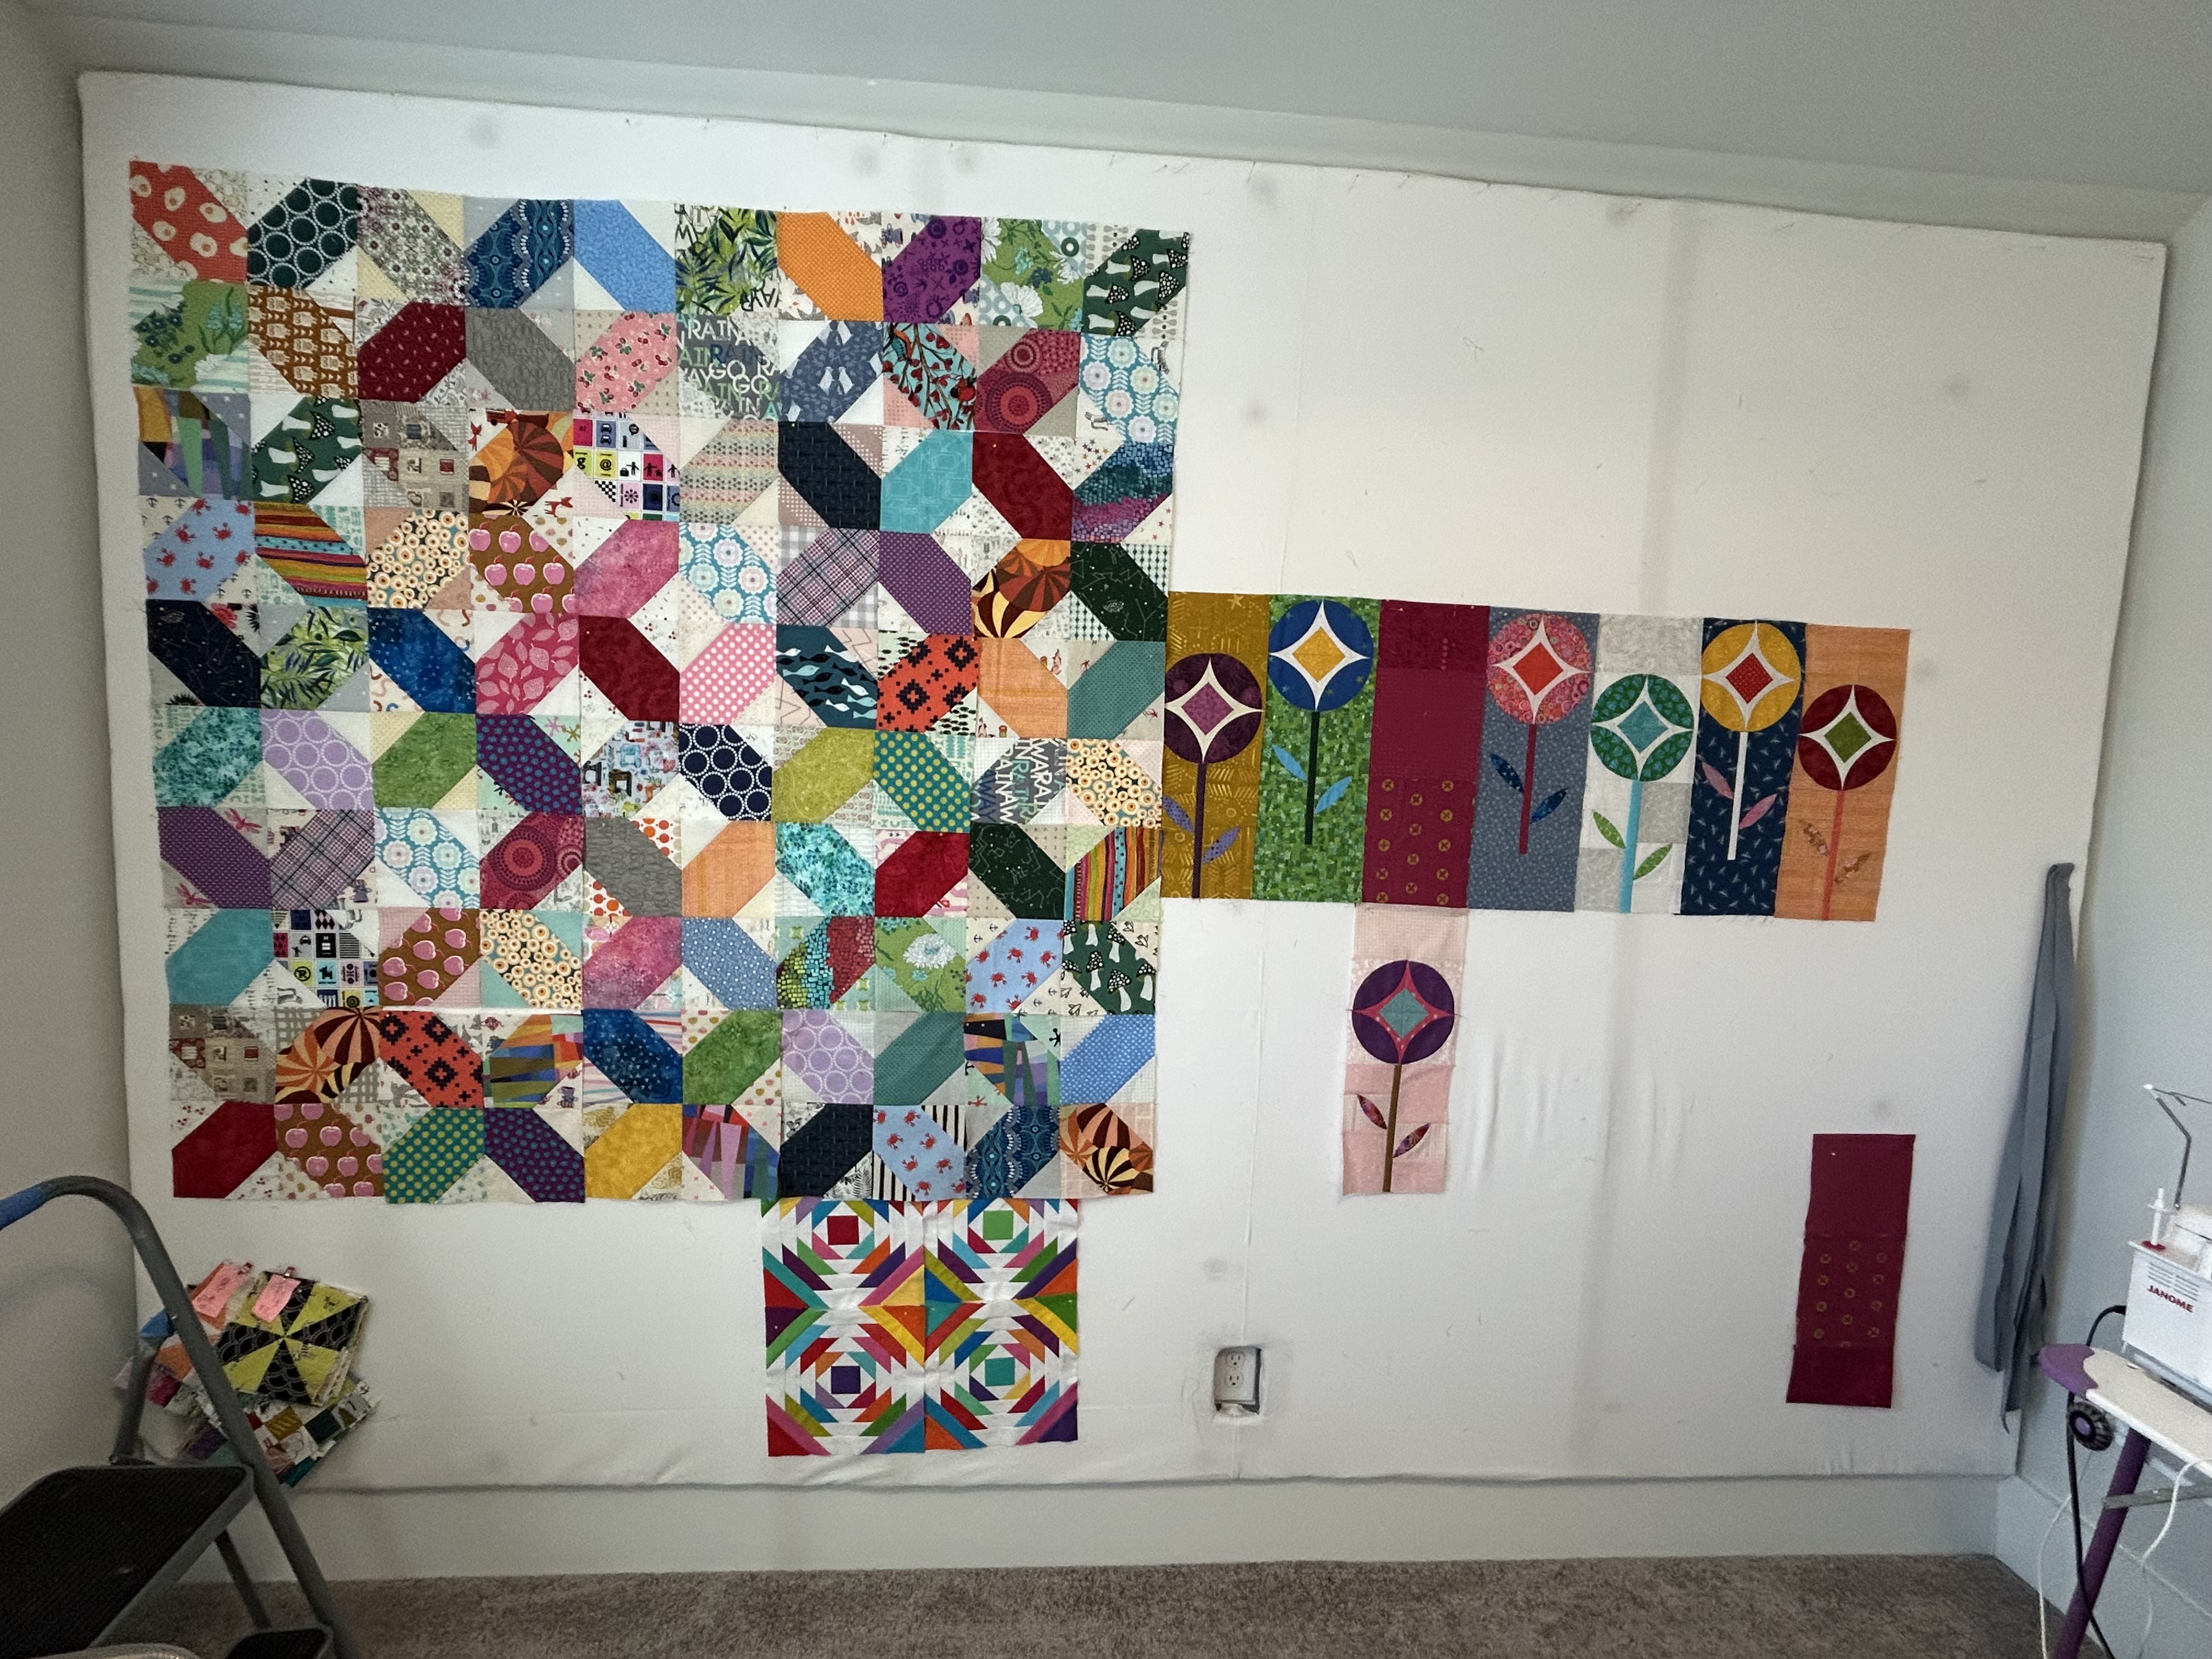
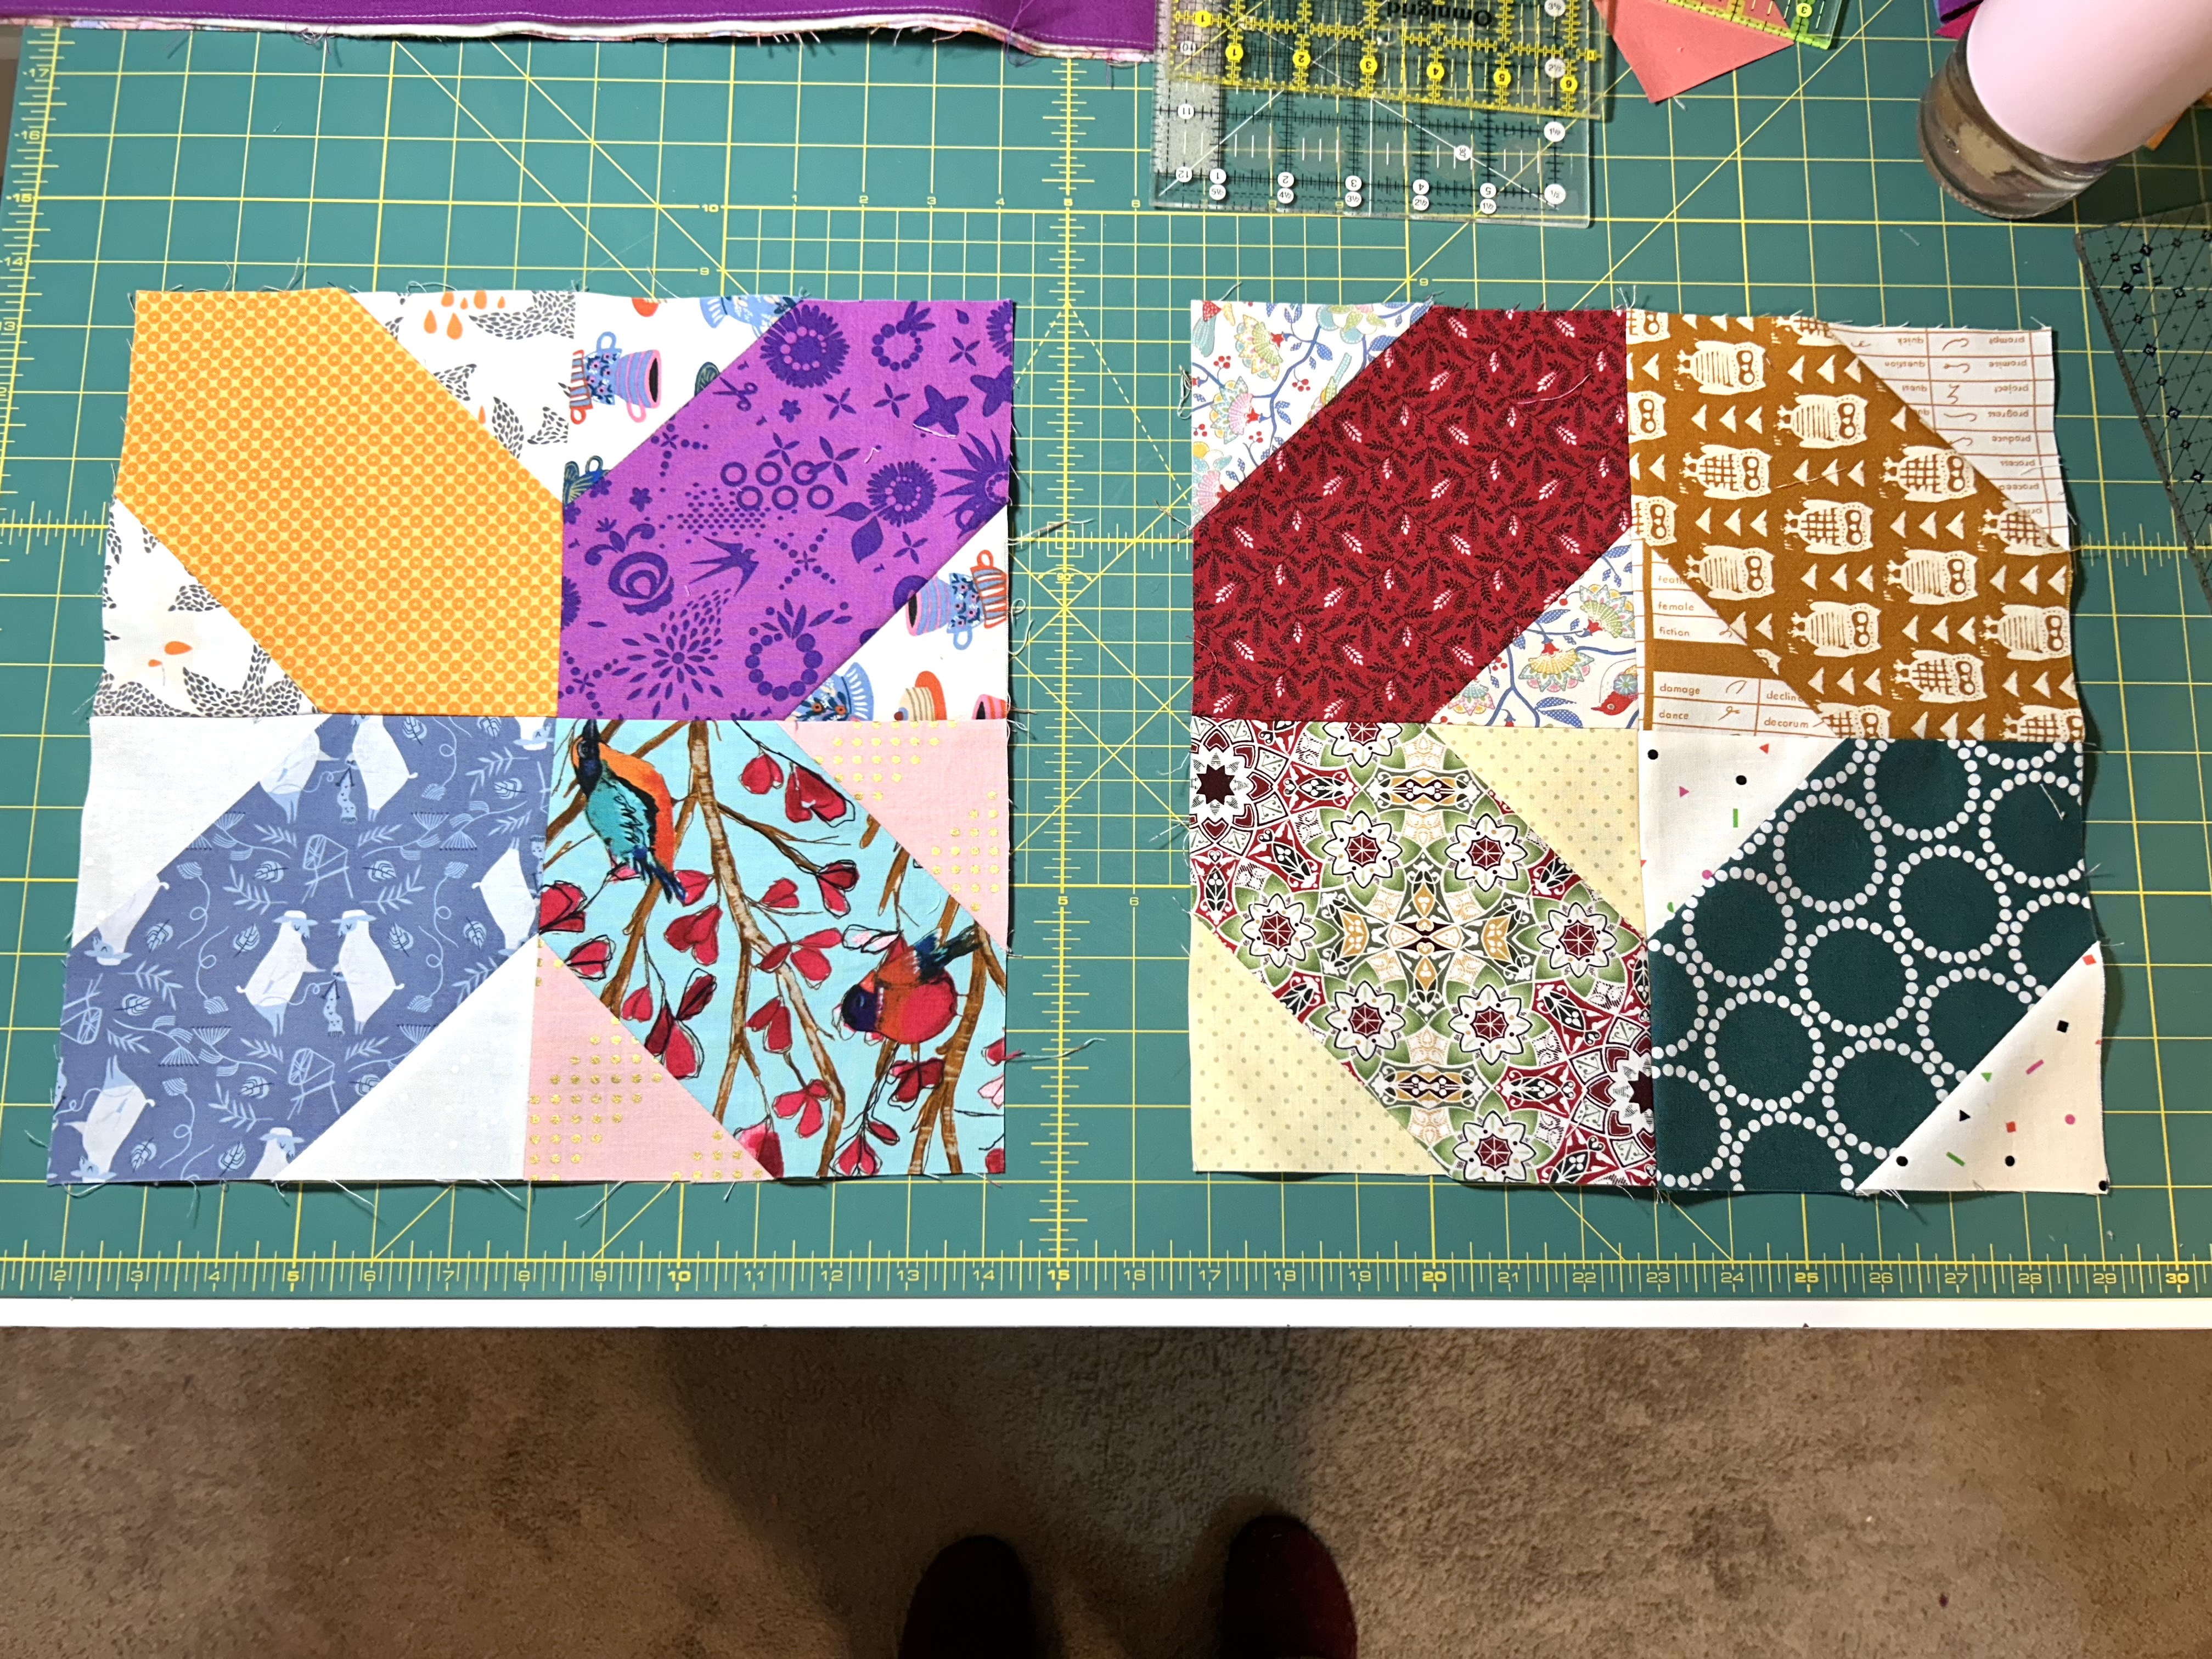
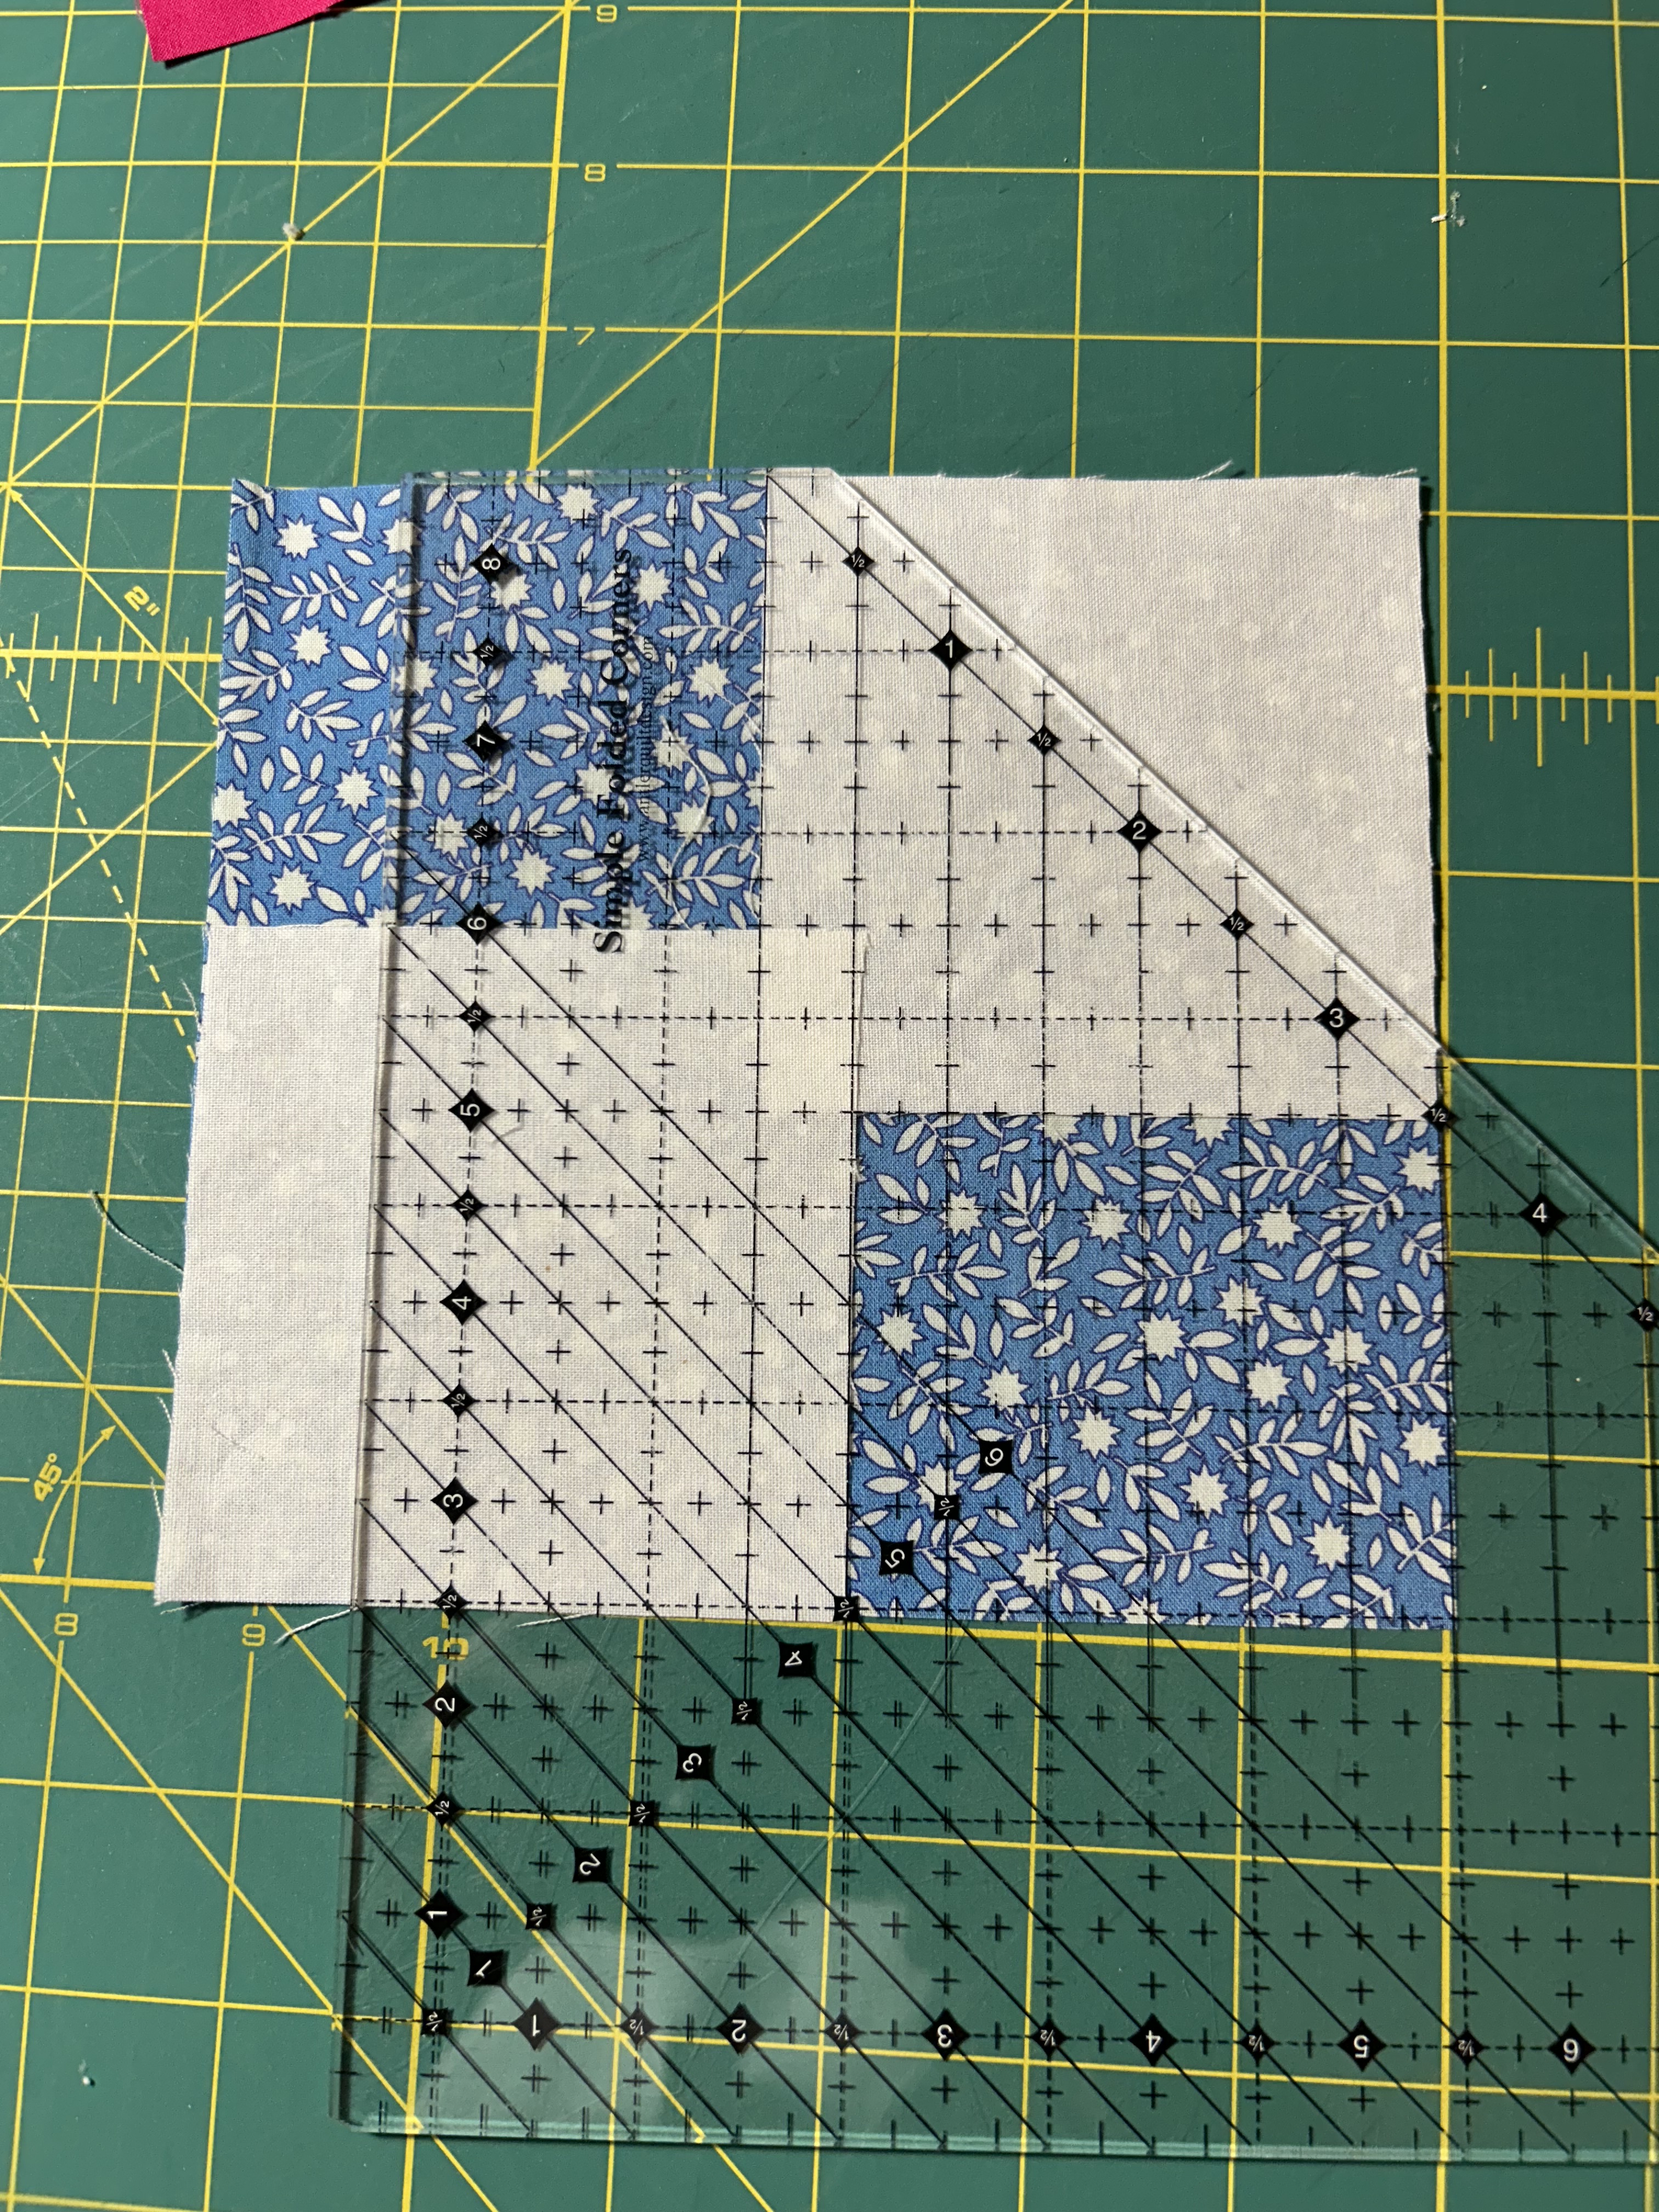
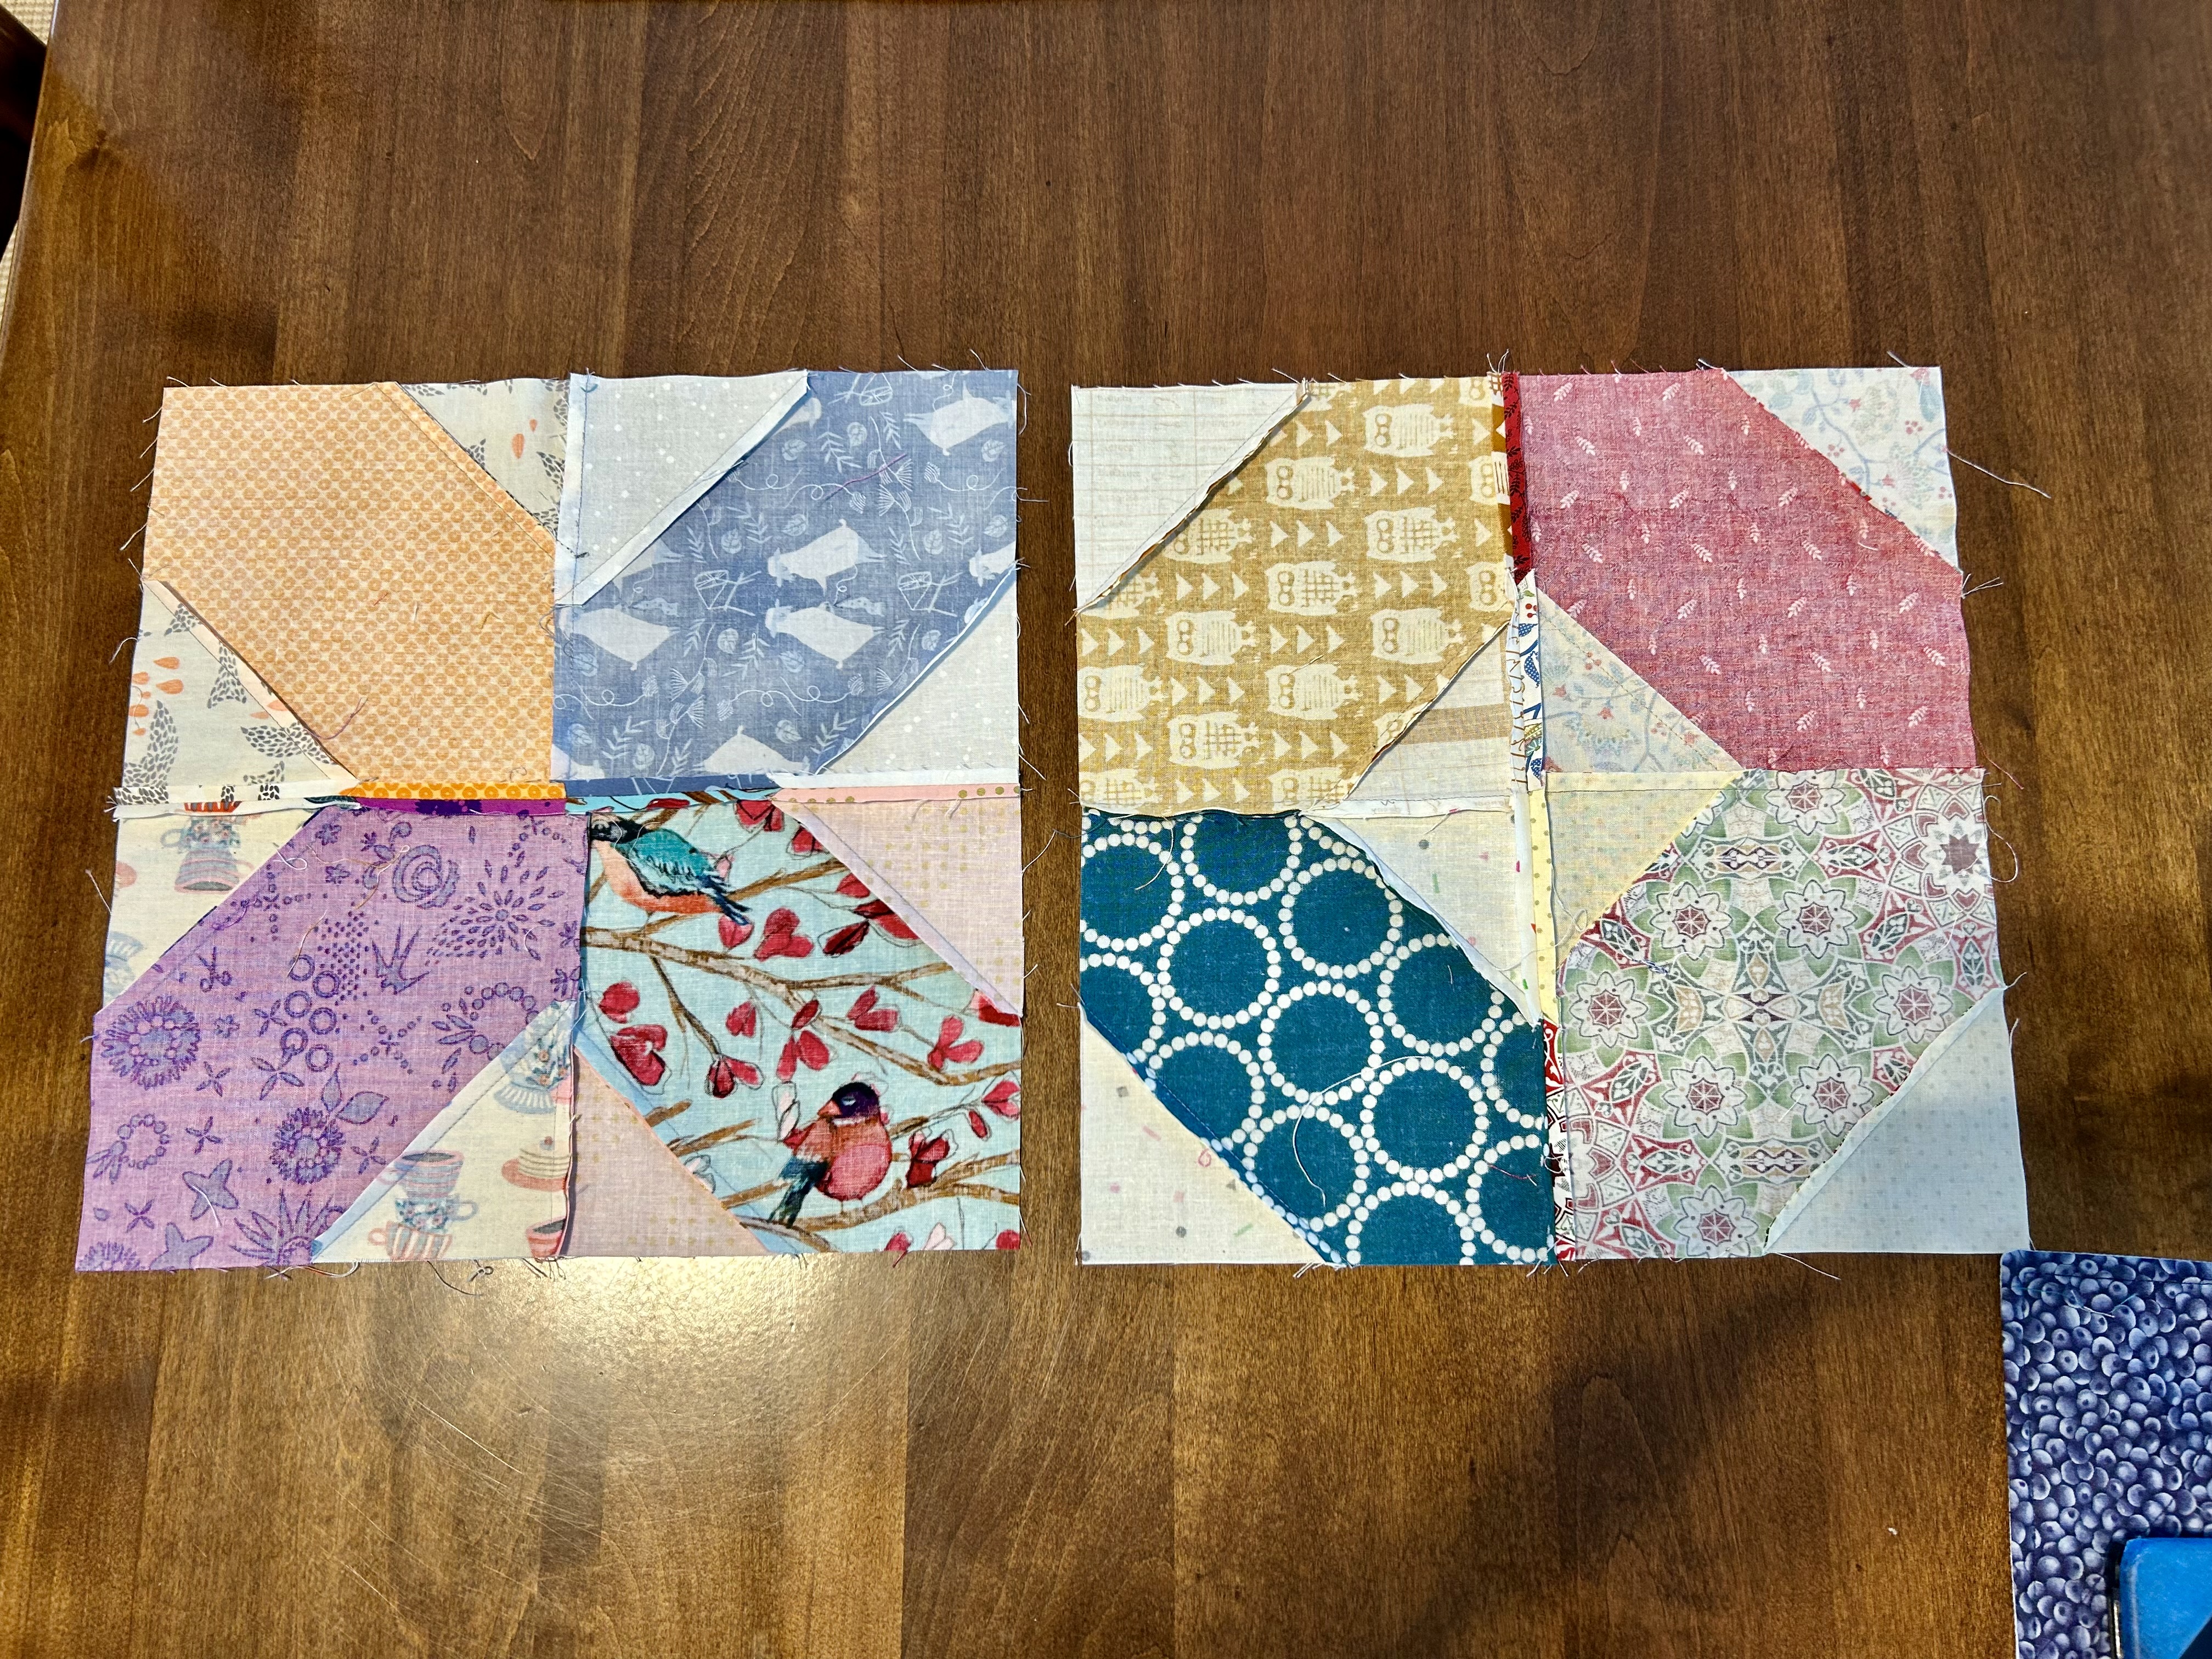
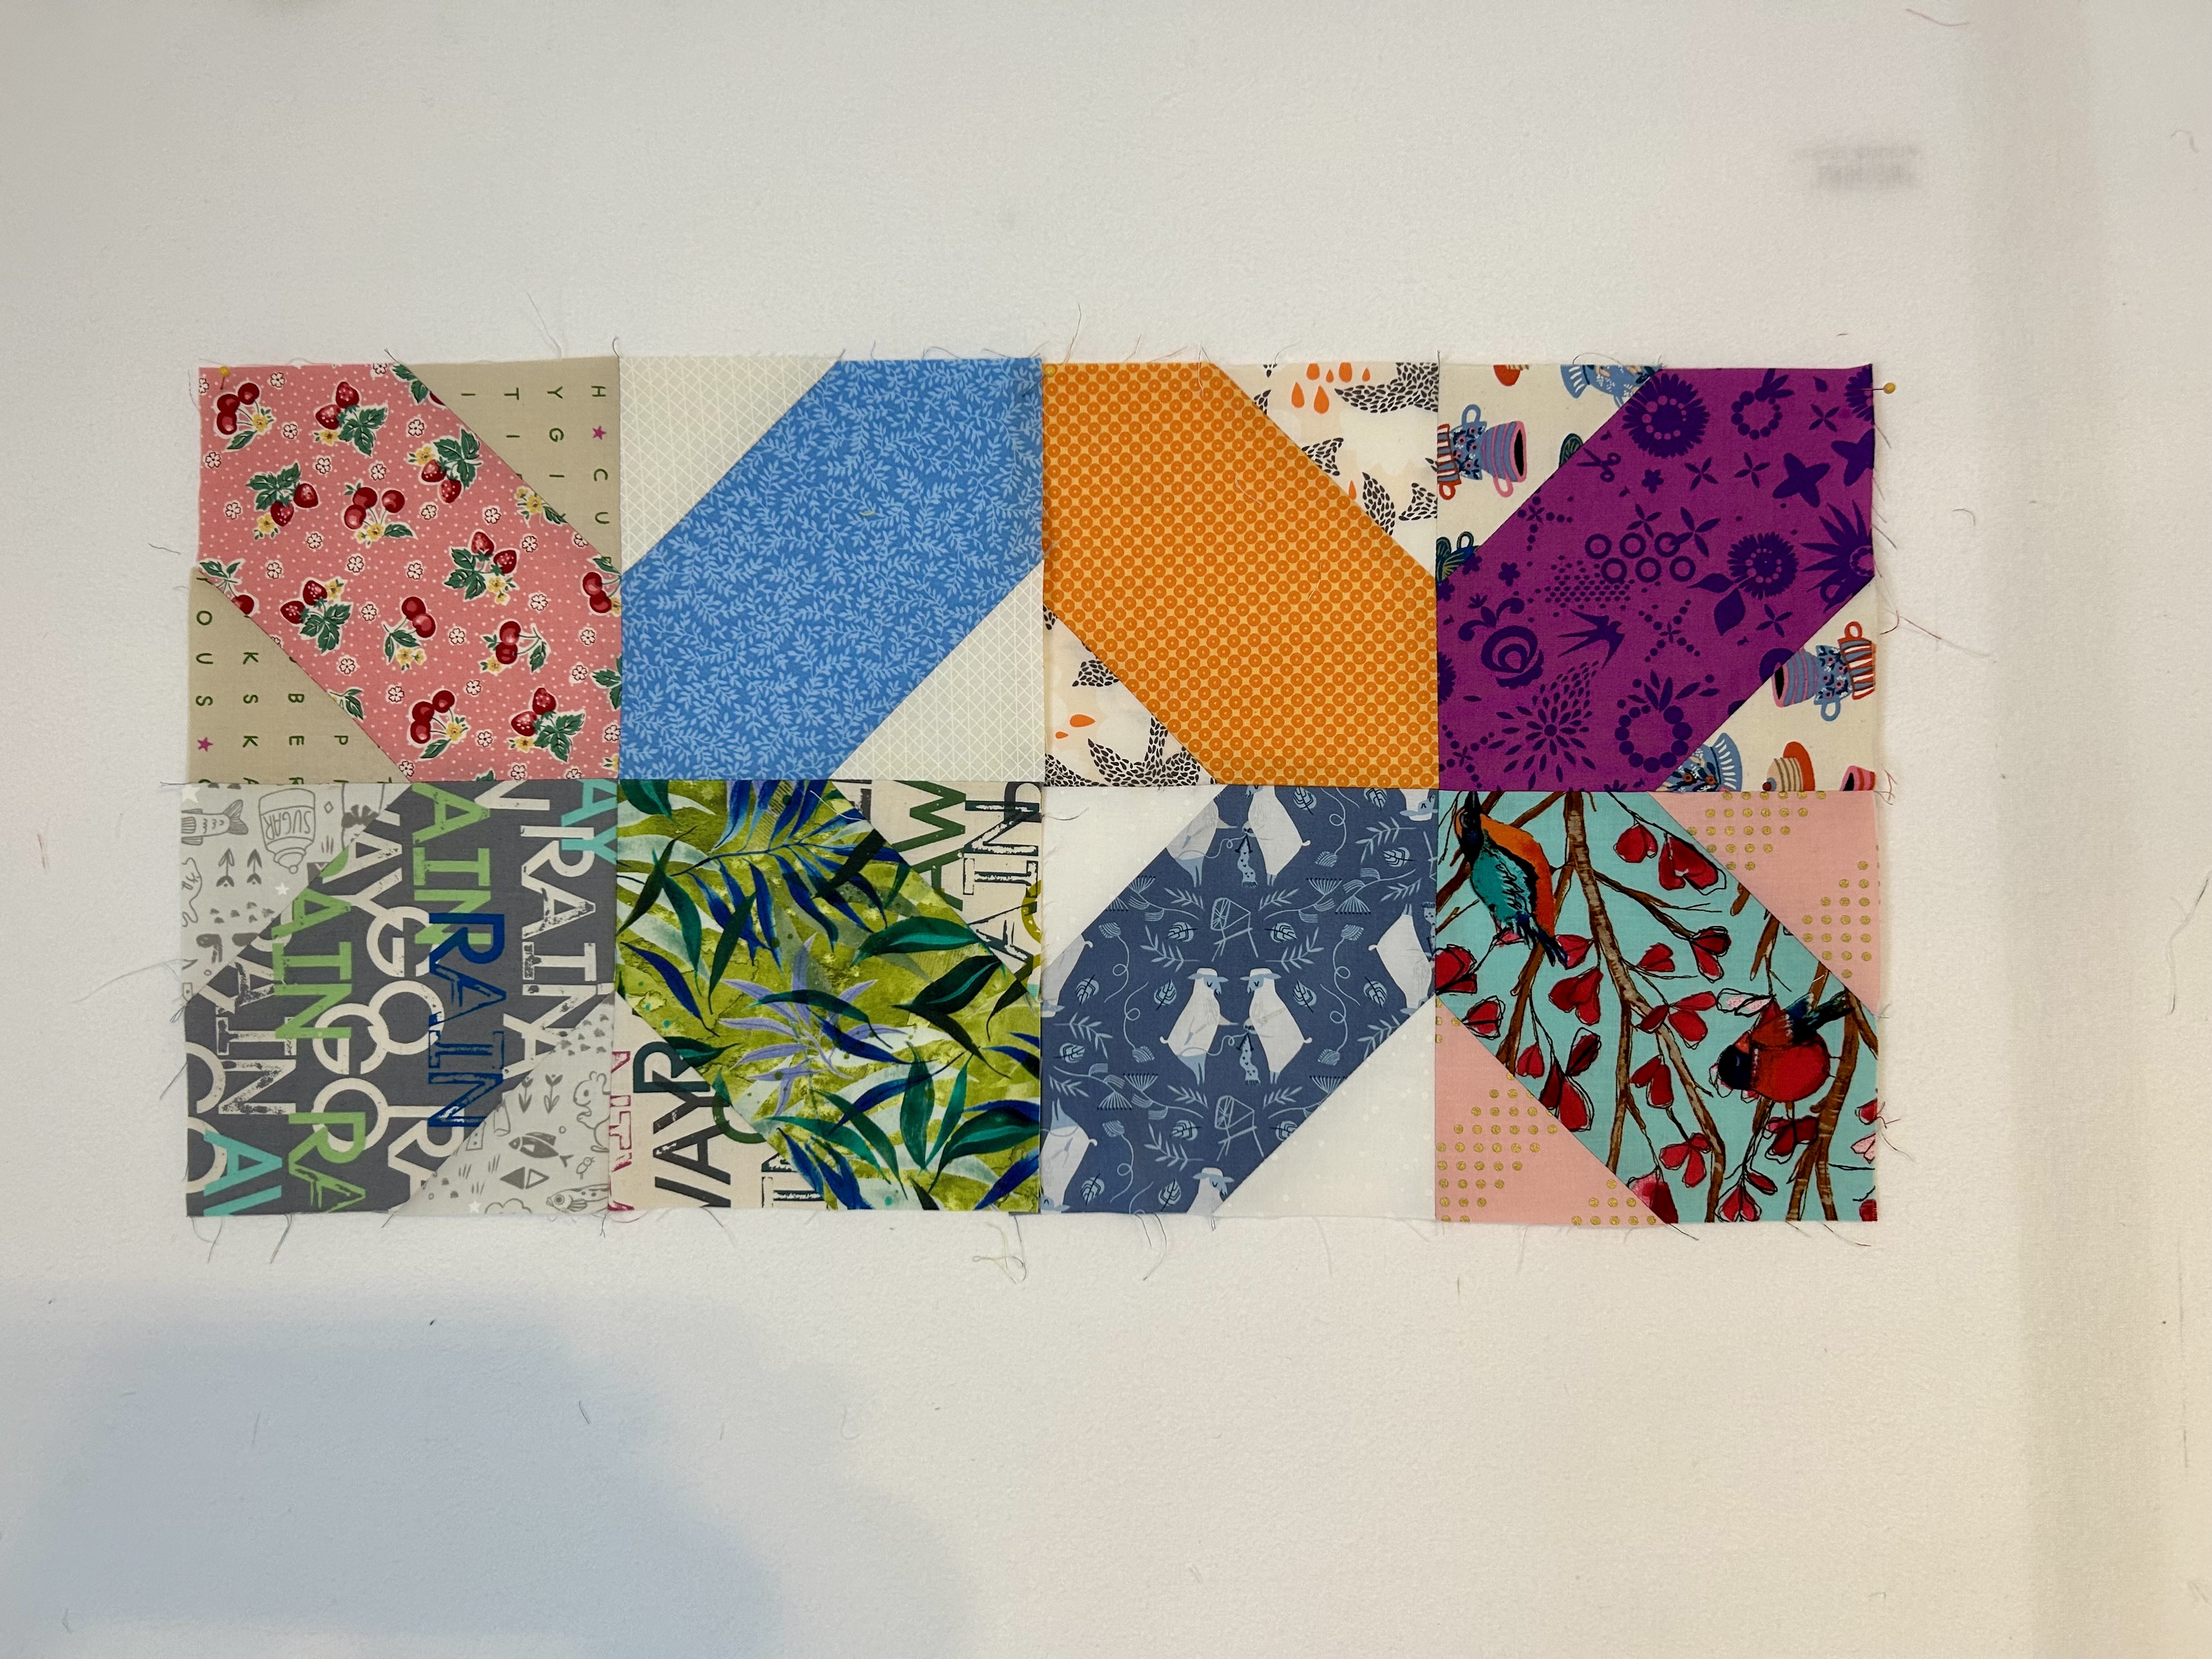
Wednesday morning was my monthly Patchwork Gals meeting, which is always such a treat. And Friday beloved neighbor and I will attend the Cobblestone Quilt Guild show, which is done every other year.
It’s been a great birthday week! For sure!
And I am so grateful.