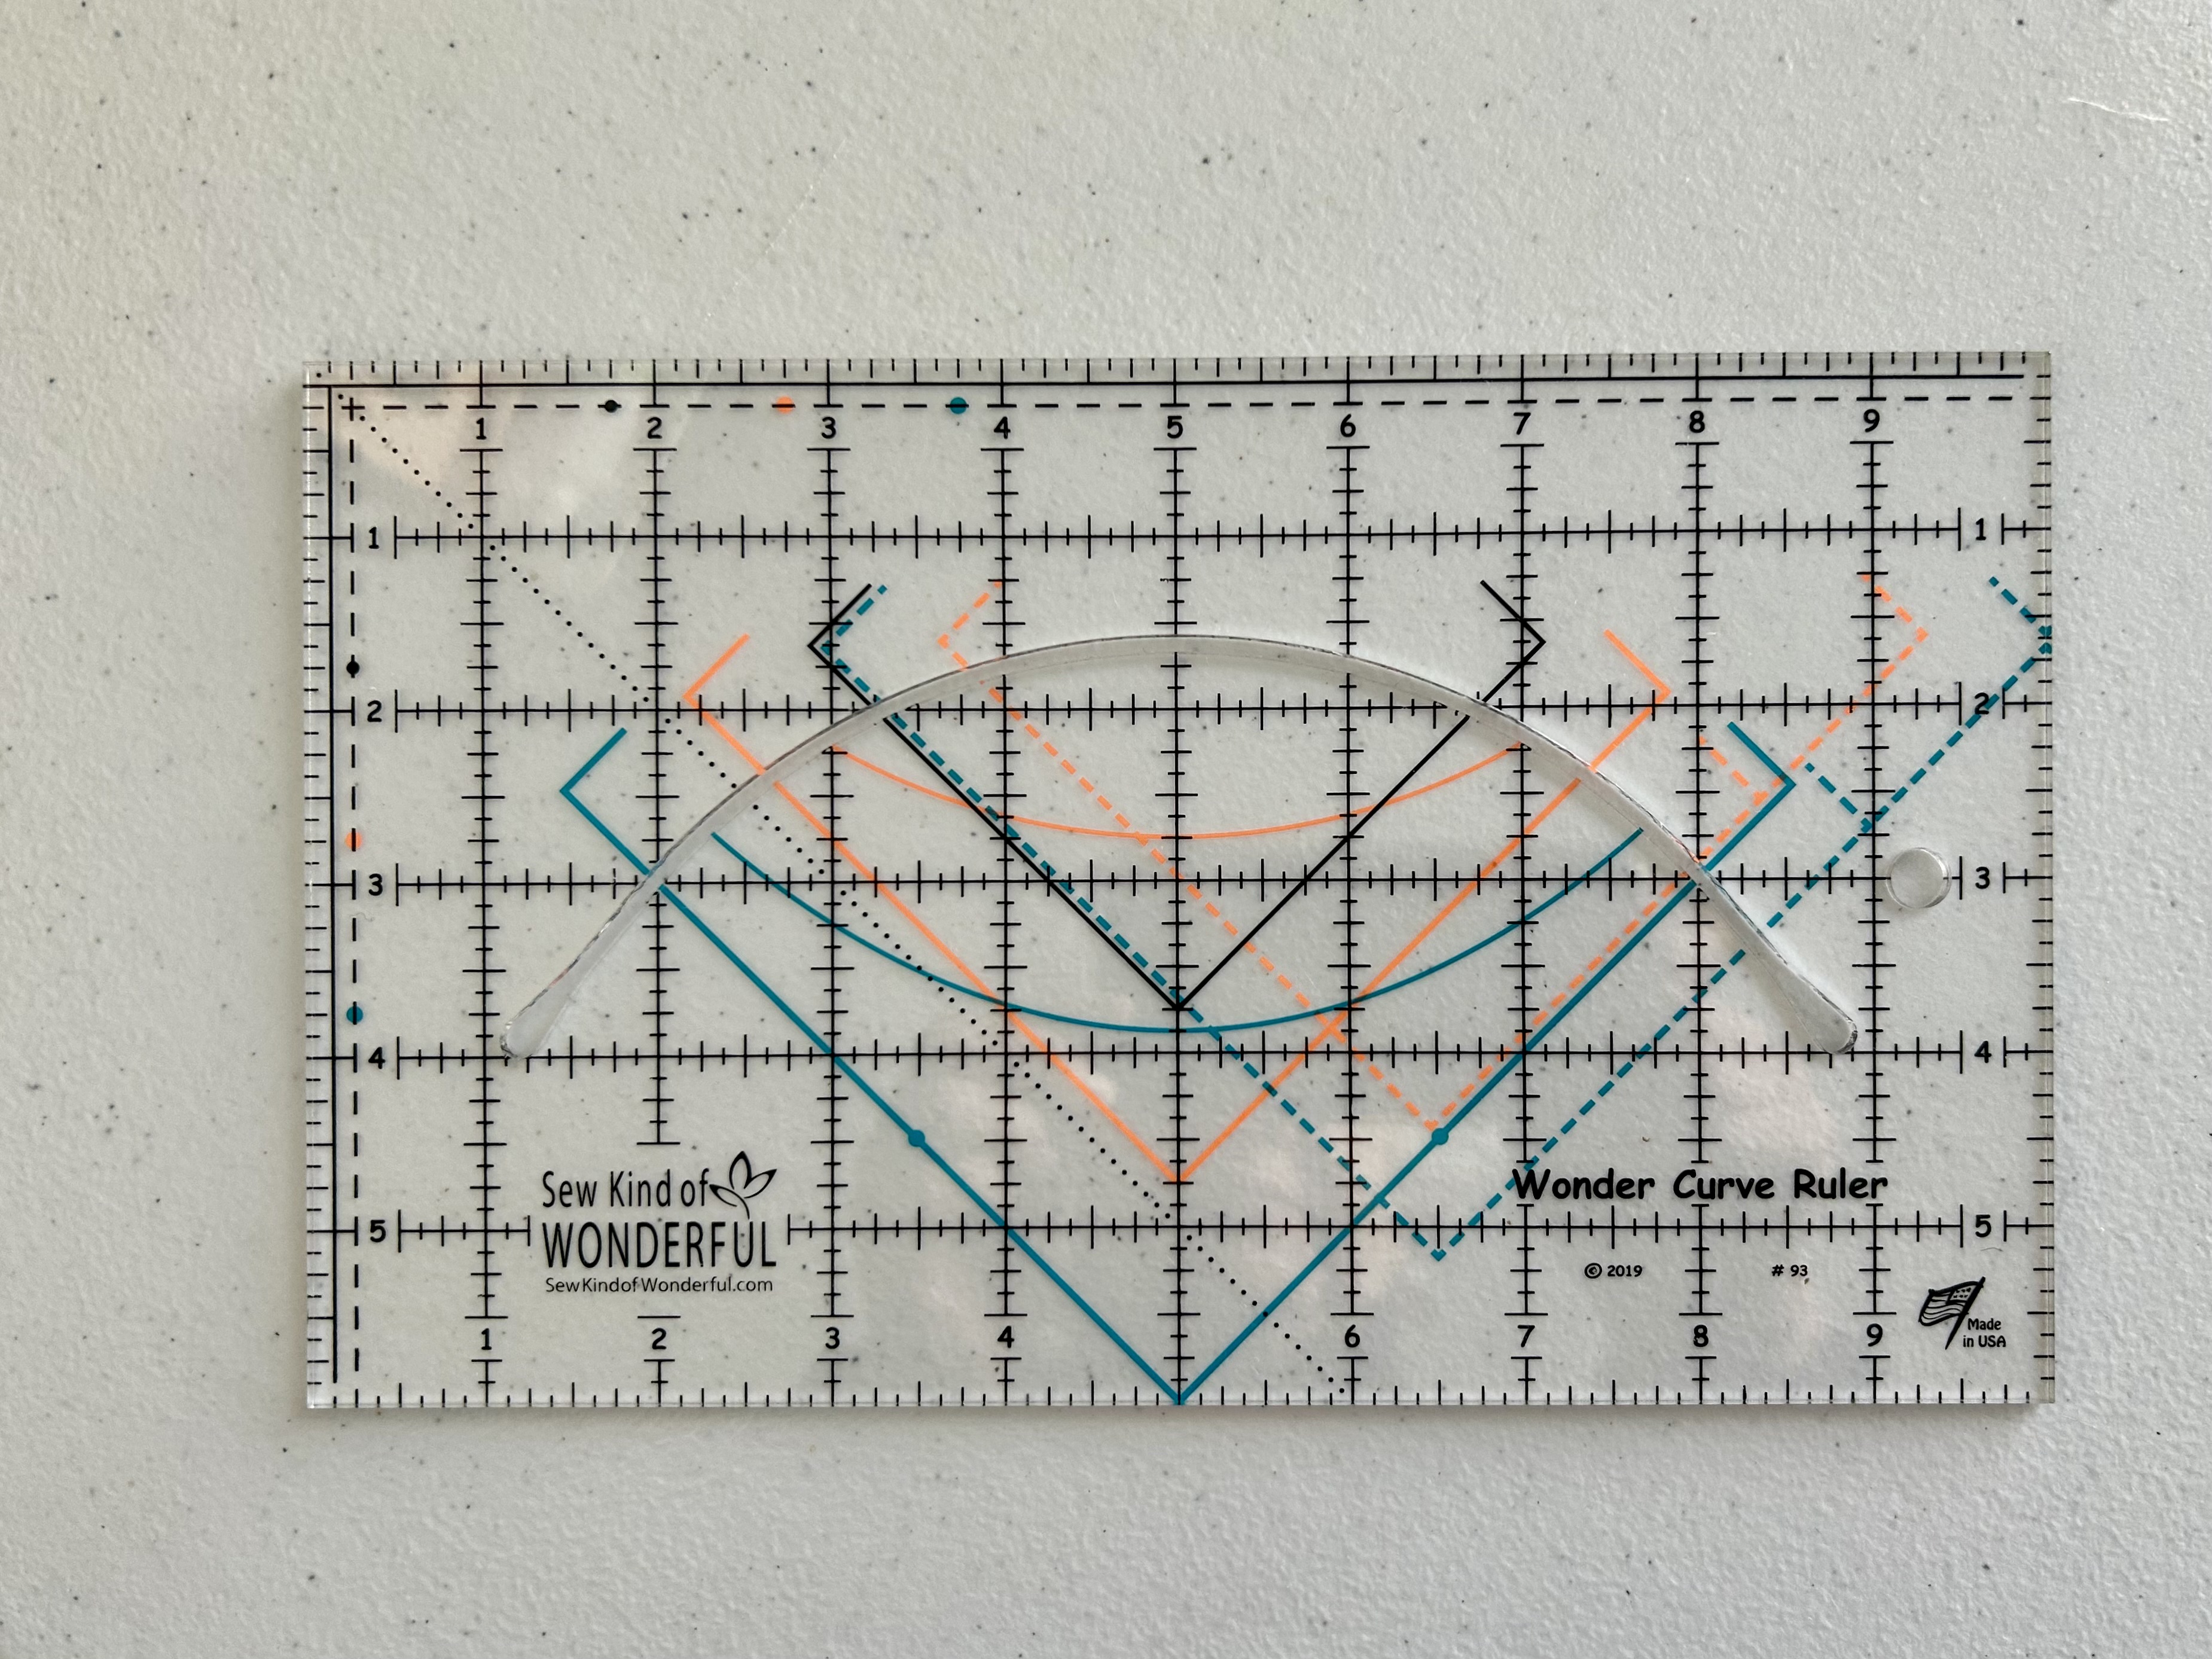
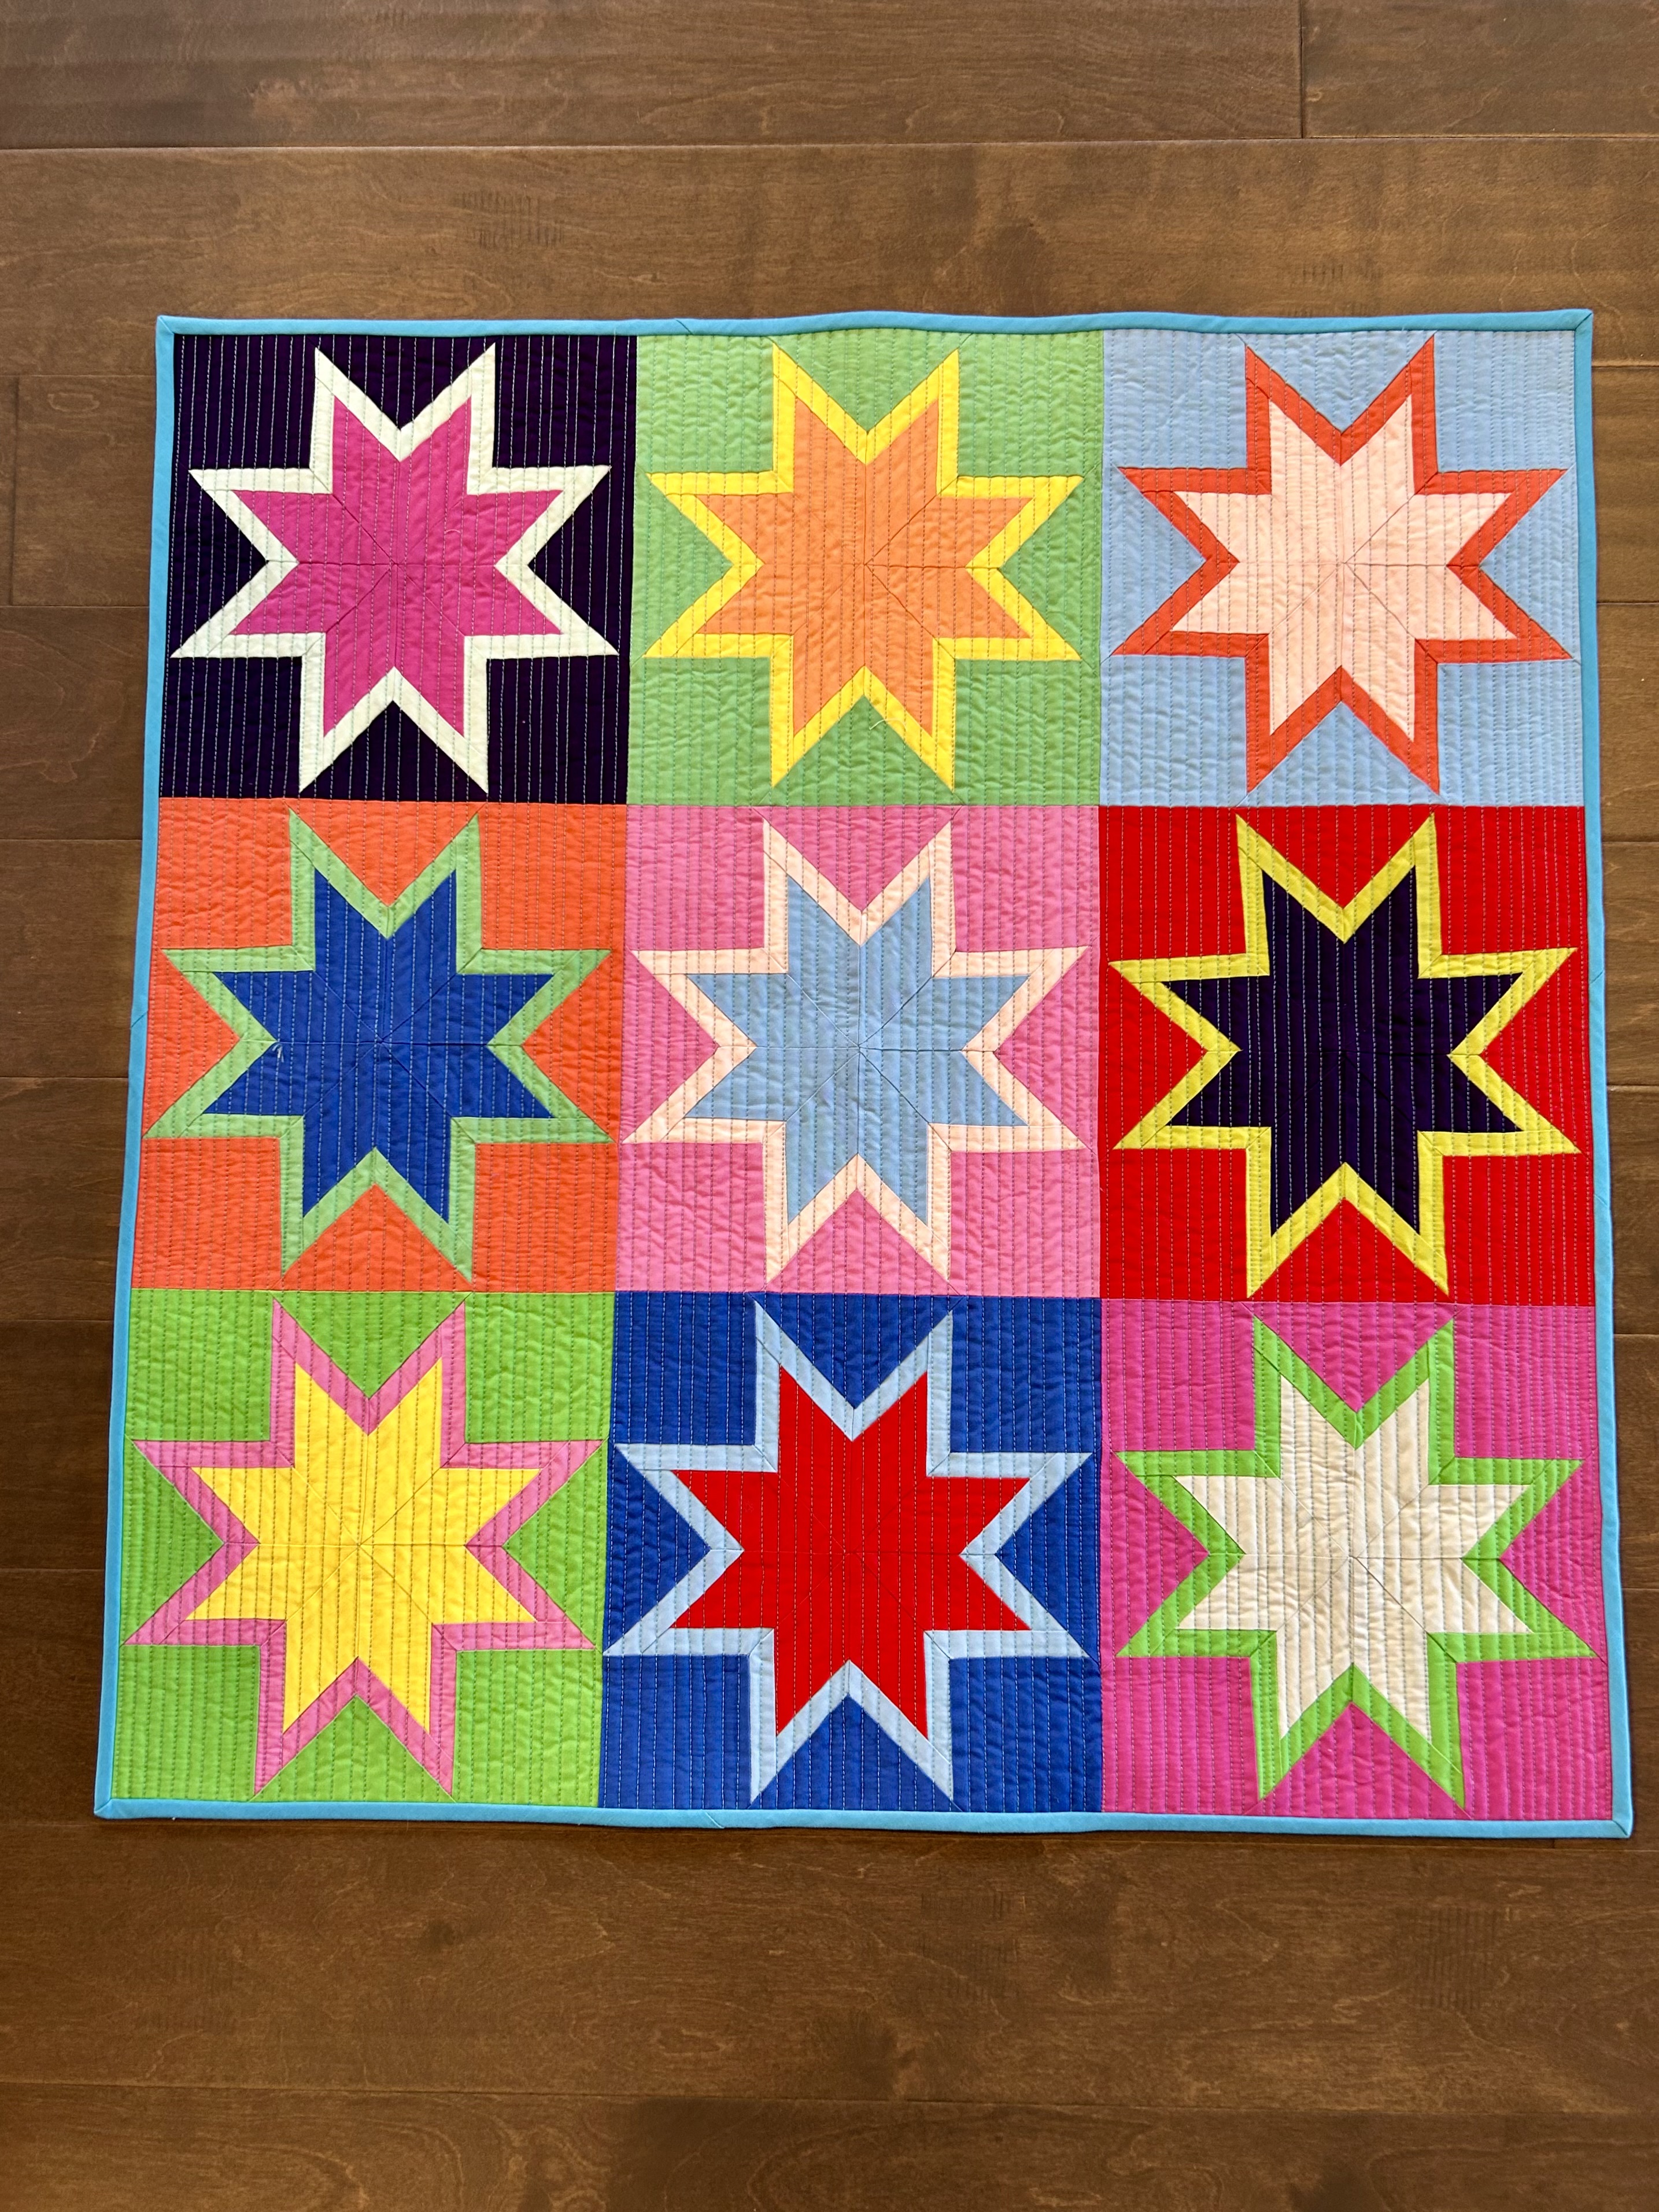
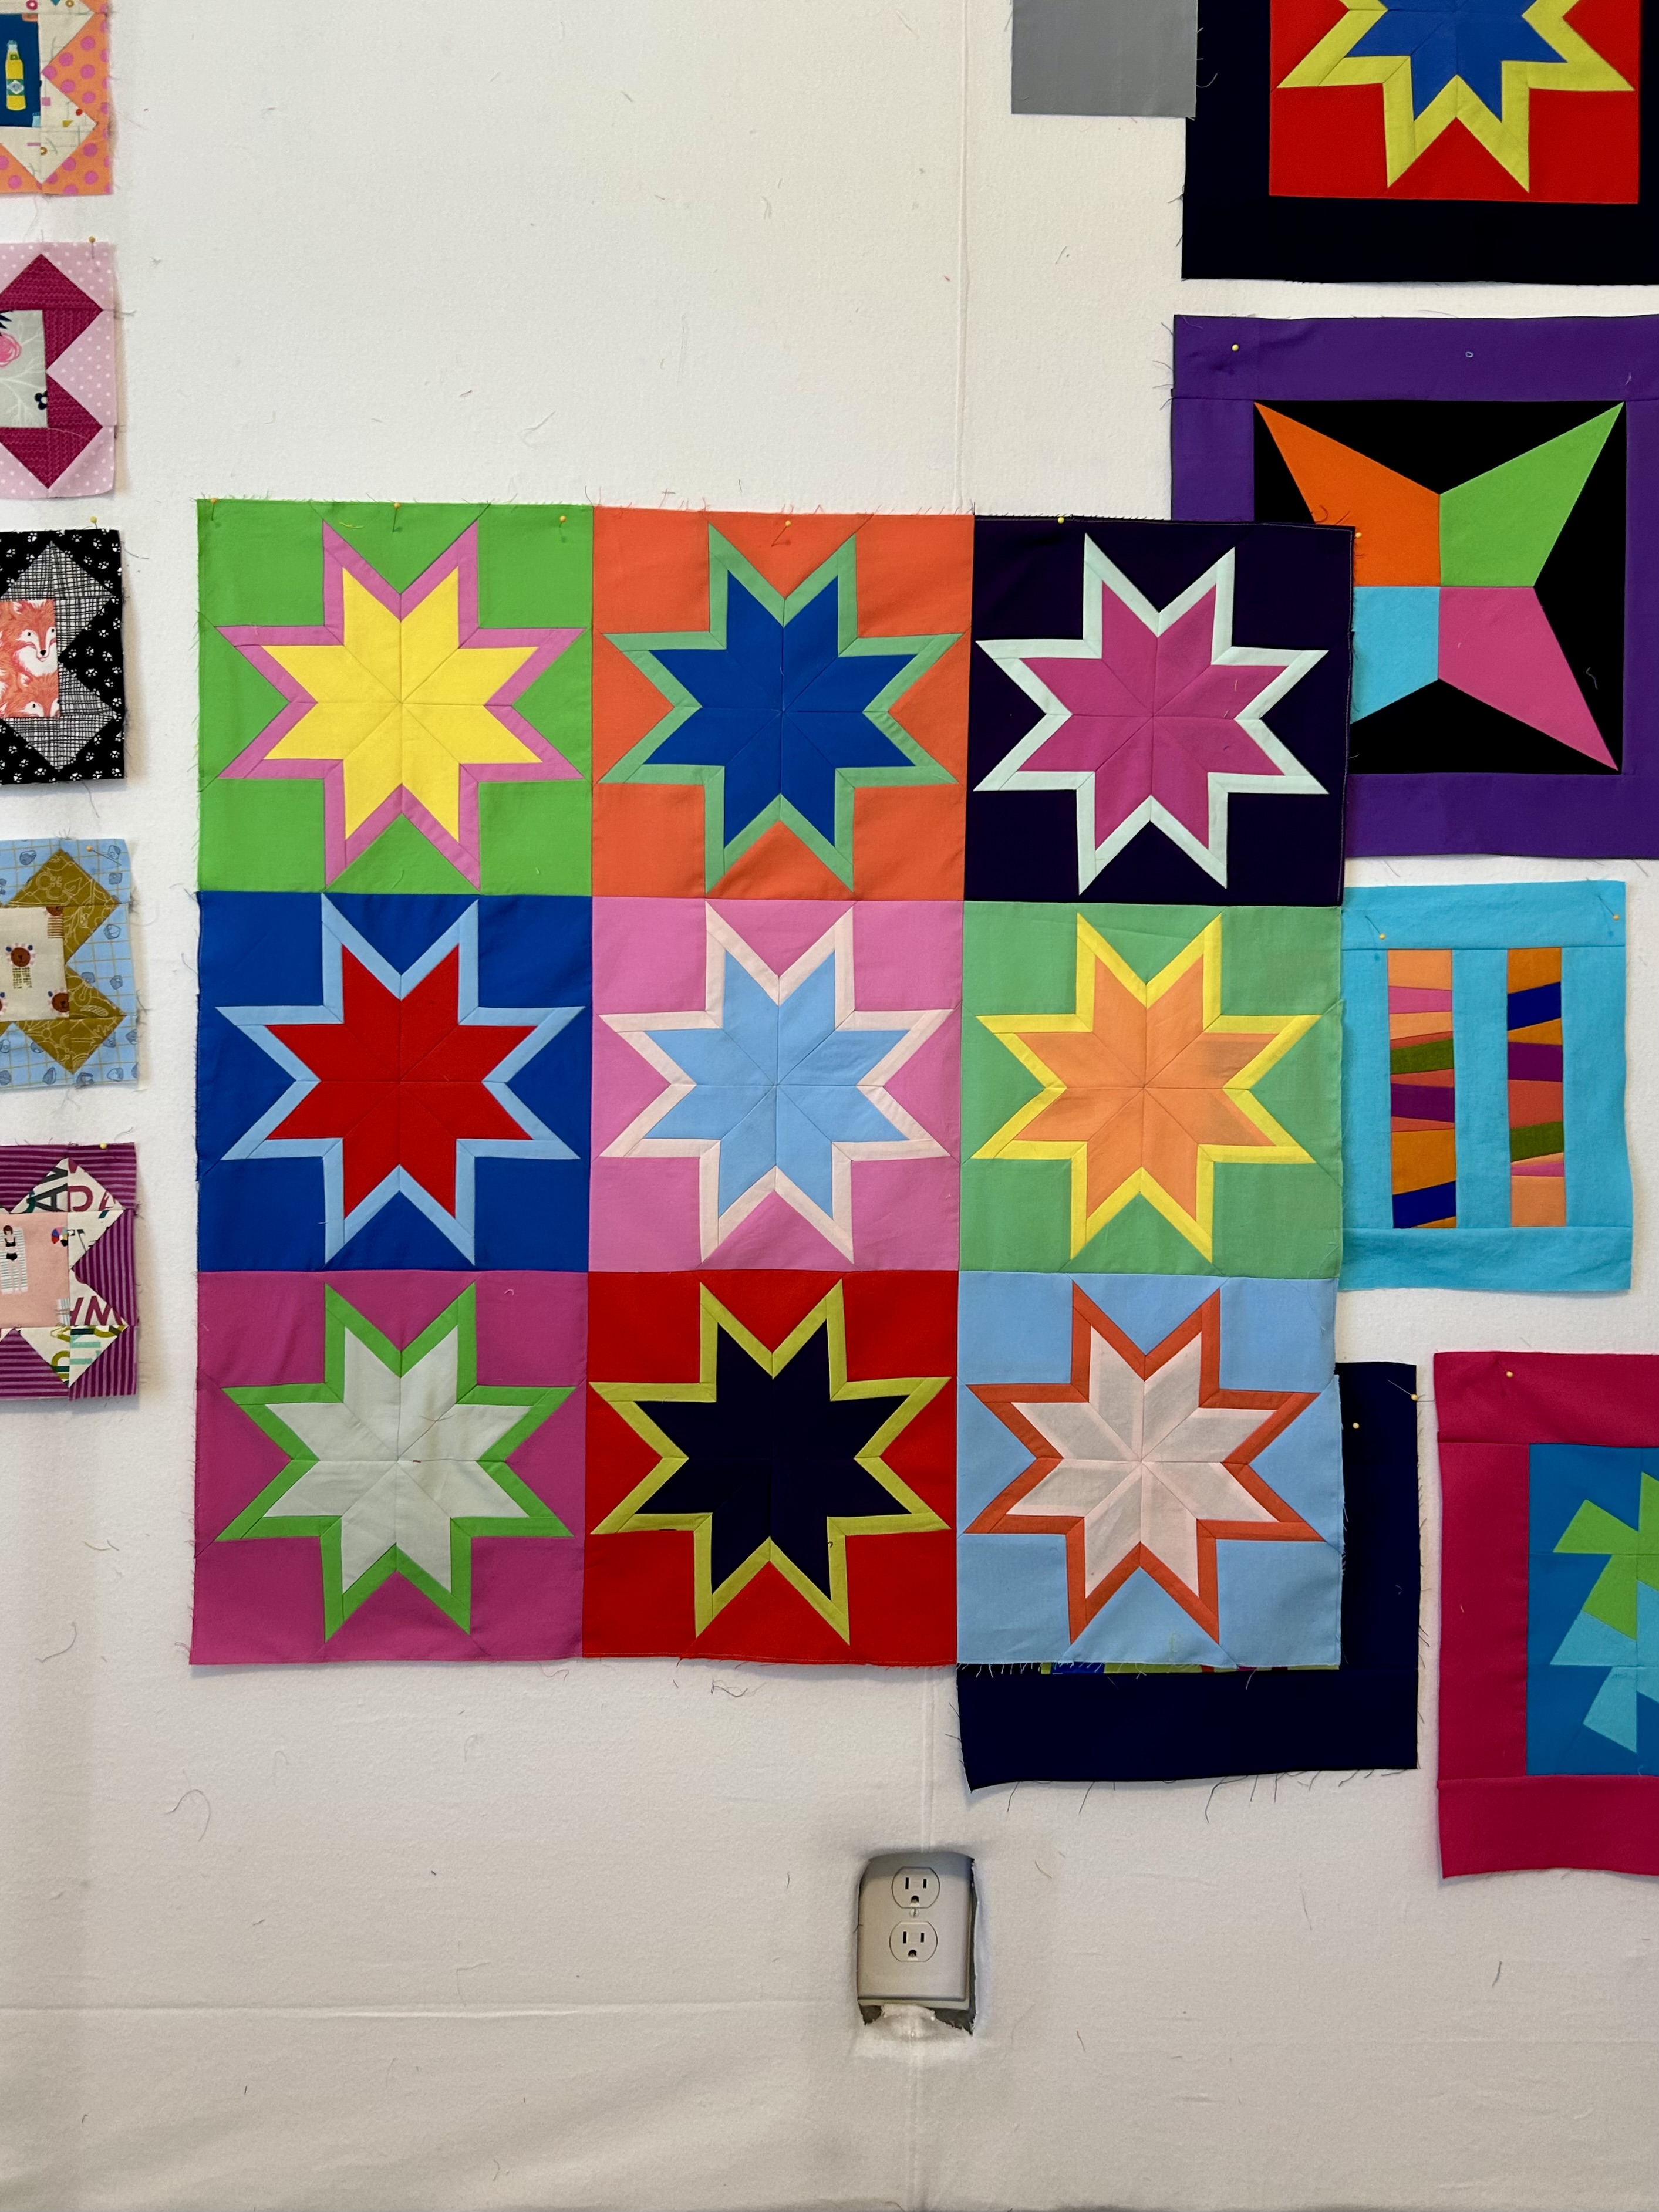
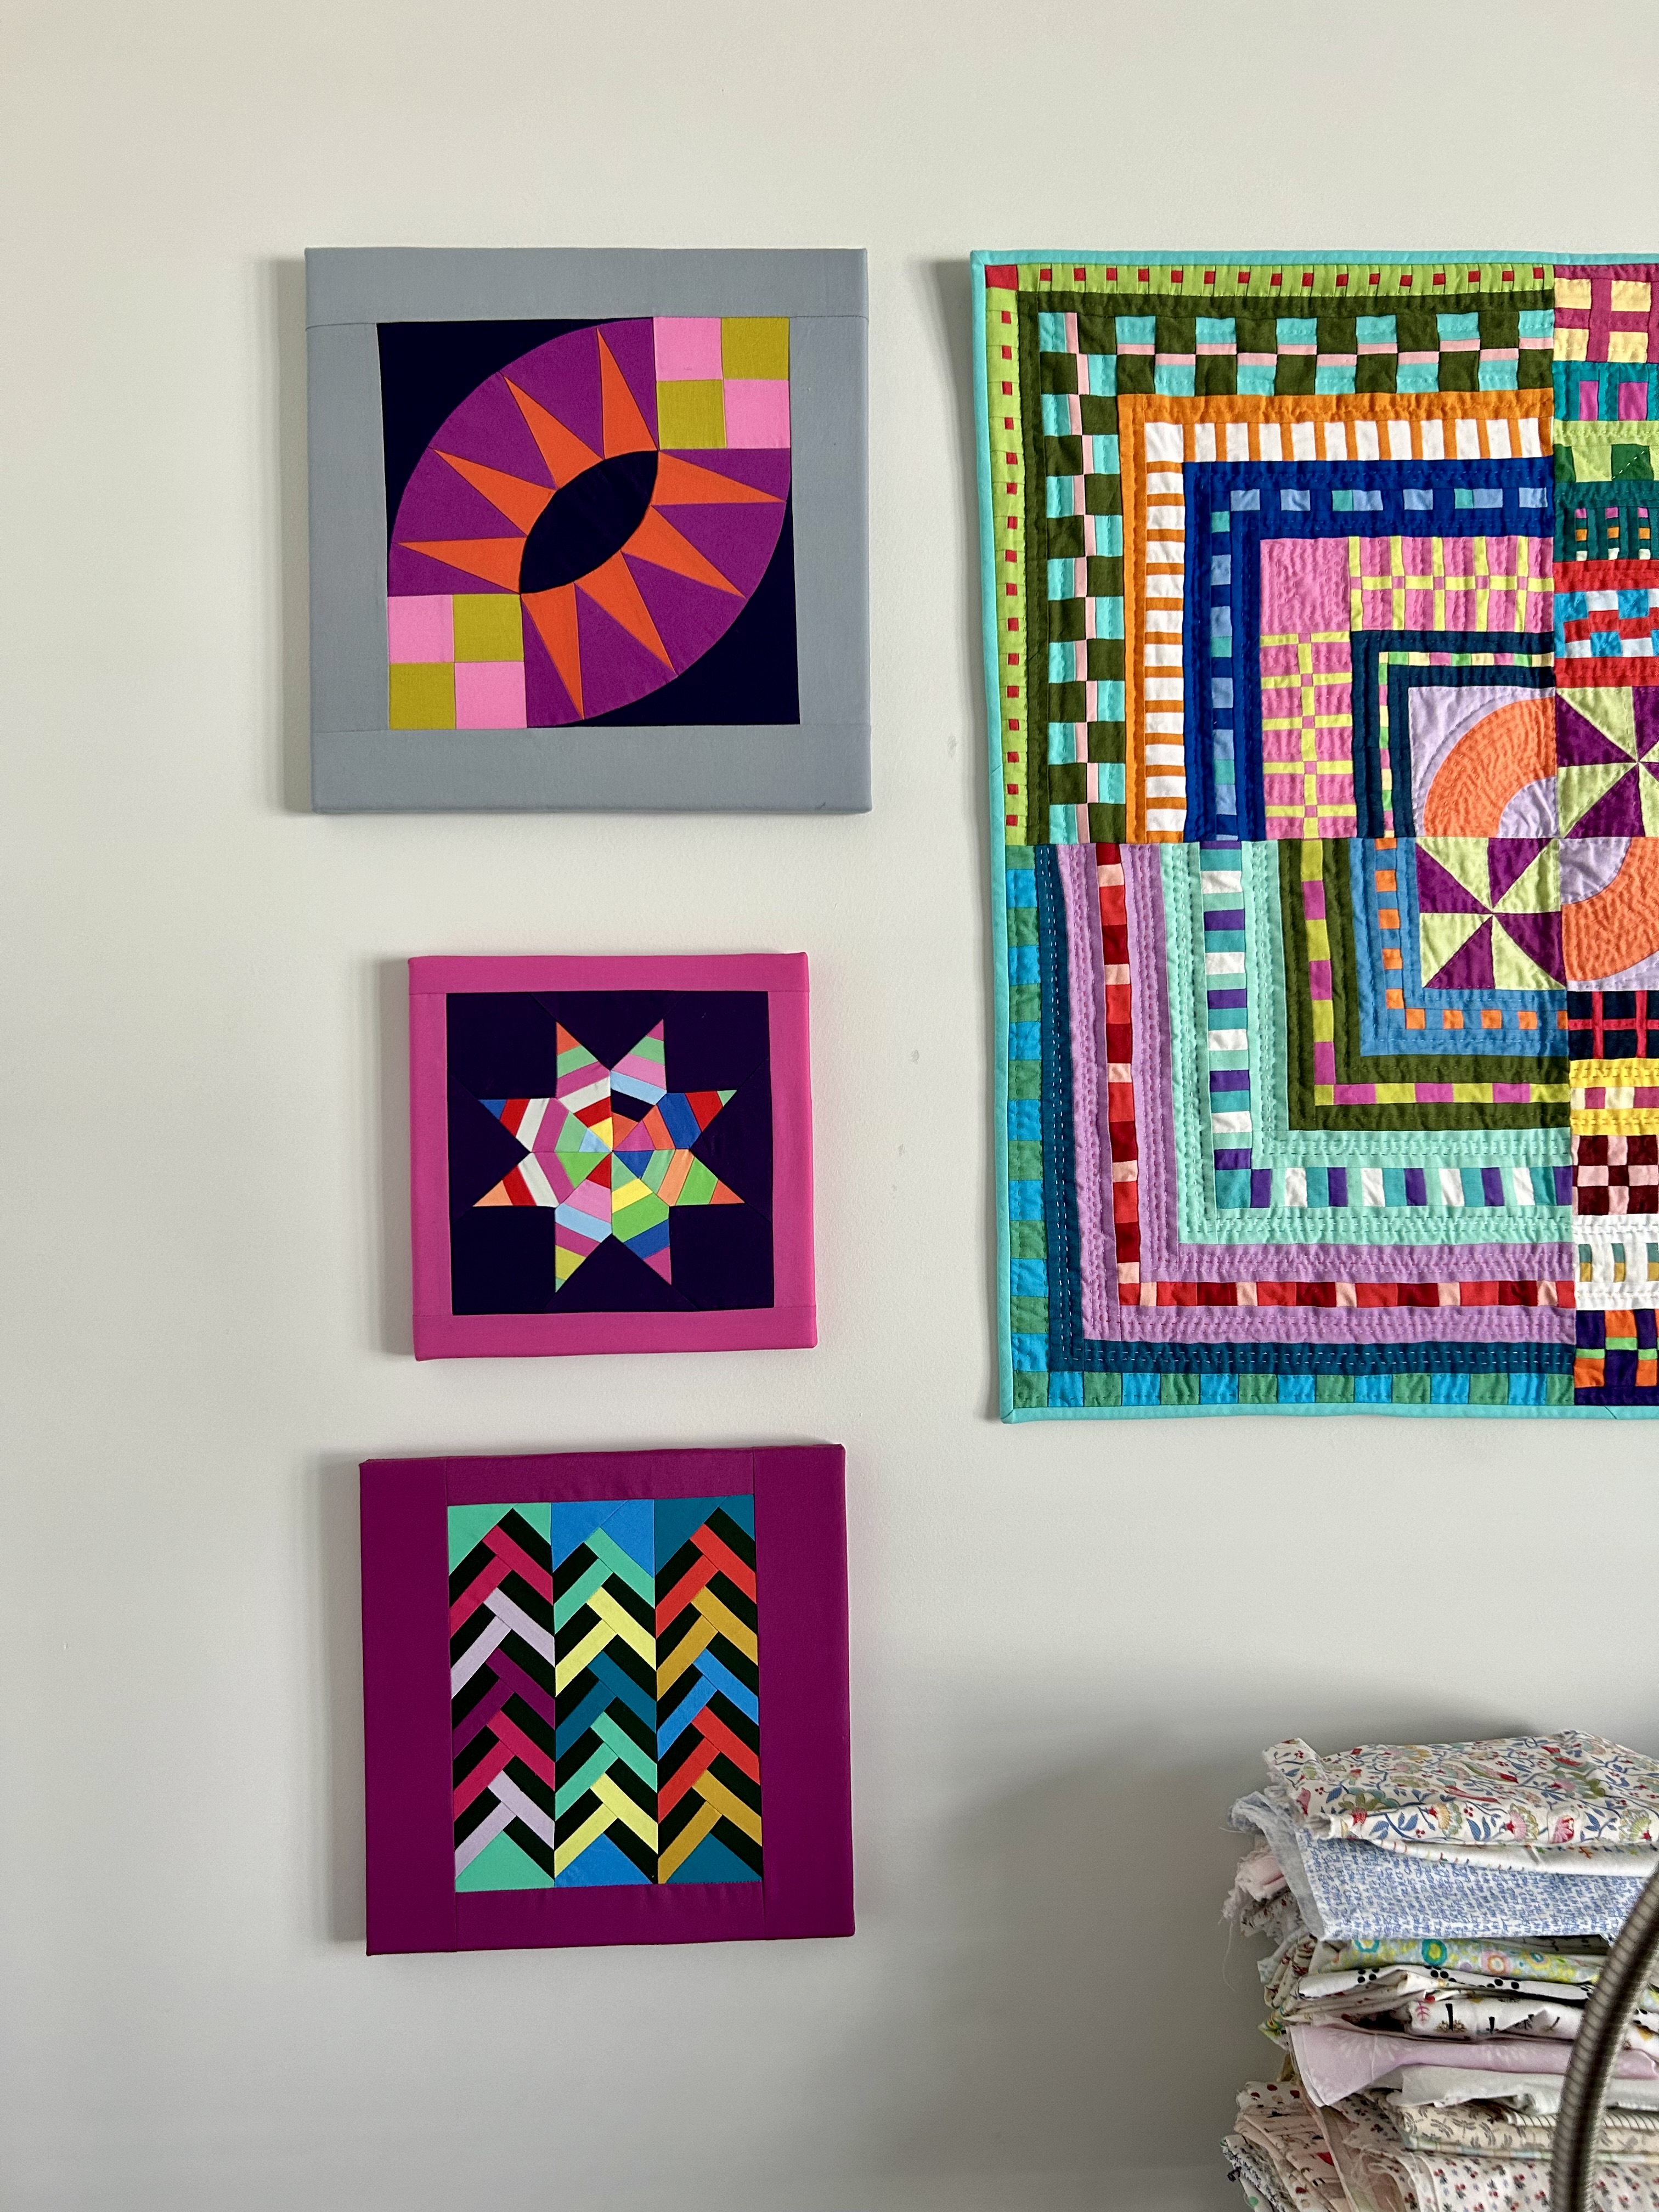
Month 4 of my Tara Faughnan online class, Blocks3, introduced the work of Jen Carlton Bailly’s “Make It Curvy” (bettycrockerass.com) block method, which involve her curvy templates in many sizes. These templates have a much narrower outside piece than, say, the Drunkard Path’s templates–which means one can make a bigger visual circle.
This block plays as well with COLOR–with what happens when you put a color with other colors. And this month’s palette choices allowed us to play with color and shape to our heart’s content. Jen’s method insures that no two blocks will be the same, given how one lays in color in the process she teaches.
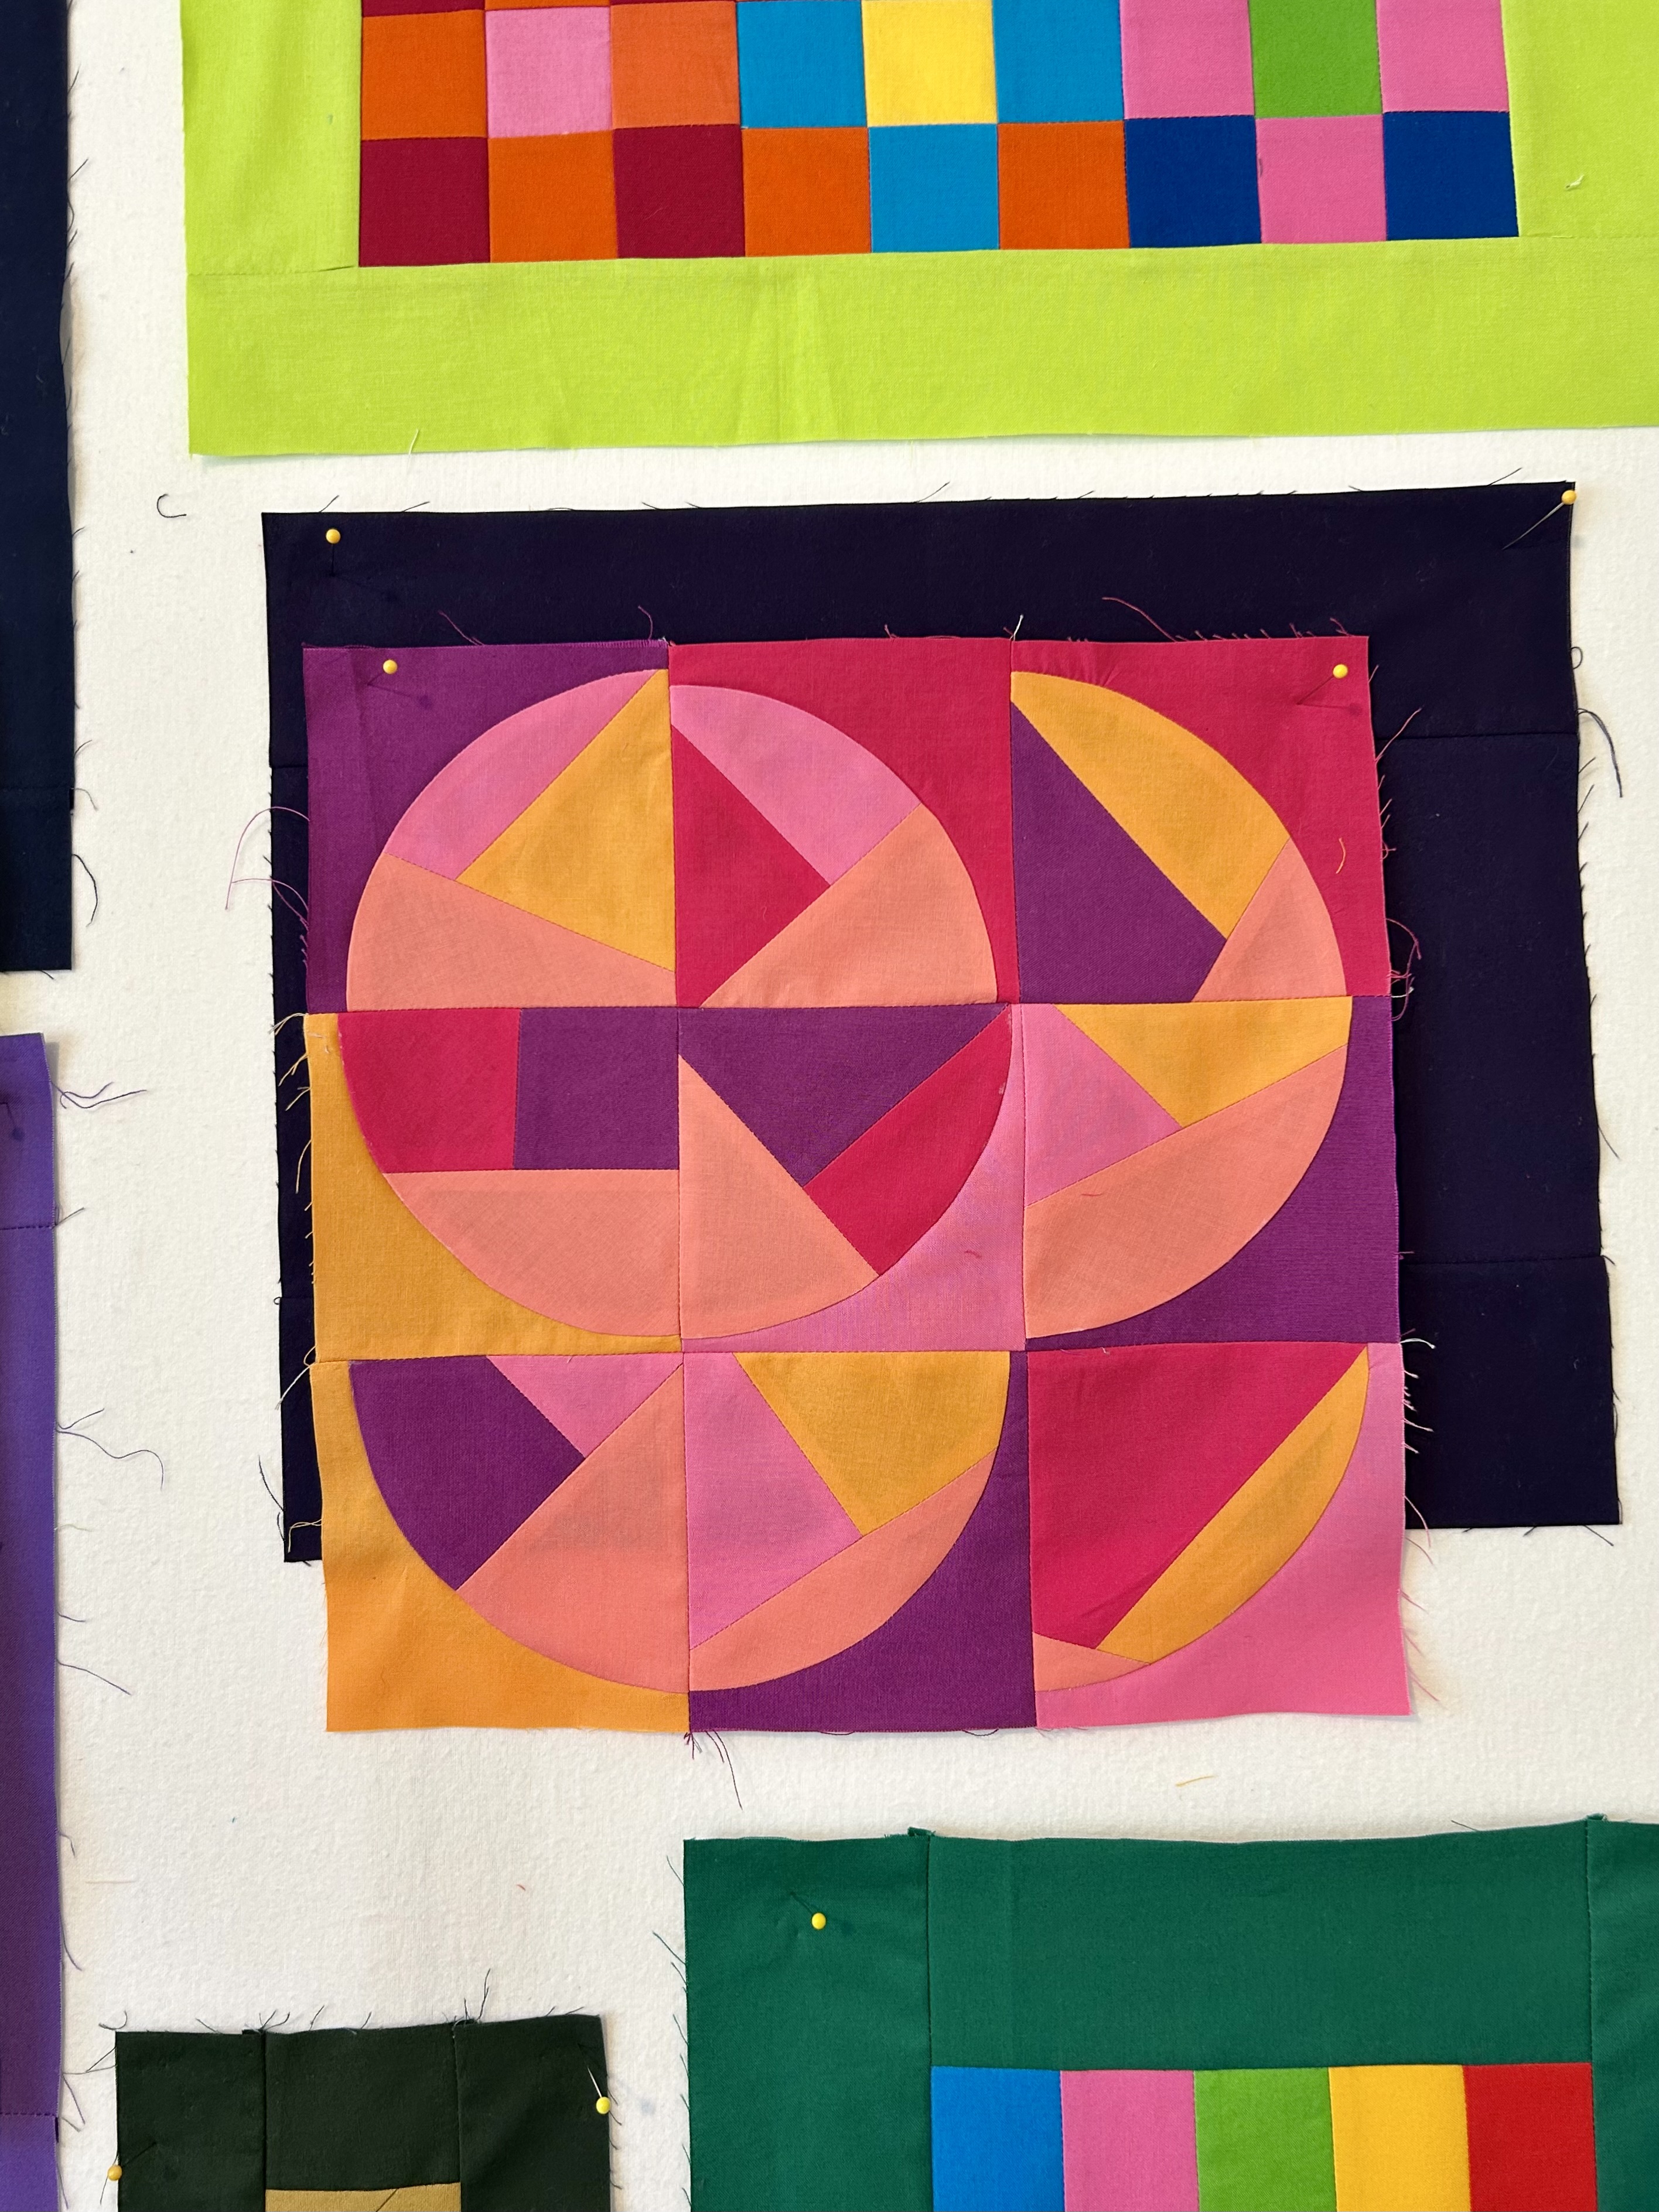
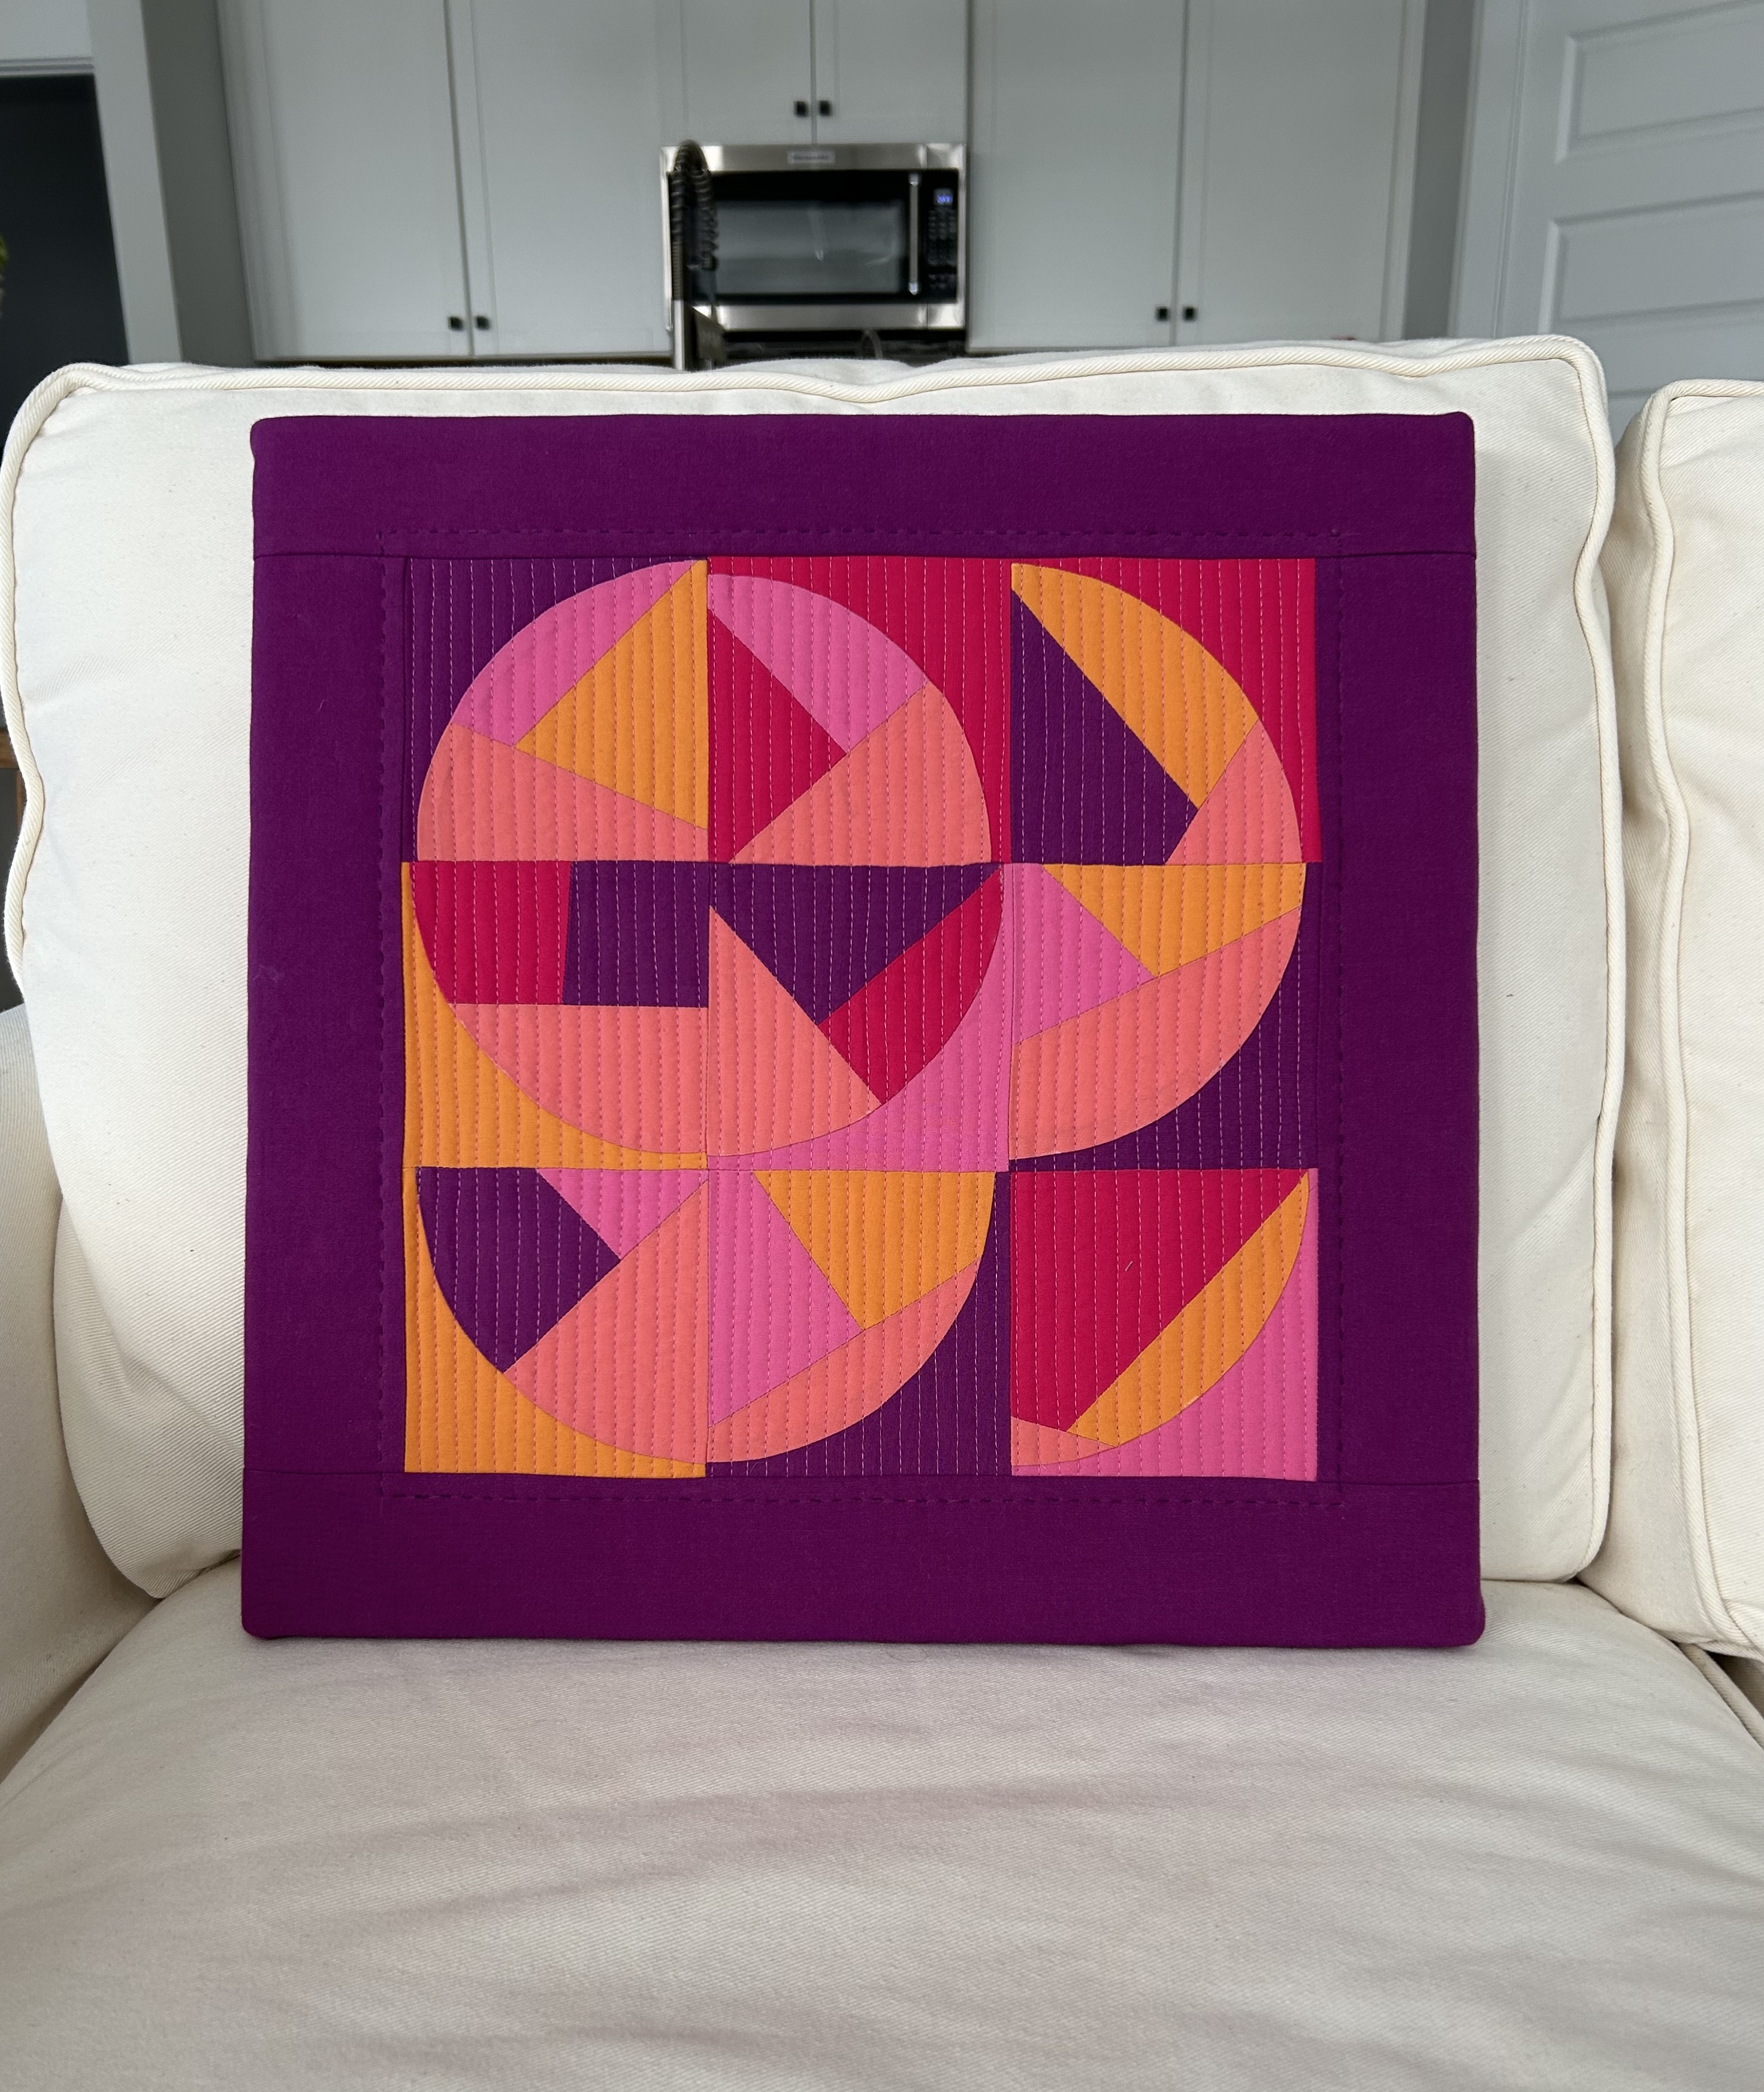
Here’s my first effort–using a 4.5-inch template. I wanted warm colors to play together. When laying out one’s blocks, one might look for what colors might group to please the eye, and/or what kinds of shapes can be found. I quilted with a soft orchid thread in matchstick lines, and hand quilted an outside line with a more or less matching thread as I didn’t want it to stand out and pull the eye away from the center. Matchstick lines don’t take away from a very graphic piece. Then I installed the piece on stretched canvas.
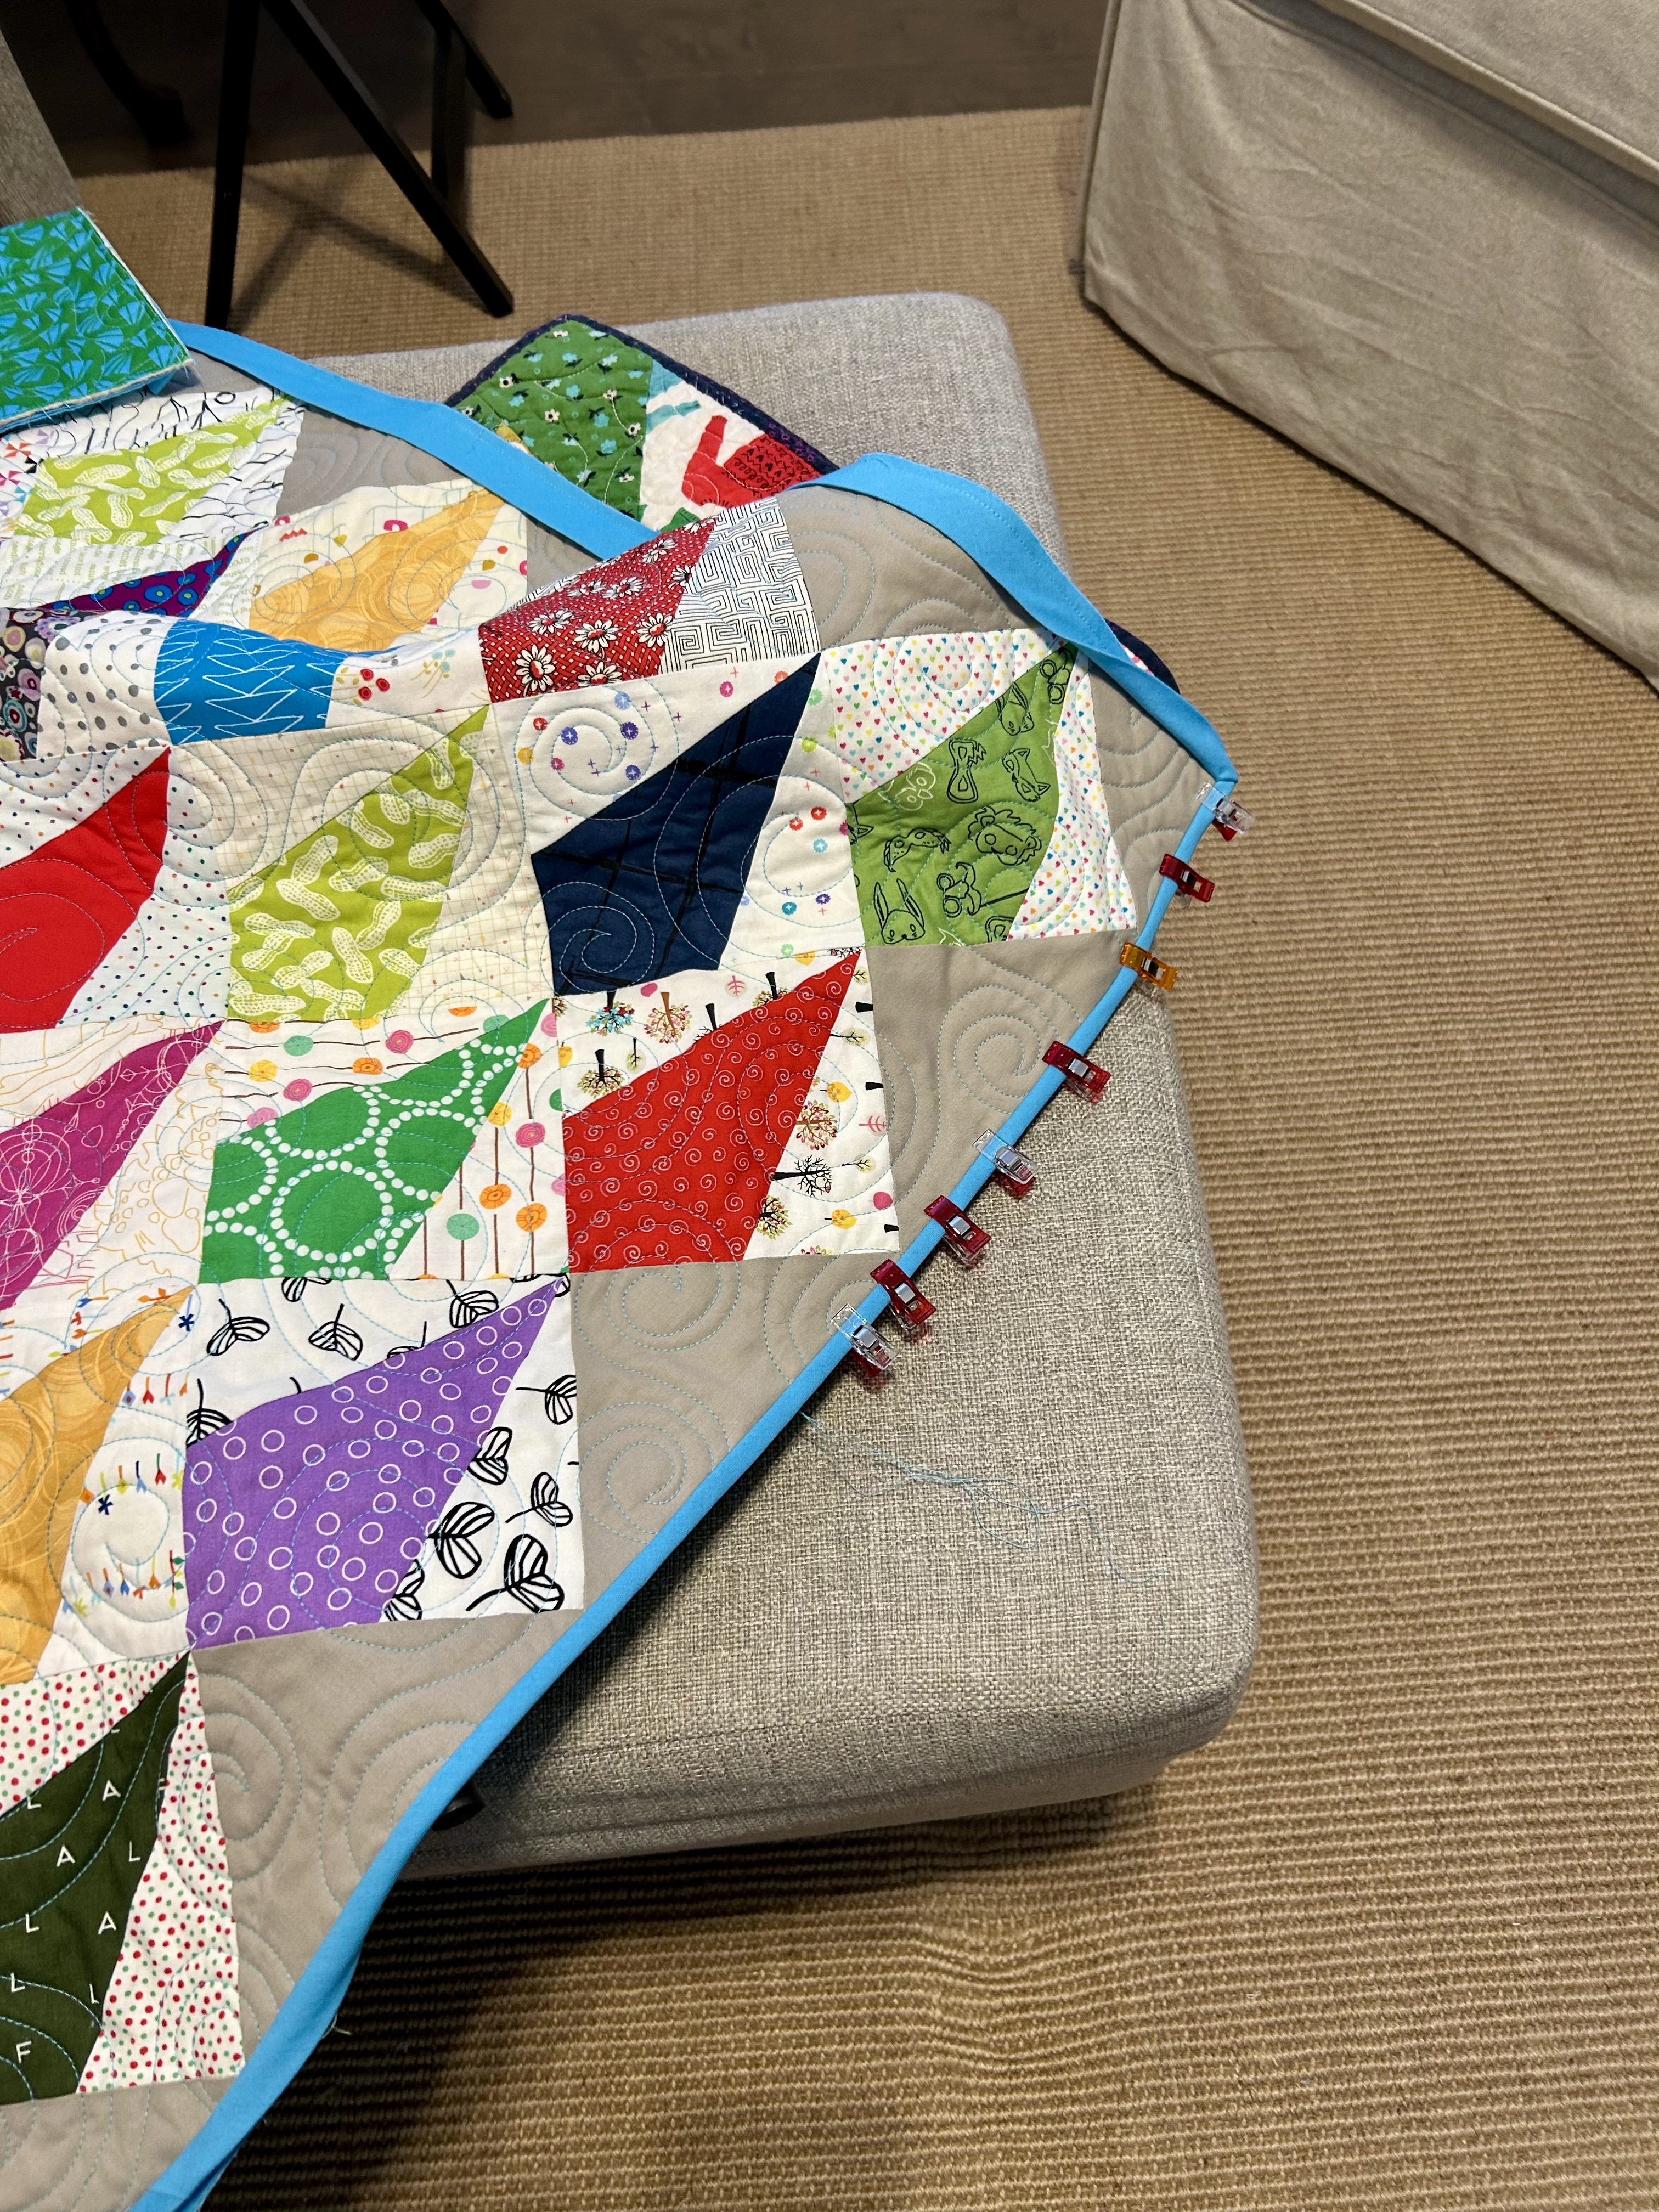
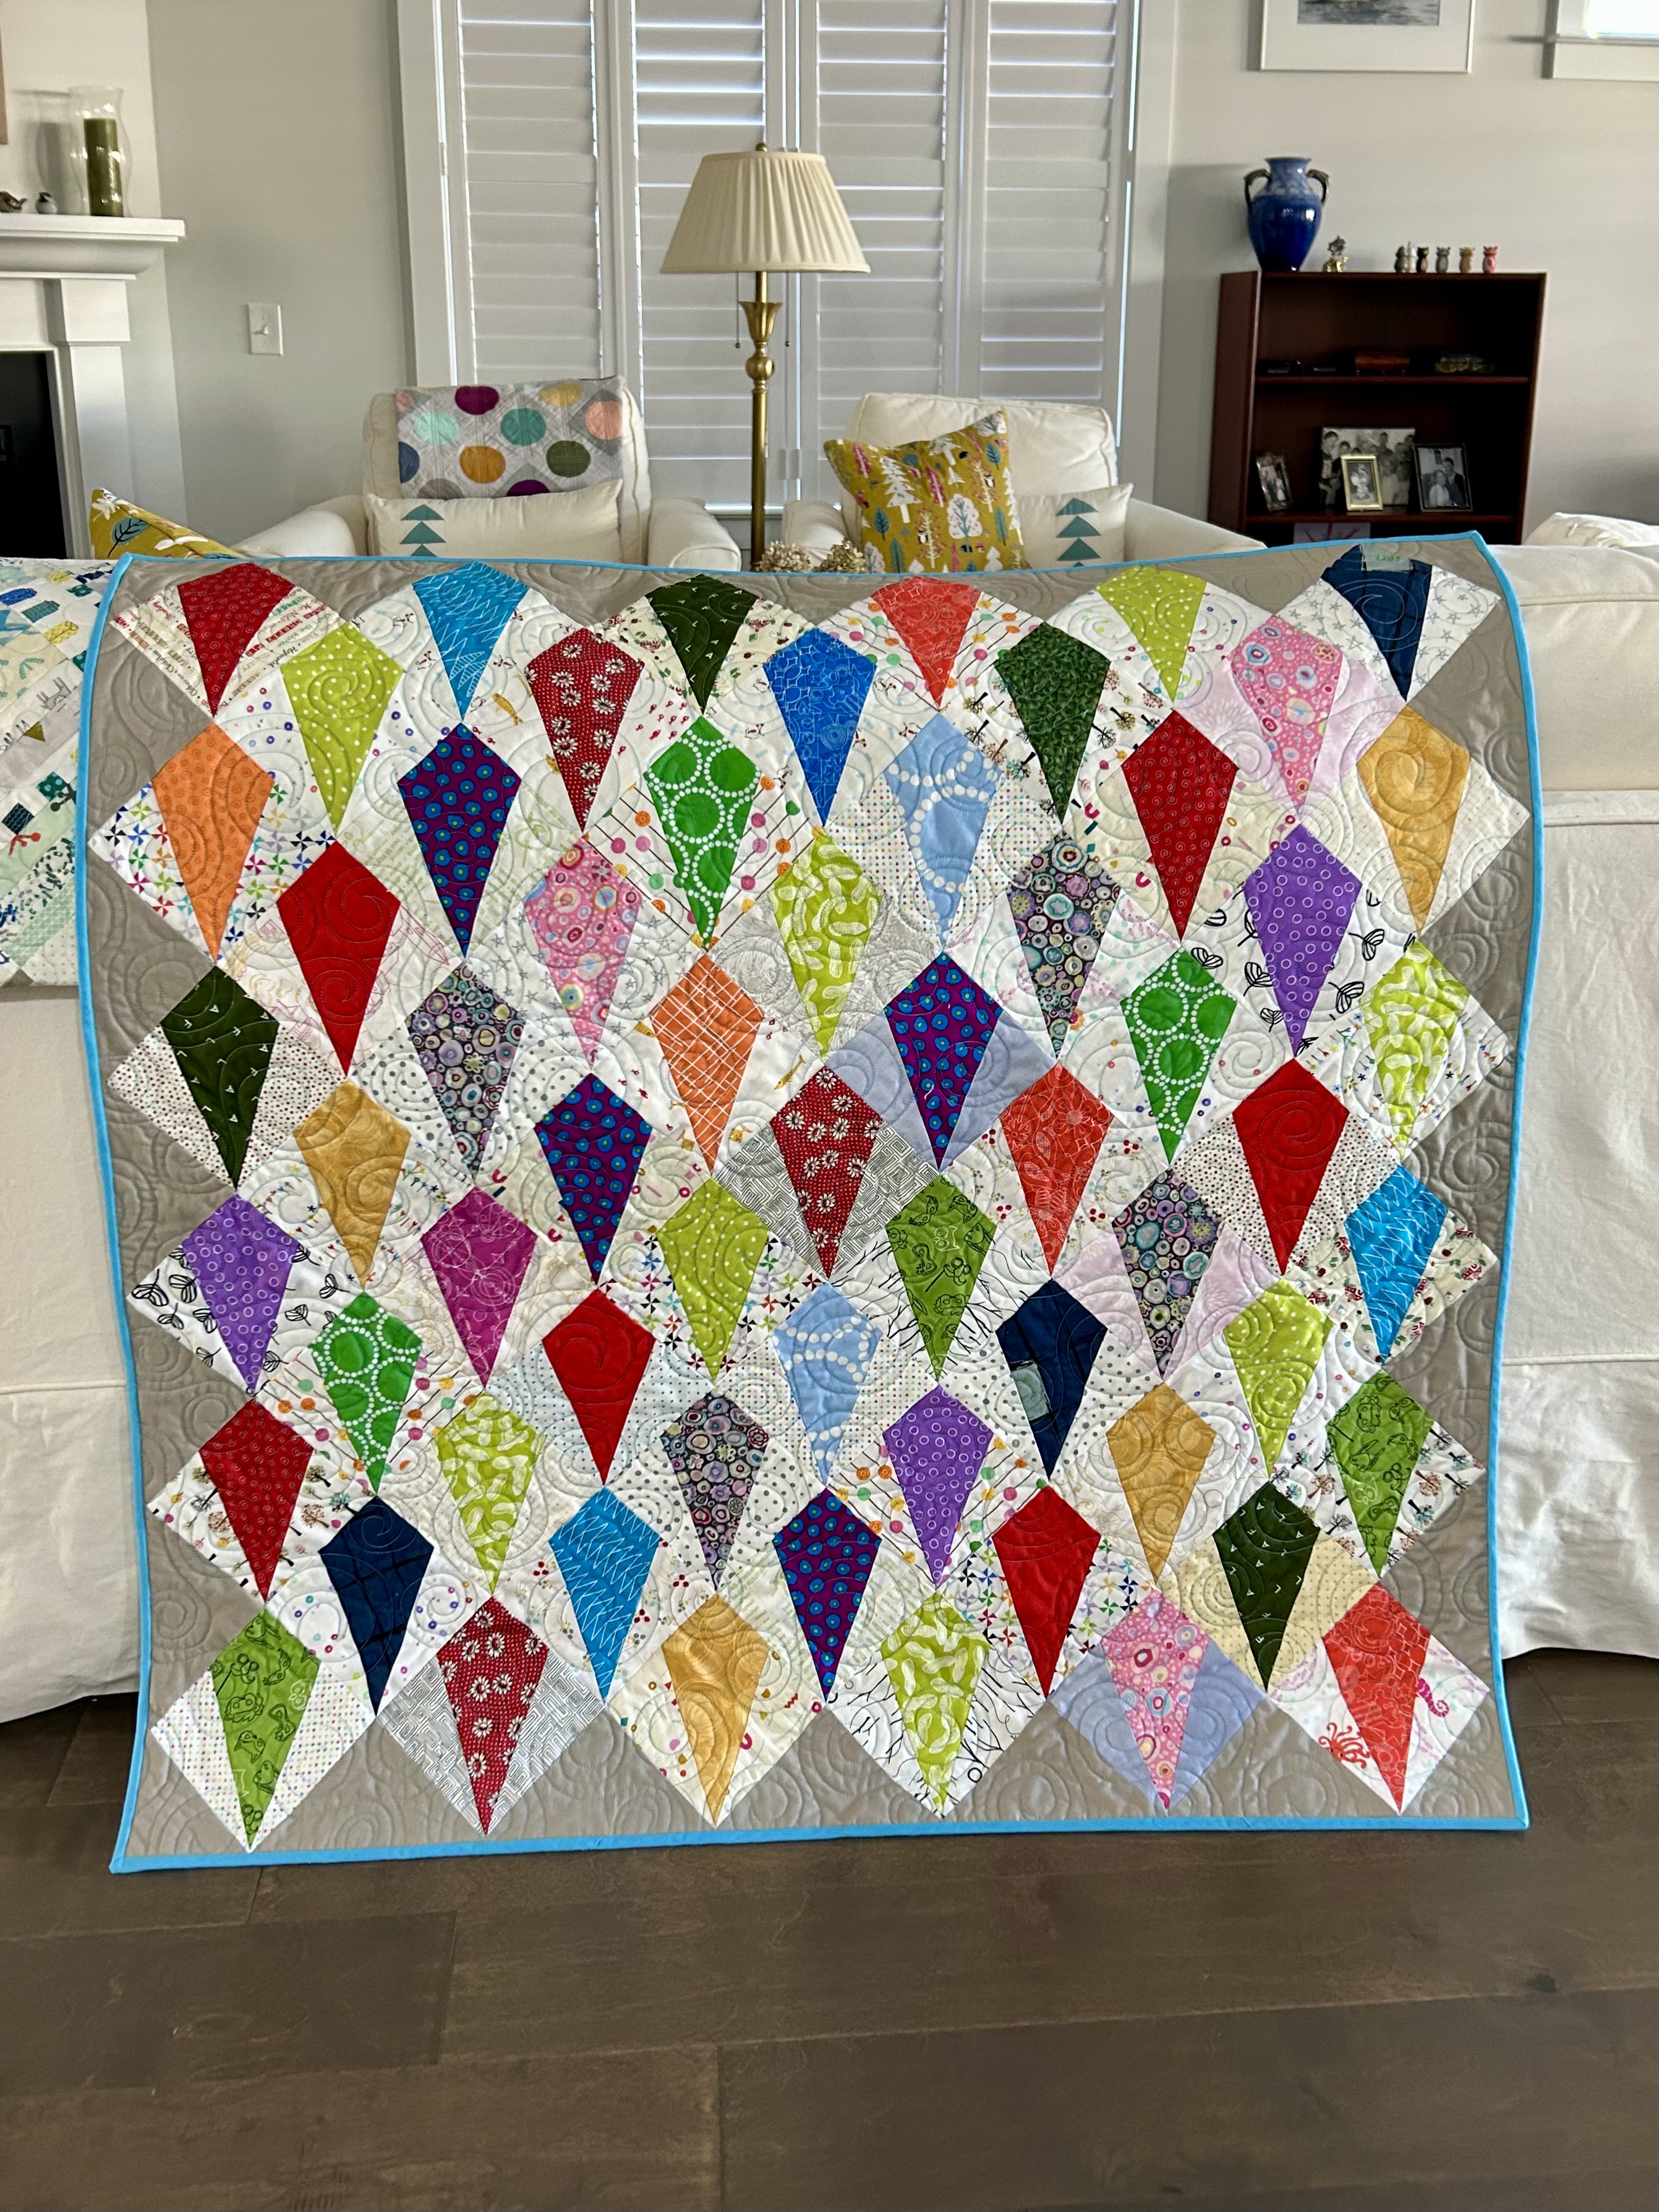
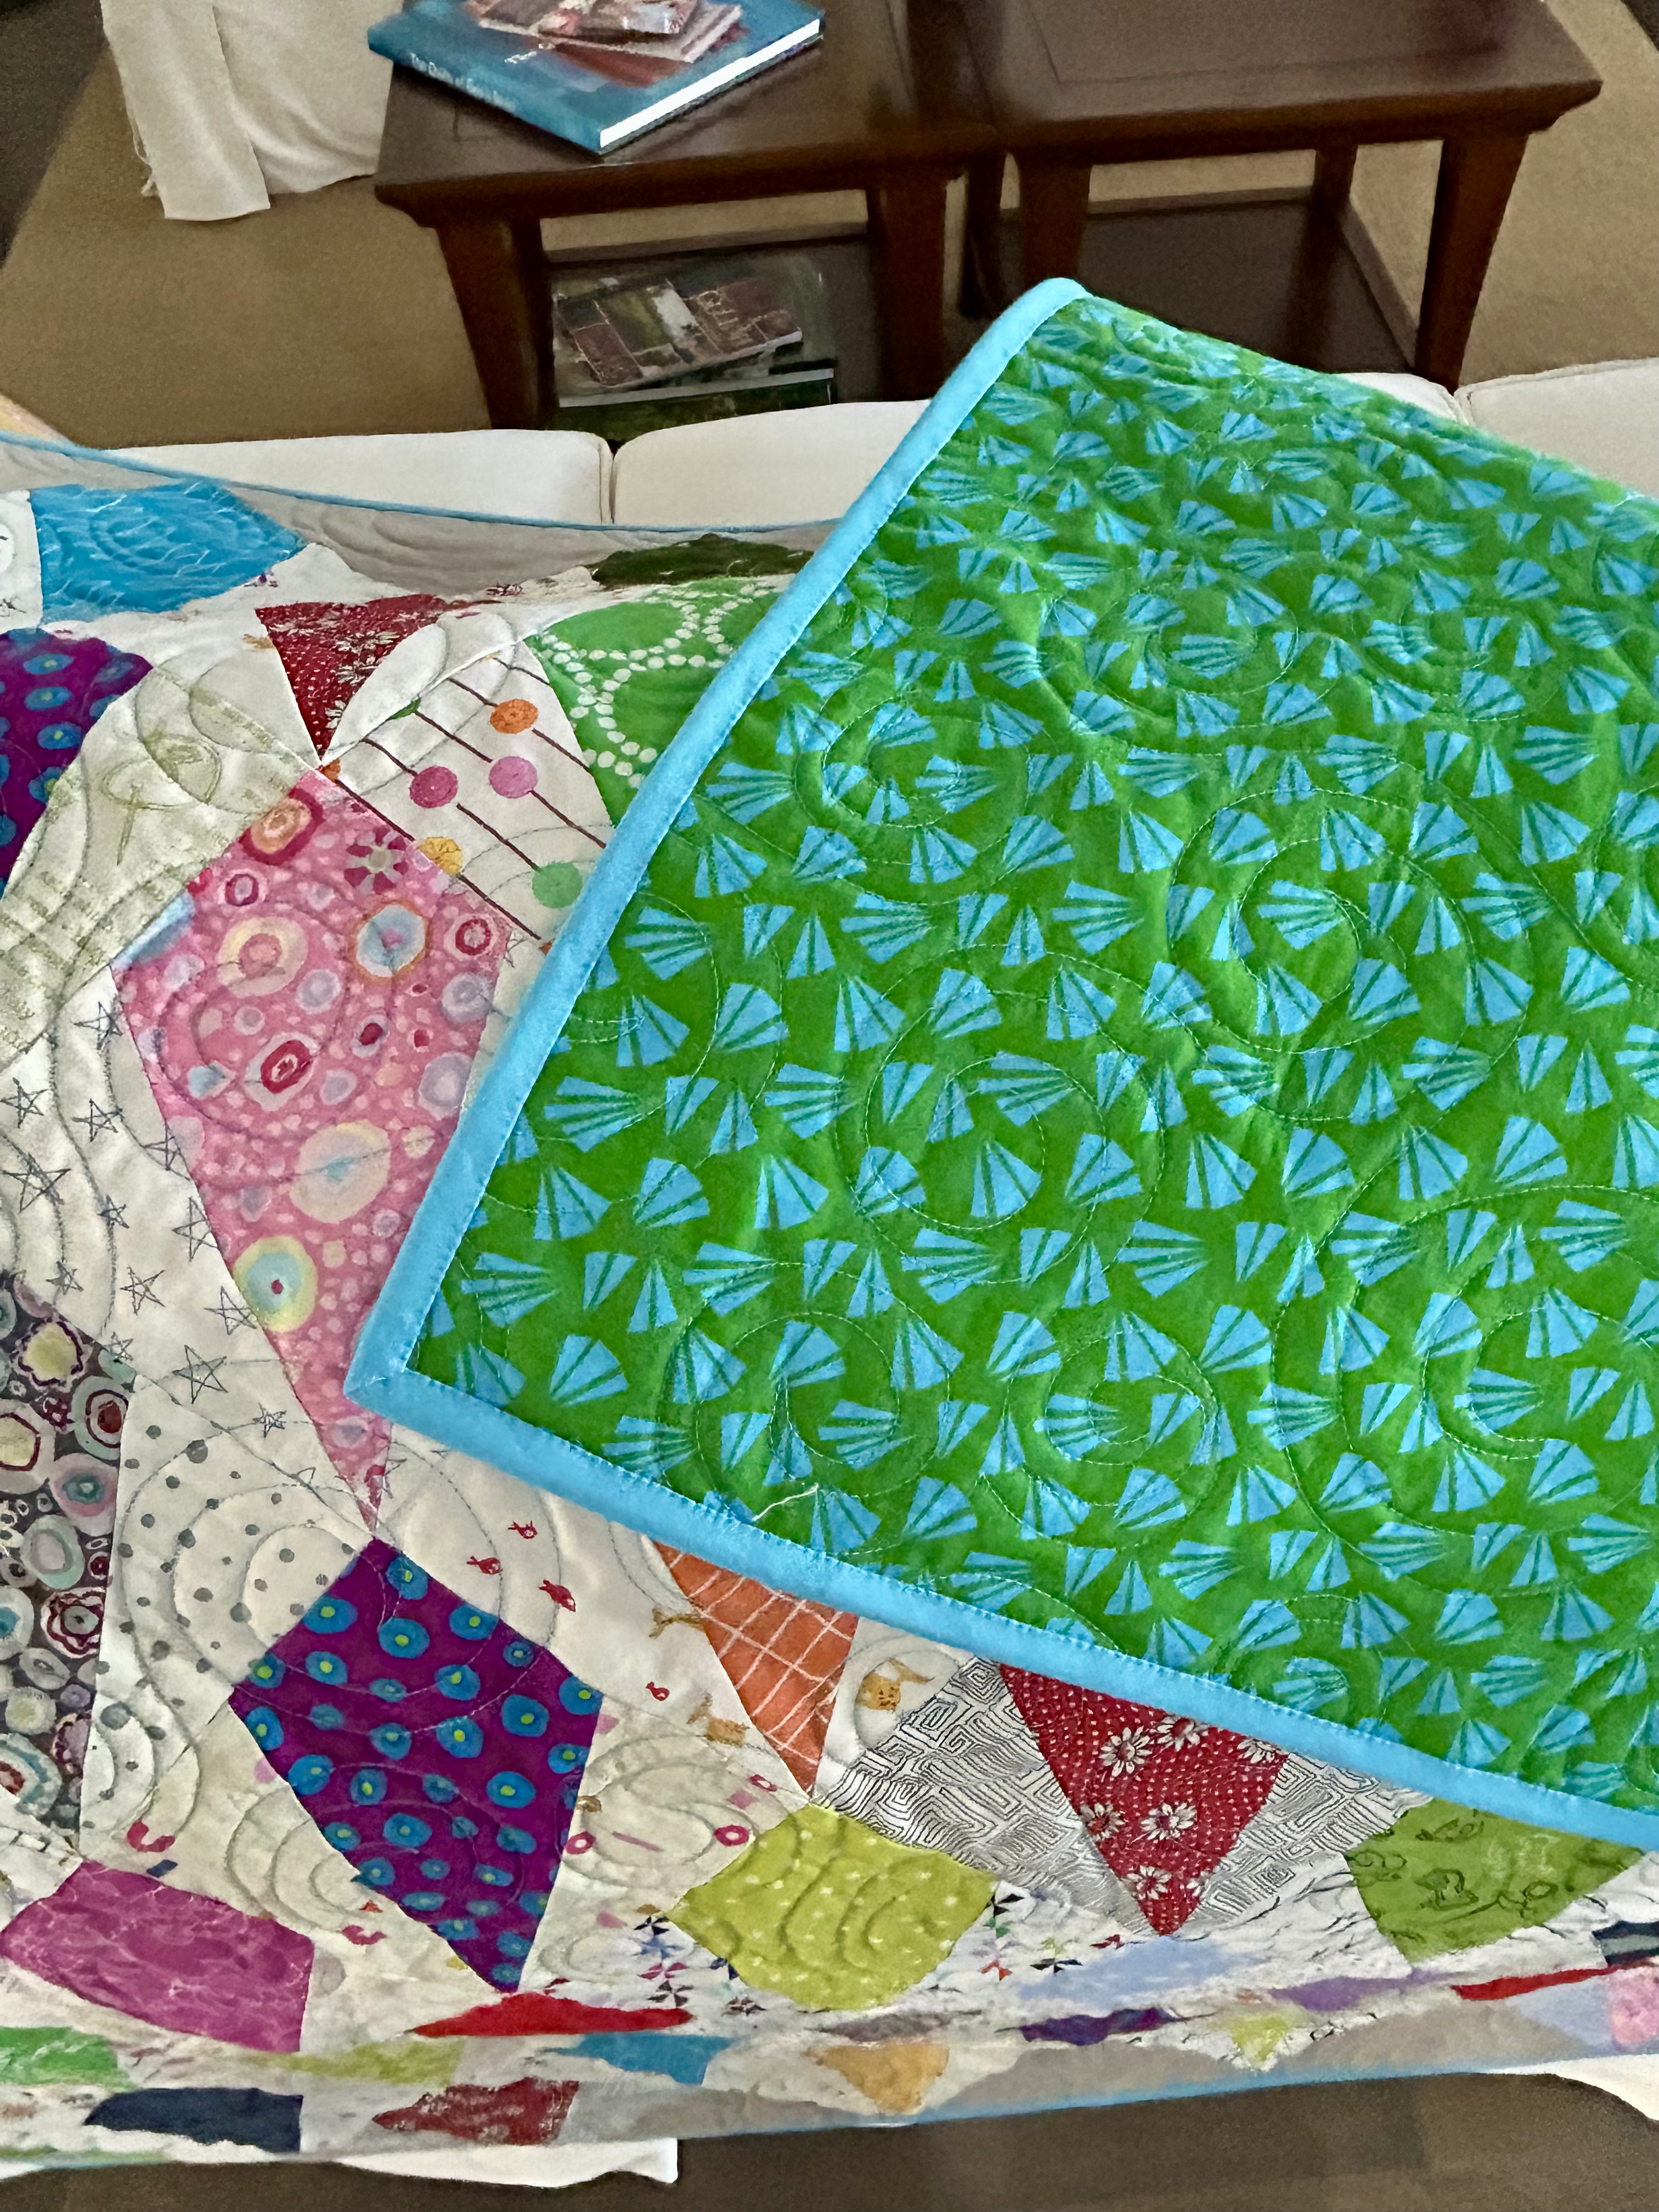
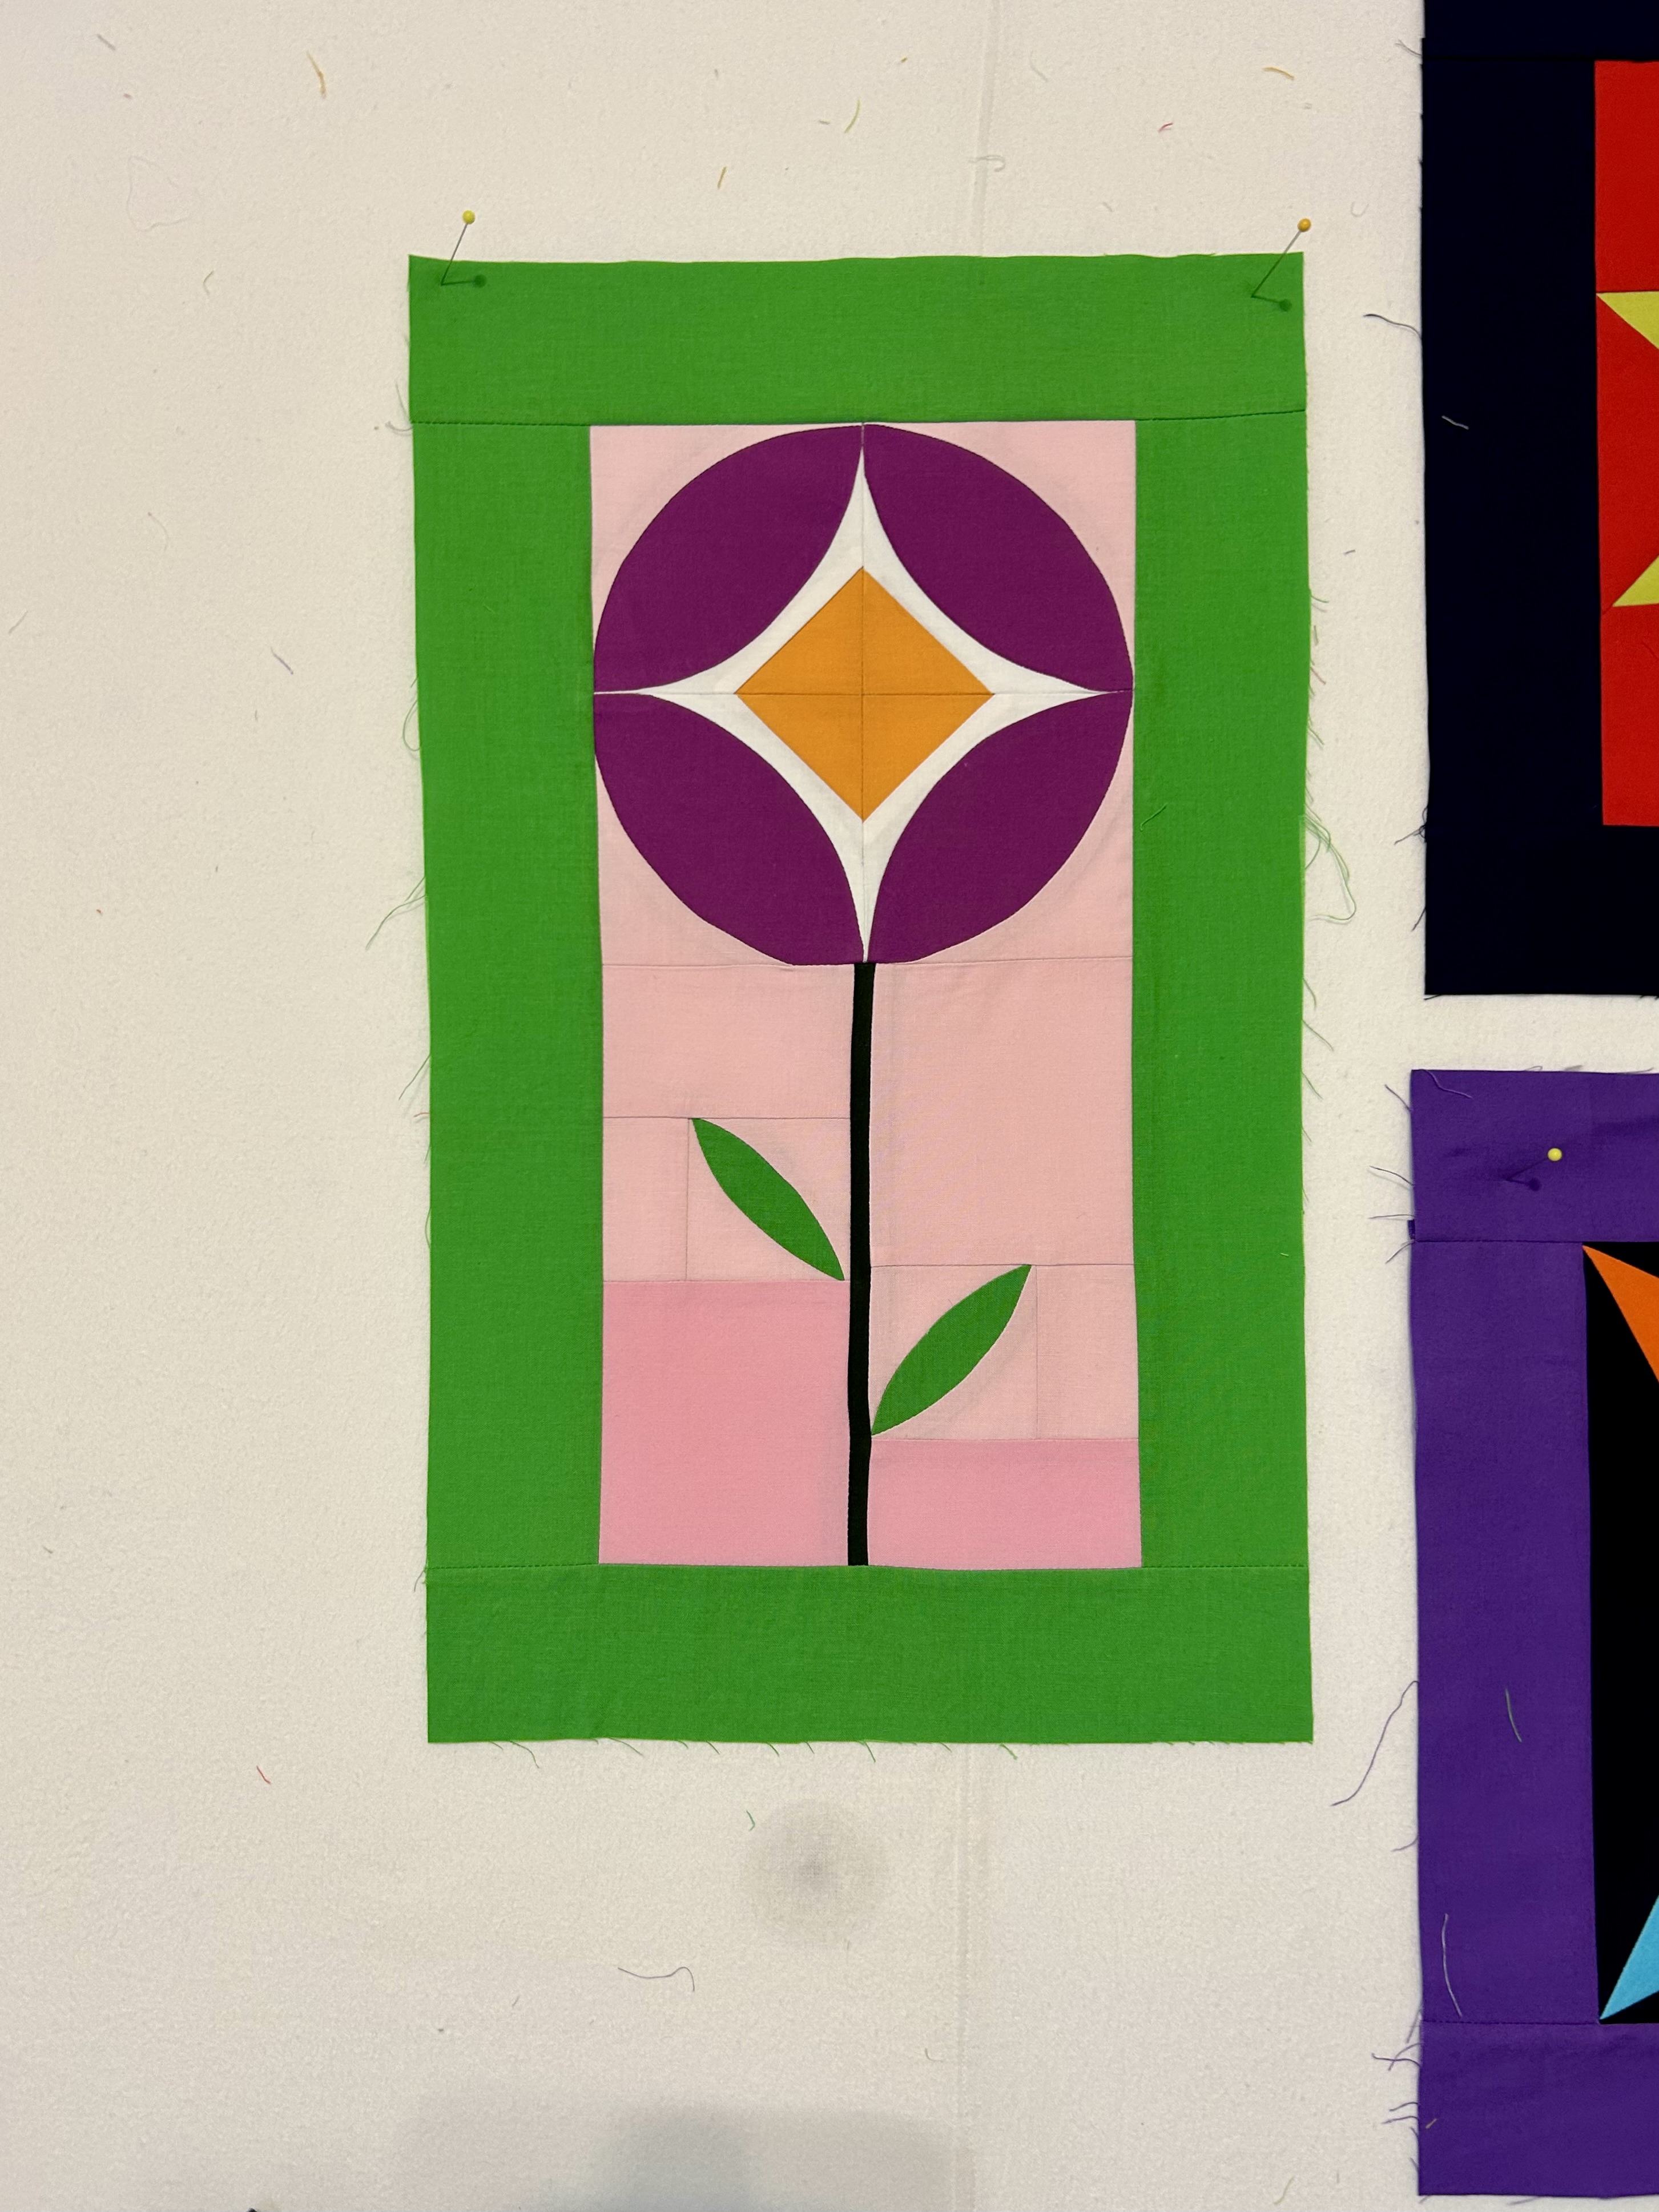
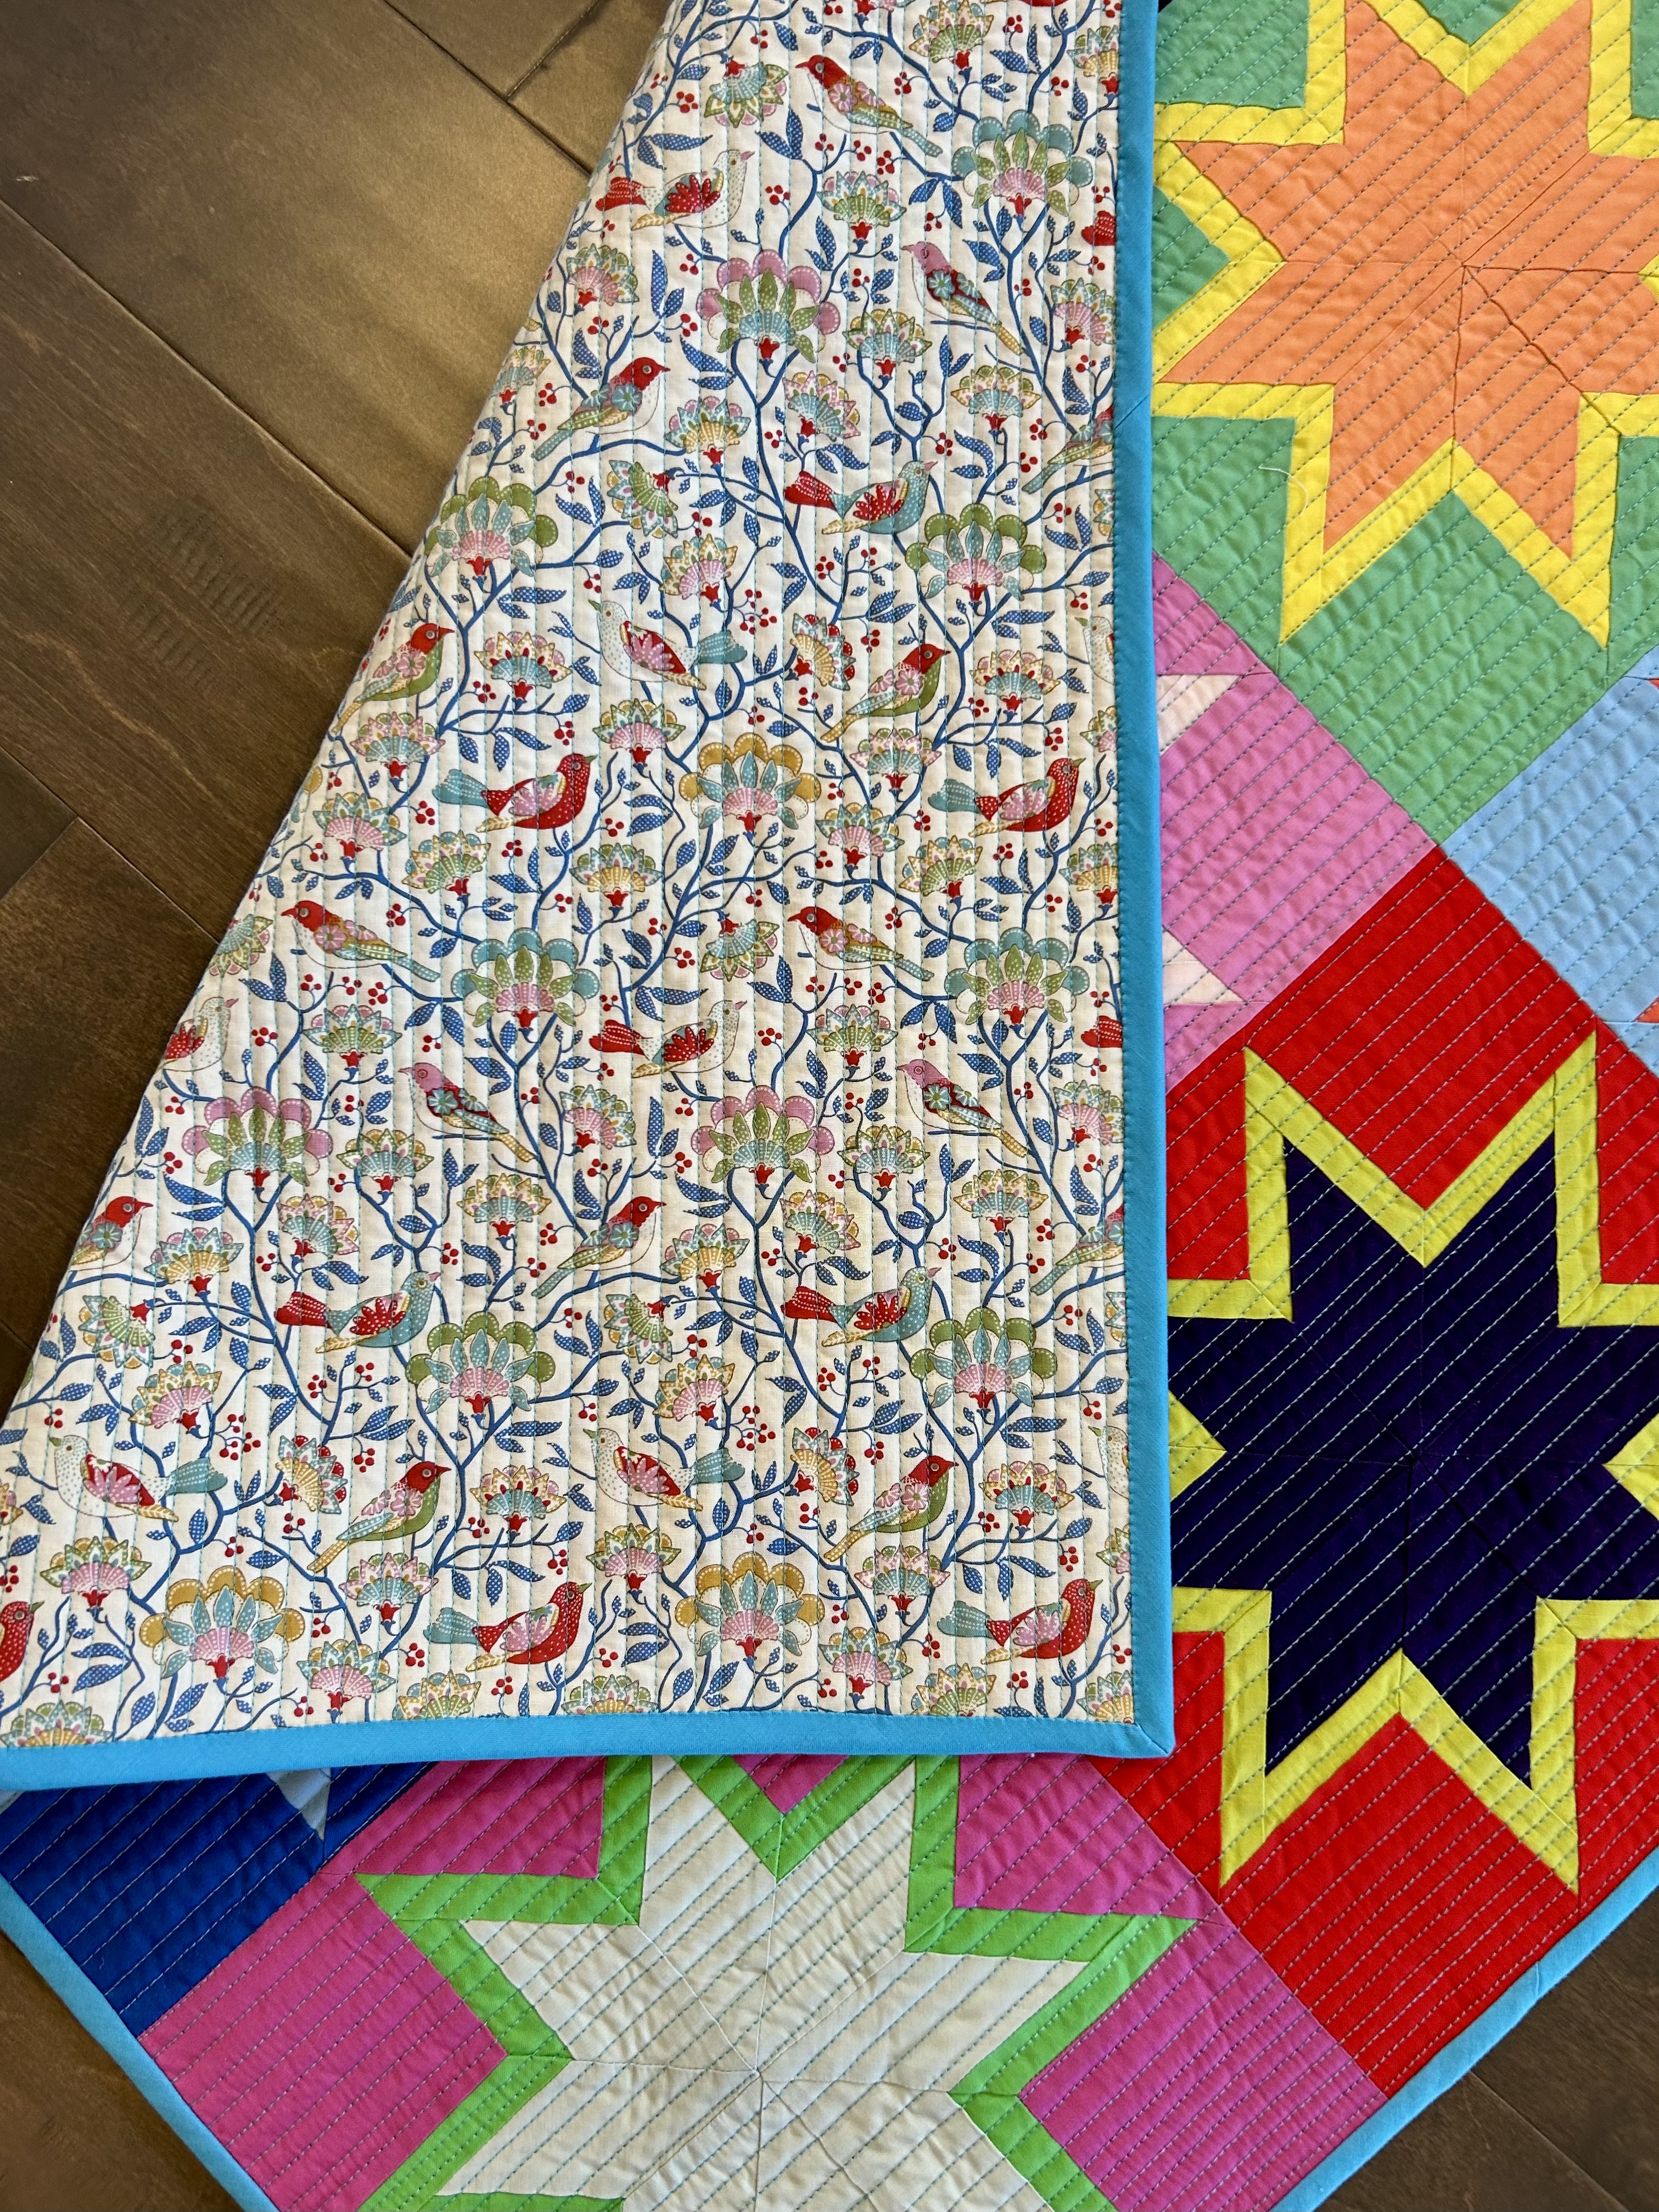
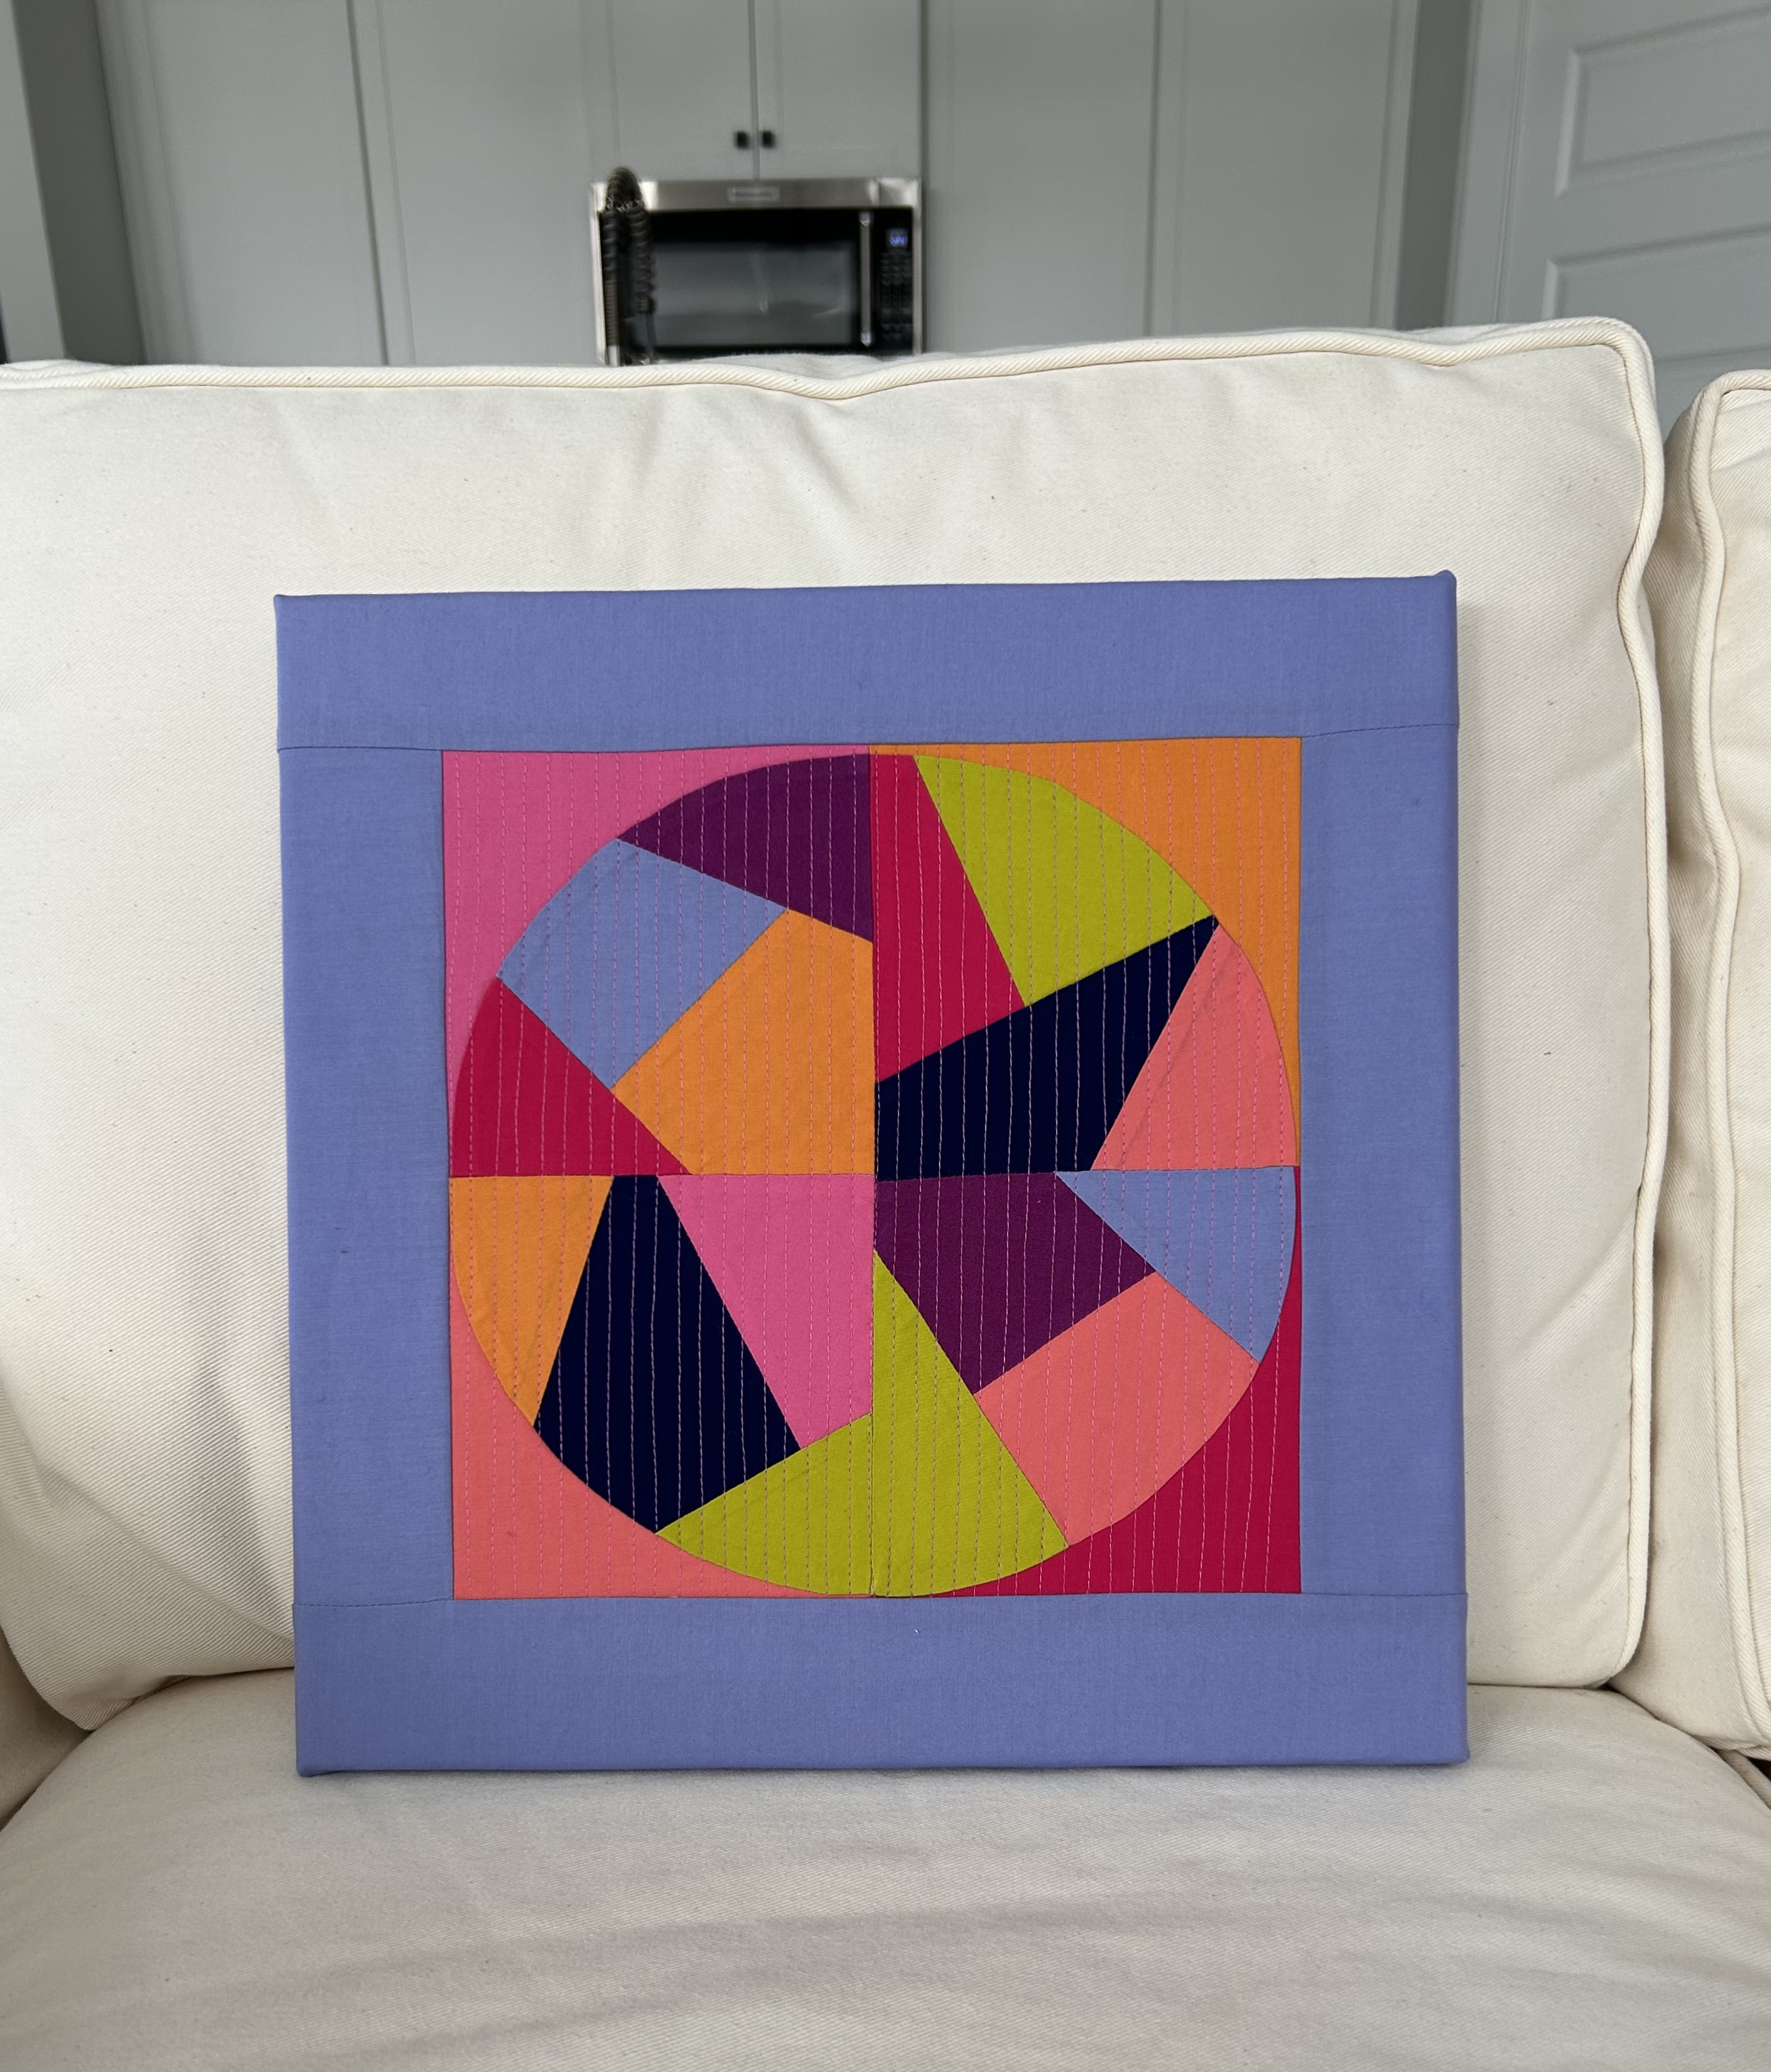
Below is my last effort, using a 5.5-inch template. Here I wanted add in some cooler colors AND to make a big circle. Note here how the light blue looks like a lavender color.
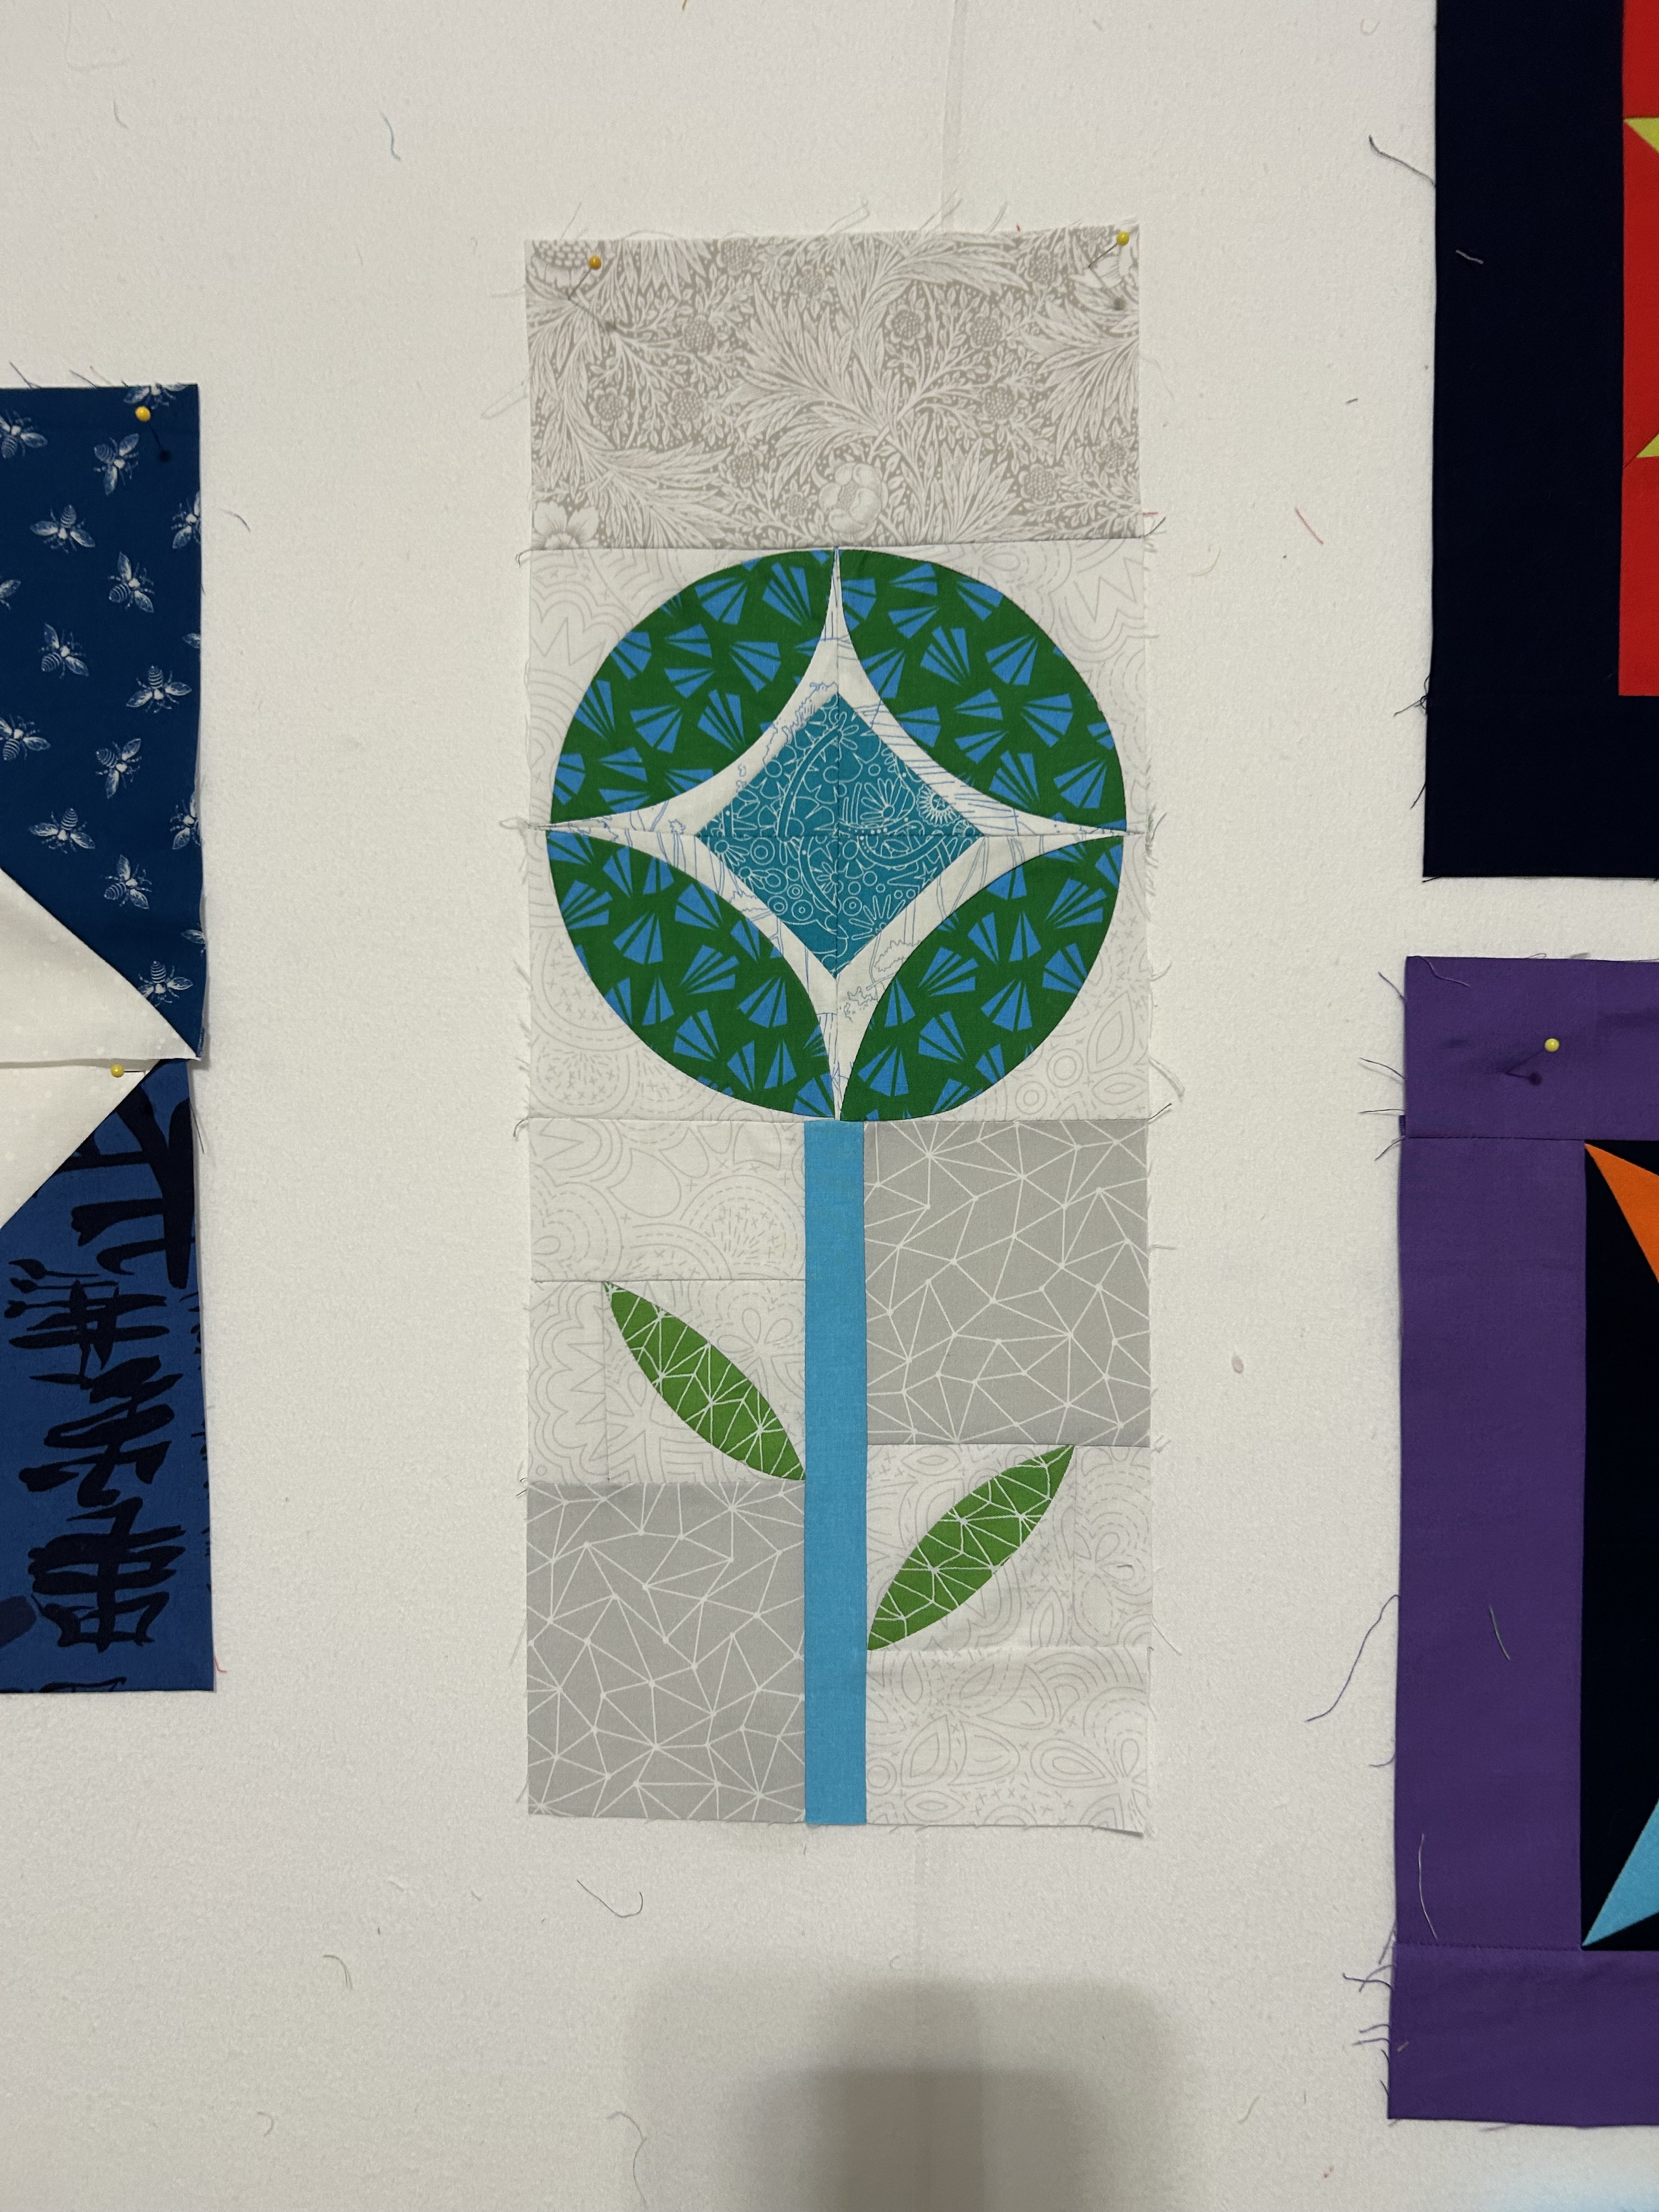
Here’s my second piece, made with a 3.5-inch template and using more colors. Note how the blue looks blue in this piece. Note how I played with blocking together the light blues and, in places, the dark and light greens and the rose colors. Finding what is pleasing to one’s eye is a fun process. This piece is going into my almost-finished improv quilt.
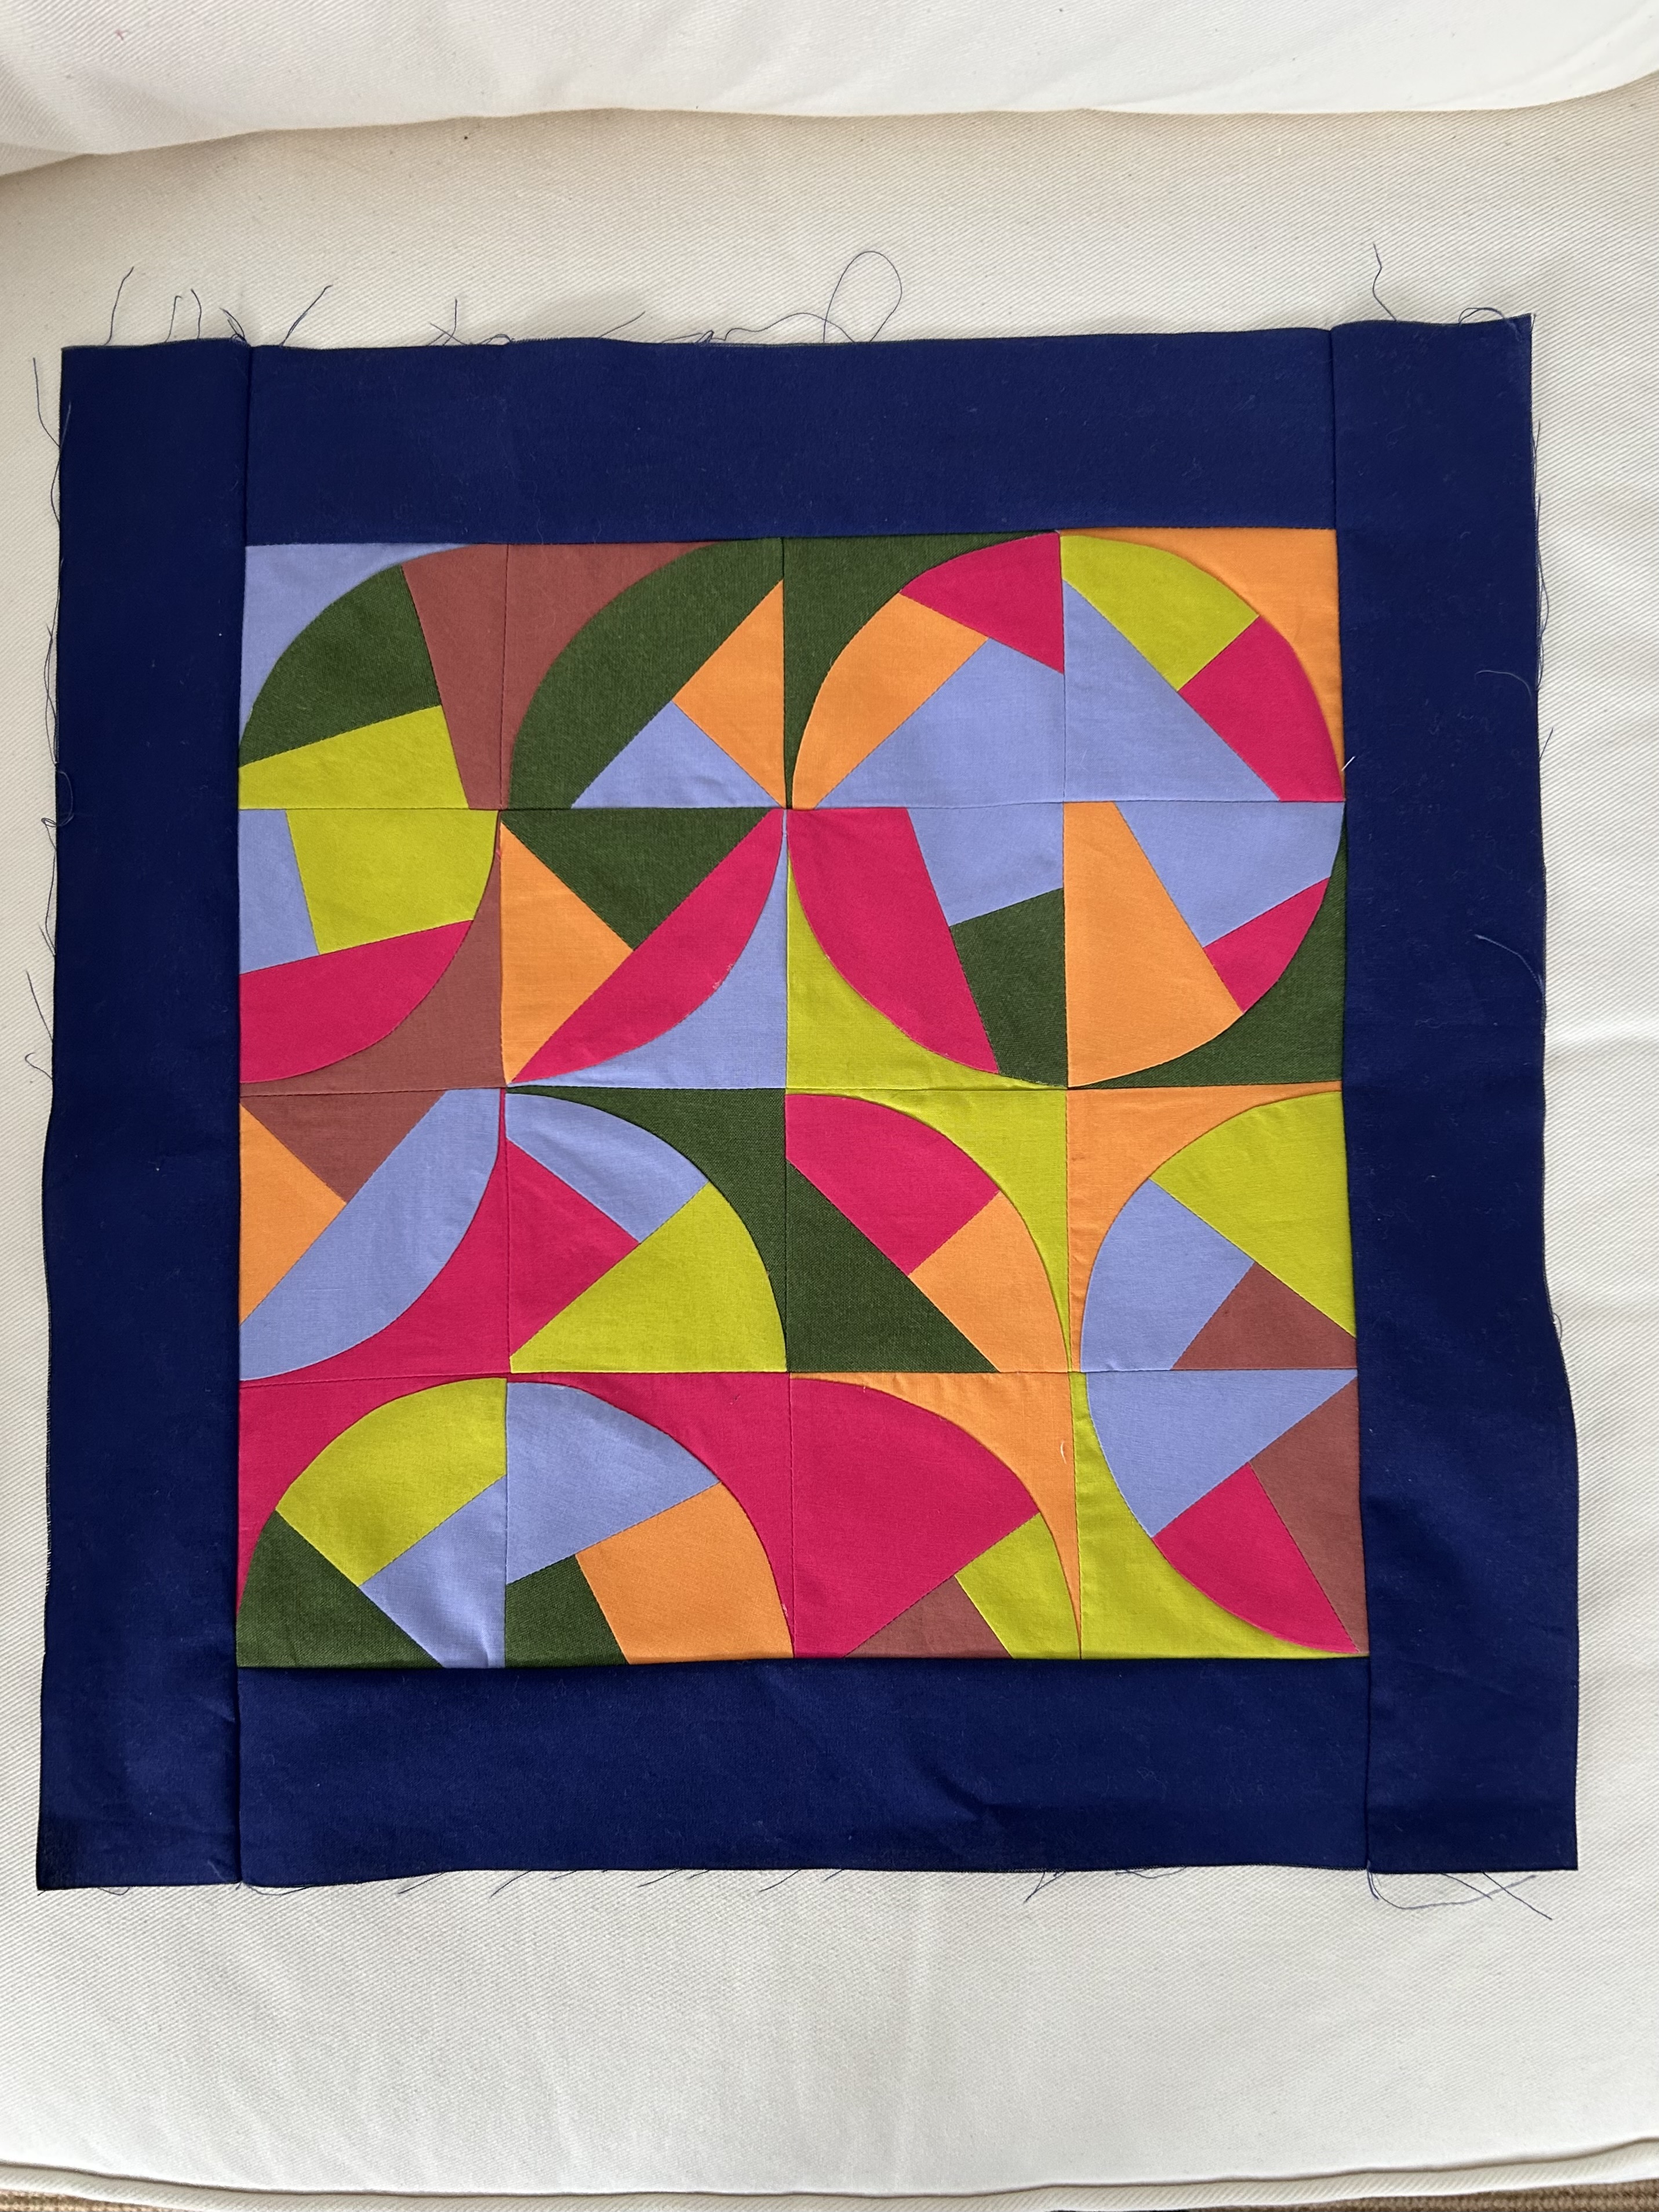
I am now thinking that it would be fun to make large blocks using this method and then set them into wider sashing that allows each block to shine. Hmmm…might be a good way to use up pieces in my solid stash. I would pull a palette first, though, at least in color families.
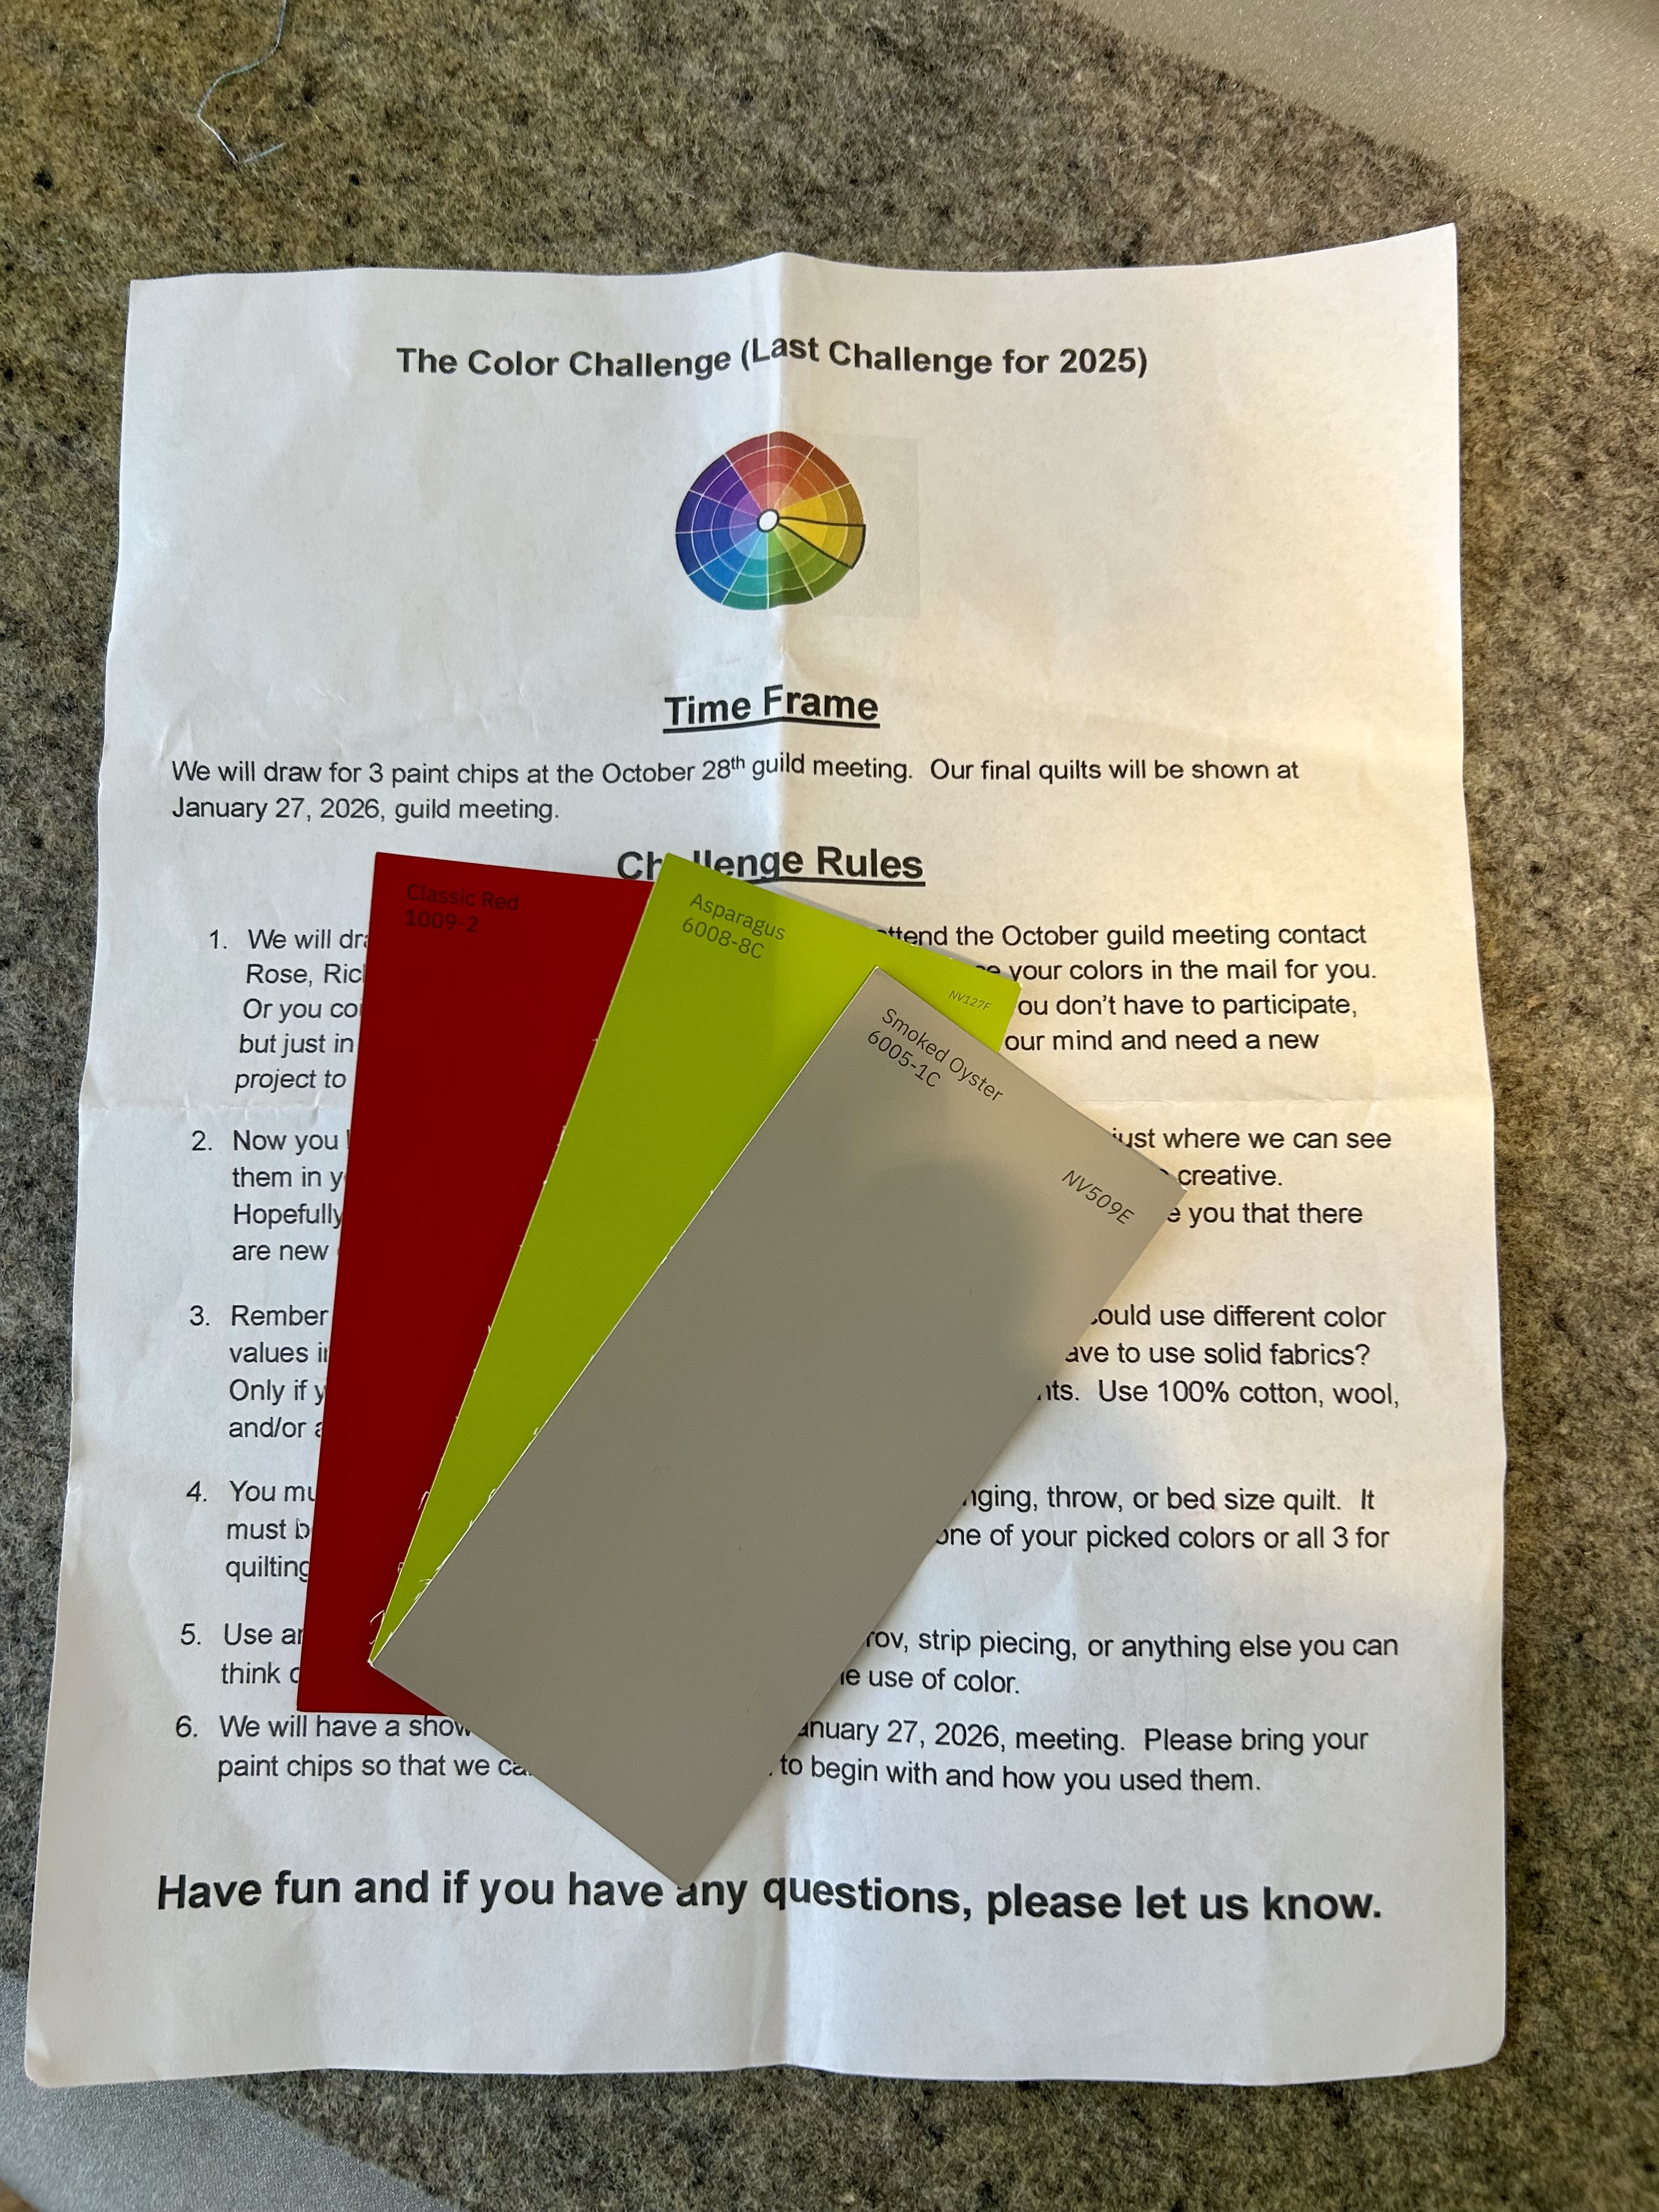
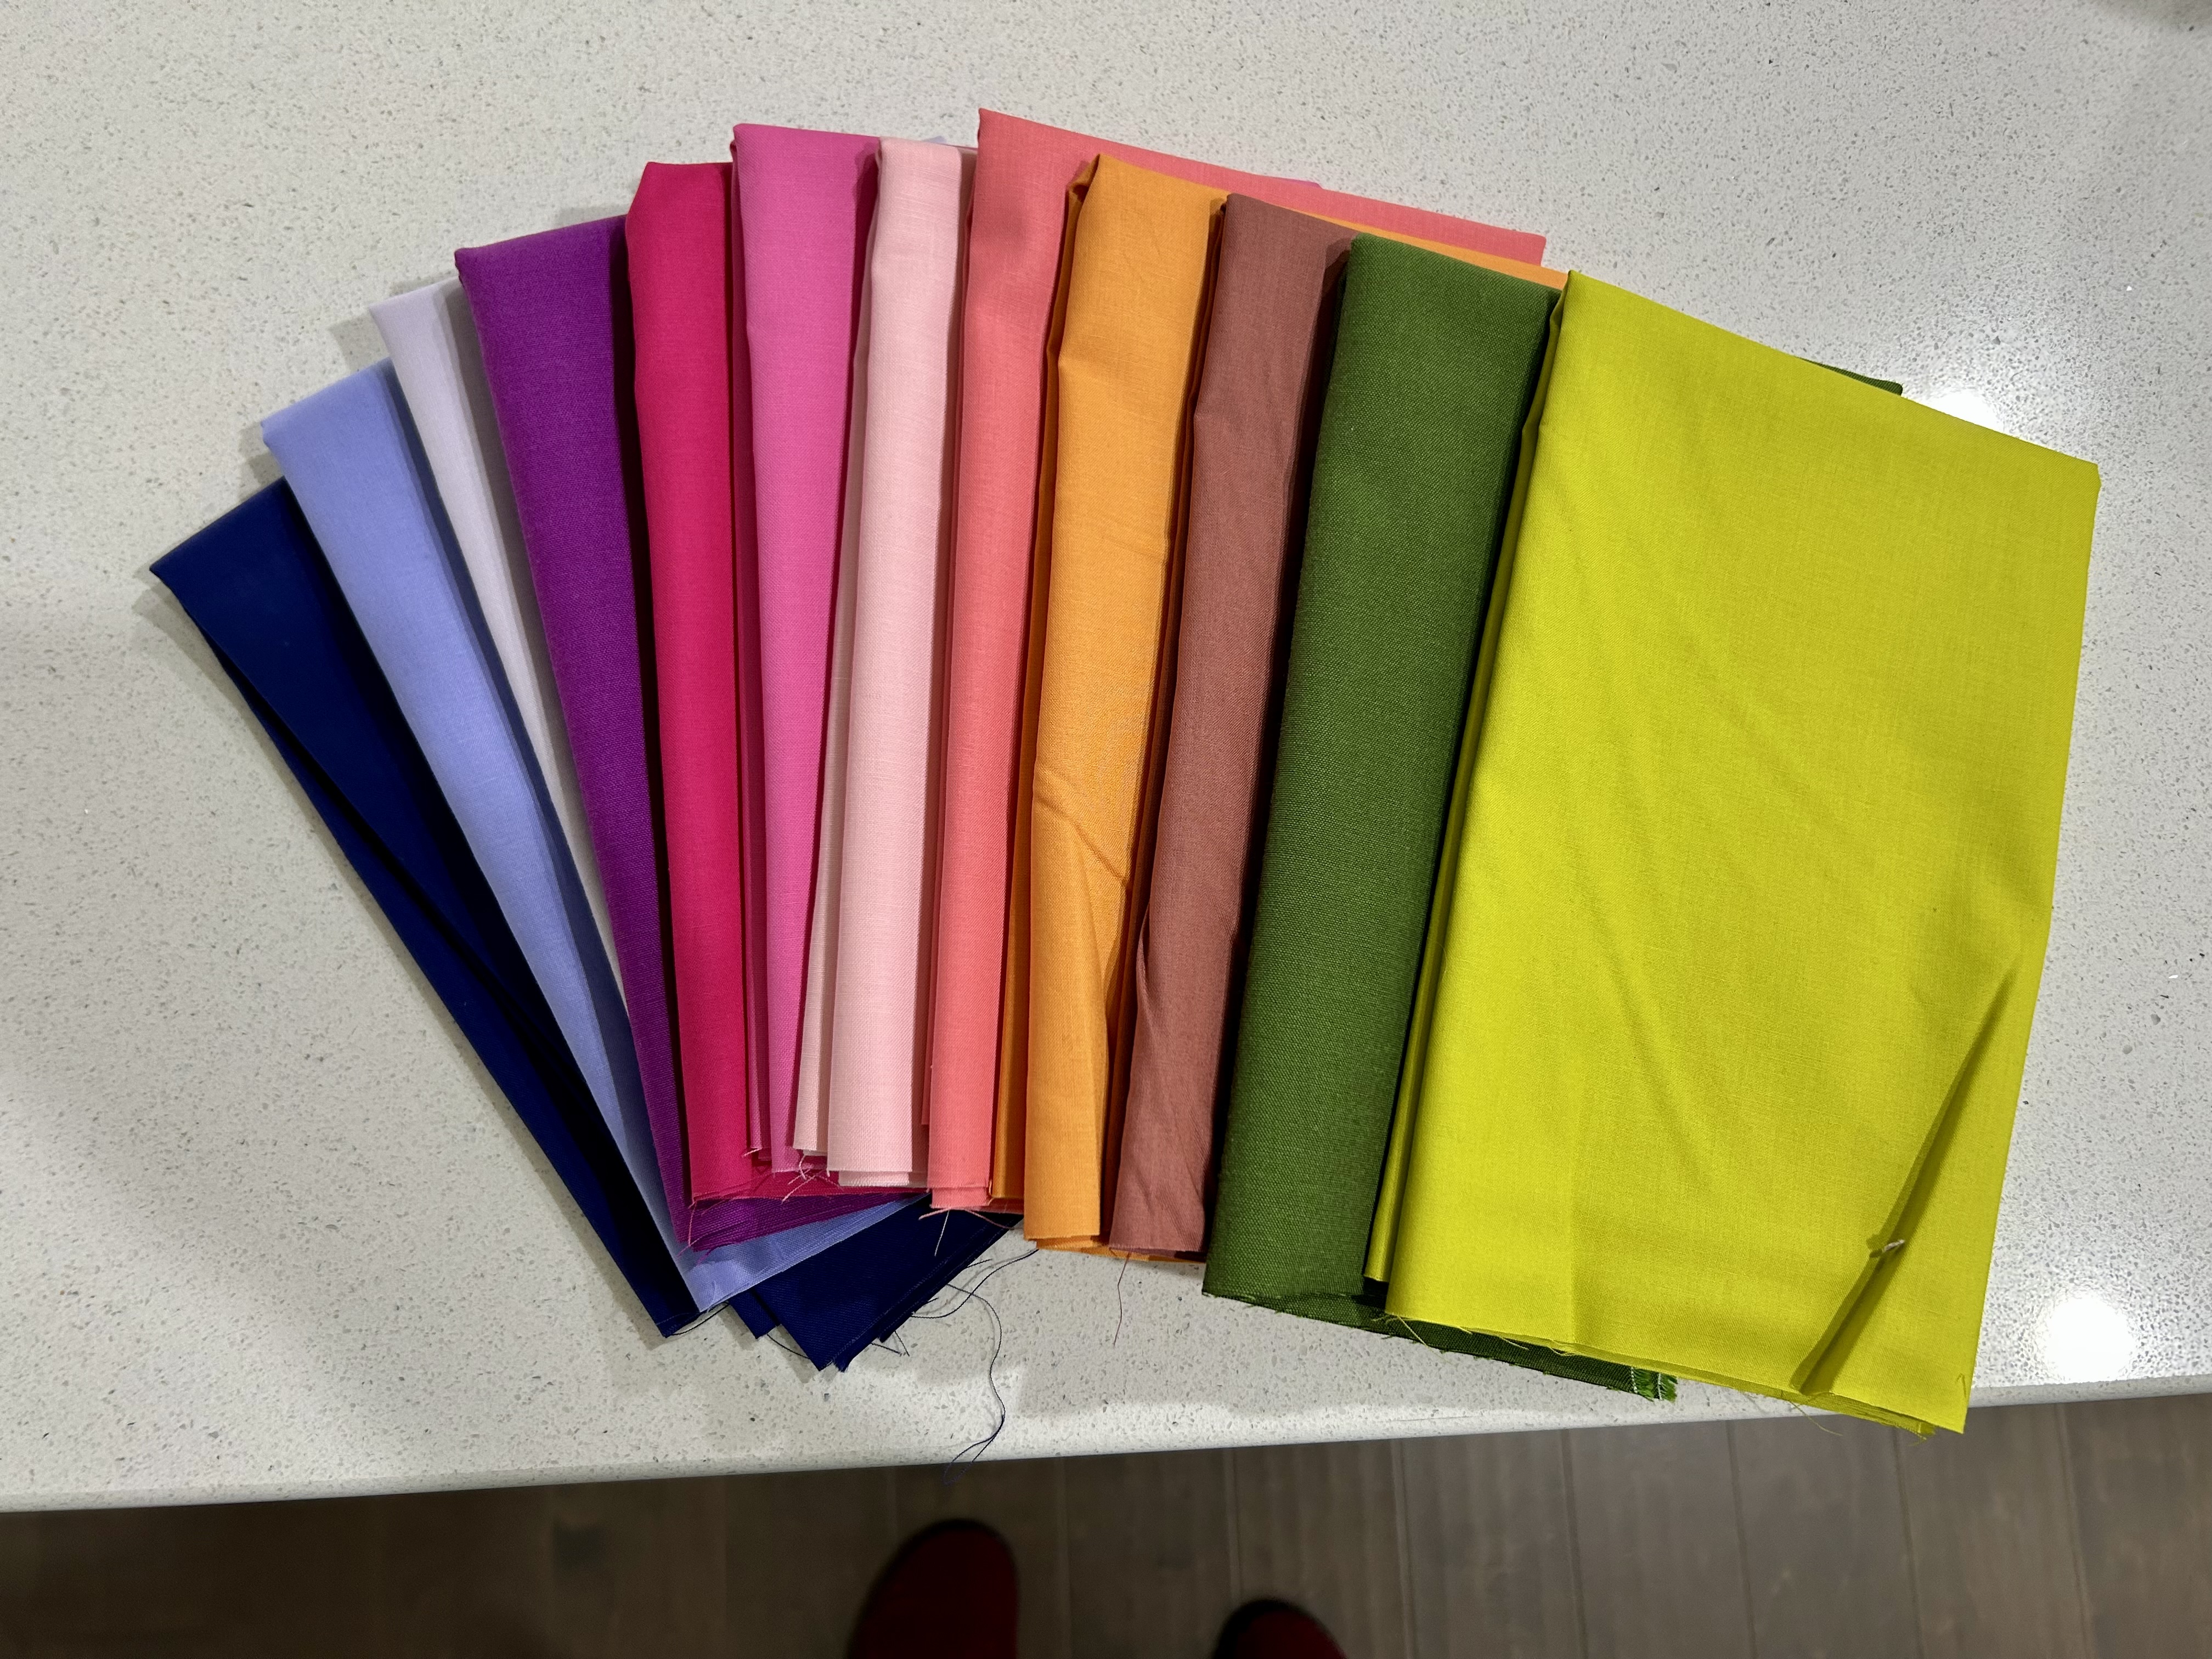
So, now, on to Month 5, and the palette is in the mail.