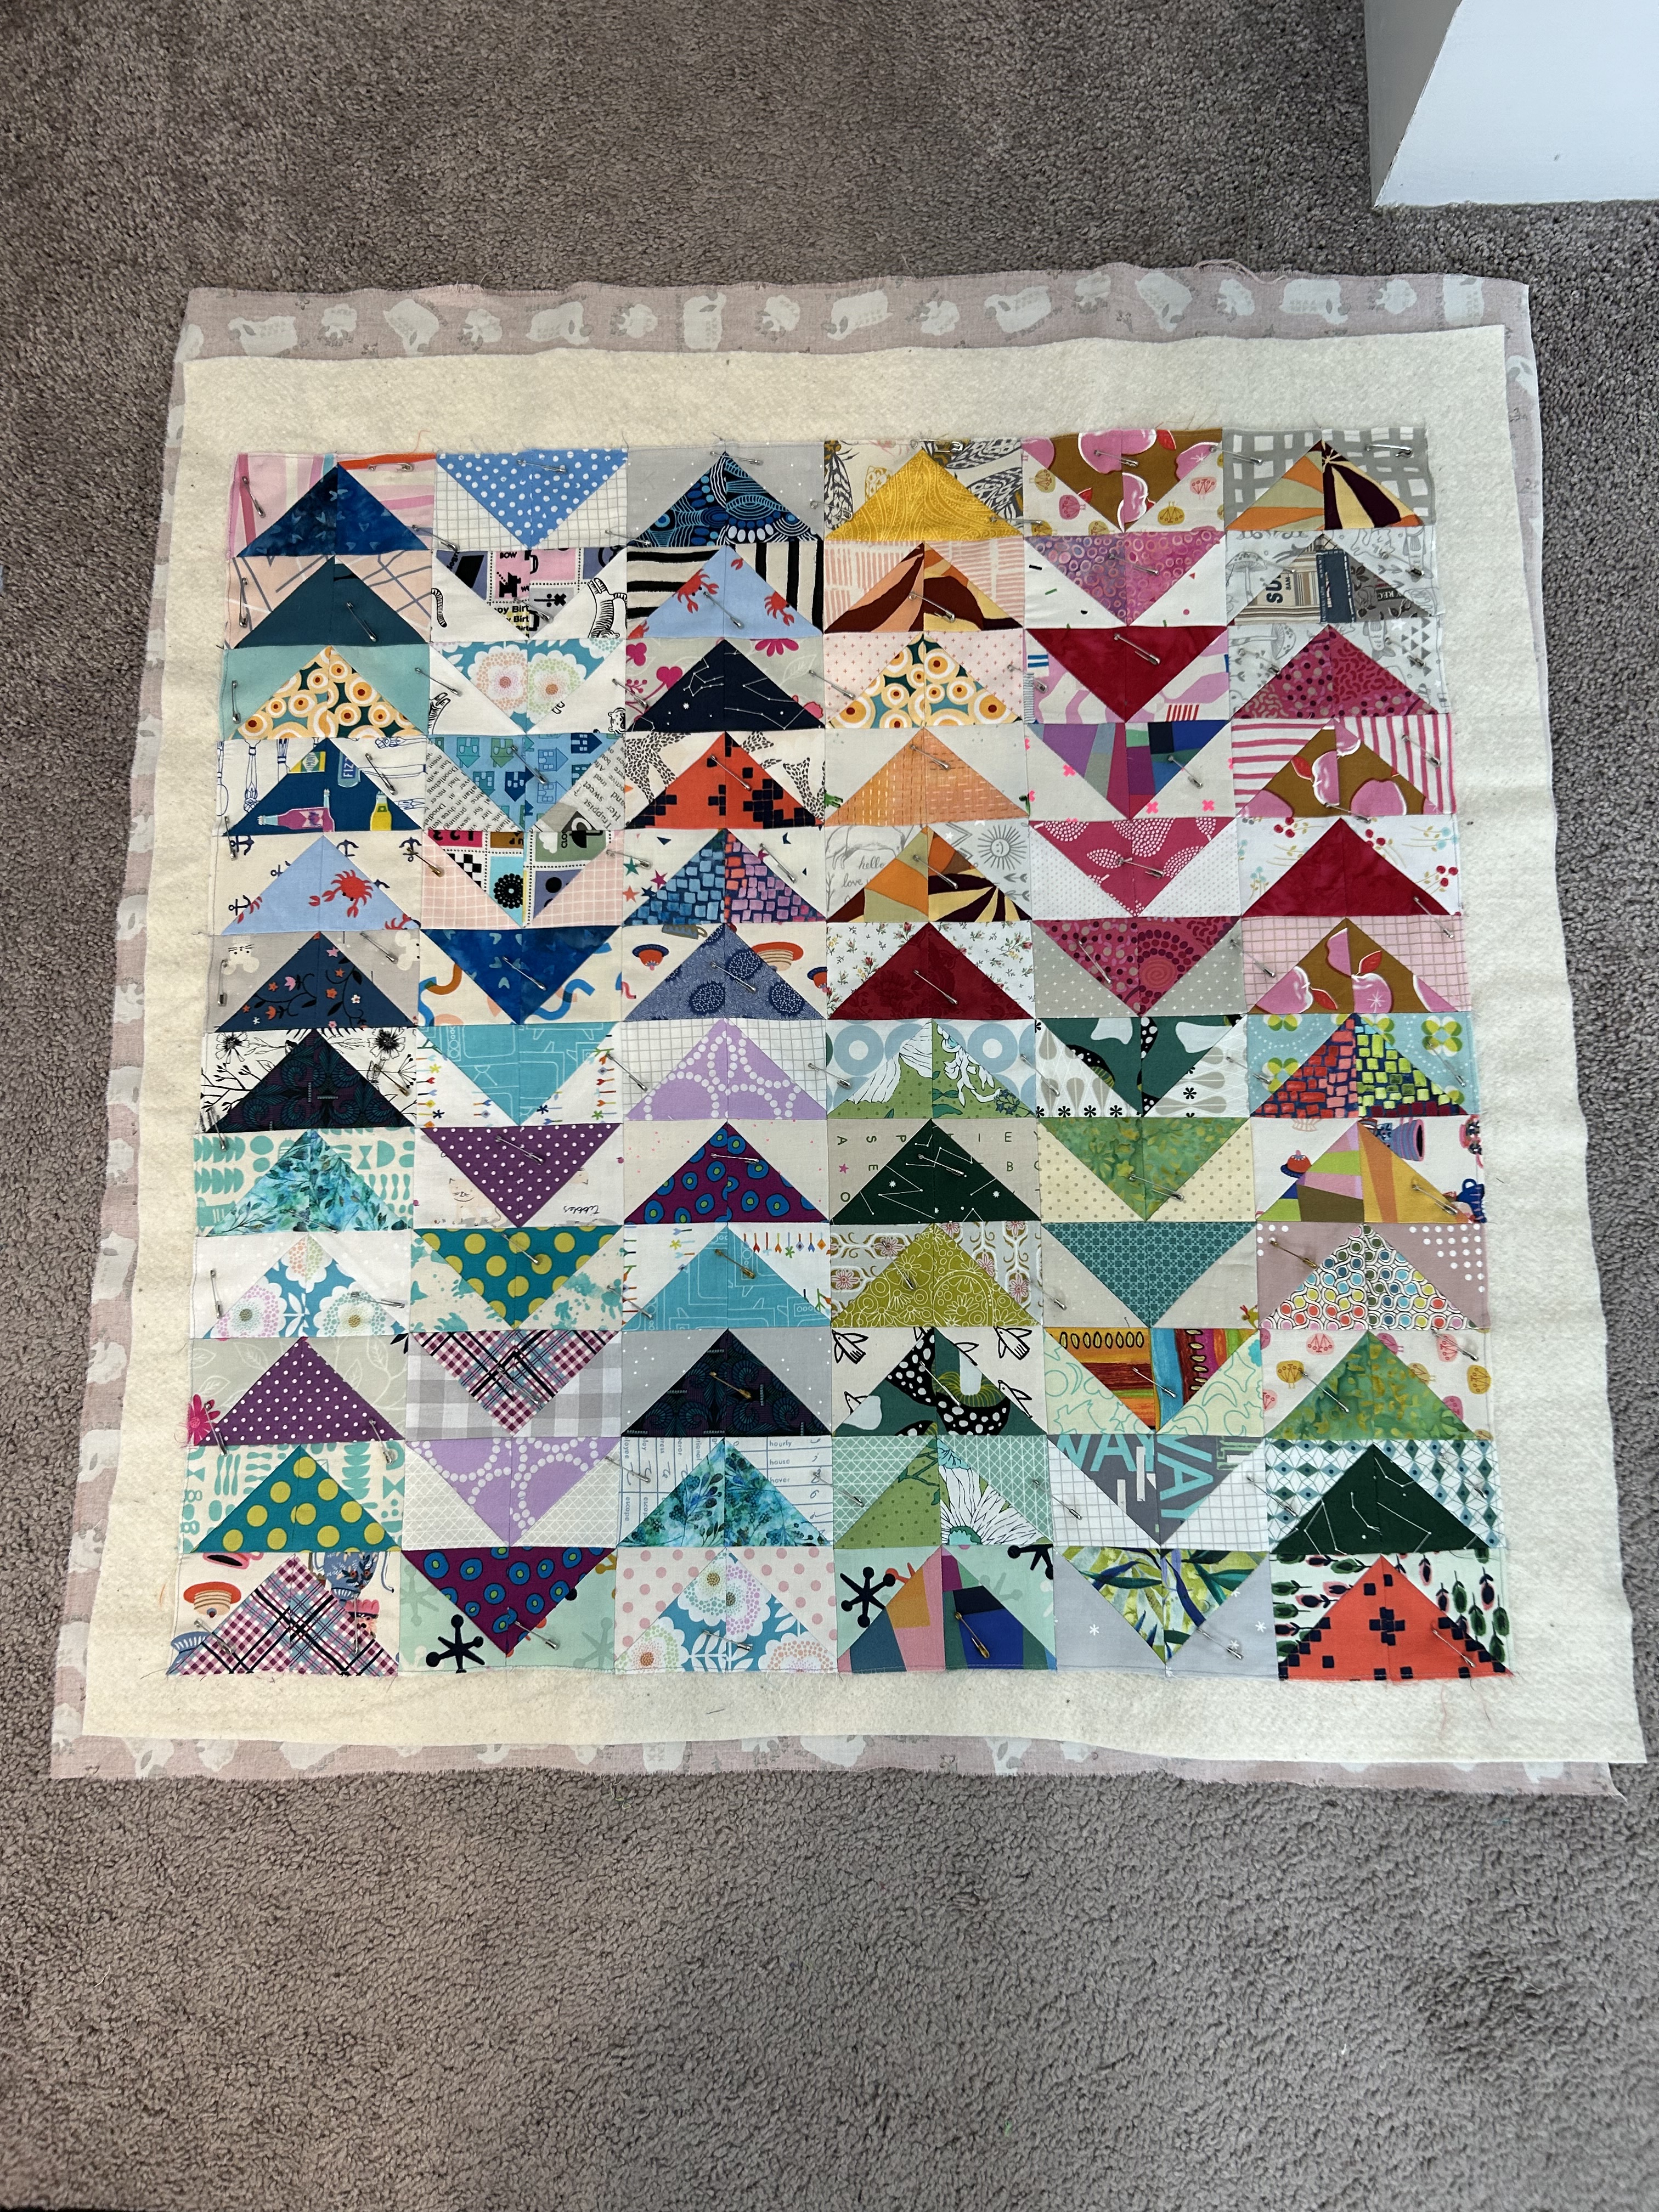
But first, the XO quilt is on the longarm now, where it has been for the last week with no action happening. Maybe this upcoming week…
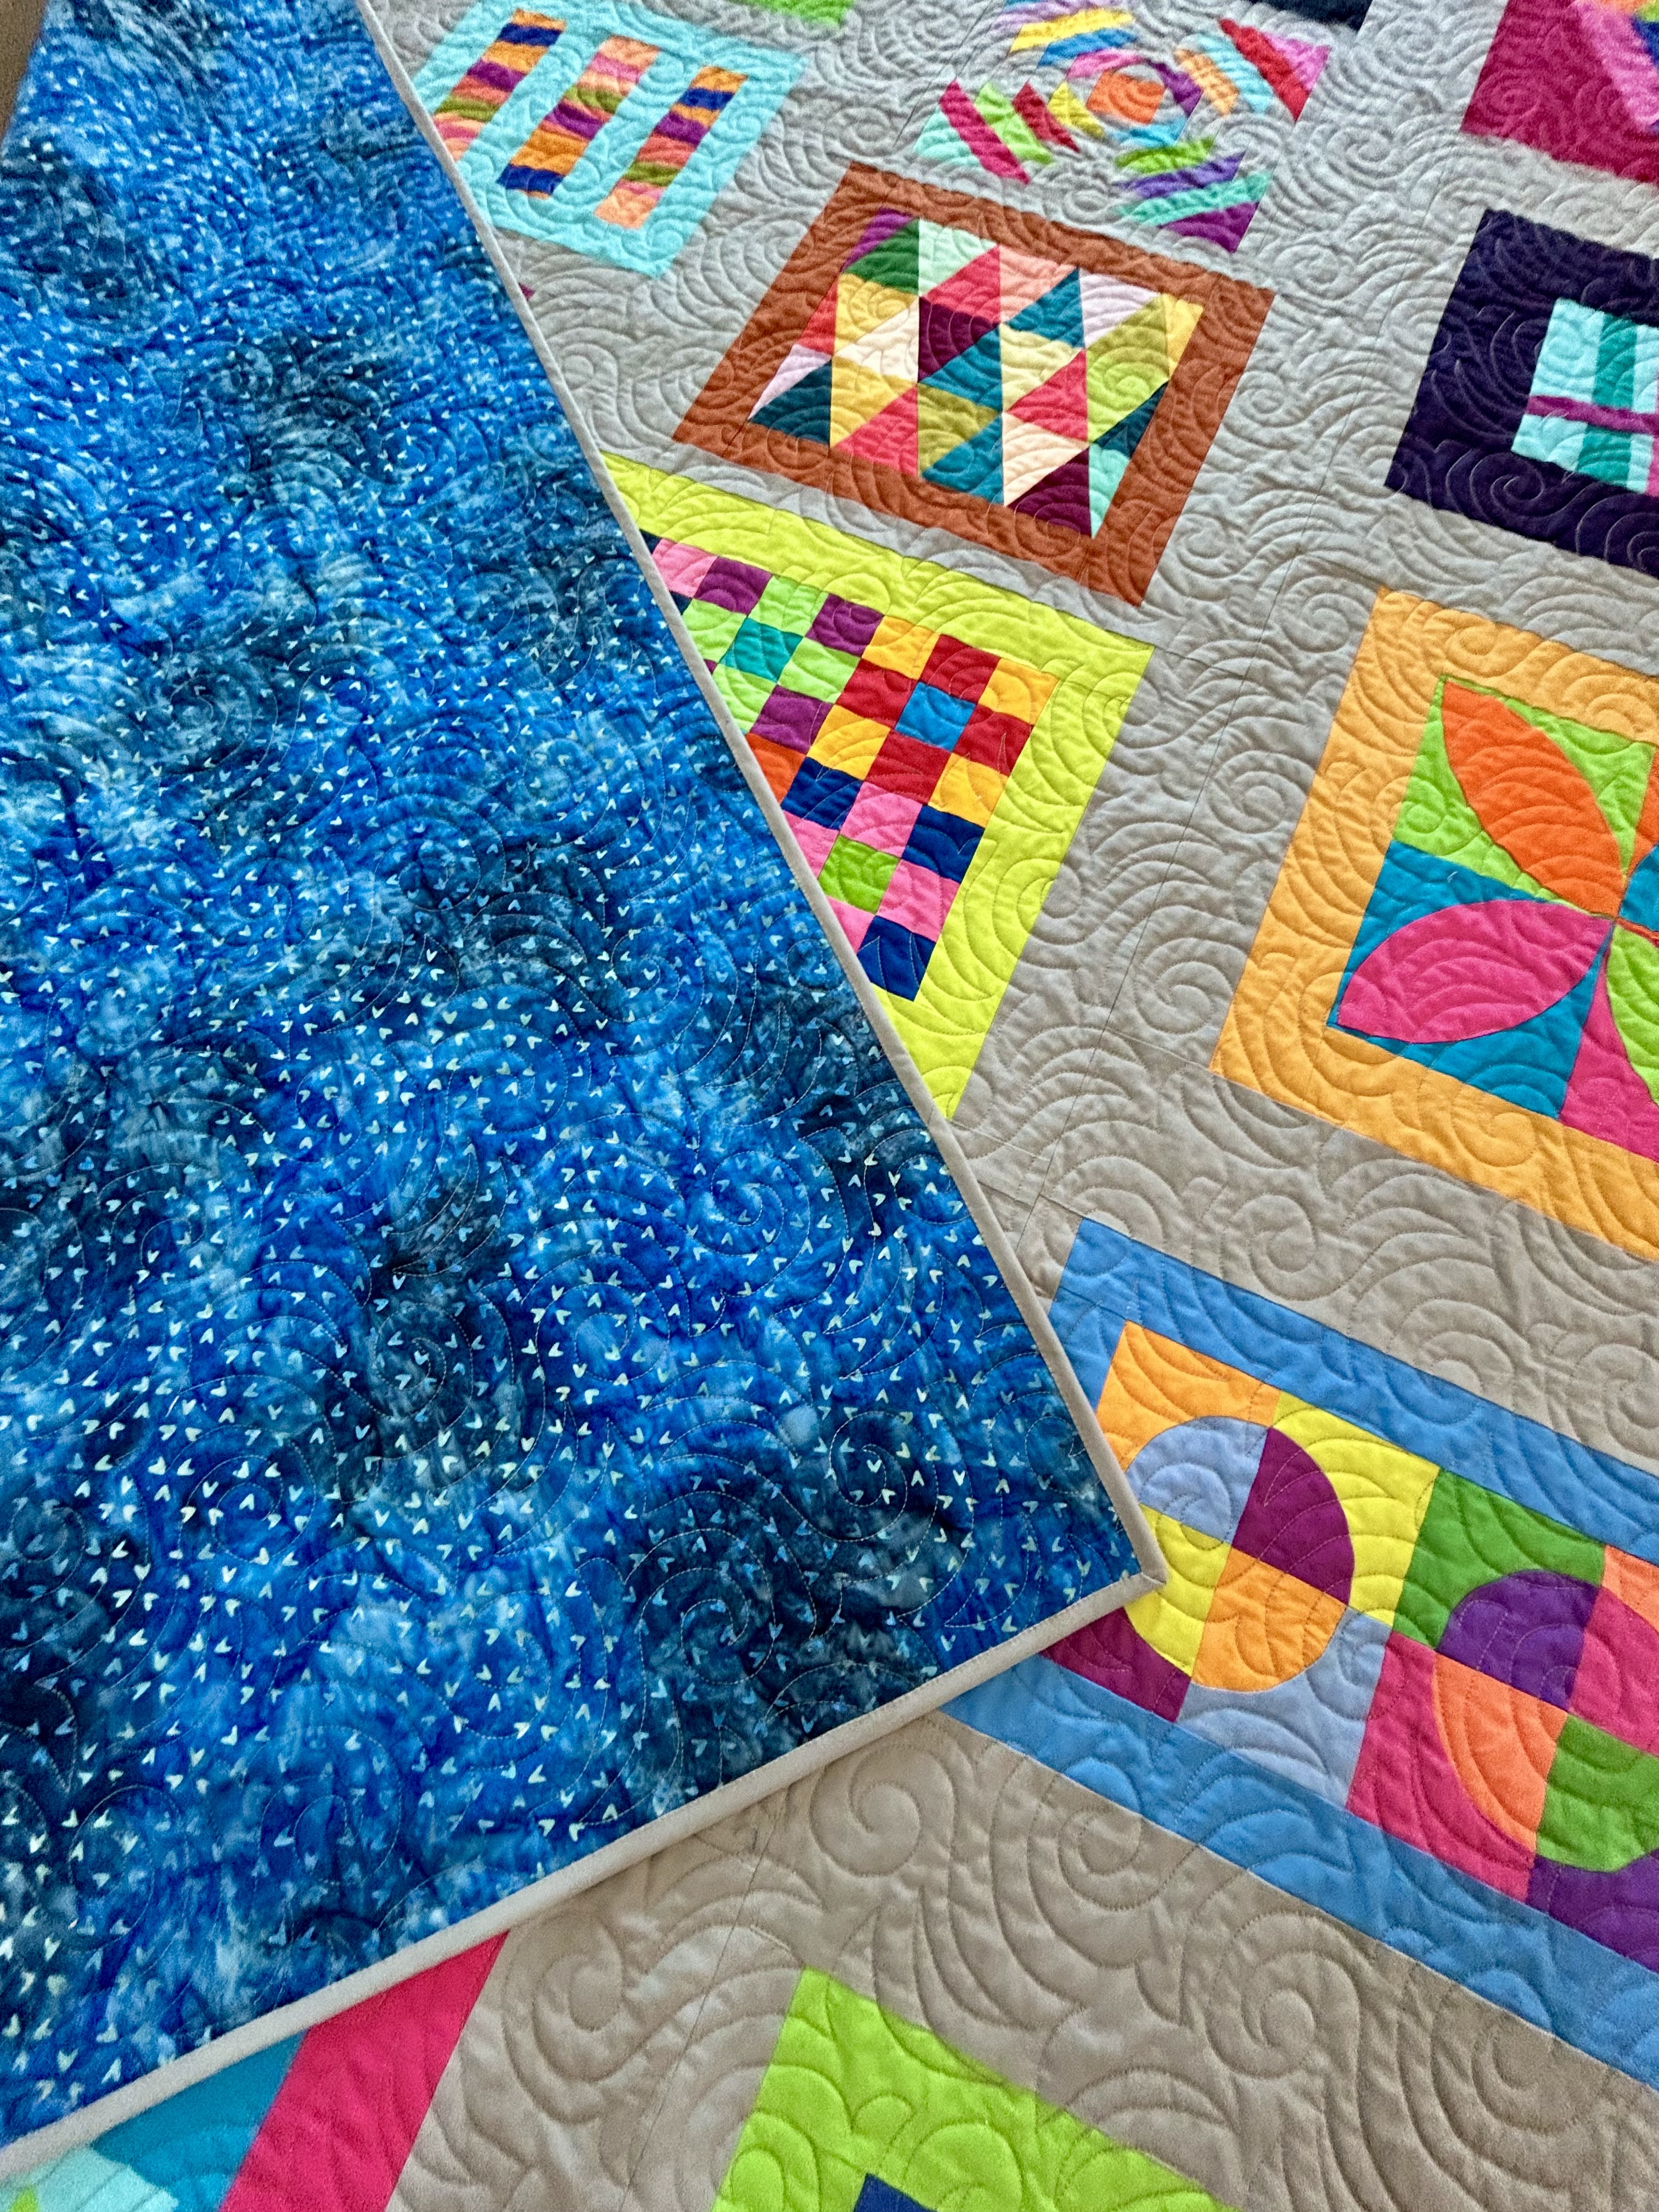
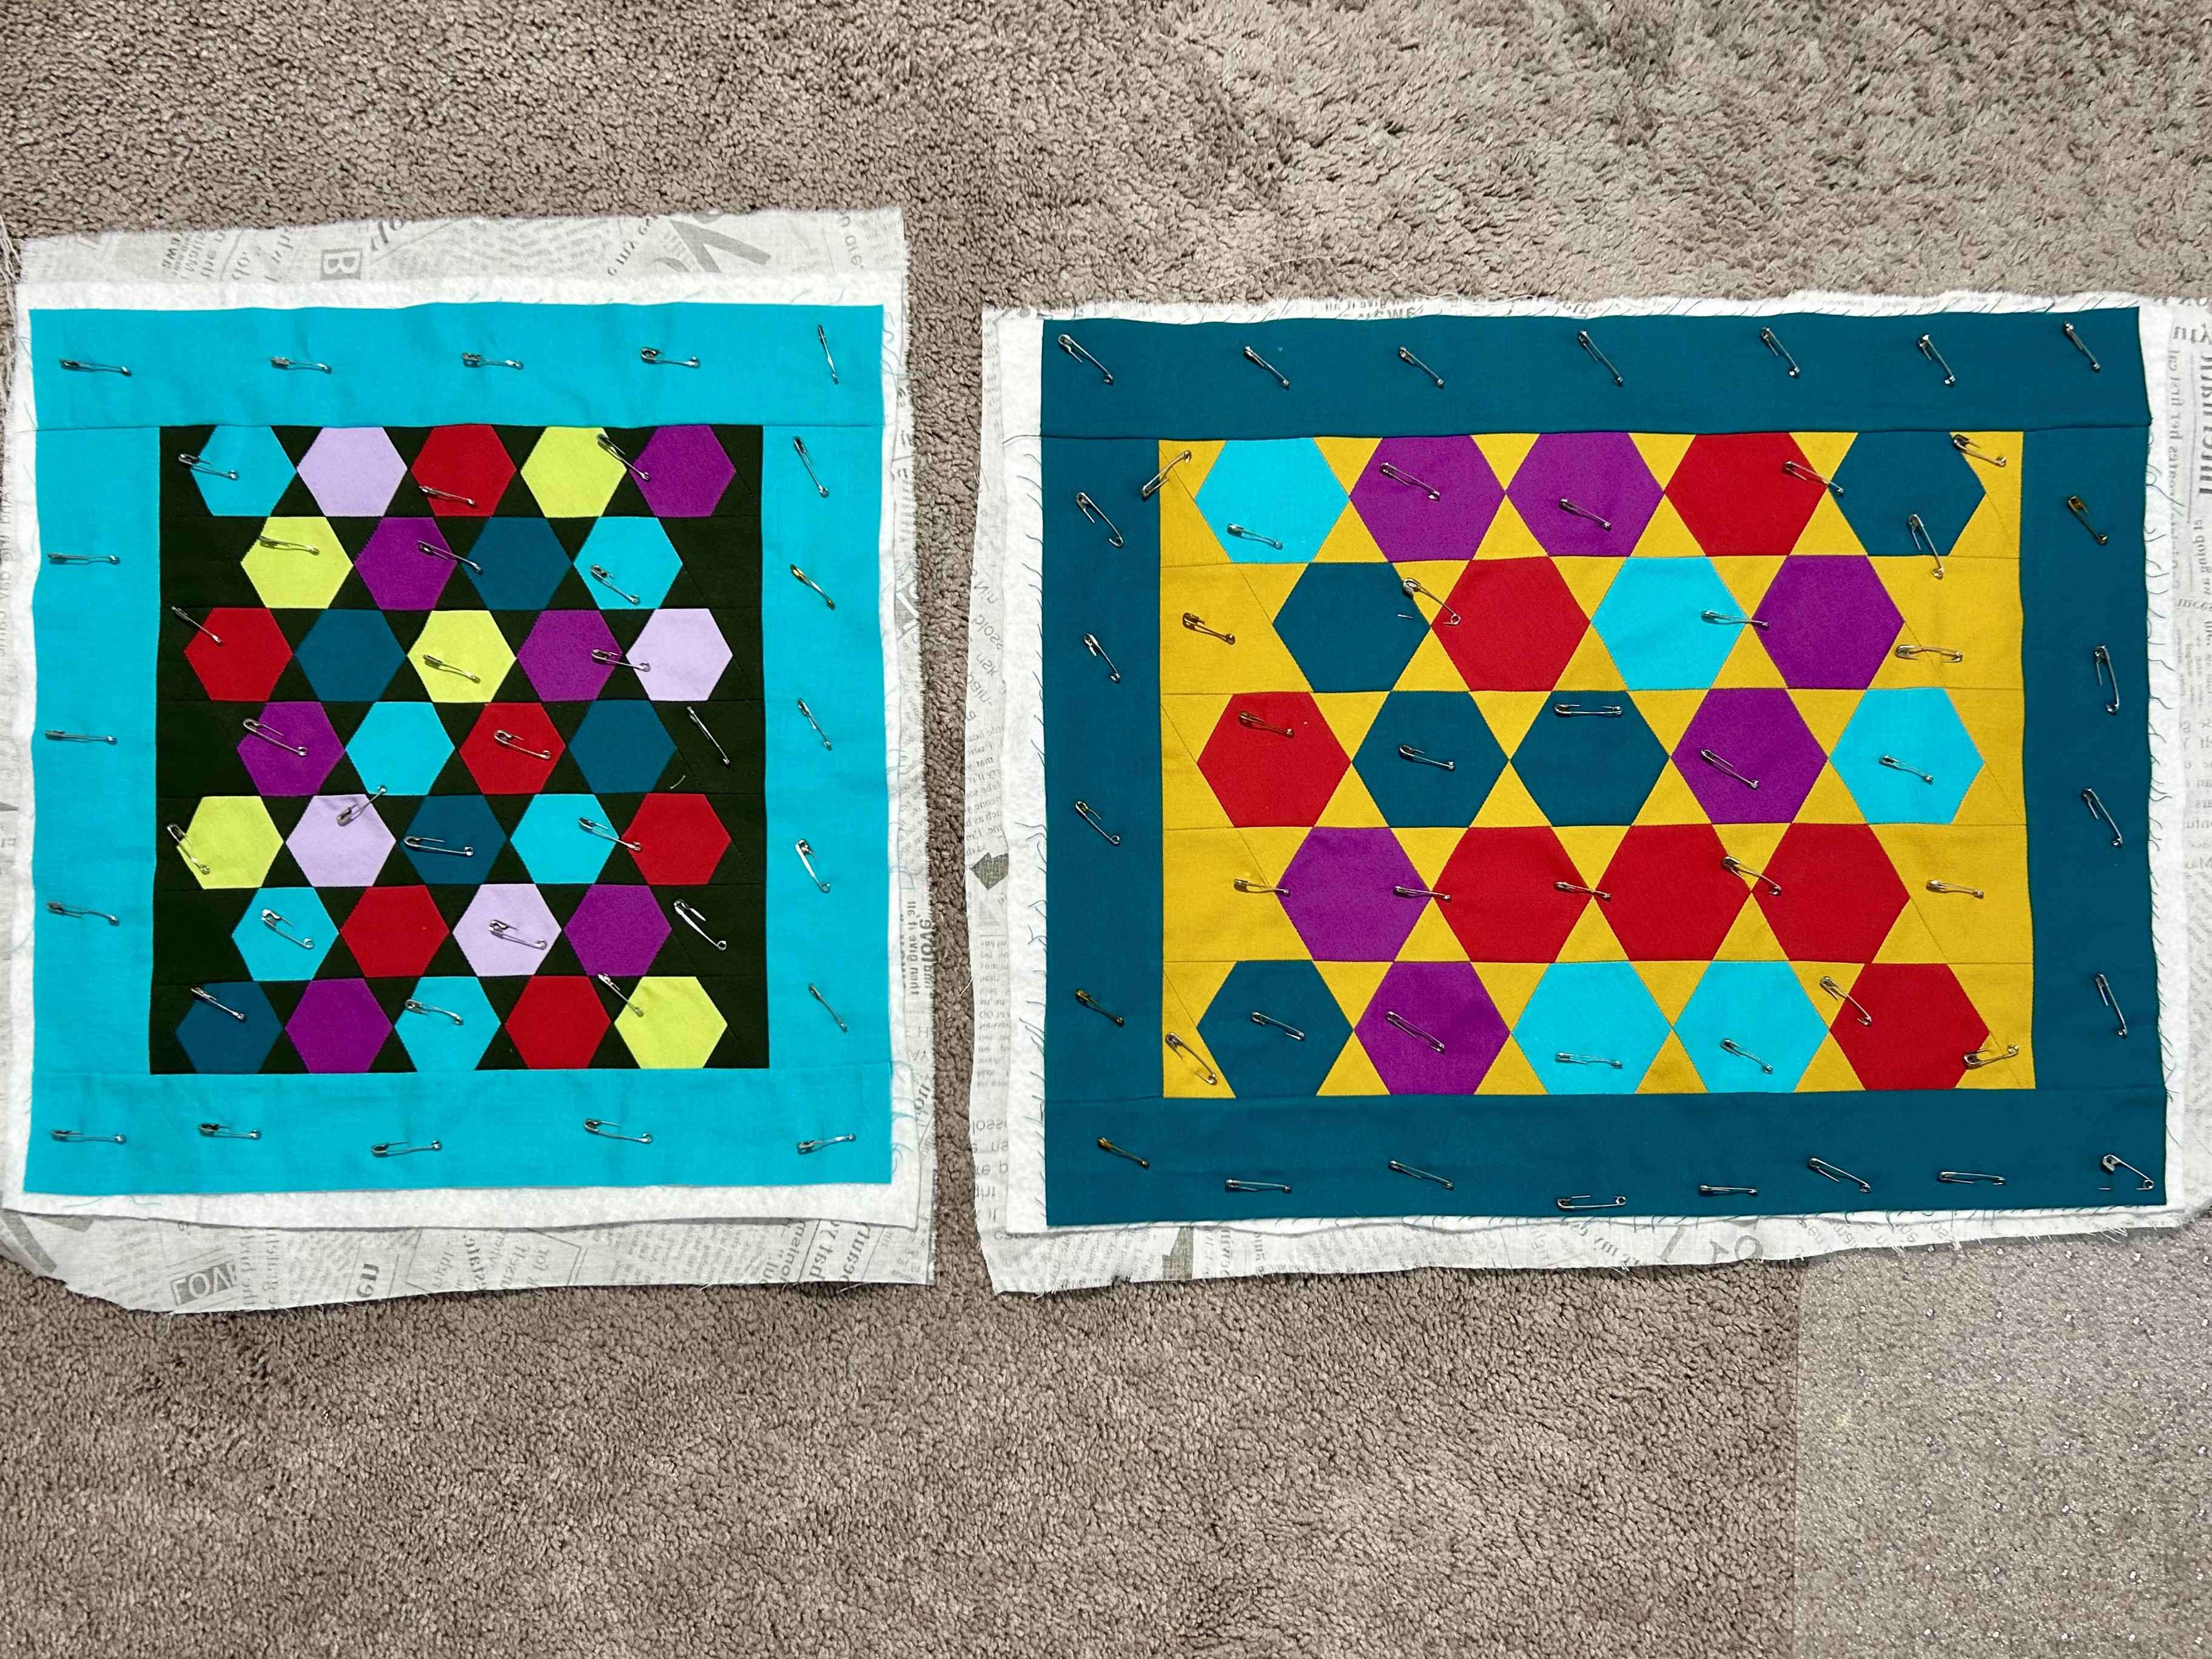
Here is an XO block on the longarm–from which I saved the triangles cut from the corners…
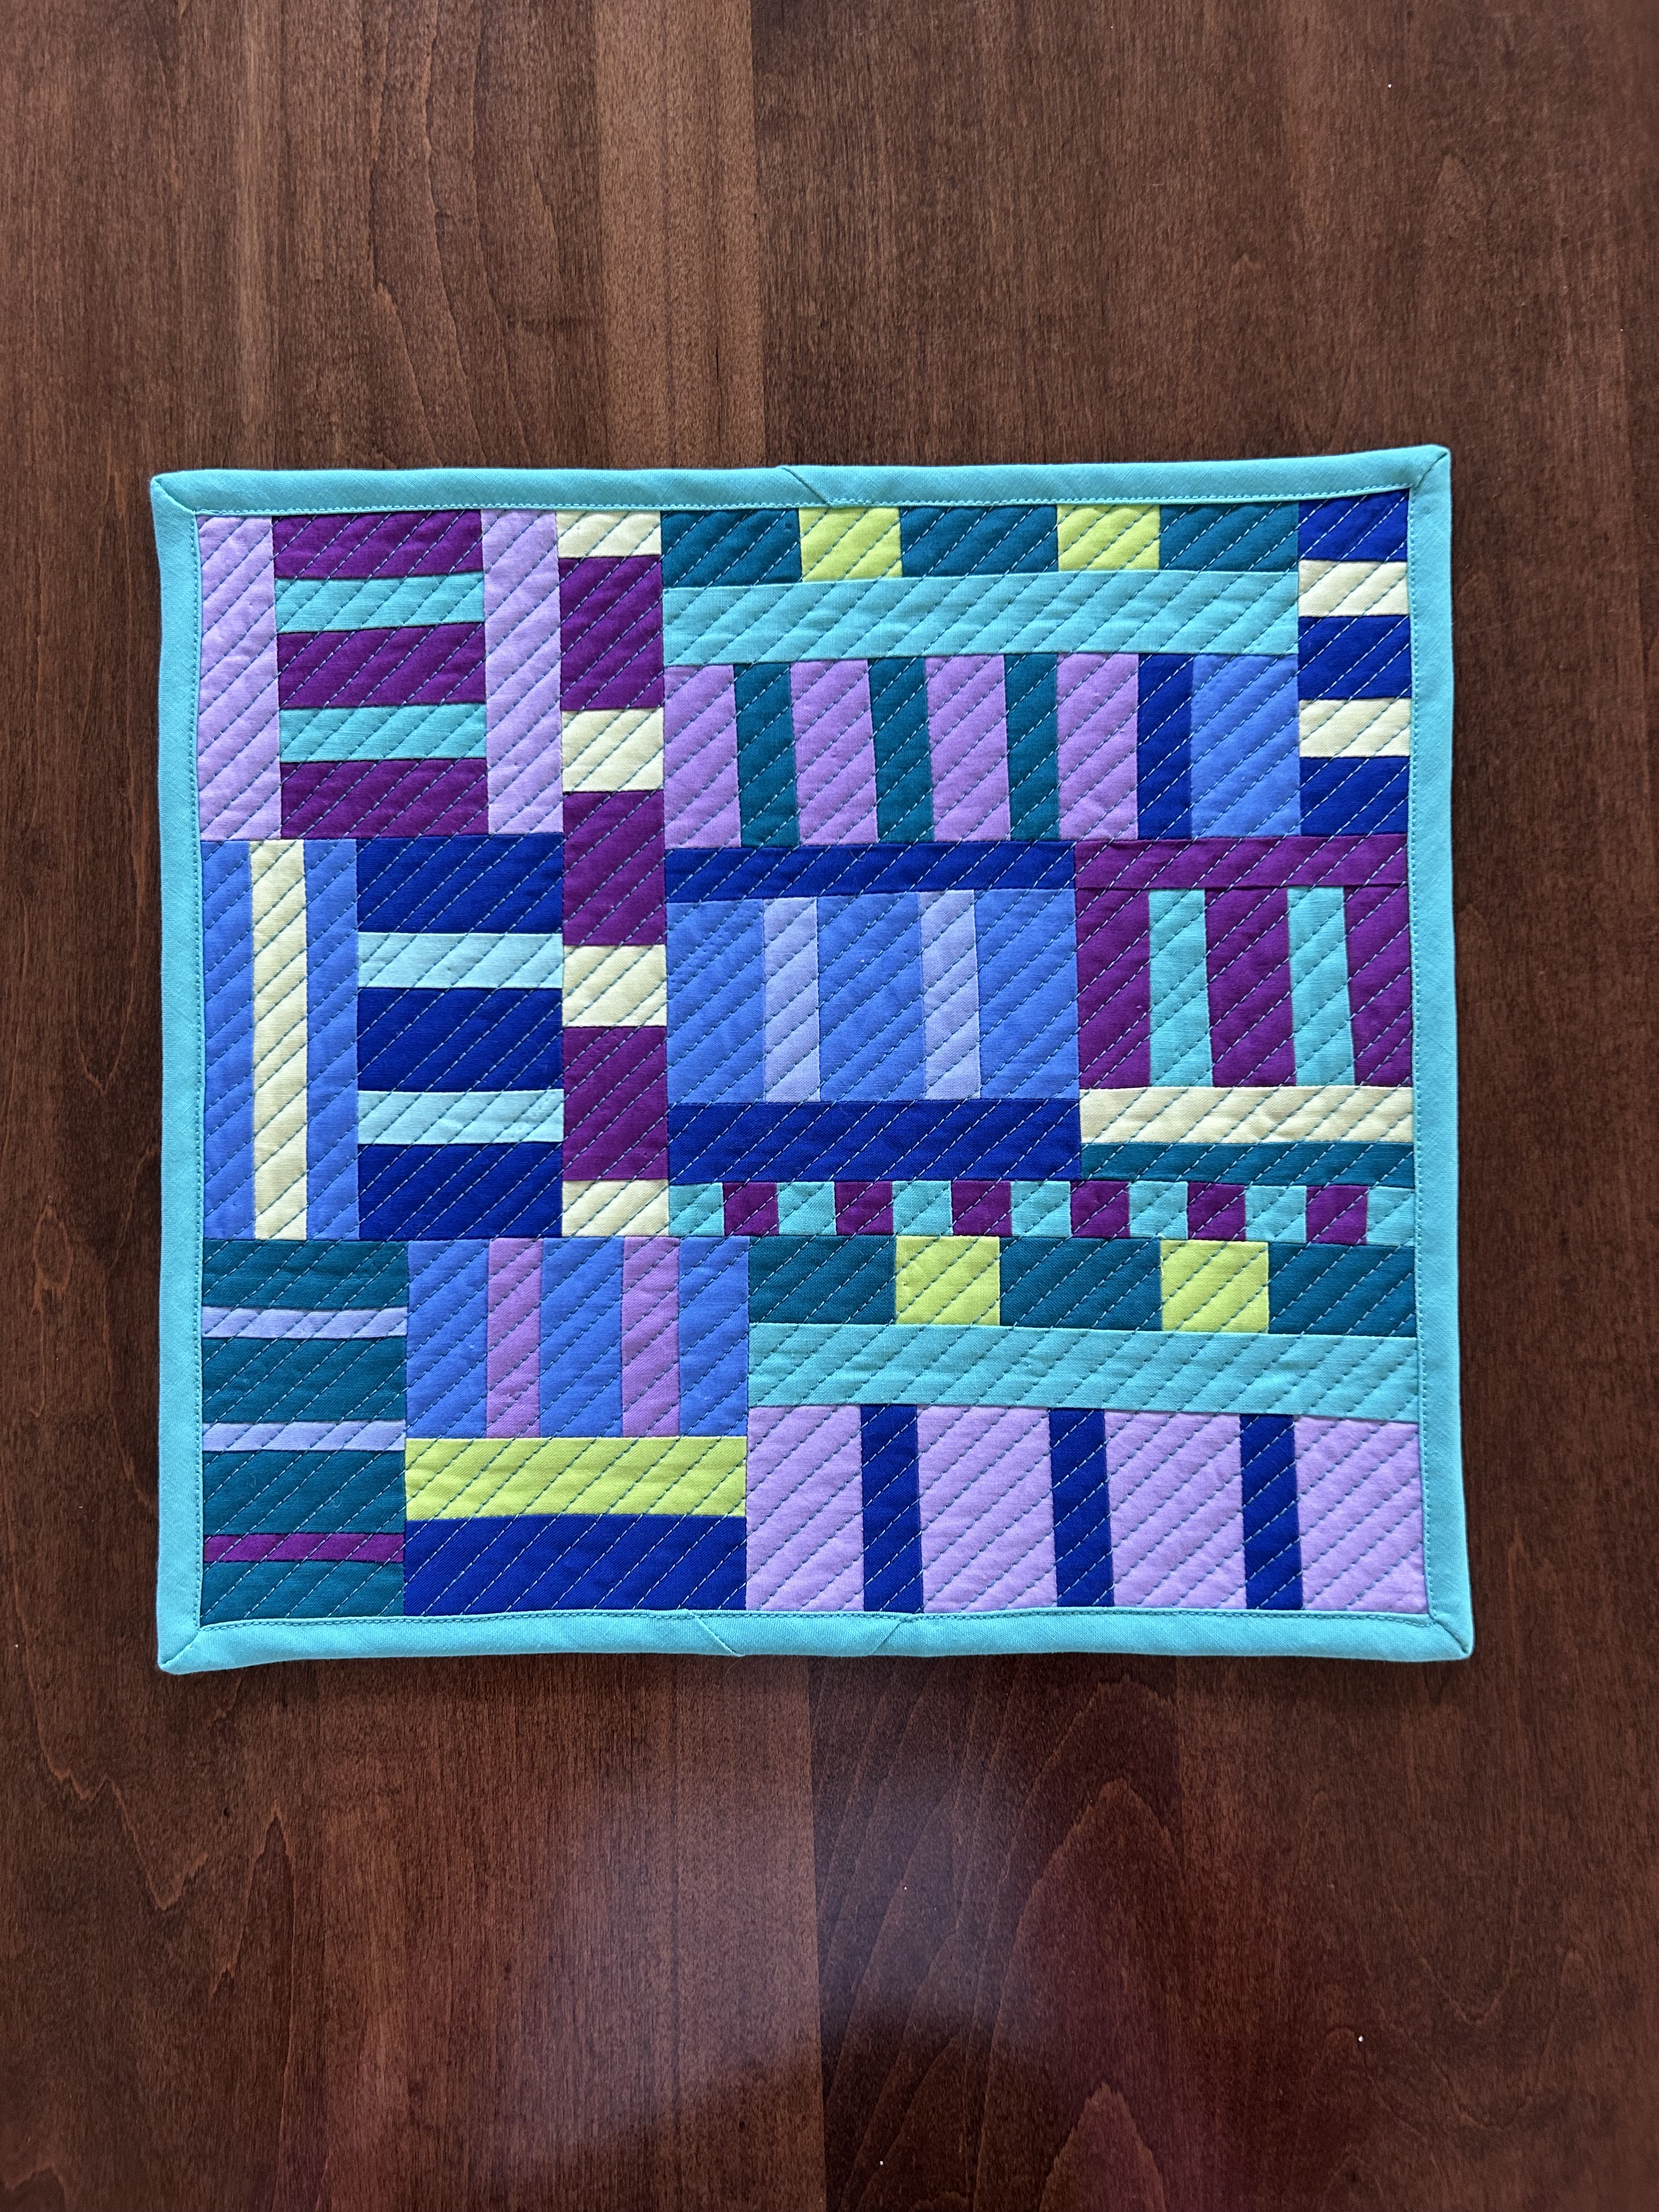
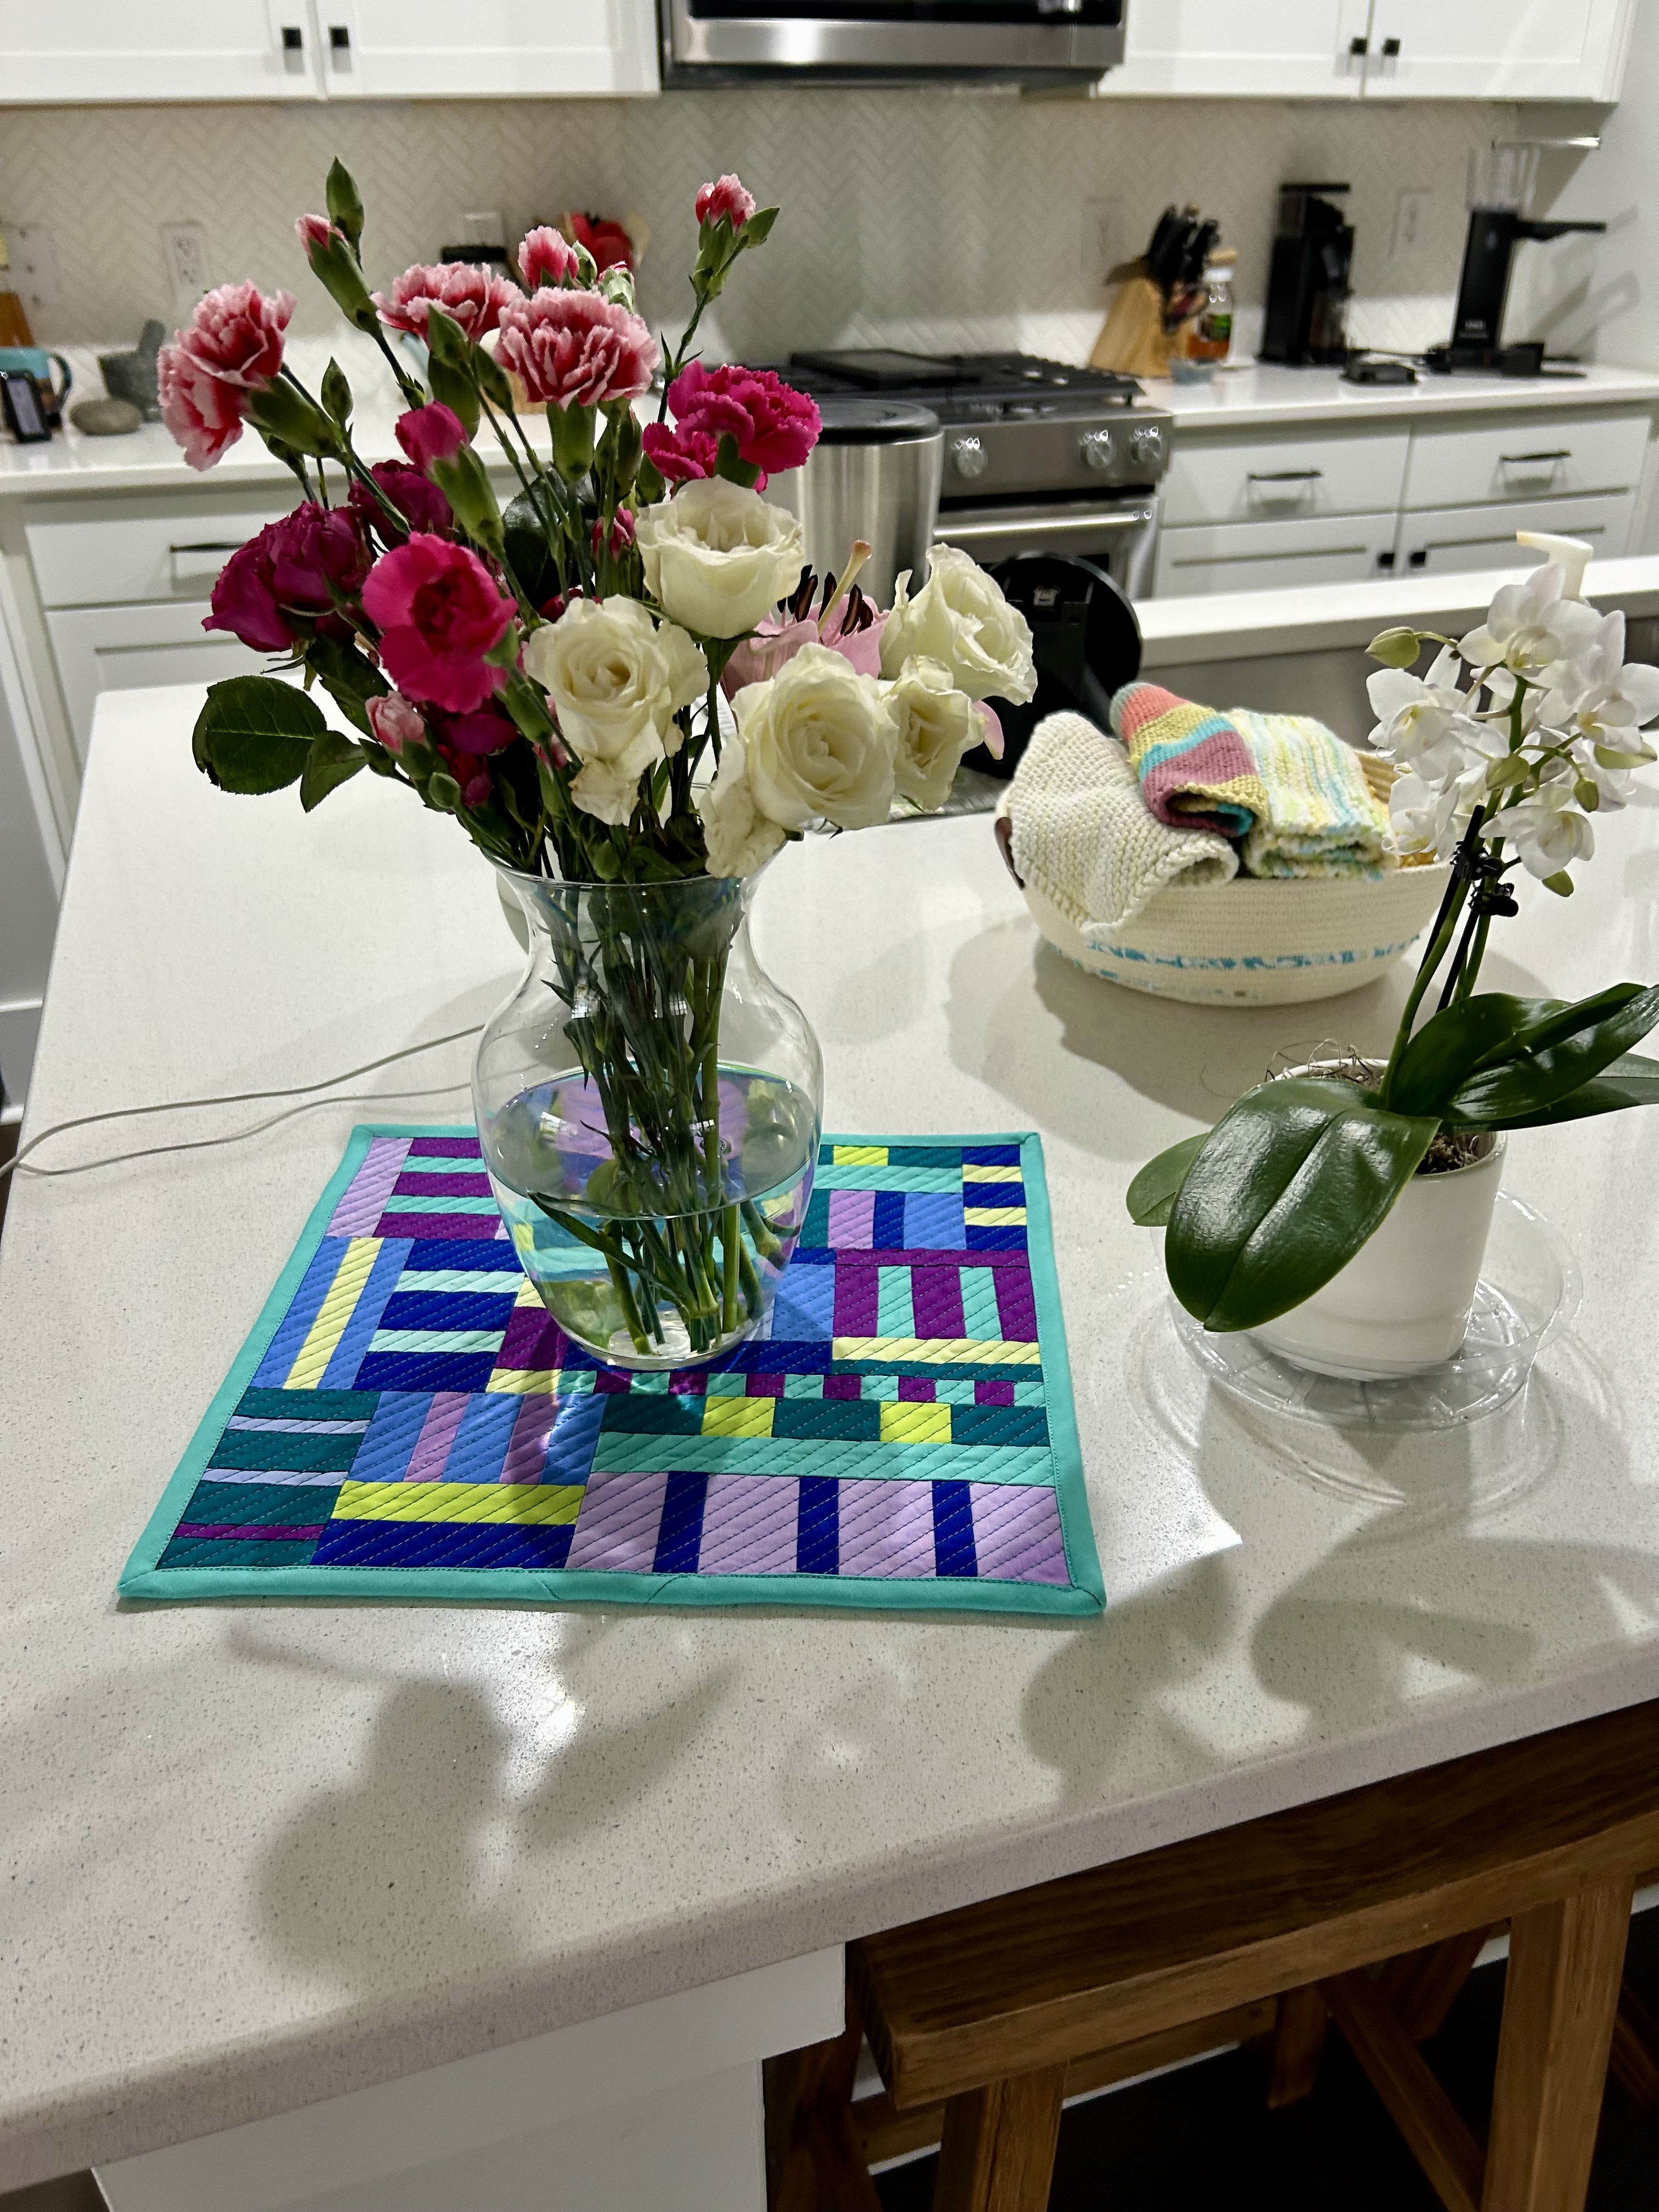
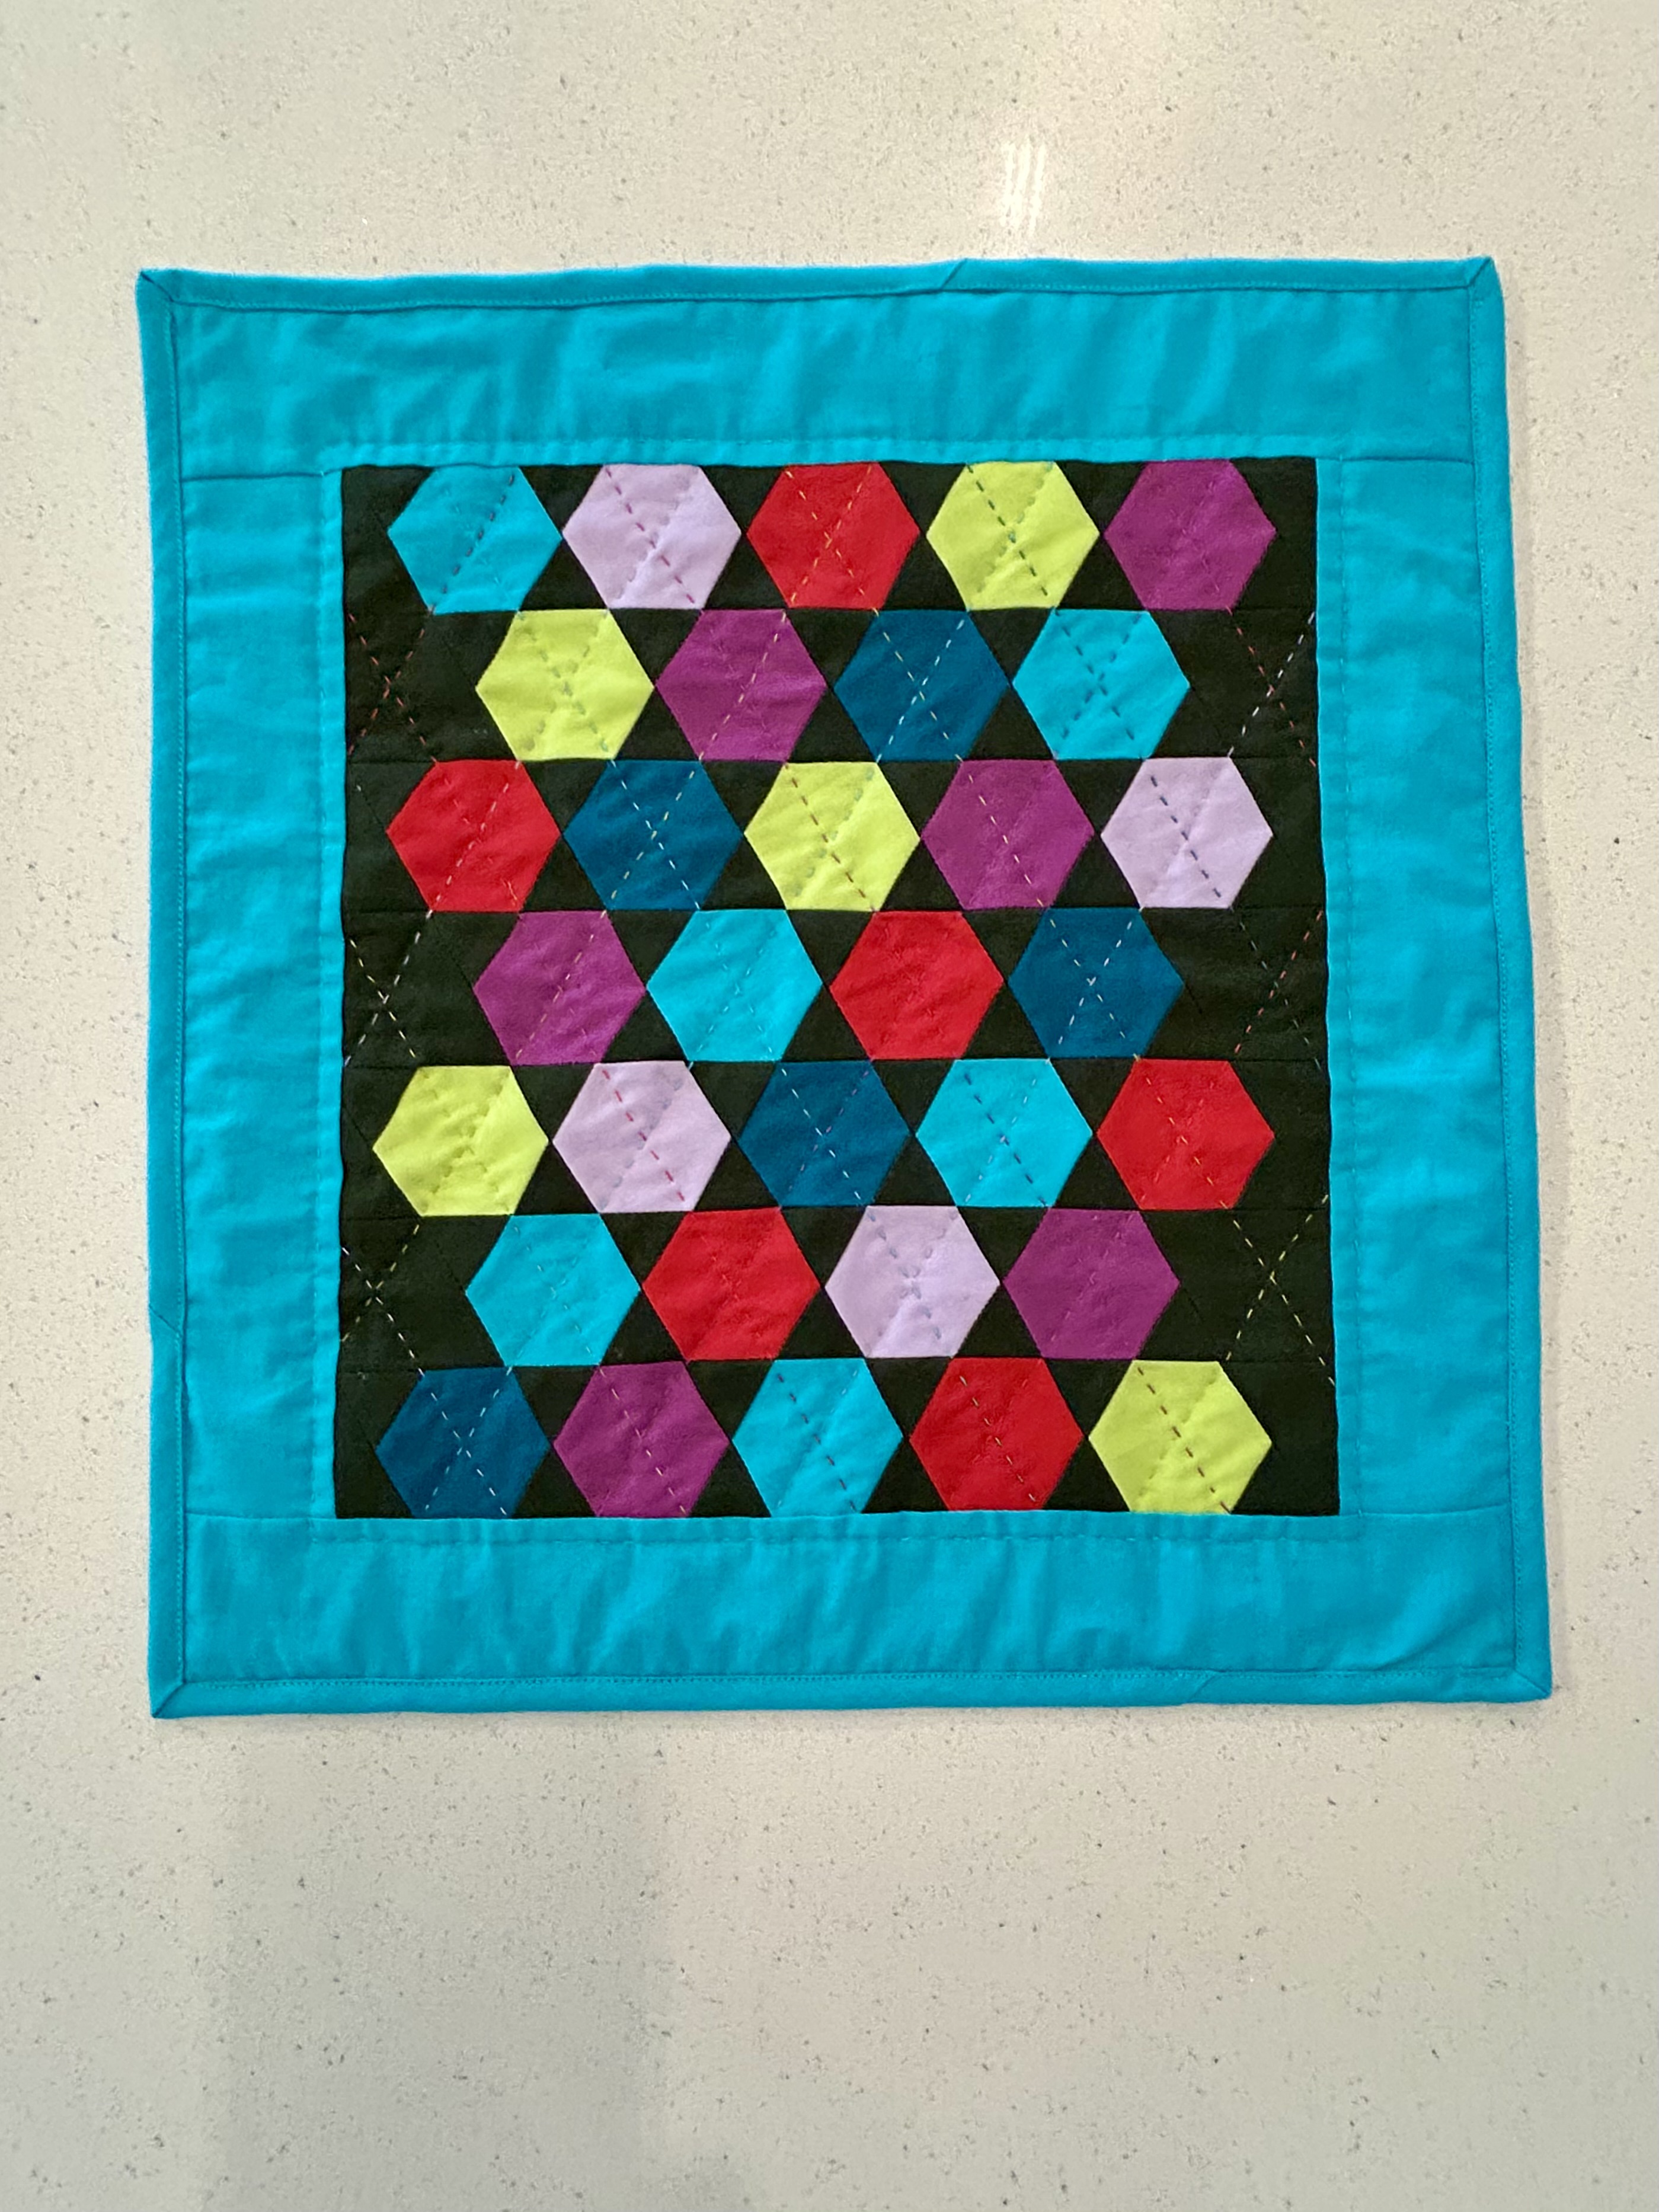
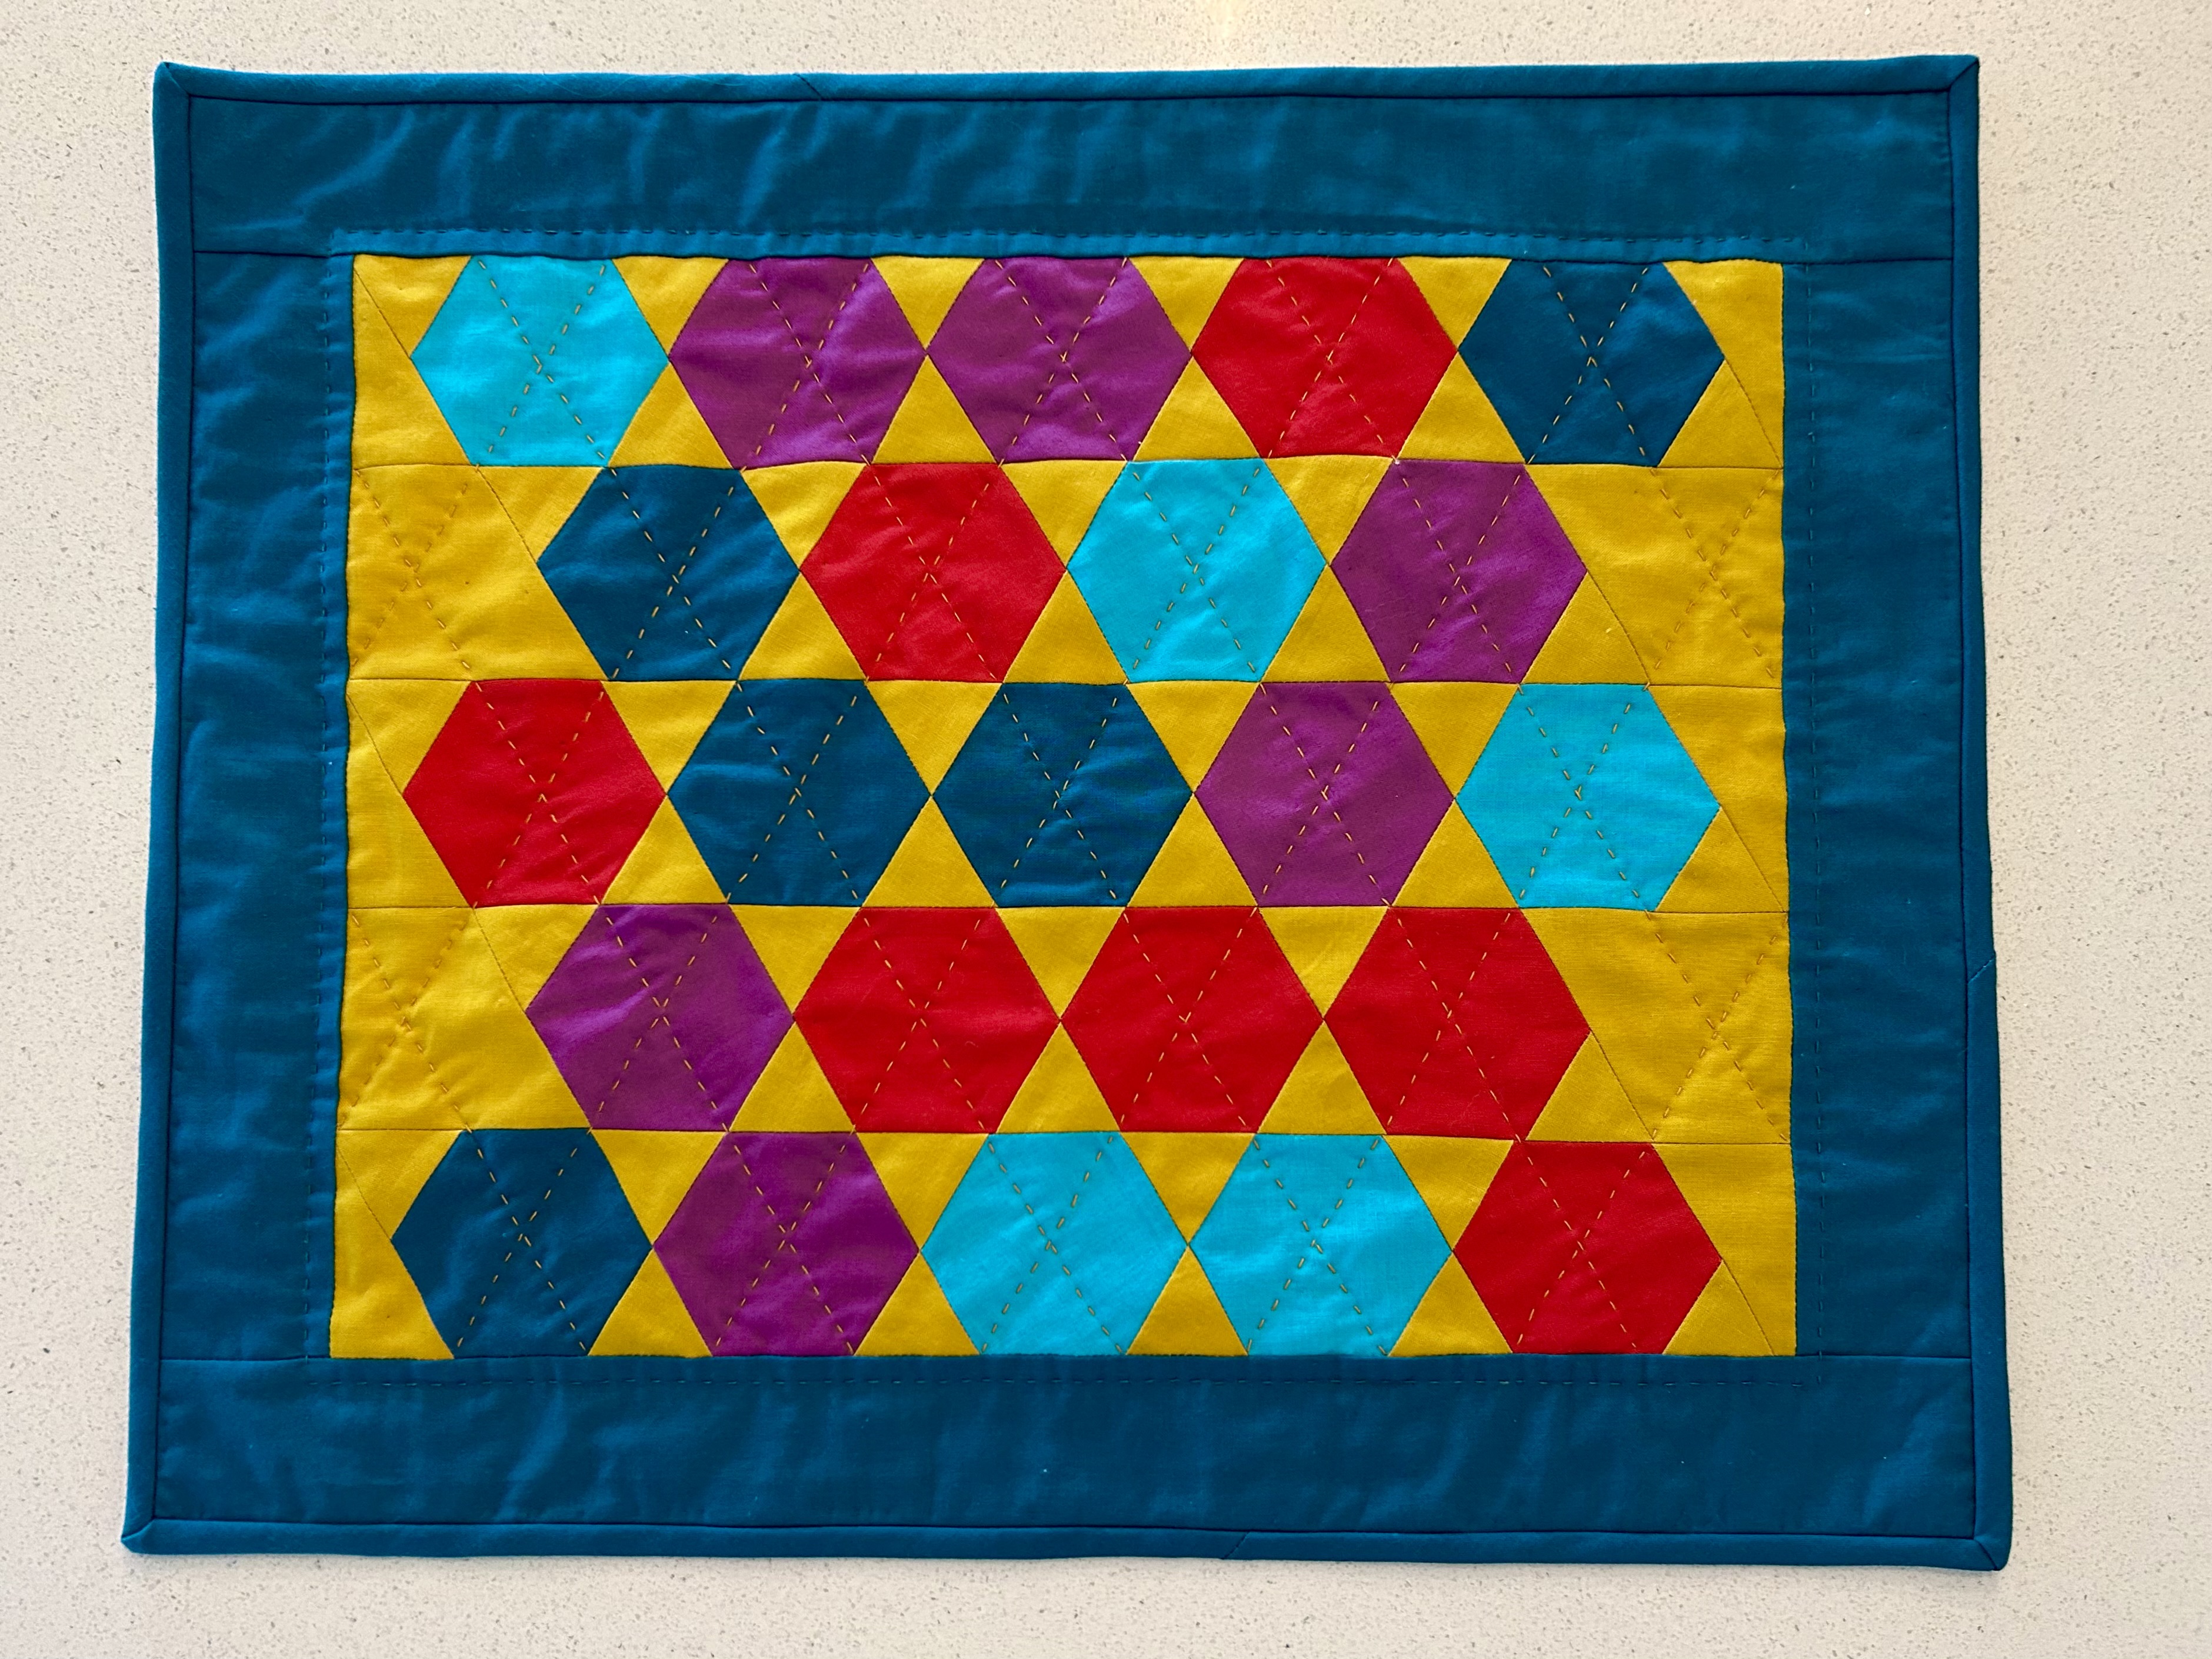
…and which I used to make this small piece that I quilted with straight lines on my Janome. Each XO block made two paired half-squares when trimmed. I suspect it will become a table topper. I normally don’t save triangles like these, but these were too large to ignore.
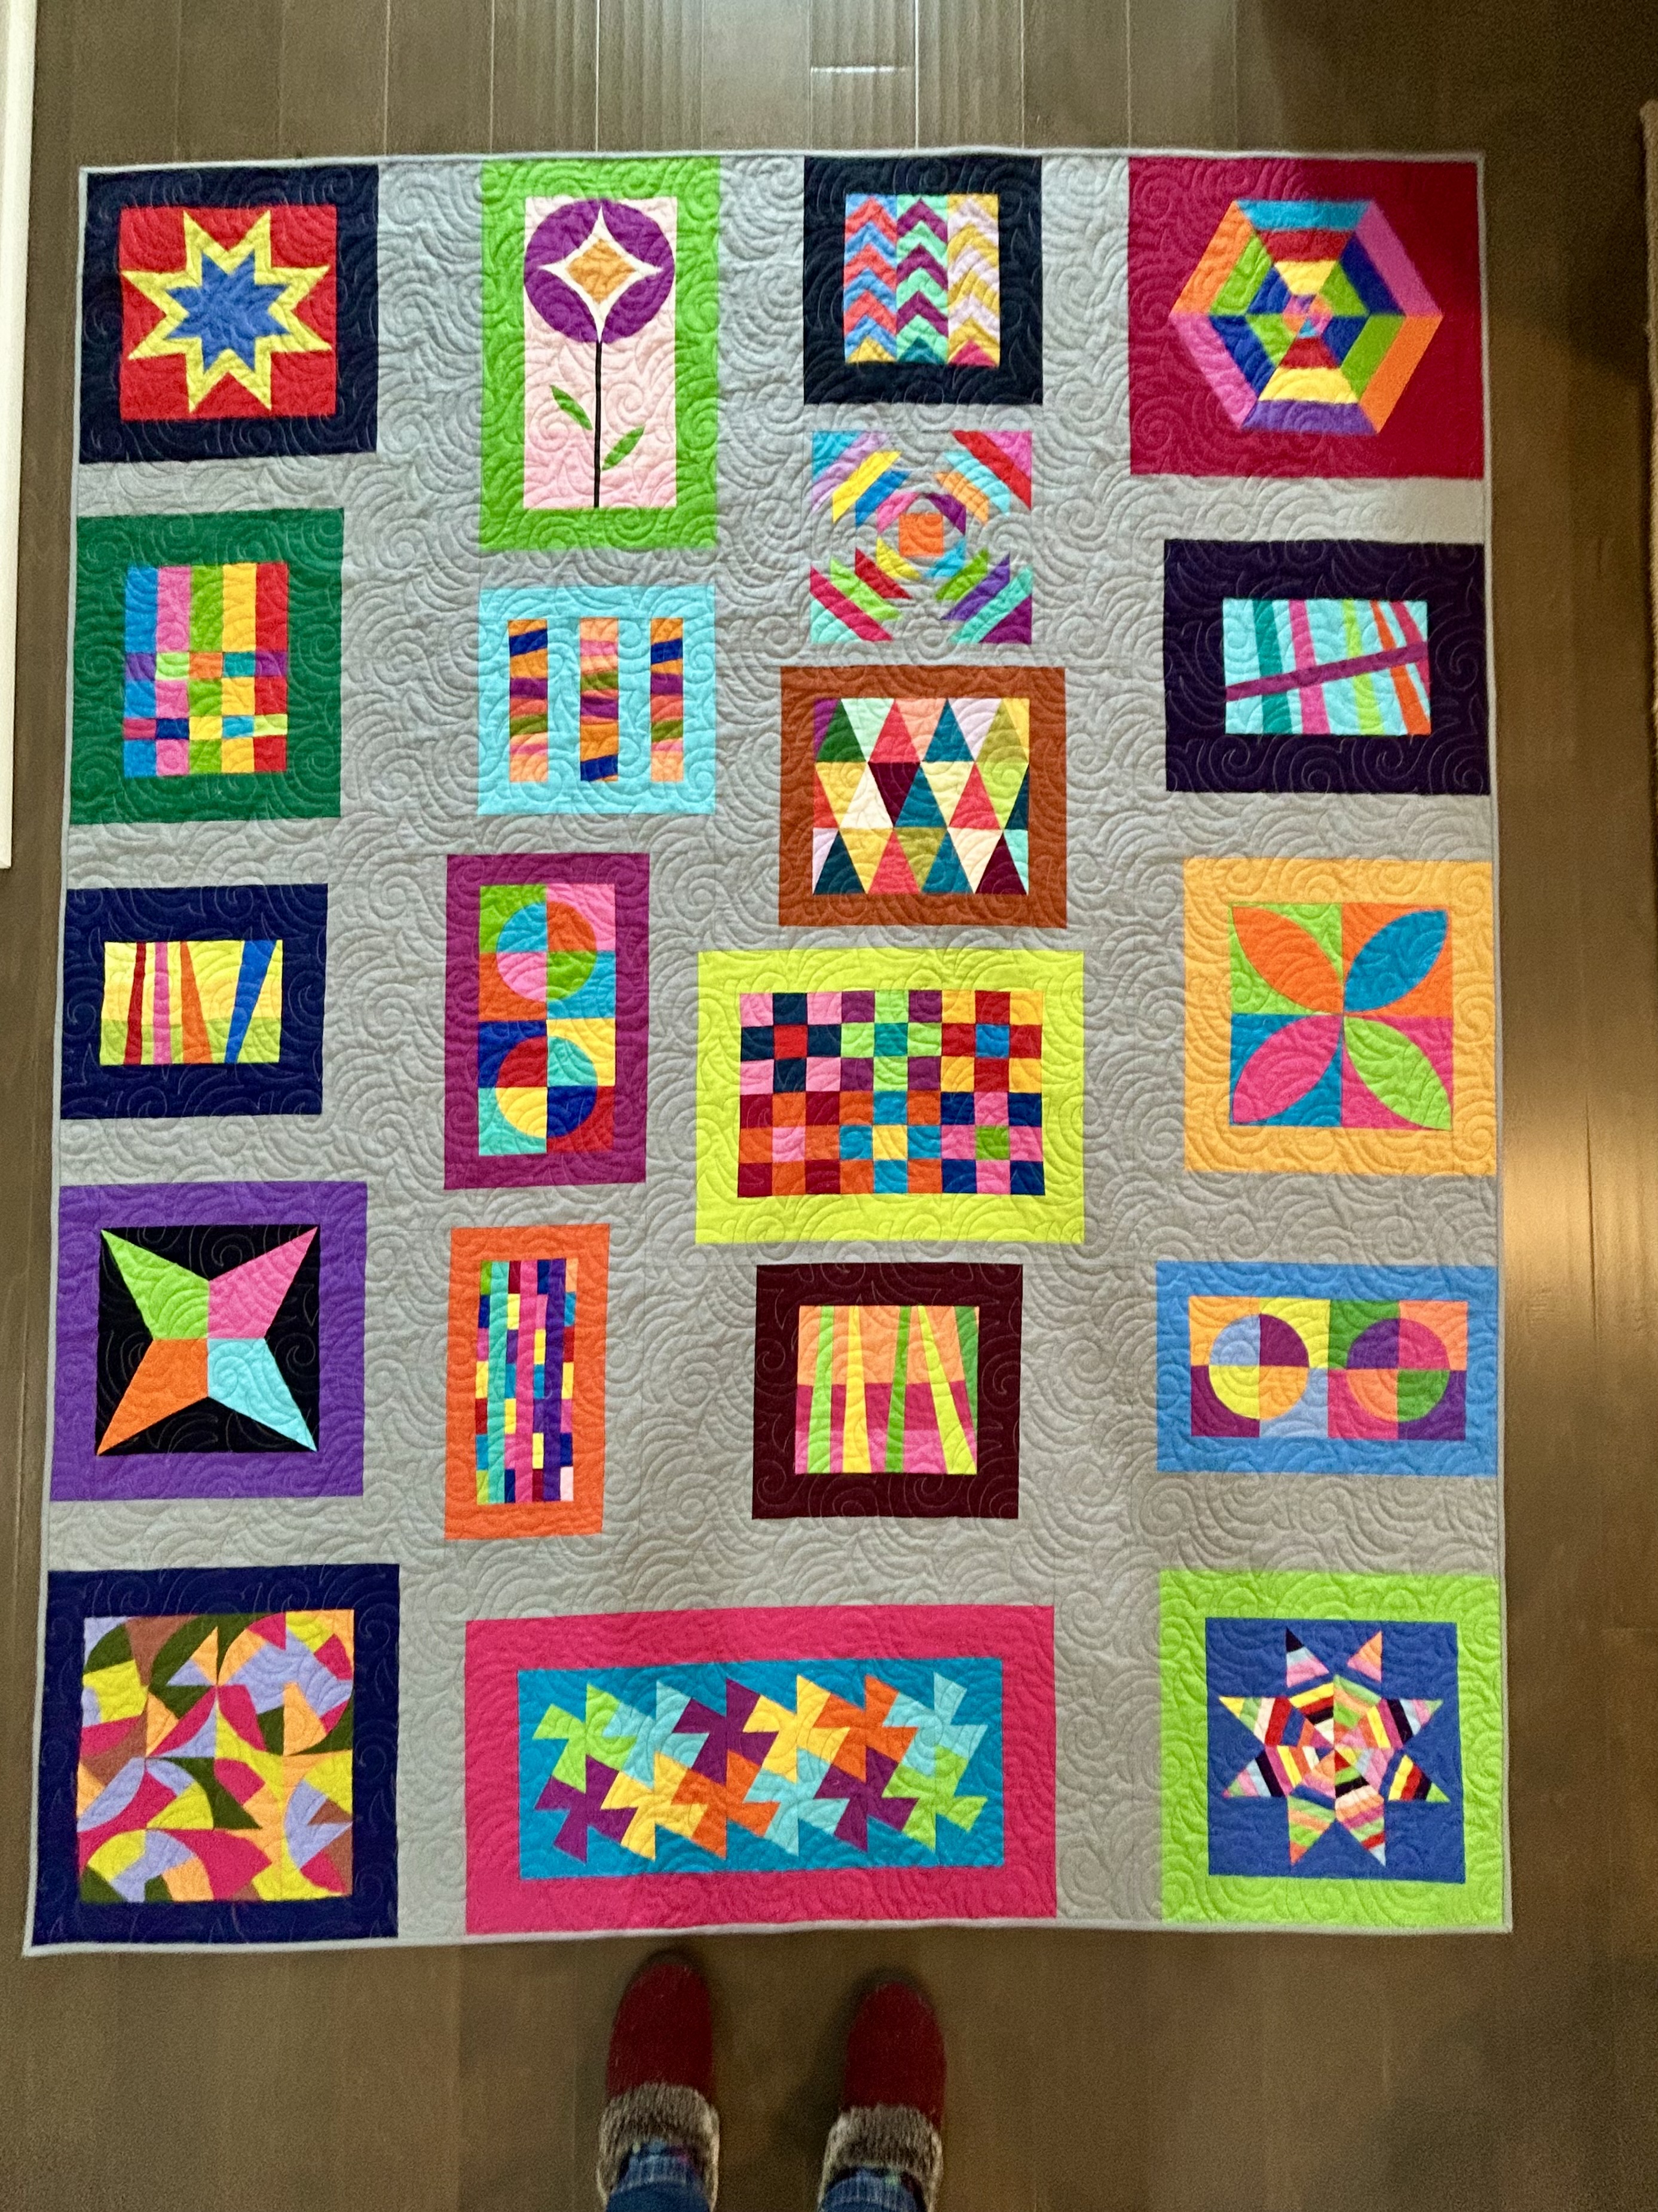
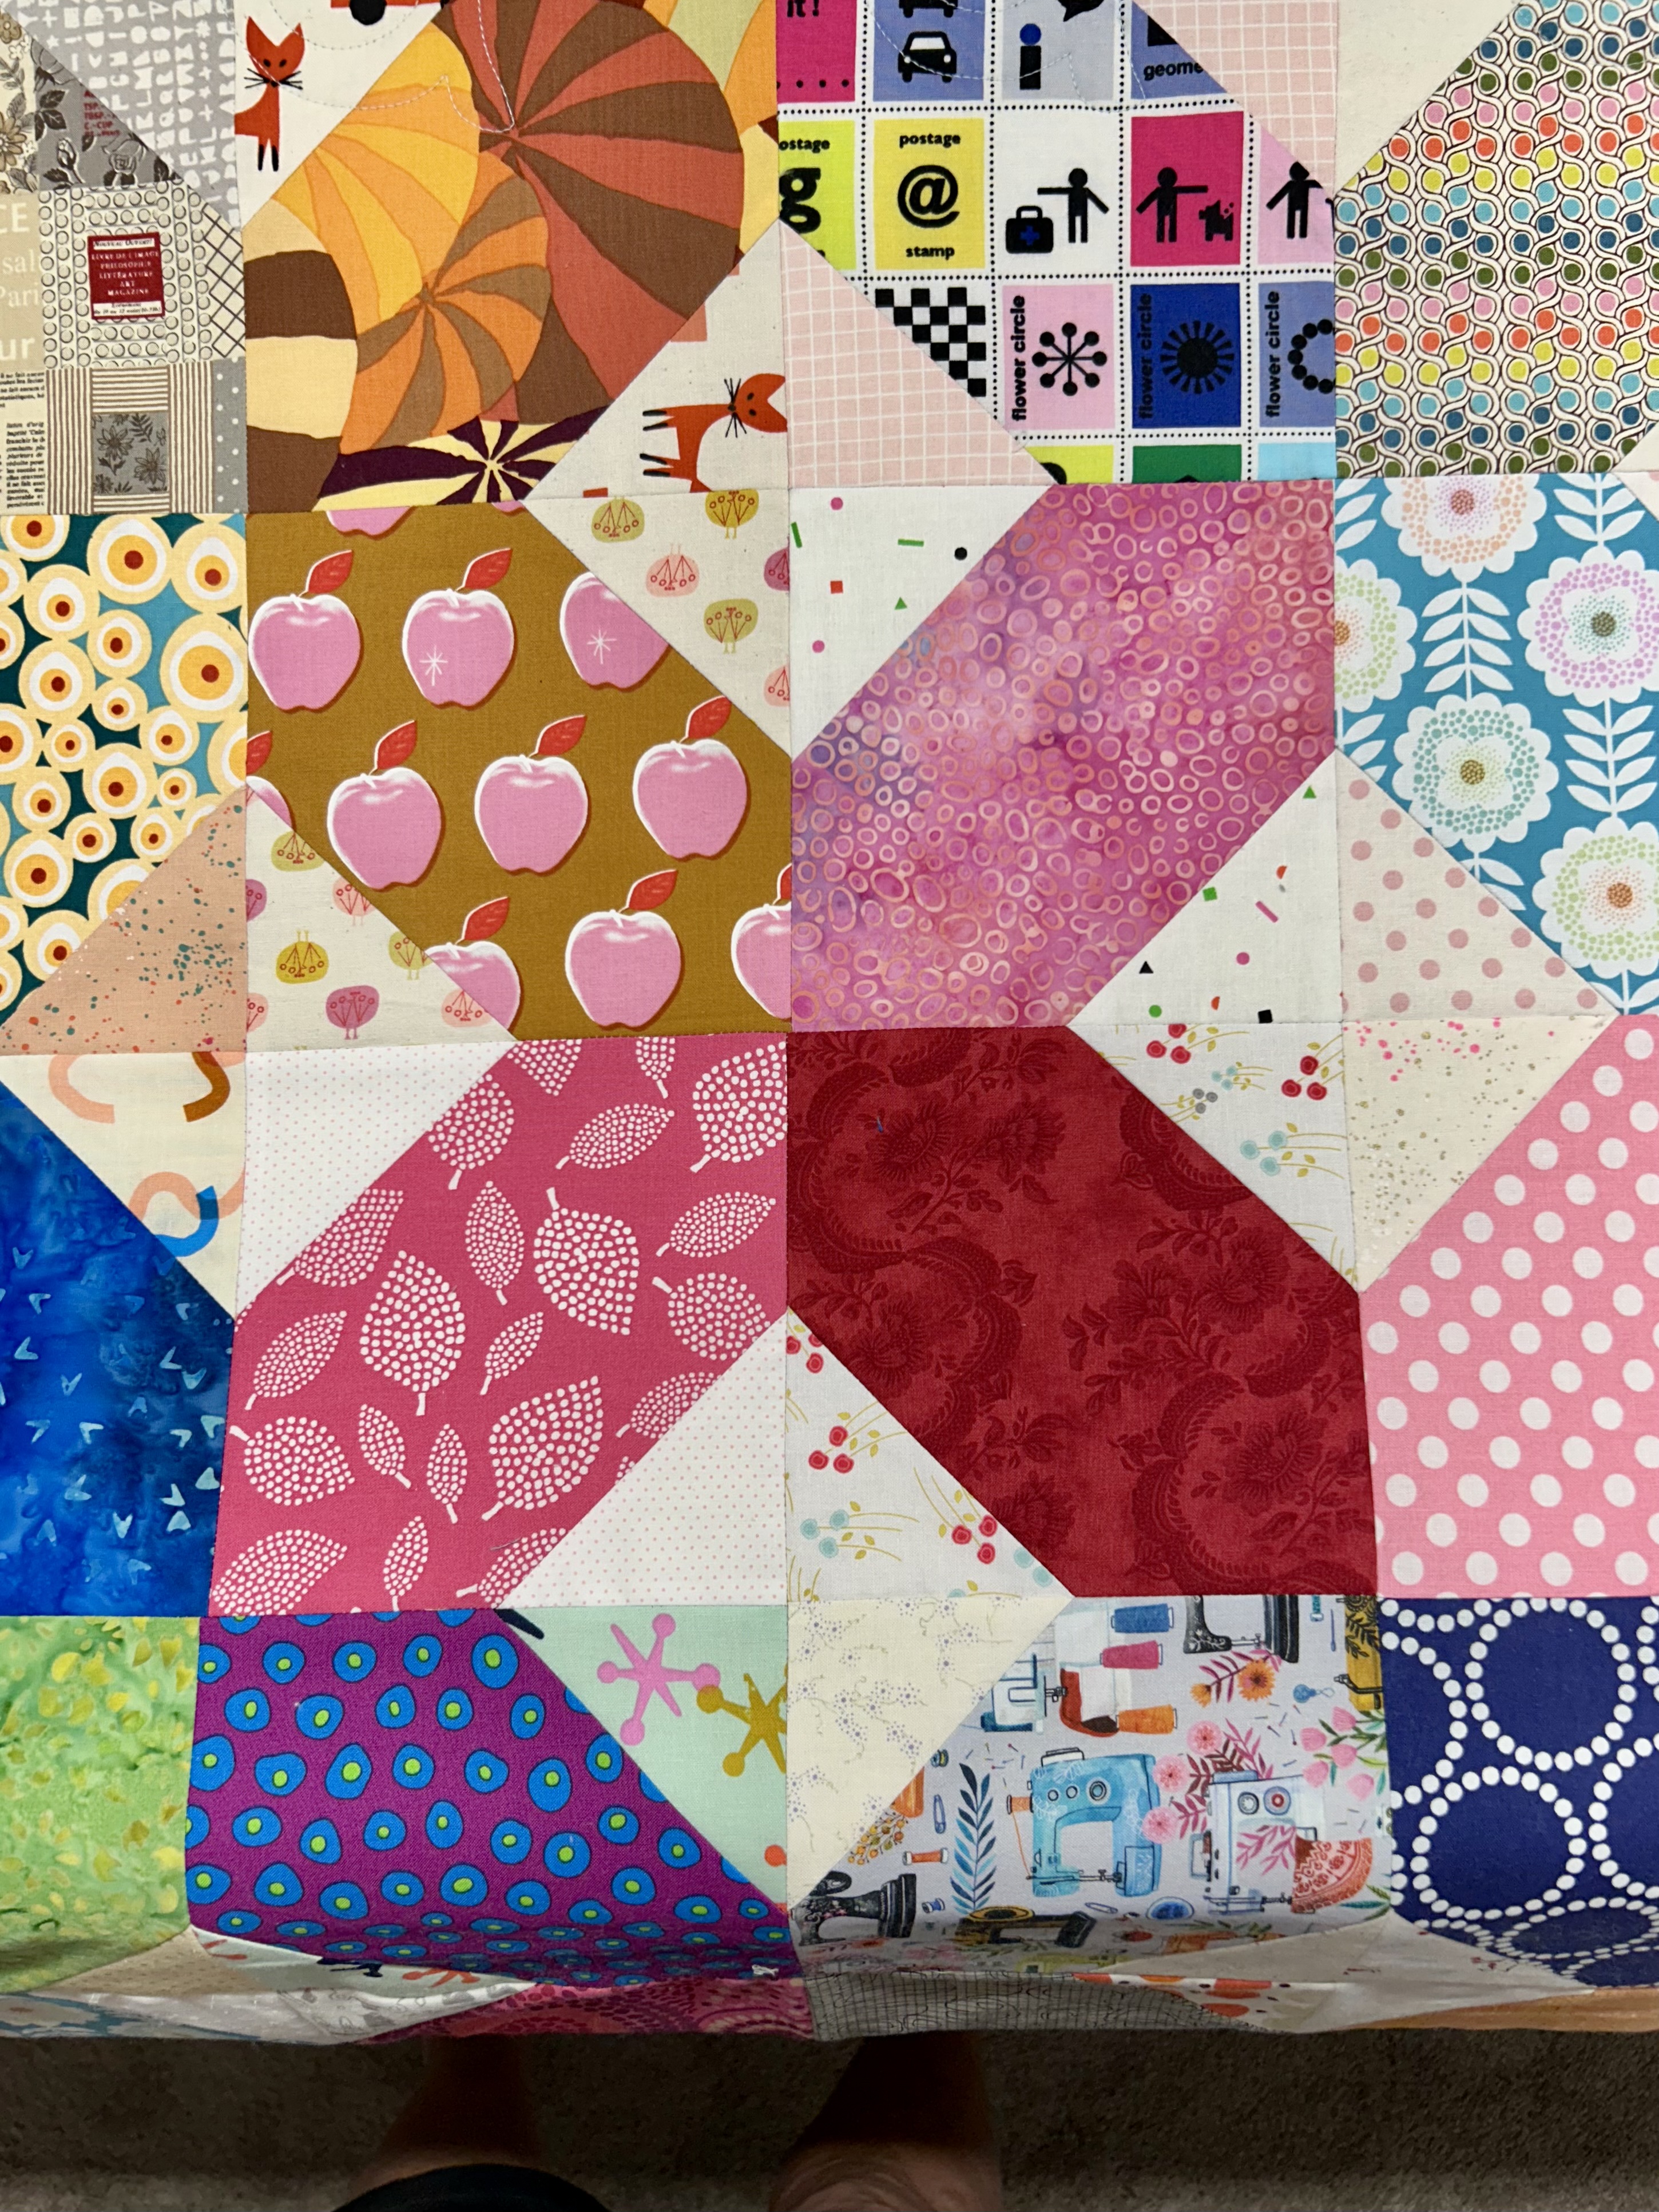
And here’s the design wall, which is once again…full:
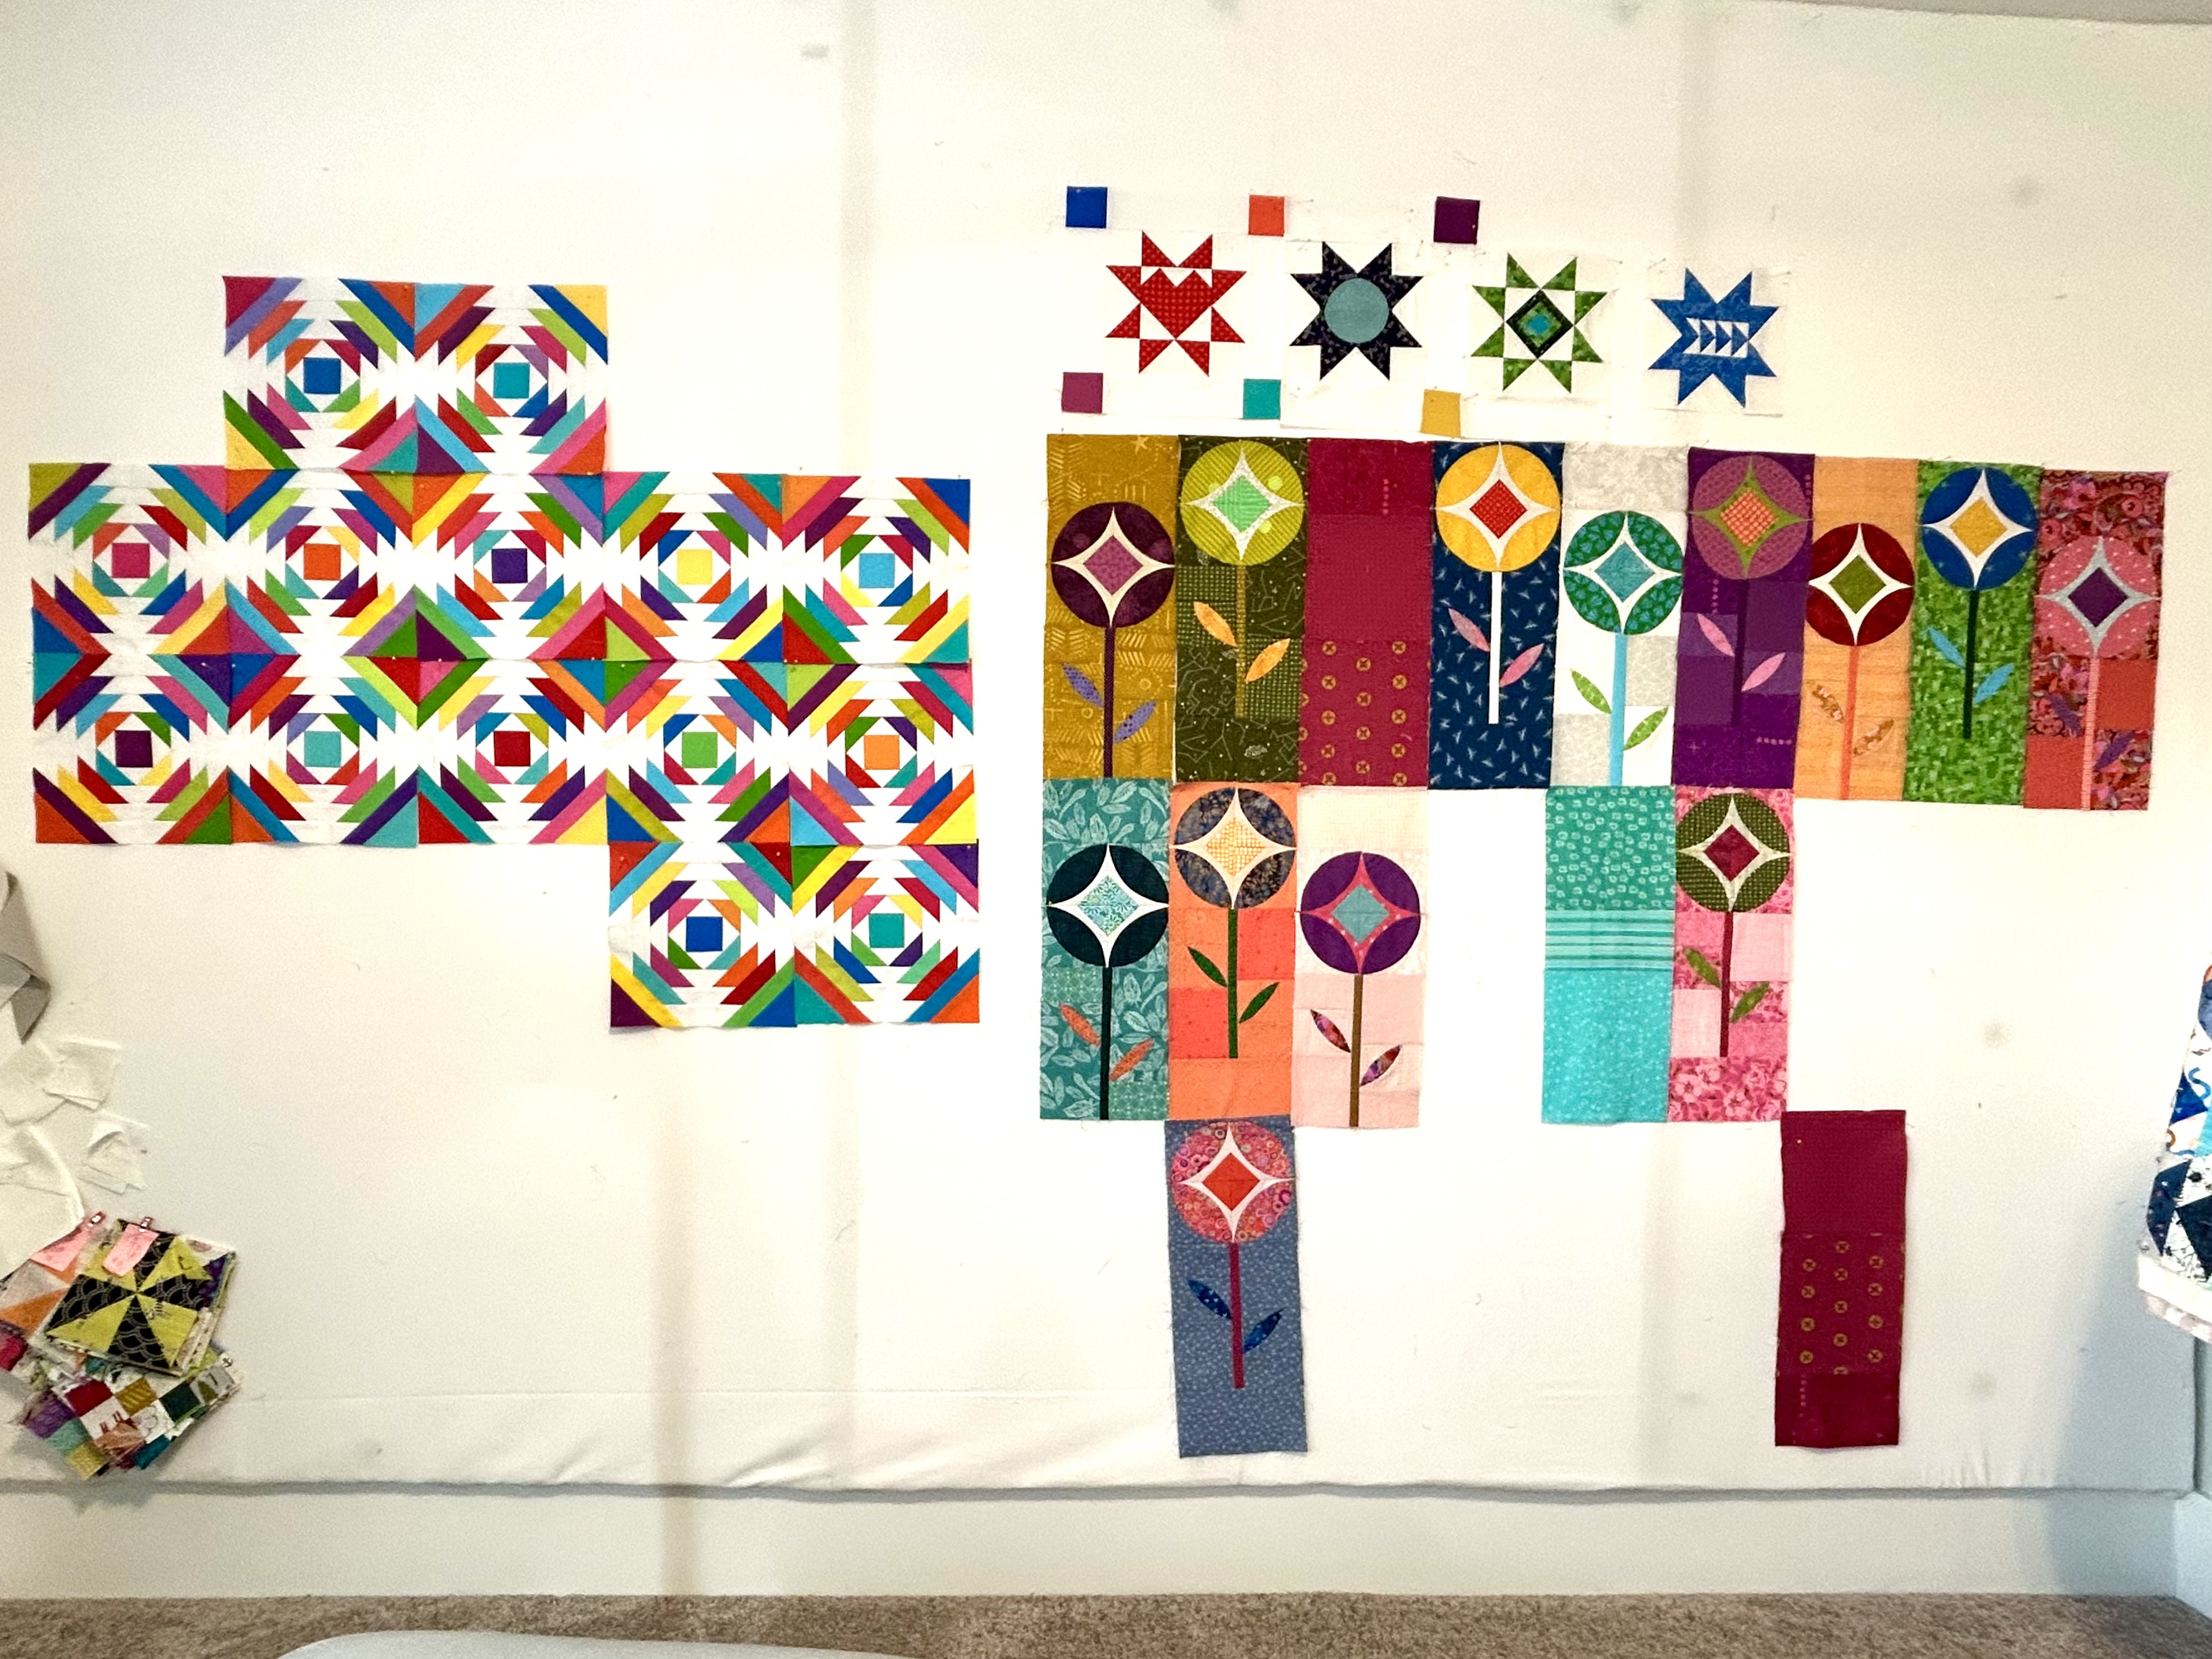
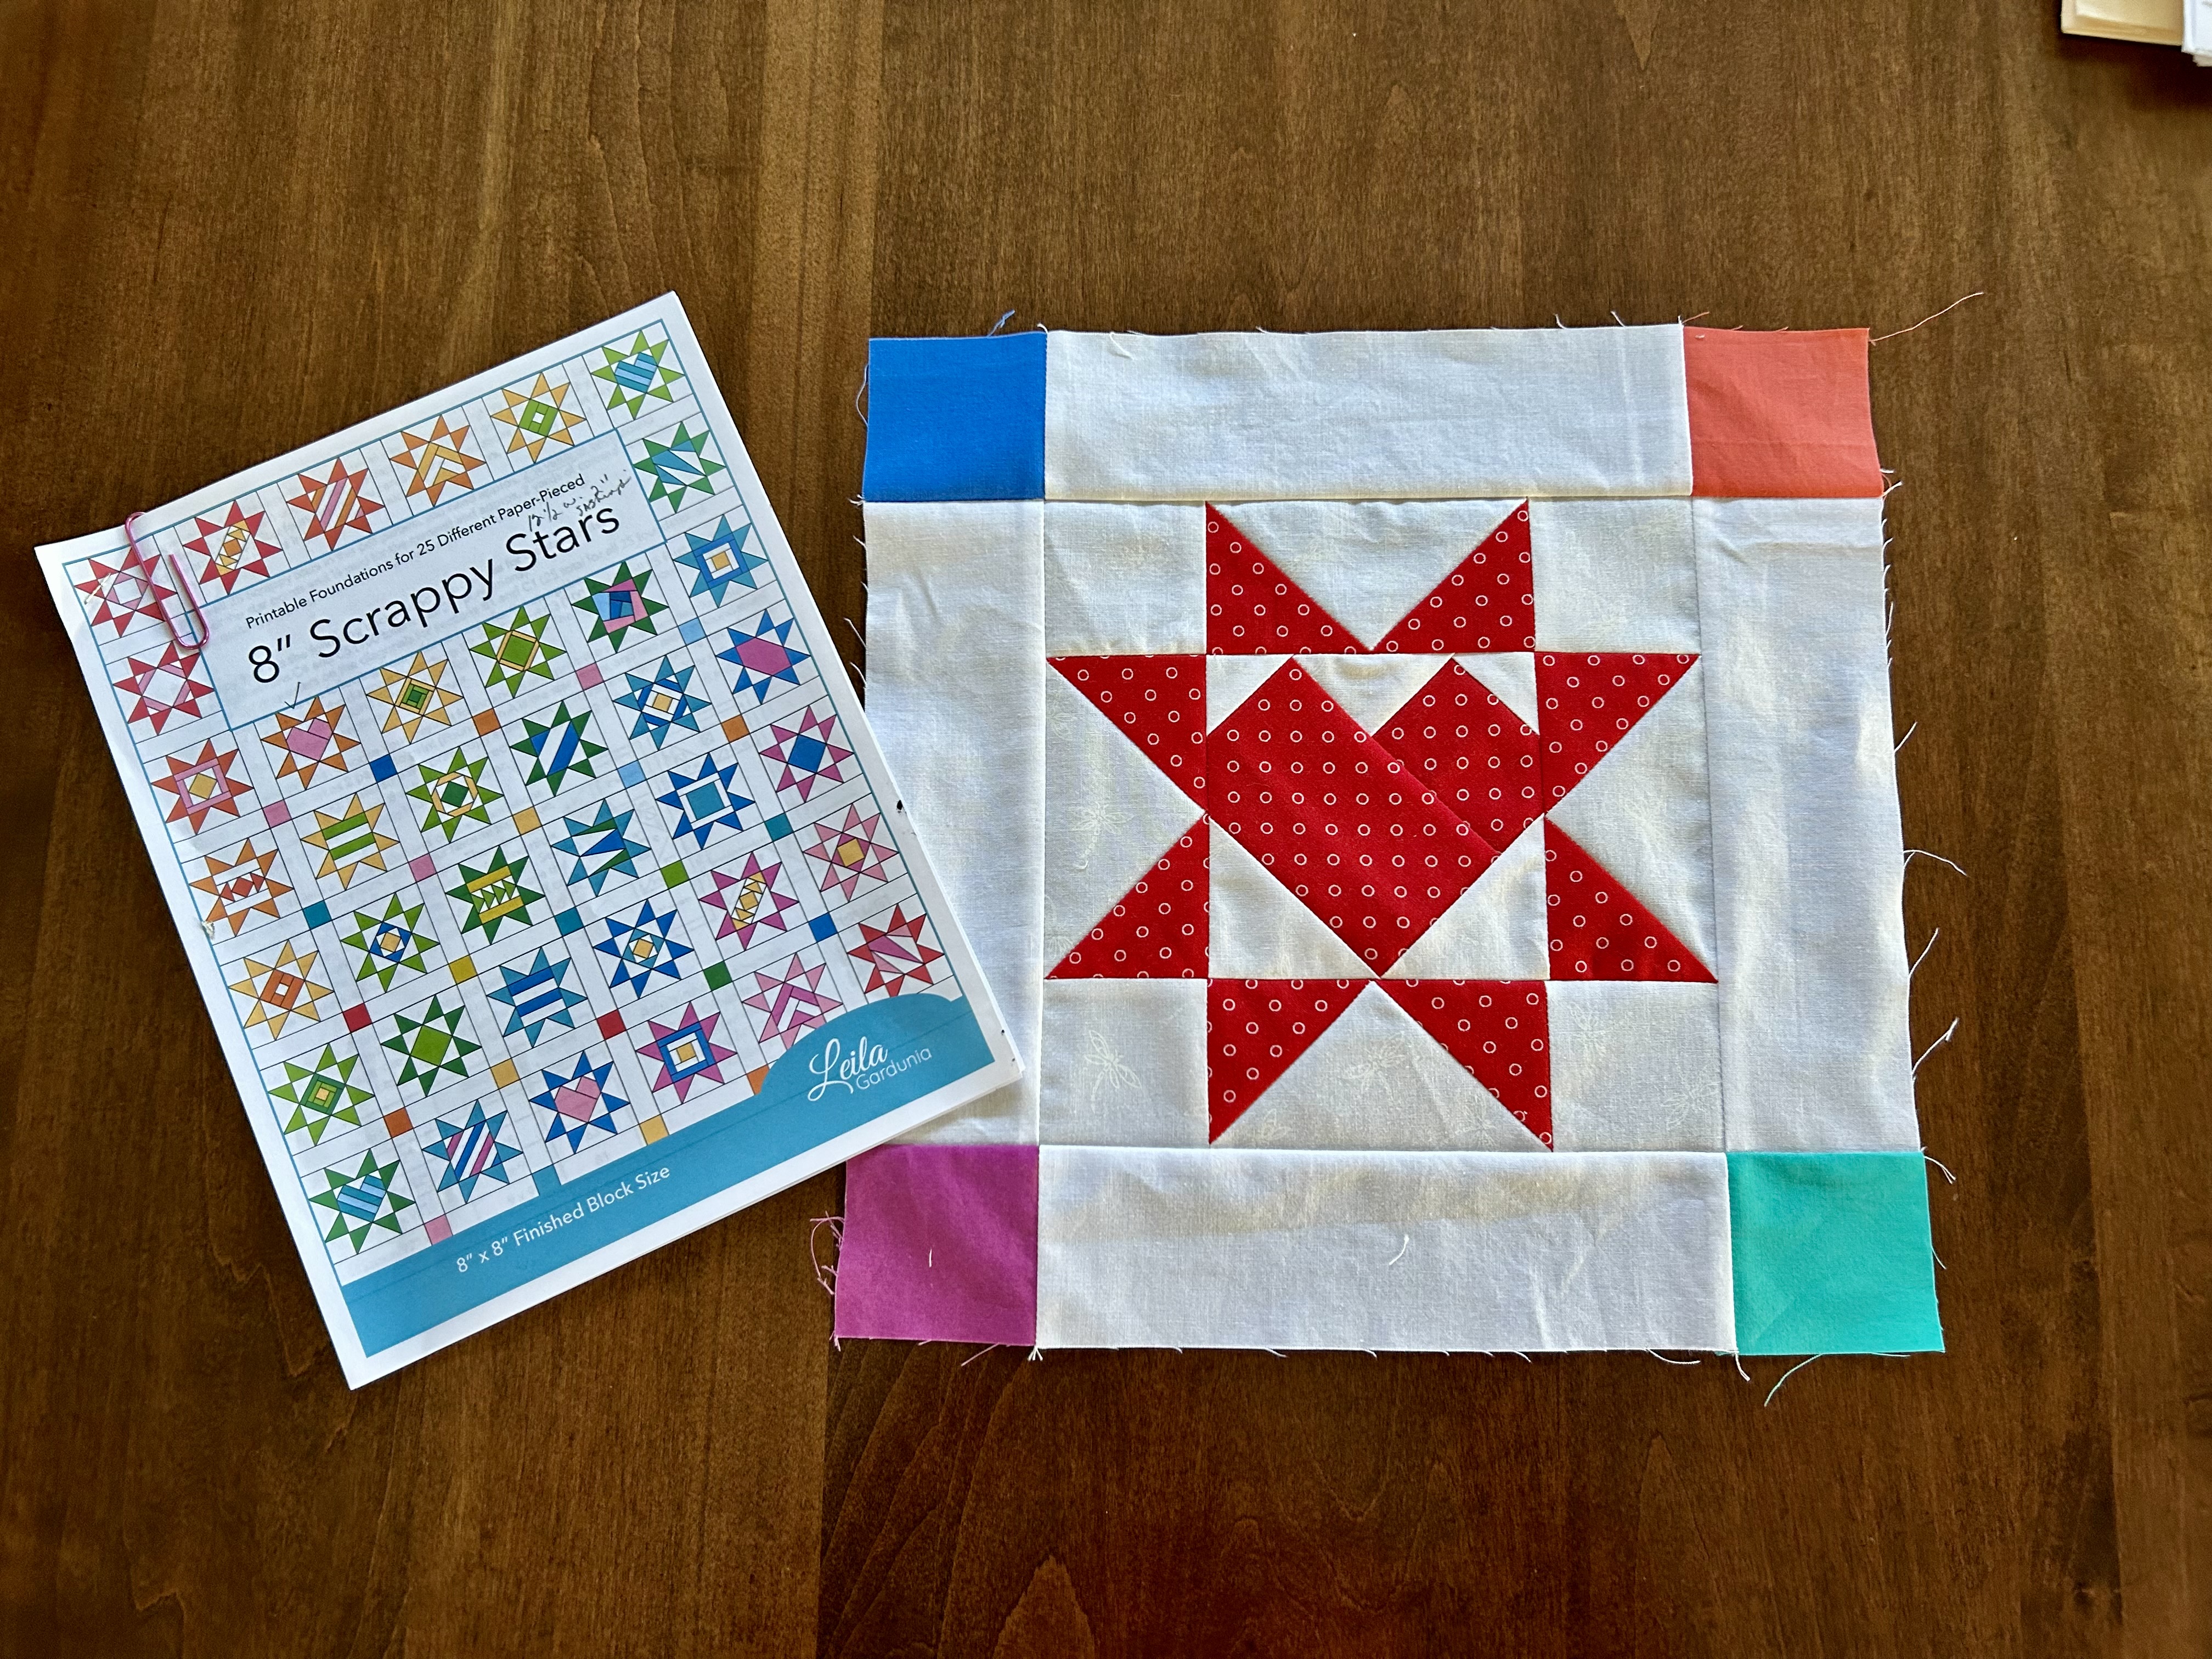
That little bit of stacked fabric on the bottom left is a leader/ender donation quilt ready to sew together–when I have design wall room again to lay it out. And the stars on top of “Flower Pop” are blocks made with Leila Gardunia’s “Scrappy Stars” patterns which are so fun to make,
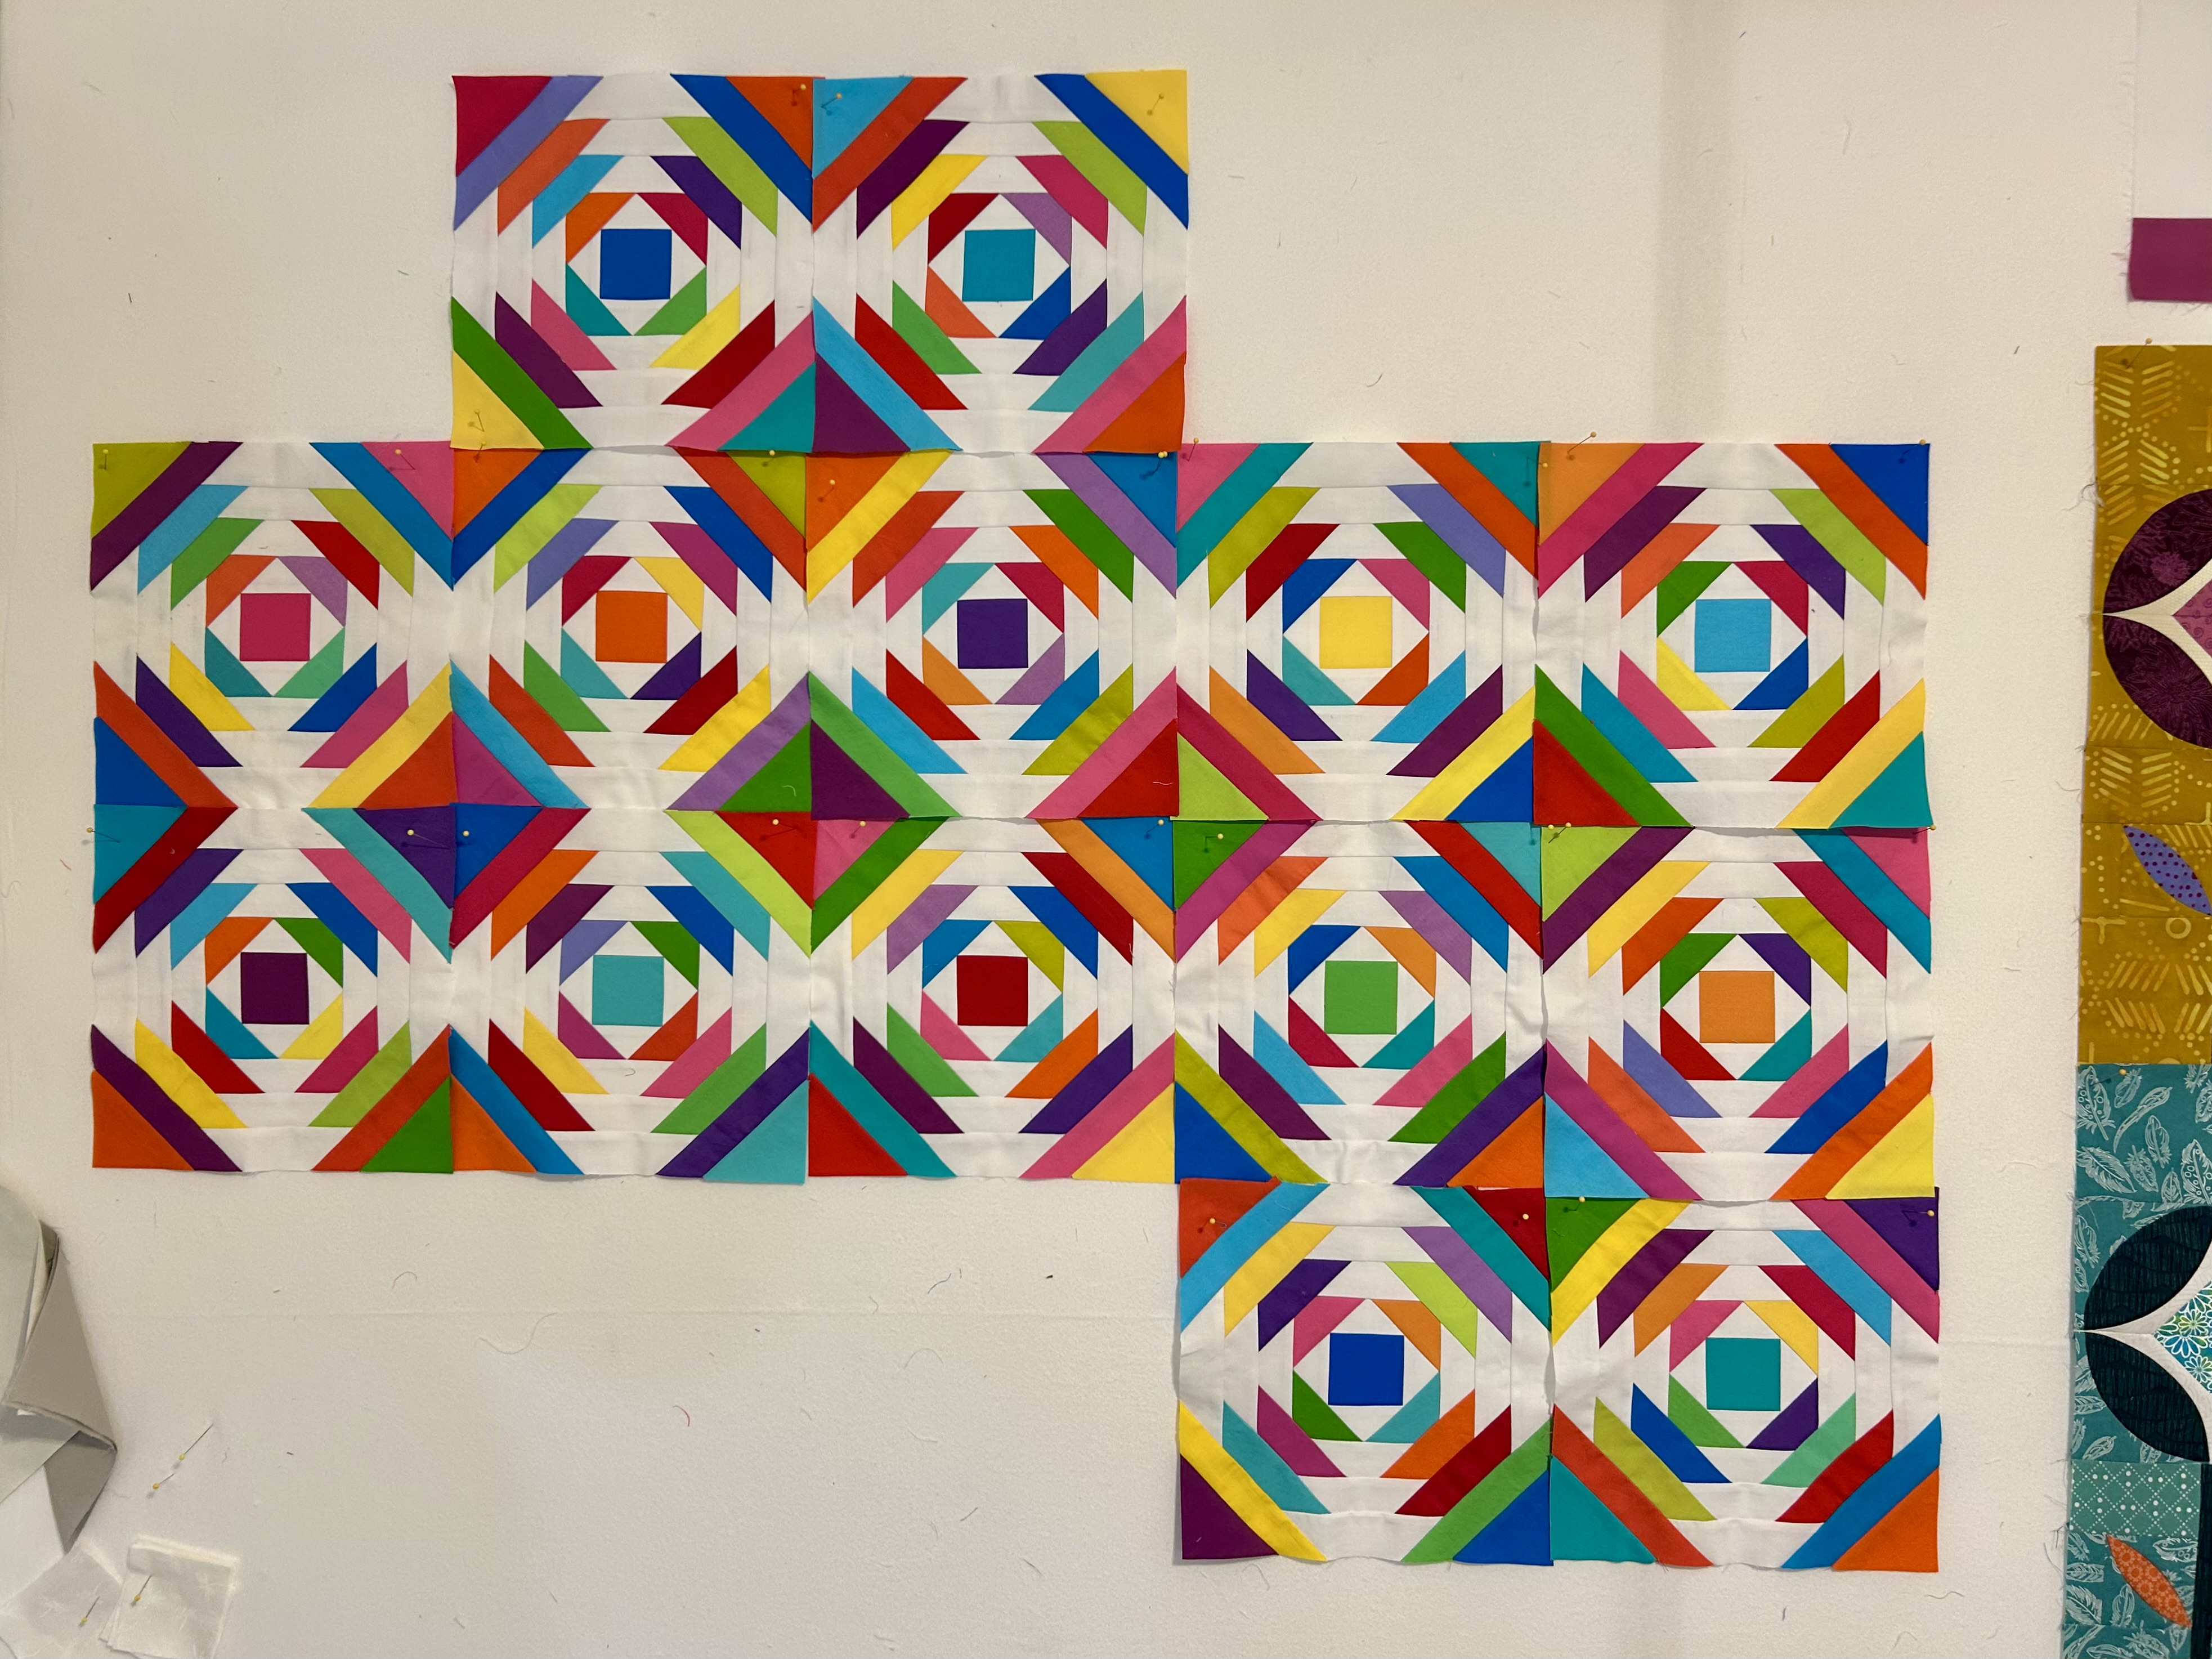
The pineapple ruler blocs will finish at 10 inches, and I’m thinking 6 by, maybe, 6 or 7 long–or 60 by 70. It’s using up a lot of my solid stash “bright” fabrics. I didn’t see that the block would make circles, which is so fun.
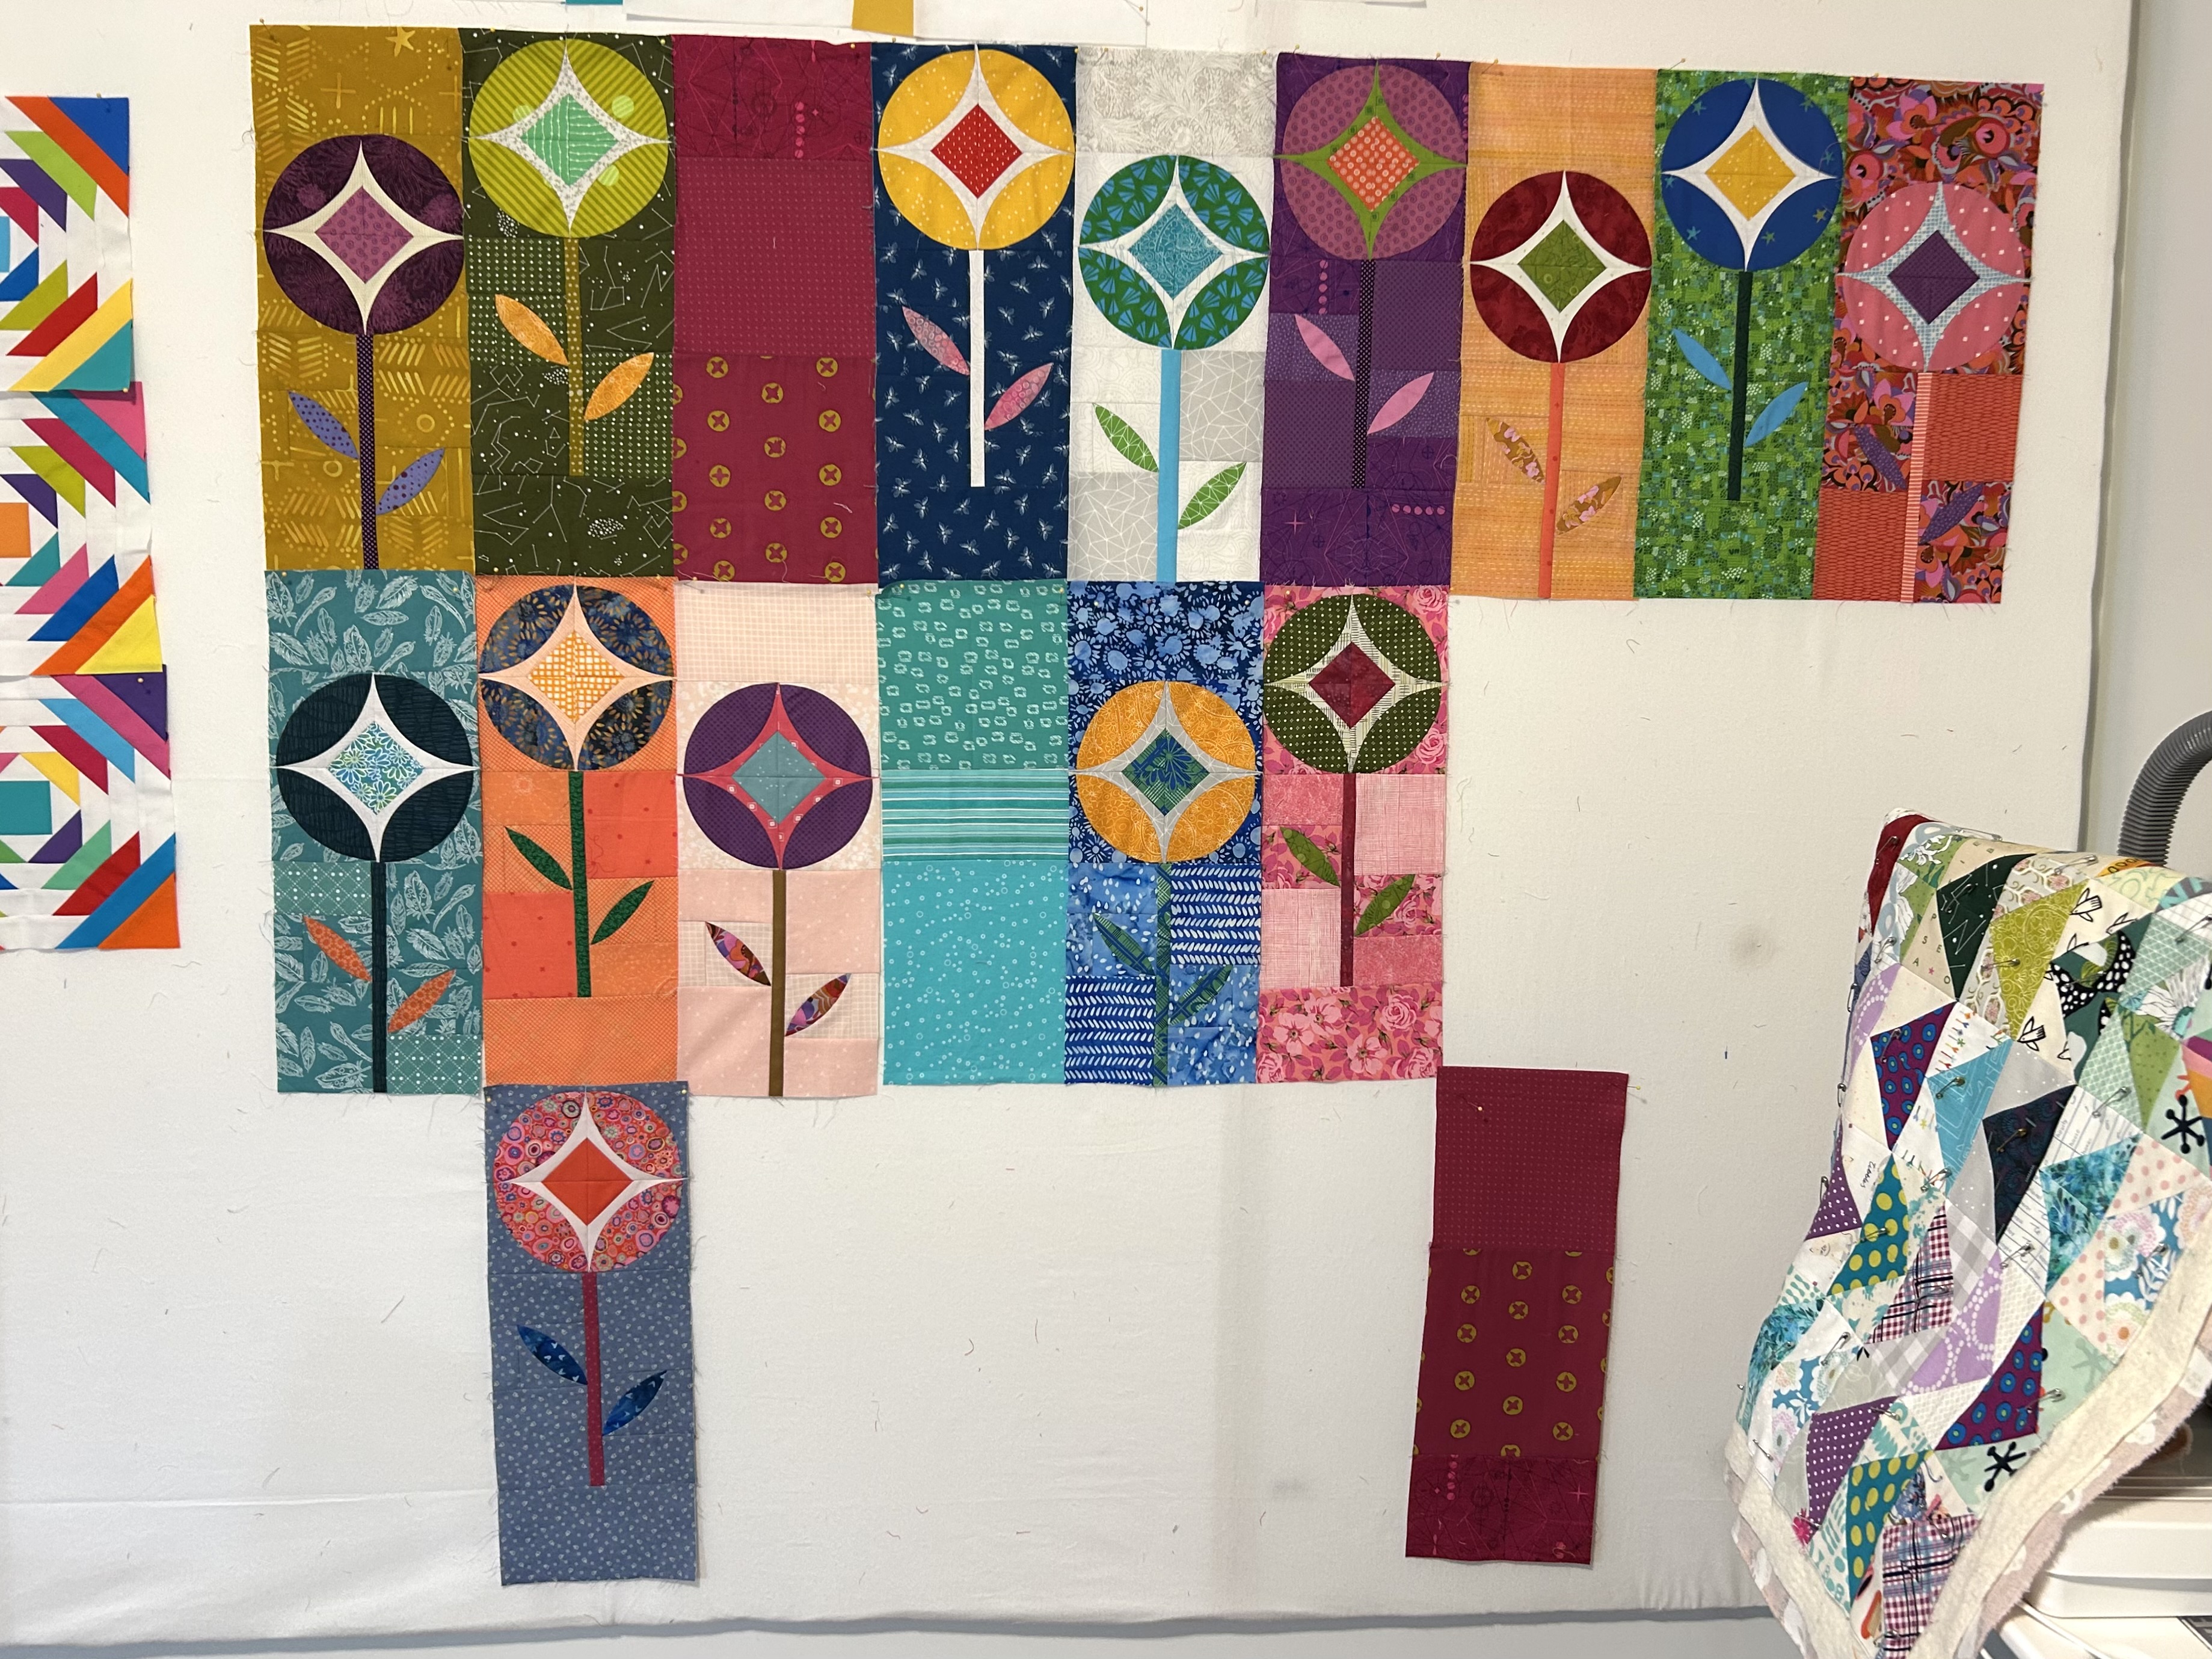
“Flower Pop” is made with a speciality ruler from the Sew Kind of Wonderful quilters. It is fiddly with a big learning curve, but I’ve got that down now and the blocks are going faster as a result. It will be three rows of 9 blocks, which finish at 7 inches by about 19 inches. Have you noticed that flower blocks are all the rage at the moment?
So, I seem to be working on five quilts with one in the pipeline ready to sew finished blocks together. I can safely say that I am not bored!
And now to go seriously clean my screen porch “outdoor room.” The pine pollen has finished for the year, and it is warm enough to deal with getting wet as the hose will be involved.
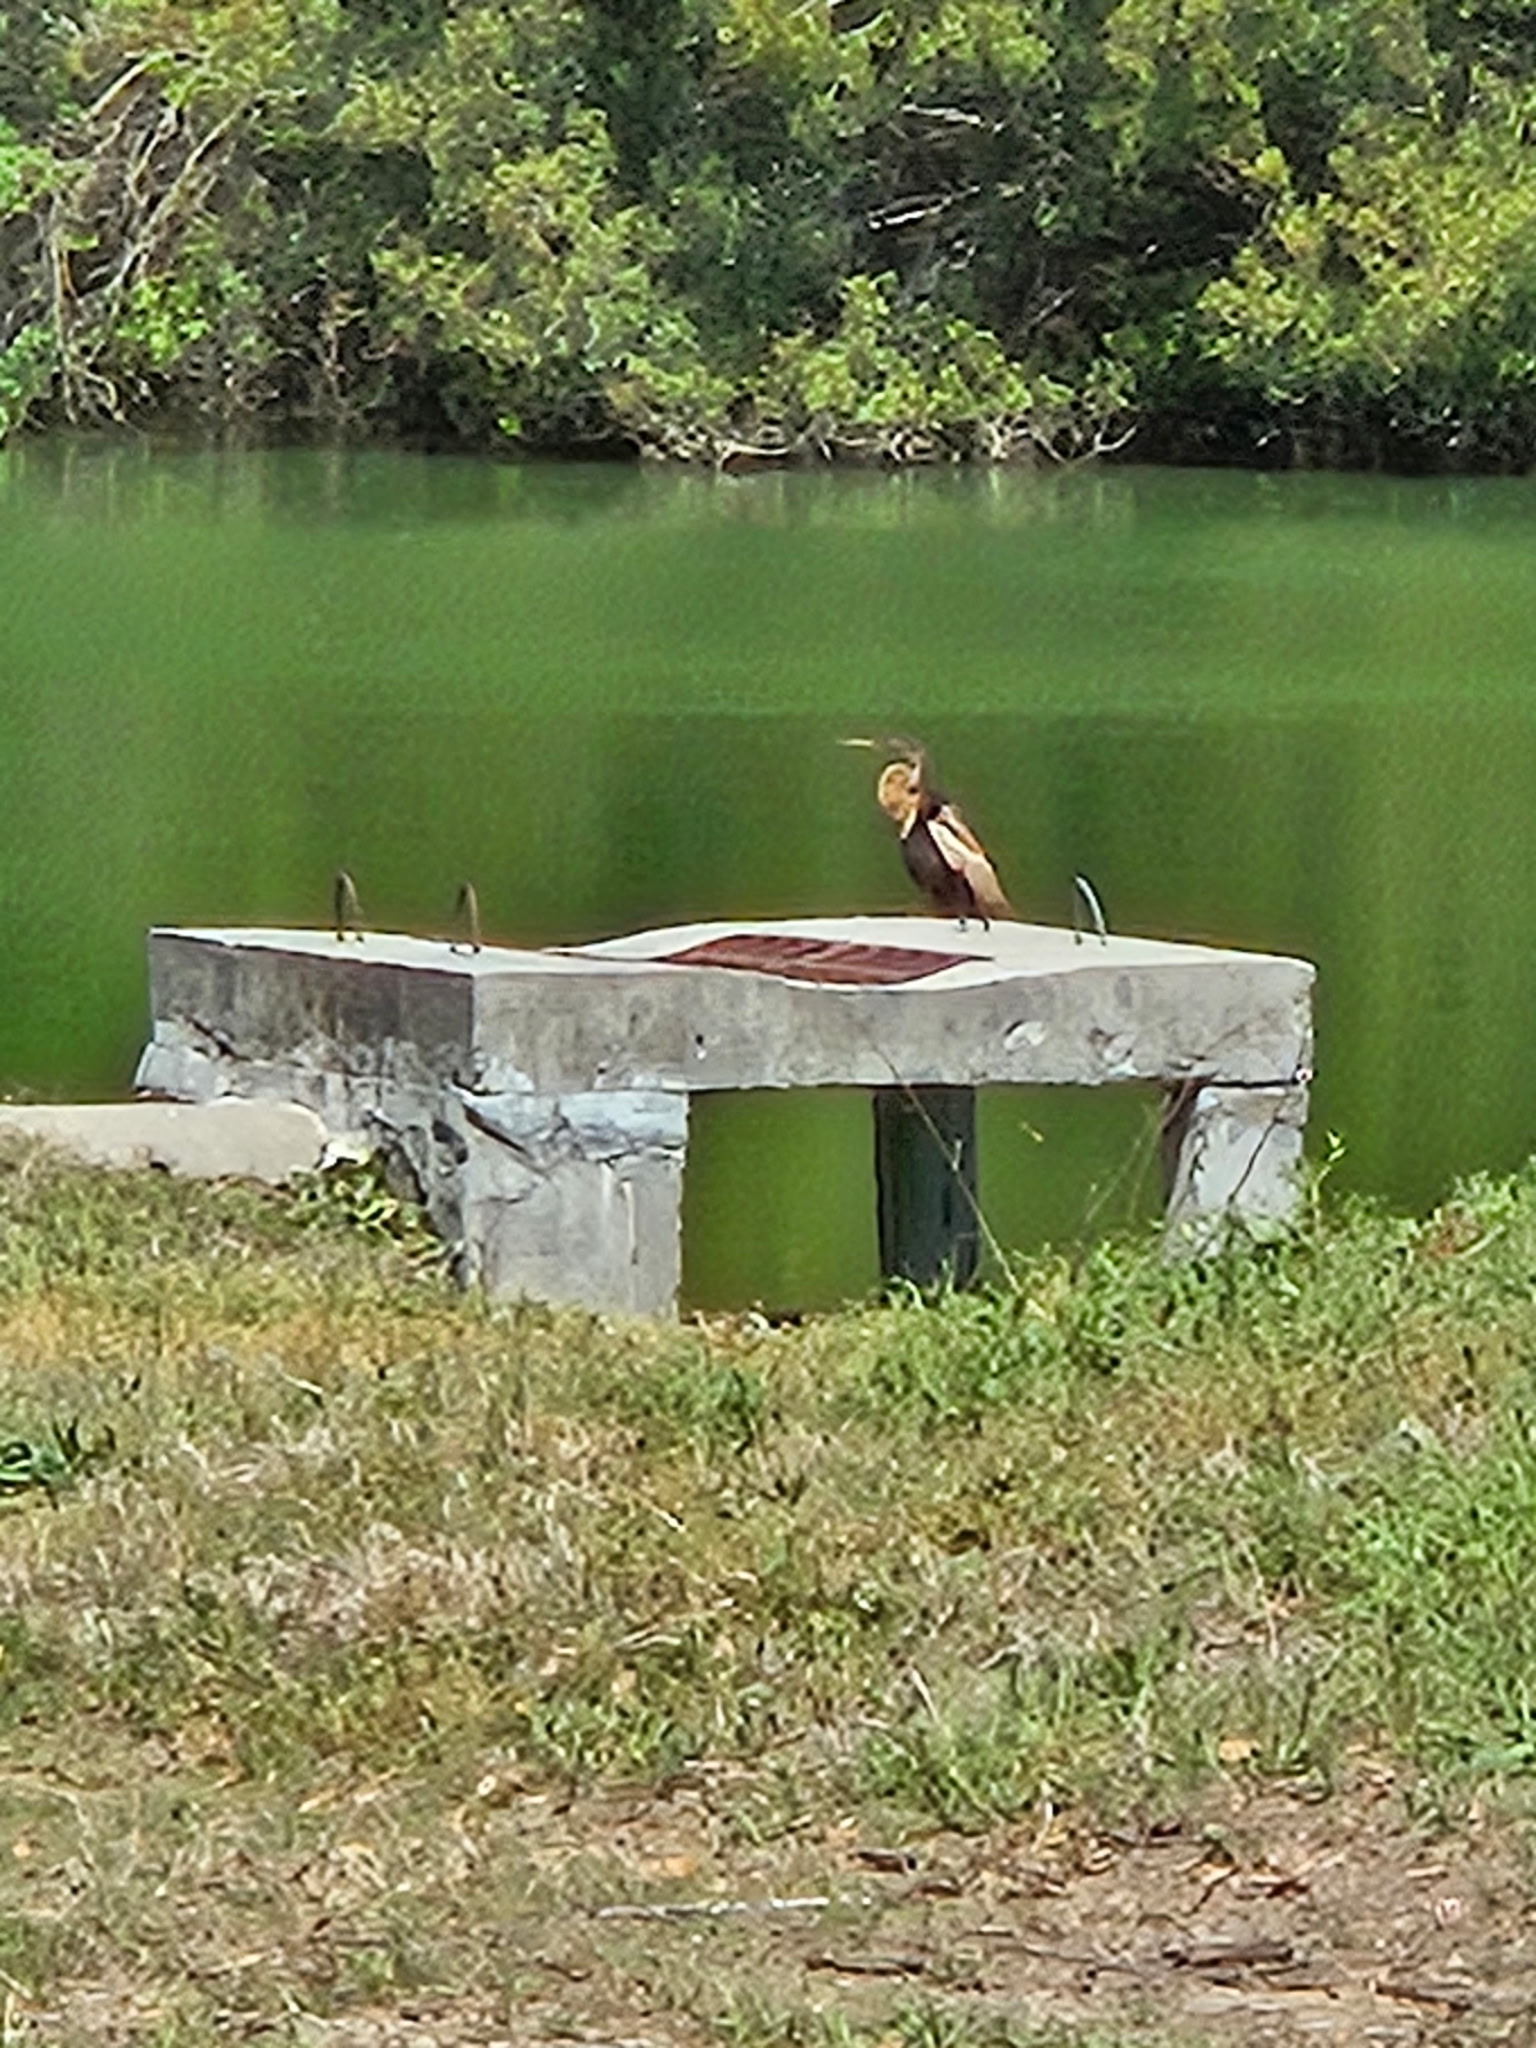
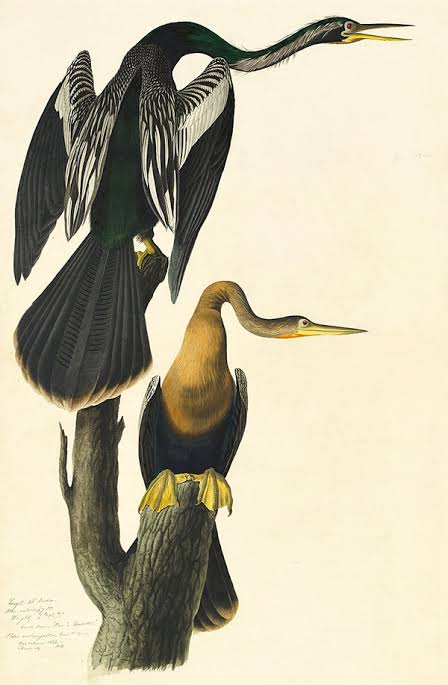
 Laura’s Birding Blog.”