It’s Monday again!
Here we go into another week.
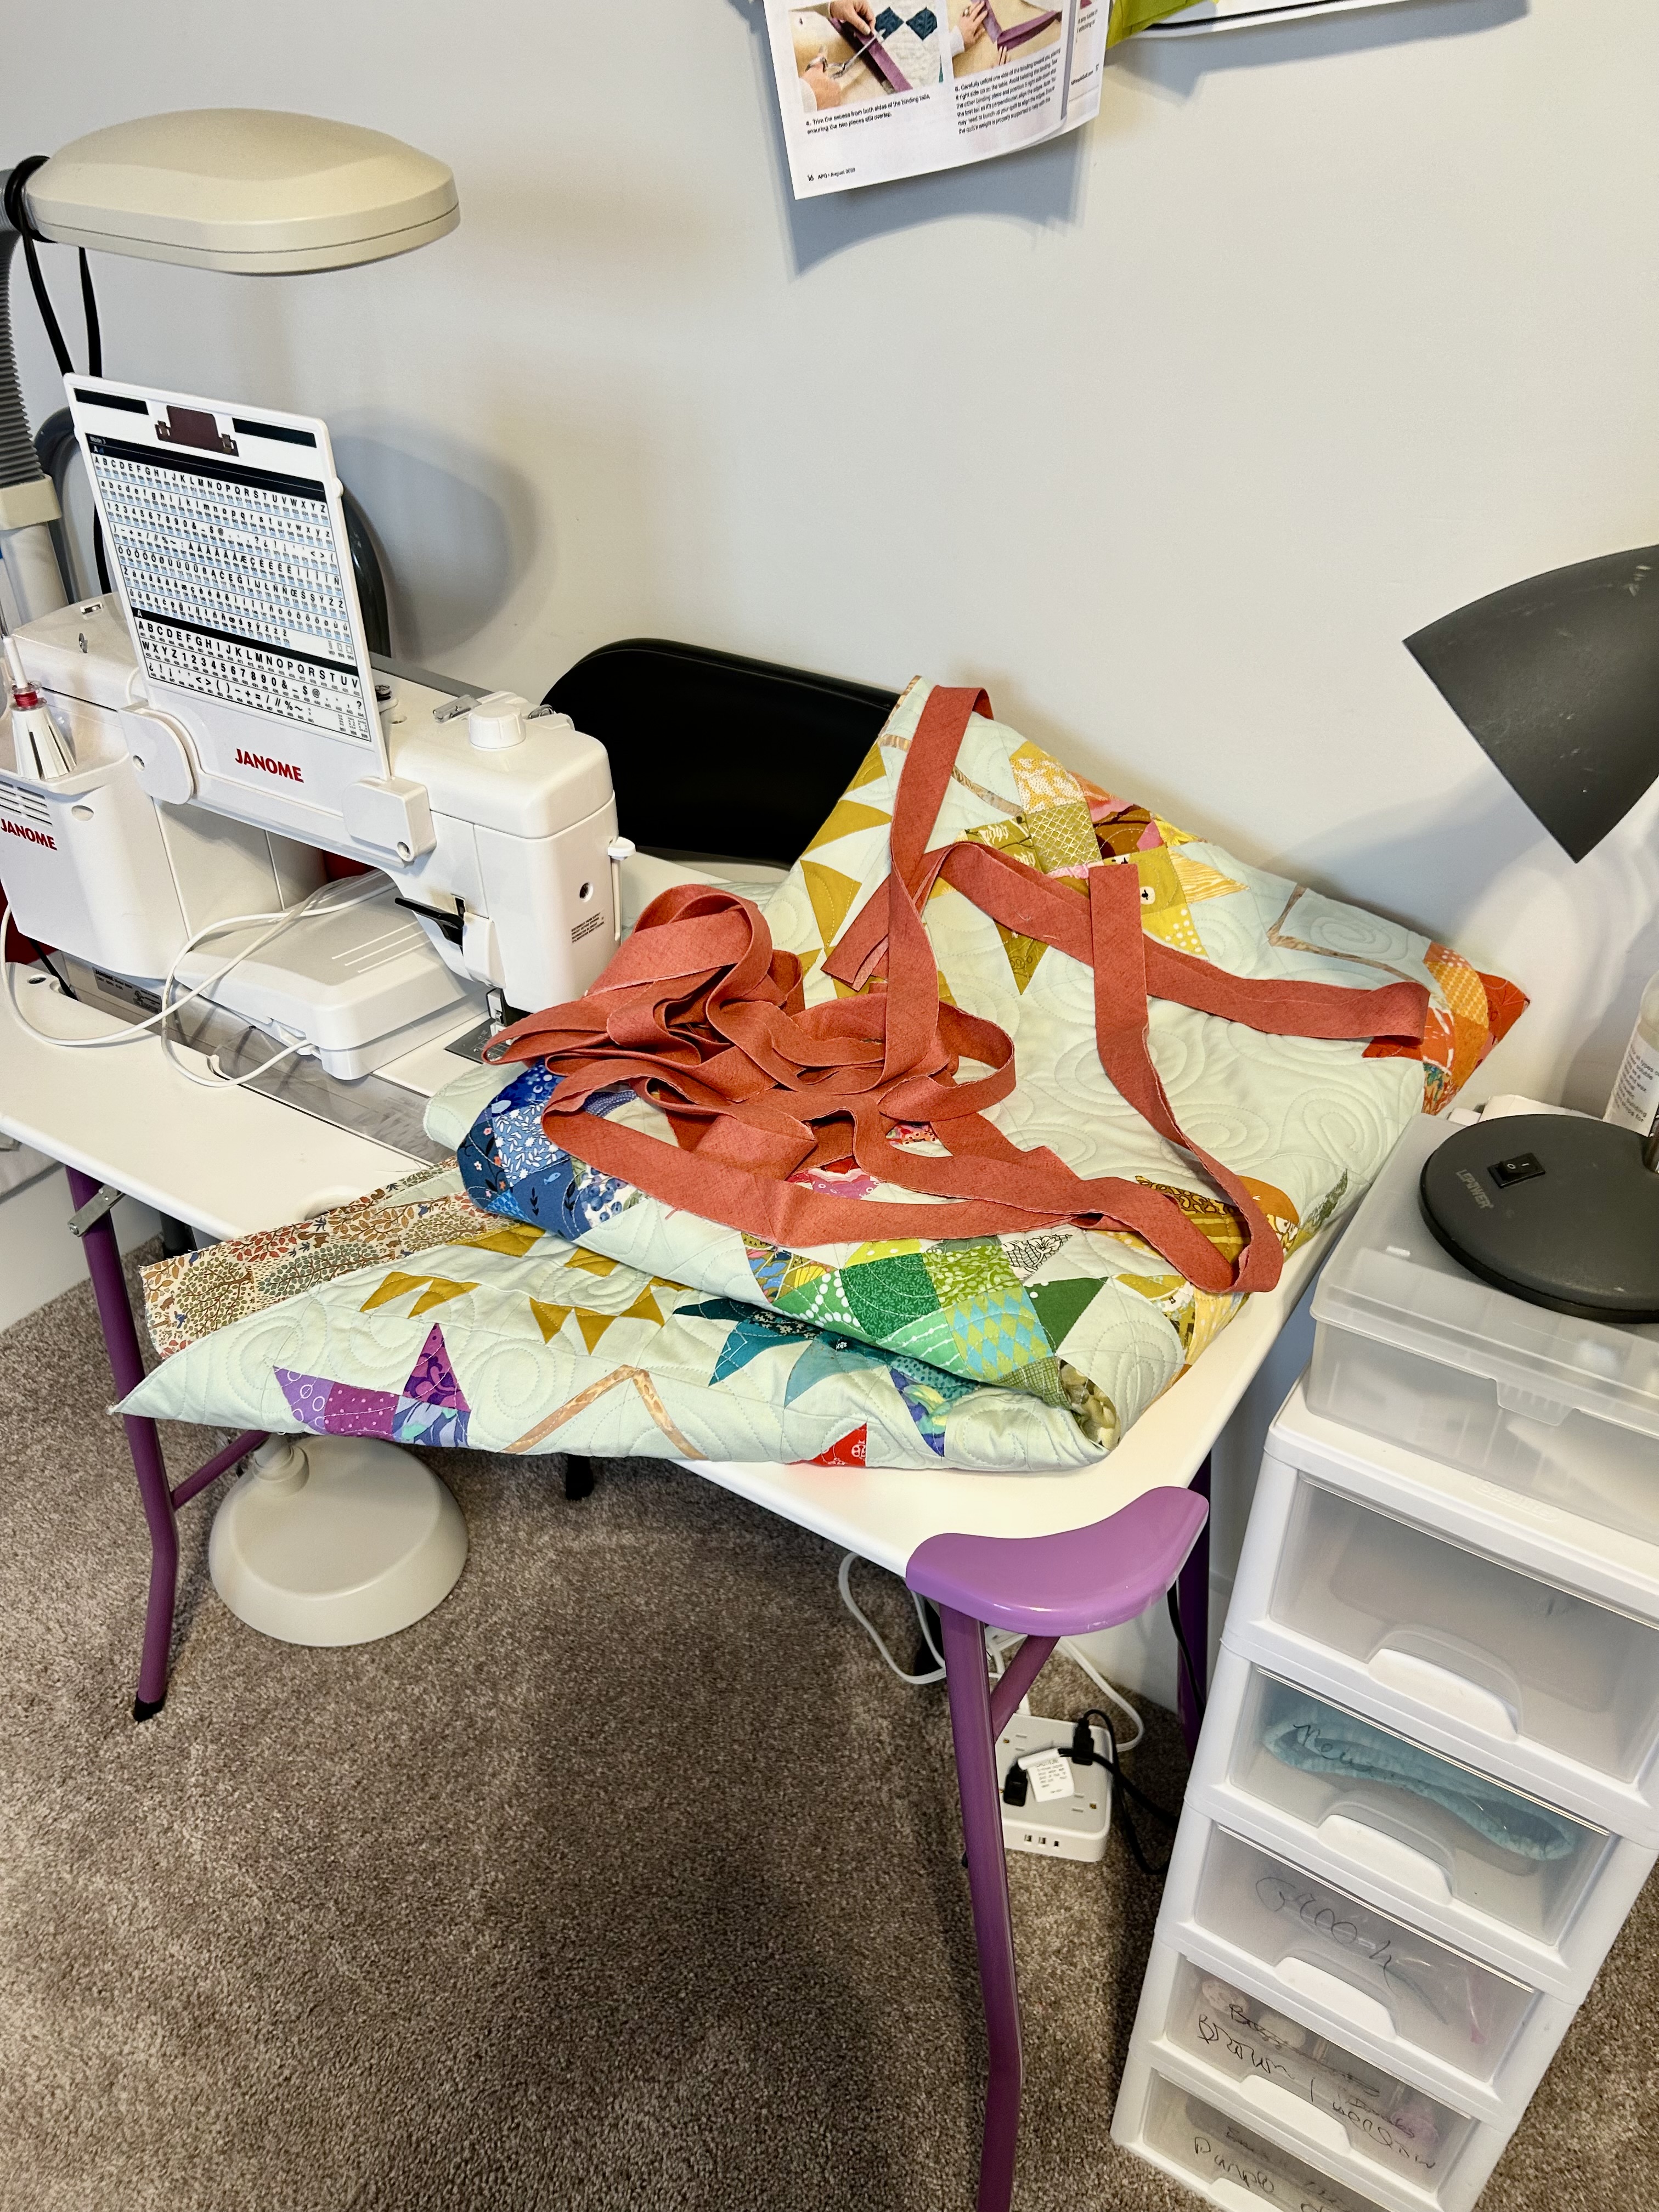
I’ve been “playing” with two new projects and making a Quilt of Valor donation quilt using the 8-inch Cat’s Cradle ruler.
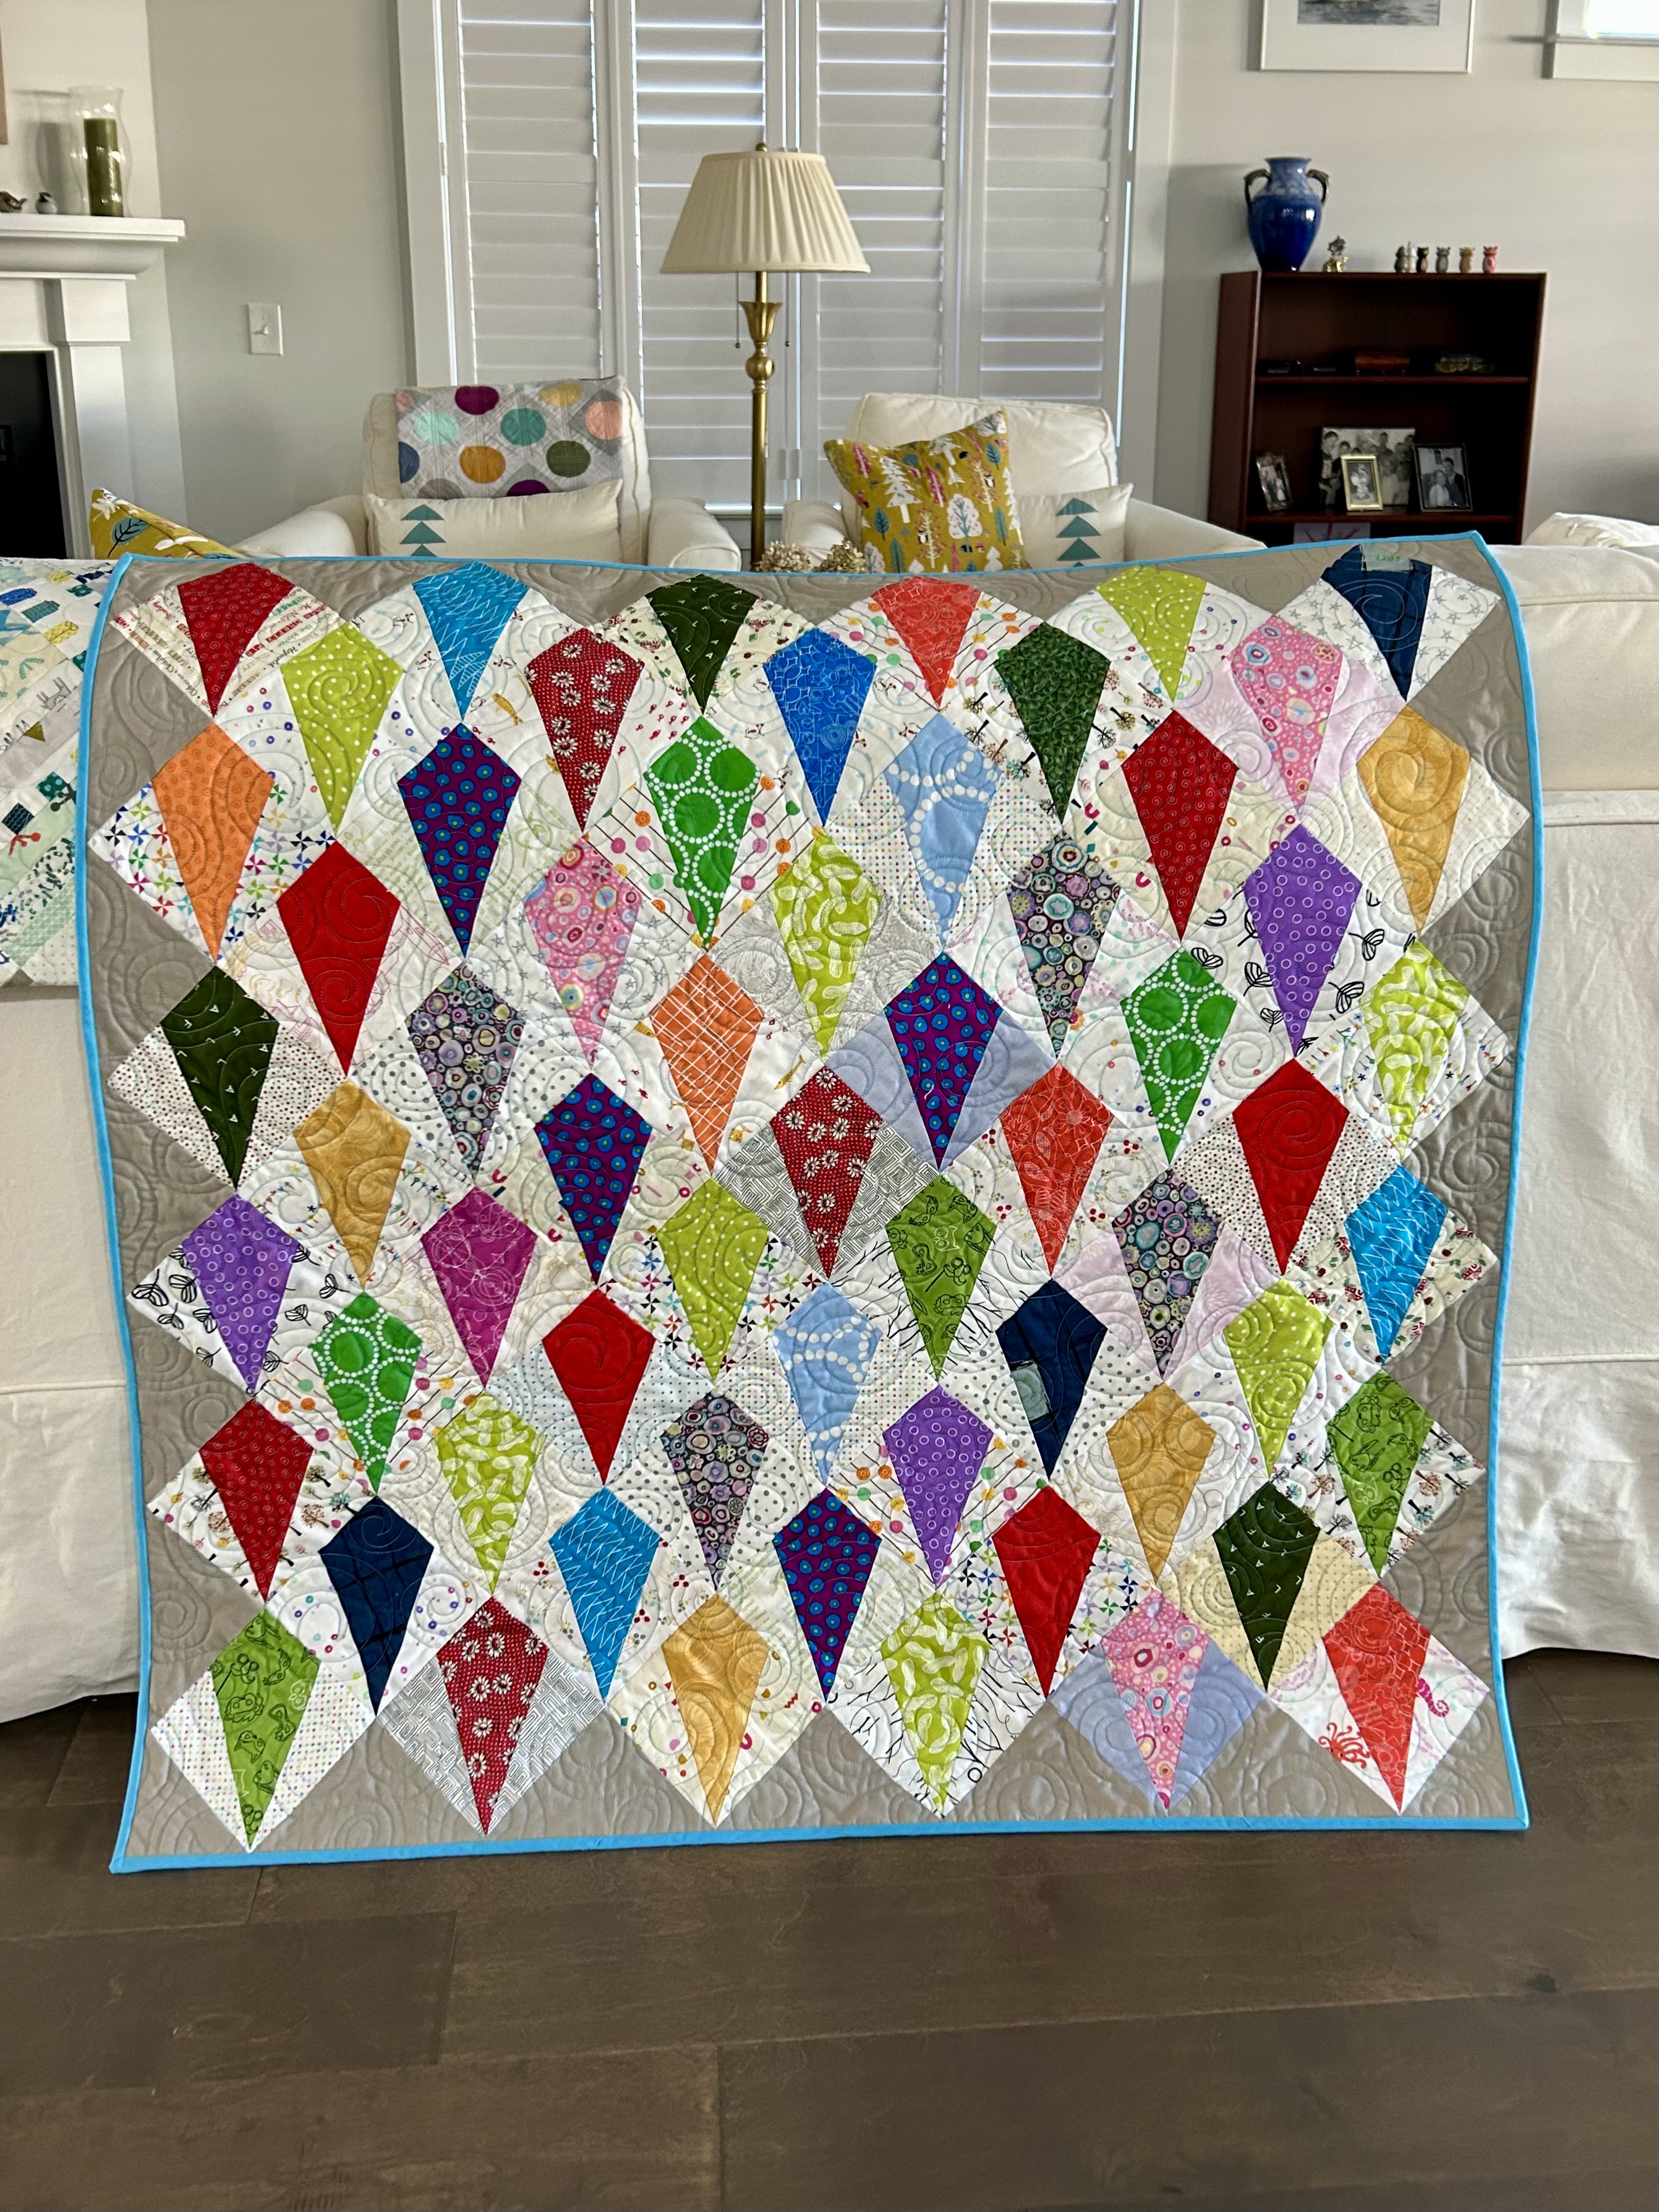
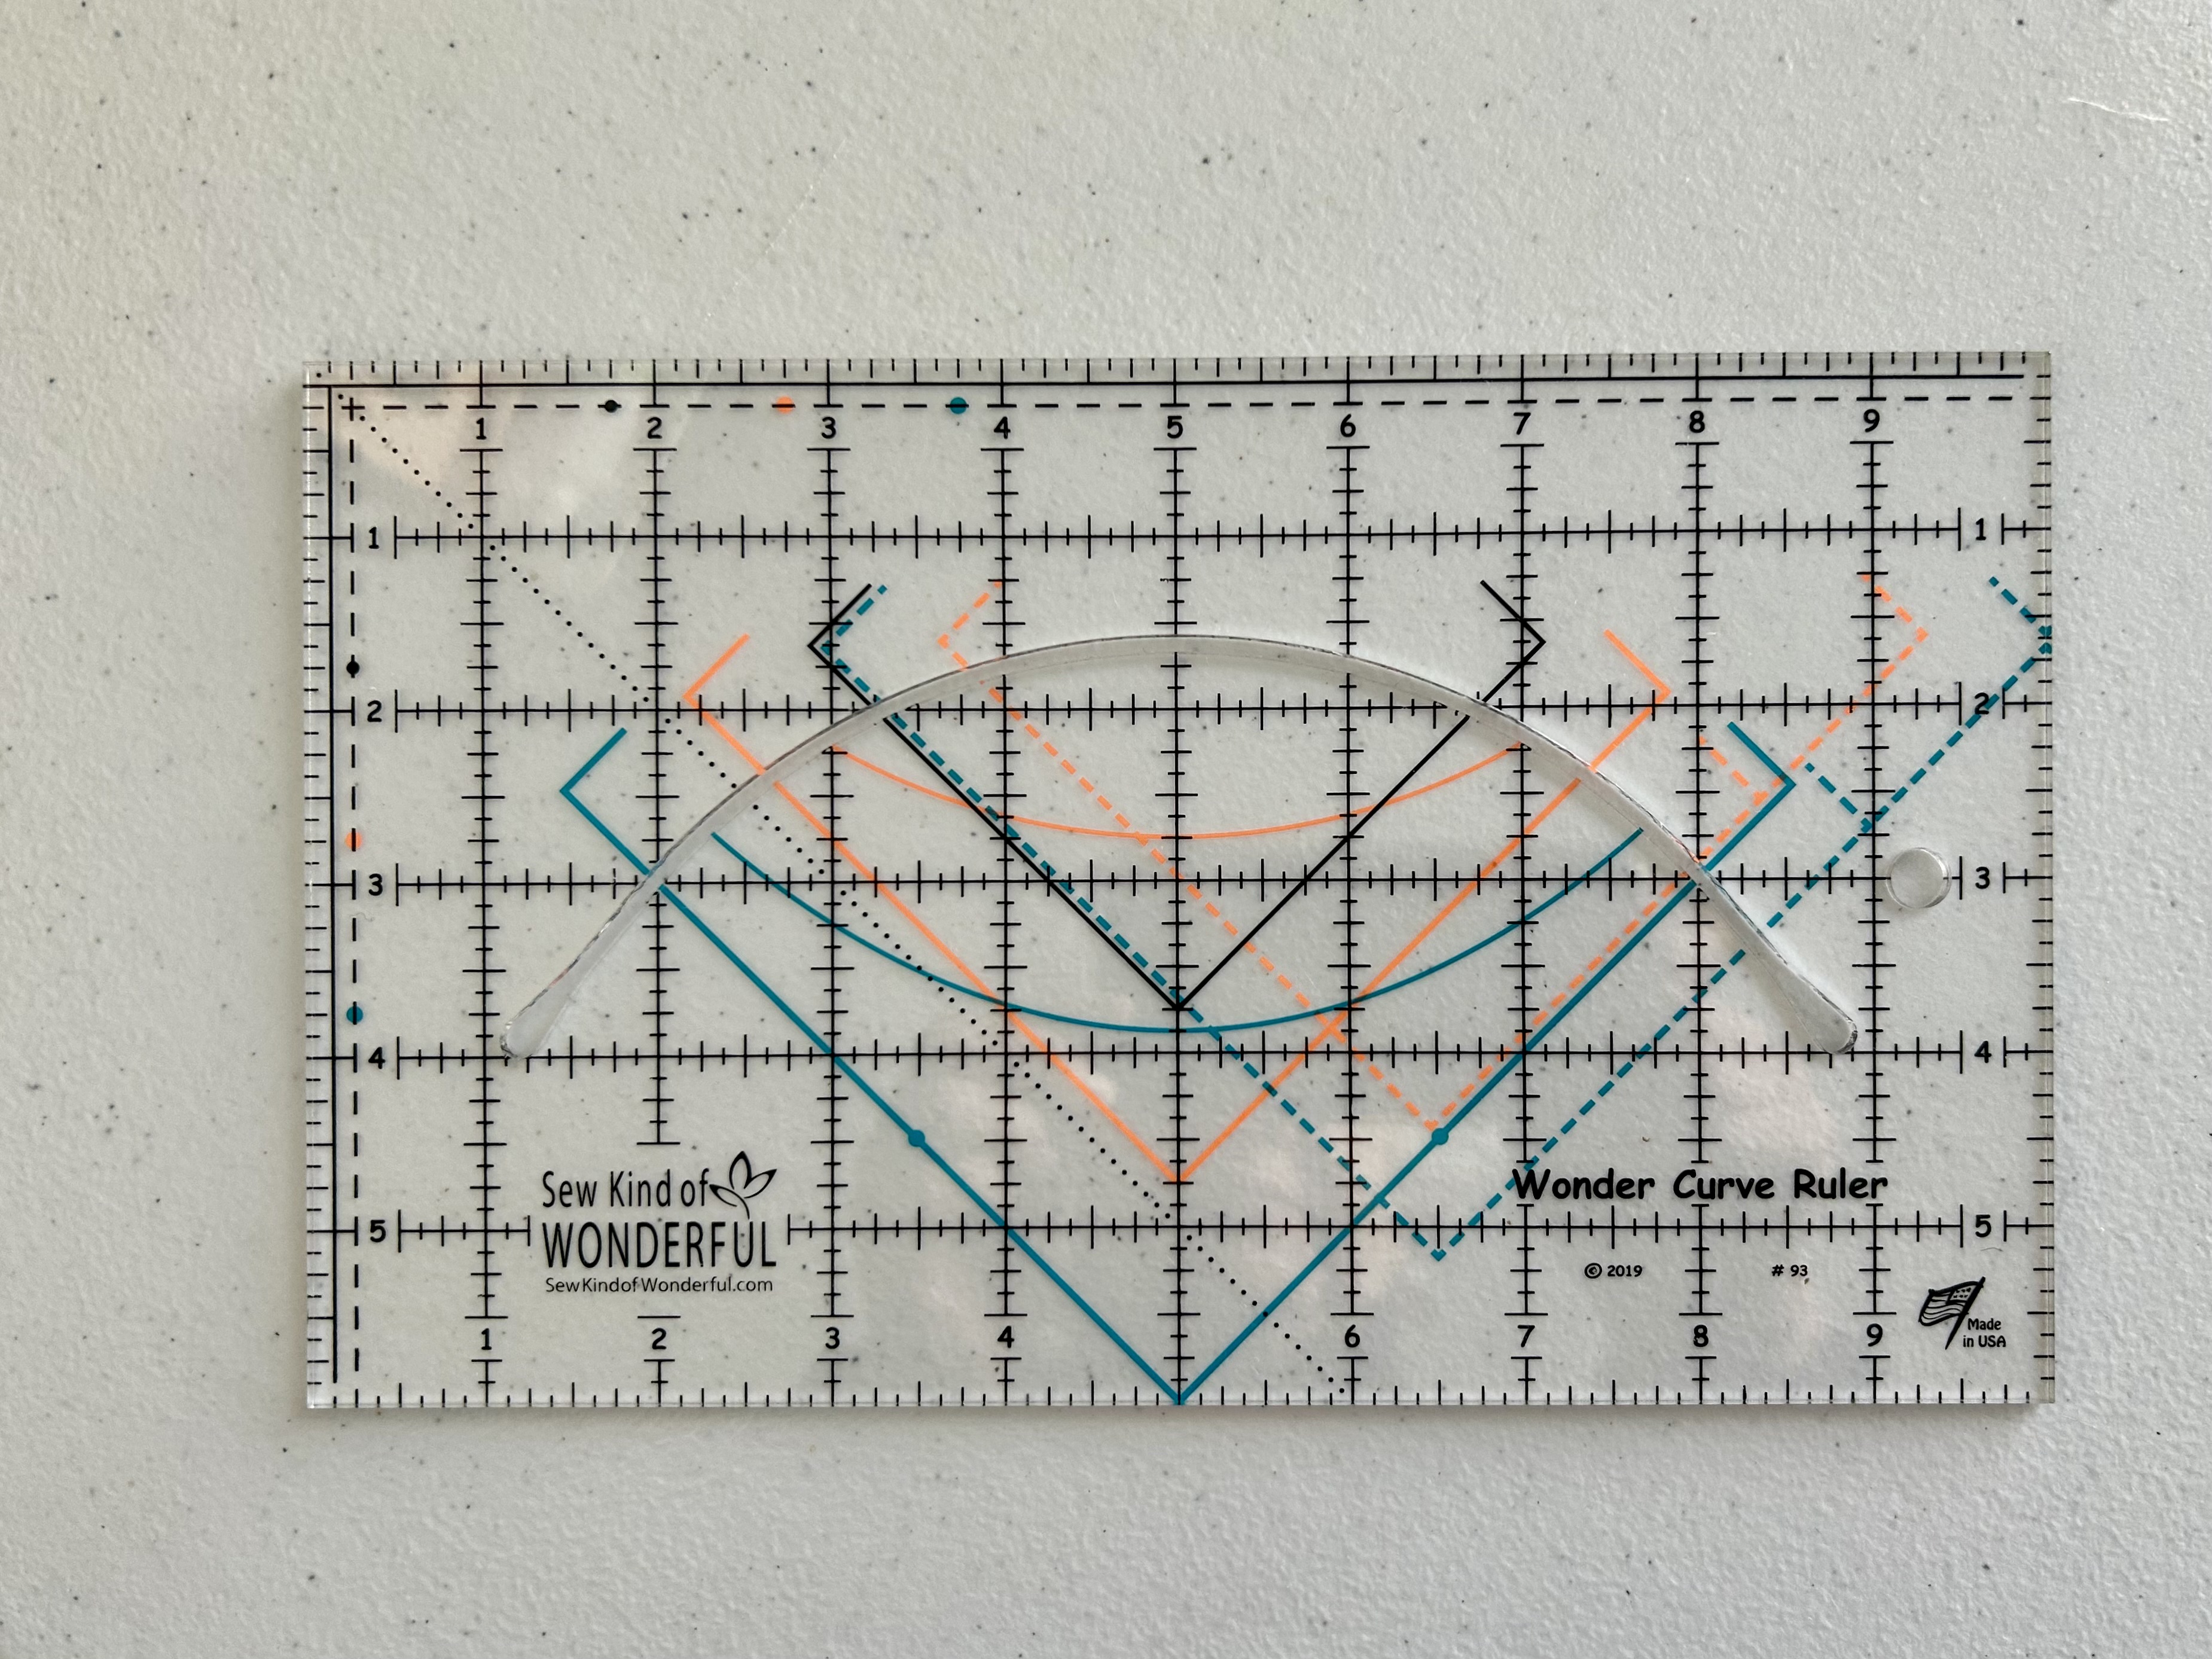
Years ago, I saw a pattern that intrigued me called “Flower Pop”designed by the talented women at Sew Kind of Wonderful. The pattern was in Simply Modern magazine, which is now defunct. The pattern uses a special ruler that cuts the curves used in the pattern, and back then, curves were just getting popular in the quilty world.
I ordered the ruler, but until a few weeks ago, it and the pattern waited for me as I moved from Maine to South Carolina and got reorganized here. Now I’ve been on a mission to use the rulers I have not yet trialed. The other day I pulled out this ruler and the pattern information as I still have that magazine. Here’s the ruler one uses to cut all the curves–and it does make that process easier, but there is a learning curve on how to use the ruler AND how to angle the cutter blade within the cutting strip.
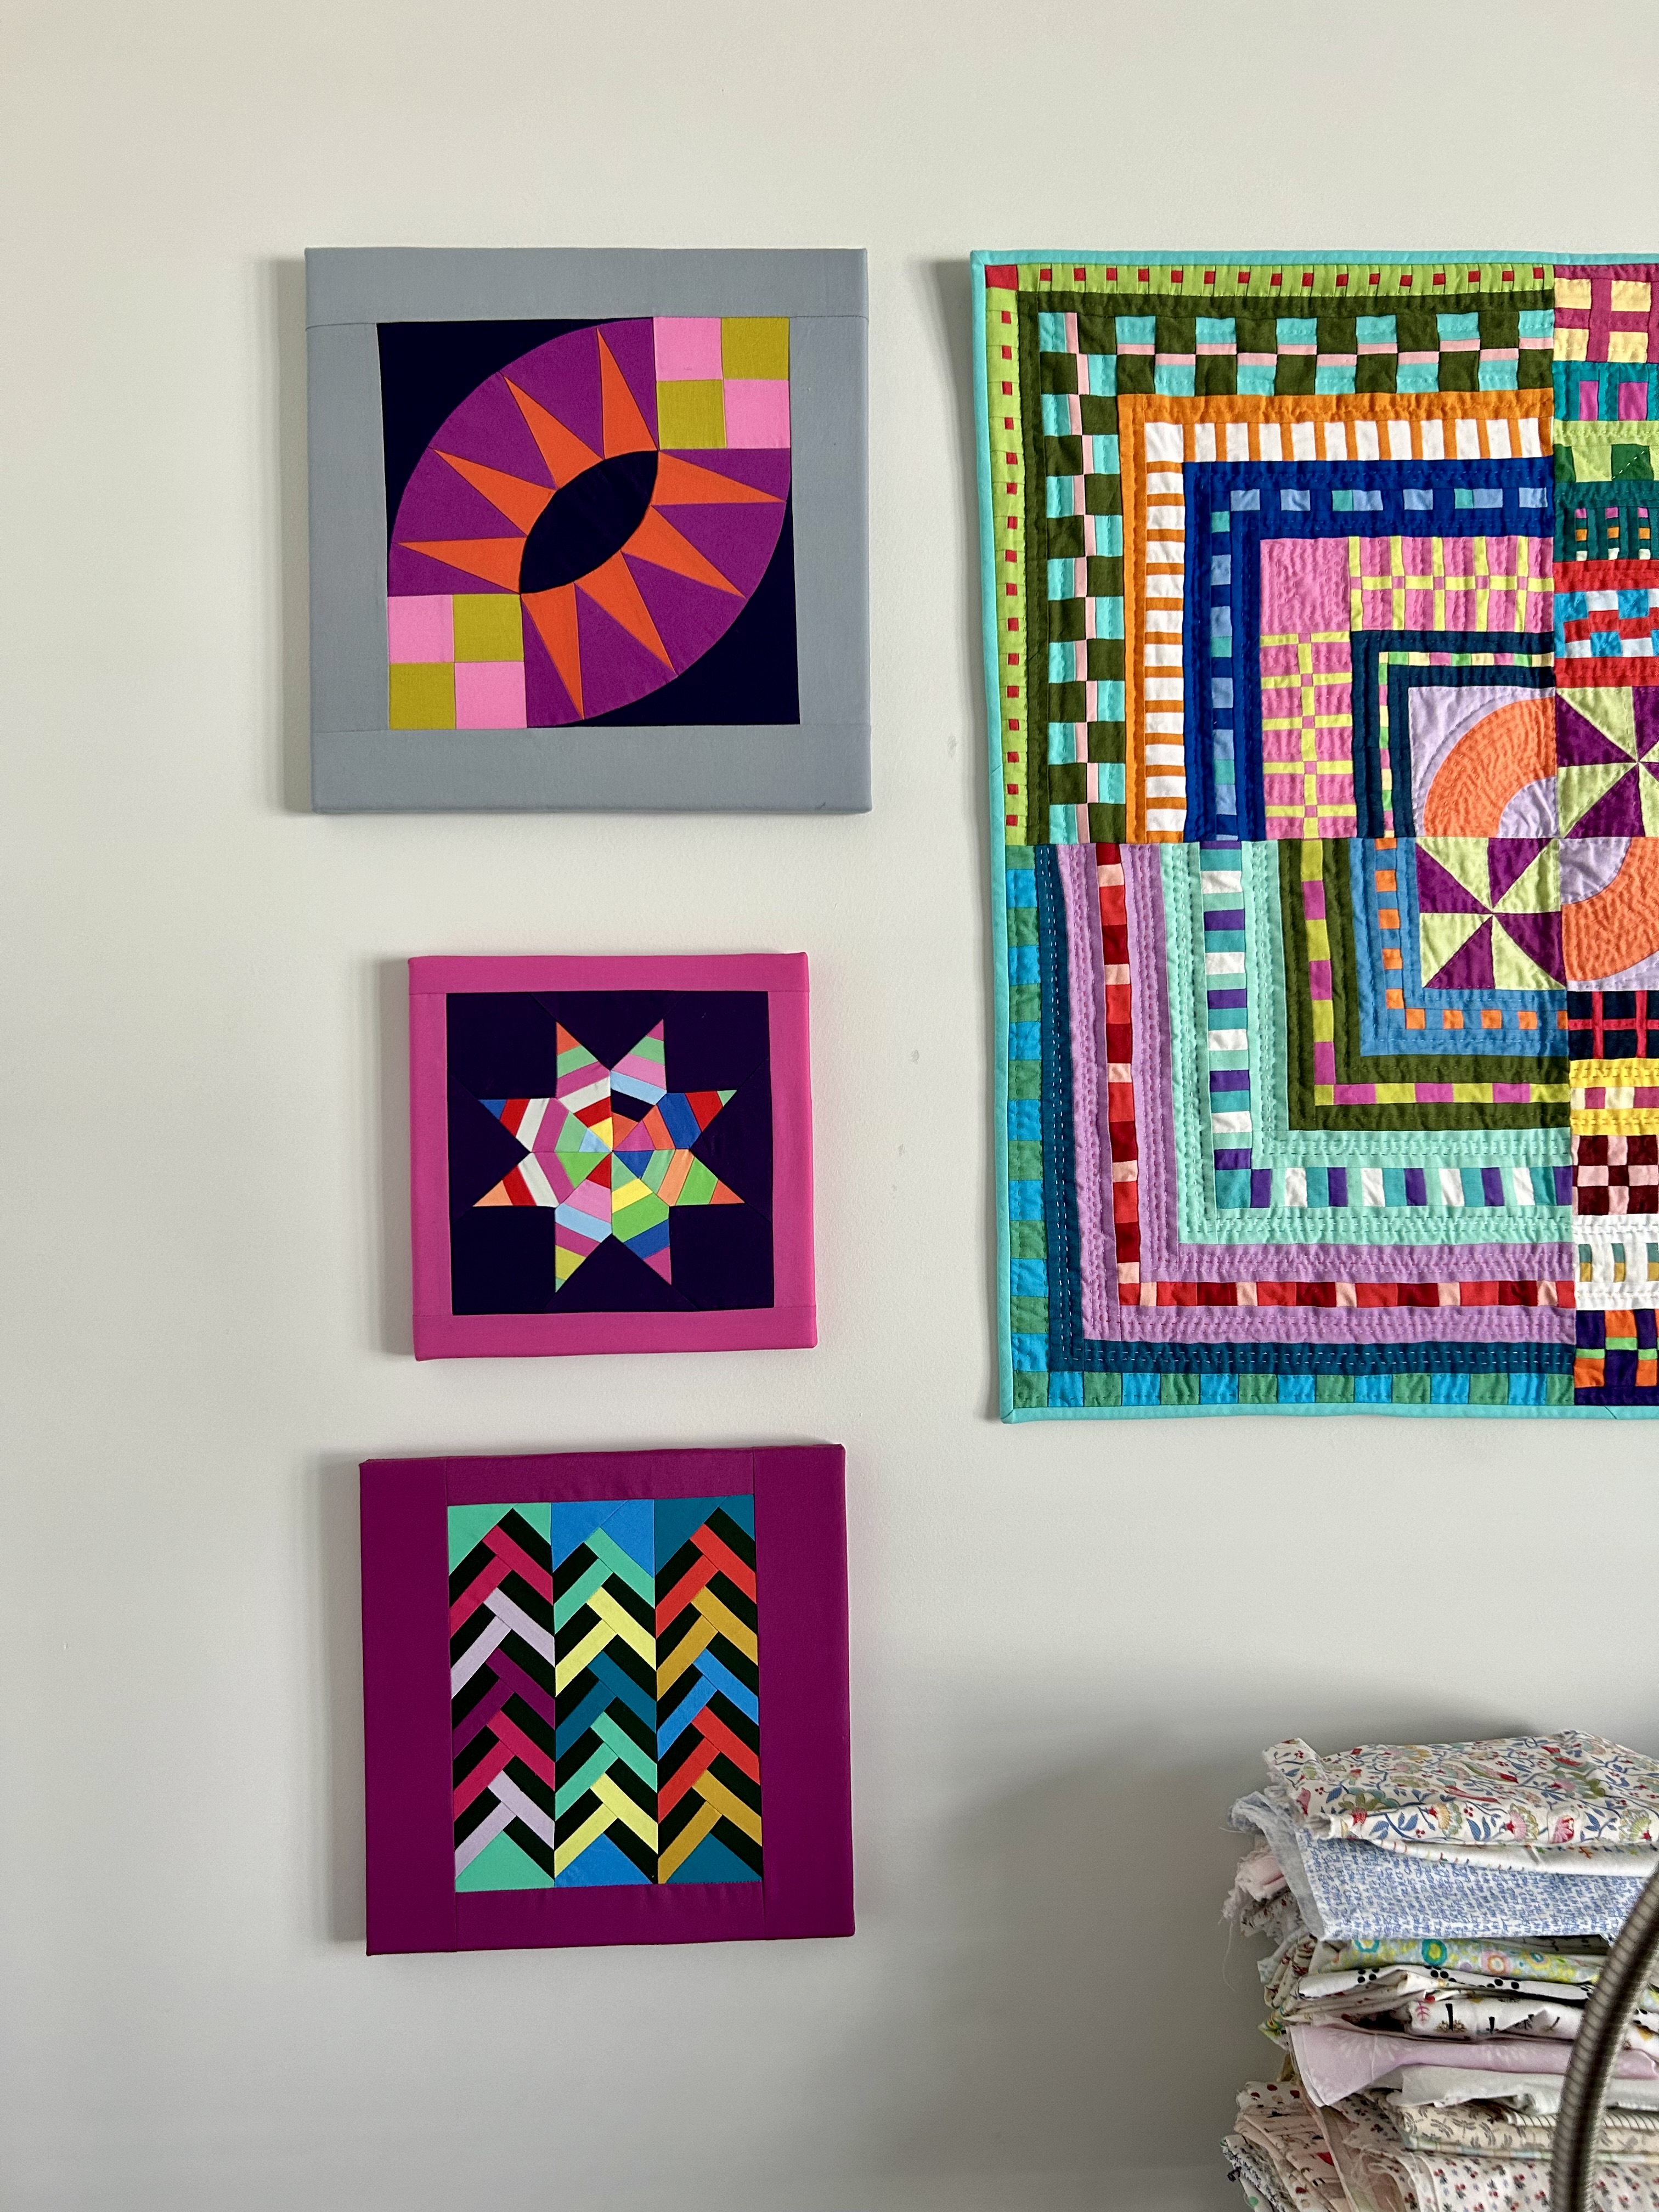
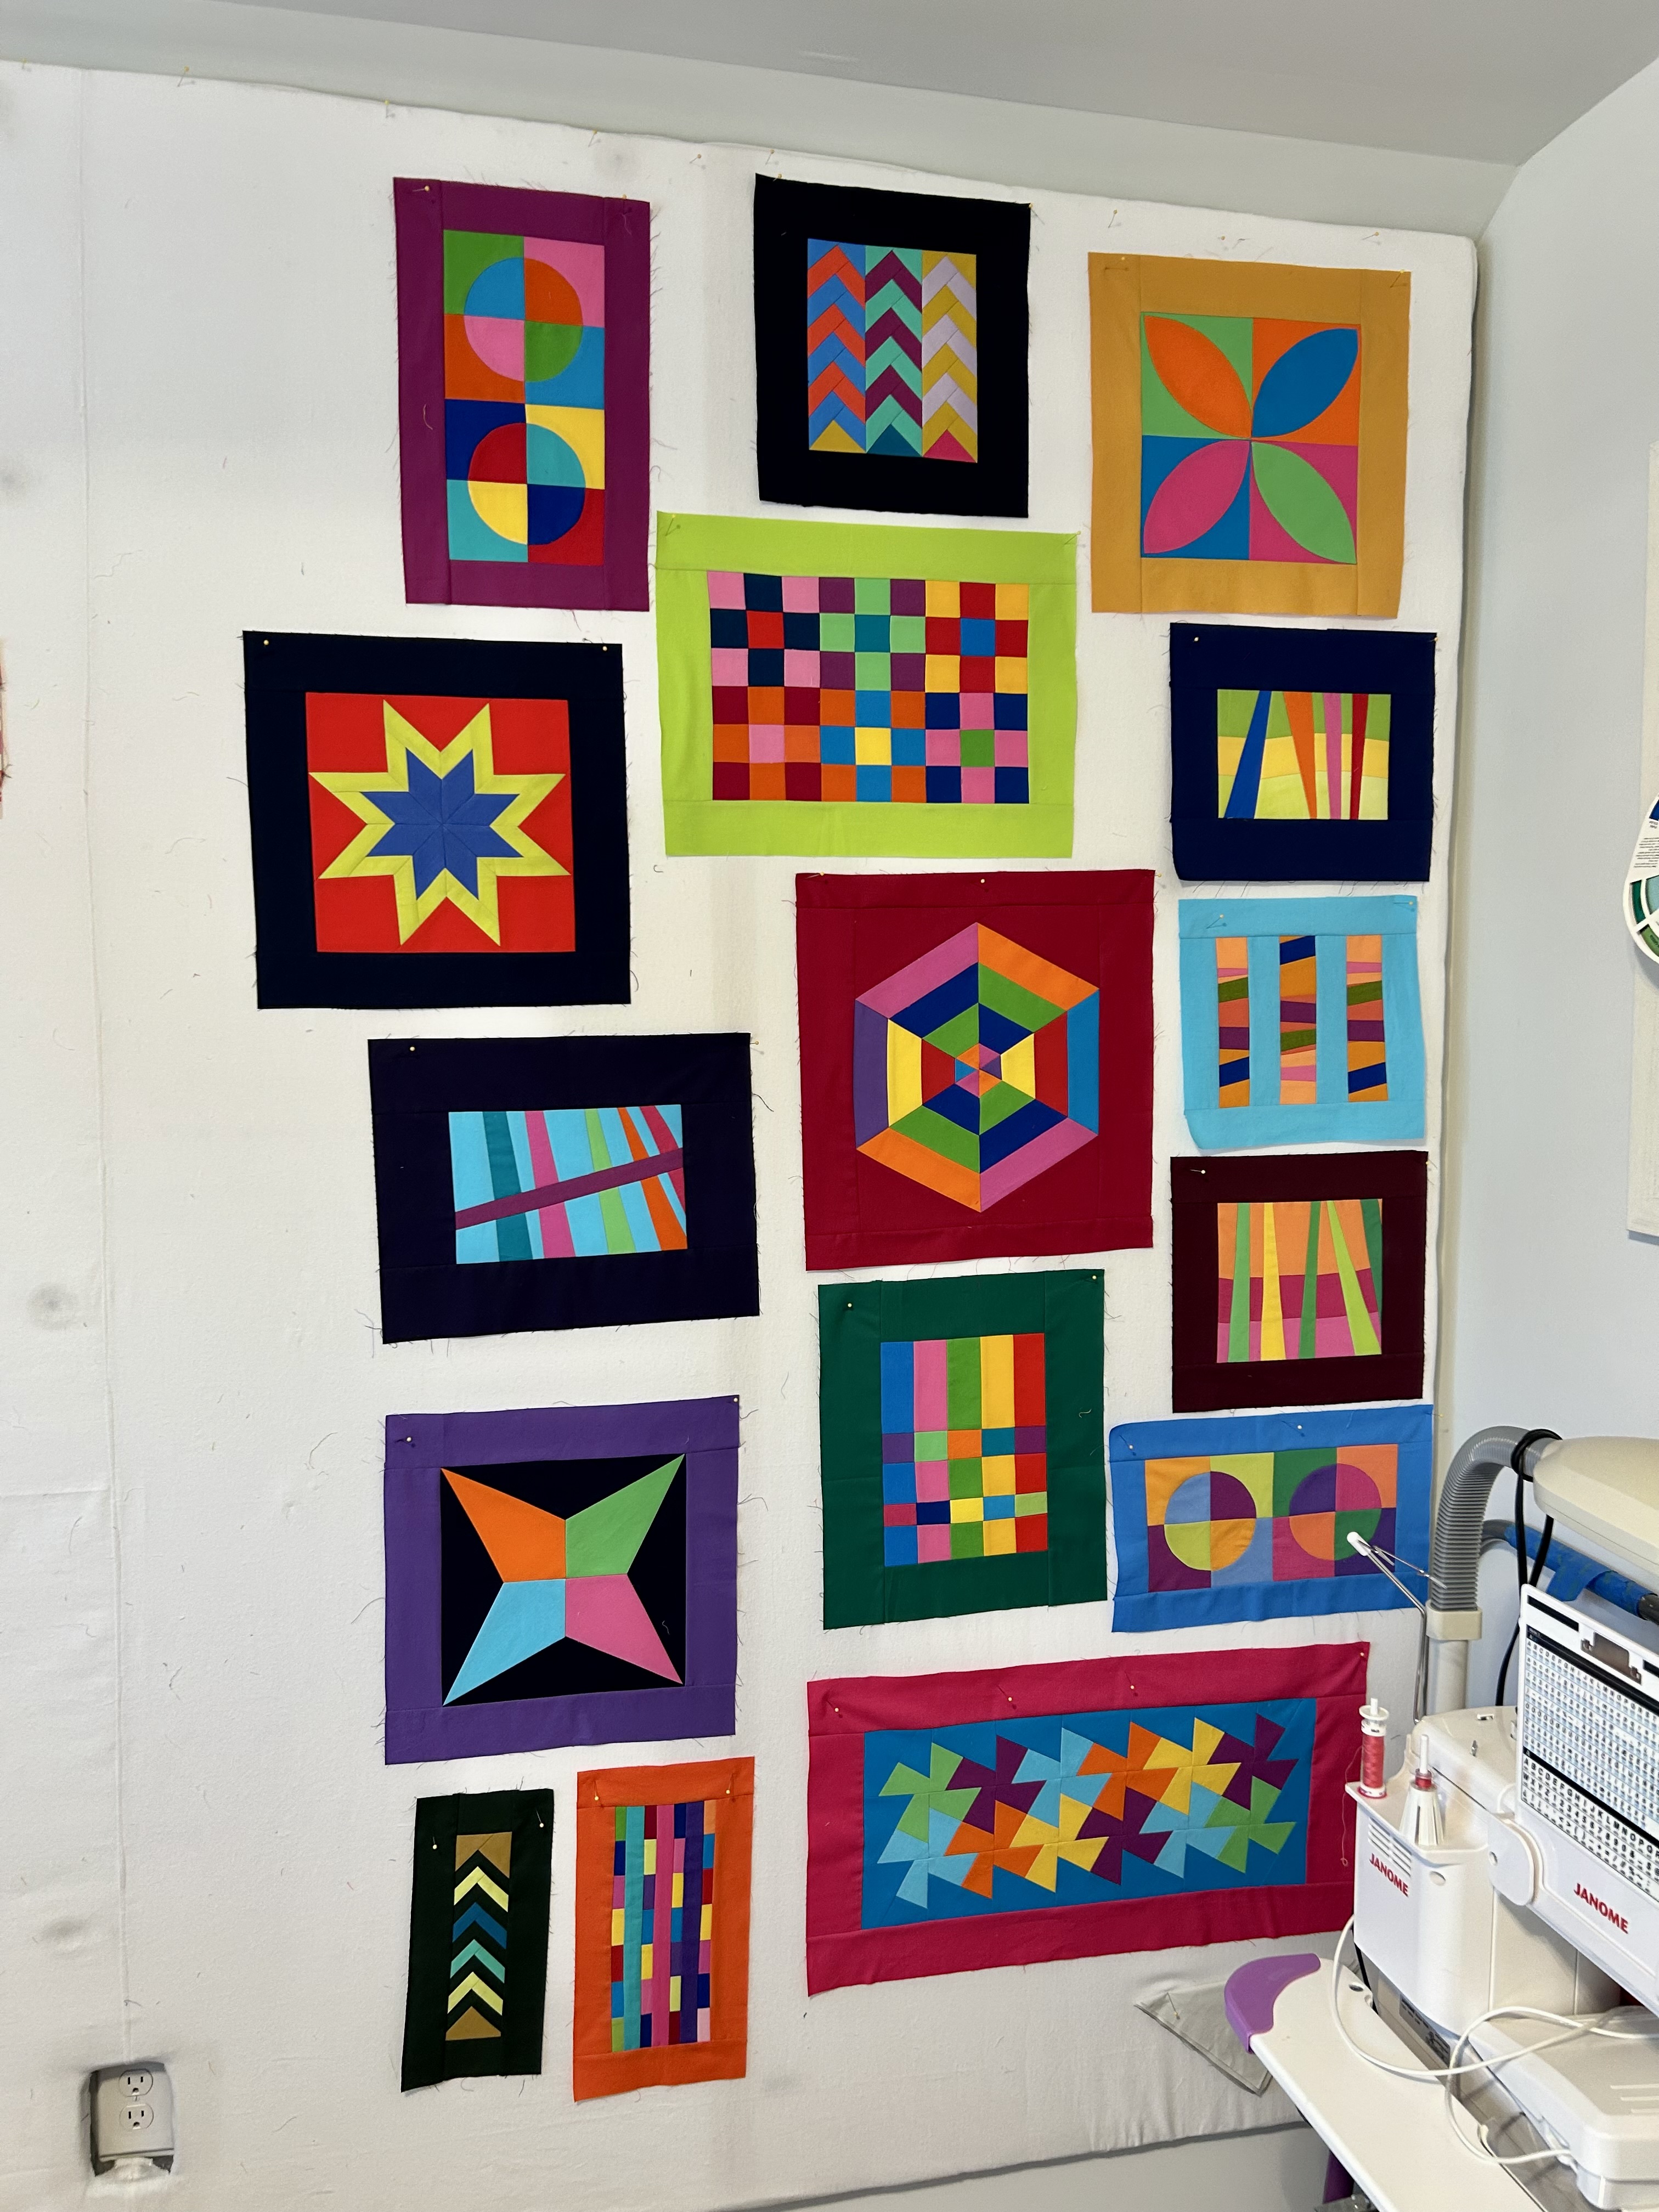
My trial block was a steep learning curve for me as well, though I’m good at sewing curves. But I was still intrigued despite the problems I encountered while getting to know this block. Pressing is, of course, precise at various points.
I ordered the pattern itself from the Sew Kind of Wonderful web site as my magazine pattern was missing information that I needed. And I watched a really good video made by Sew Kind of Wonderful, available on YouTube. I am happy to say I’ve learned how to sew mild curves without using glue or pins.
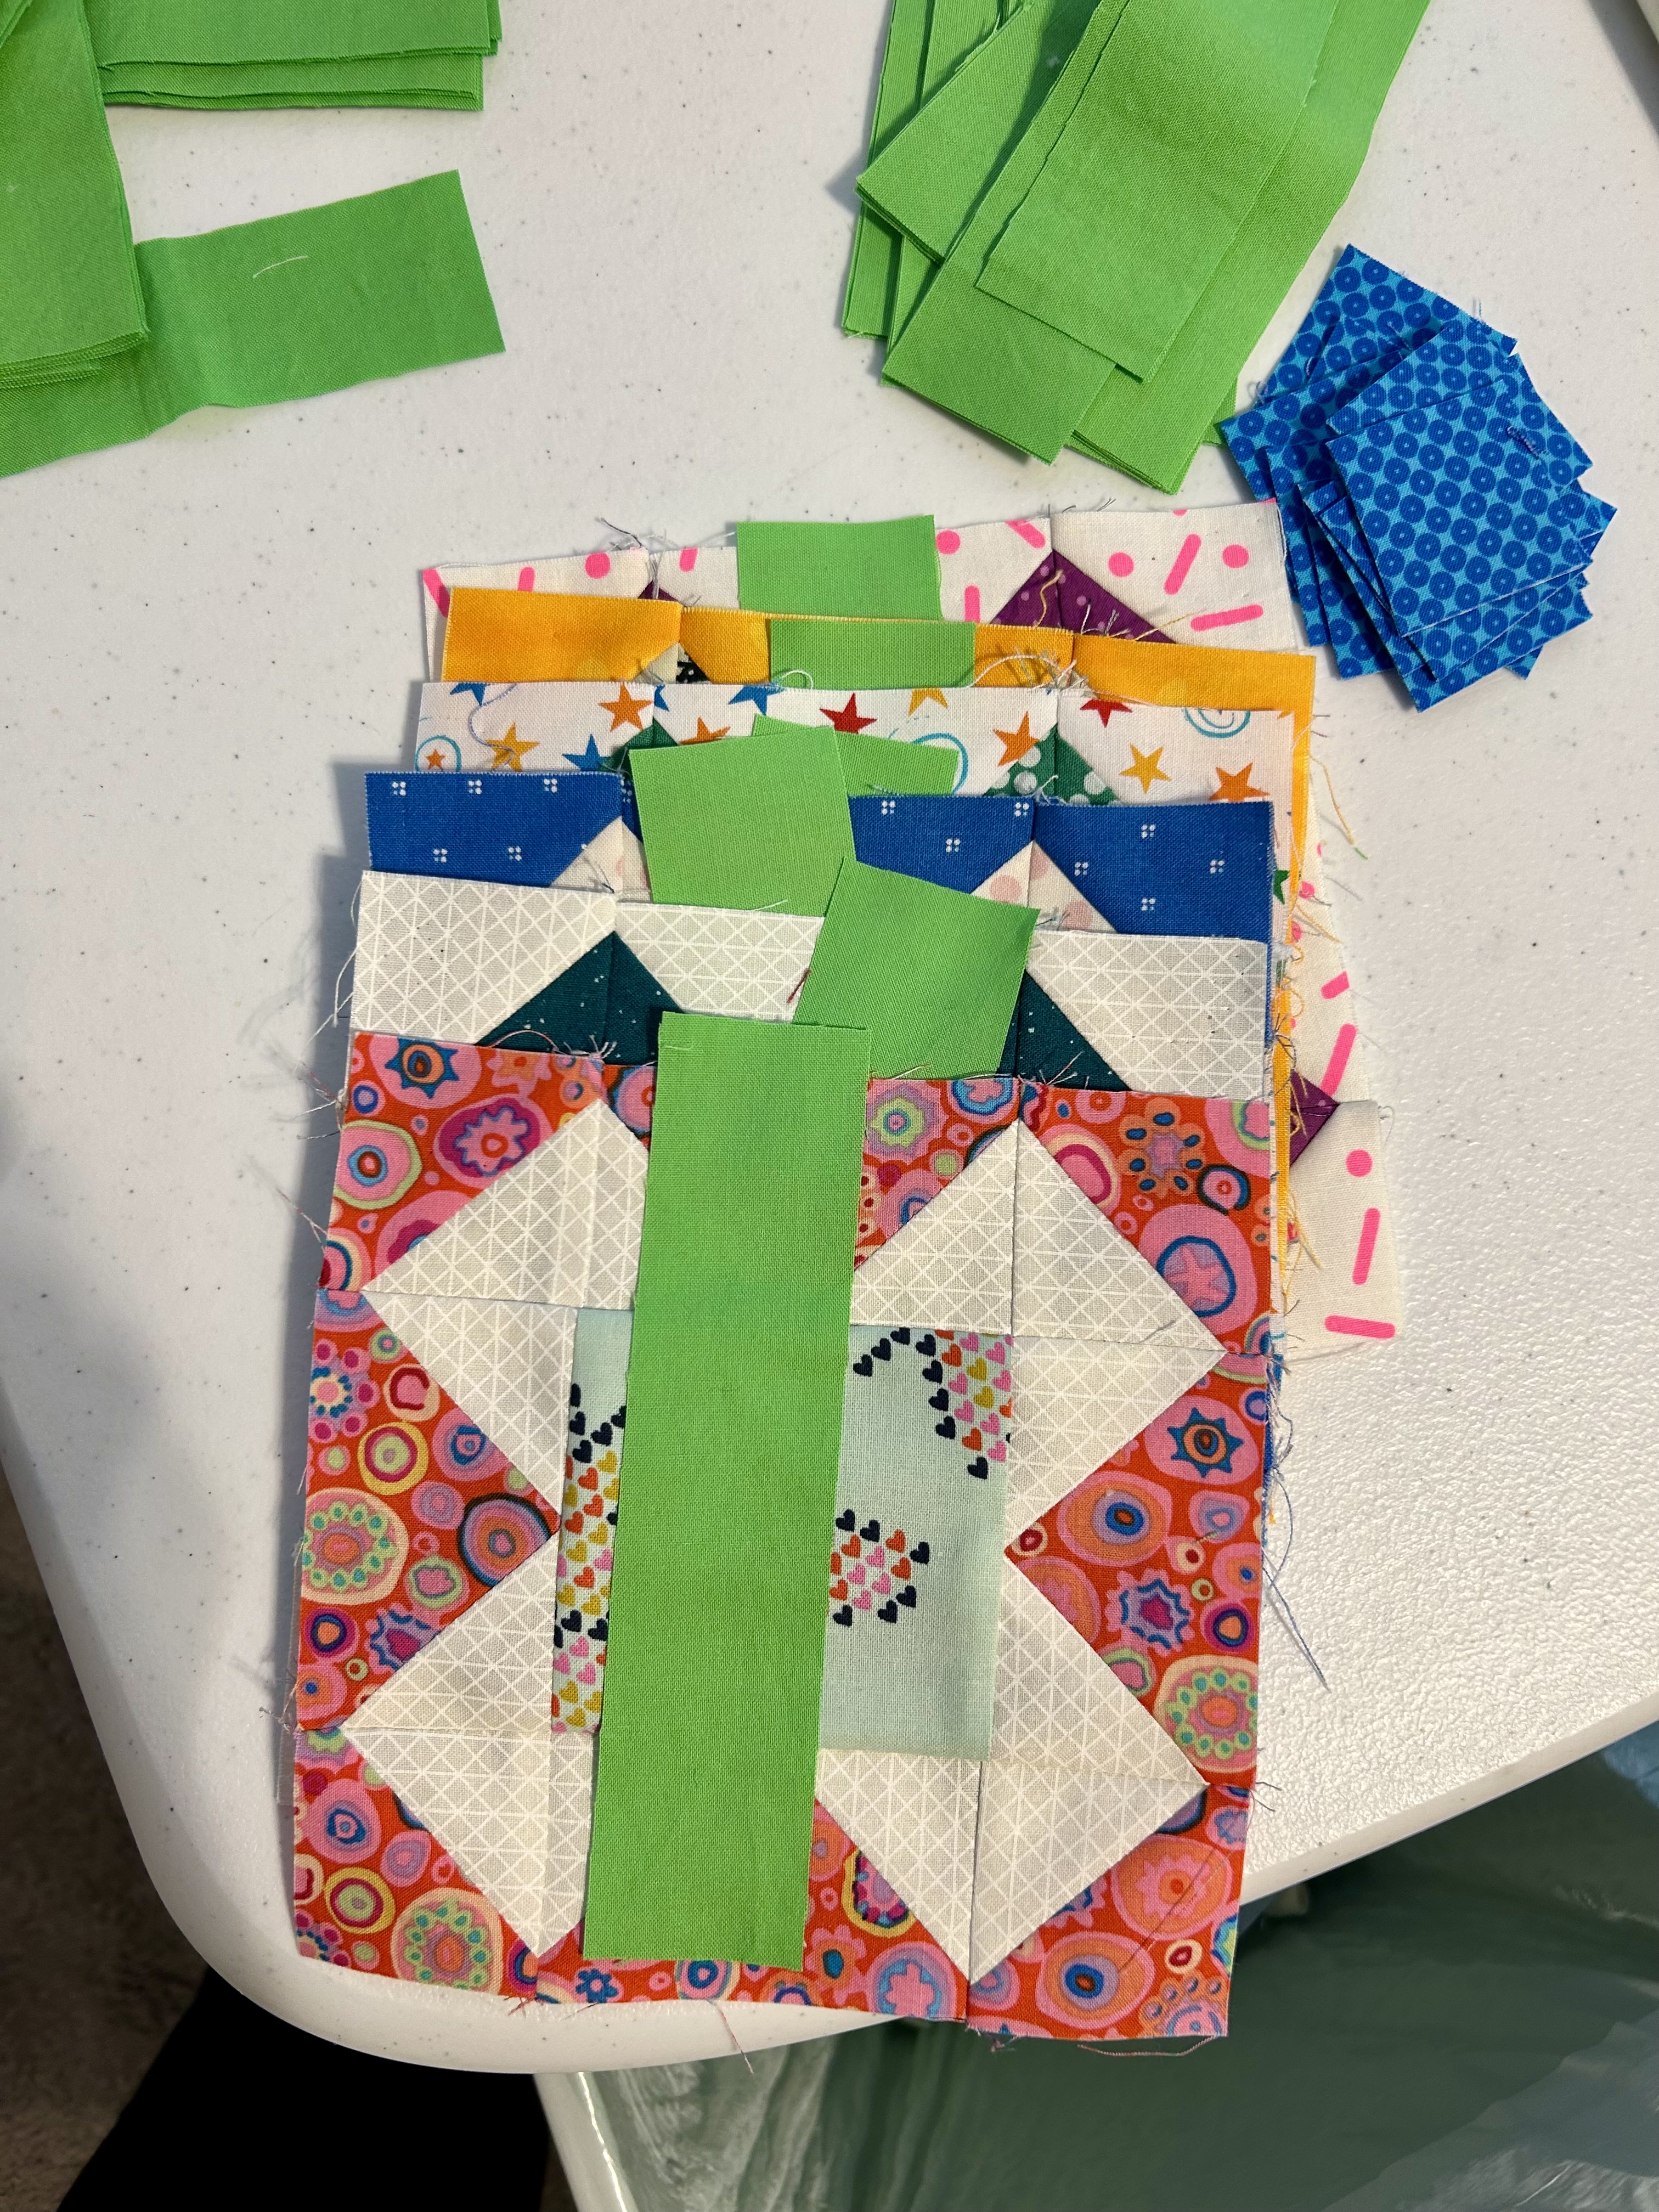
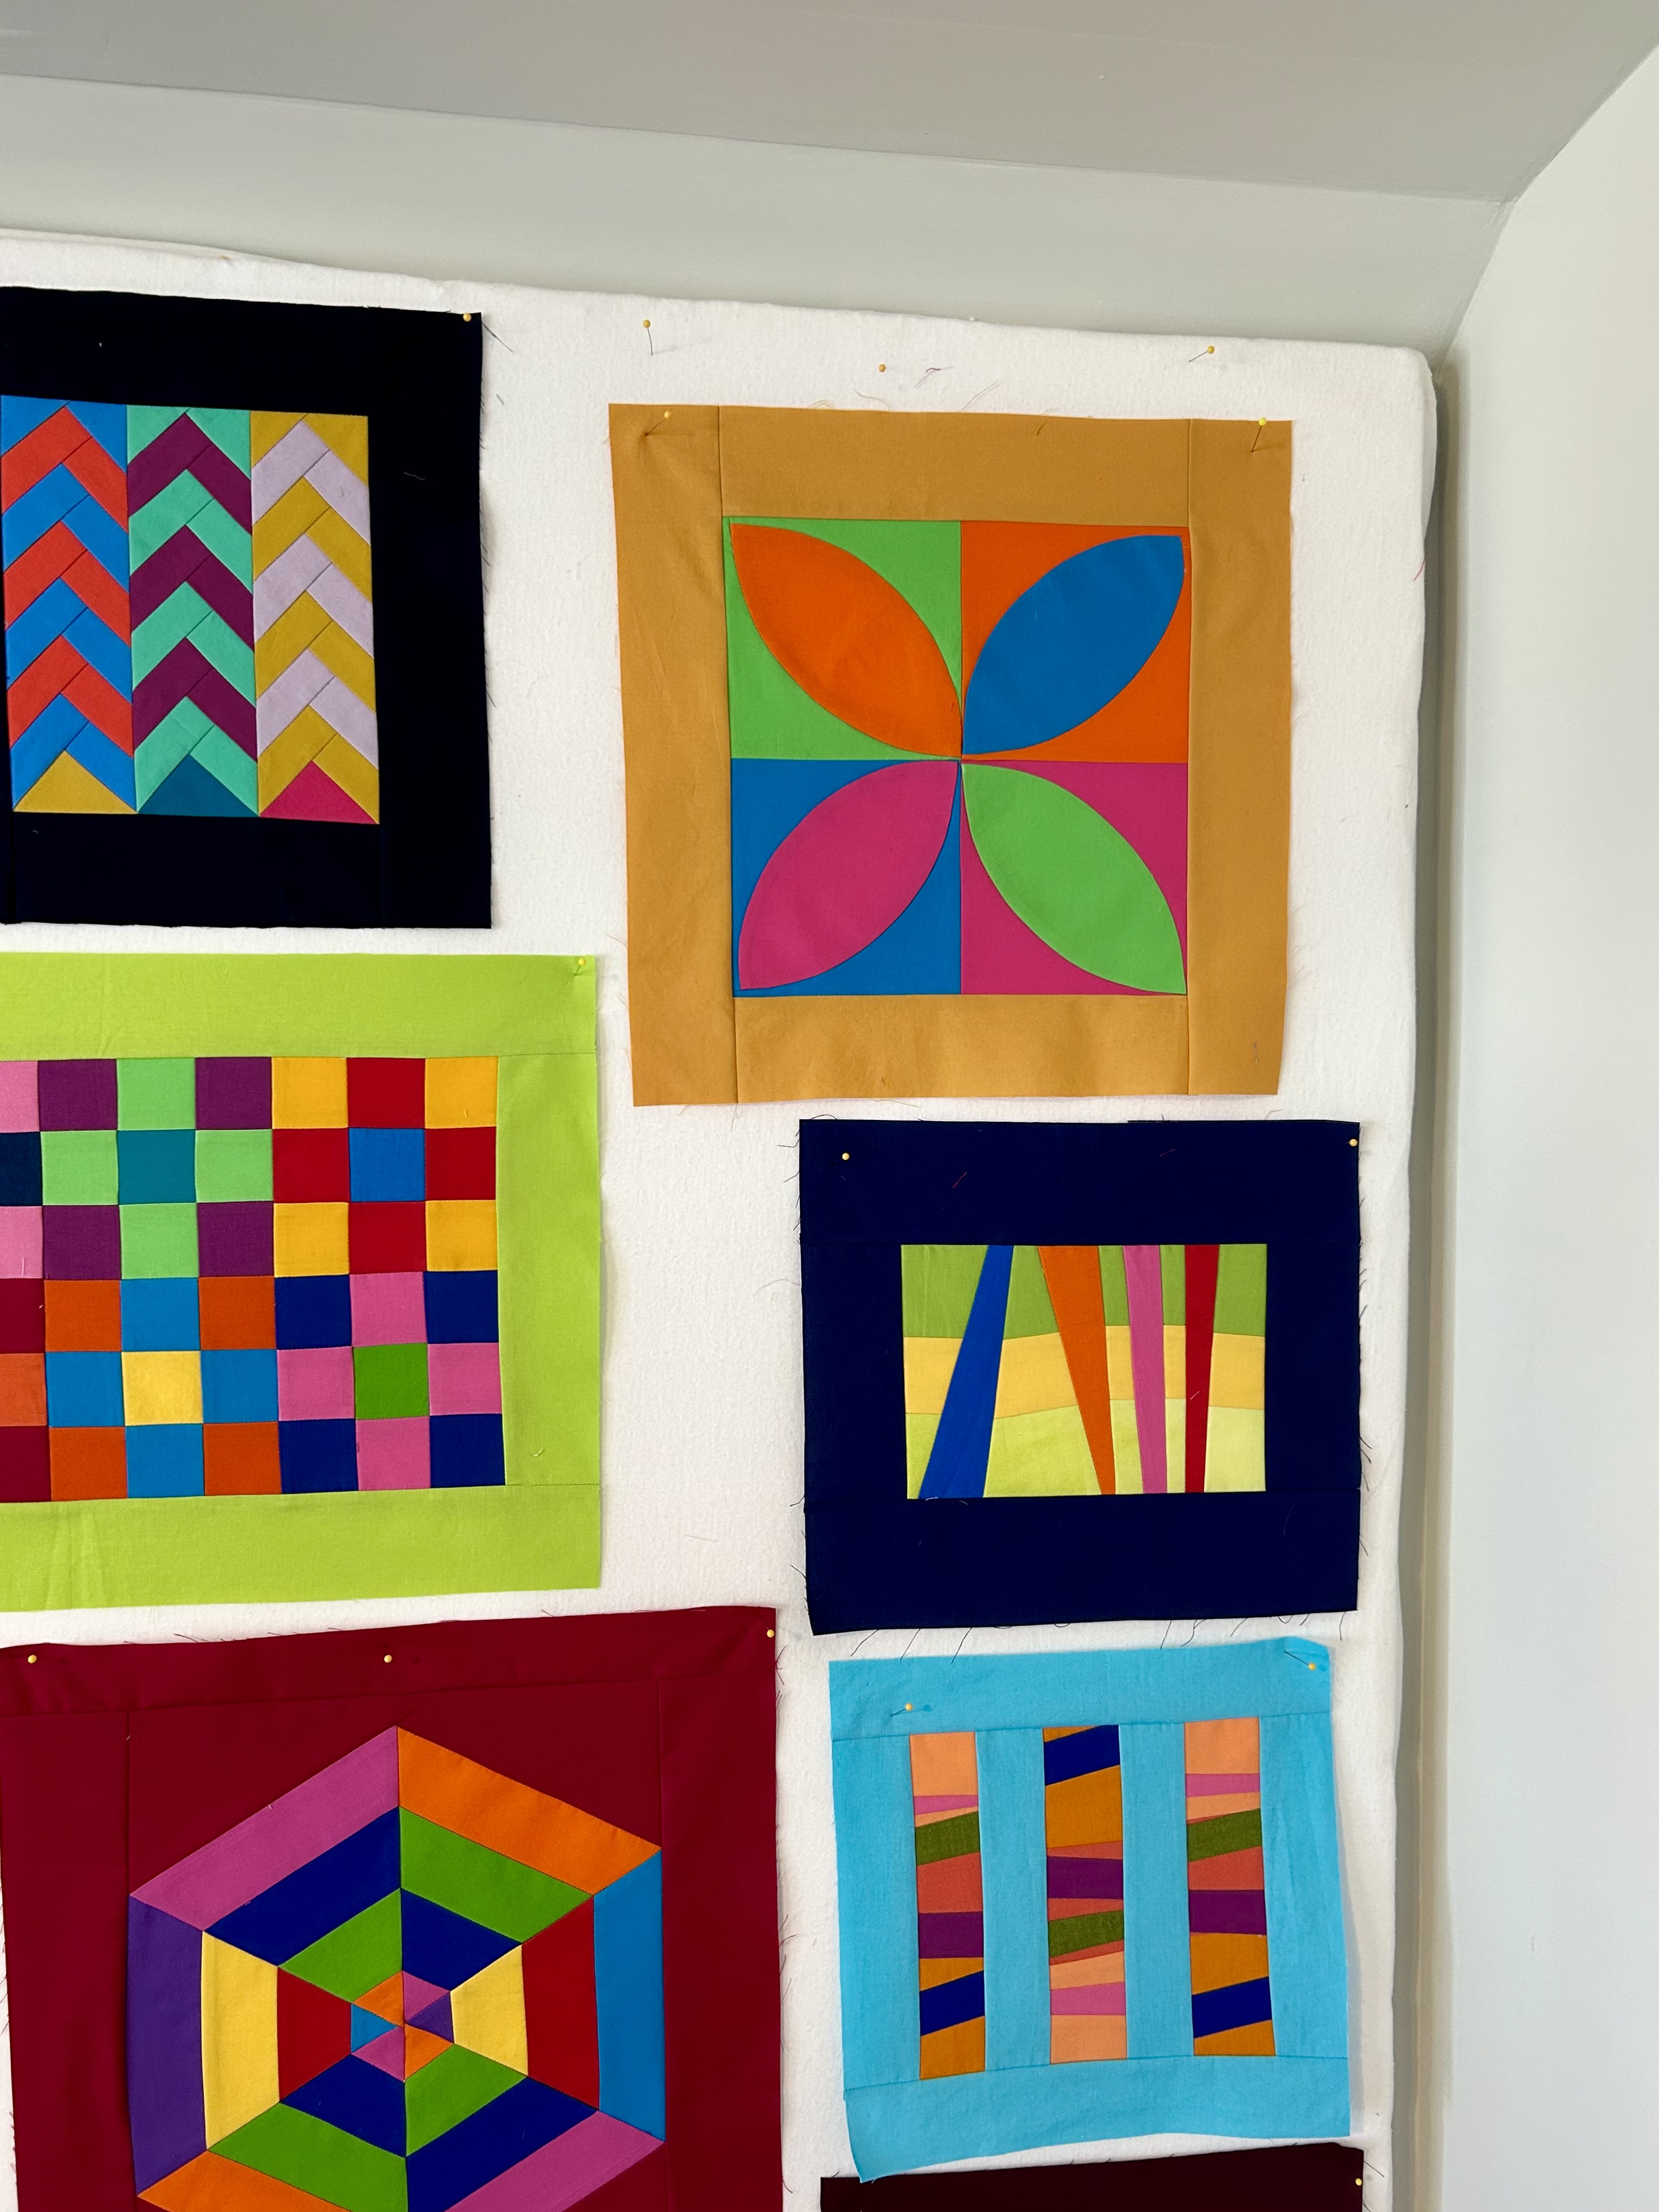
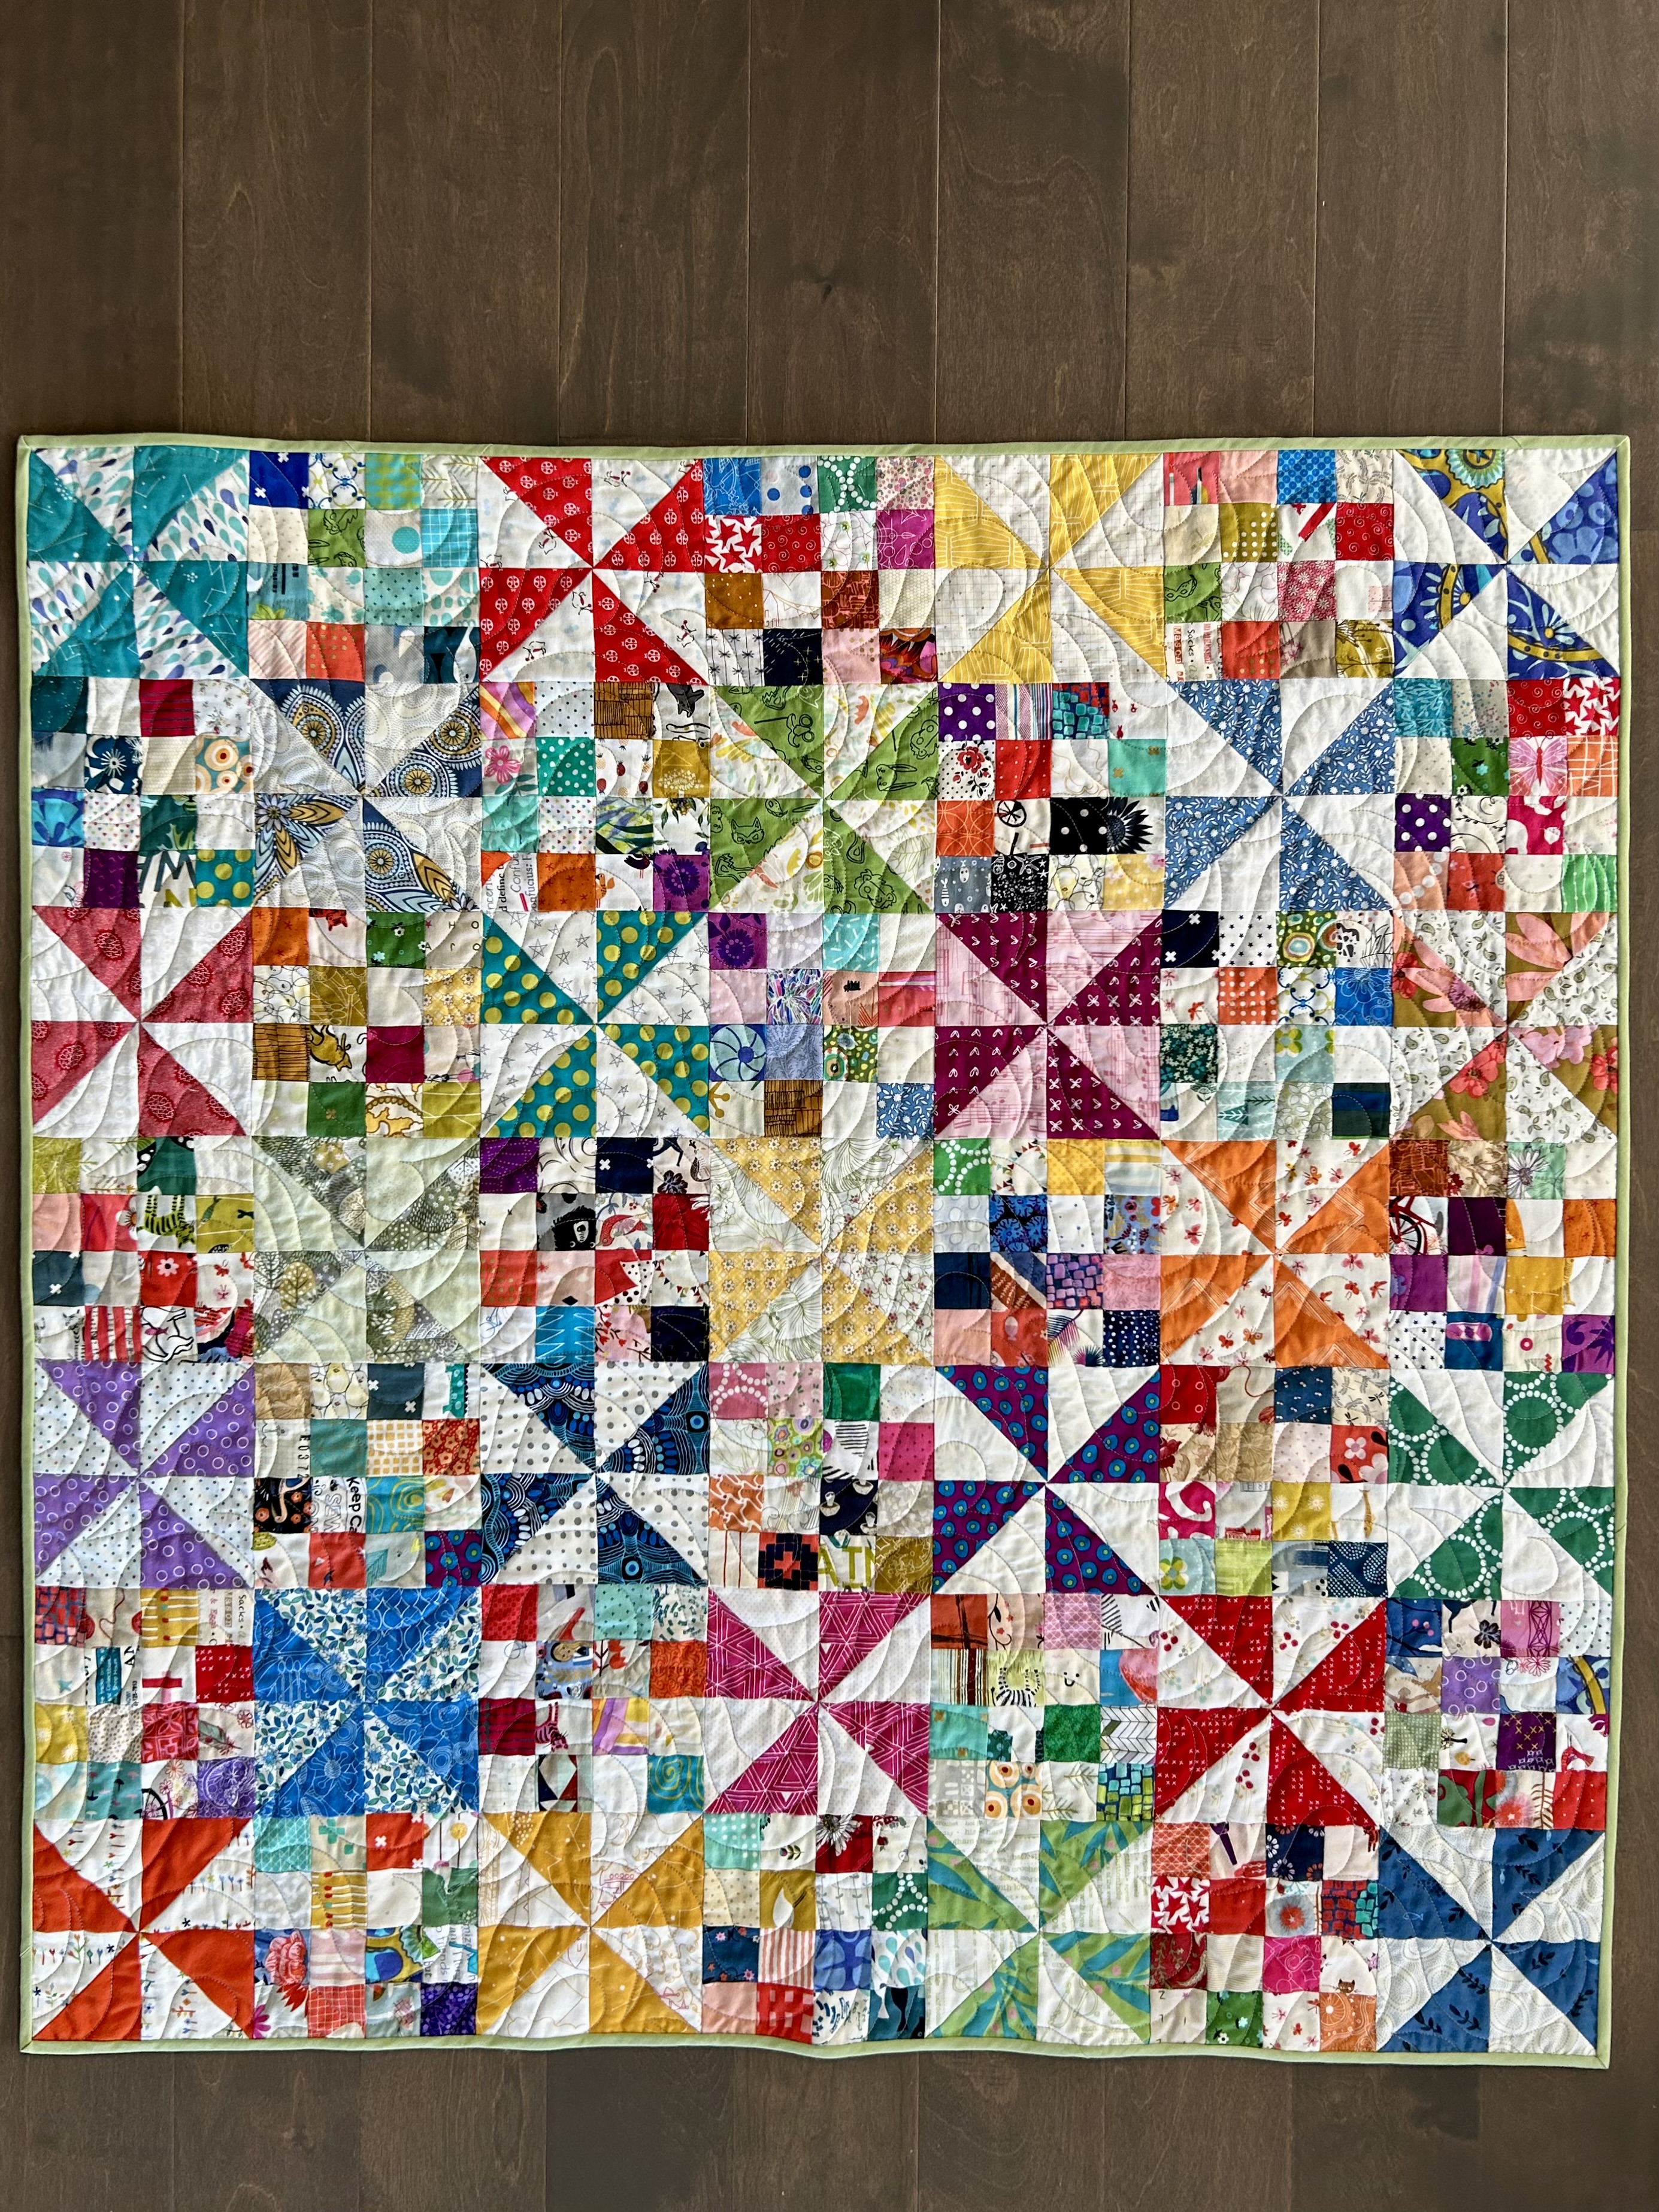
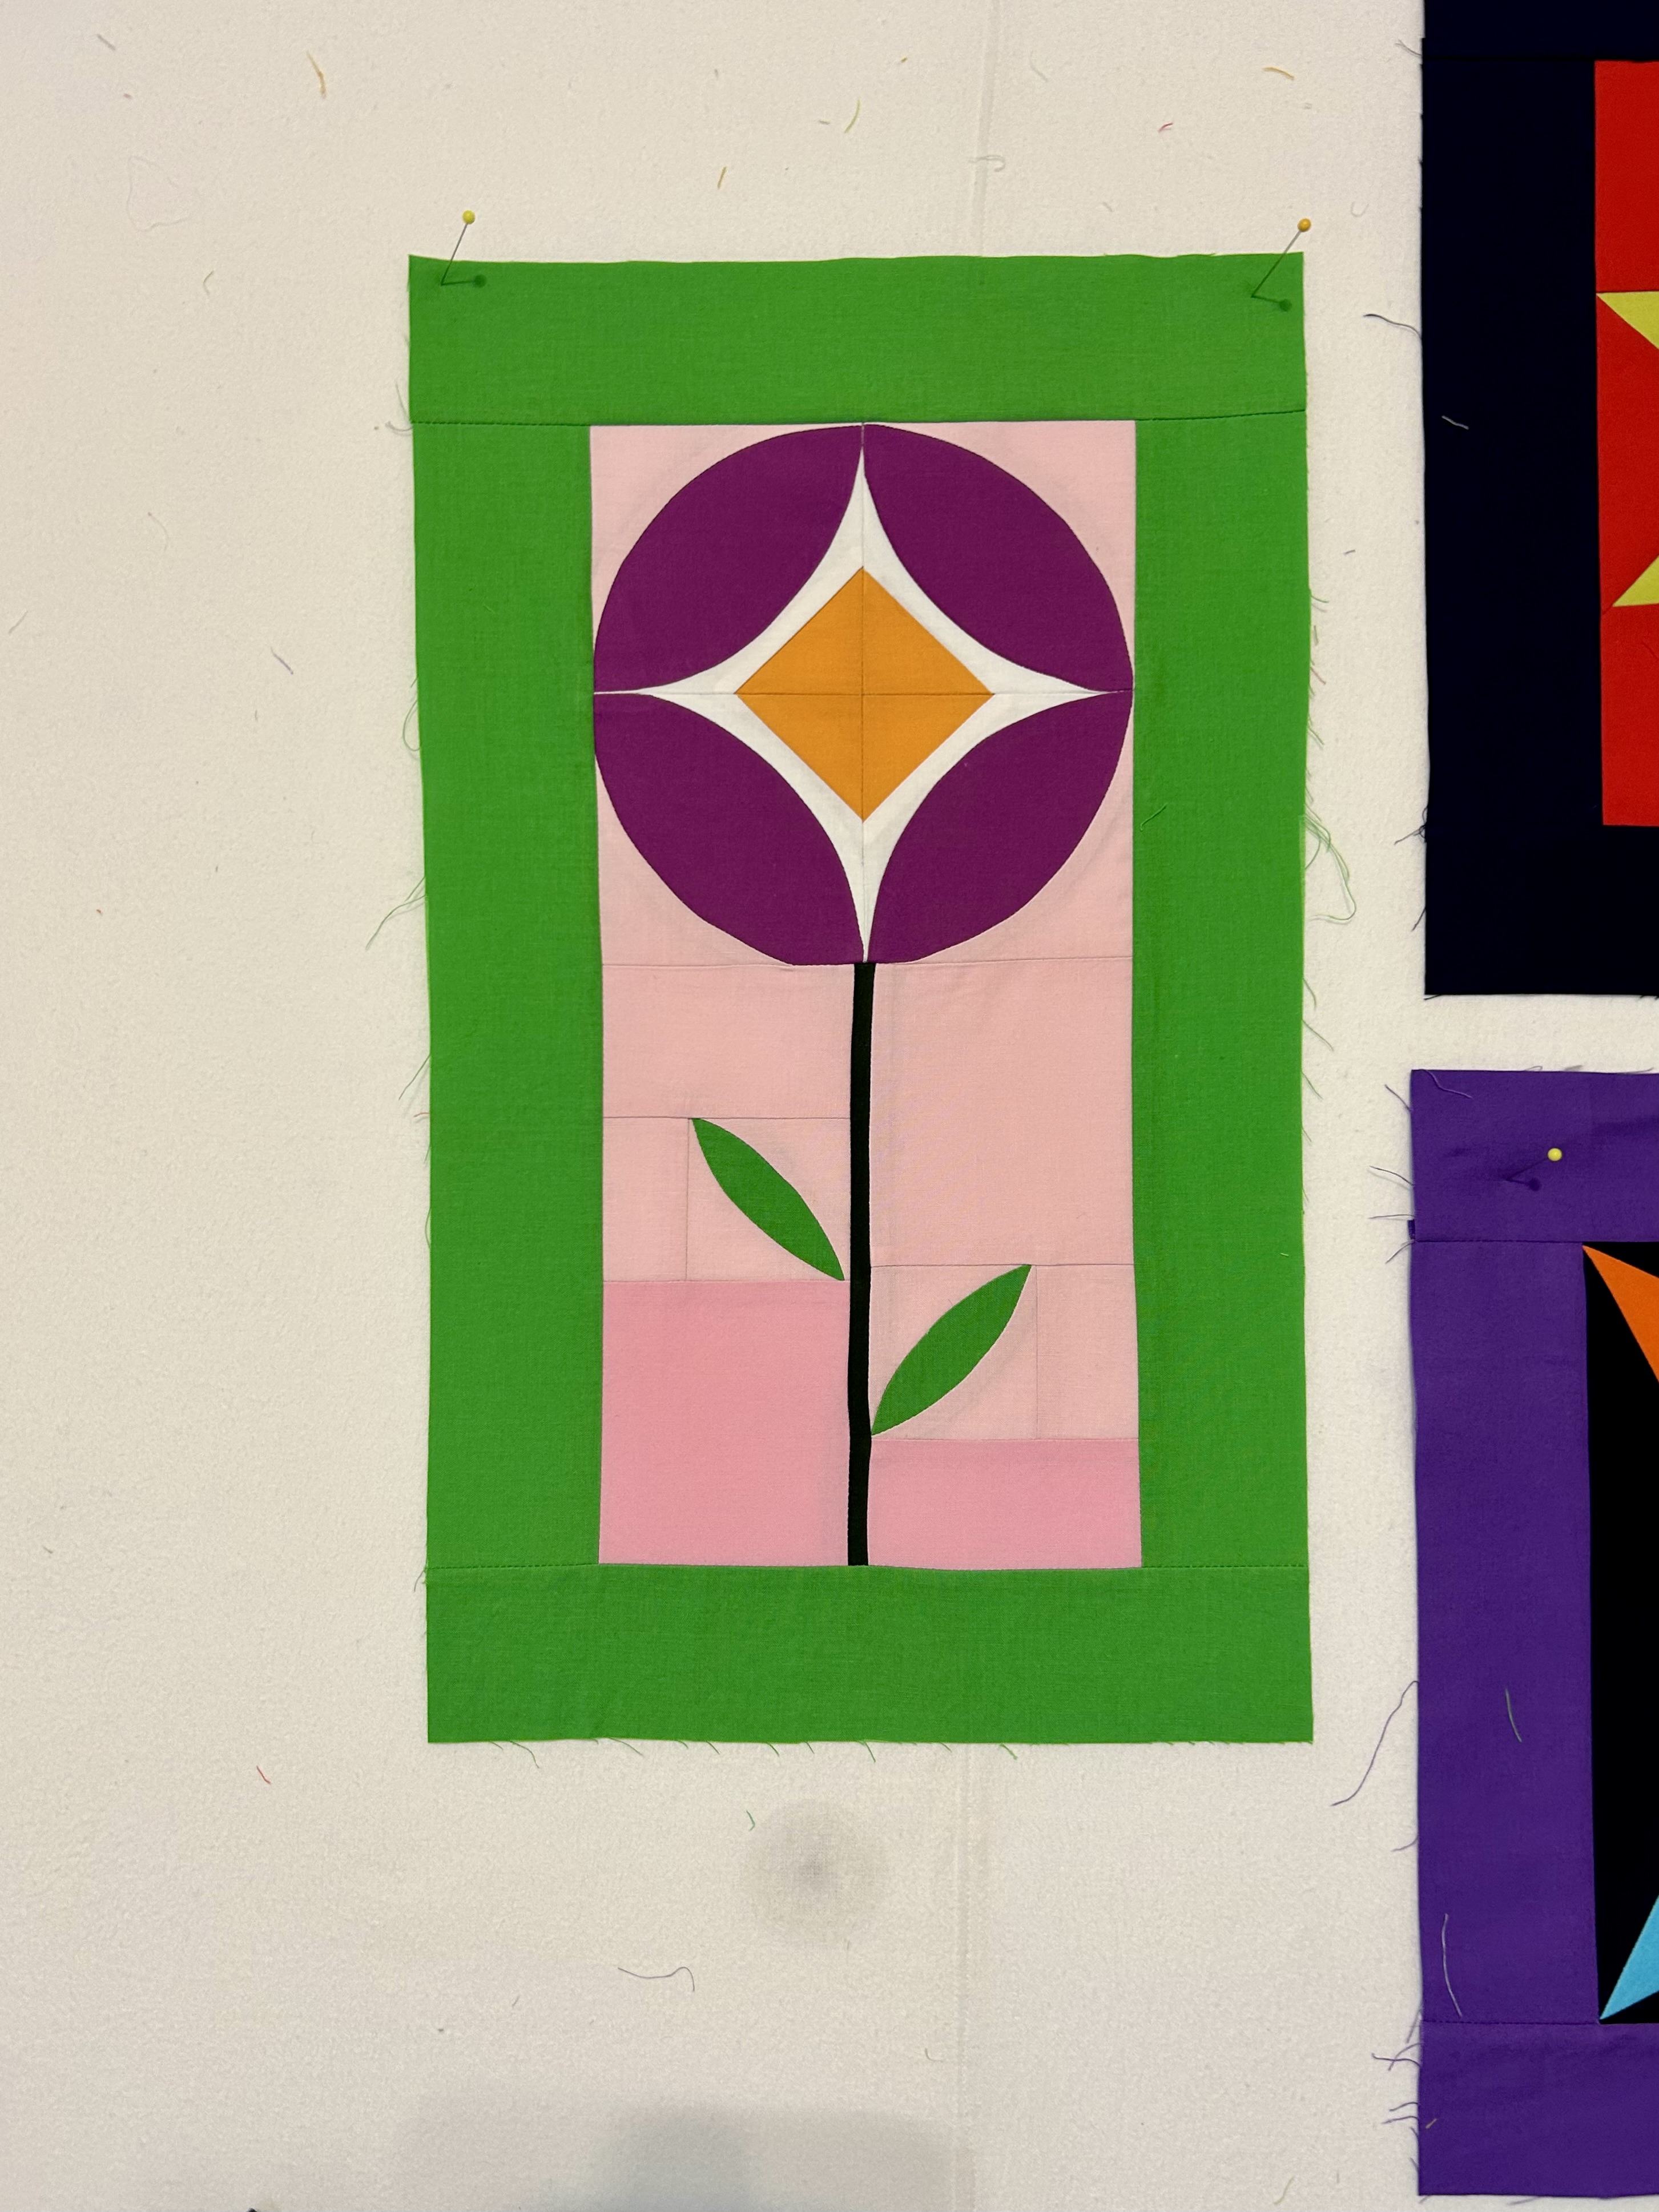
Here’s my second effort, using print fabrics. And I’m much happier with it.
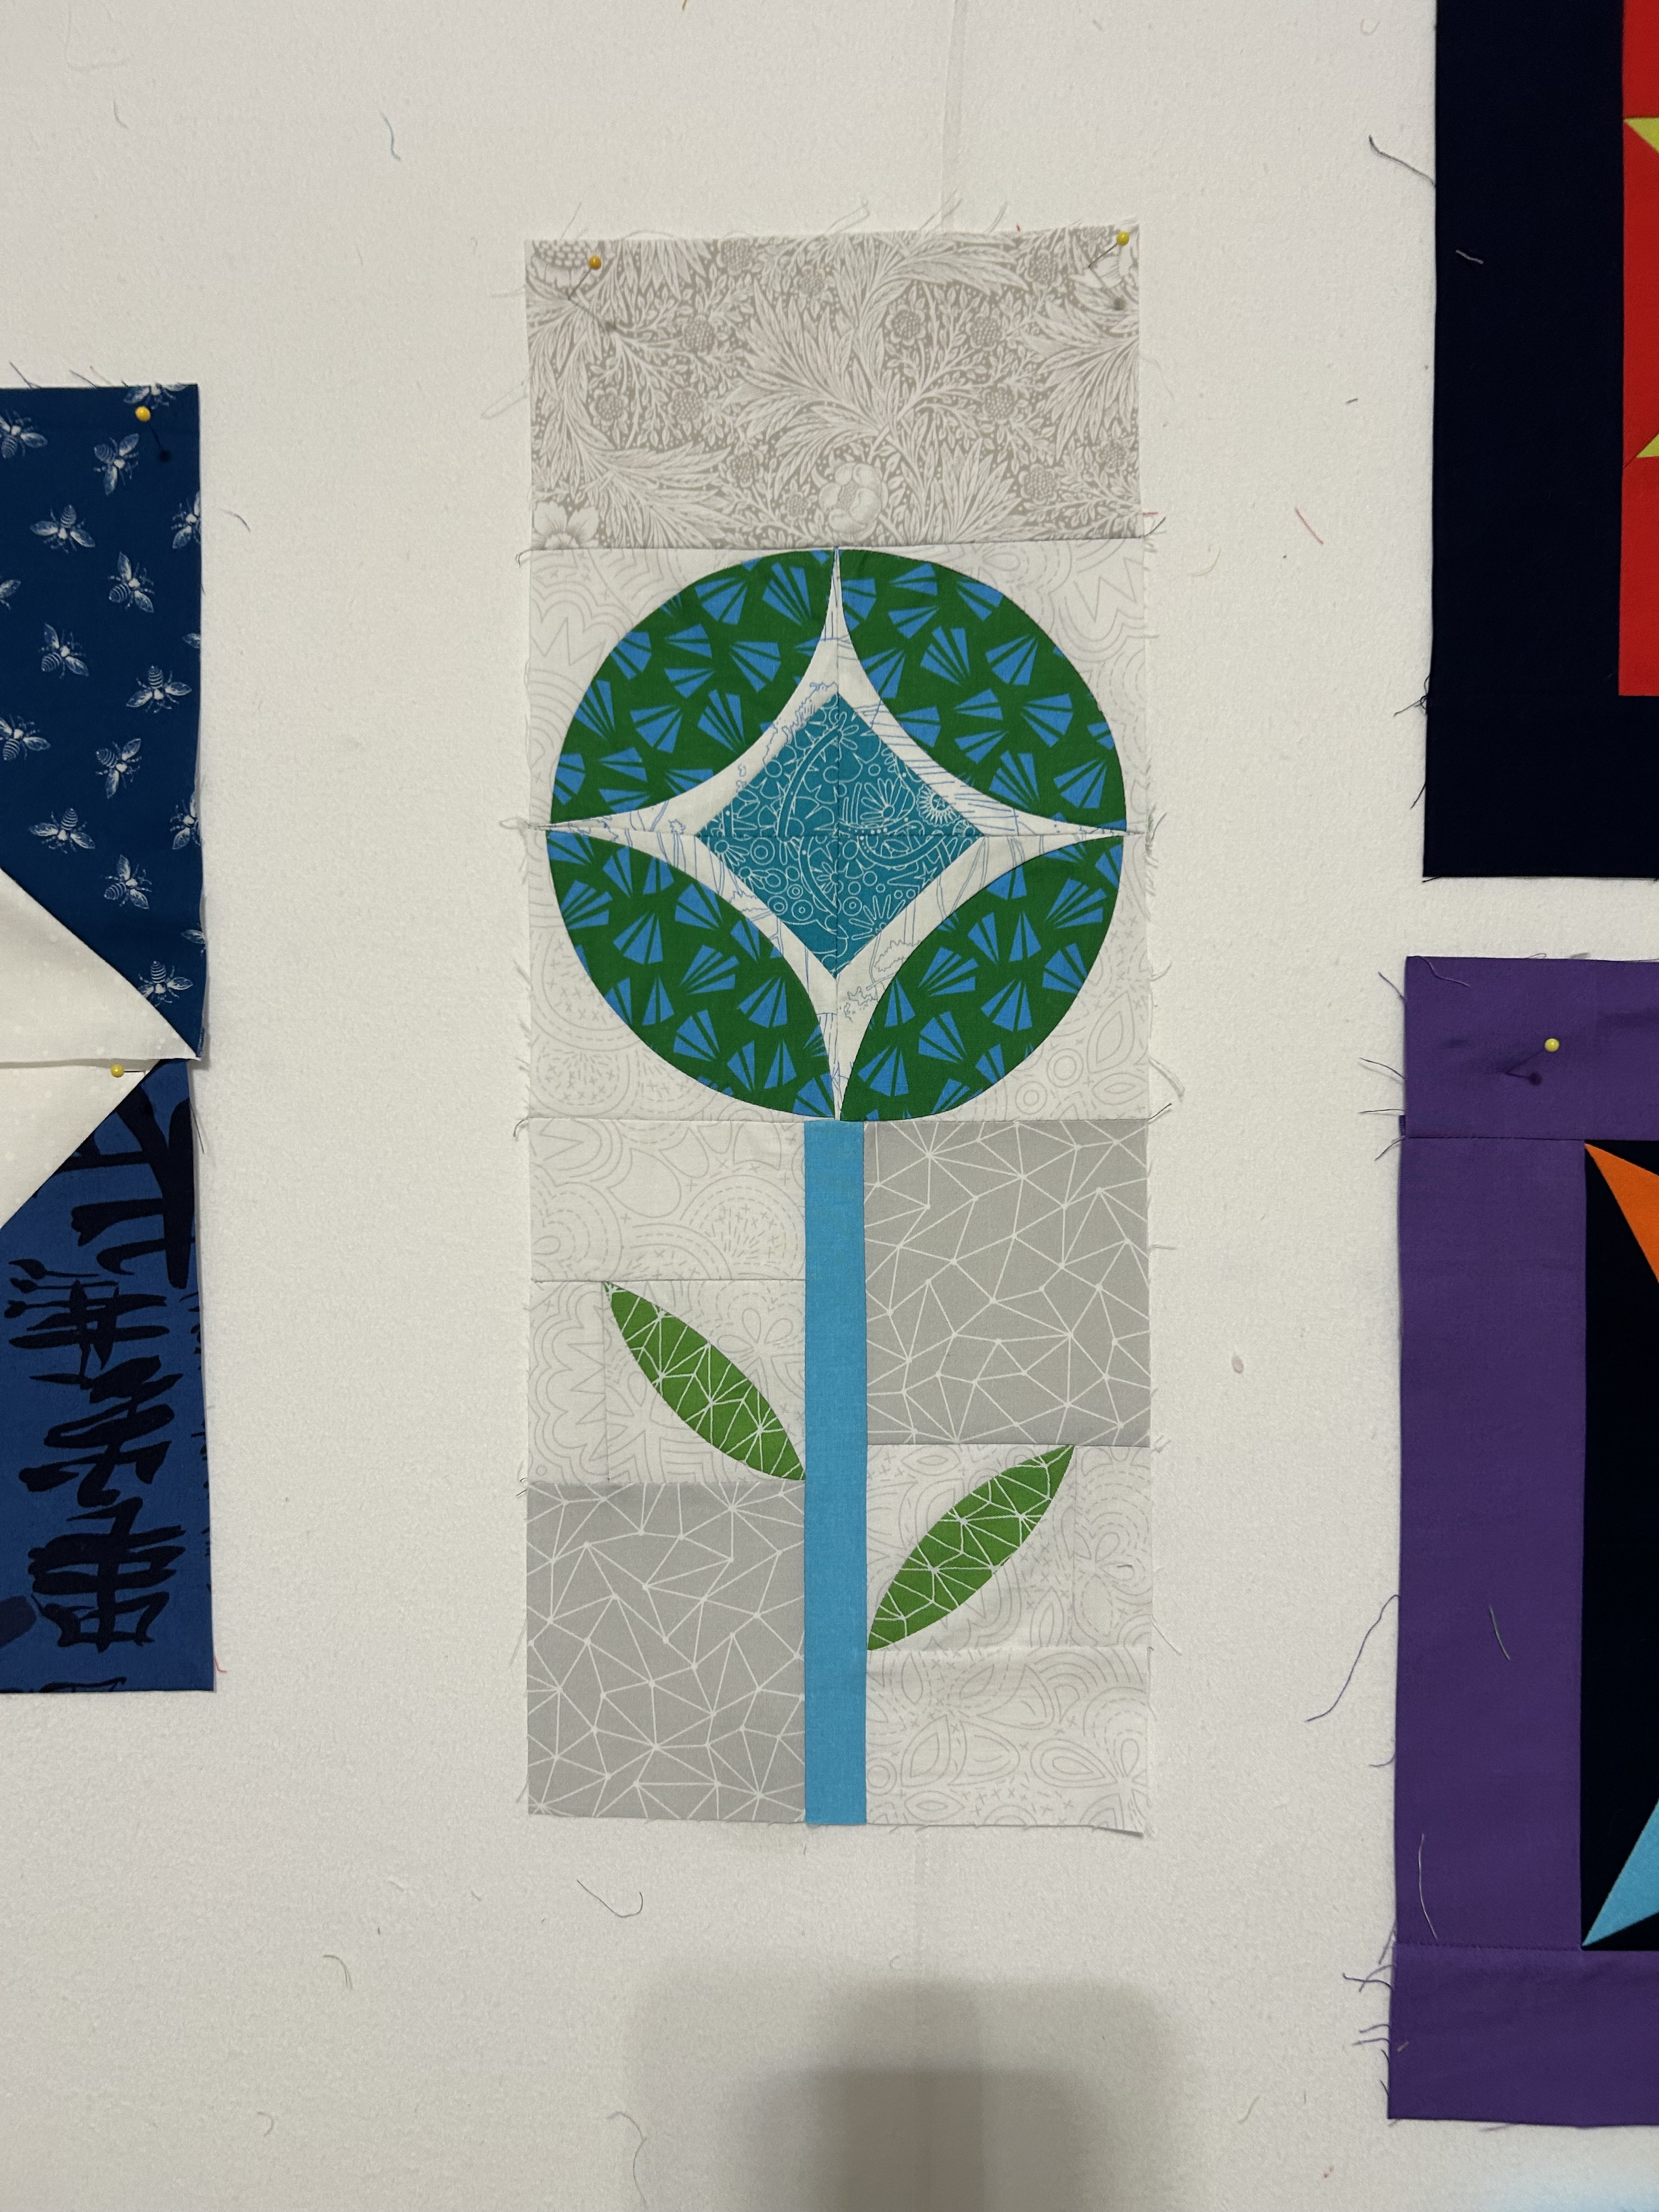
The current pattern now shows all neutral backgrounds, but I very much liked one version shown in the magazine that has some darker backgrounds. OK, a lot of darker backgrounds.

So, I’ve cut parts for the next block with a medium blue print for the background. I have no idea where this effort will go. I am using stash fabrics for this project–assuming it becomes a project.
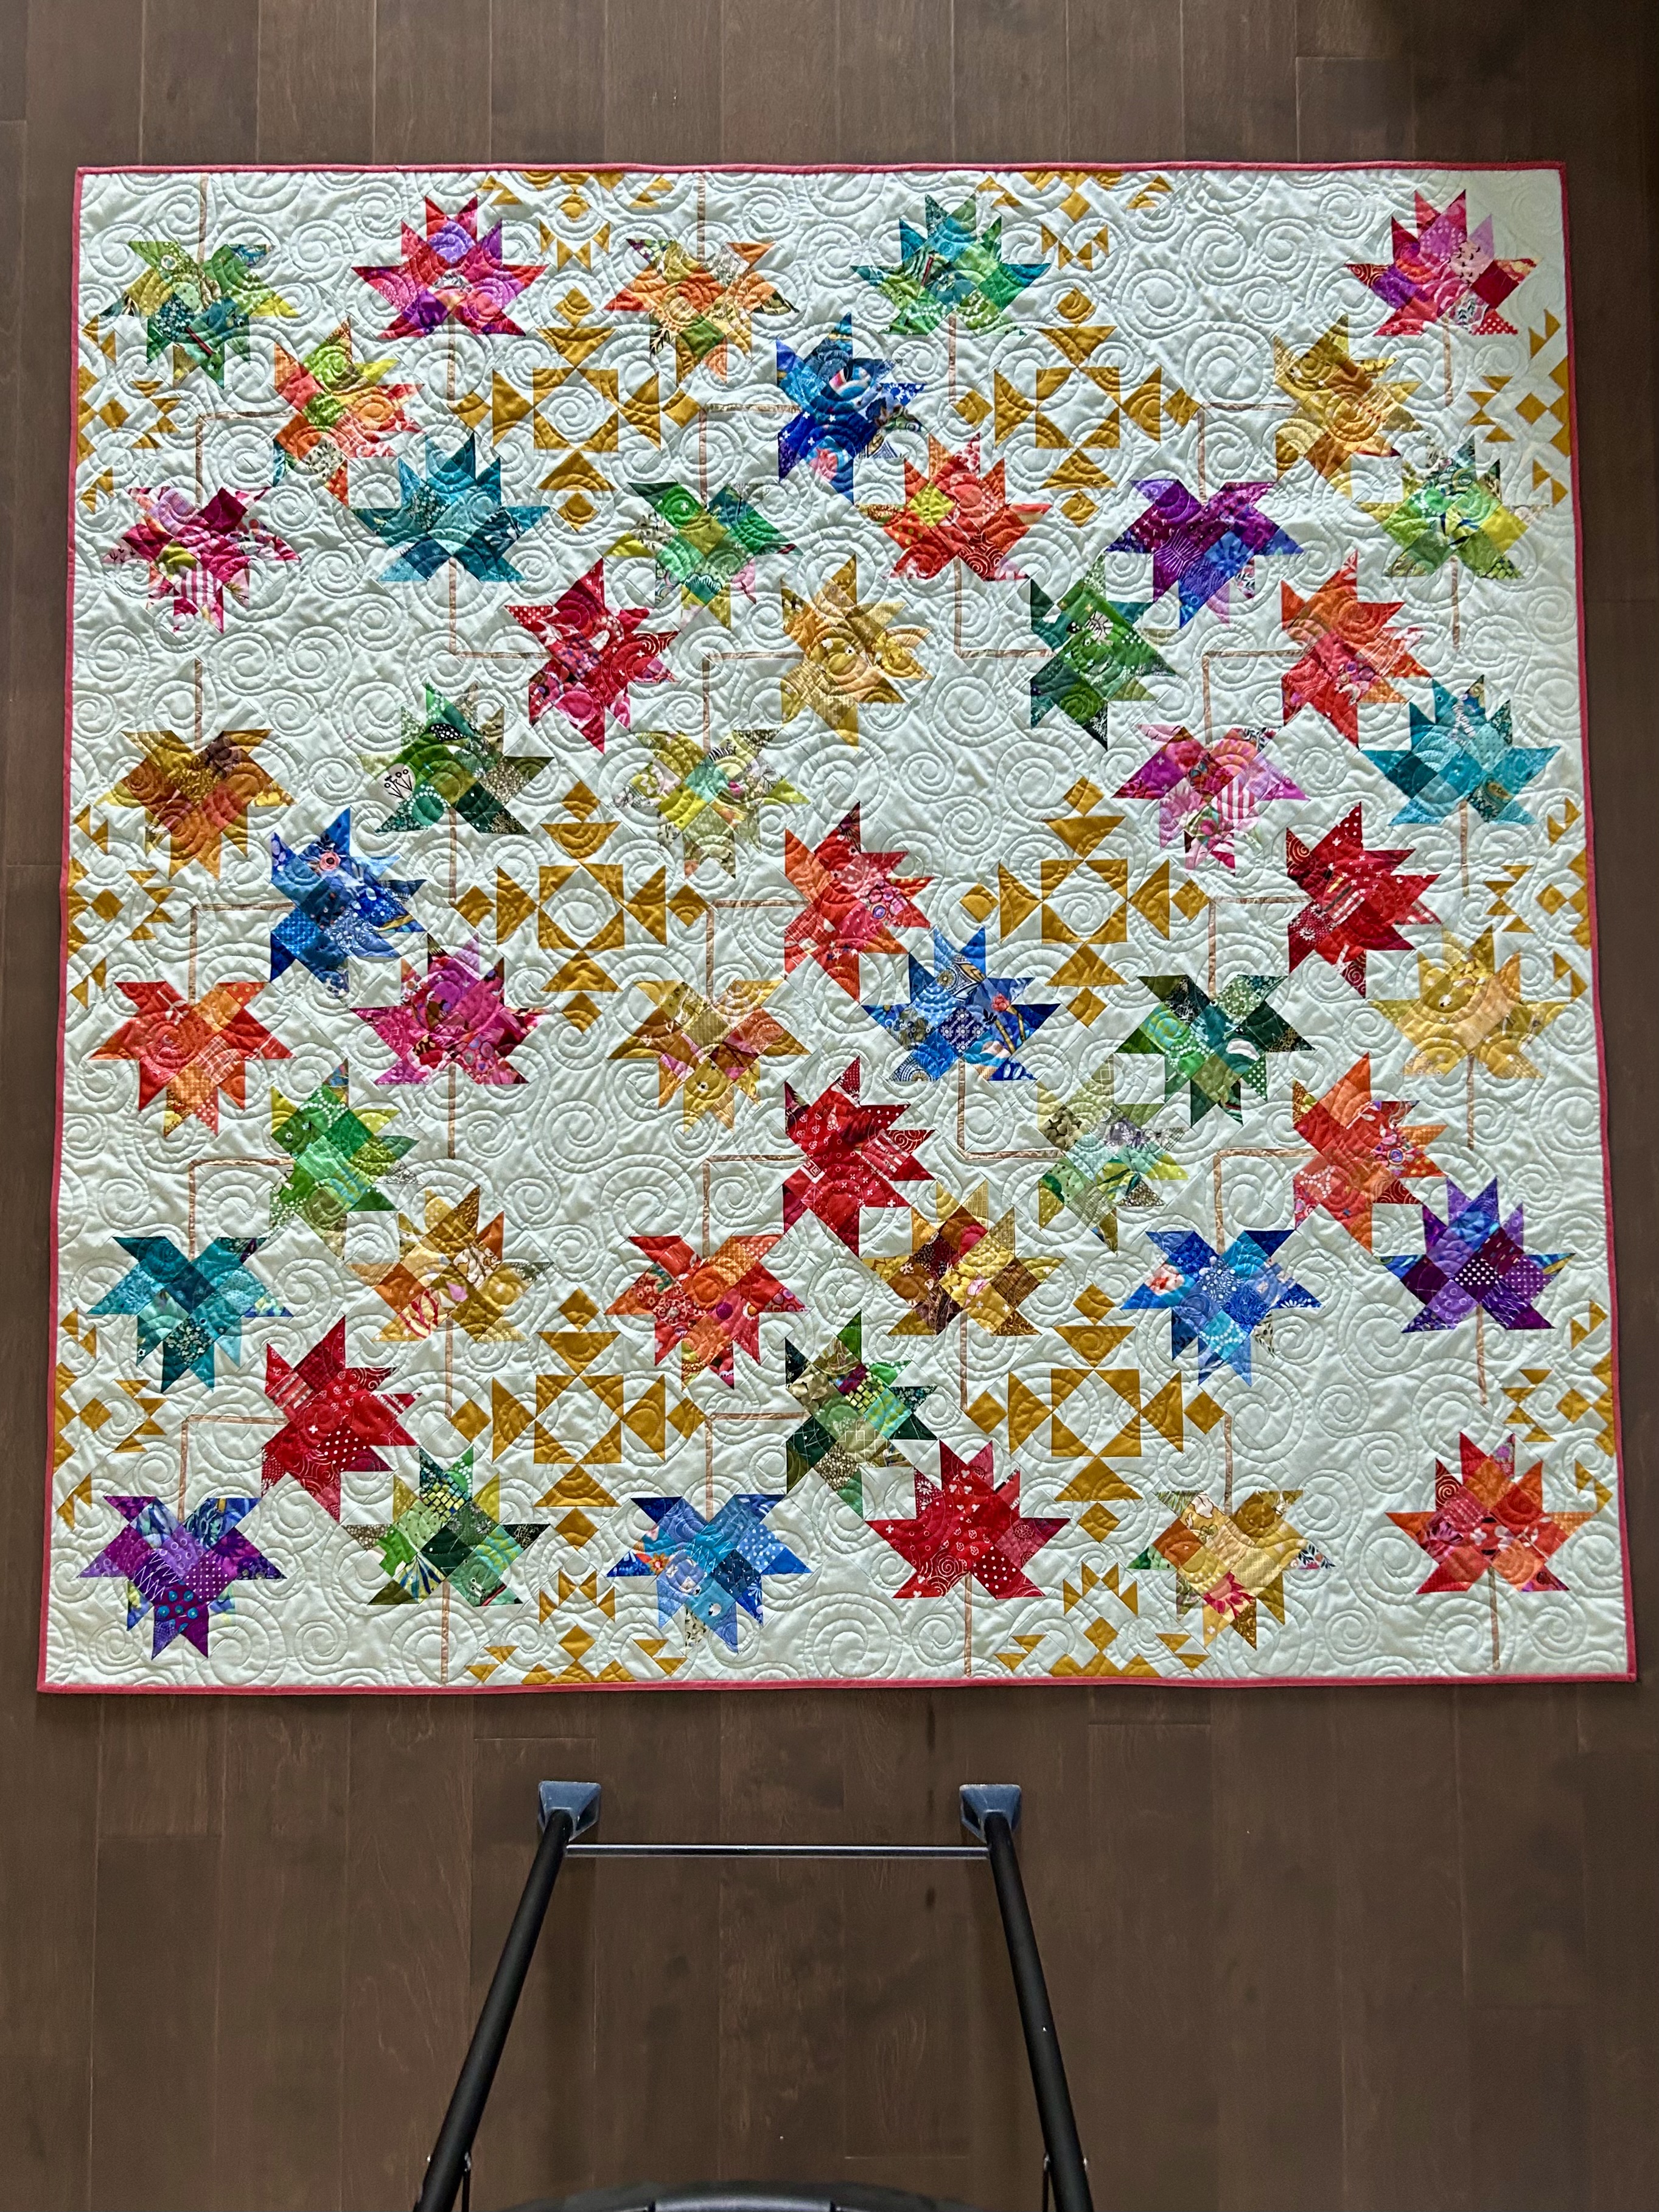
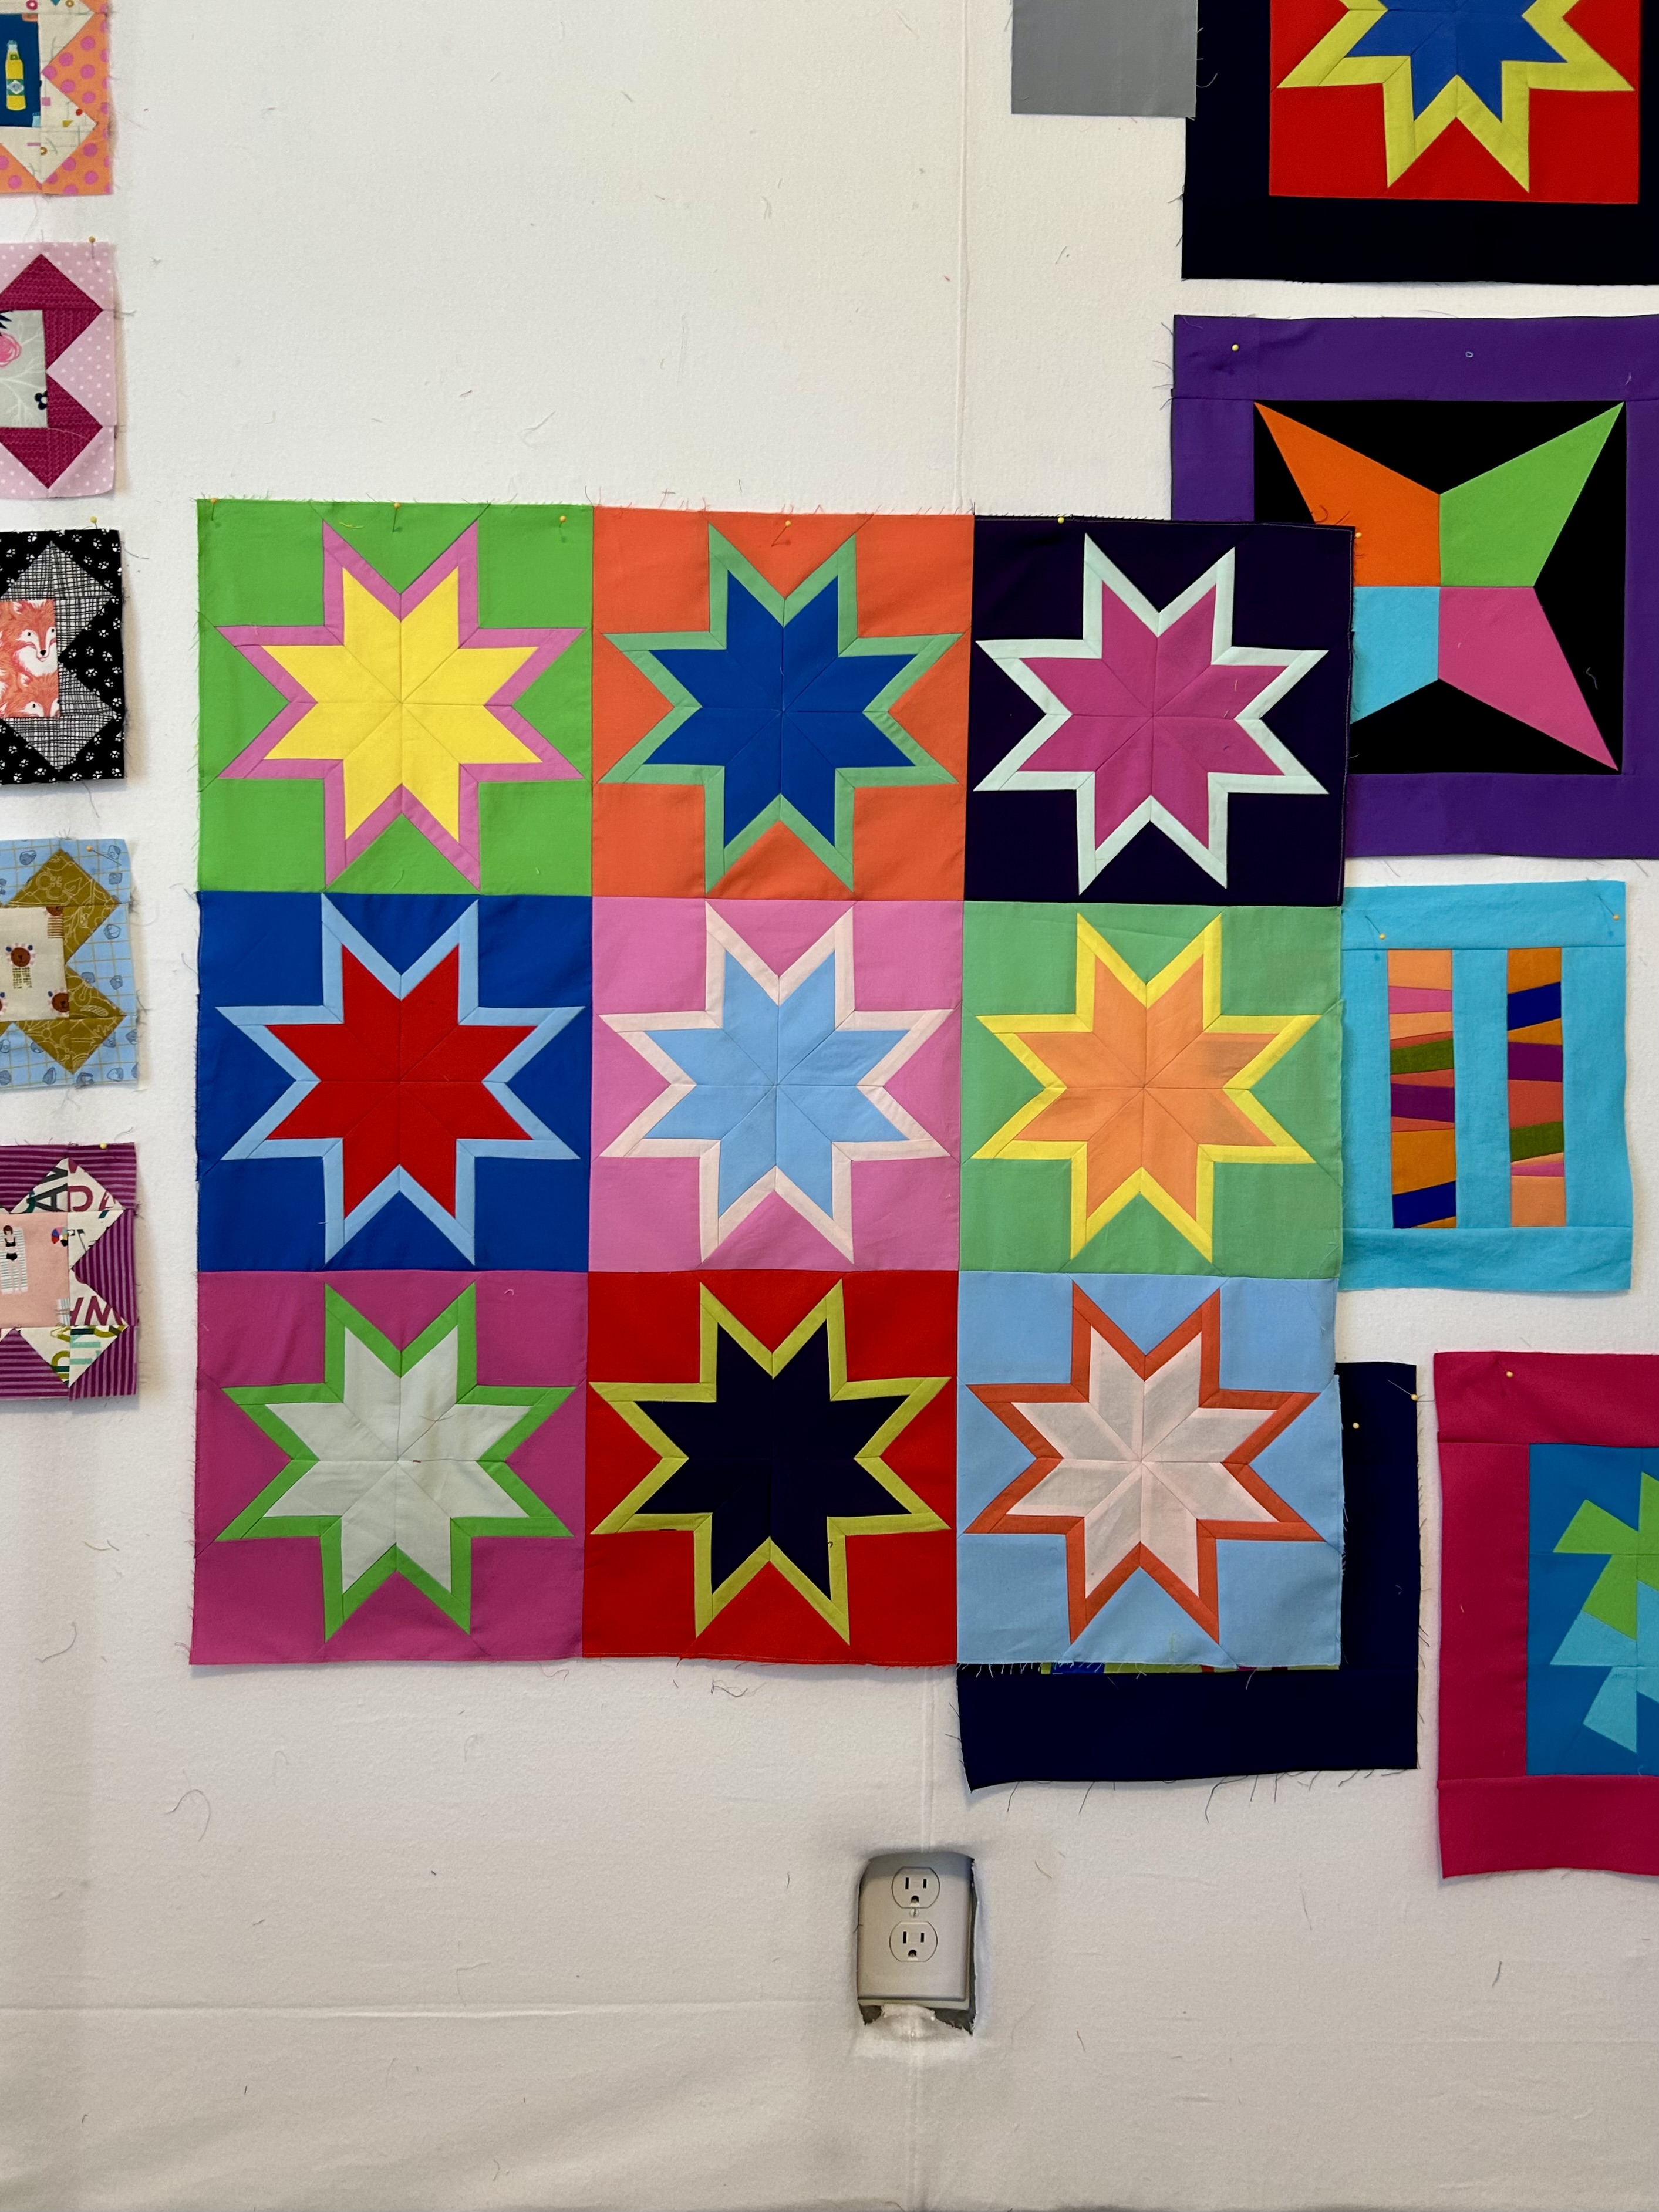
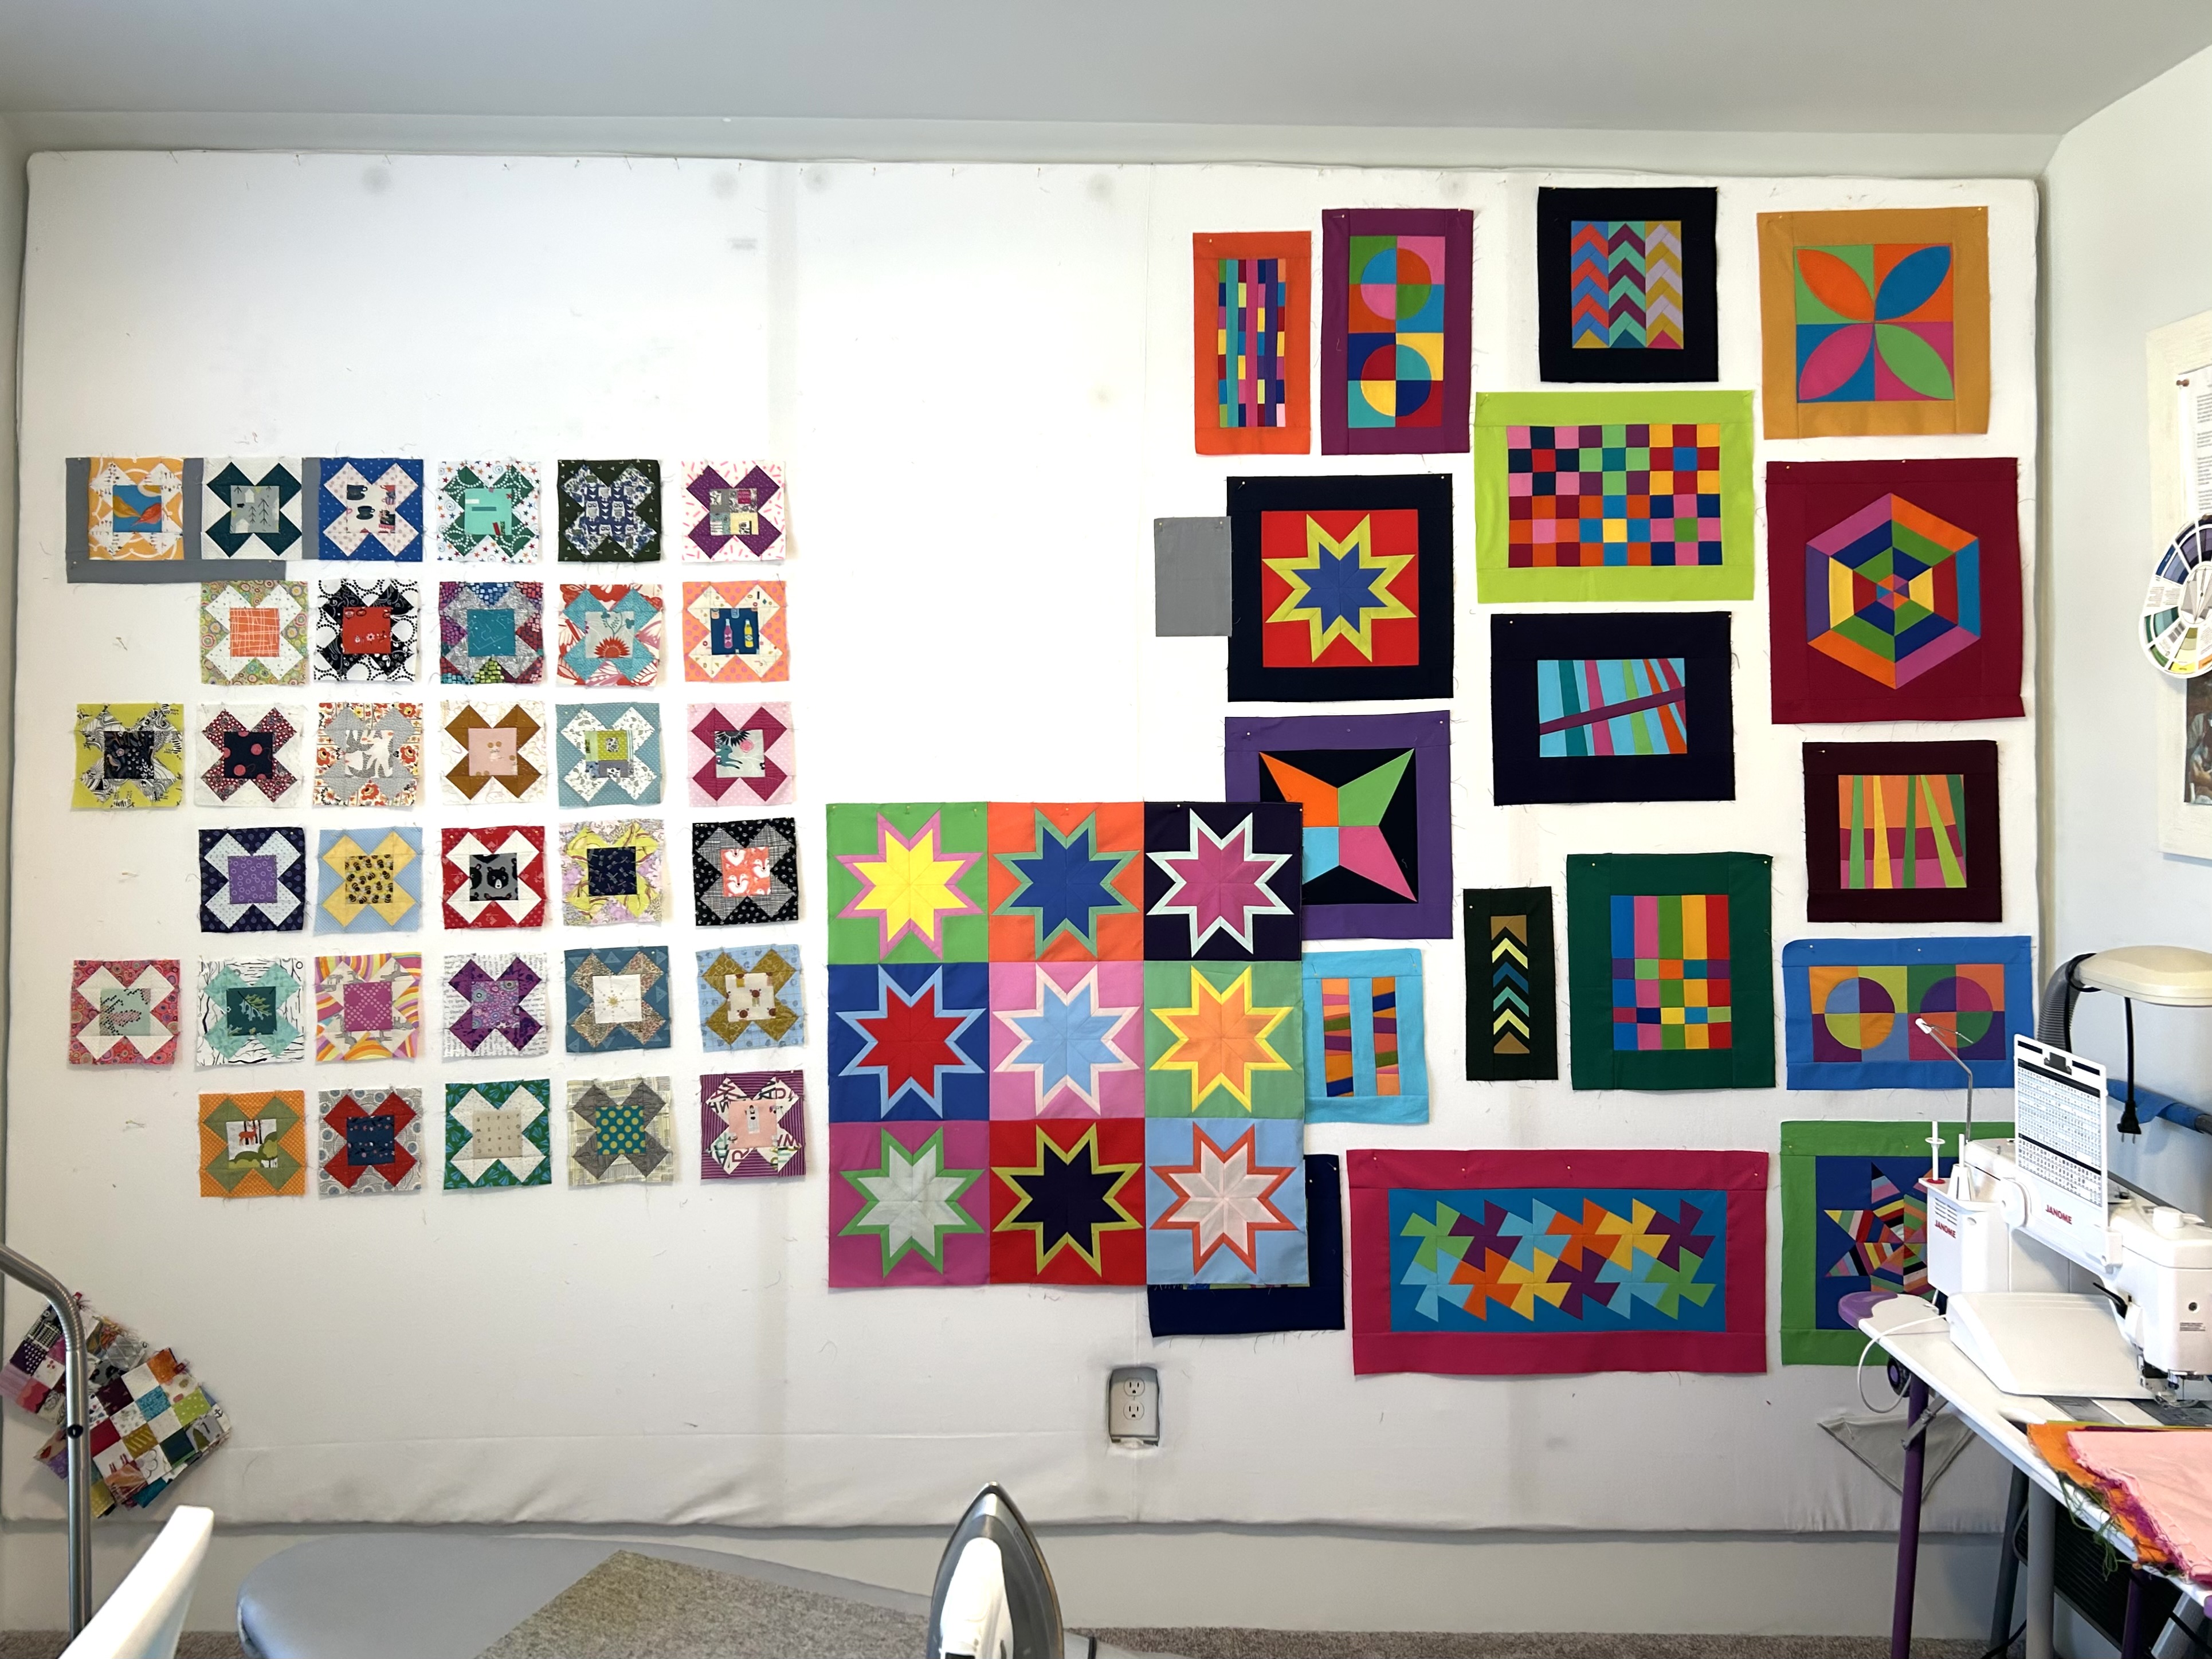
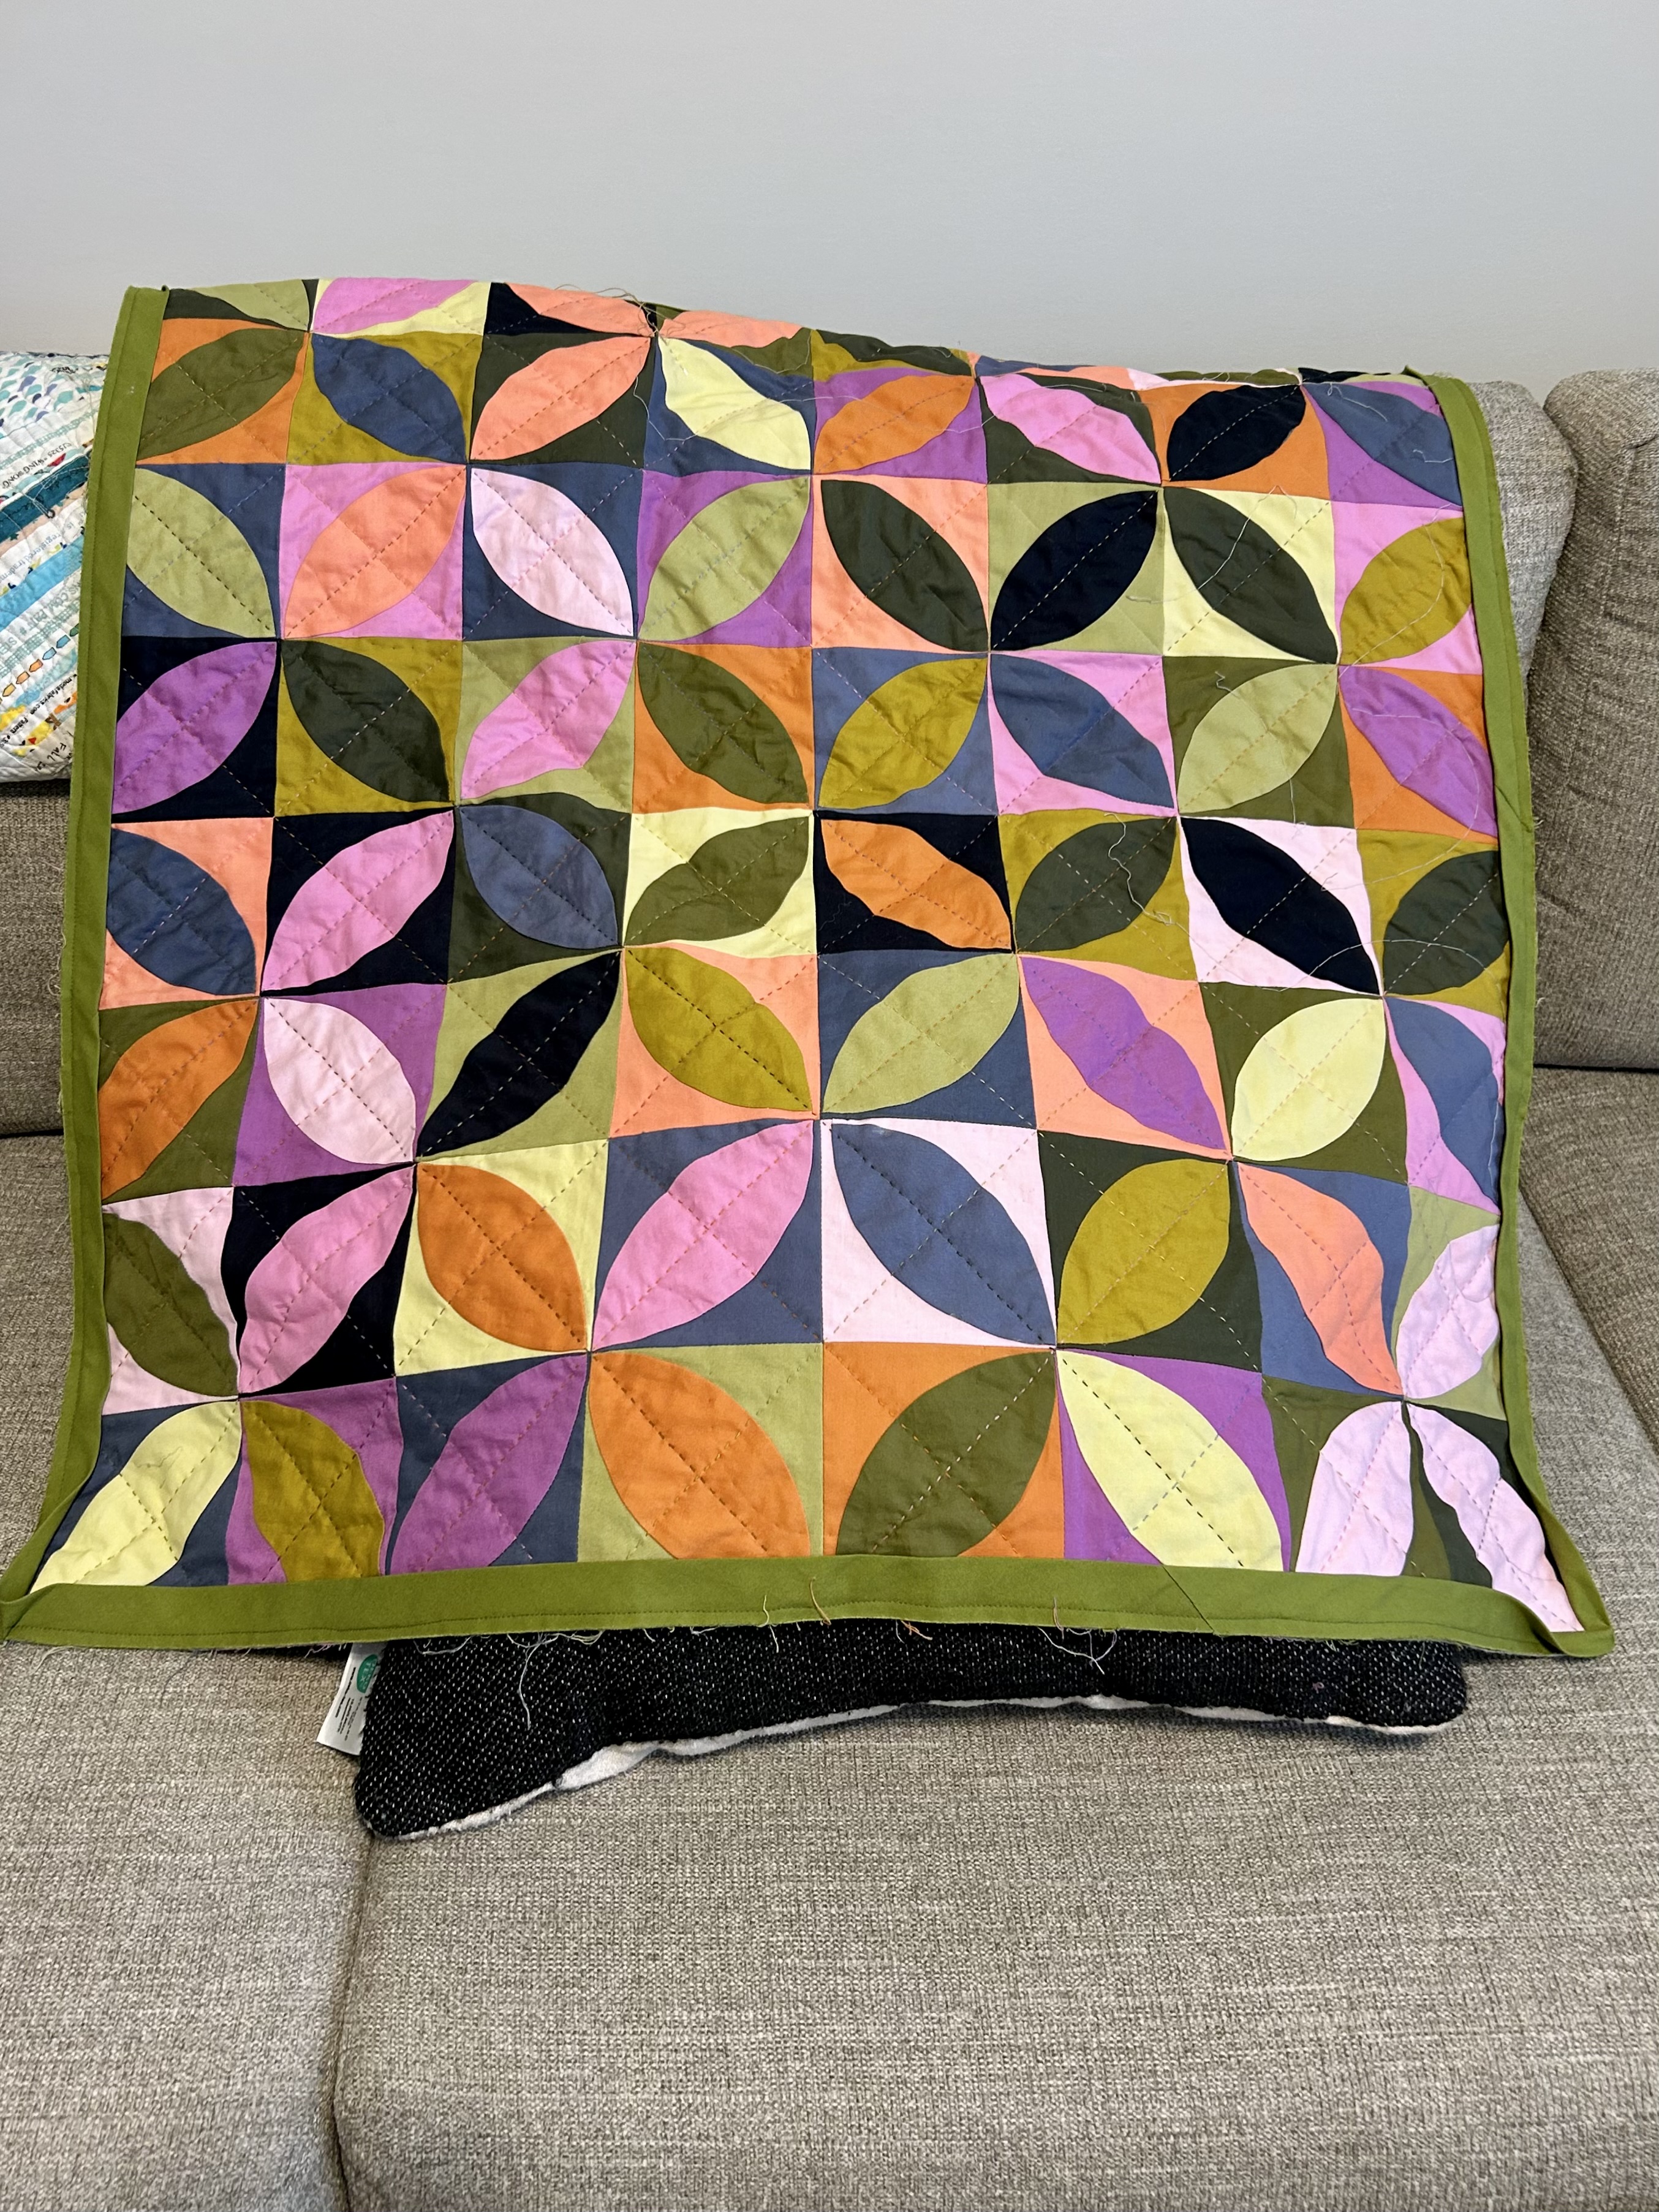
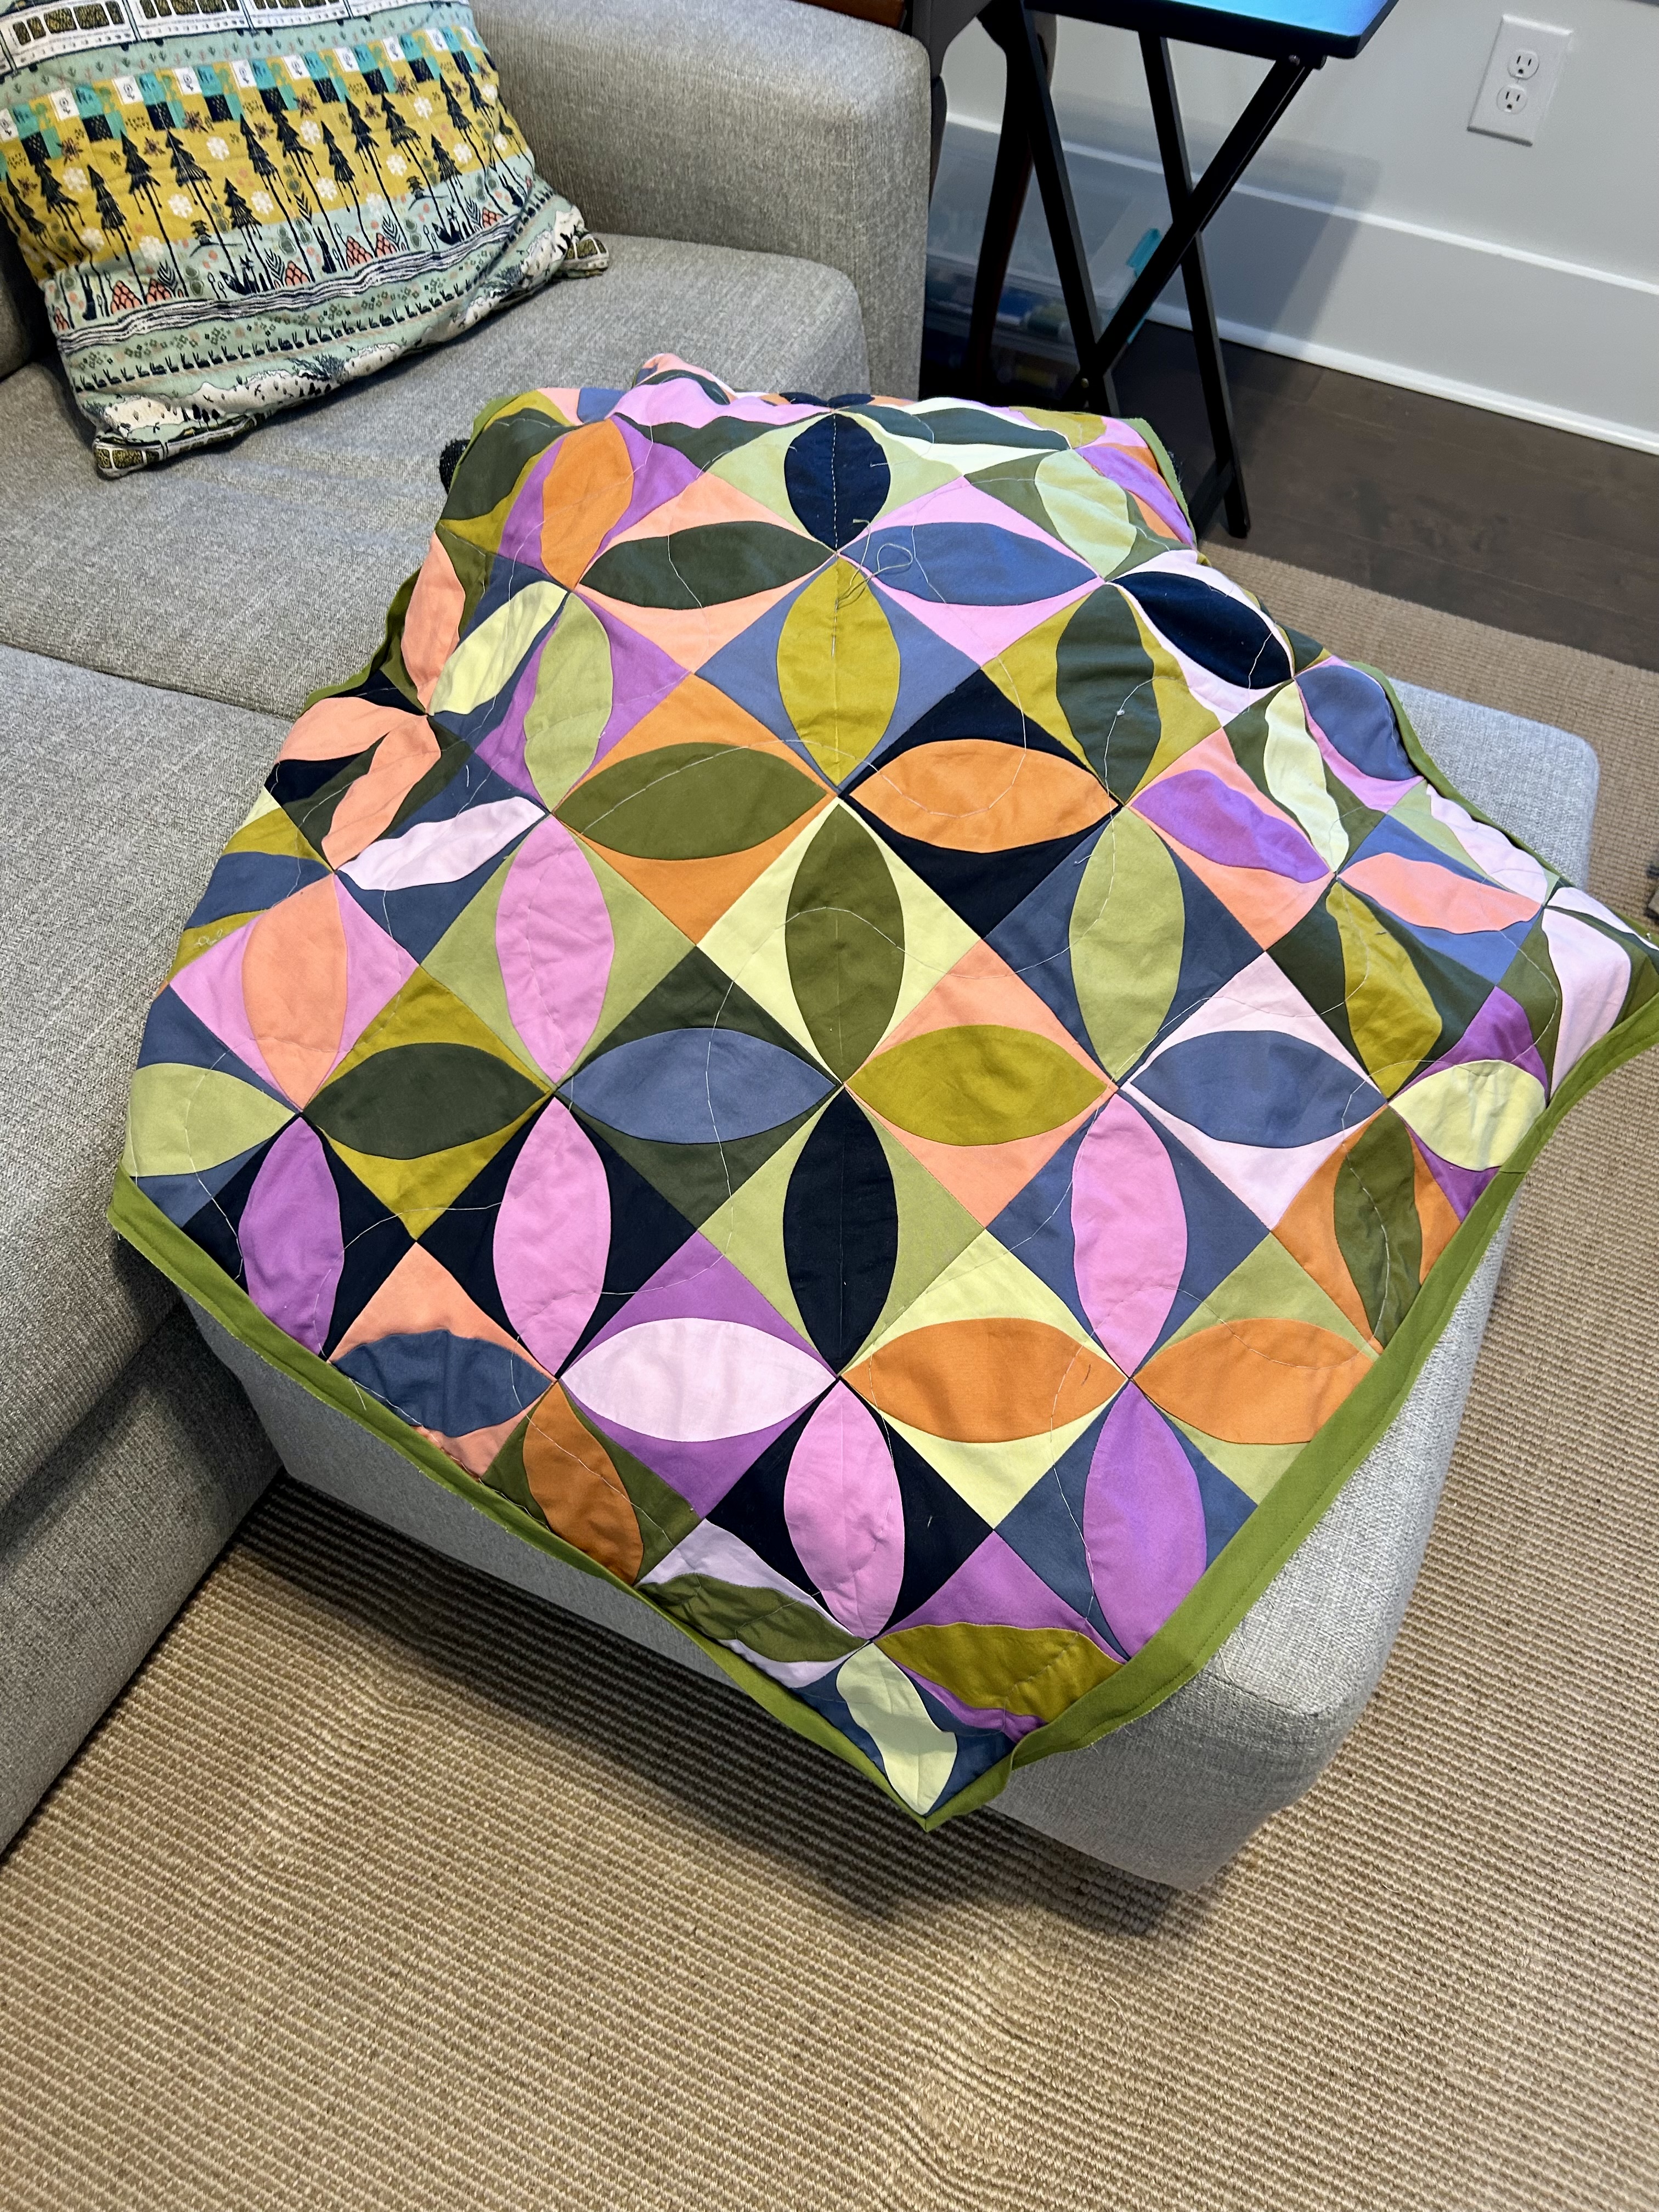
Meanwhile, the templates I ordered (a splurge) for the 4th block for my ongoing Tara Faughnan Blocks3 class arrived, and yesterday I made a trial block using the 4.5-inch templates. (I love the templates with their thinner outside piece.) The block idea, designed by guest designer Jen Carlton Bailly (bettycrockerass.com), is named “Shattered.” I used less colors than the designer used in her demonstration videos (we have 12 colors in a month’s palette) as this 4.5 inch block would make a bigger piece. It still felt incoherent to me, so I used circles that would calm my eye movement.
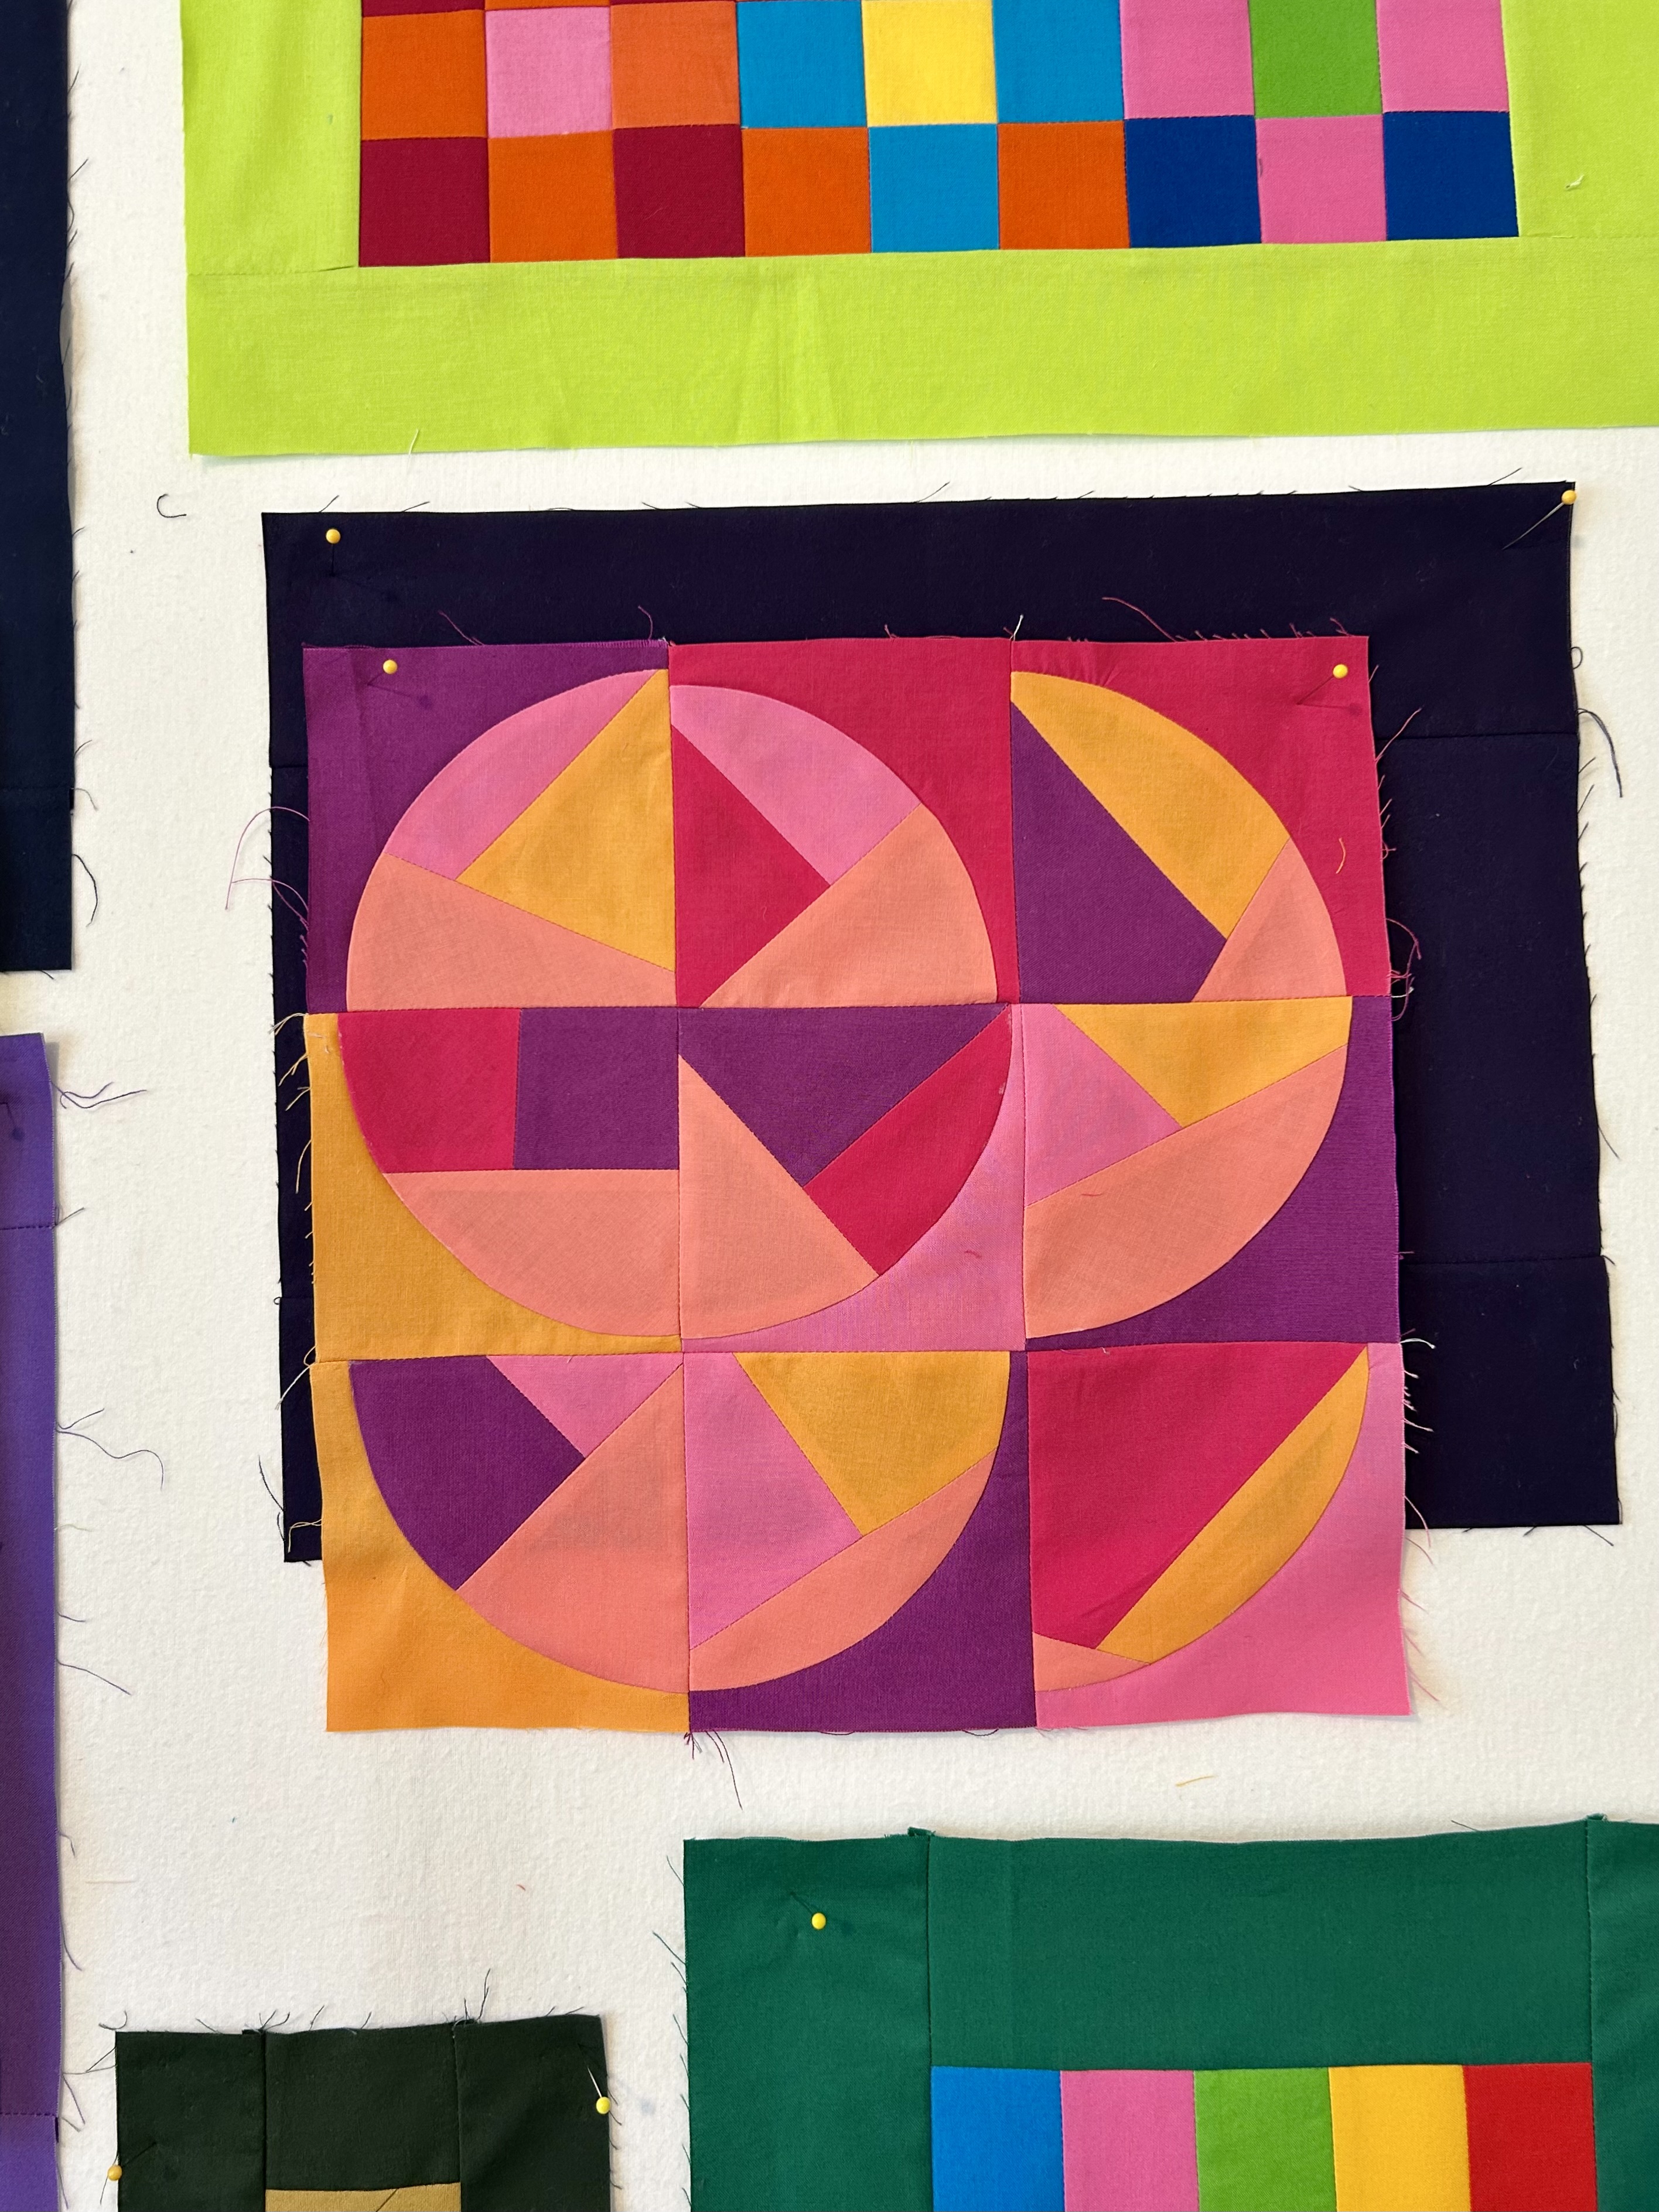
I discovered that using ONE color (light orange) for half of the block that gets cut limits the block. I can sort of see making a big block like this one and using very wide neutral sashing to make a quilt.
Later today I’ll try the 3.5 inch templates and will use more colors. When combining blocks, one is meant to look for what kind of interesting shapes and color blocks emerge. It’s “improv,” of course.
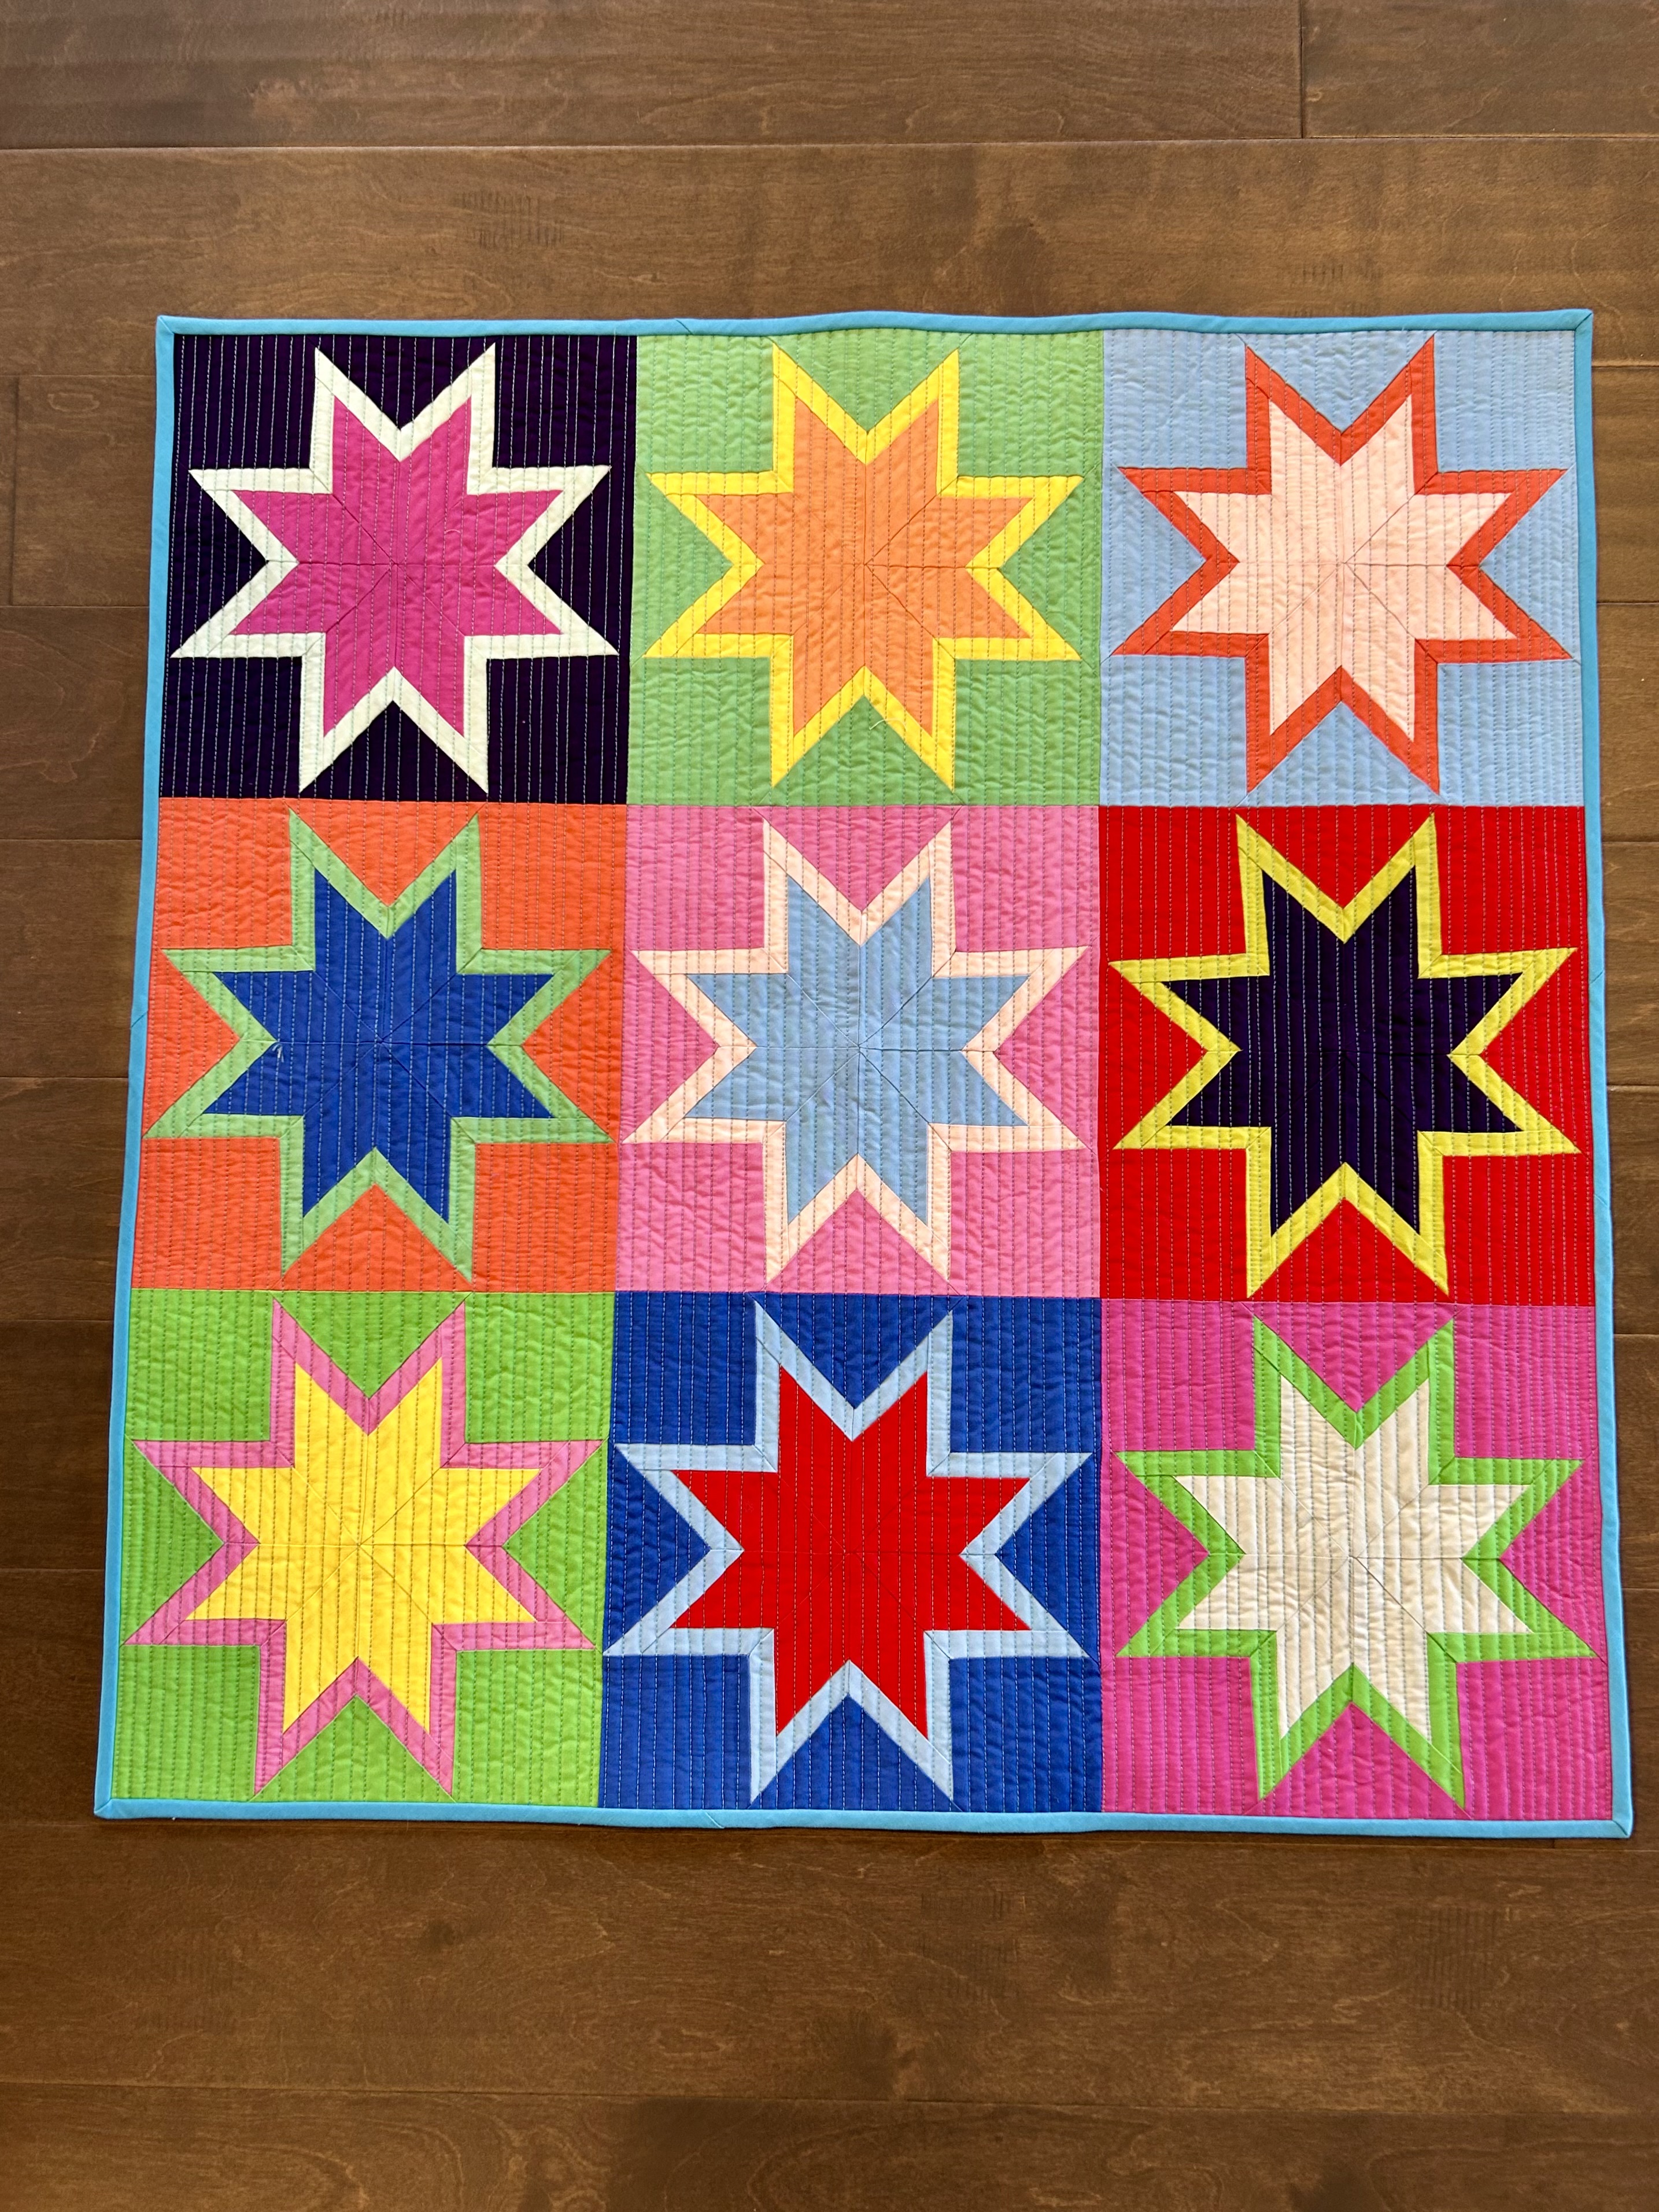
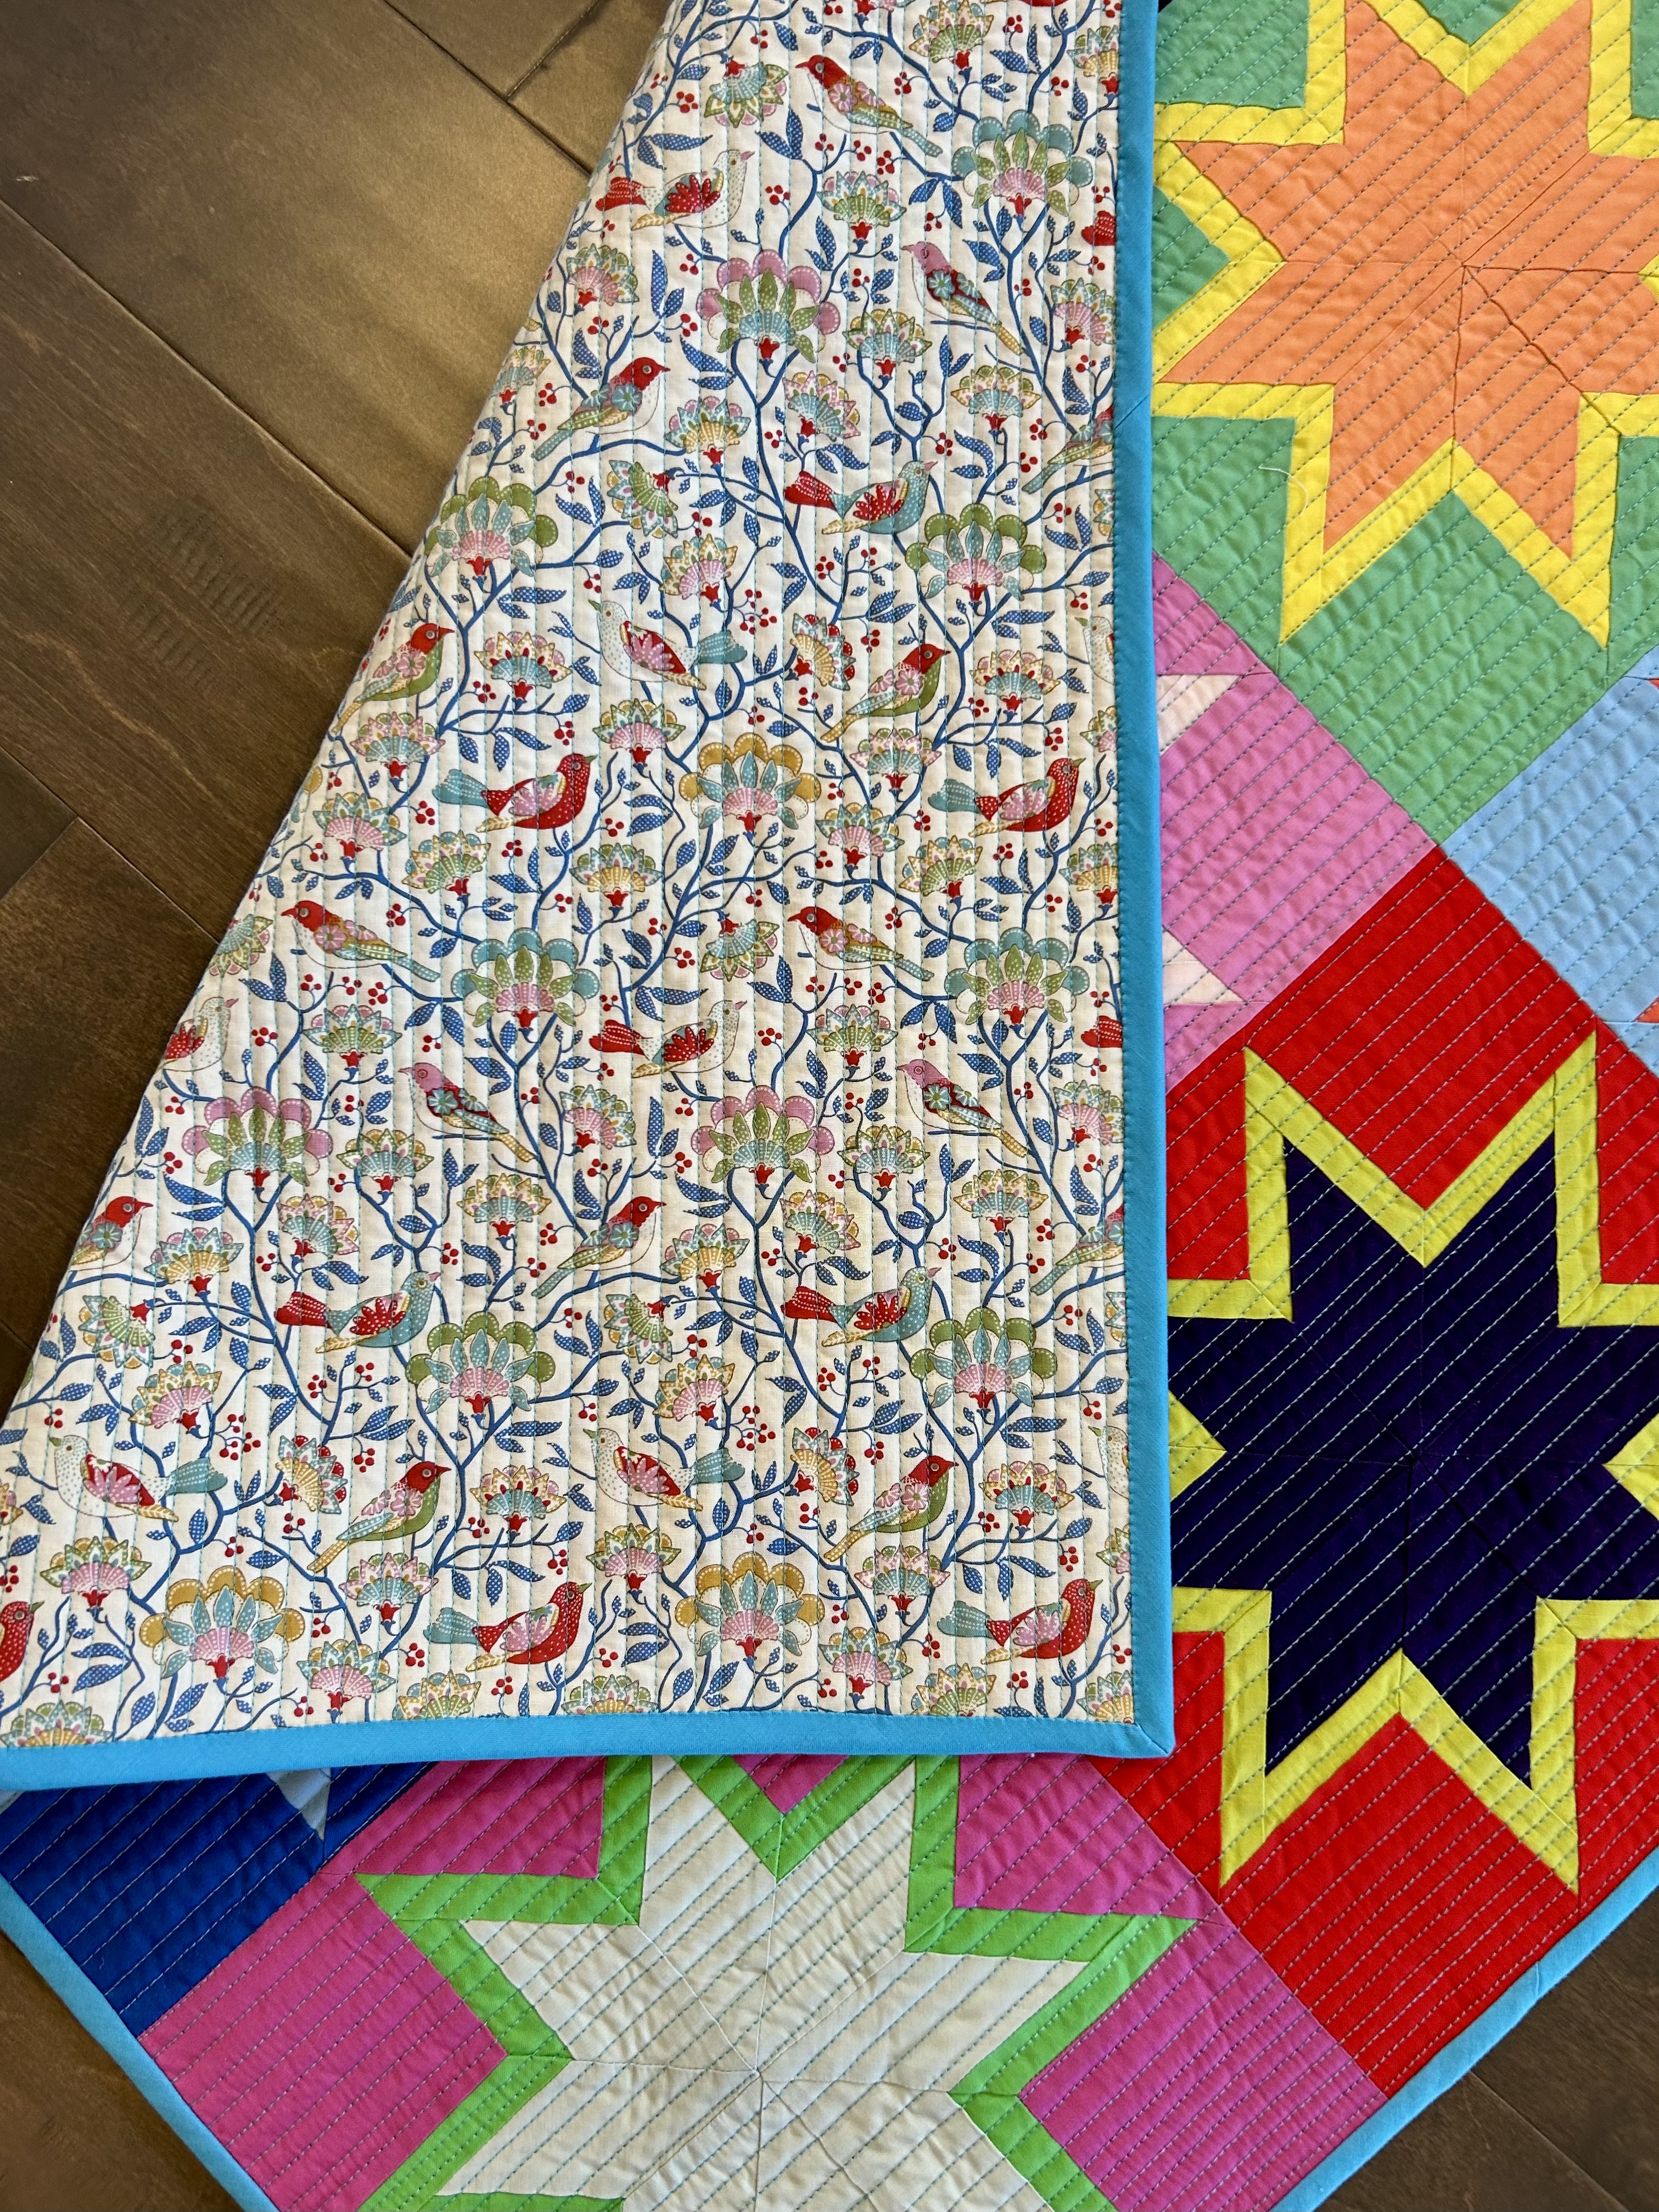
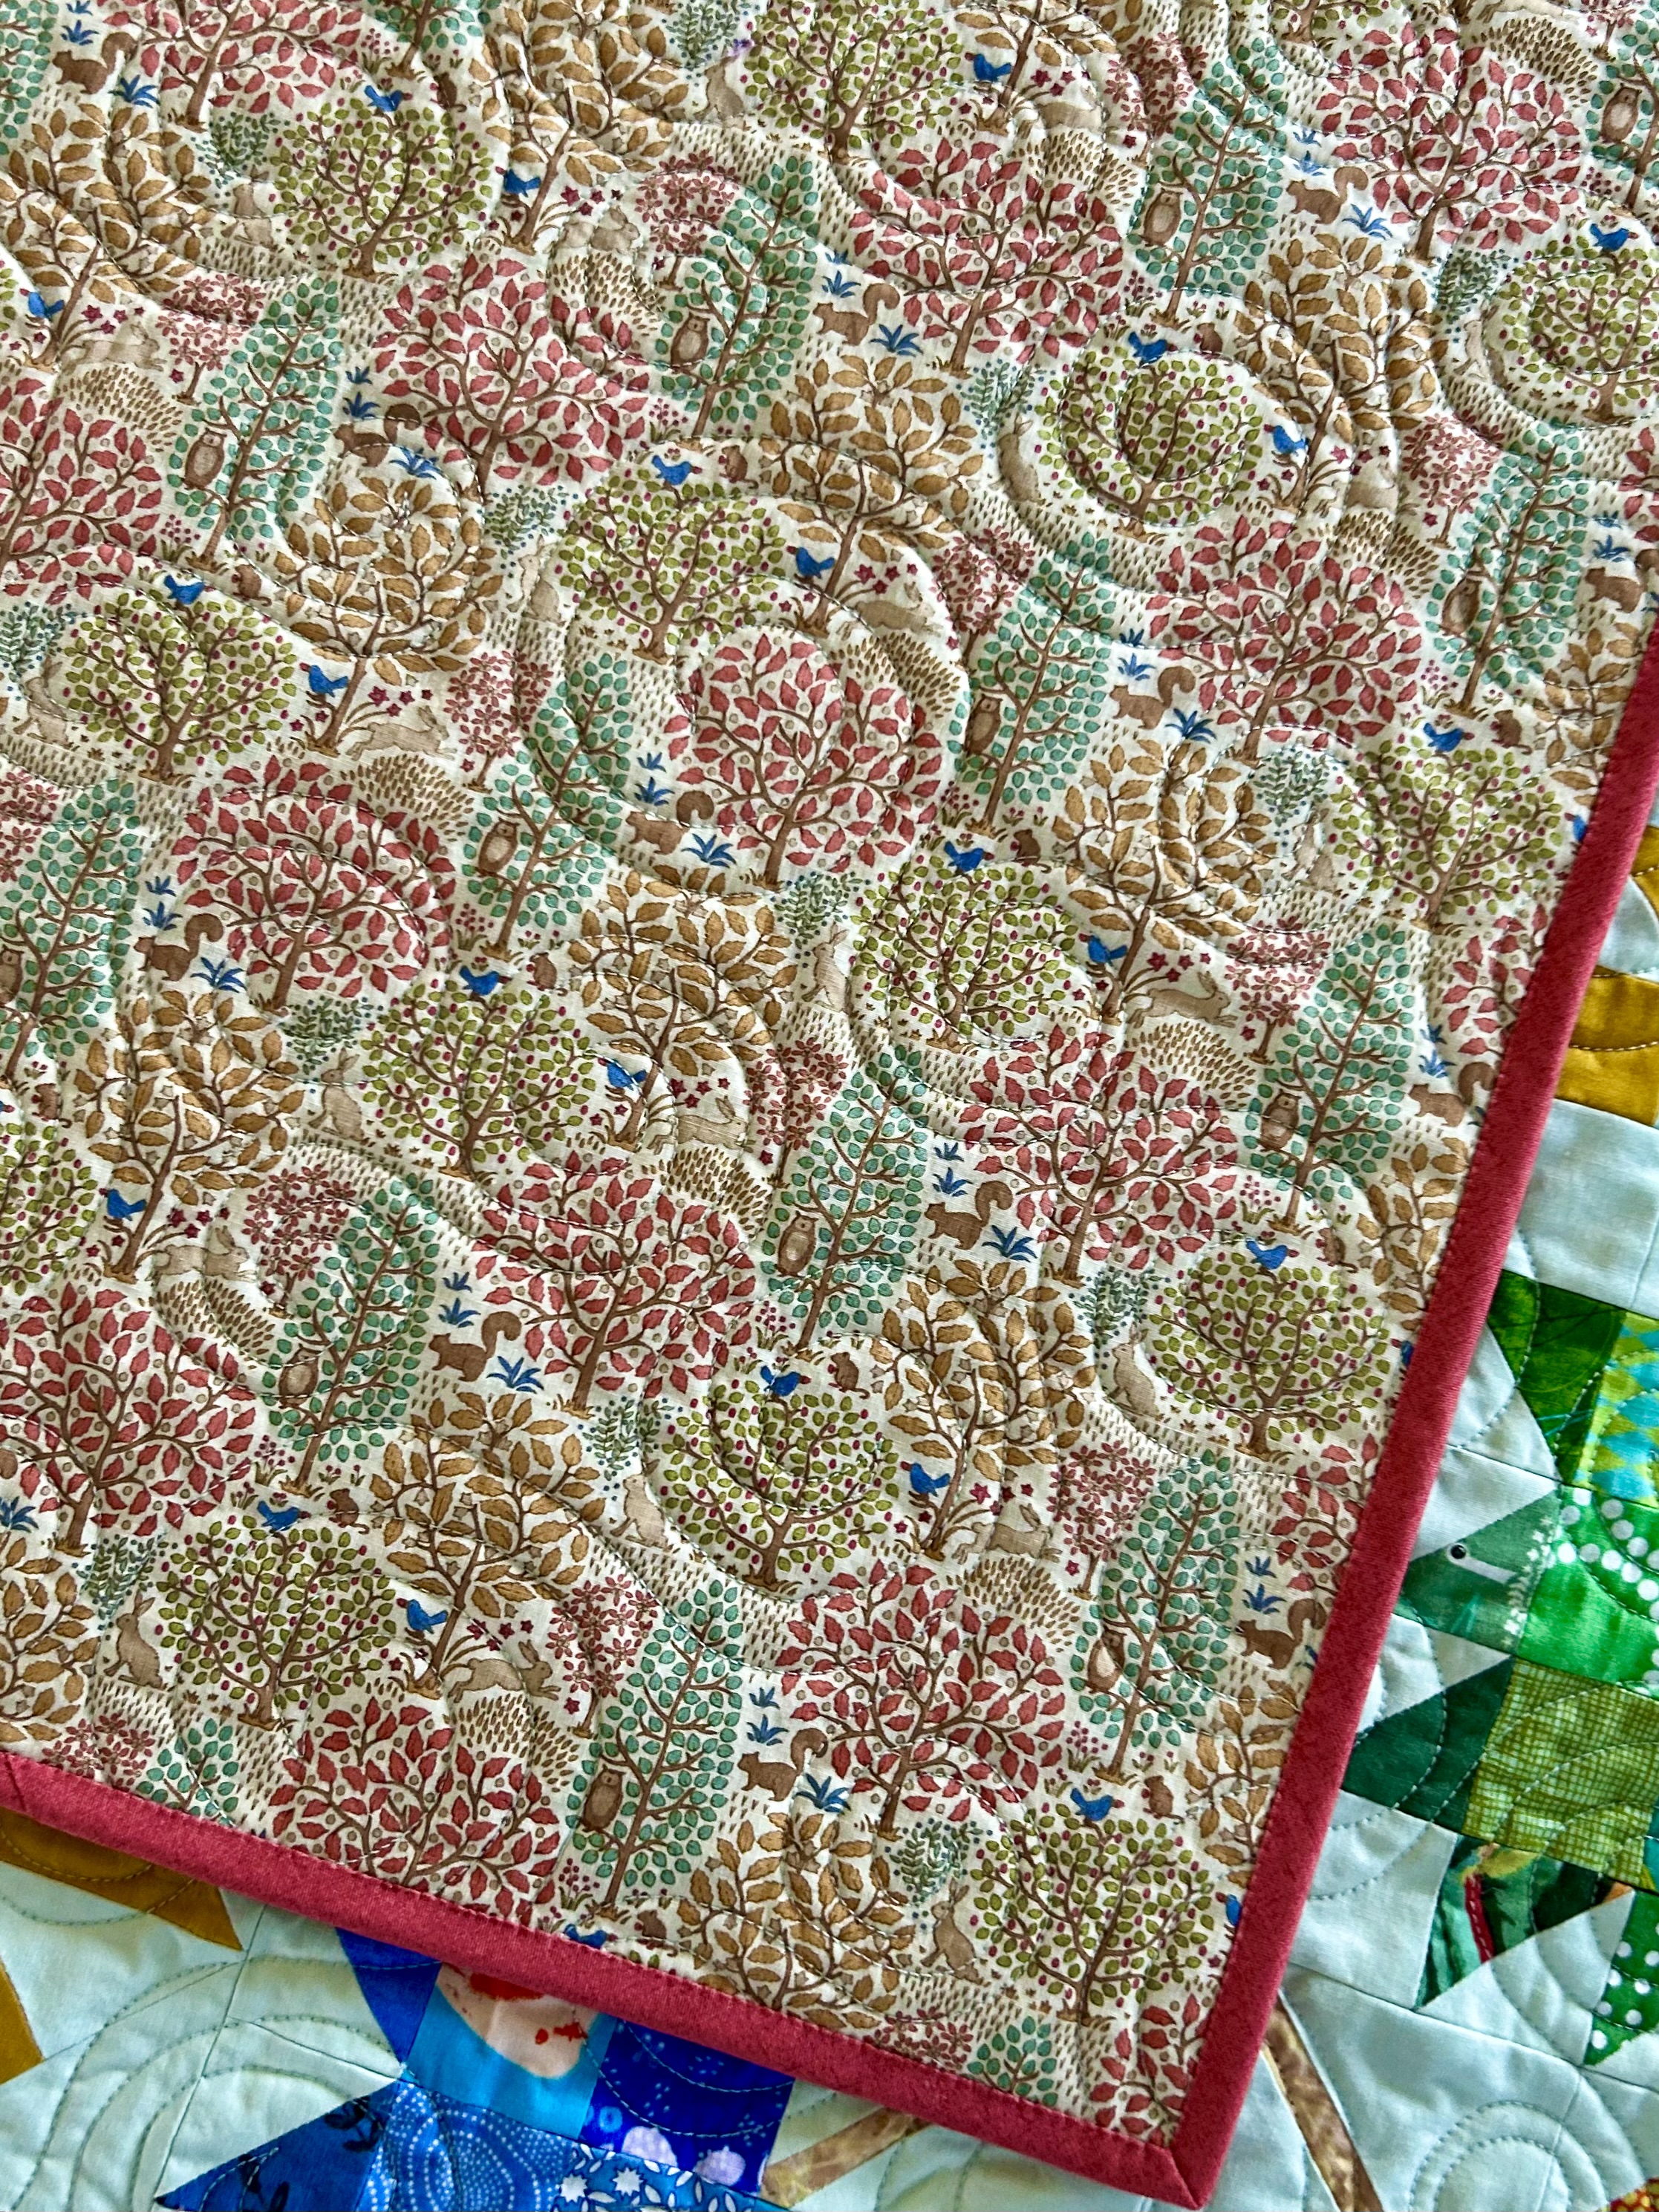
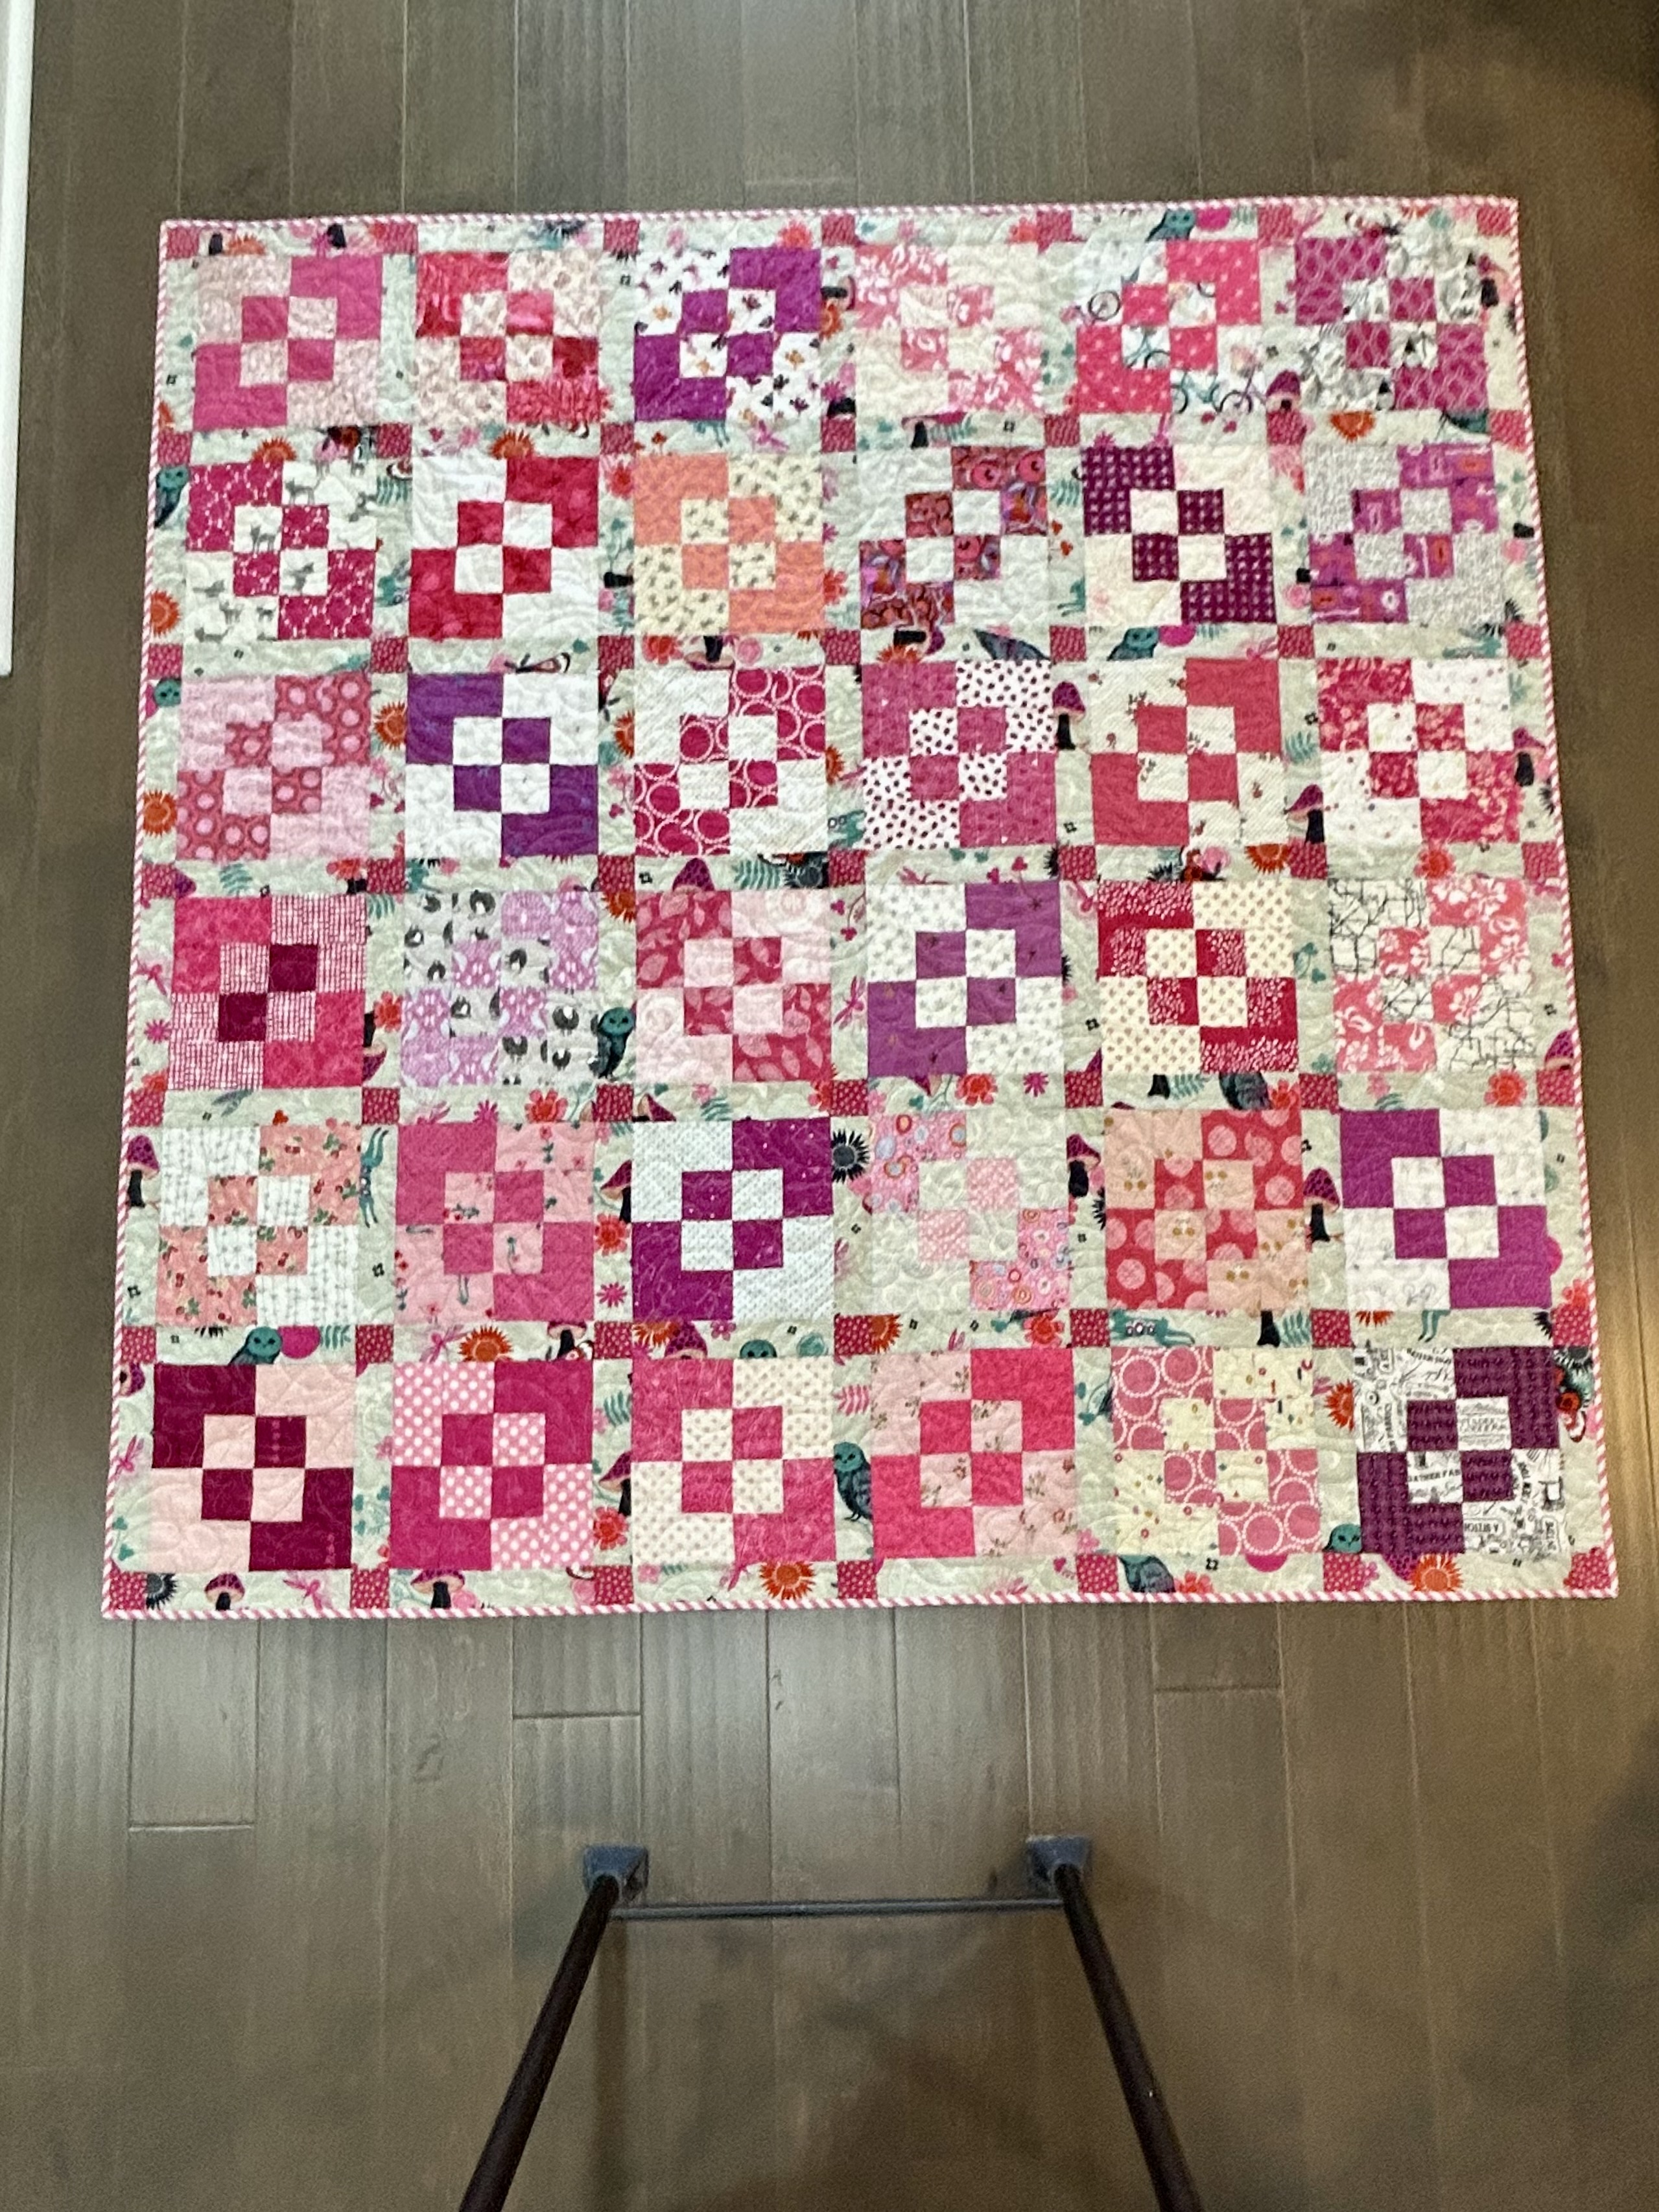
I’ve wanted to make a donation Quilt of Valor for my Patchwork Gals group. So that is now happening.
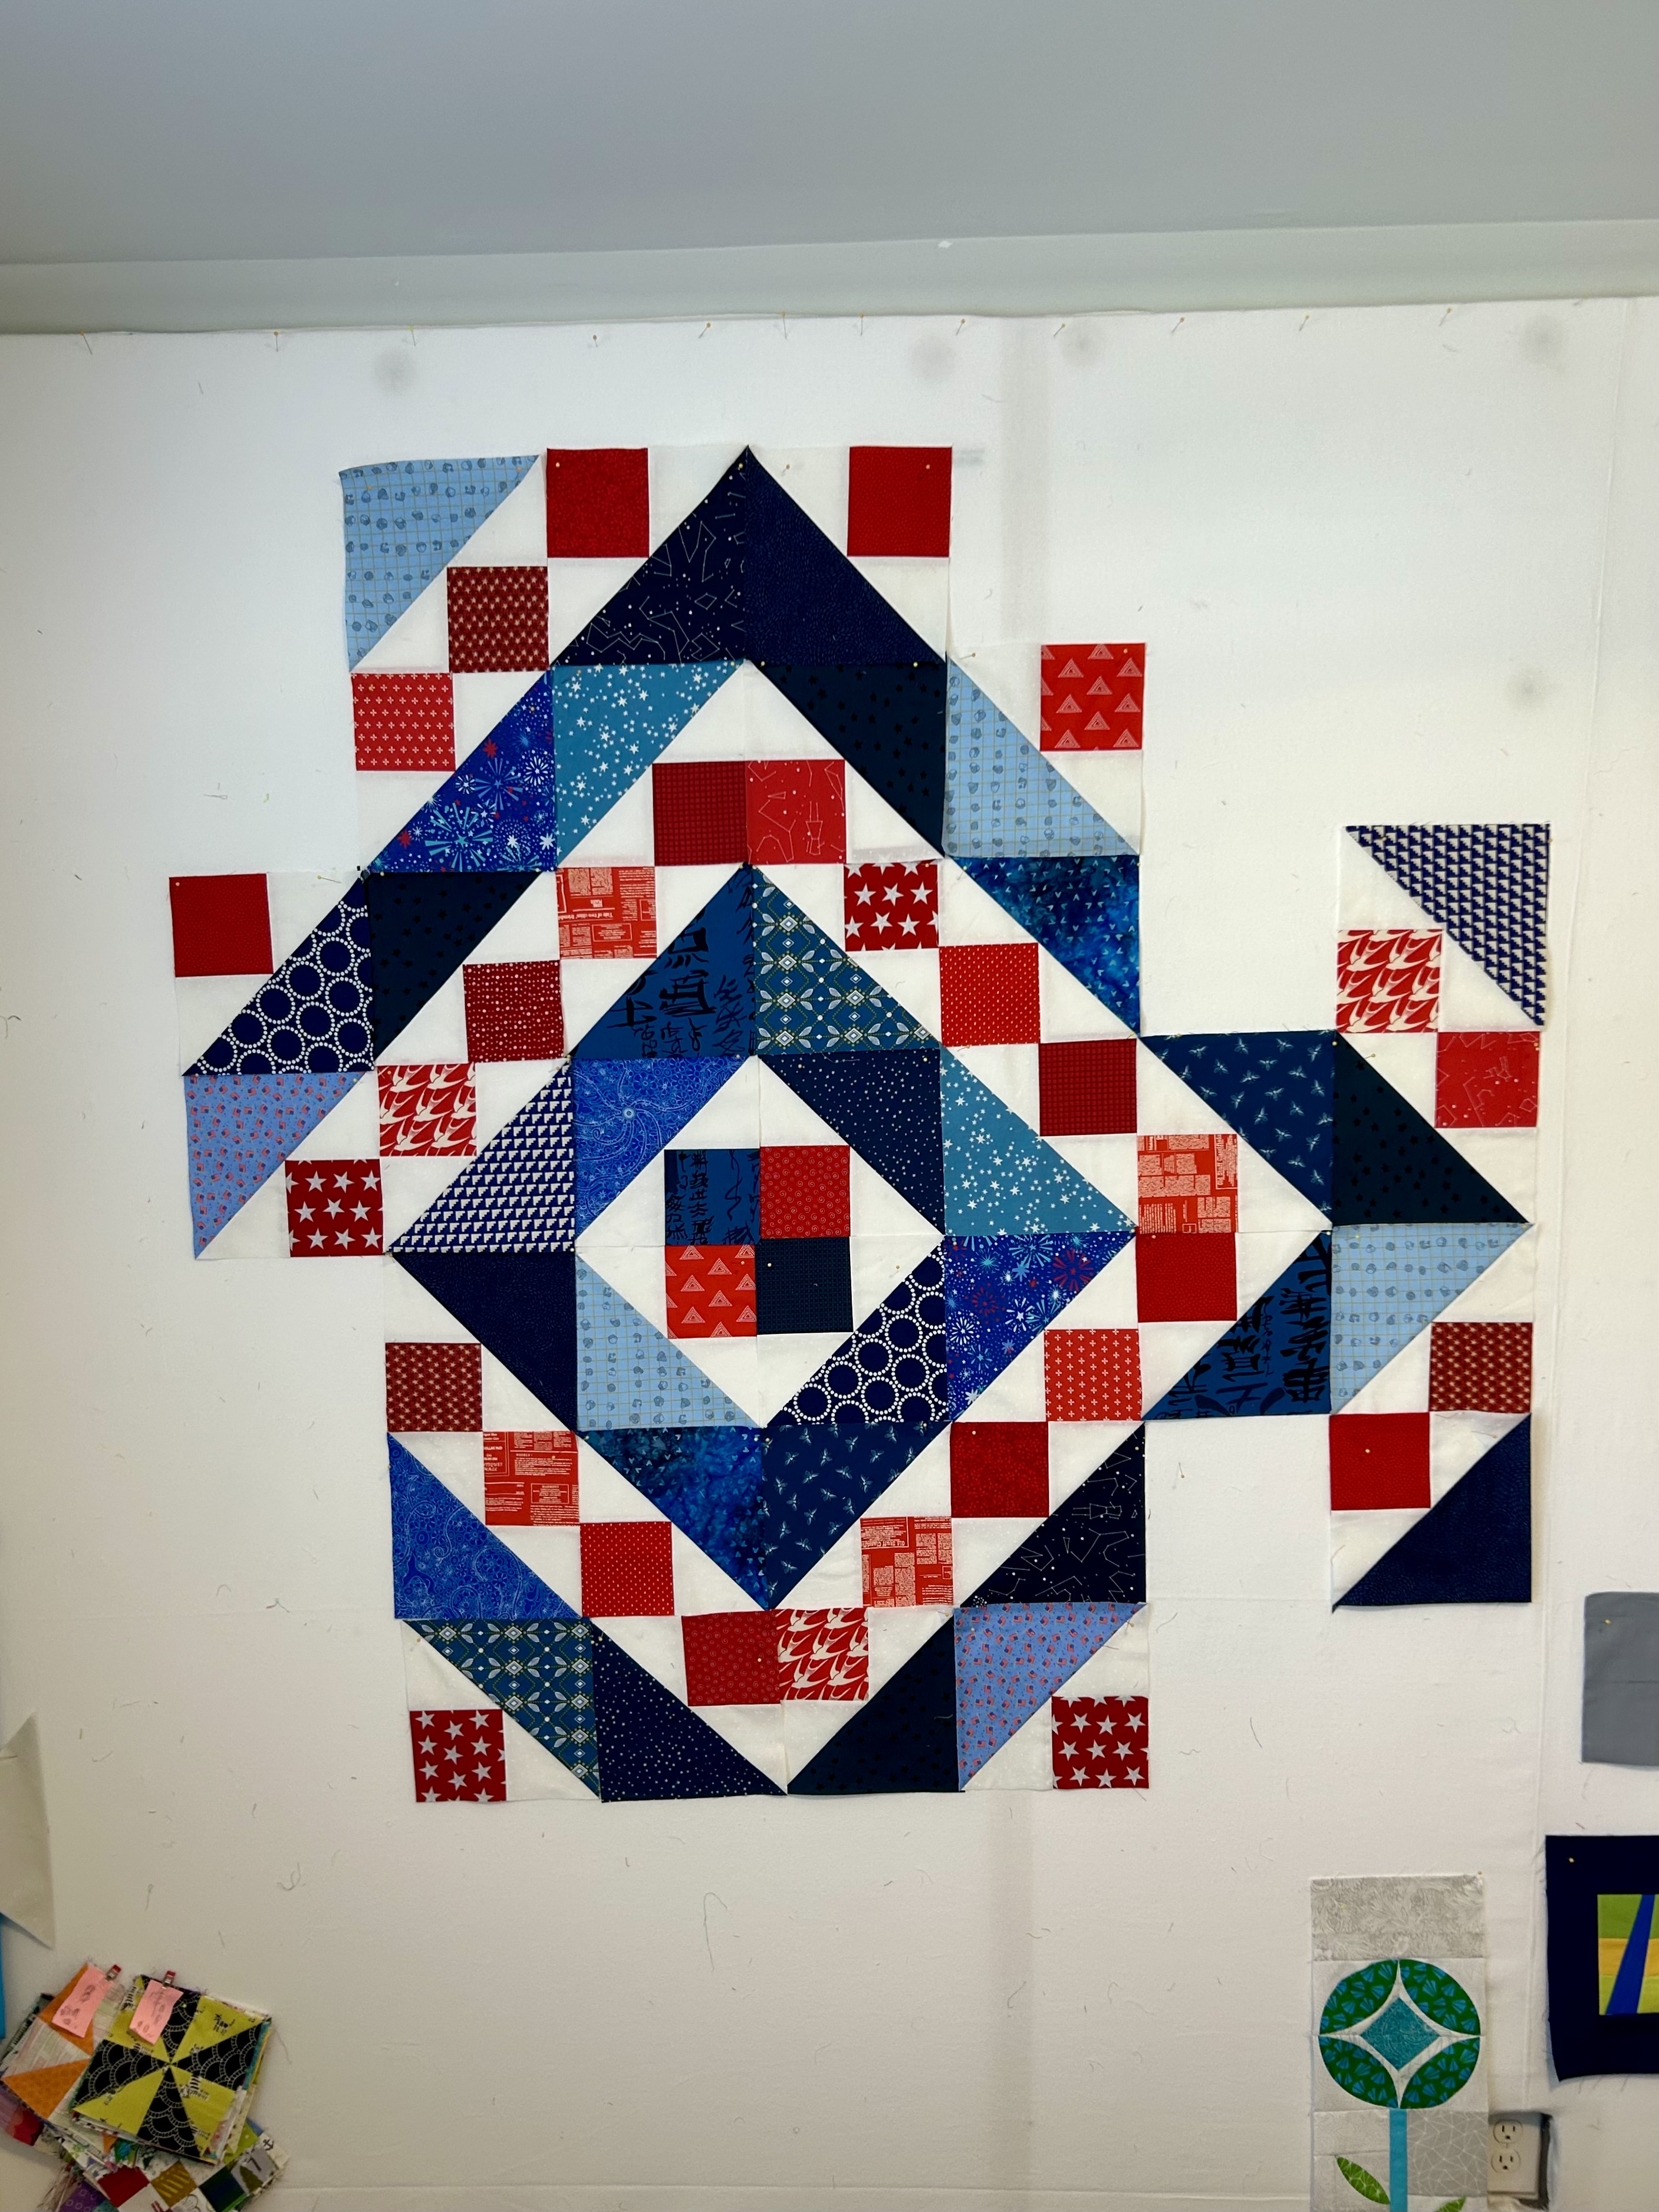
Bold. Graphic. What’s not to like?
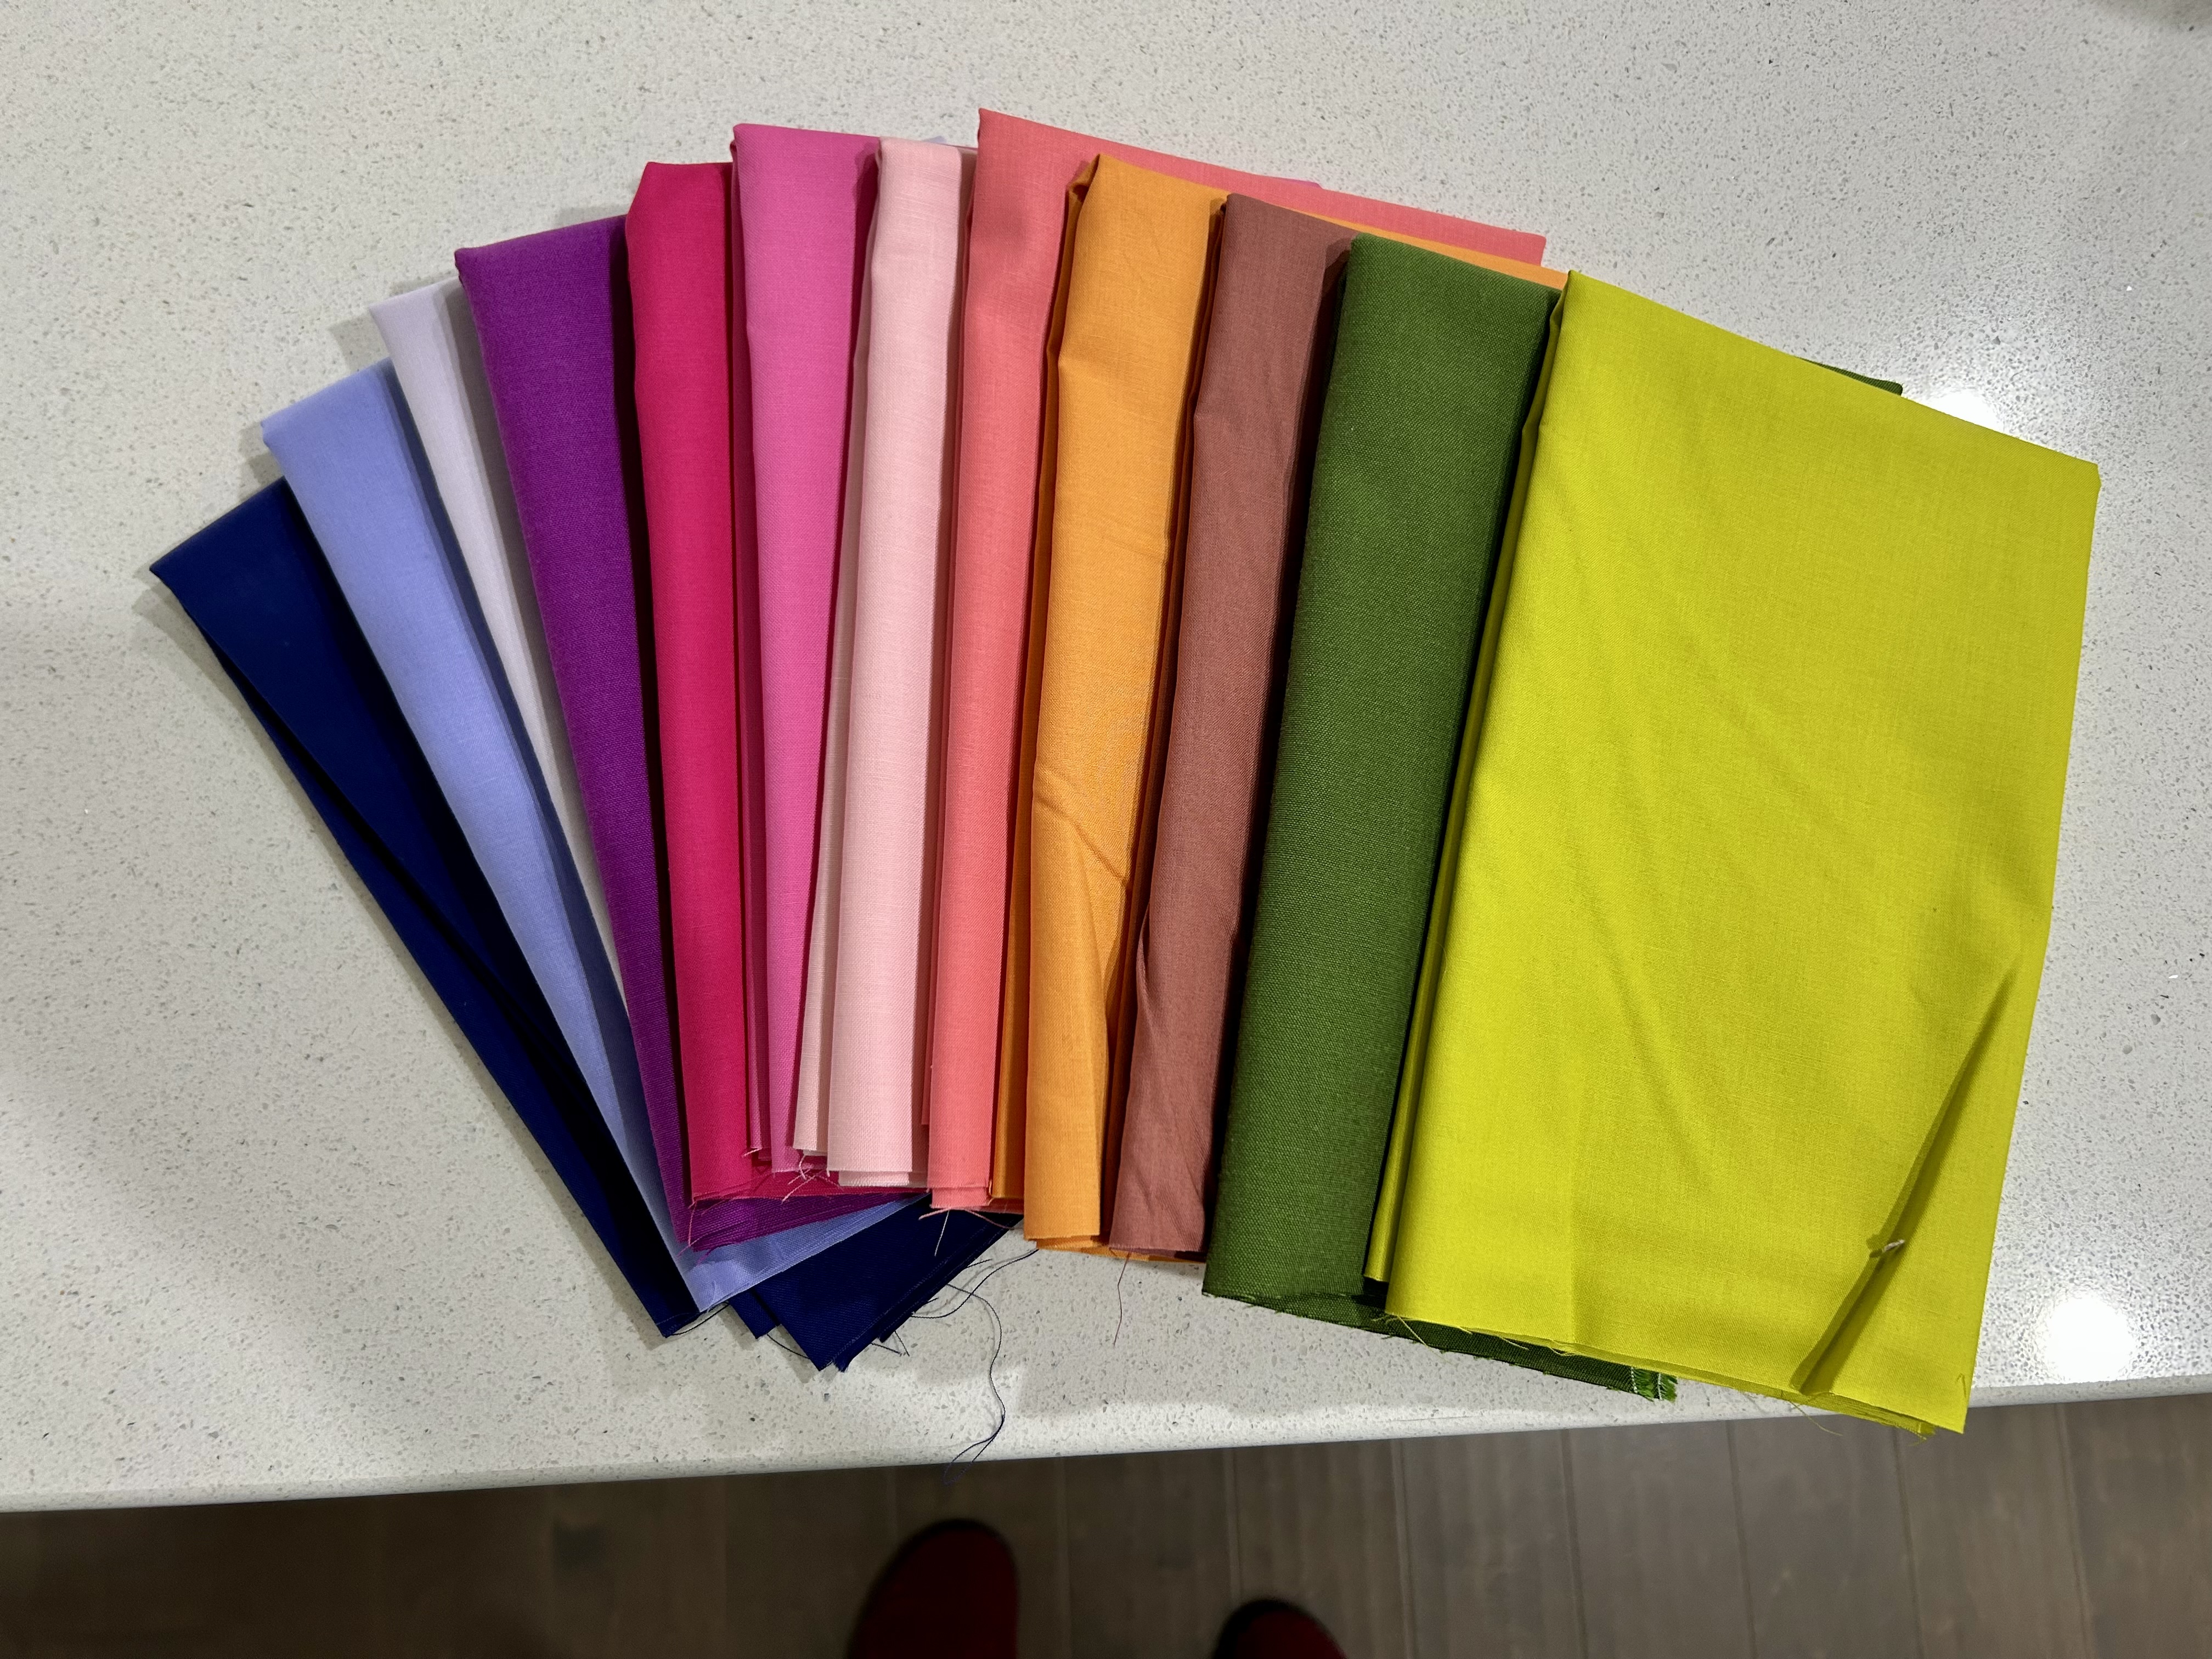
I had to buy a few light blue fabrics, but all other fabrics are from my stash.
Have a great week everyone!