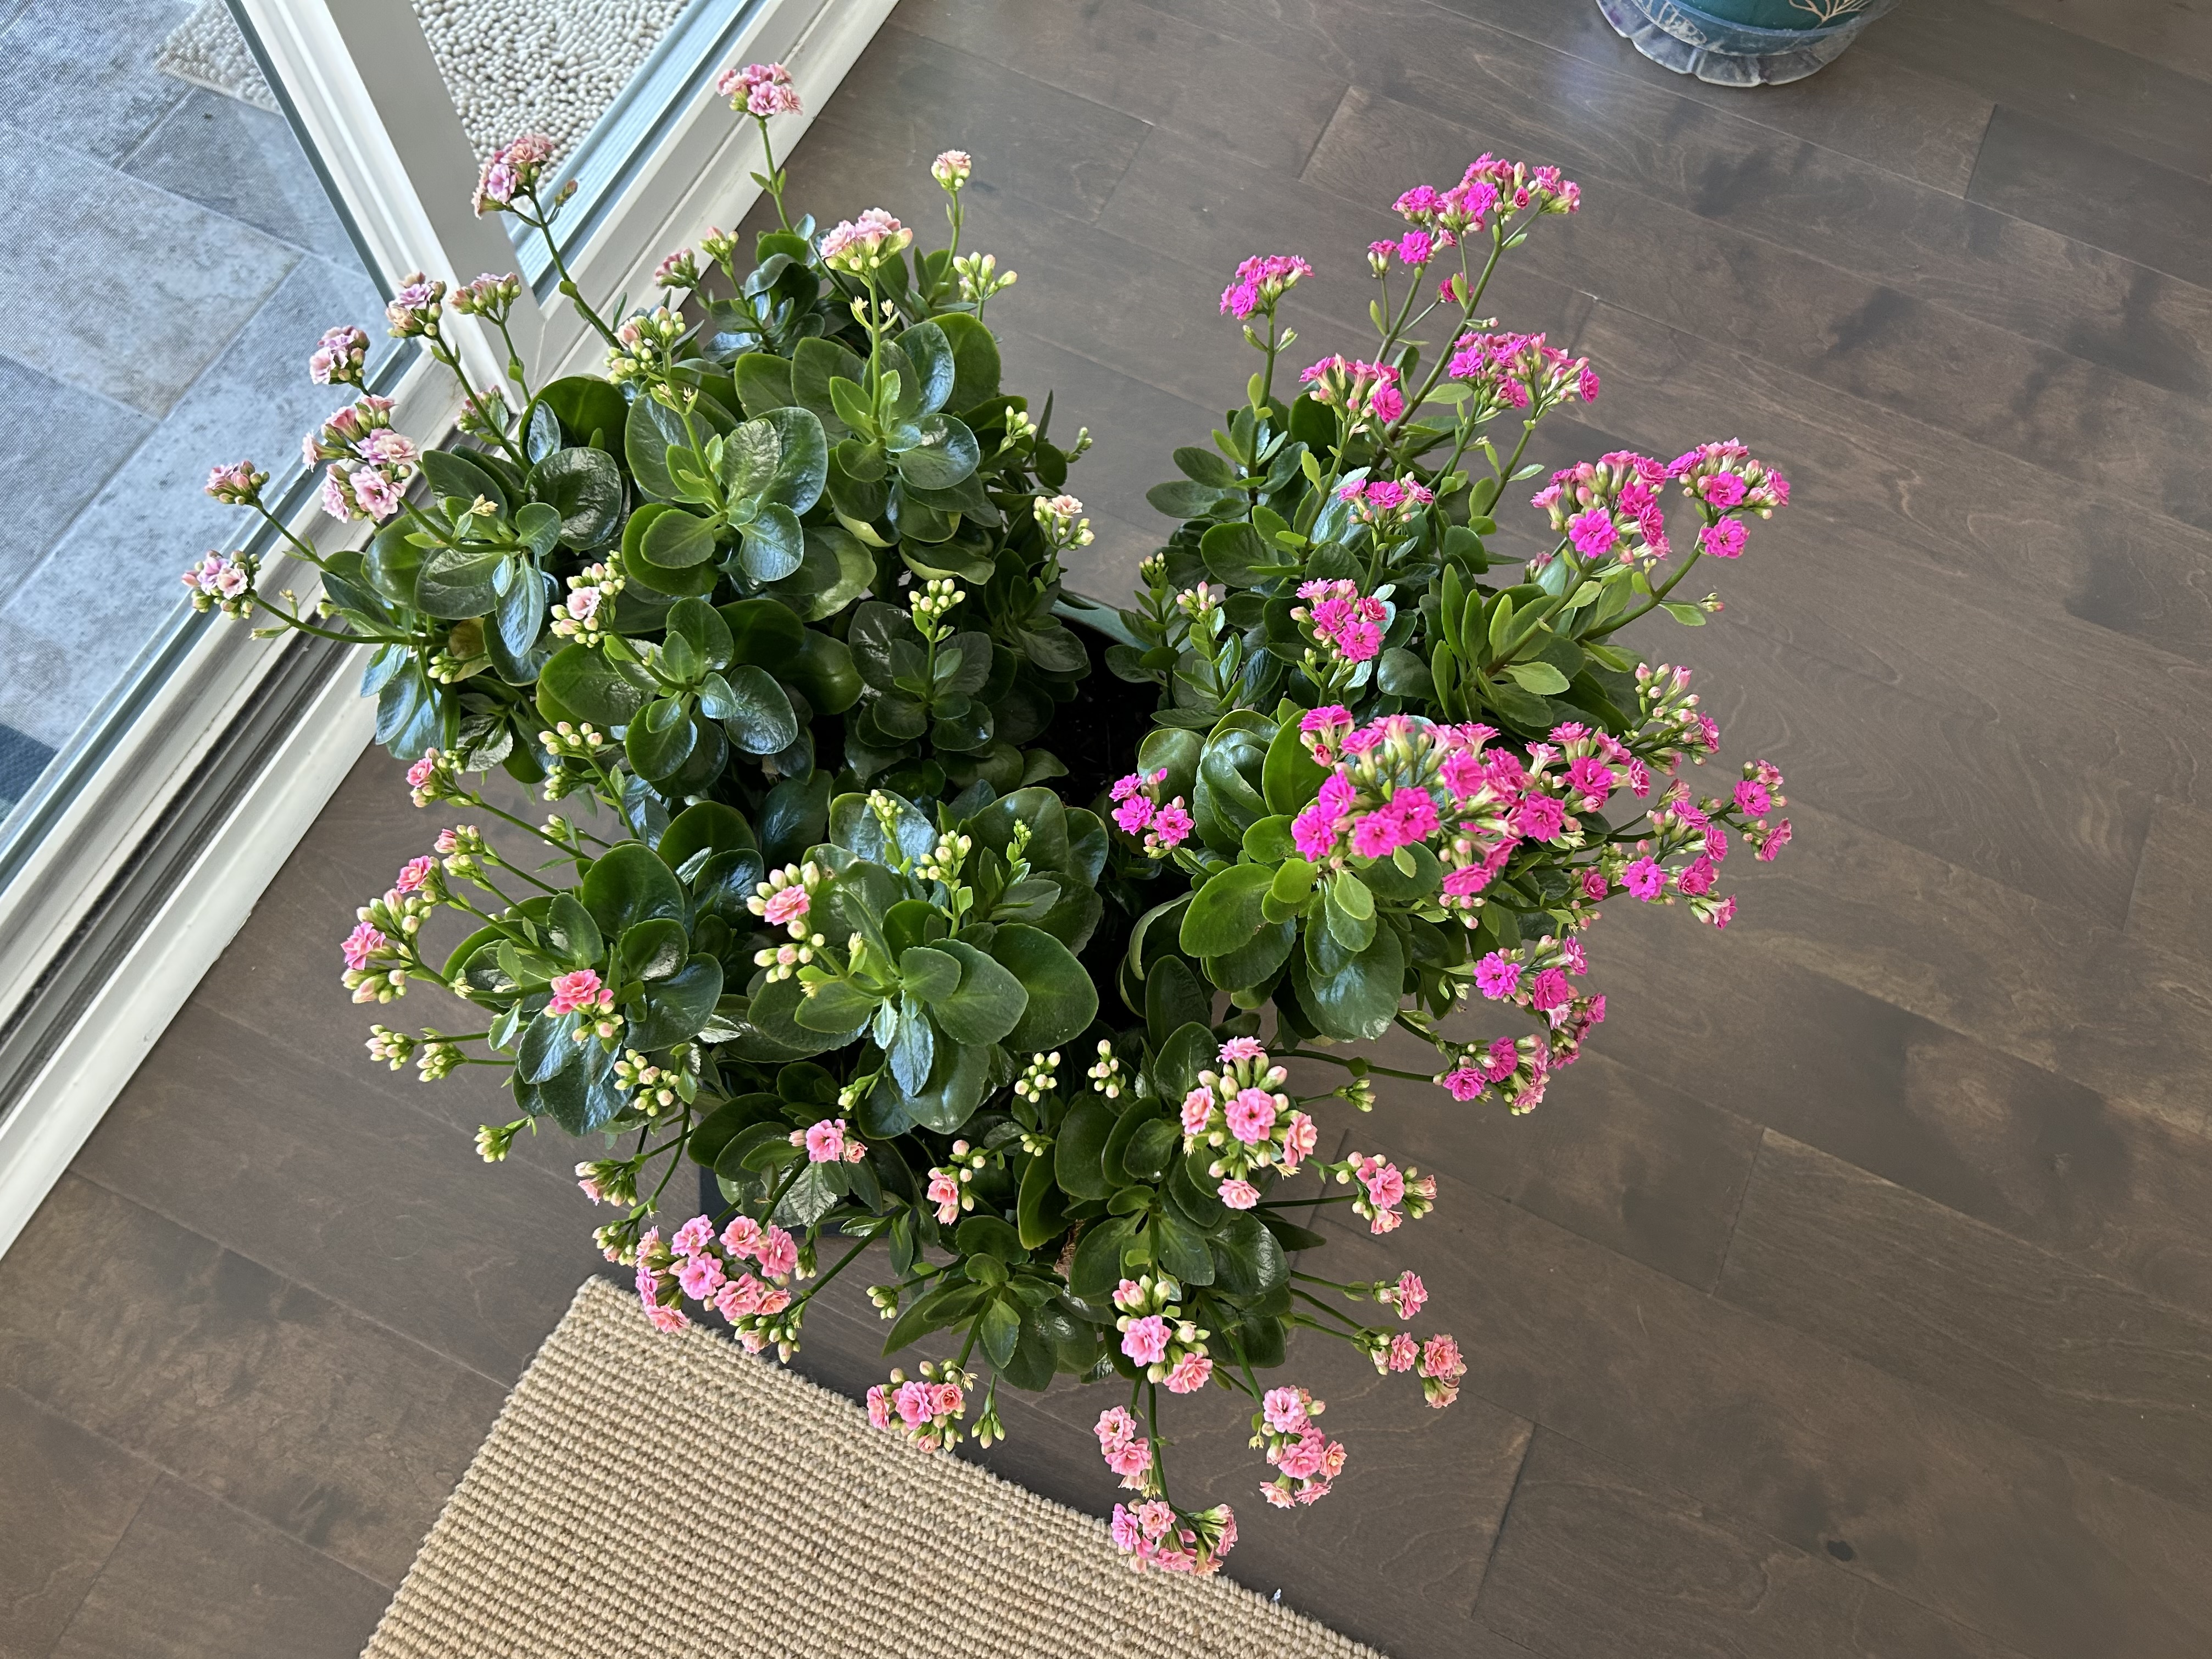
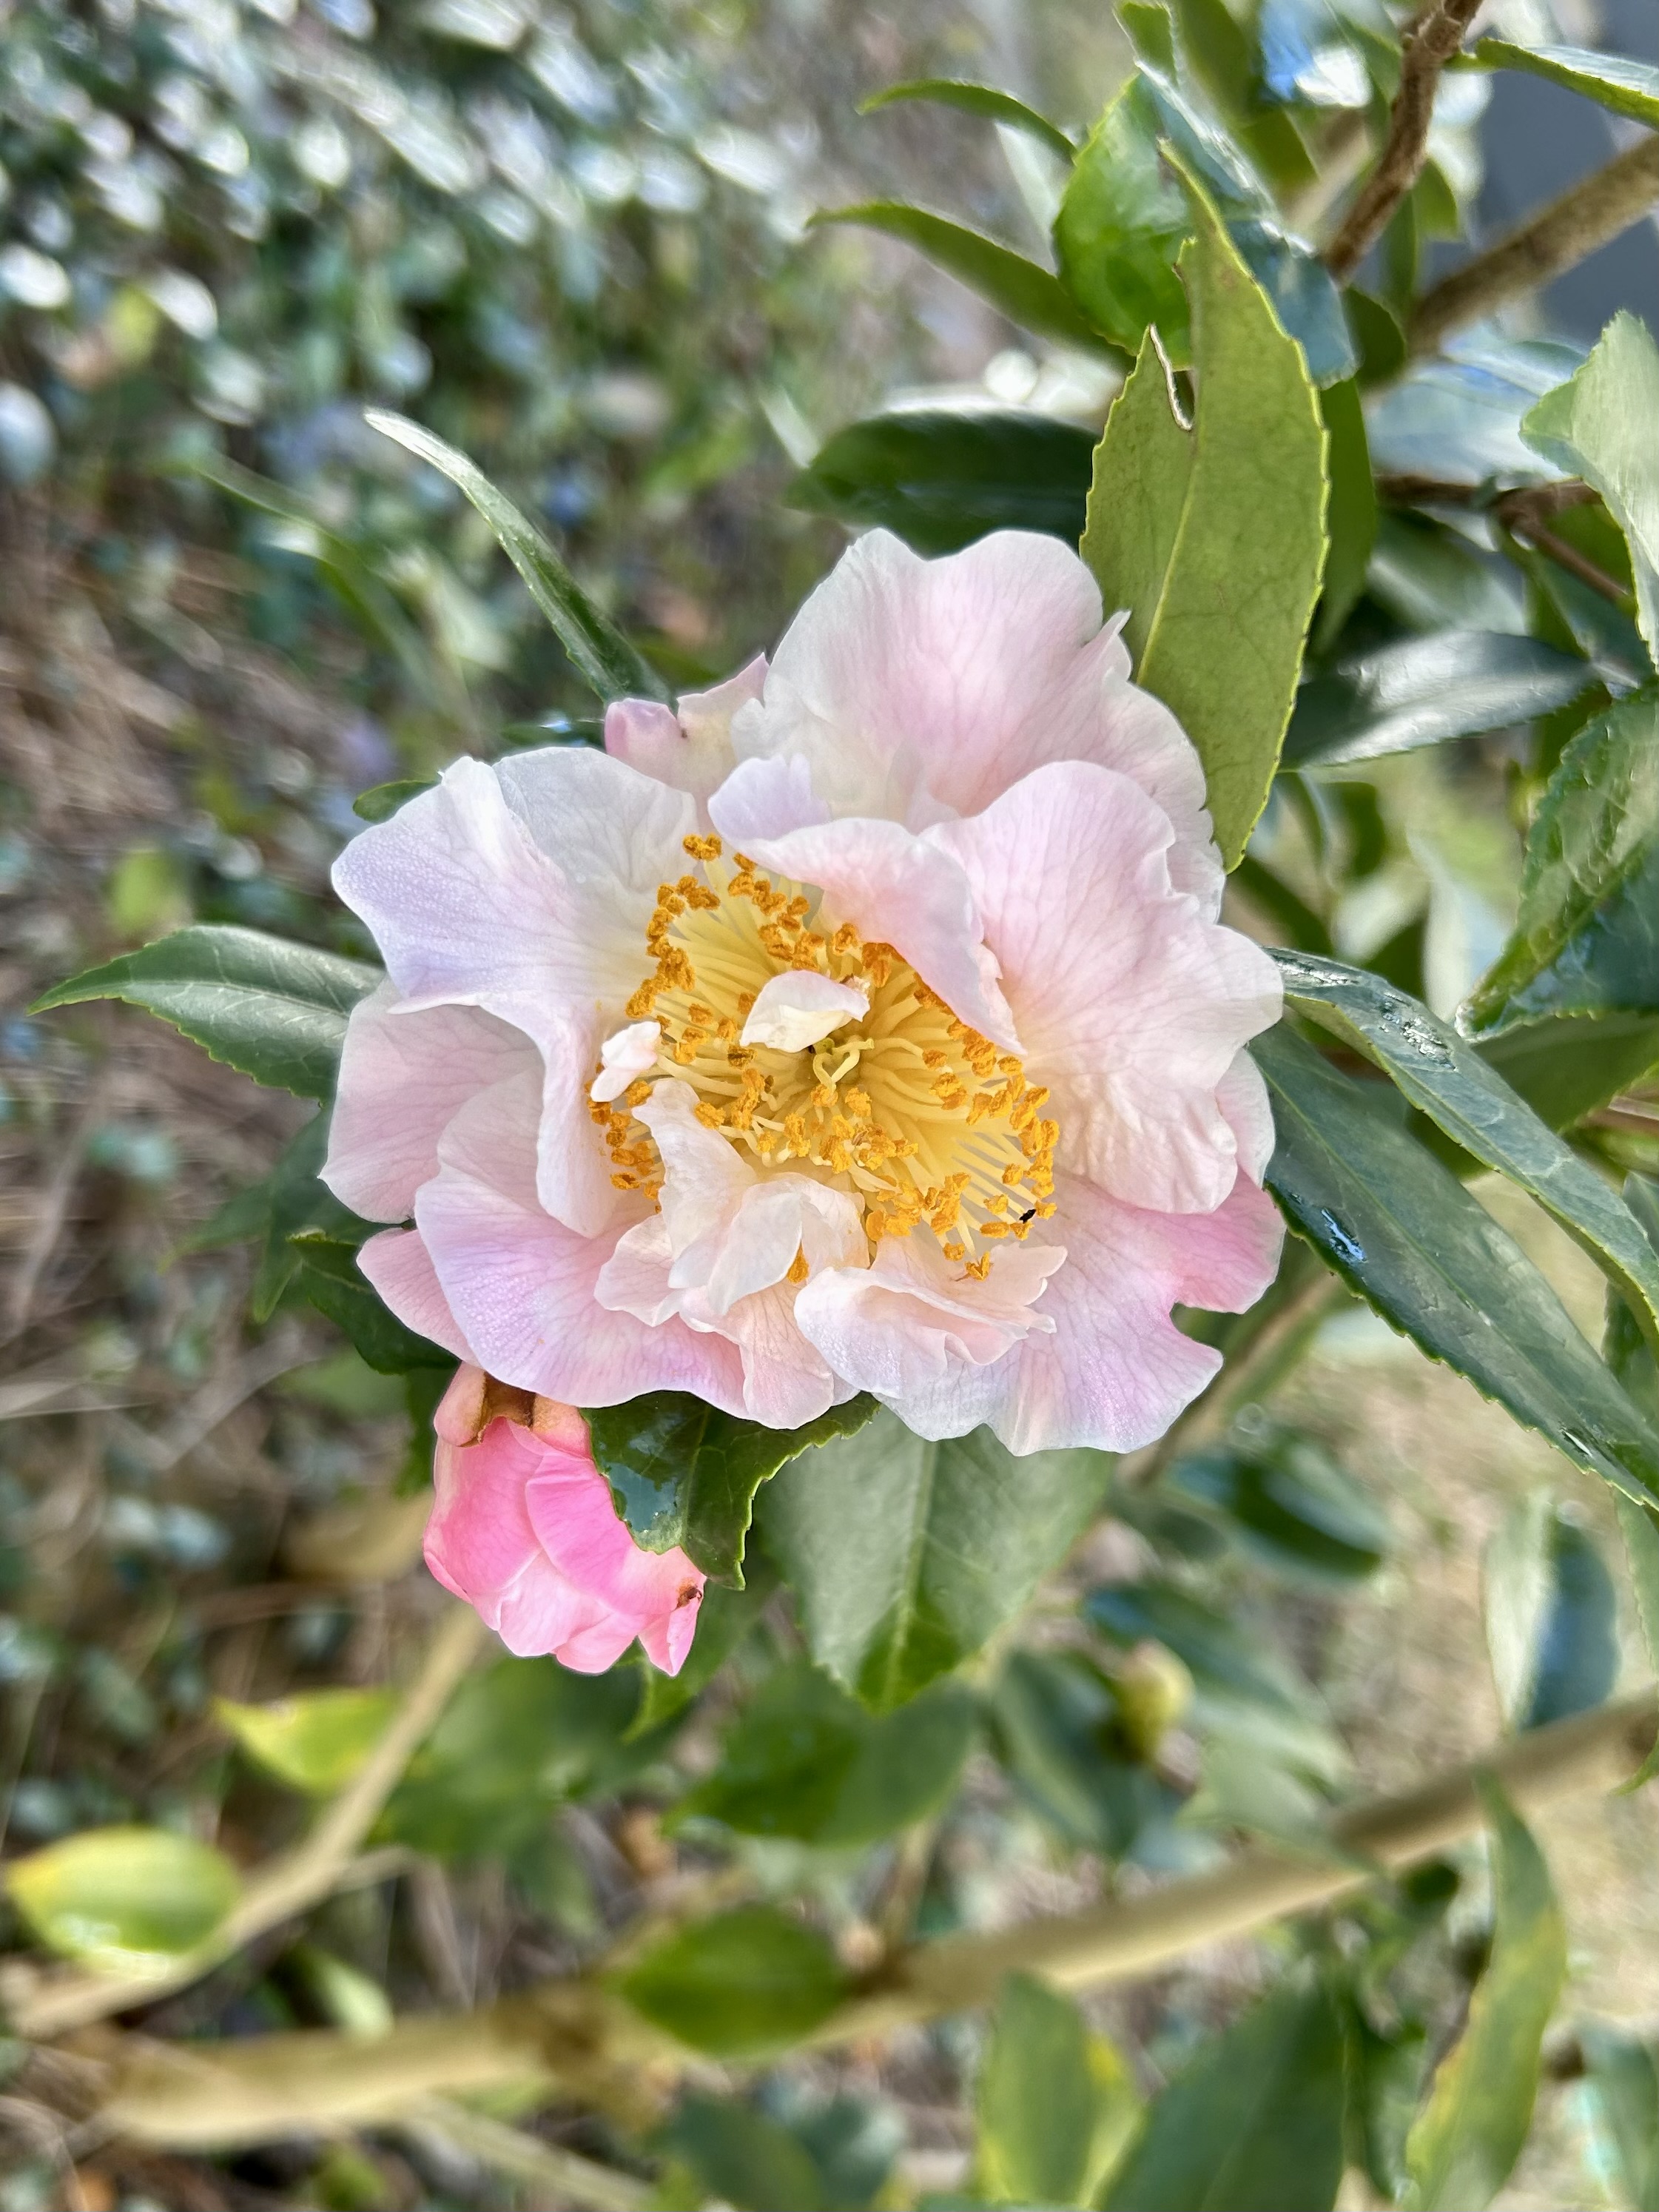
First, the taller camellia (a birthday gift from my son and DIL) is BLOOMING! Five or six buds survived a fall drought and the freezing temps we had this winter. (Nationwide, this winter is the coldest on record since 1988.)
This bud was small and partially damaged, and I can’t wait to see some of the bigger buds open up. Isn’t it gorgeous? I think it is gorgeous, and I’m going to add 2 more camellias to my garden this spring by removing two gardenias that are so not thriving. The smaller, lower spreading camellia on the other side of the house turned to blooms in the late fall and only now quit opening up buds. It is a deep pink.
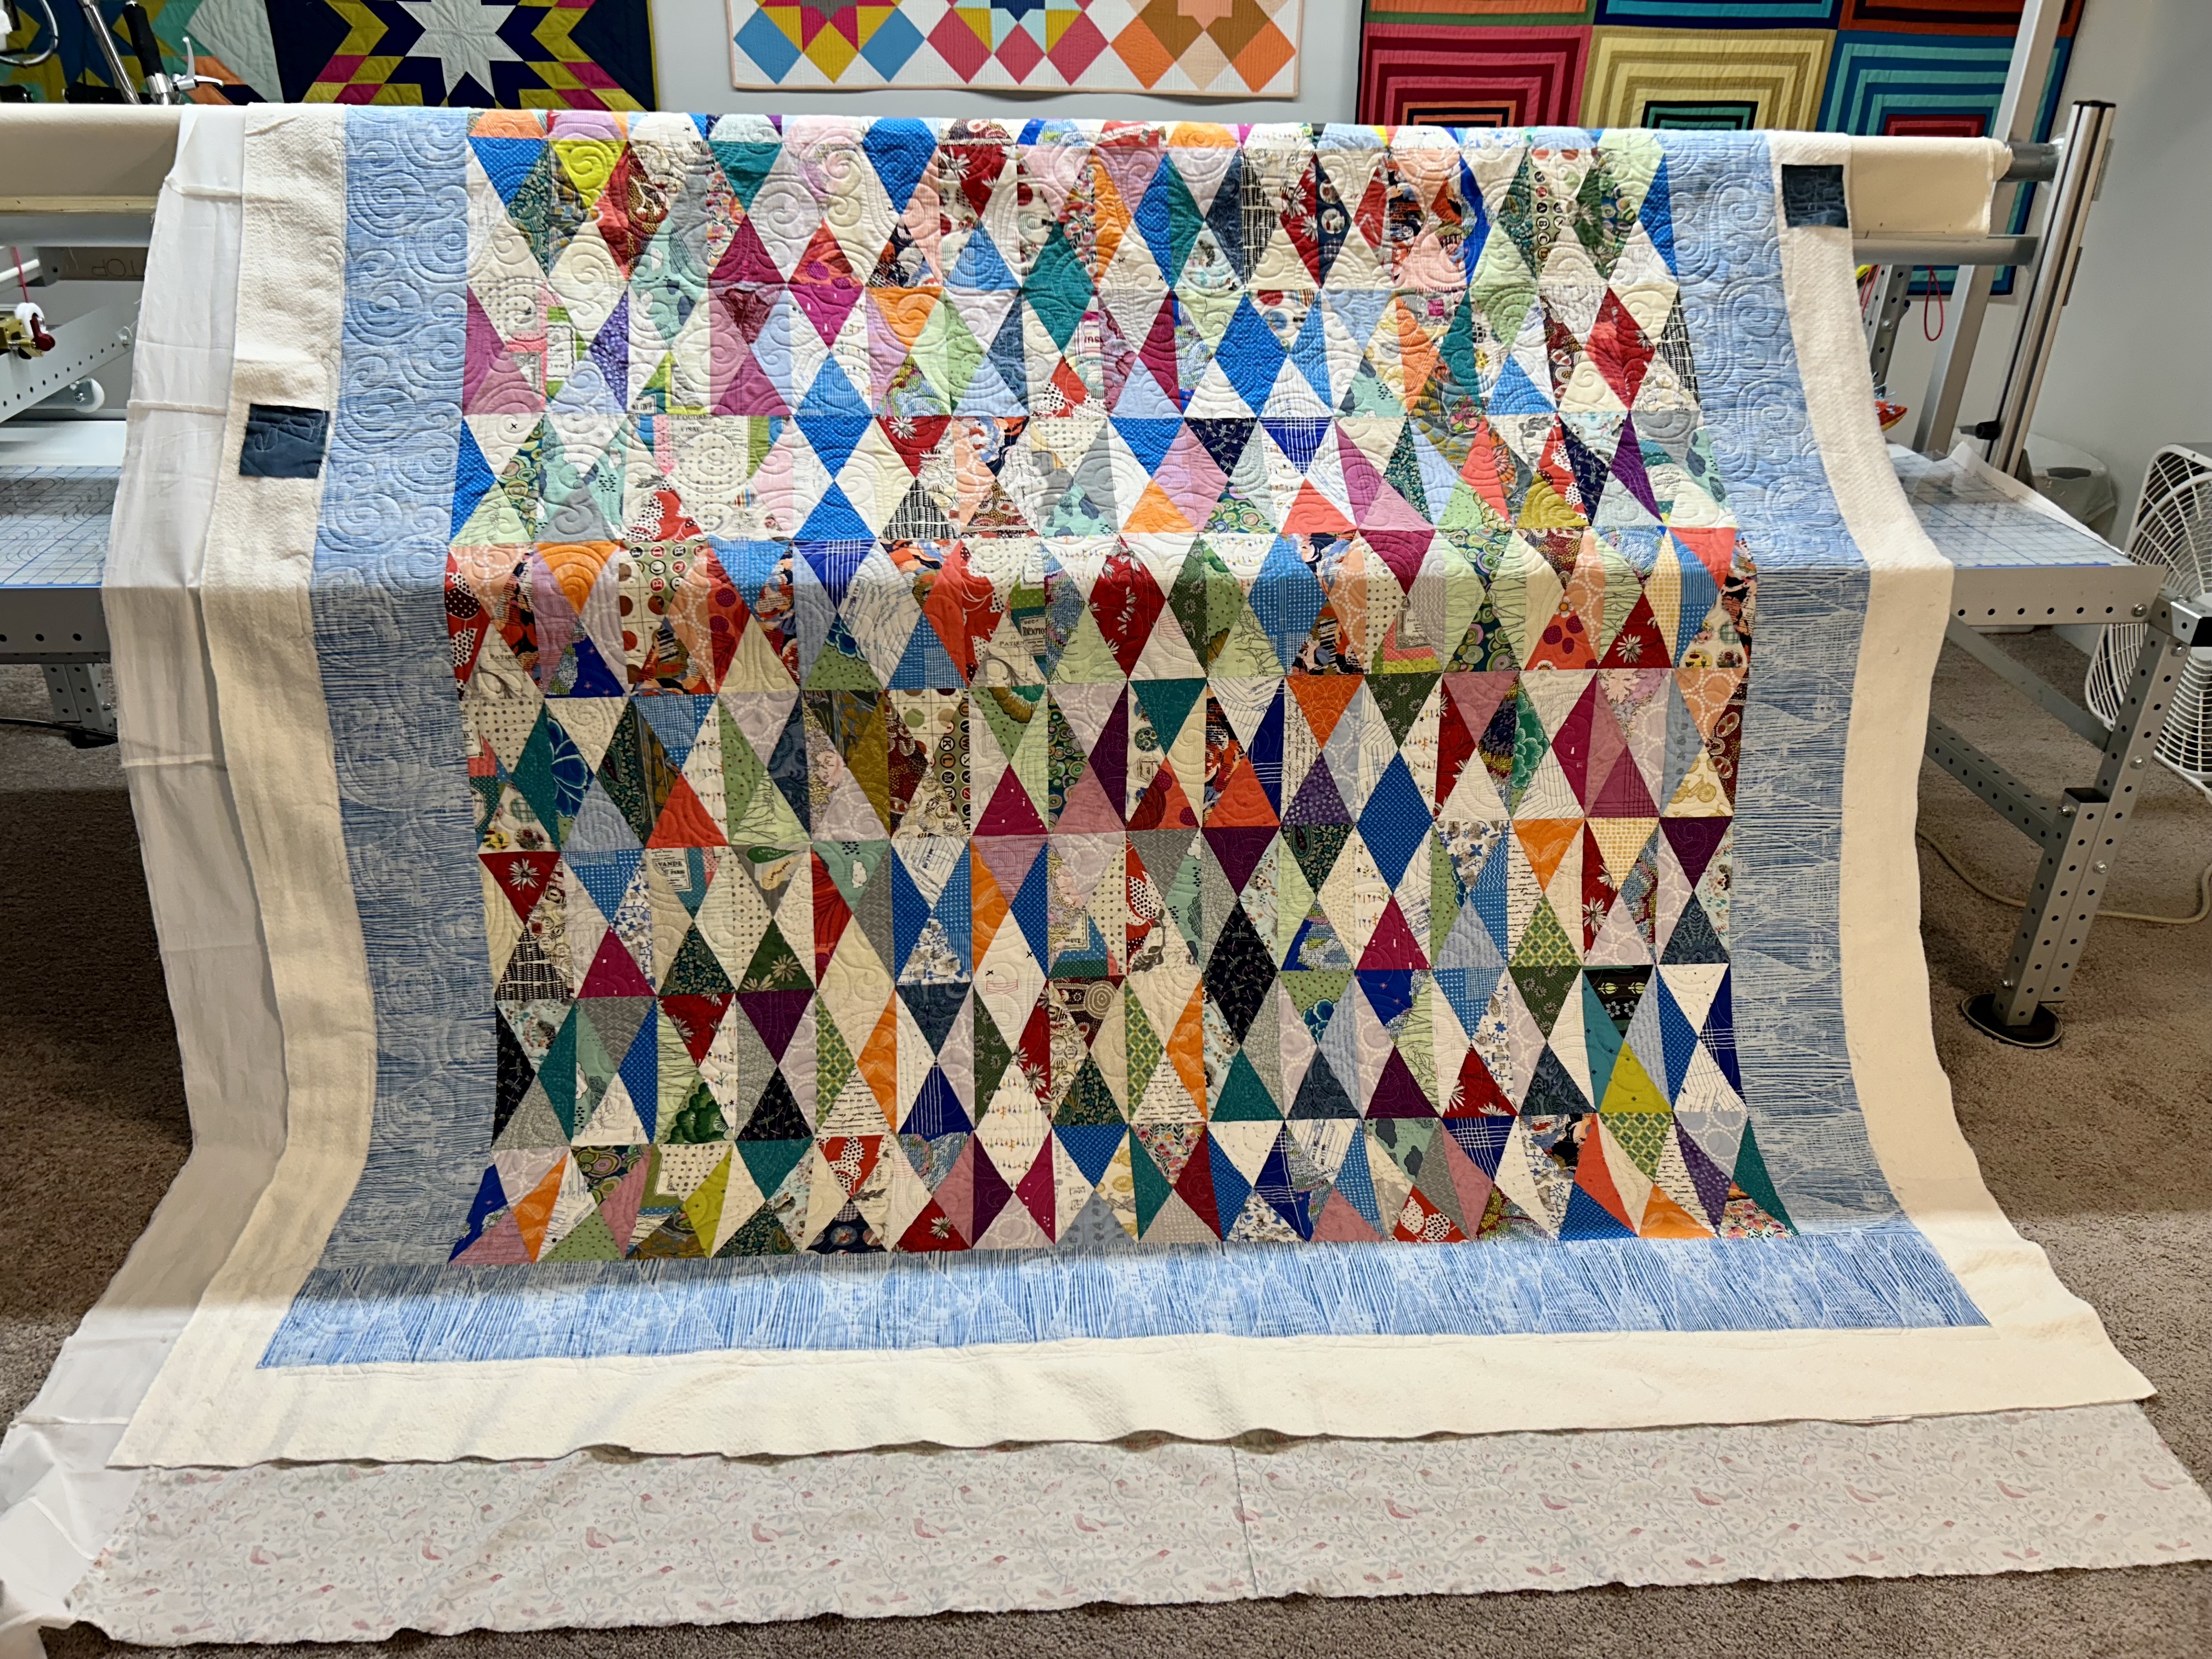
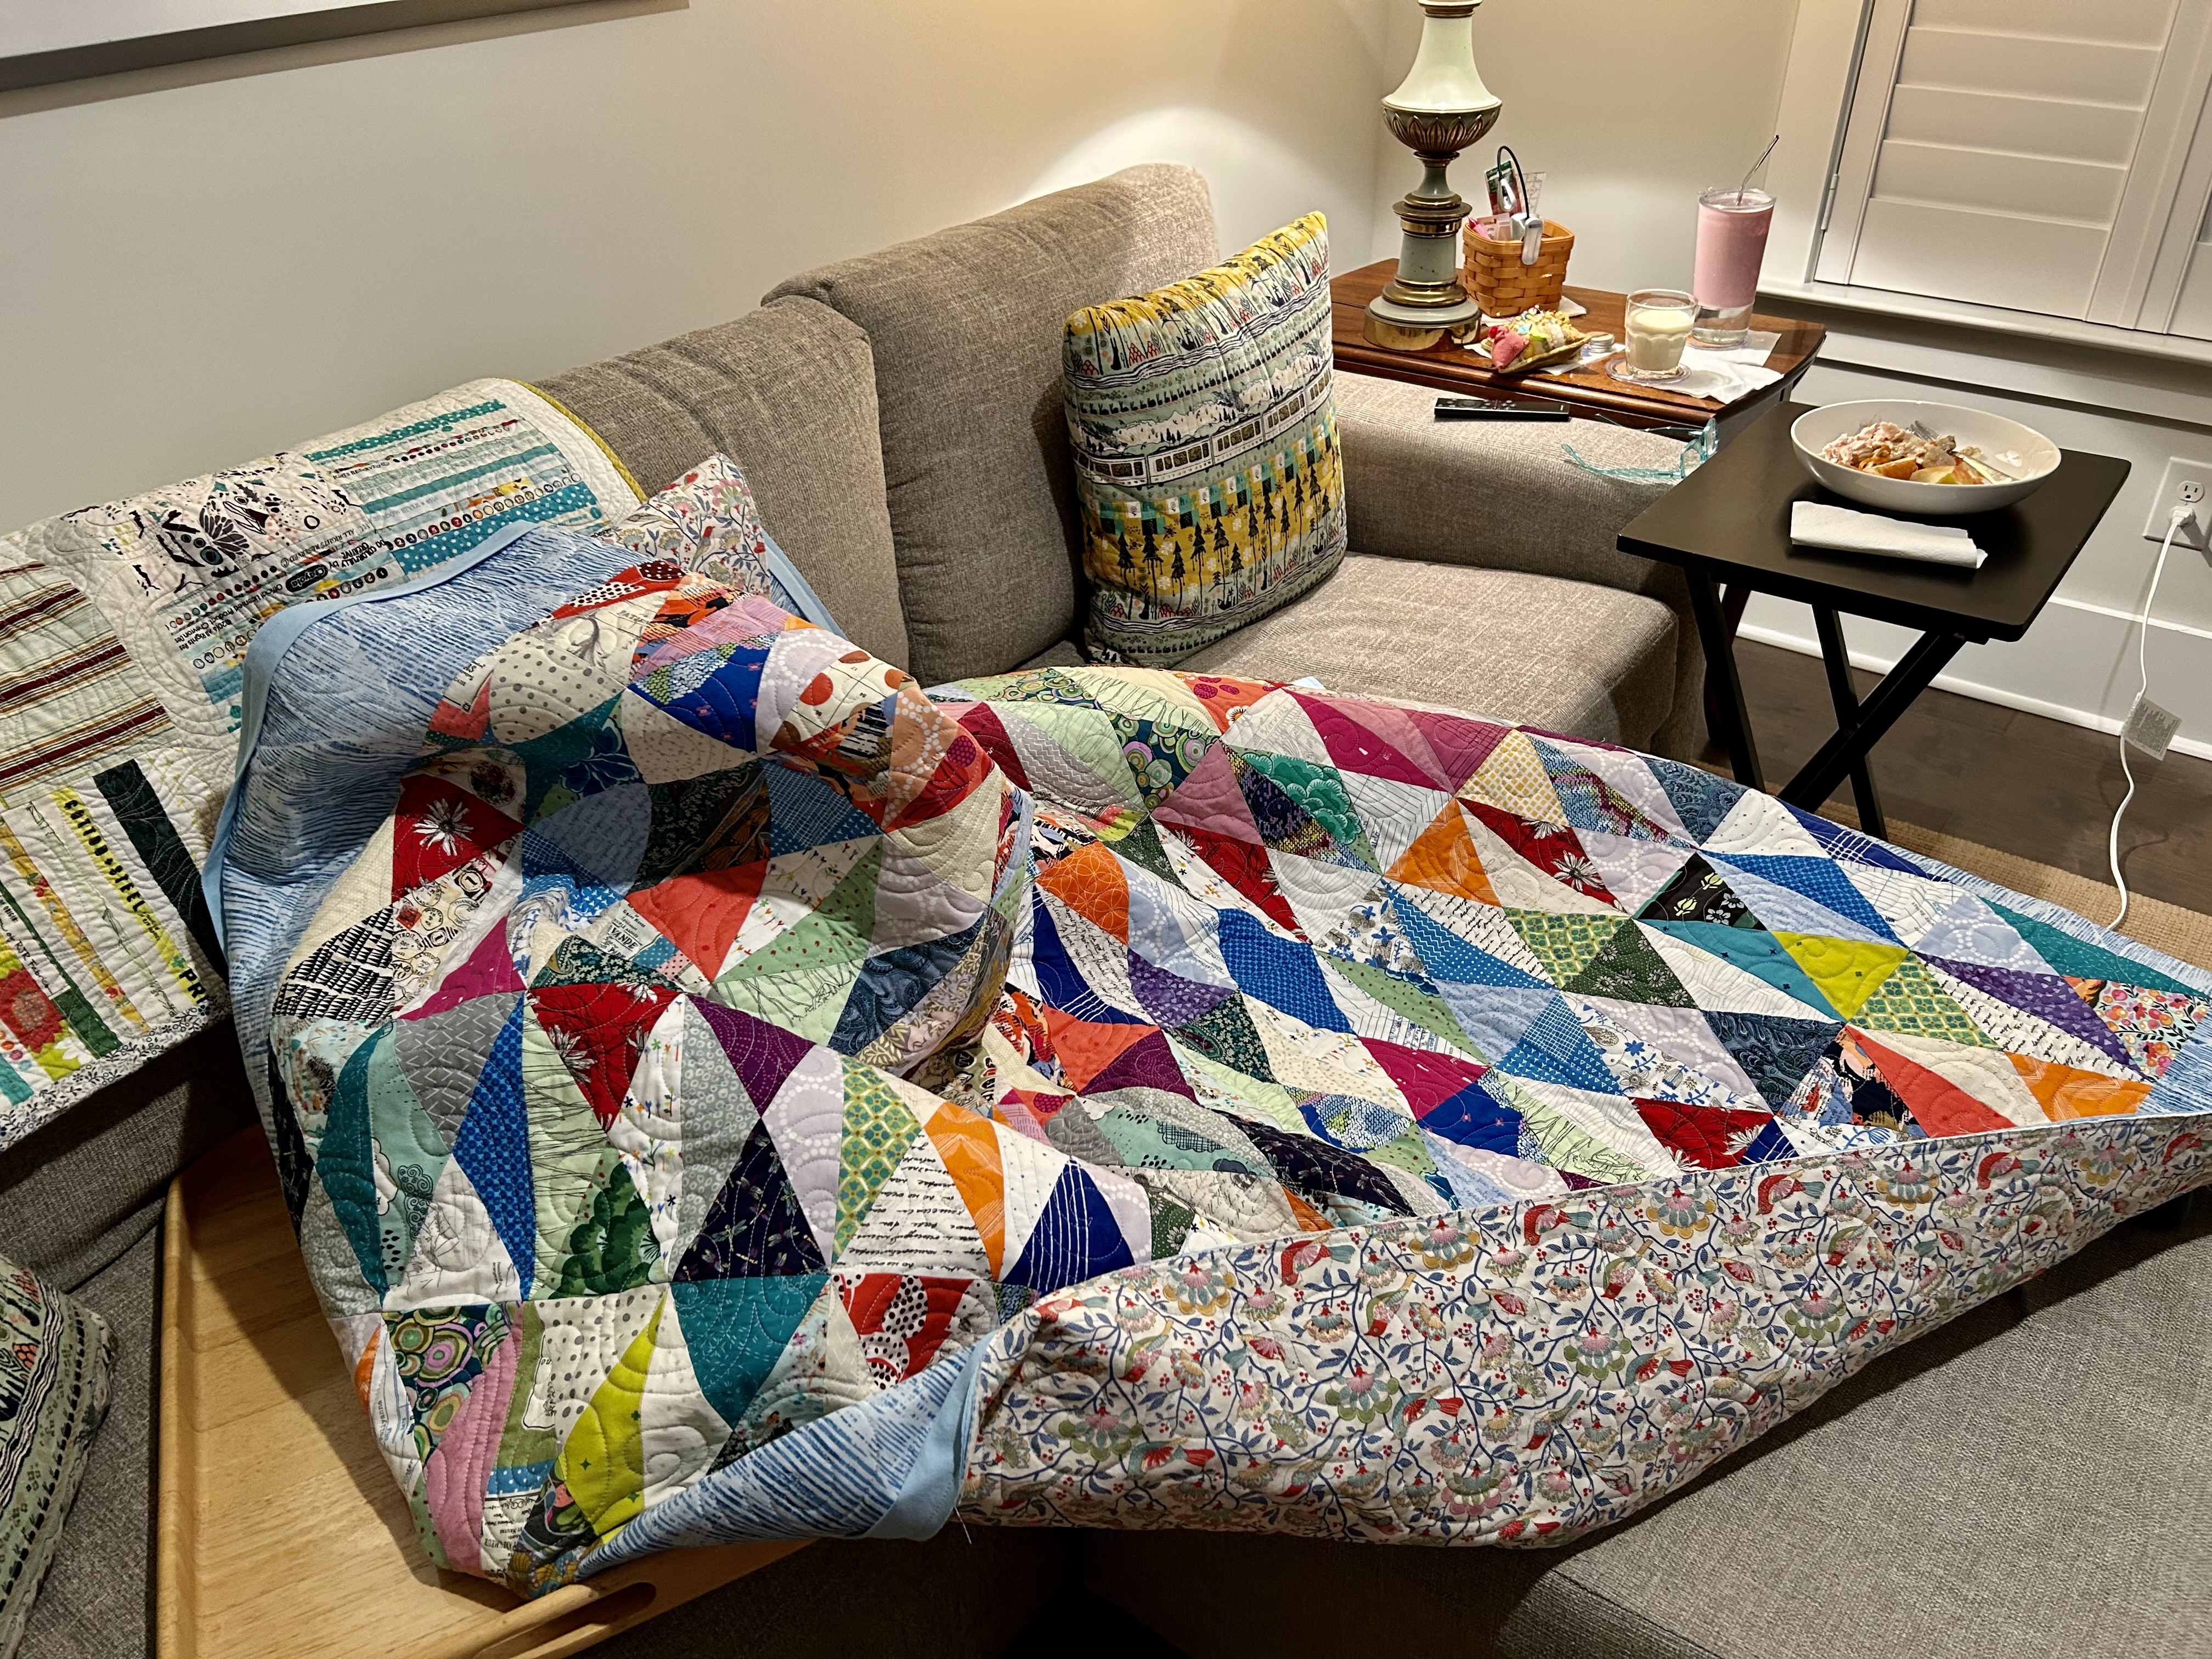
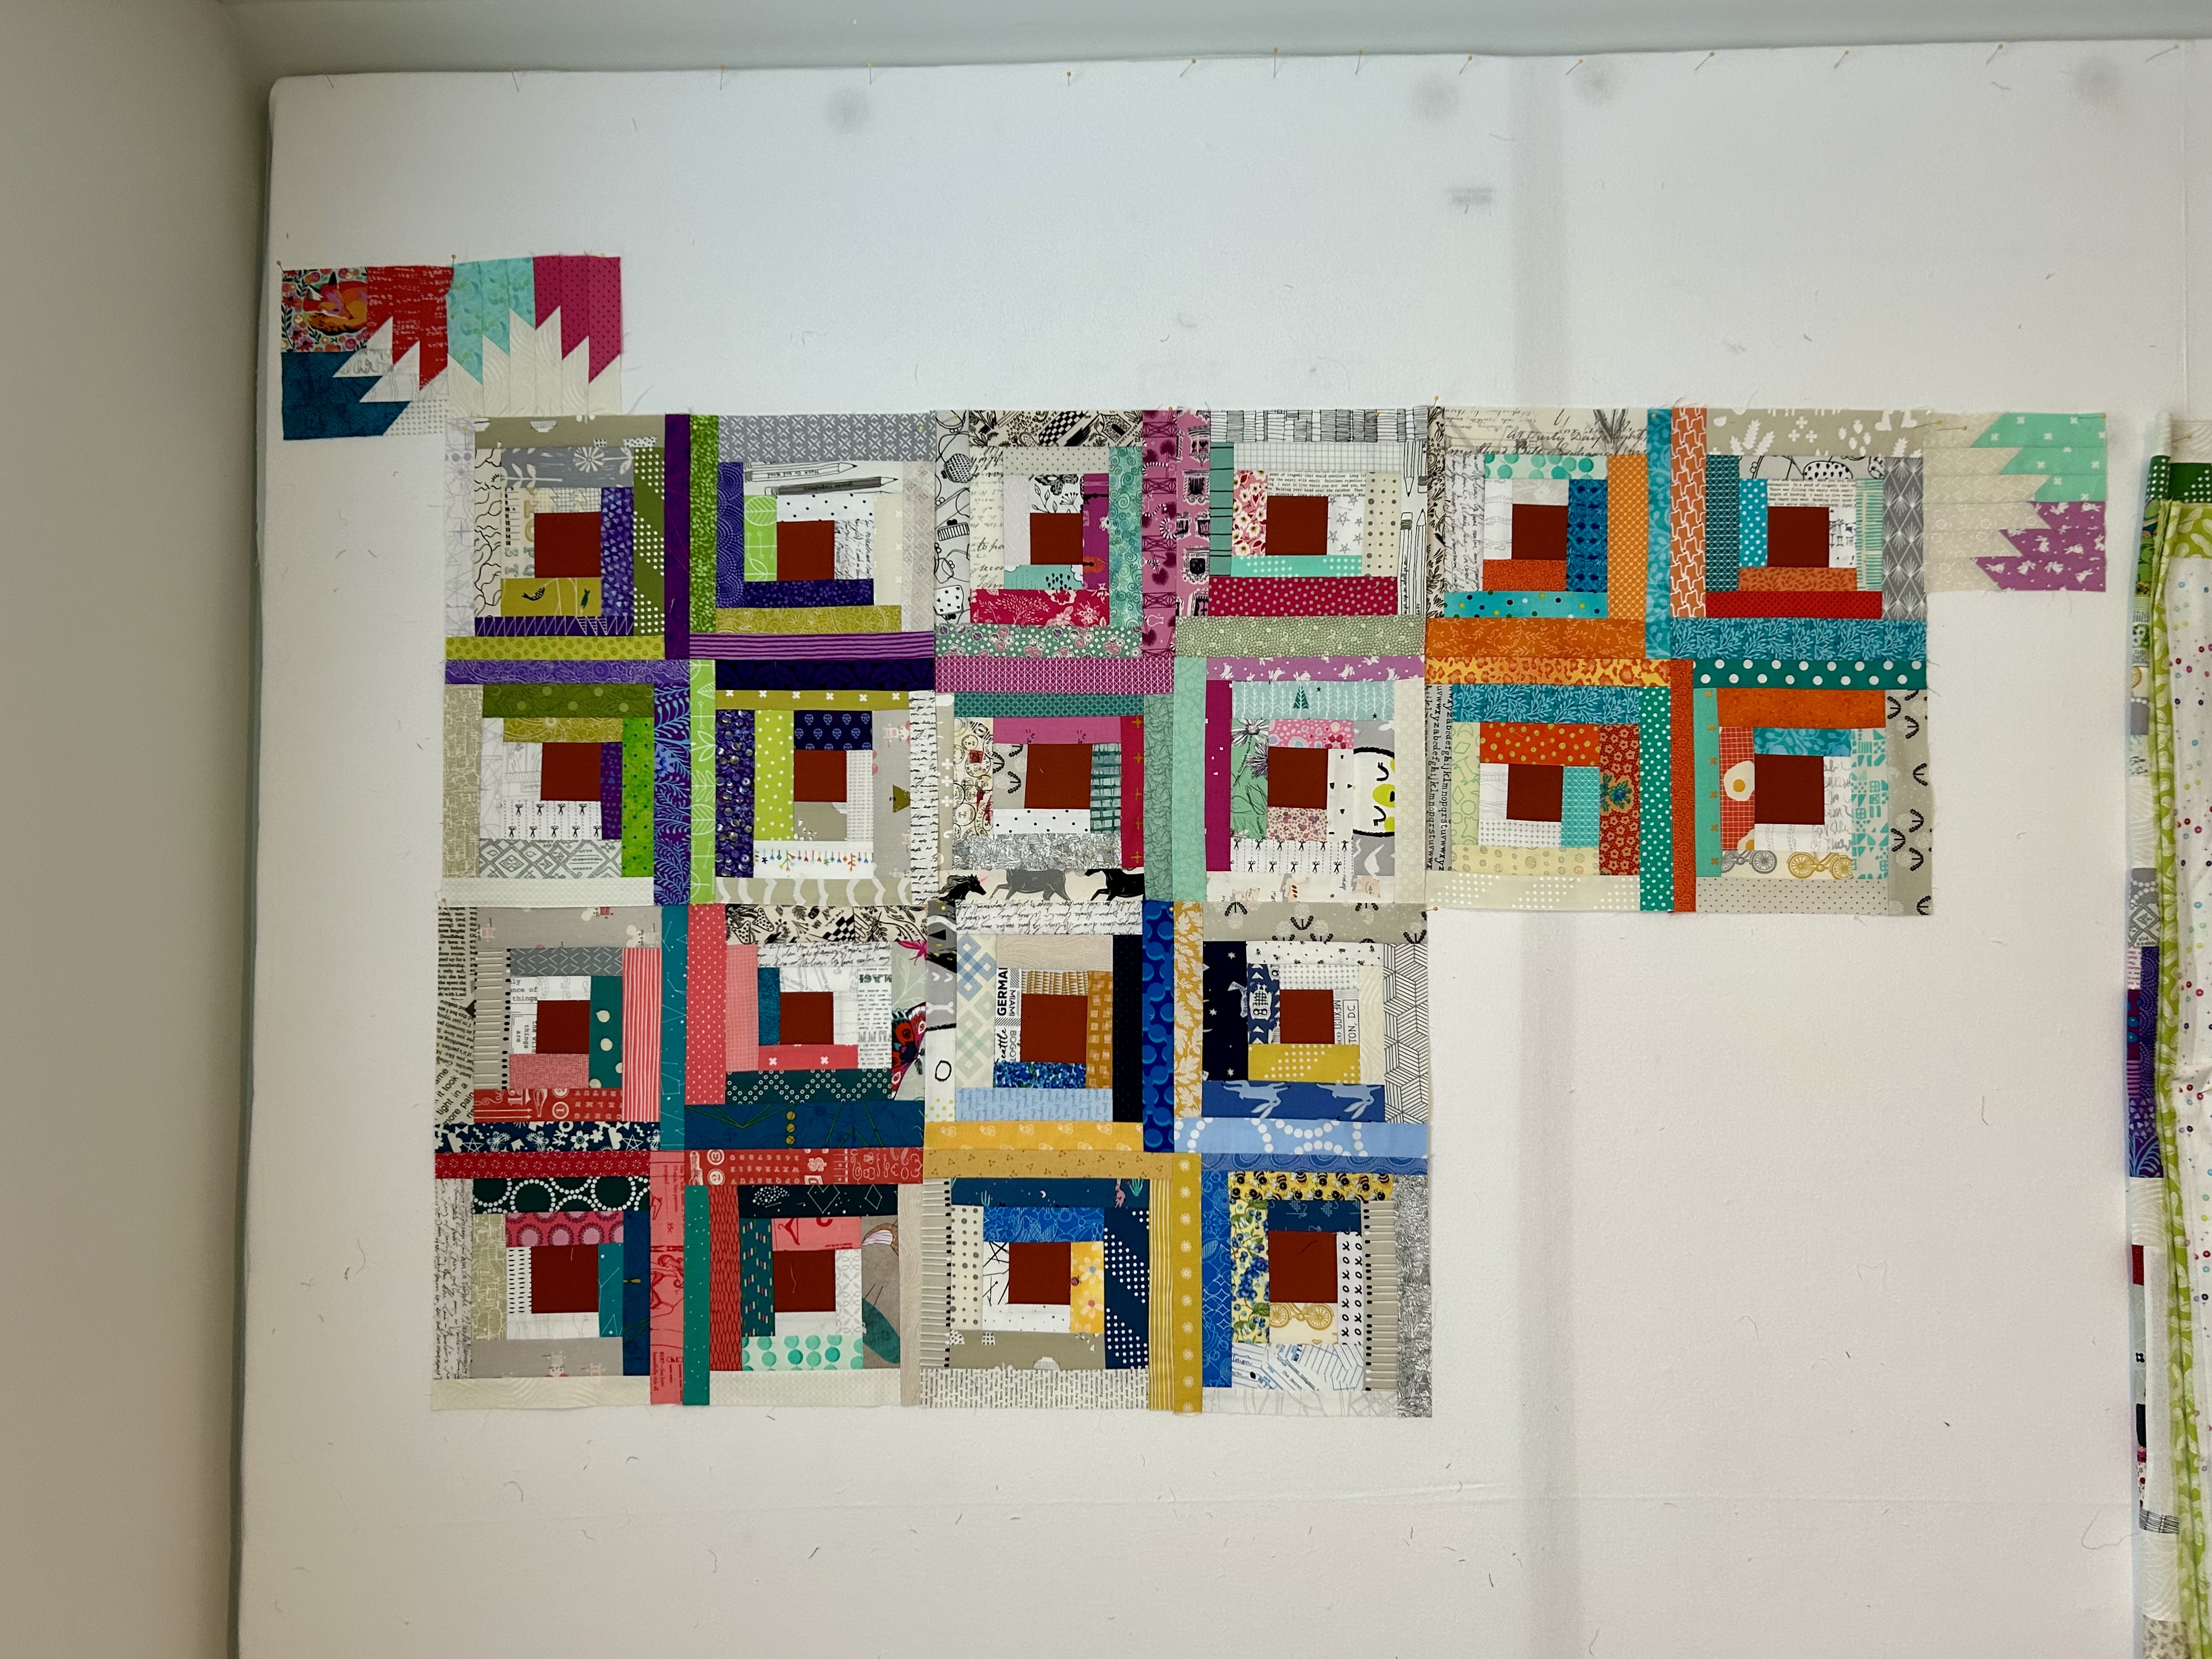
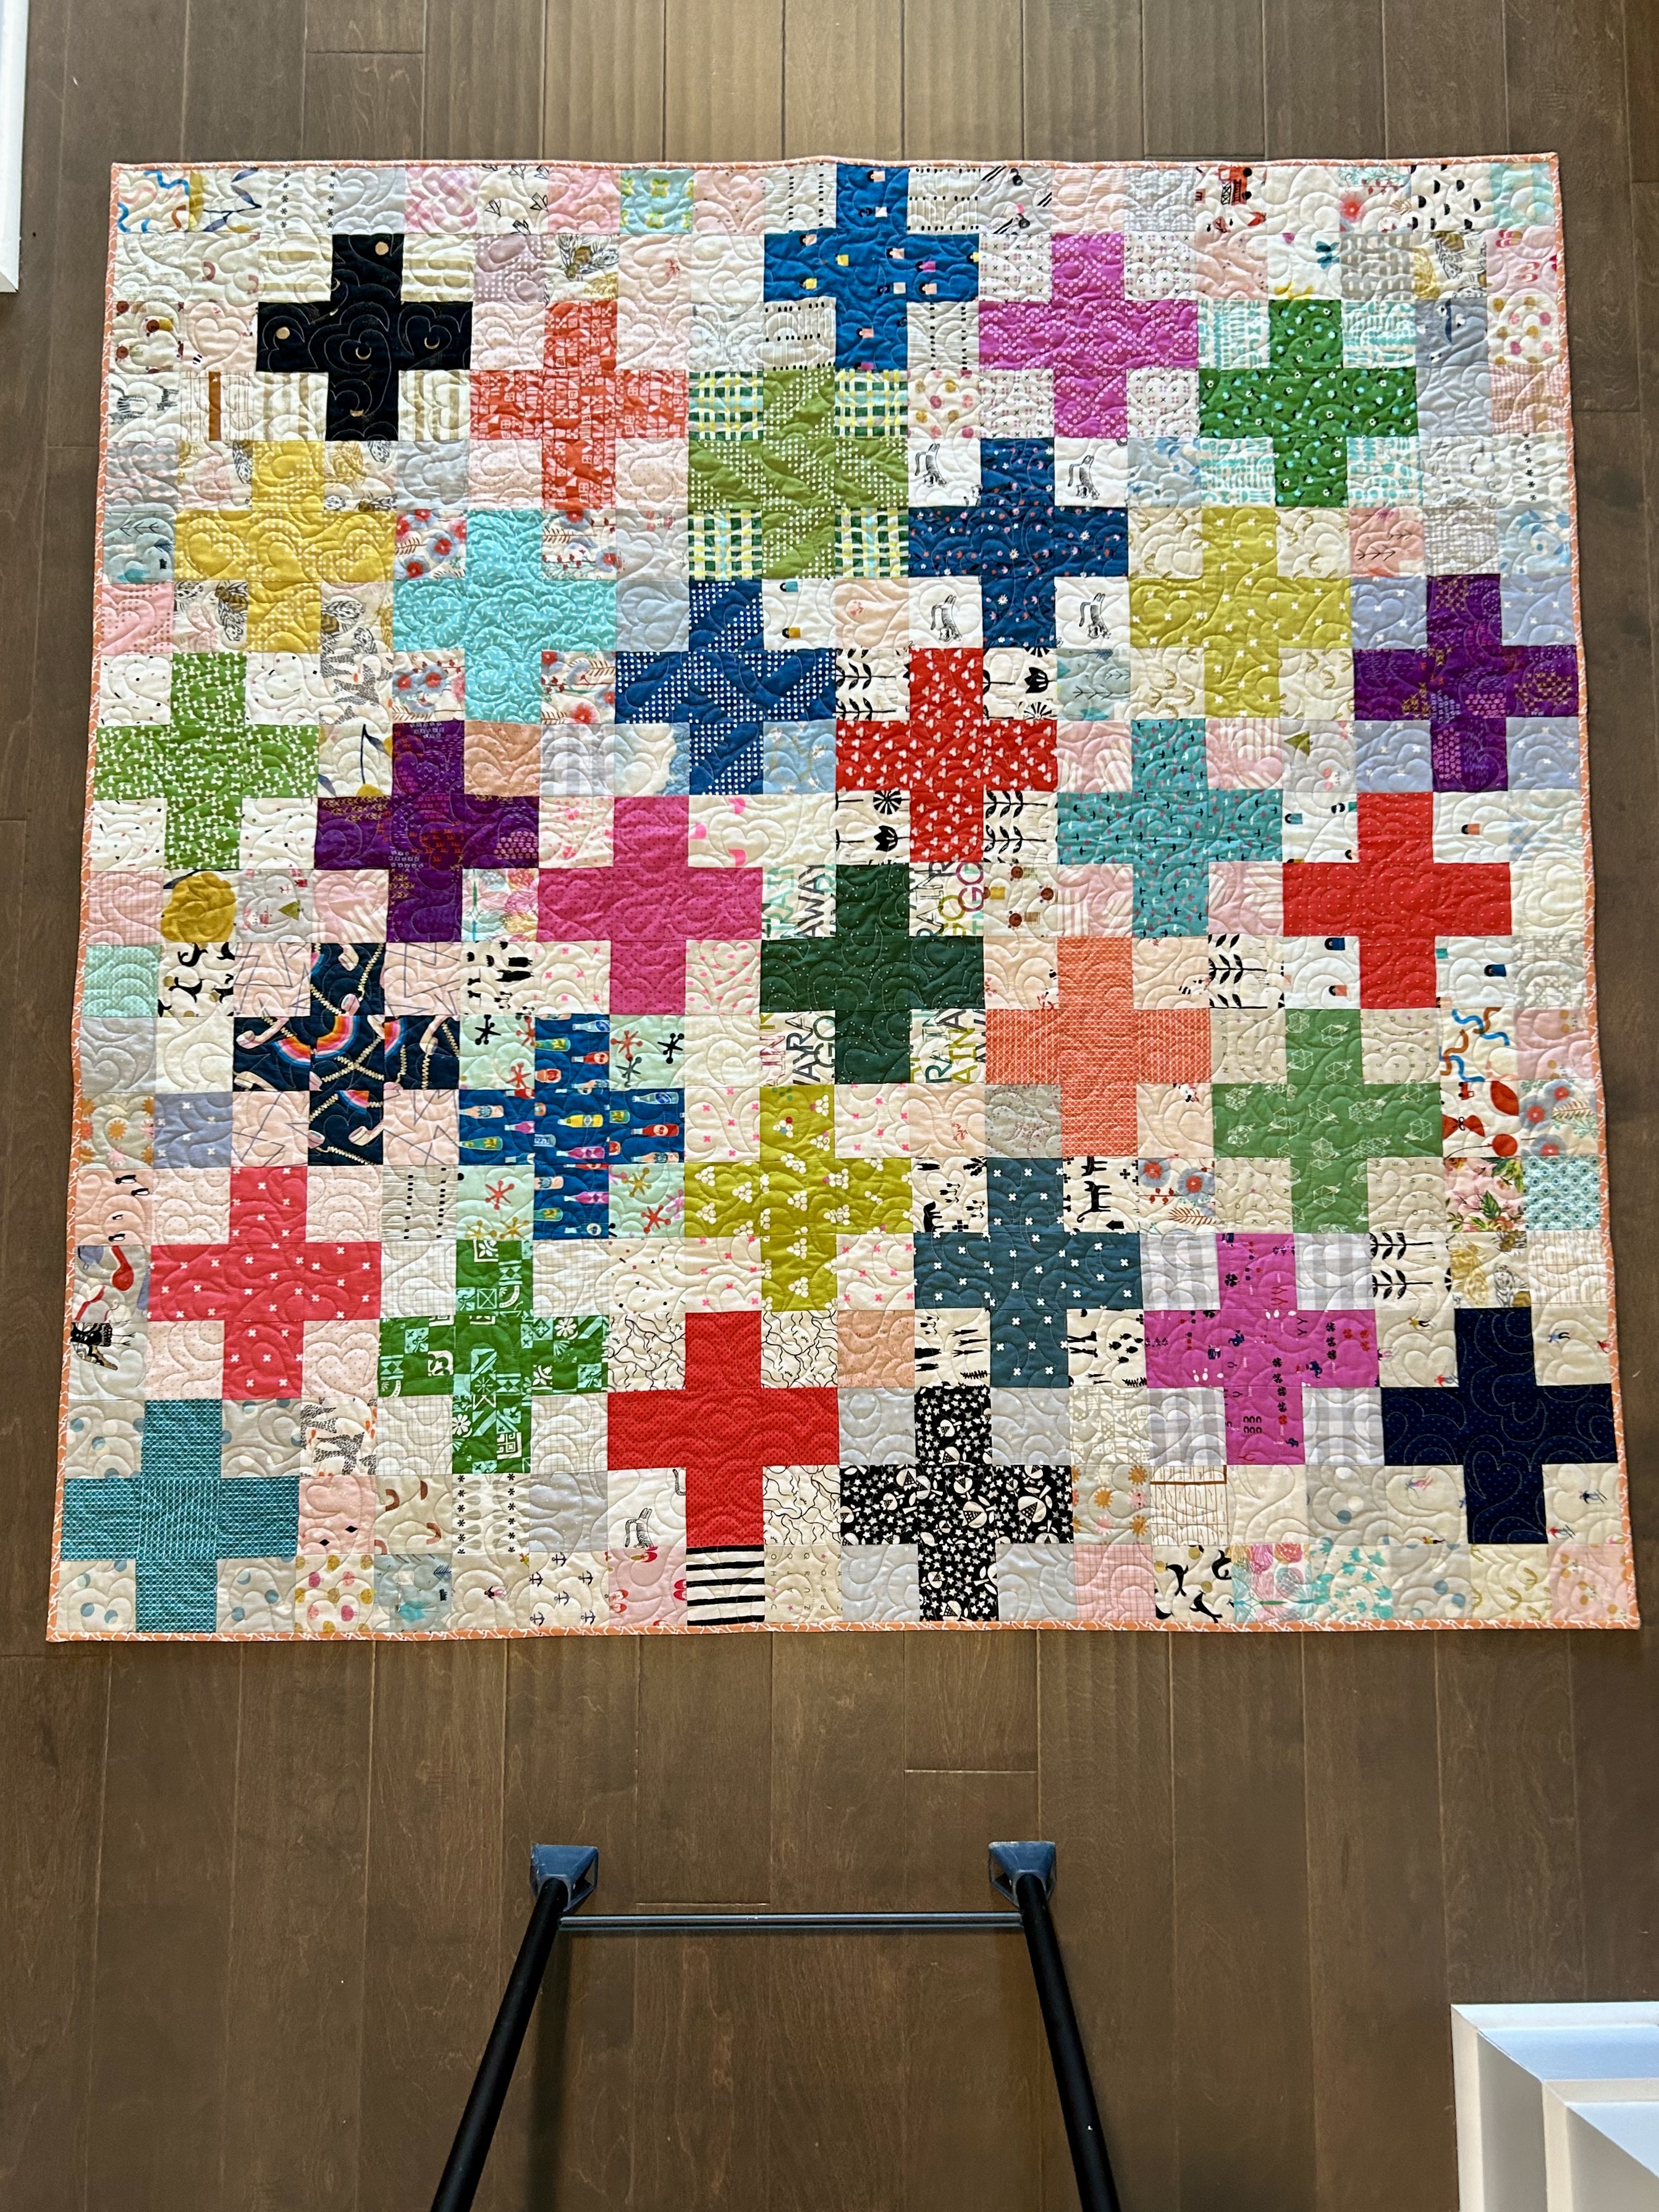
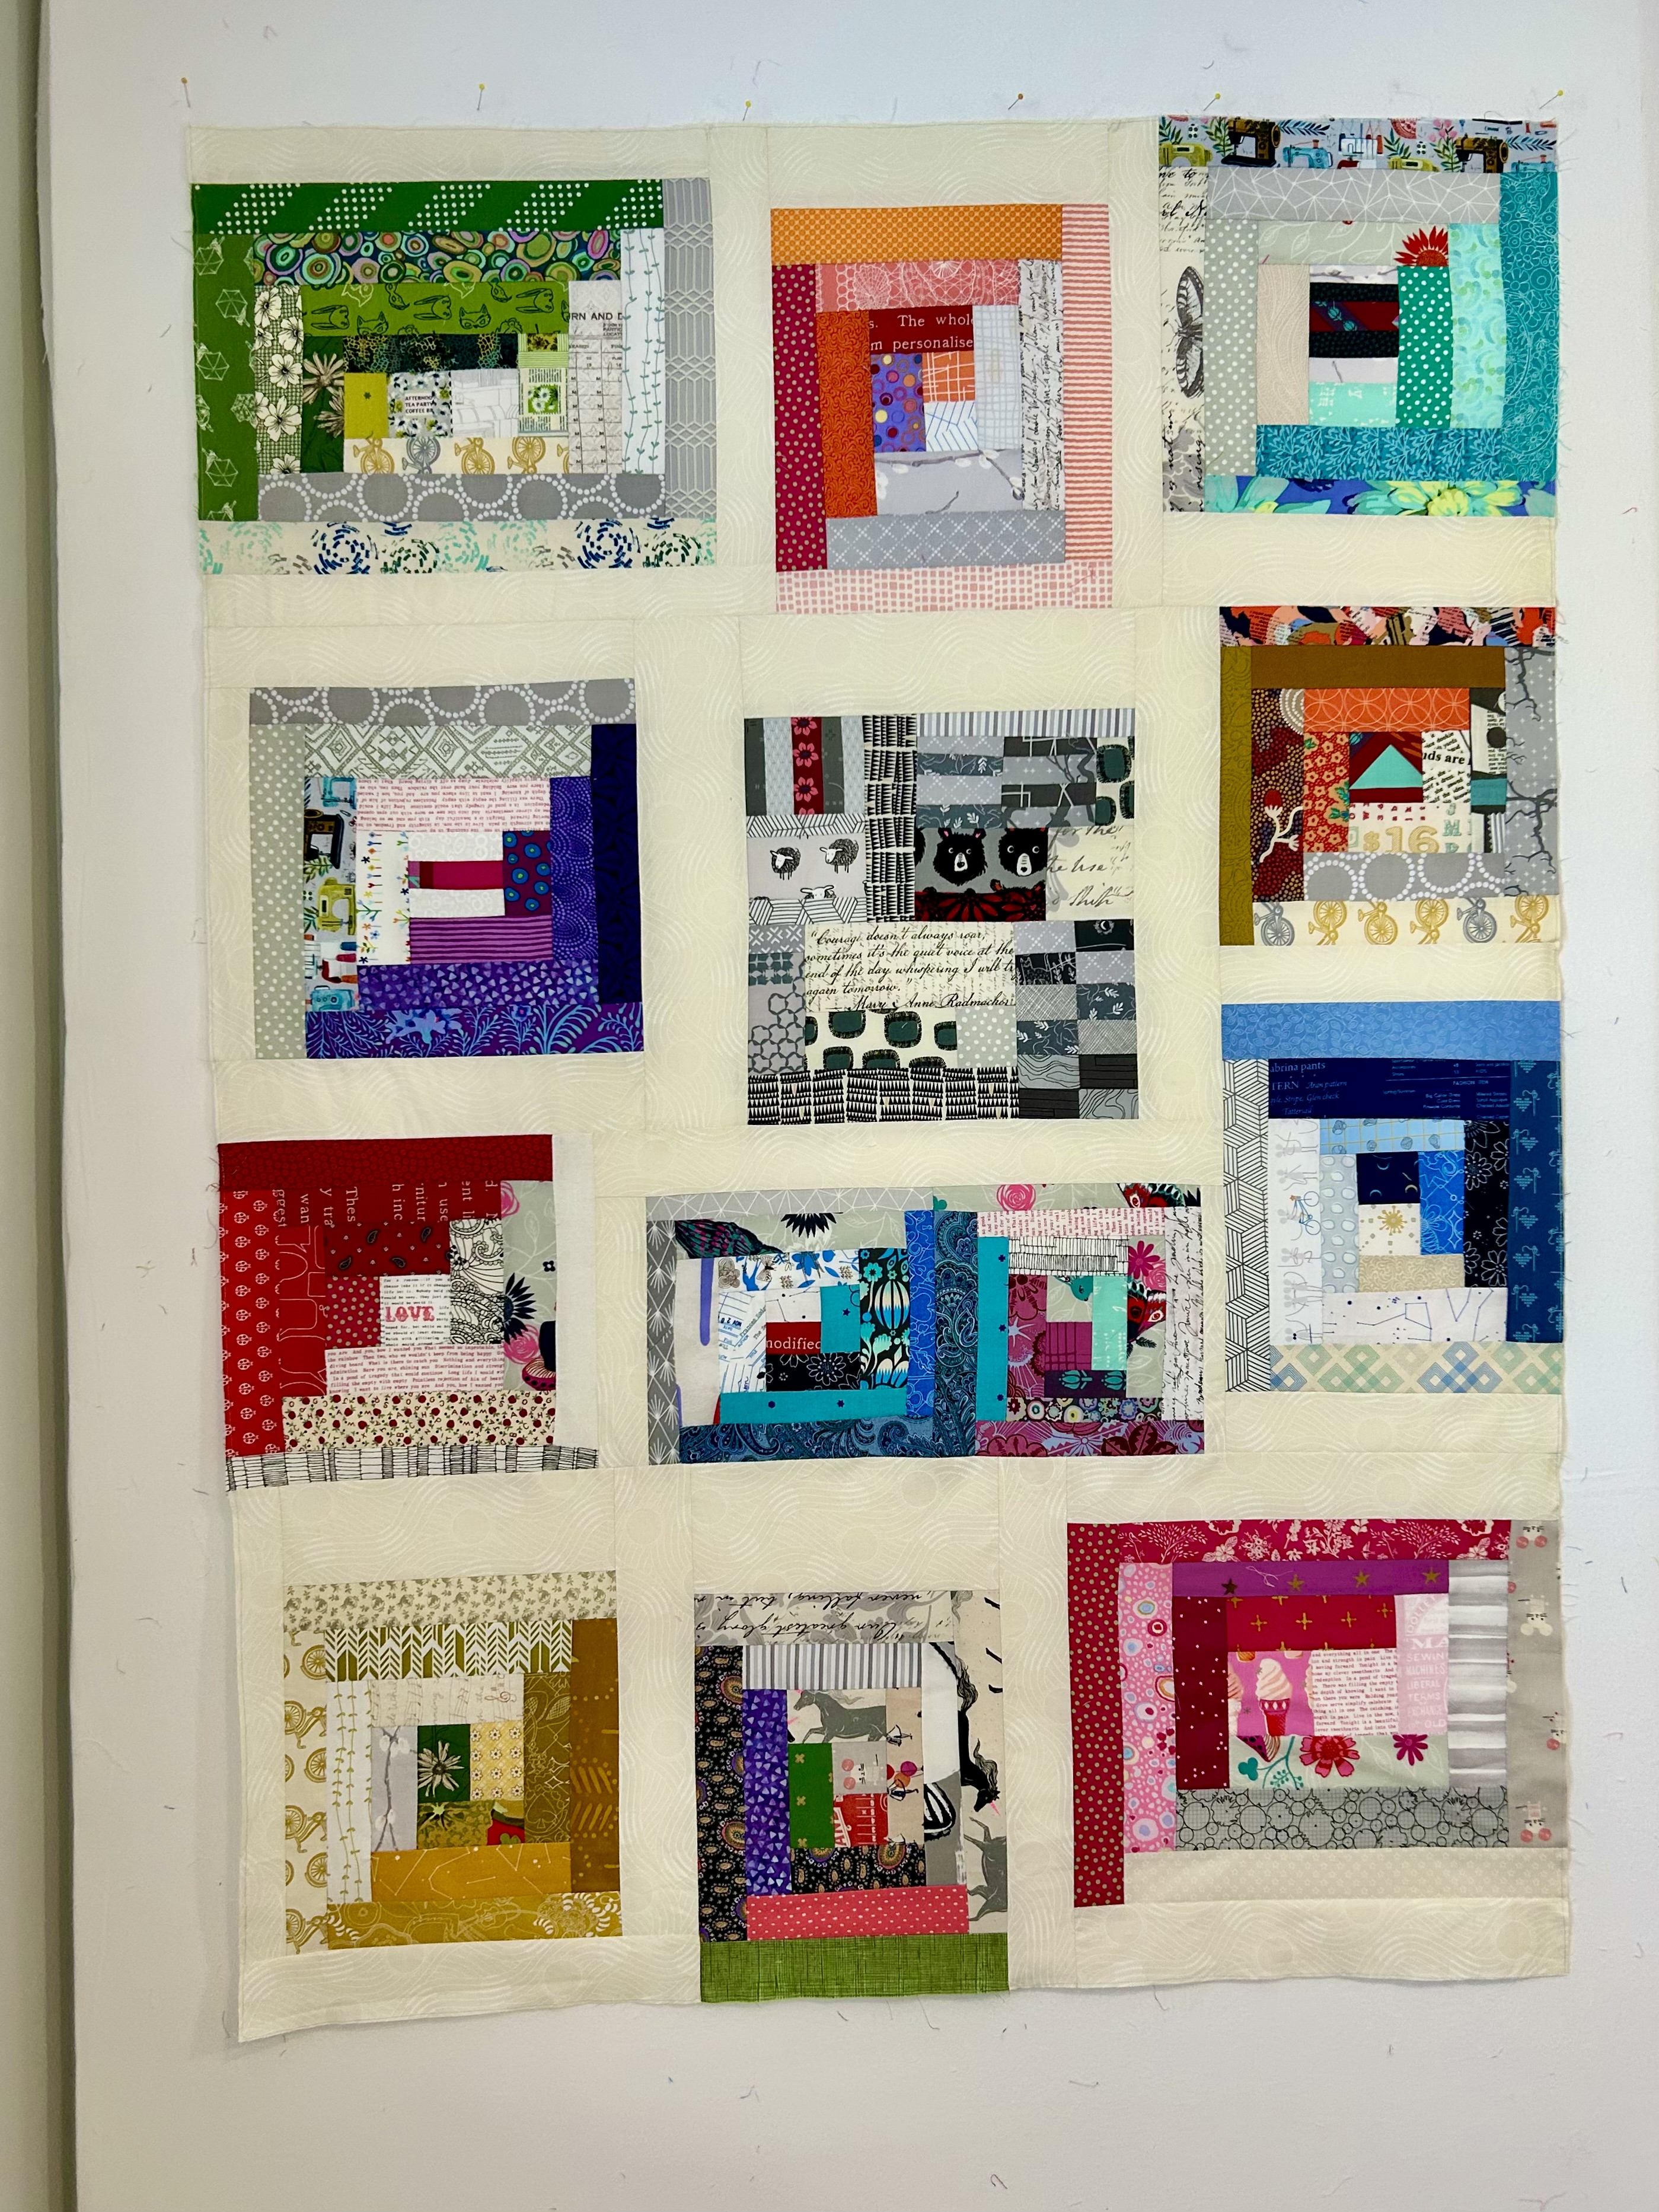
The top of my “Scrap Cabin” quilt is done. Thanks Rachel Hauser (Stitched in Color) for this pattern and for the online sewalong in January. Note: Rachel is going to have another sewalong in March if you want to check out her blog. Her new sewalong is a pretty quilt, and there is a nice learning method involved.

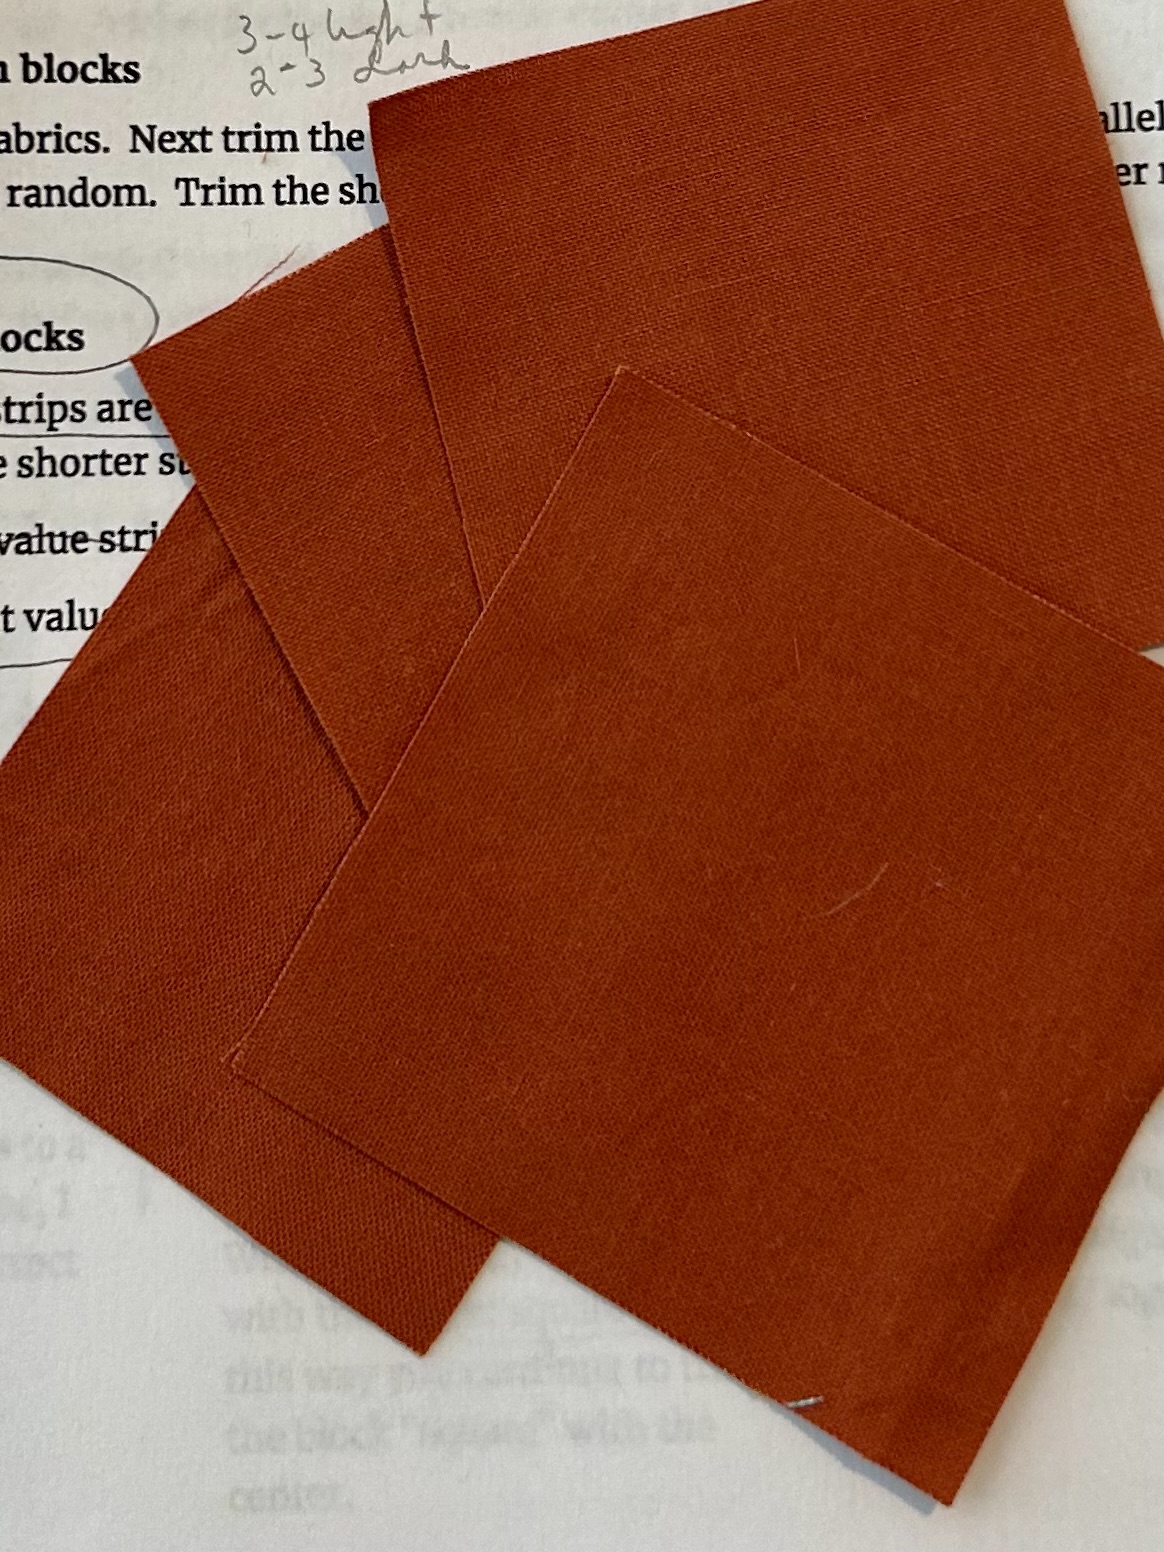
This “Scrap Cabin” quilt has chewed up a LOT of scrap fabrics, which was the point. And next time, I’ll not use the lighter greys in the neutral areas of the center as they dumb down the white areas, which are more flamboyant if kept to the white/light family.
Also, I made dumb mistakes while making that fabulous border. Each individual block unit measured properly, but the some border lengths were too long, and the outer edges were too big for the sewn edge. I knew the center was square. Anyway, I was sewing early evening, wanted to finish this top and didn’t measure the length of each border strip against the center before sewing. NO NO NO. I do know better. When I put the finished top back on the design wall, the borders were rippling in places along the edges and the quilt wouldn’t lie flat as one border in particular had to be eased in too much. Ugh! I was able to fix the problem with another long session of fixing the too-long border and tightening up the edge sewing. So I didn’t have to take off all the borders and start over. I know I got out of that mess lightly. MEASURE A BORDER AGAINST THE QUILT BEFORE SEWING.
Here is a link to Rachel’s finished top below so you can both admire it and see what I mean about these neutrals.
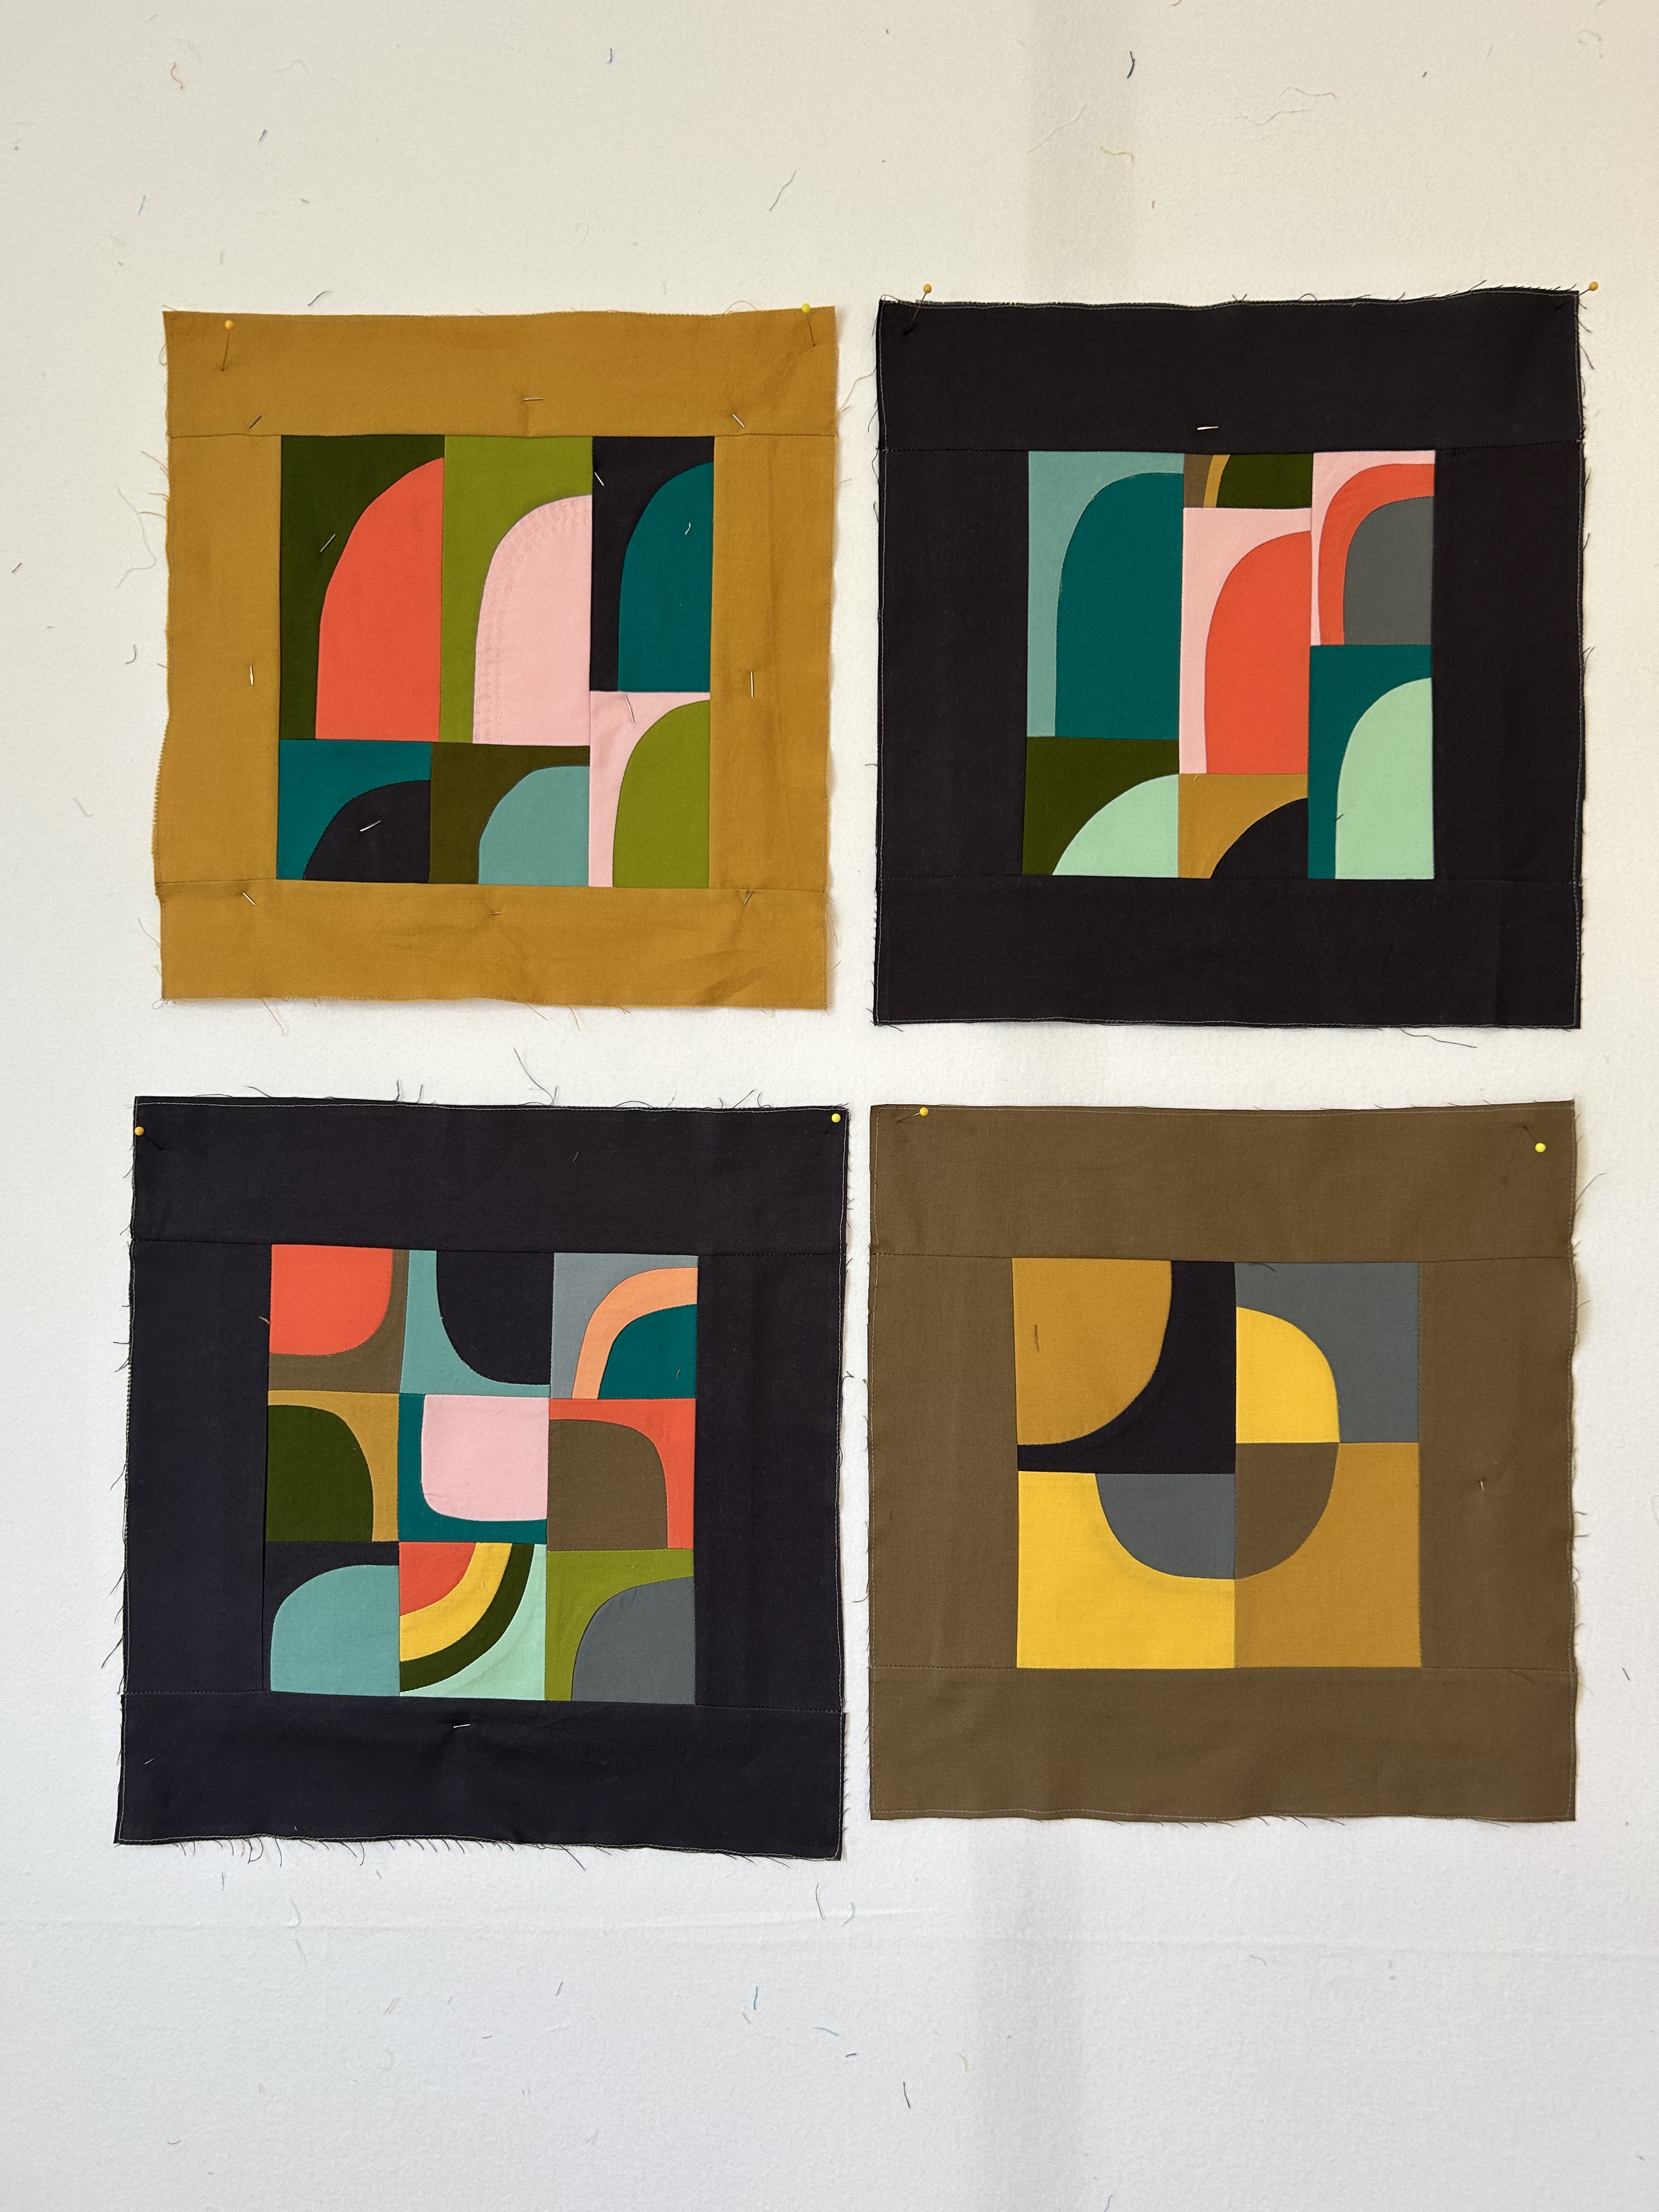
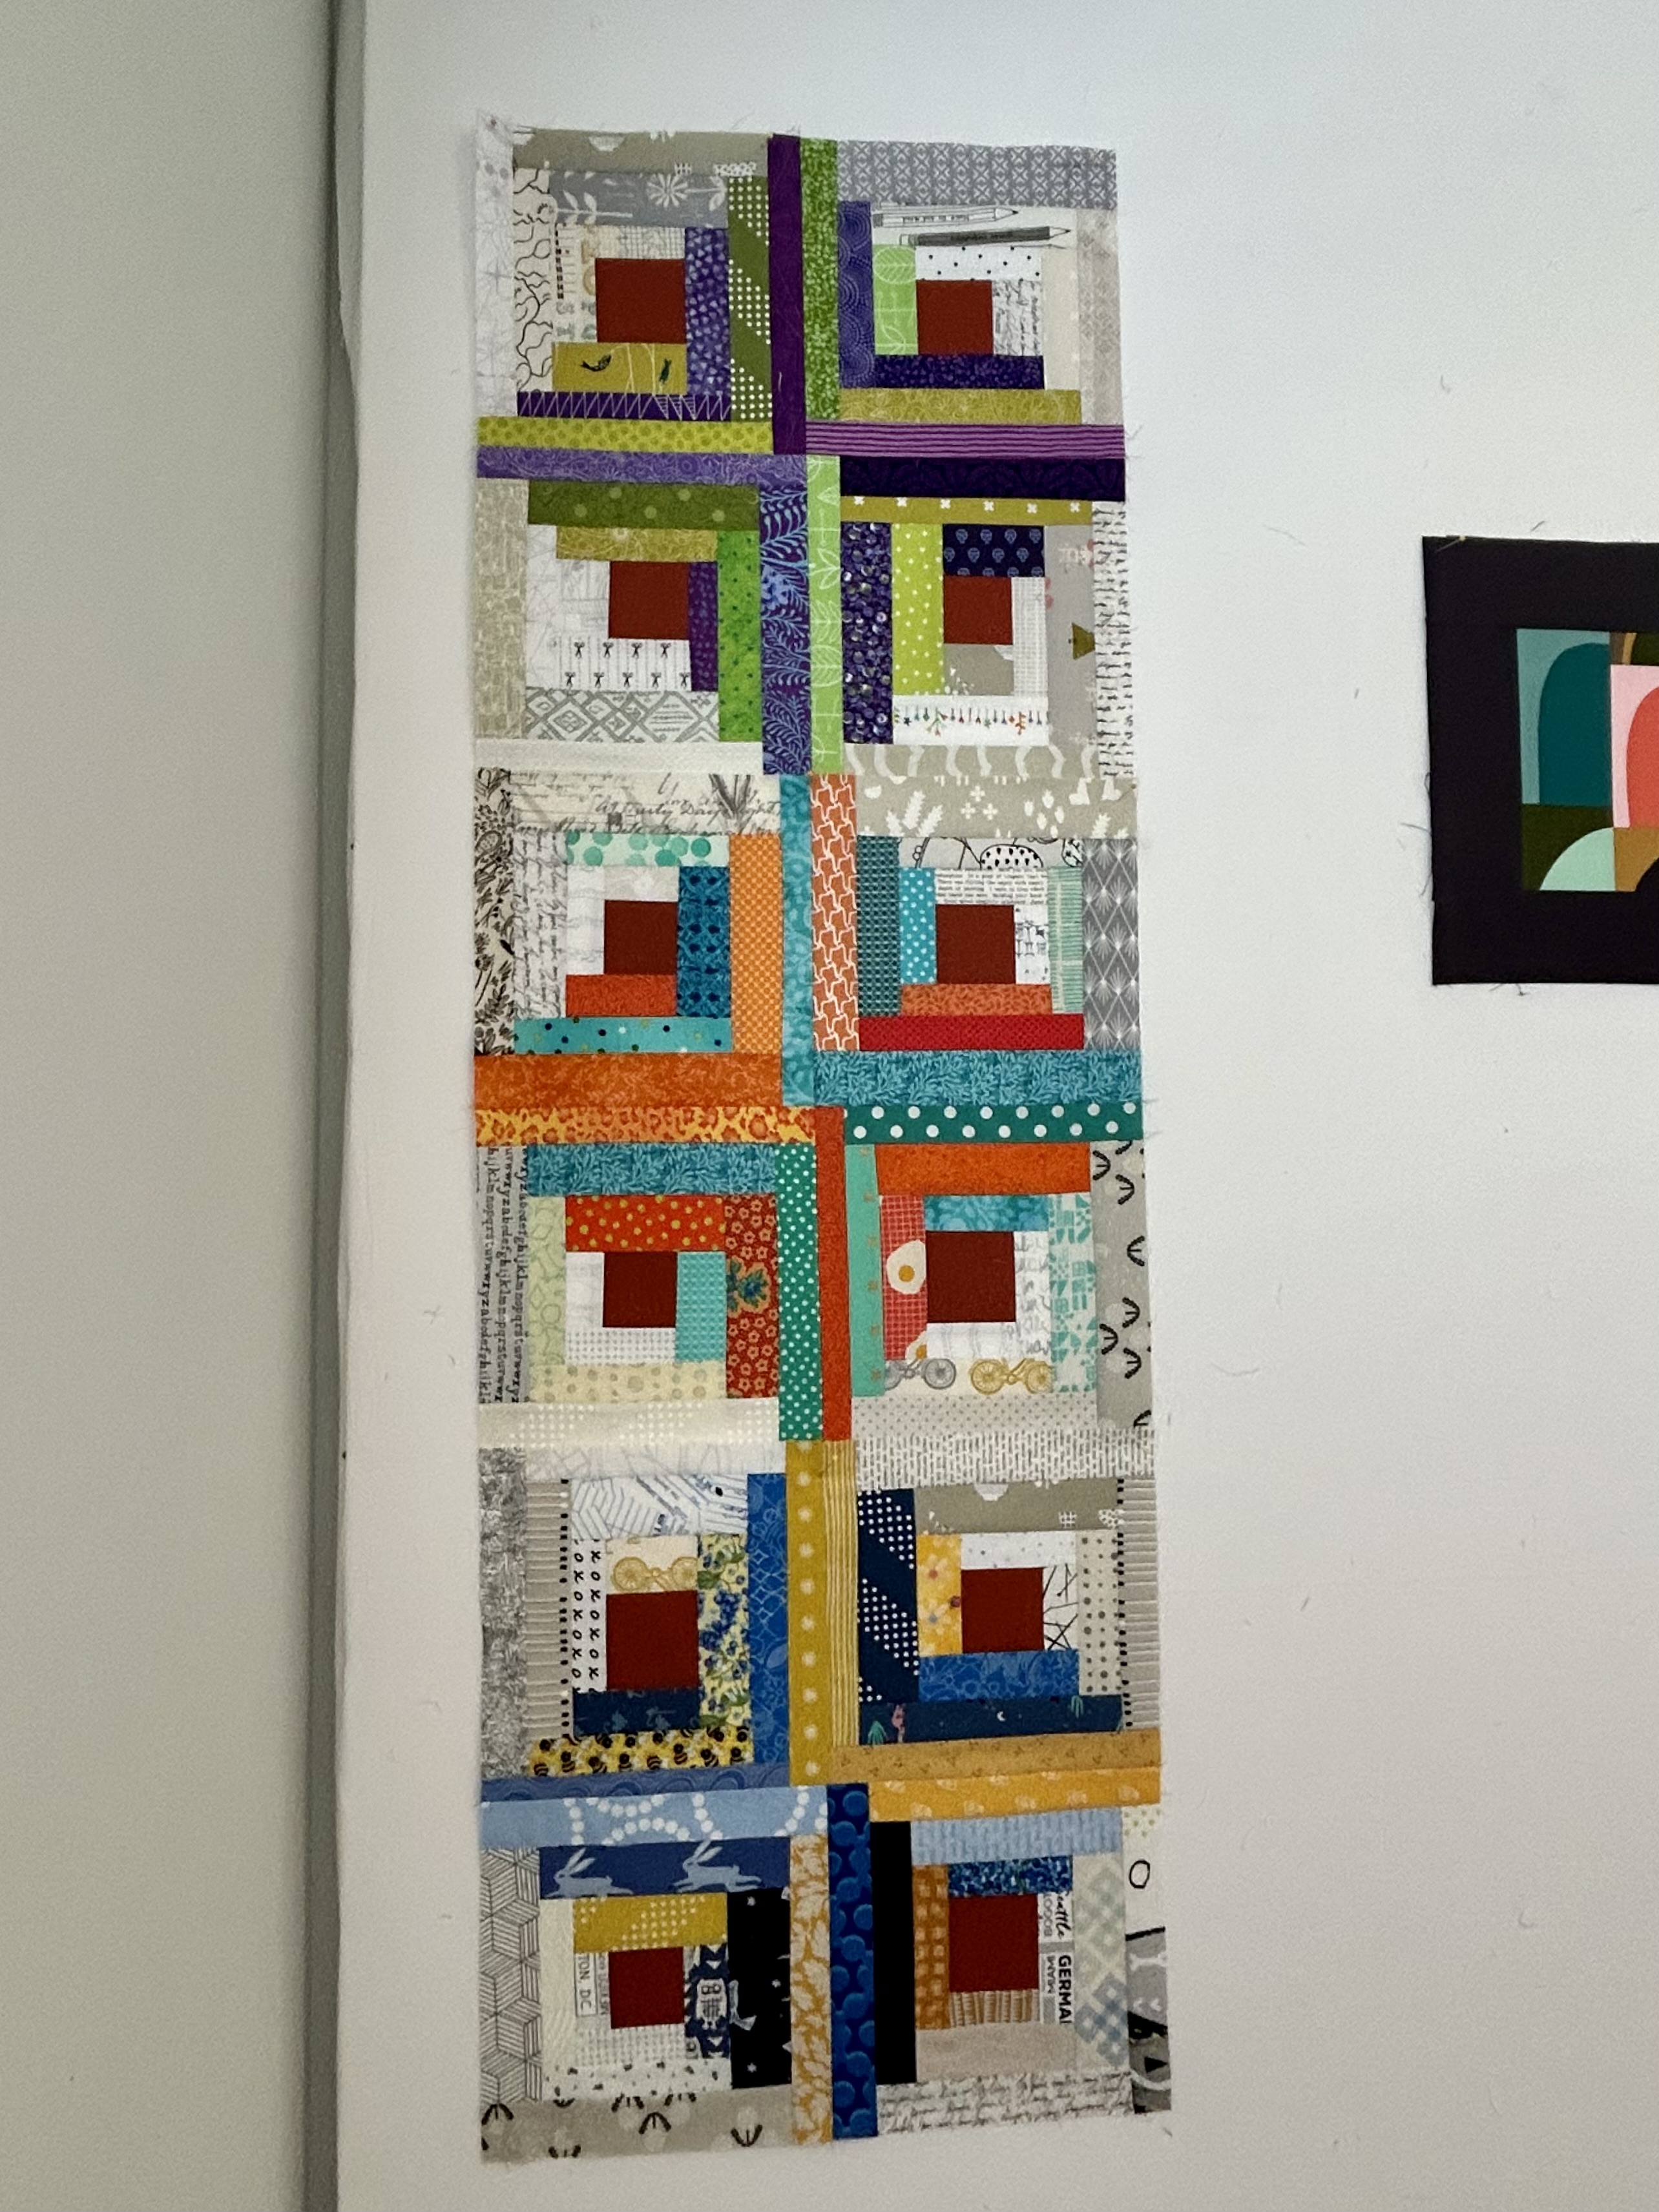
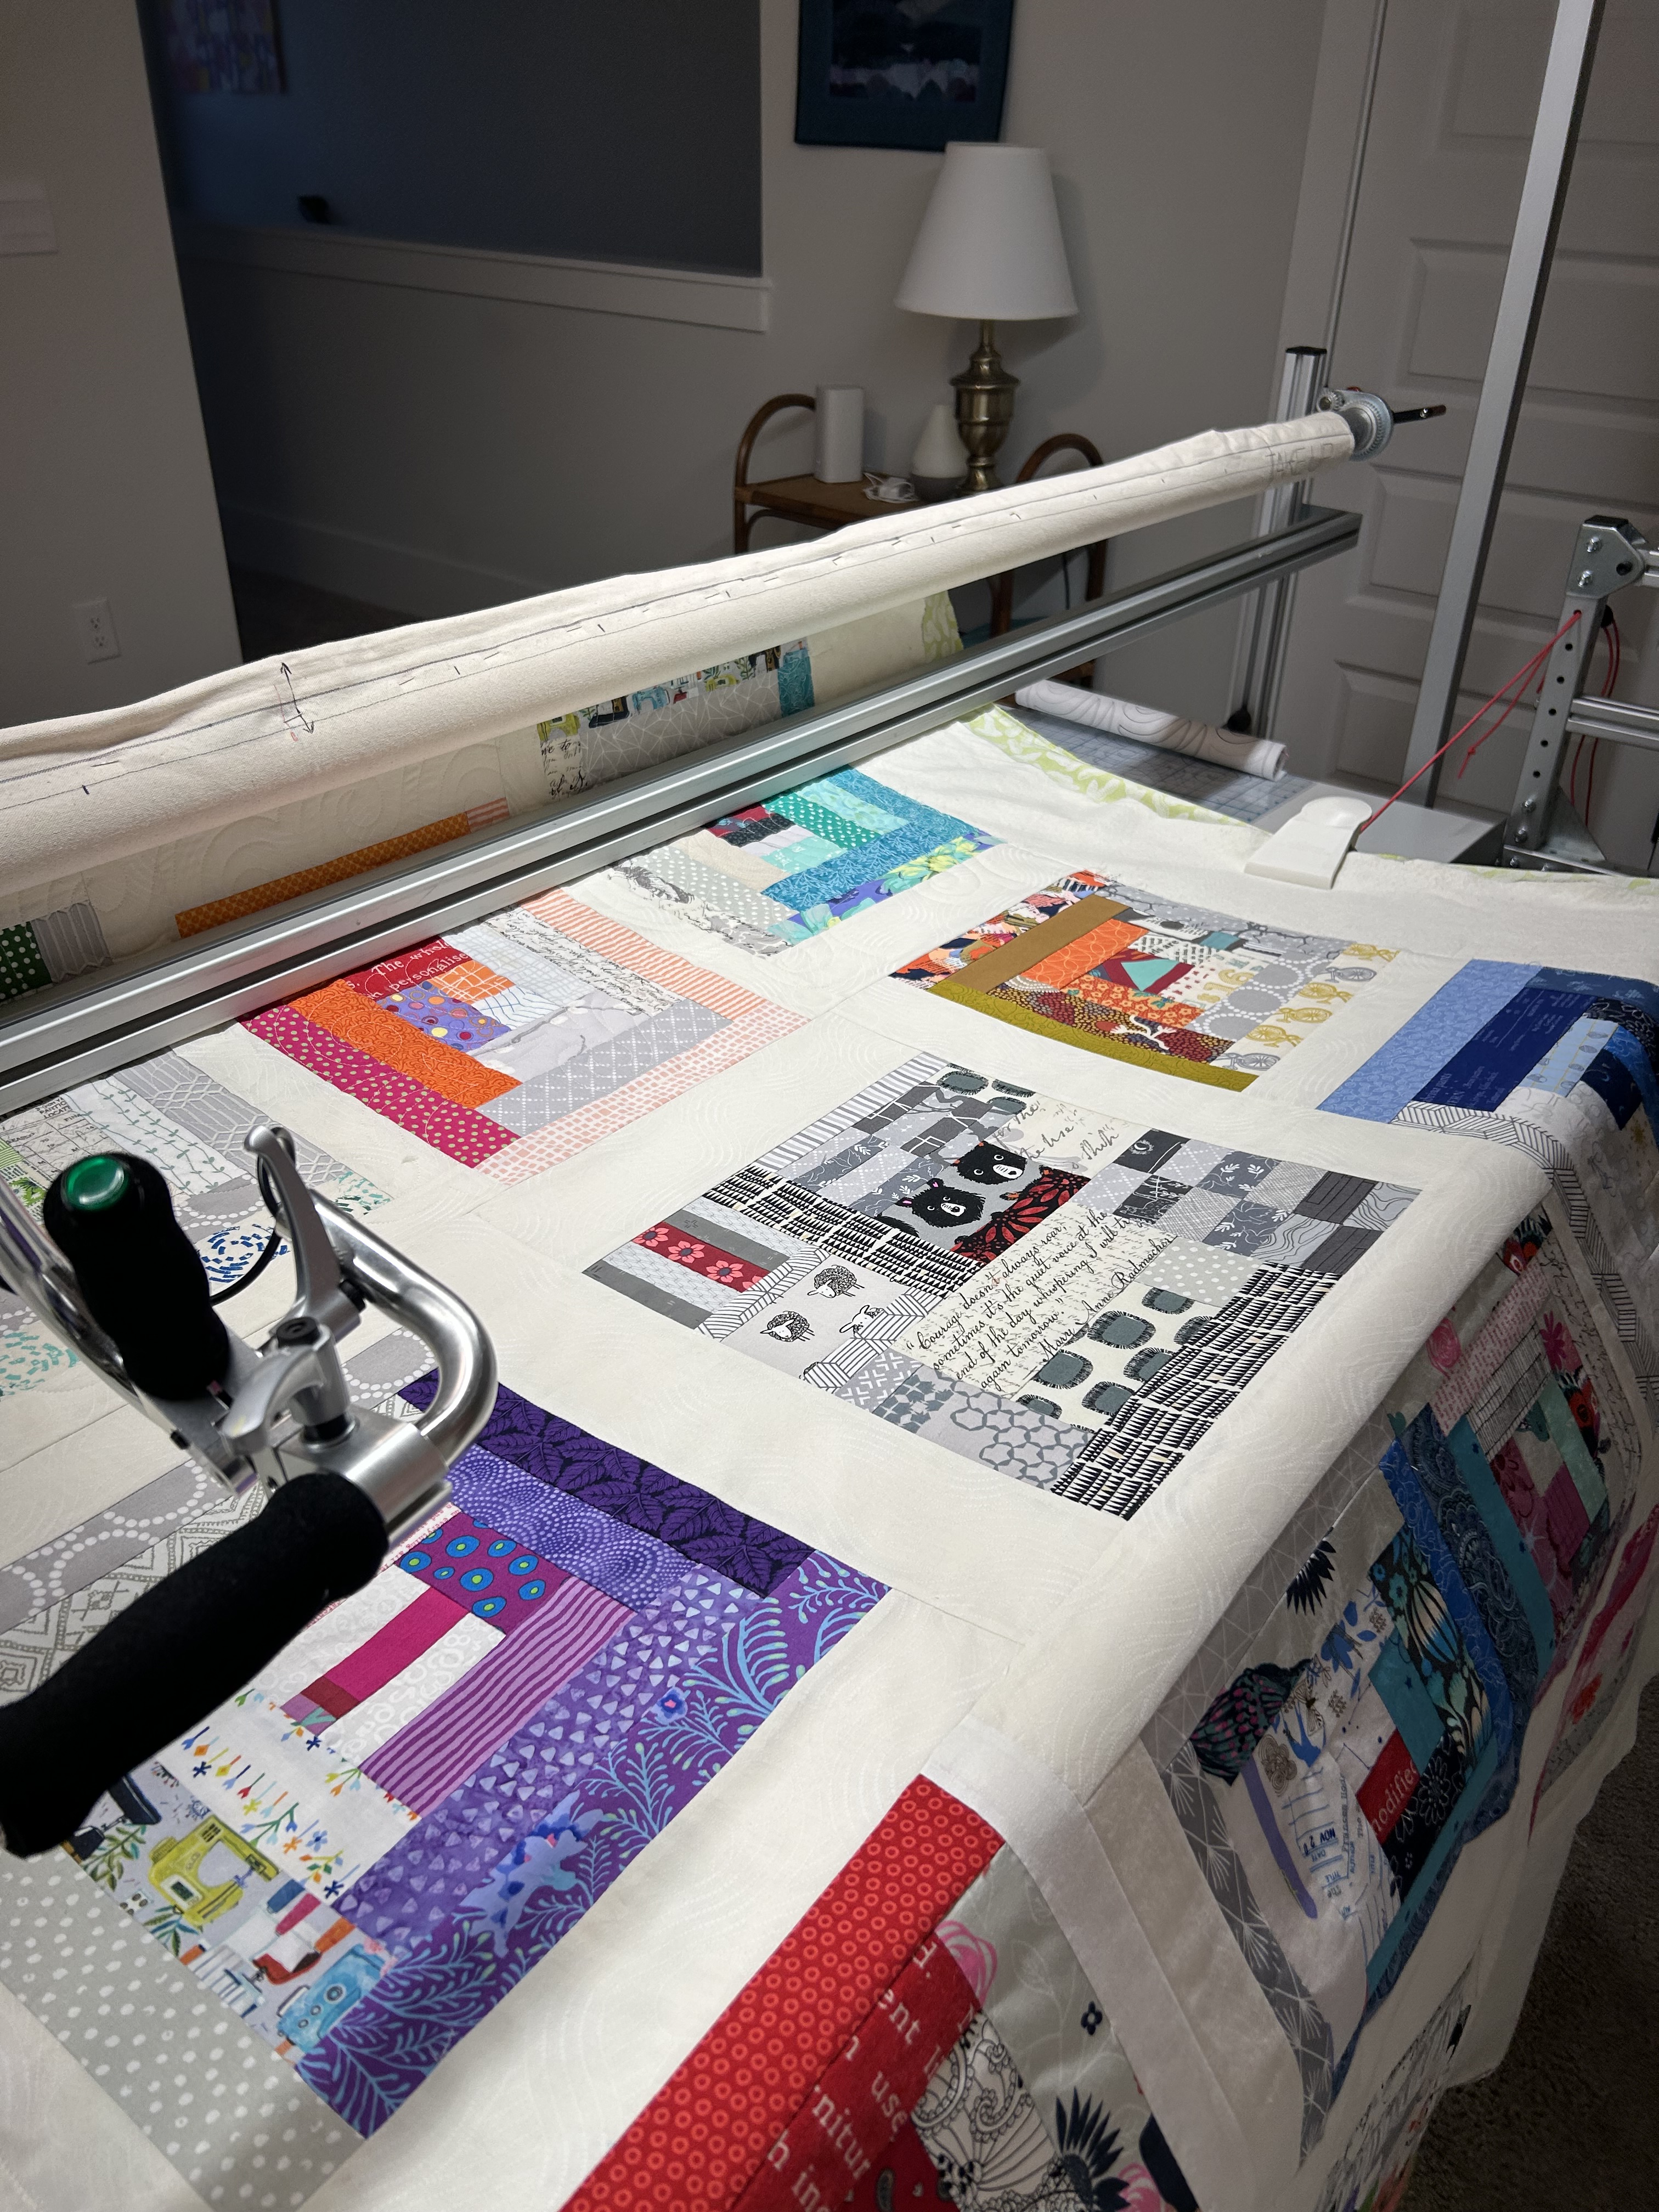
My little hand-sewn improv blocks–which I installed into an improv quilt top with my domestic machine–is on the longarm. It’s not large–a small lap size–so this project will finish fast. And it is…cute. I love improv projects. And as you must know if you read this blog at all, I love hand sewing at night.
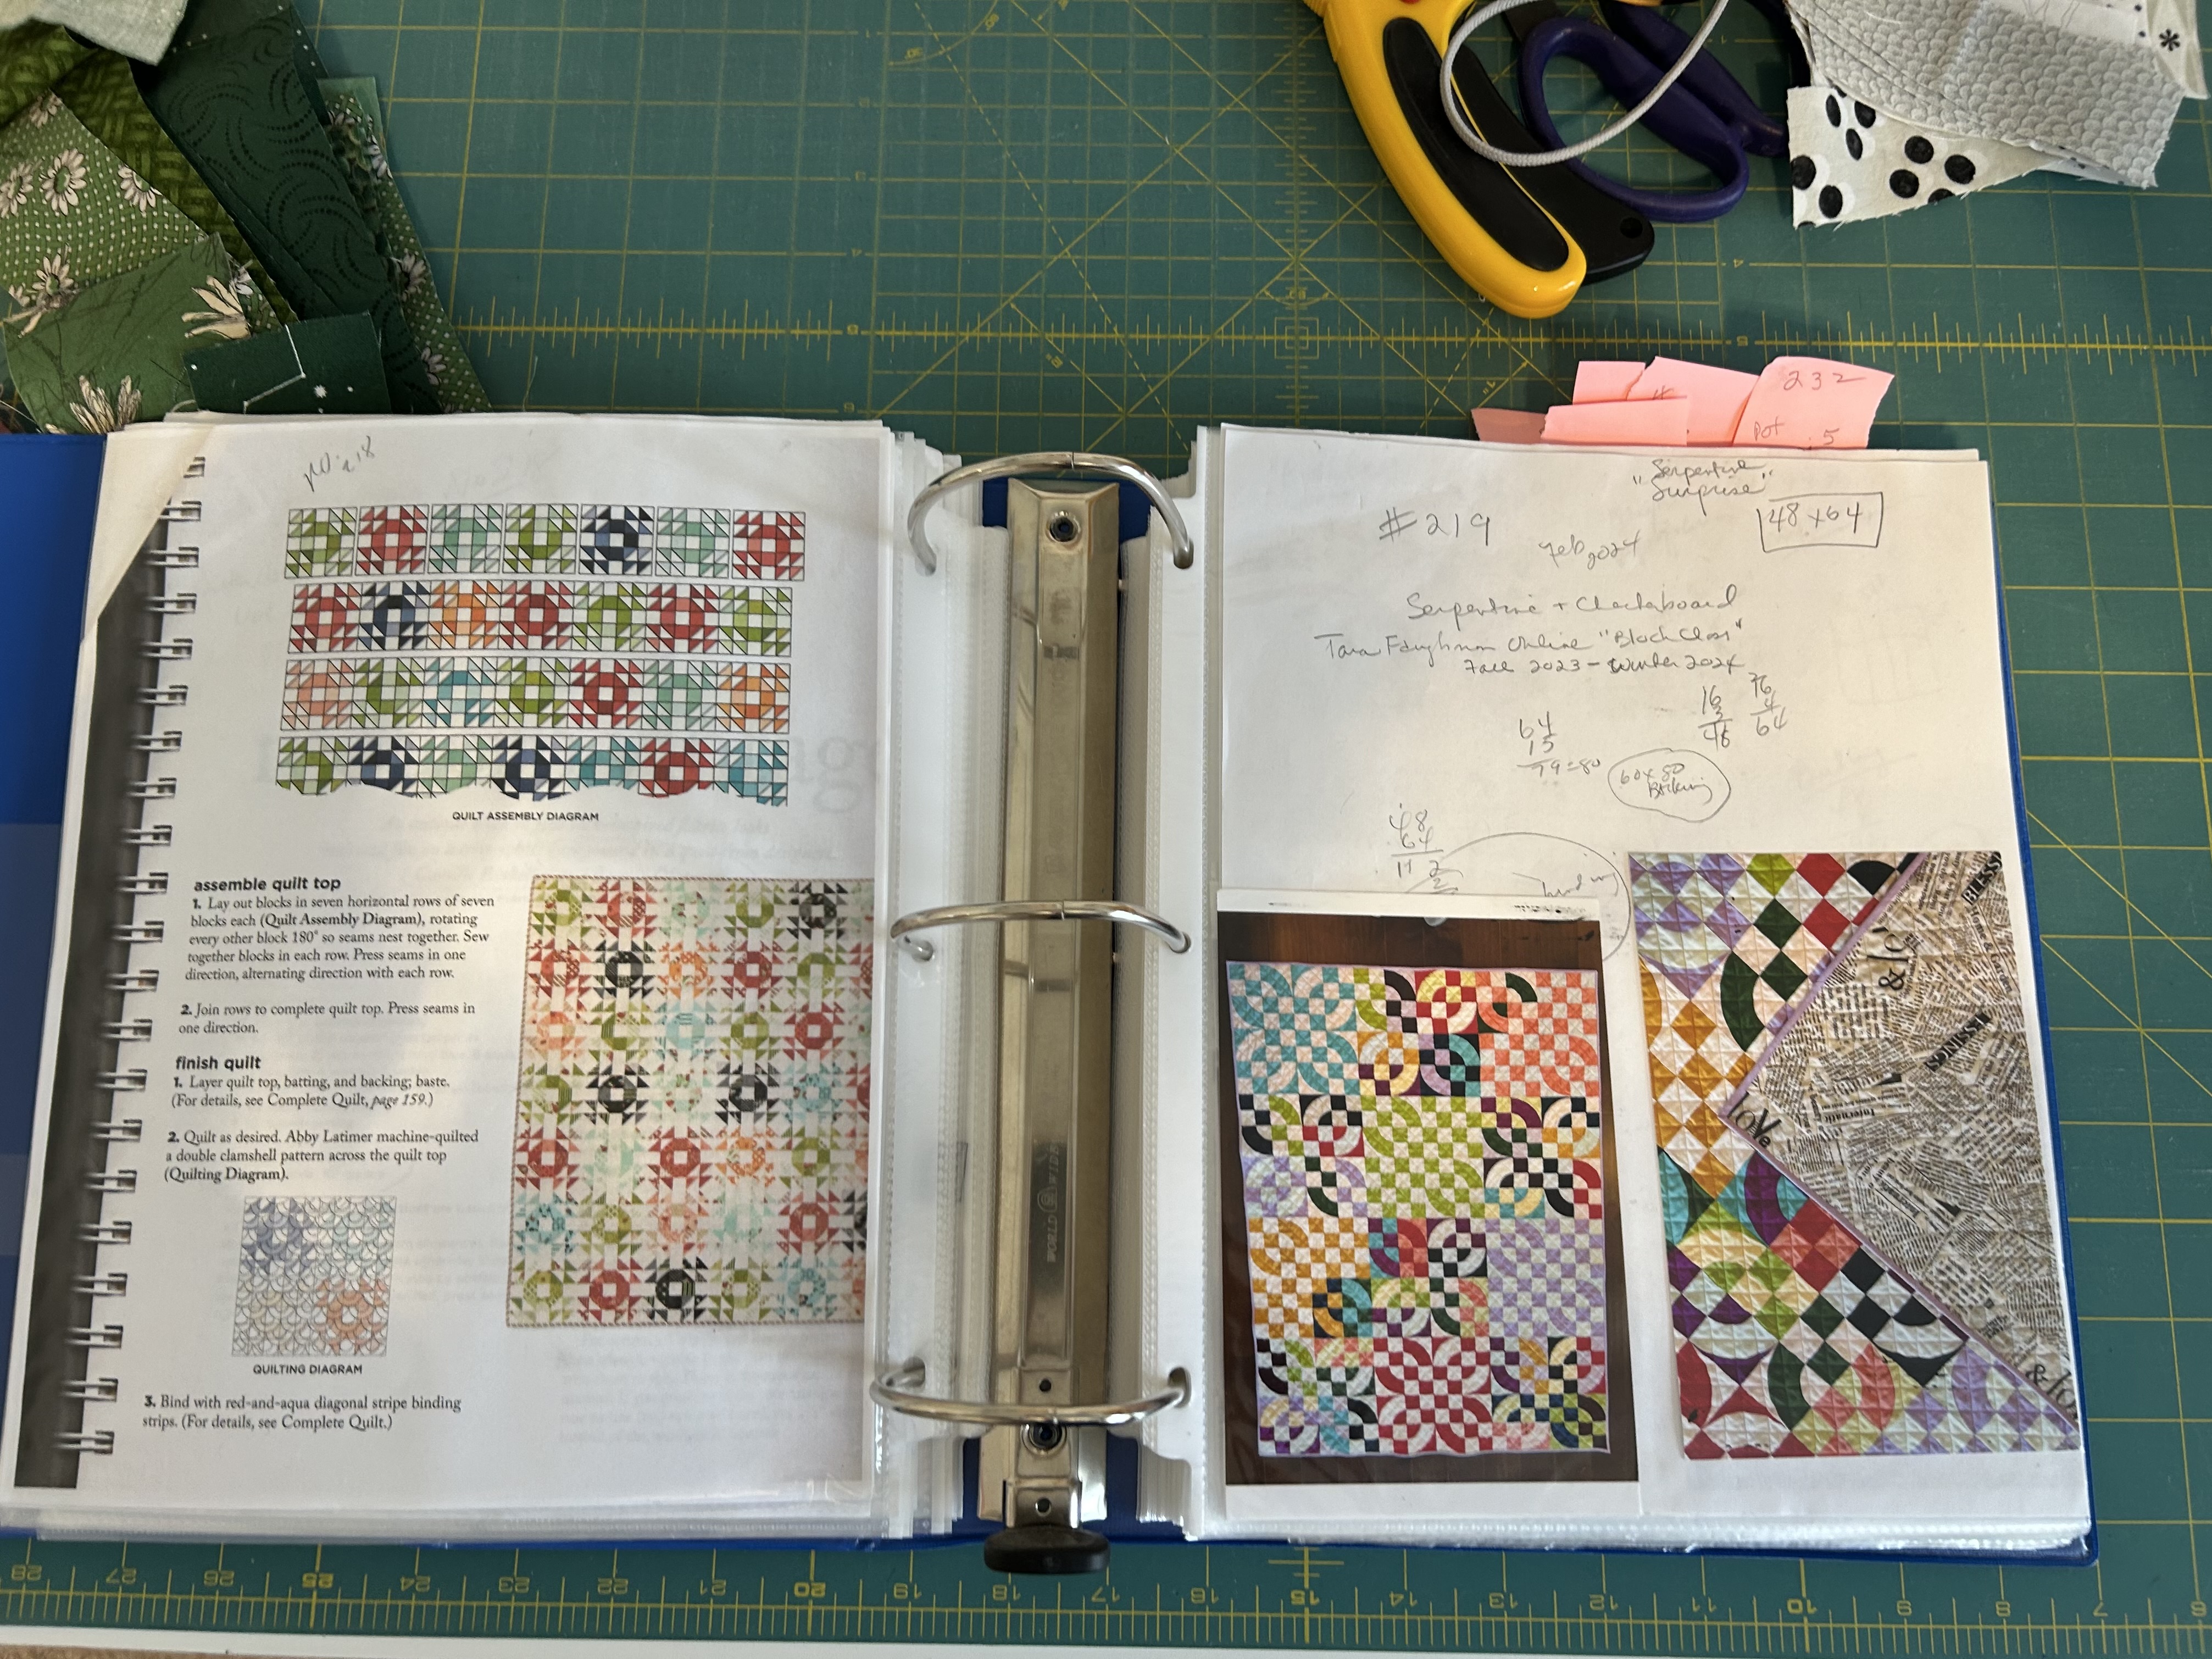
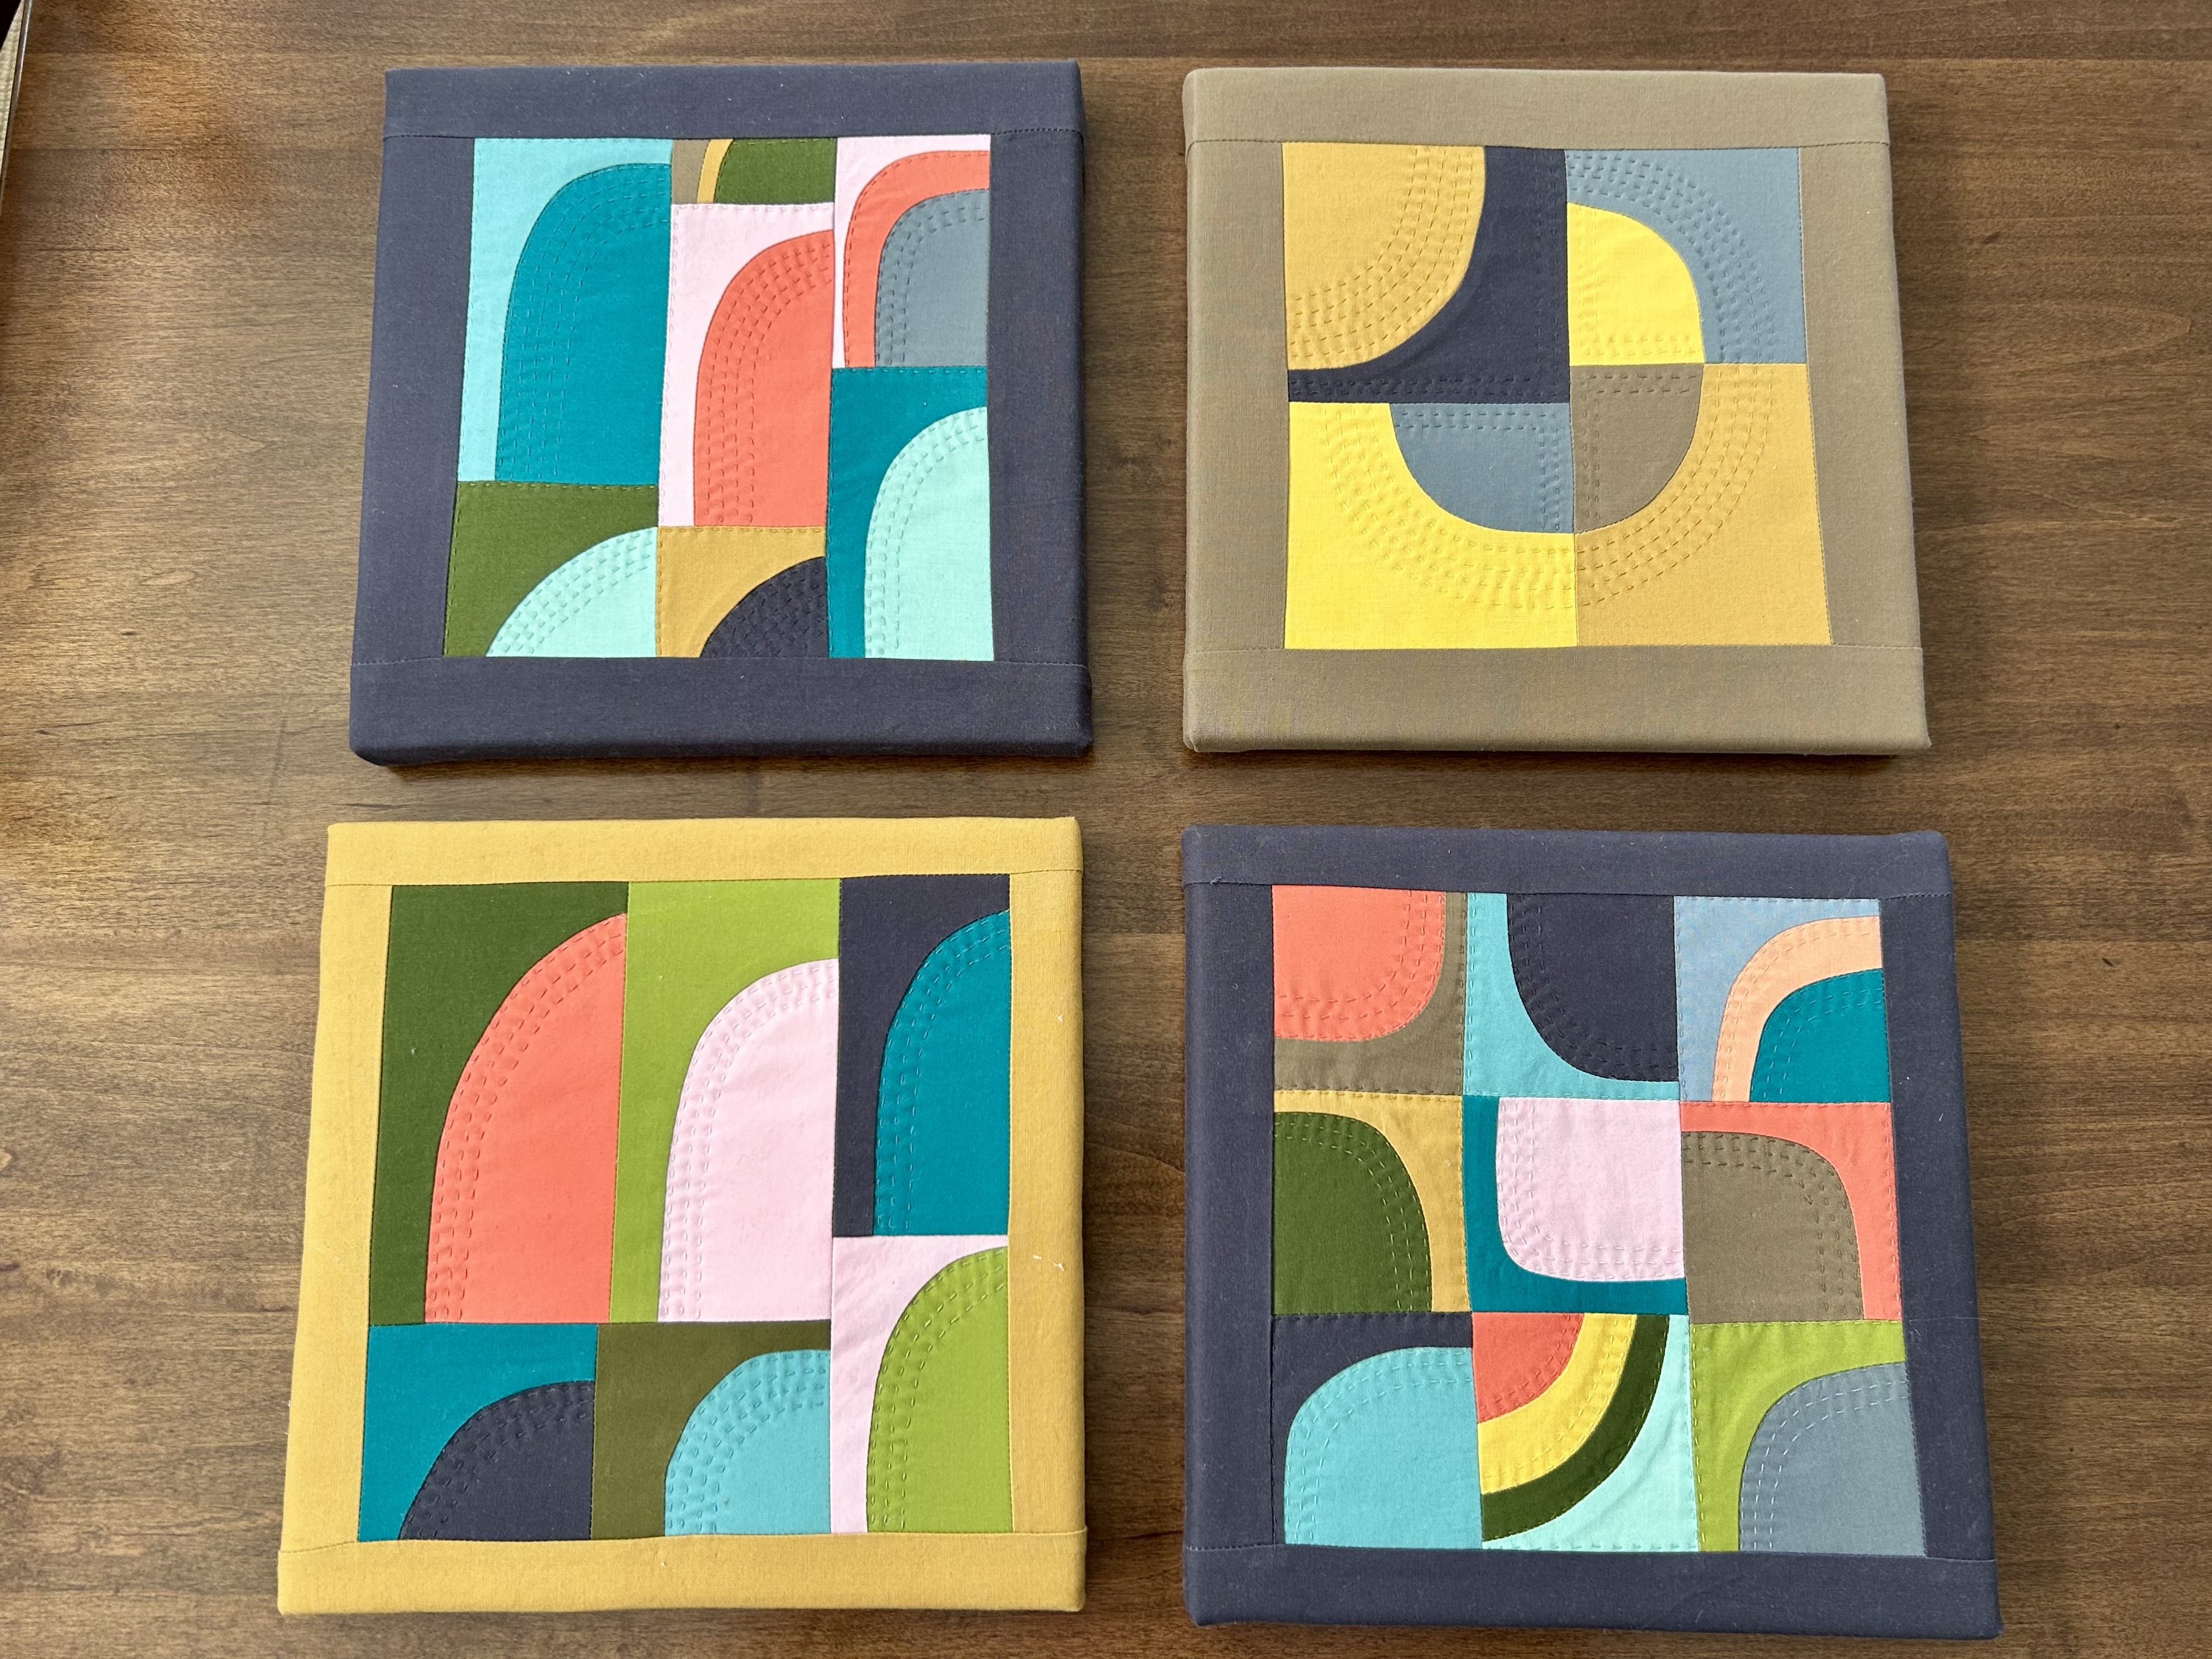
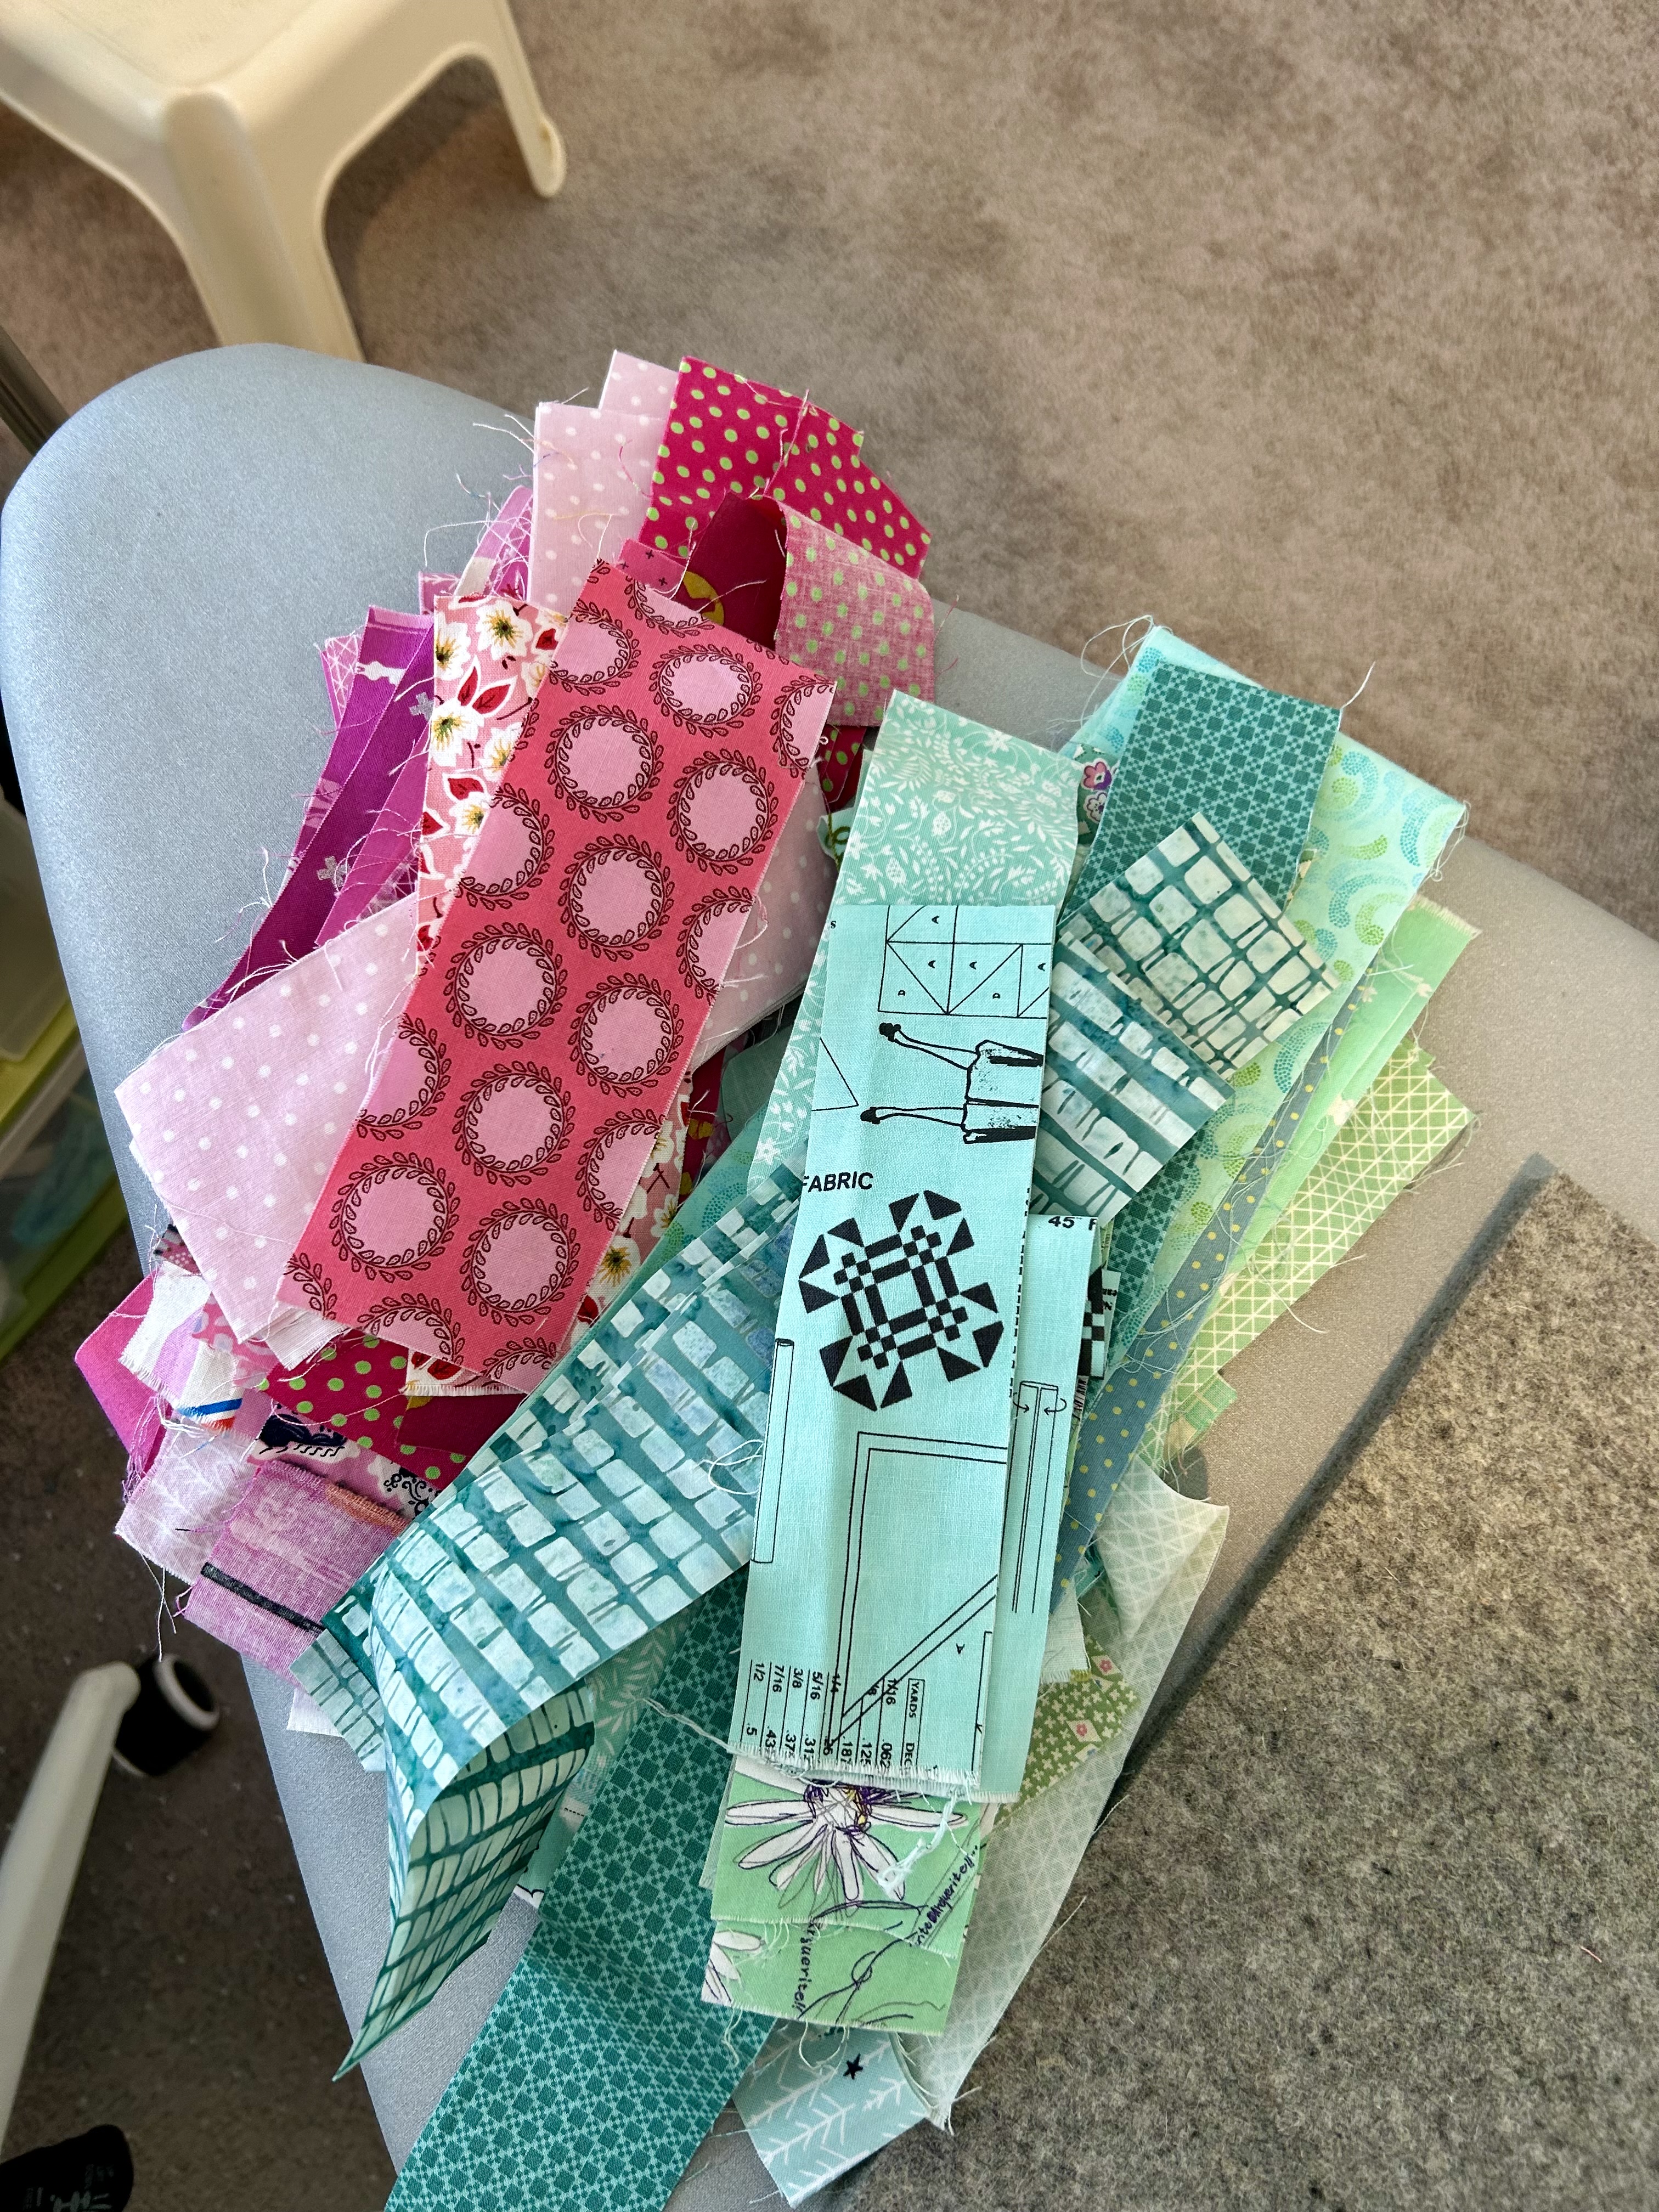
Waiting in the wings is Month 5 of Tara Faughnan’s online Blocks2 class. The ironed fabrics and all the templates are just…waiting. And the 4th and last quilt in my half-rectangle triangle series is waiting to be finished. And I’ve been making some blocks from Annabelle Wrigley’s “Prickley Pear” quilt pattern to try the alternative setting. I don’t know where this one is going–and maybe not far at all. Maybe, only to the stretched canvas frames. Maybe the trash can, LOL.
Have a great week everyone!