It started with the notion that one of the granddaughters who likes to sew might want to make more placemats. She had made some and had a good time, and the family loves using what she made. So they made the suggestion that my granddaughter and I make more placemats.
So I started researching simple ways to carry out such a project with a new sewer so she wouldn’t get frustrated. That meant NOT using binding methods, for starters.
The first idea was to perhaps use the 3 1/2-inch Cotton+Steel/Ruby Star Society squares I had already cut up. AND, to use the method she already knew. Along the way of this placemat journey of recent weeks, I also researched and found an easy way to make single-layer napkins with beautiful mitered corners. Thus the napkins you see in the following pictures. Paige Handmade had a method I really like:
Tara Reid, “The Fastest Way To Sew A Placemat without binding,” is where I started, which was a good refresher for me.
That produced this placemat. It’s ok, but I wanted…something more…something that didn’t need to be sewn AFTER the placemat was turned and ironed.
Next I found Kim Jameson Hirst of Chatterbox Quilts, whose video teaches how to make a placemat where the backing comes forward to the front AFTER using her method to make nifty mitered corners before turning. These placemats were the result–and this method works best with a front that is not pieced with squares as they would be partially covered on the front.

Before turning the backing to the front, you can go back and add a line or two of quilting to hold the back down firmly. Note that these added lines would just show double on the front, as you can see with the cats.

This link should work if you click on it: quilted placemats without binding
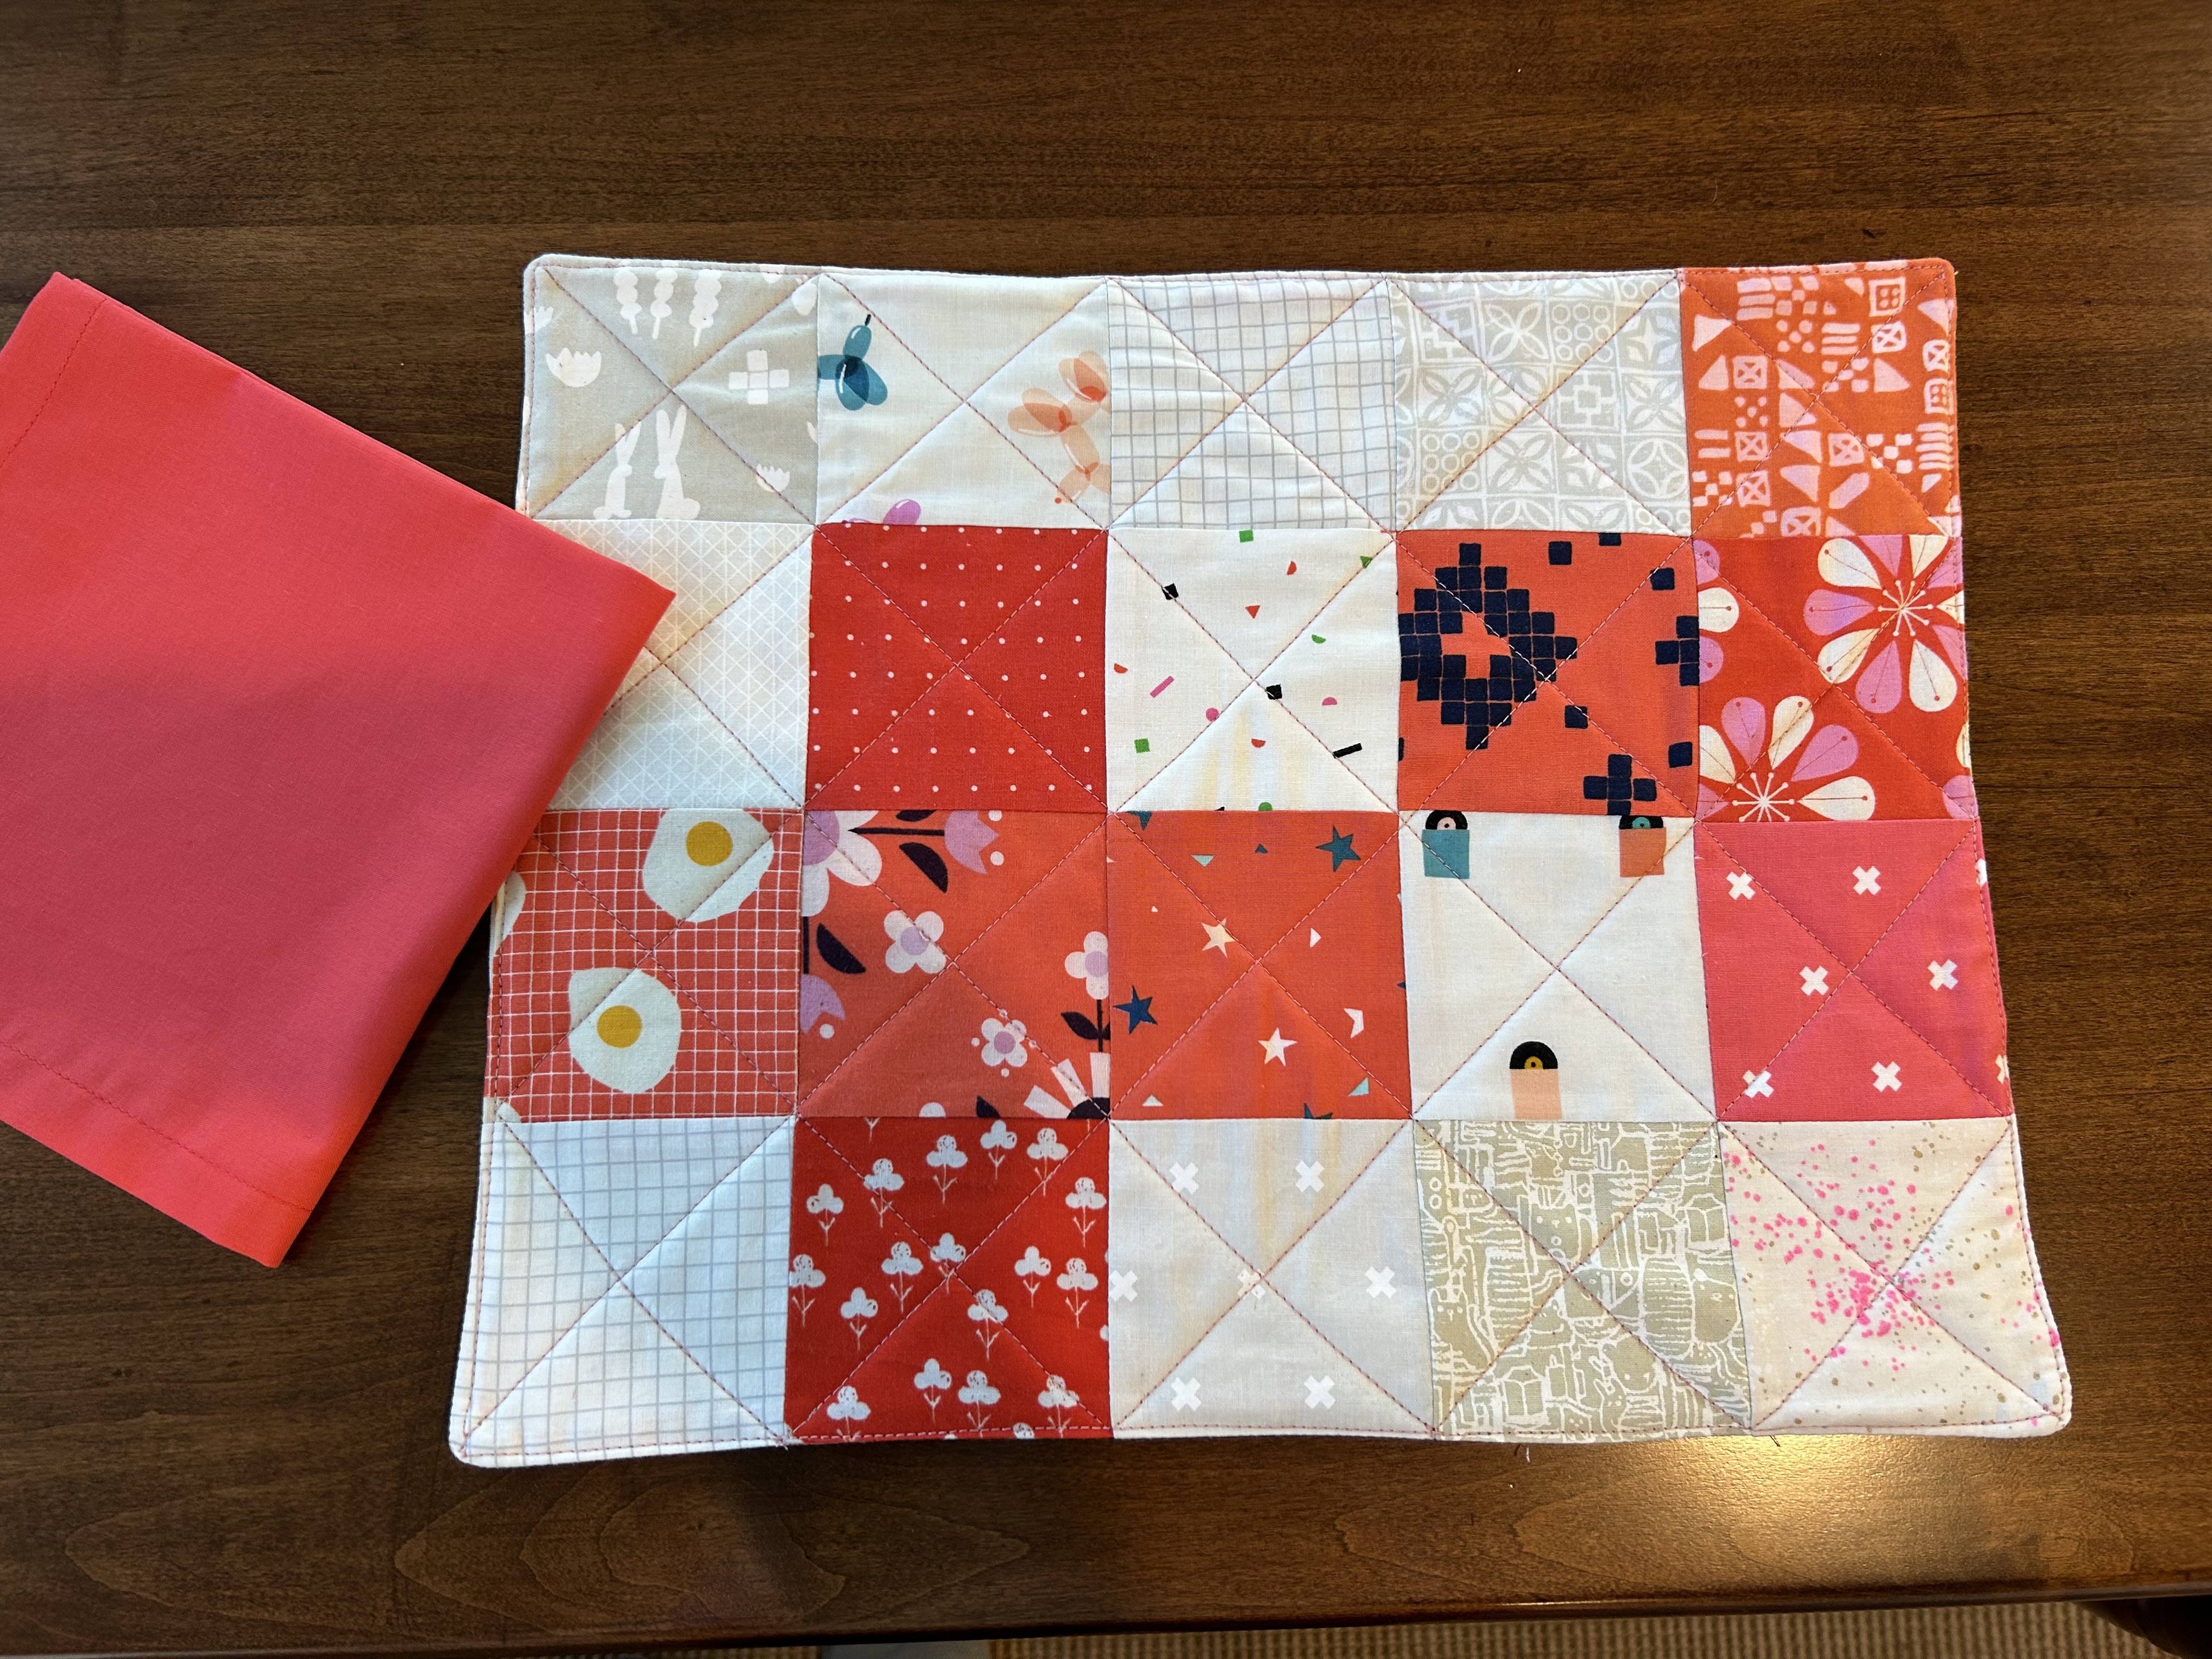
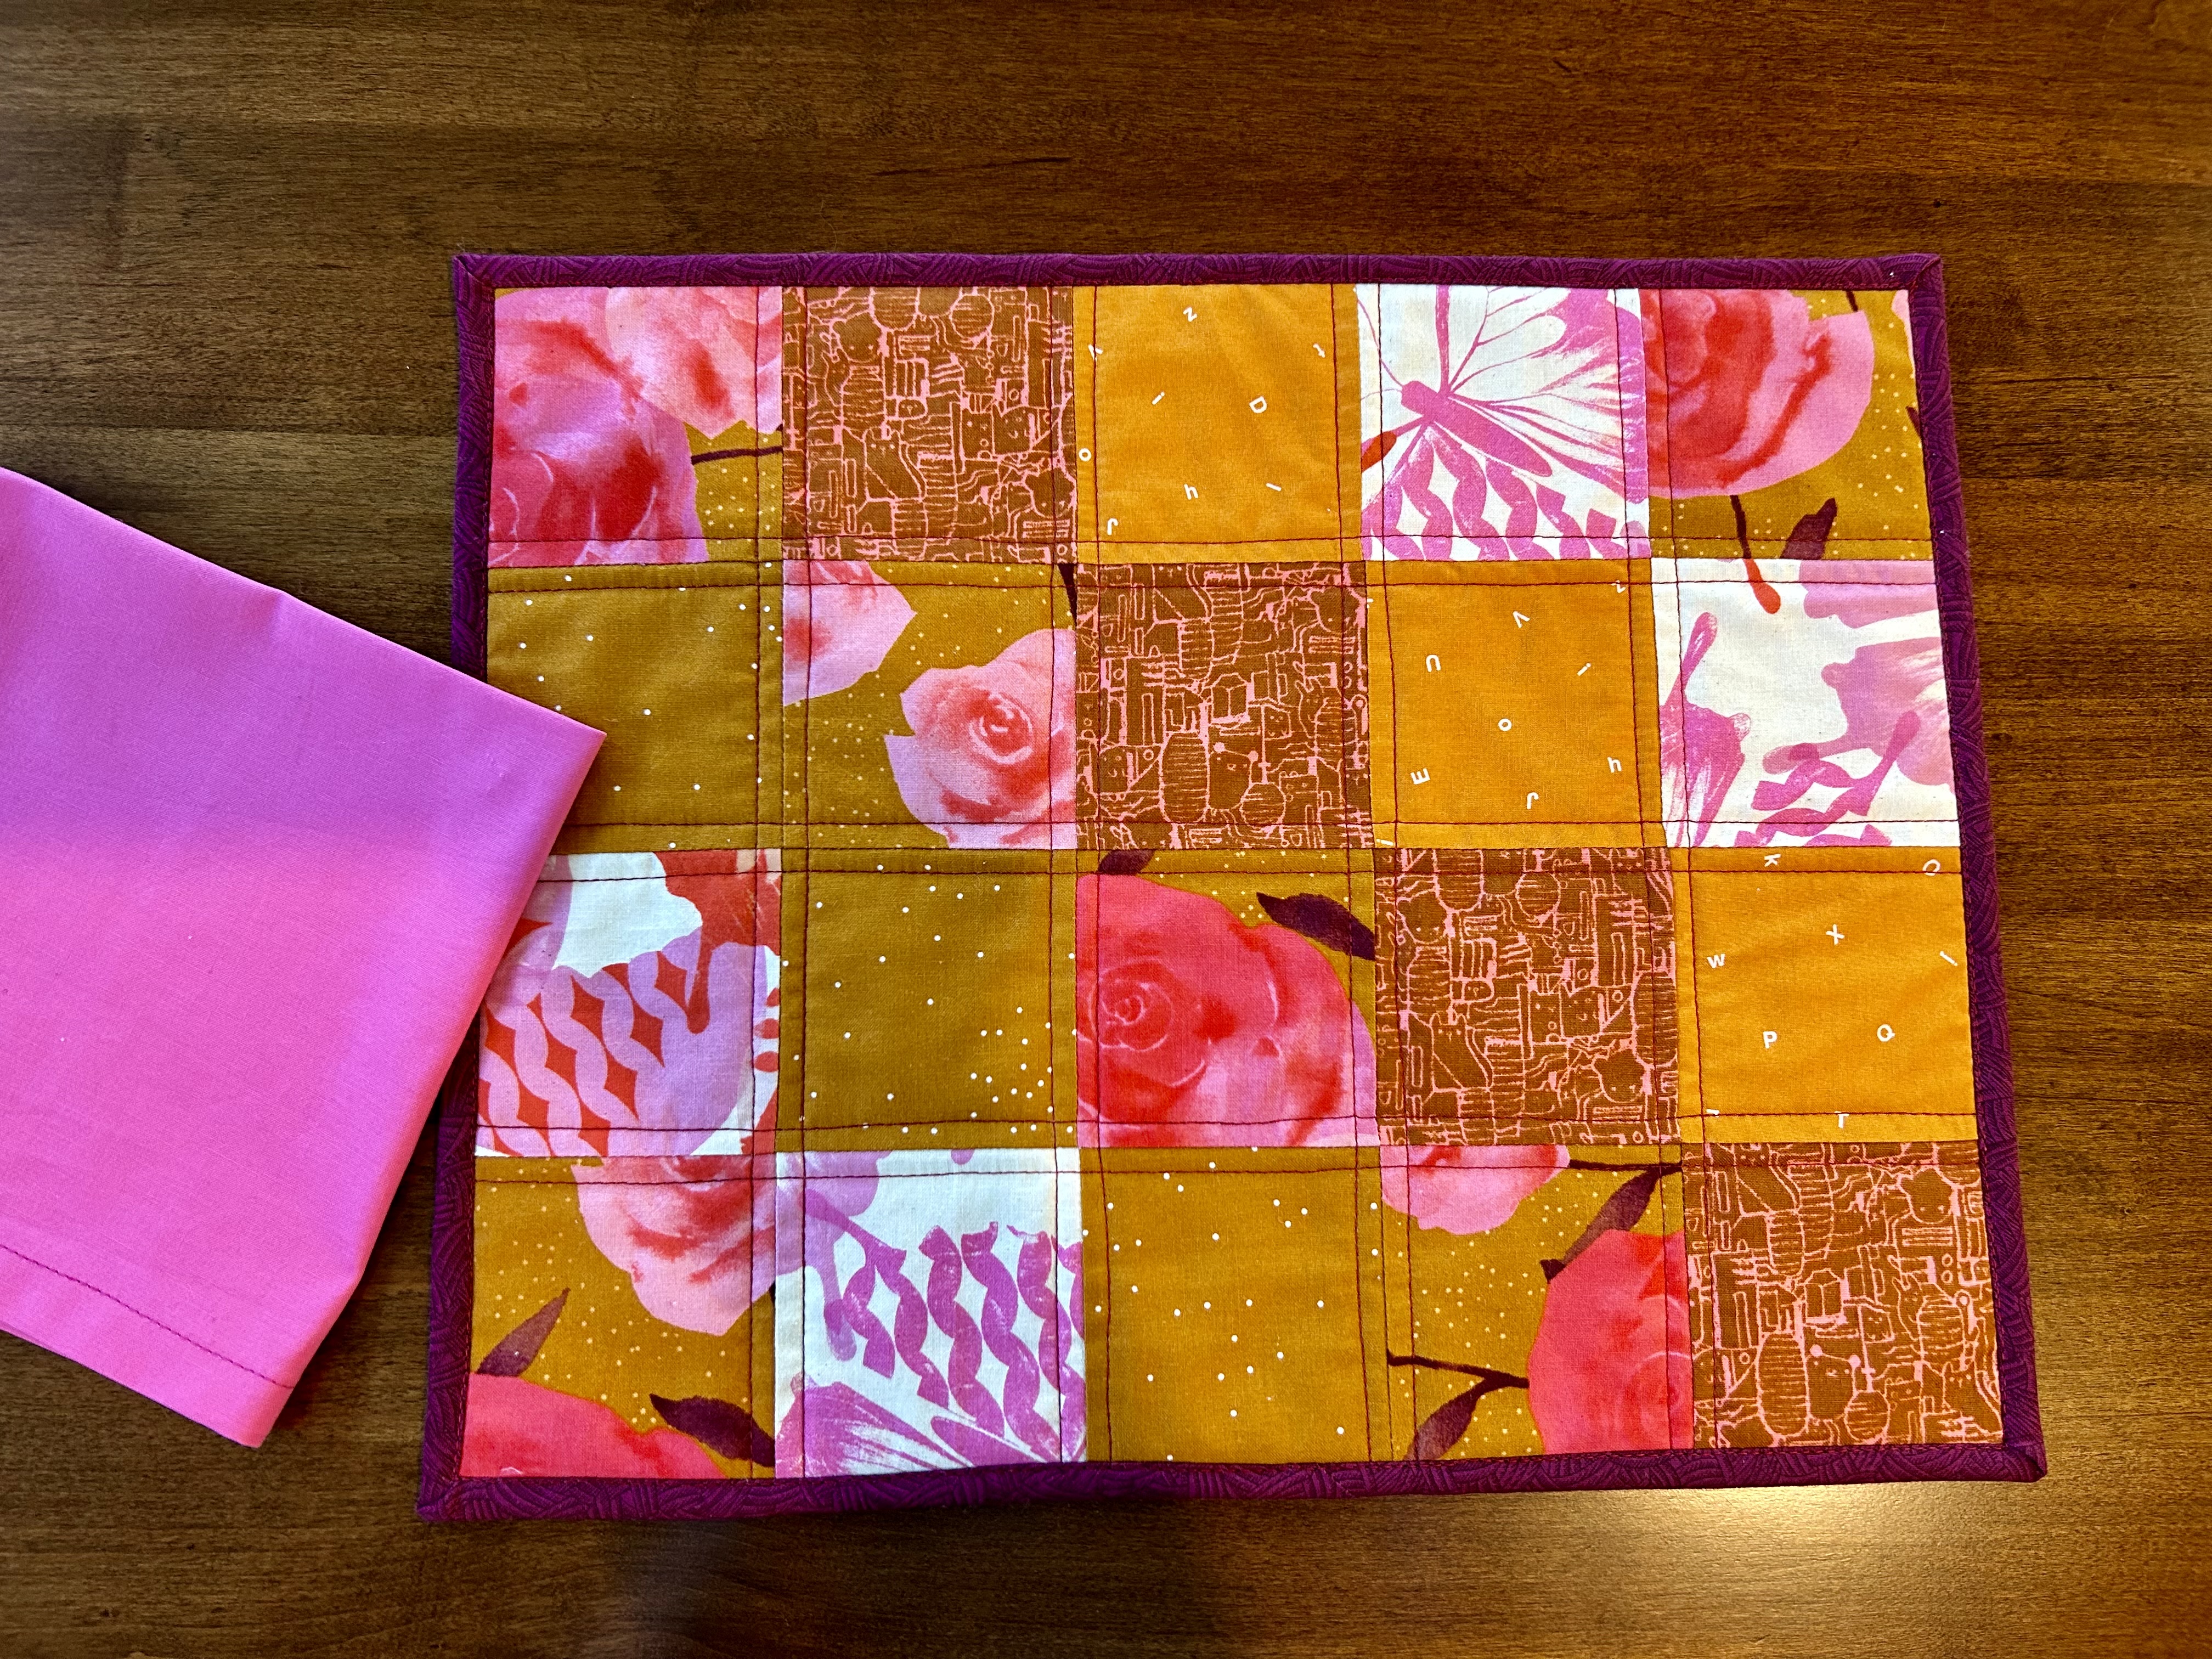
Geta Grama, a Romanian quilter, gave me the best method to use with my squares I think, because I could maintain the integrity of the squares–as in not cutting off any of the outside squares AND creating an opening in the center back of the placemat so I didn’t need to worry about turning the placemat and closing up the hole on the side in a way that didn’t make a straight line.
These placemats were made with that method. For the top one I sewed over two lines so the back would be anchored to the front. And on the bottom I just sewed two extra lines alongside existing lines, about 1/4 inch apart. I was careful to start and stop my seams along the outside sewing line and to tack them down well so I could trim off the threads easily.

Finally, along the journey I did make a placemat with a binding–which allowed me to quilt all three layers at one time, of course. And of all of the placemats, I do prefer this one for myself. I tried something one of you suggested when I was playing around with potholders–I used 1/4 inch fusible tape to glue down the binding on the back–then I sewed (with my walking foot) the binding down from the front. I should have put on the binding with the fold coming to the front–that would have worked really well too, as long as the binding is held very stable with the fusible tape.
And, here is the back of one of the napkins–it’s a print, so the back is not as attractive as the front, as it would be with a solid fabric or a batik. But, you can see how nice Paige Handmaid’s method is–and it’s easy.

The placemats all look really cool on my dining room table. Surprisingly so.

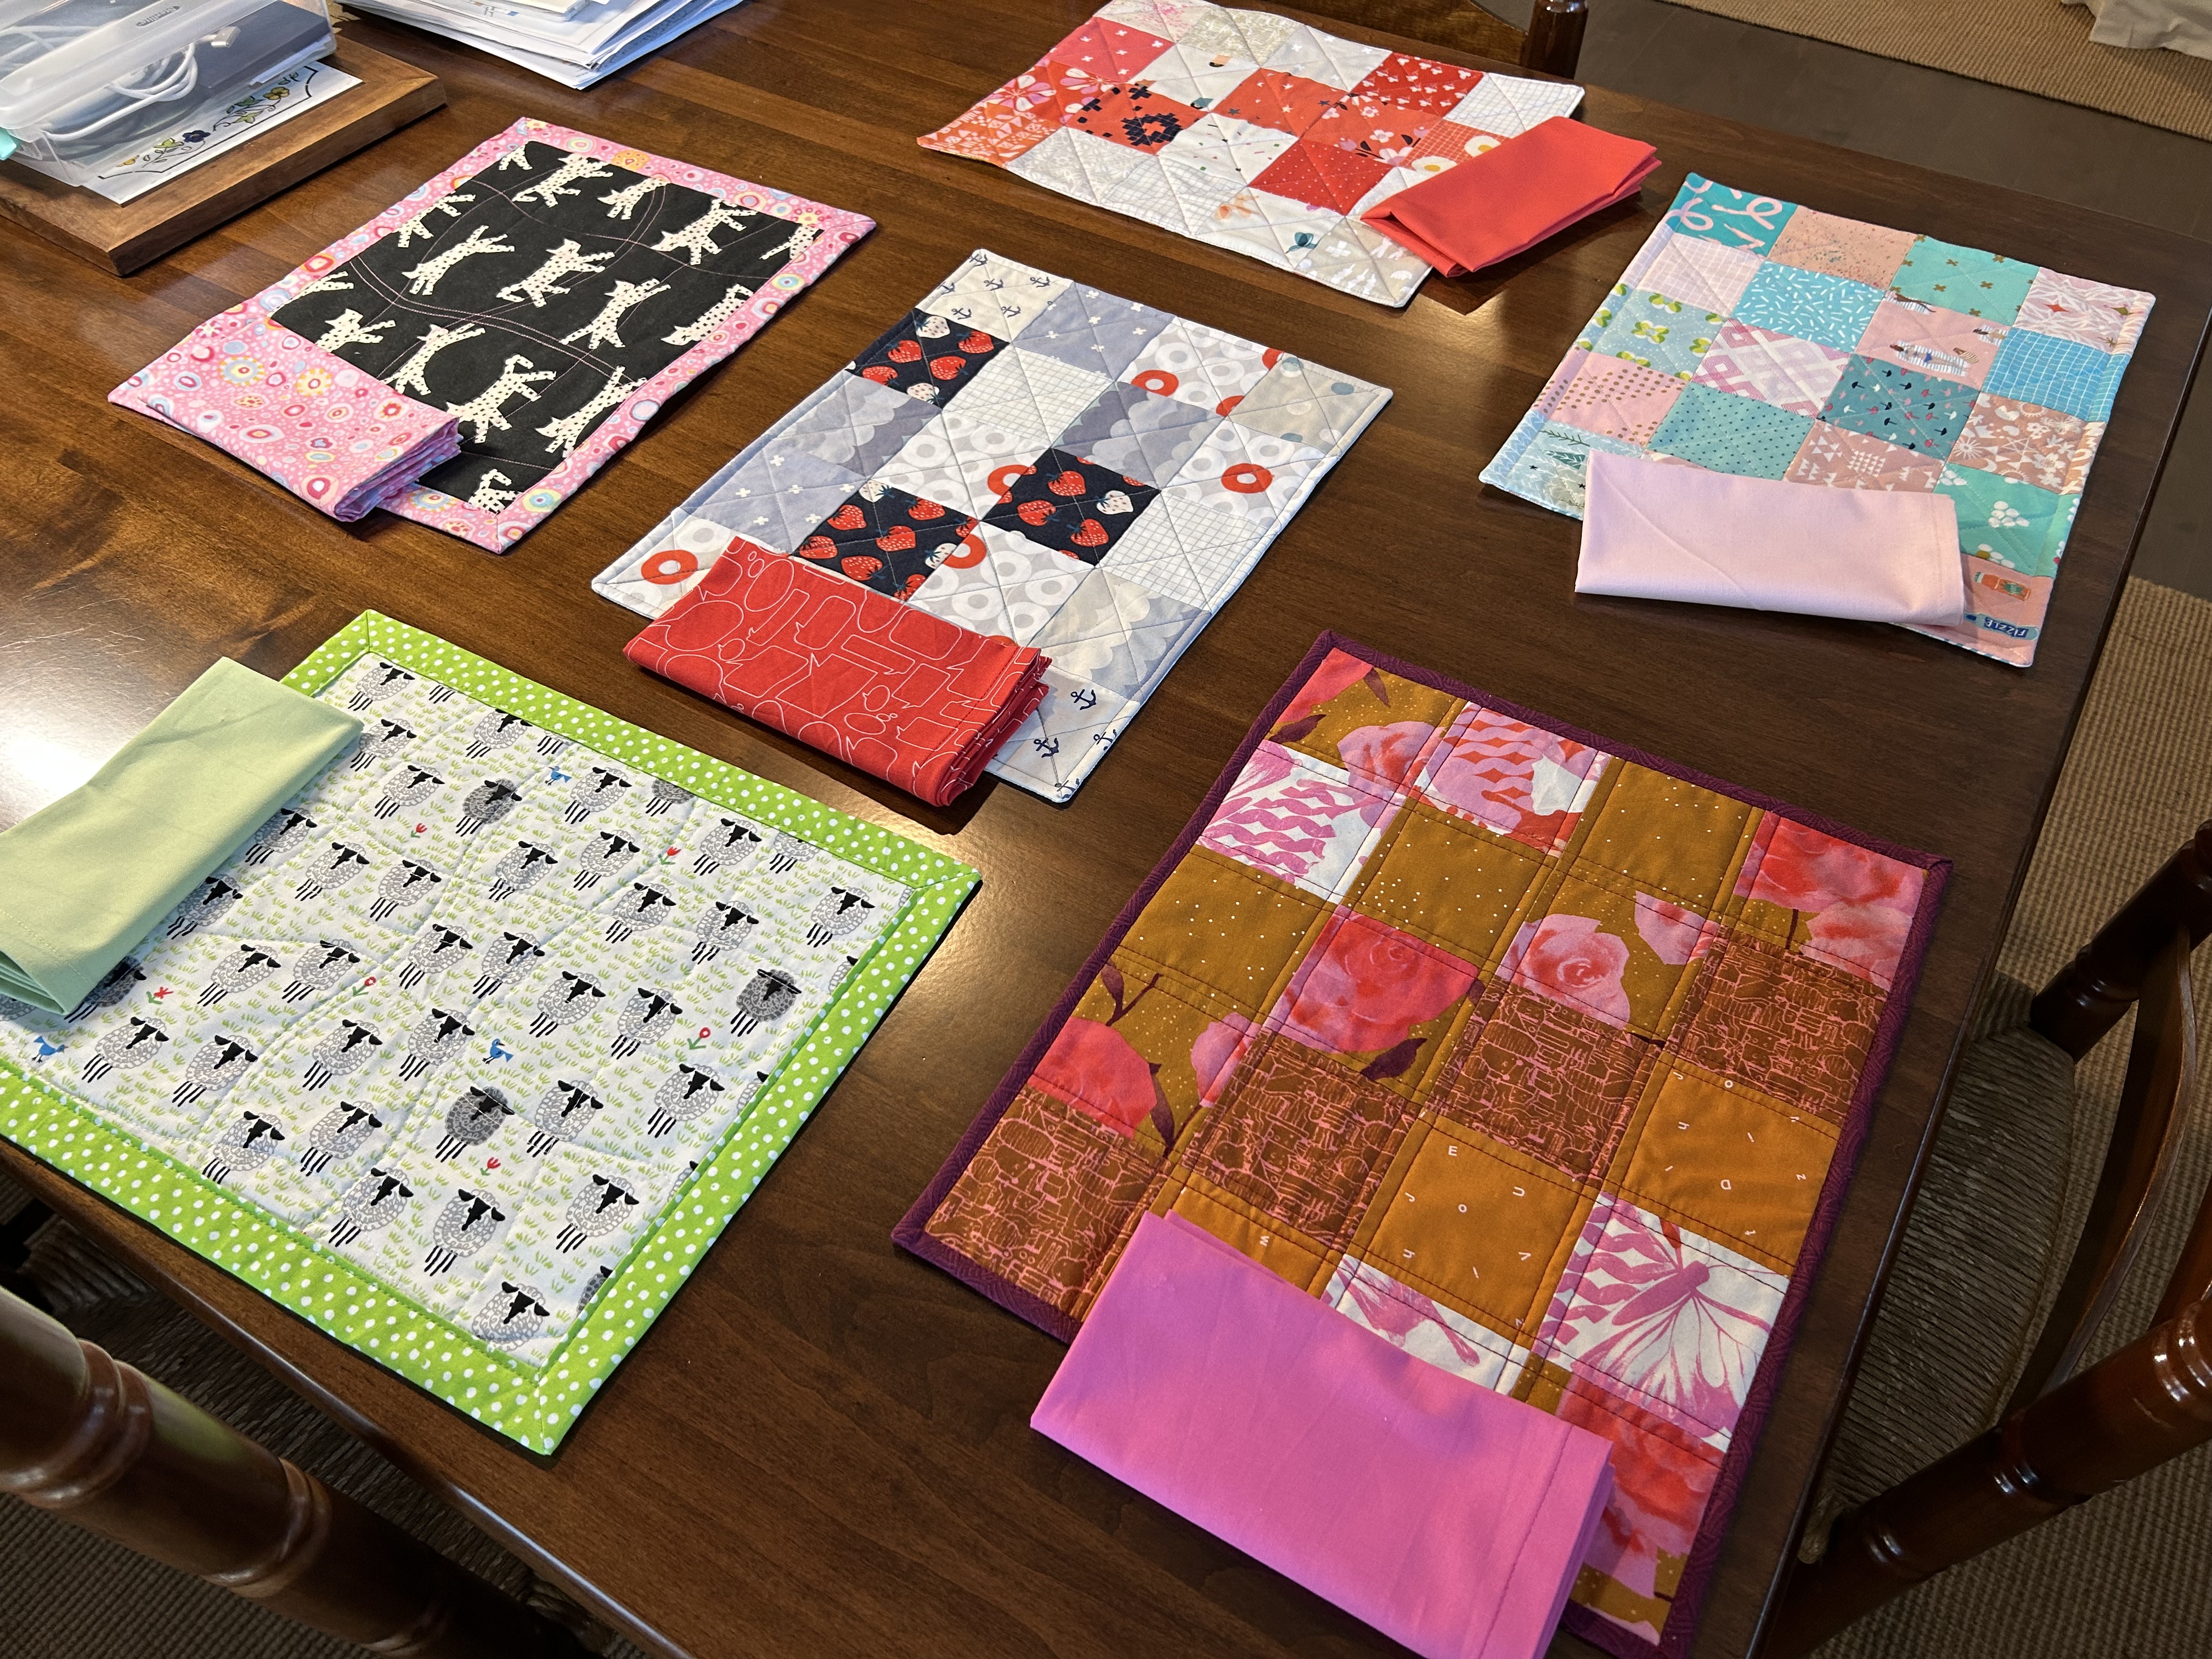
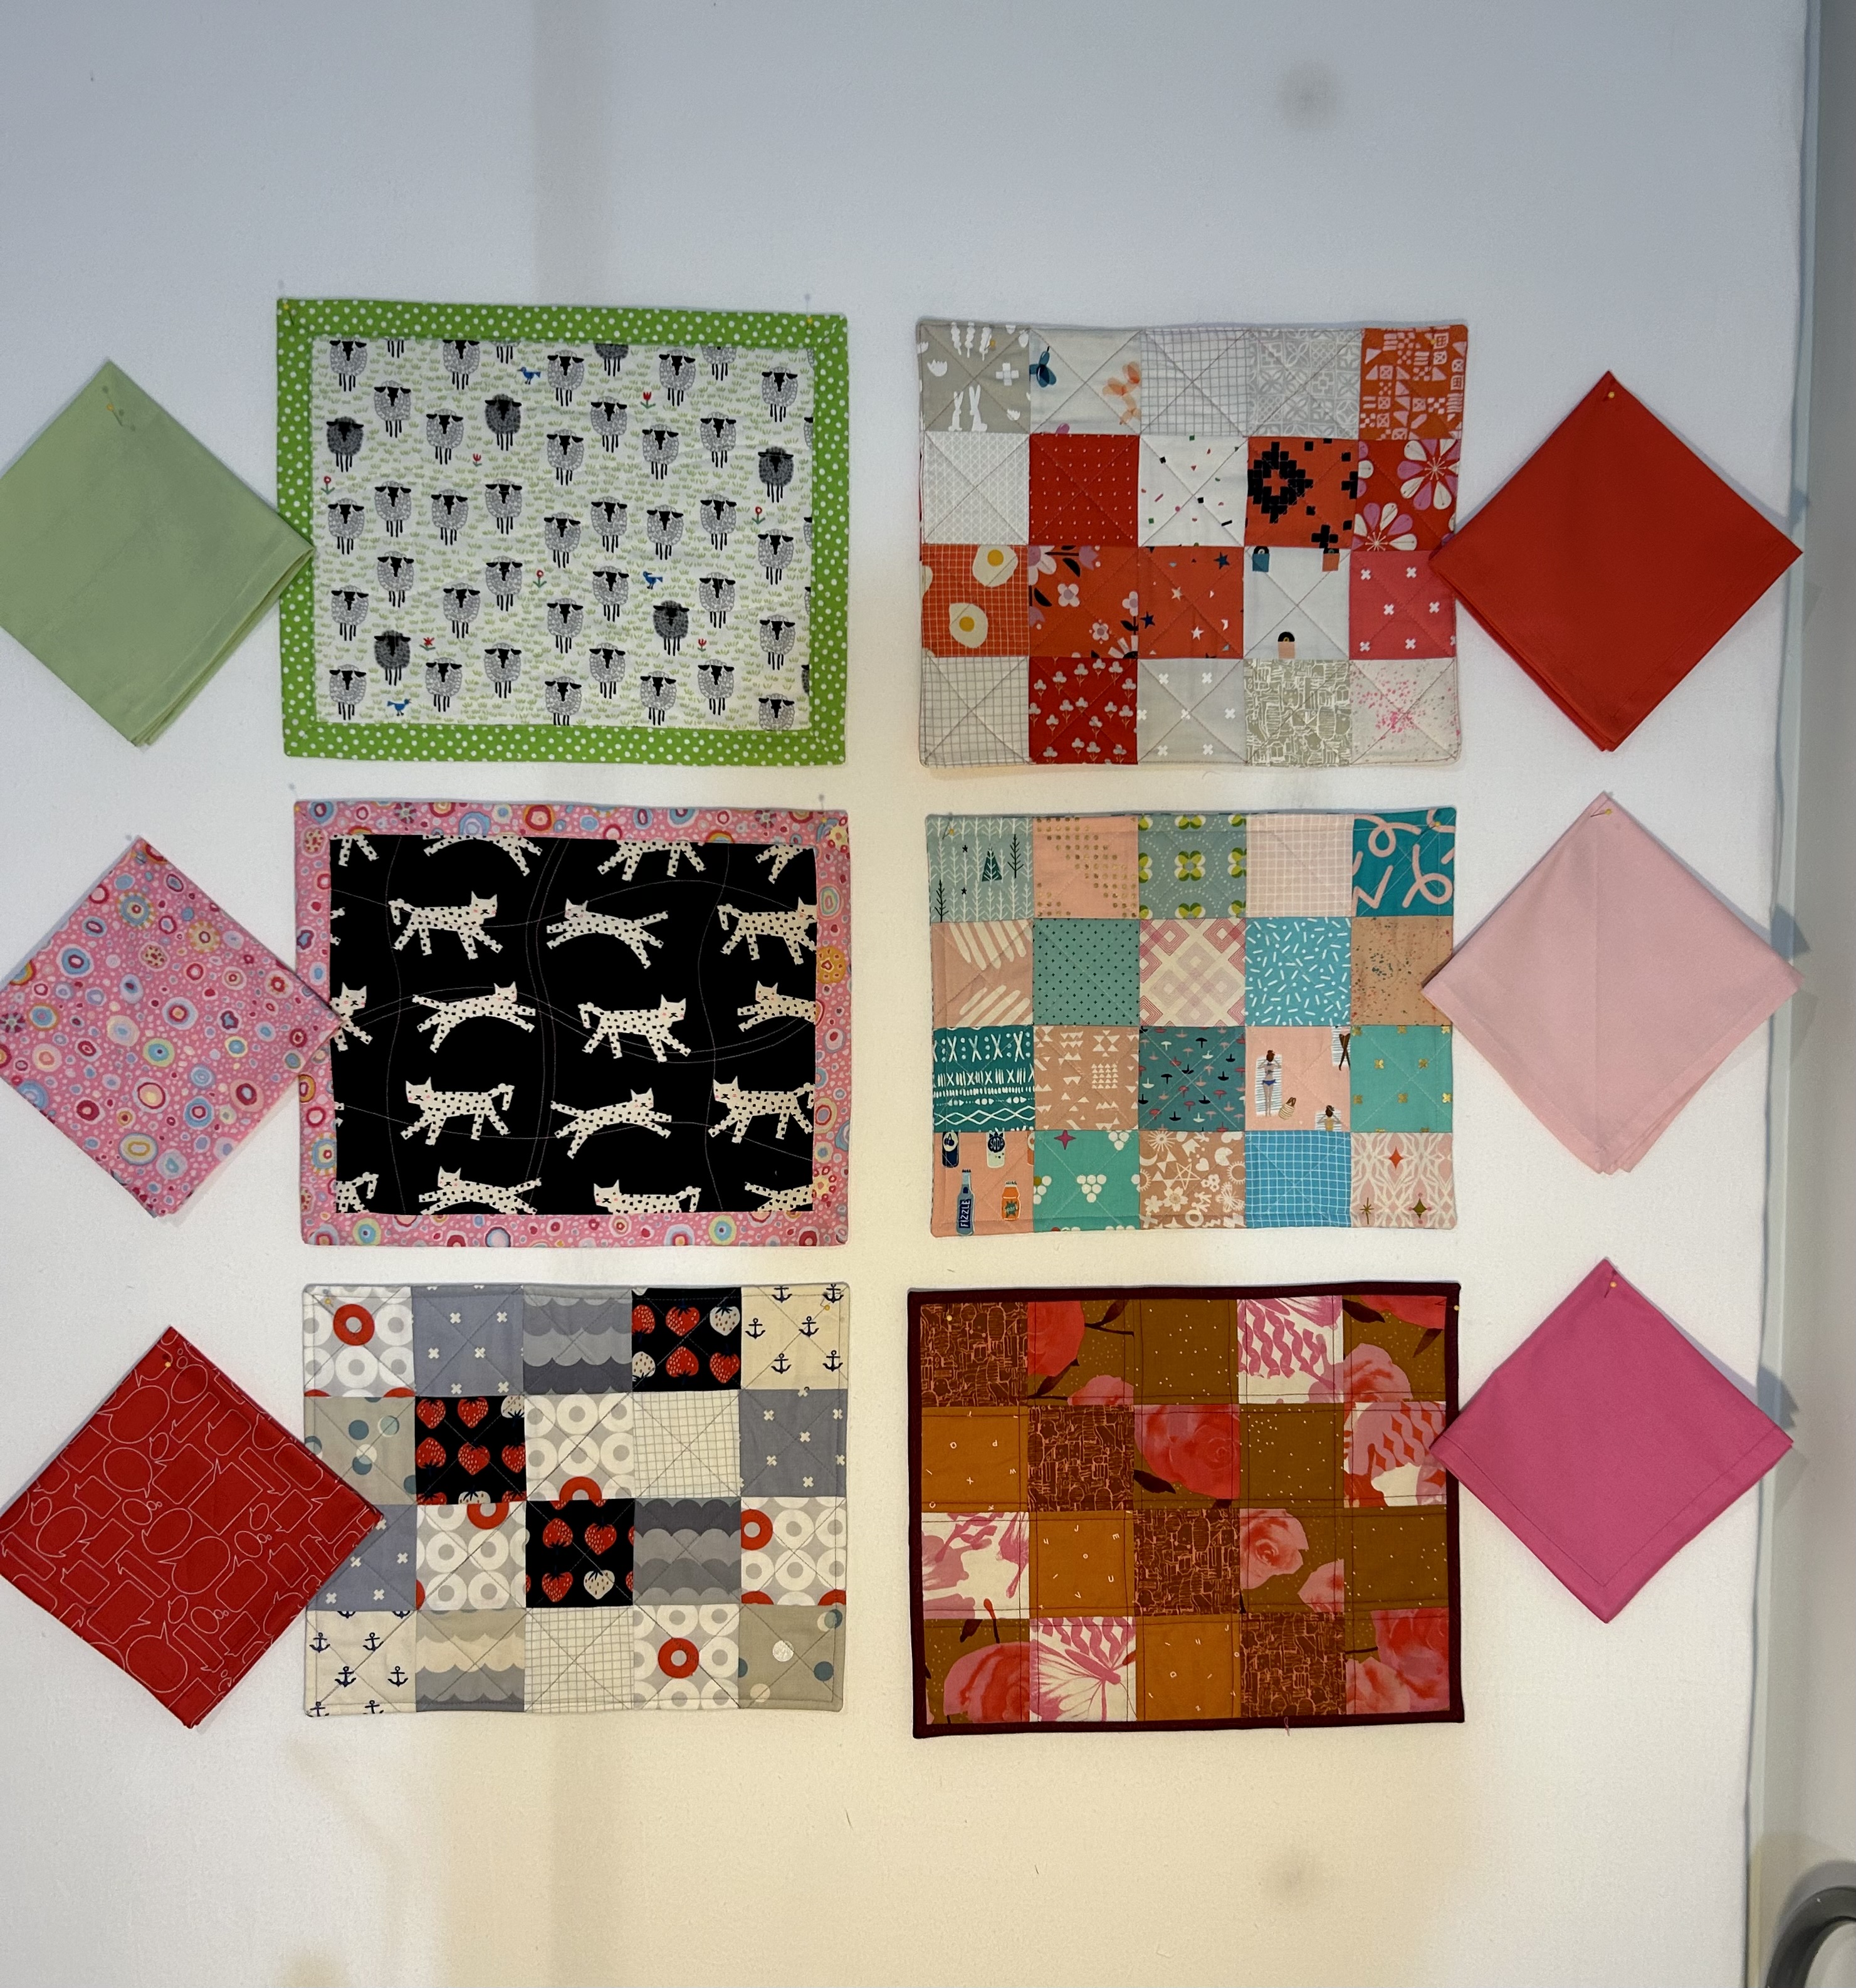
They look so much better than they did on my design wall, LOL. I ordered some wooden napkin rings to go with them–having failed to find any napkin rings locally.
You’d think I’d be done, right? Oh no. In the middle of quilting on the longarm, sewing together the Churn Dash quilt on the design wall, and now hand sewing the binding on “Wyoming Stars,” I pulled out the stack of Maine blueberry fabrics that has been sitting in my stash for 18 years. And I cut another placemat and napkin out.
I’m clearly crazy.

Love the placemats!!! So cute! On GE Quilt Designs page she has freebie patterns for placemats and napkins -Sewing instructions can be found in the GEasy Napkin video, located under the Video tab on the Home page. Just in case you need some variation or inspiration……. I do not think you are clearly crazy — I think you’re a normal sewist…….. 😉
Wow. That’s a very nice website. Thanks.
I agree that you aren’t crazy….I believe that the more we create the more creative we become! I love the place mat idea!!