My sweet, sweet neighbor Teri used to sew garments a lot.
She loves my quilts and wanted to try to make a quilt. So one day she bought this quilt kit, which is squares and rectangles and easy sashing and border.
We went slowly as she didn’t really have quilty equipment. She had a new upgraded sewing machine, but we had a time figuring out the settings for her quarter-inch foot.
BUT, here’s her almost finished quilt, quilted by longarm quilter Kim McPeake, who also installed the binding. Next Teri will learn how to sew down the binding. **That border is a luscious warm navy.

The backing is the rich red floral.
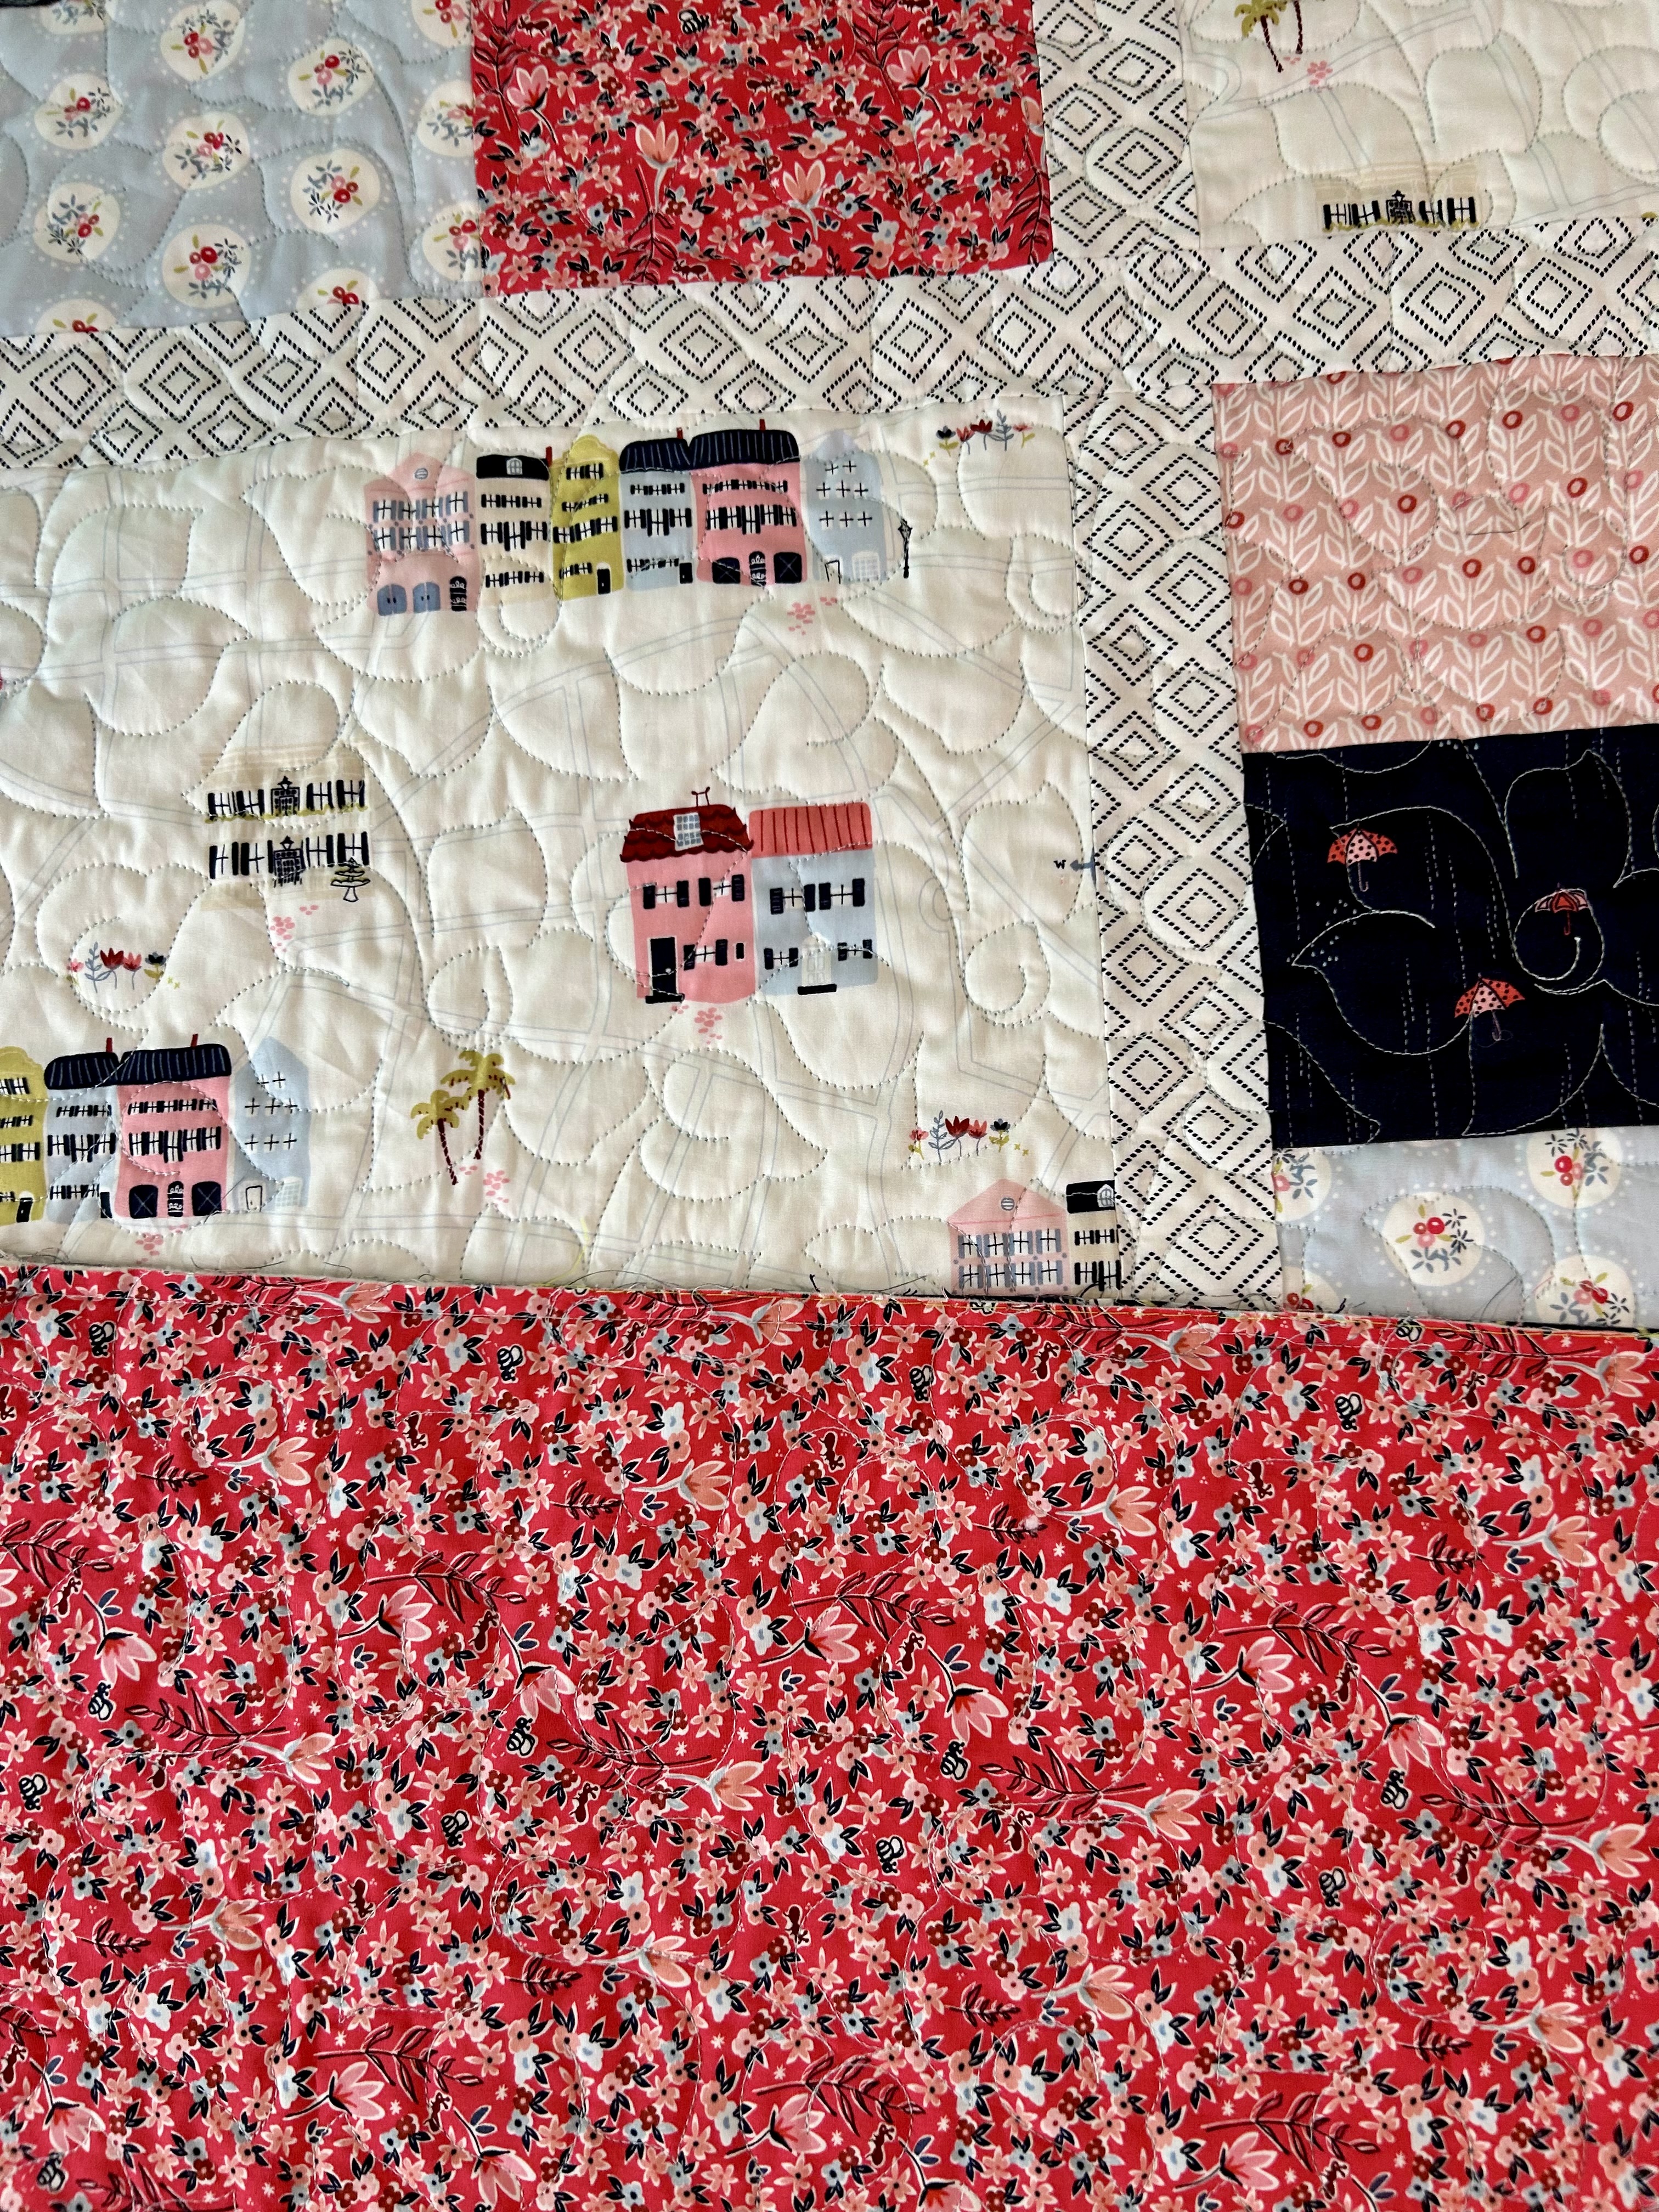
The feature fabric is this quilt is the “rainbow row” houses in Old Town Charleston. And here you can see Kim’s beautiful floral quilting in a pale blue.

Here’s Teri with her quilt.

The quilt is beautiful, but the woman is too (inside and out).
This pattern is a Wild and Wooly quilt kit, and Wild and Wooly is one of our local quilt (and knitting) shops. They have an online store.

Beautiful!!!! She did a great job!
Whew! I would be interested in how wide you cut your binding and if you use a special foot. Thanks in advance! For binding, I often piece blocks to the edge (no border), so 2 1/2 inch binding is too wide for me if so, as if I sew them on at 3/8 inch instead of 1/4 inch, I lose too much of the pieced block. 2 1/4 inch is my go-to size… For whatever that is worth. My machine binding guru here uses 2 1/2 and sews on at 3/8th seam. I am looking forward to that left bi-level foot coming as it may make a difference.
I usually do a border, but not always. I make my binding 2 1/4″ sometimes 2 1/2″. Sew binding on as you usually do. Before I turn the binding to the back, I iron 1/4″ lite steam-a-seam 2 fusible tape inside the seam allowance. I then turn the binding to the back, ironing it in place. I use my walking foot with a sewn-out zig-zag stitch -> each side has 3 stitches. I sew from the front of the quilt, lining up the foot so the end of the zig-zag just hits the edge of the binding.
I hope that helps and was easy to follow.
That sewn out zig zag is a cute stitch to use. I’m thinking I will try it for the next set of placemats. Missouri Star has a video on machine binding that uses that stitch. The idea of using fusible tape is one I will try as well. It would stabilize the binding for sure. And would be feasible econonically for placemats.
Let me know if you have any issues or questions – happy to help!!
So happy to meet Teri and I love her quilt! That row house fabric is darling and I do love that navy border. I’m no help on binding – I’m stuck on that myself with my bulls-eye quilt that I finally finished up to the binding. Trying to remember how to do biased binding with ticking fabric, sigh… I’ll get there. I’m glad you have a neighbor that you enjoy so much! Jan in MA
There are some good videos for lining up stripes in bias binding. Just google.