A New Method for Roasting Chicken

Unlike my roast chicken, son Michael’s roasted whole chicken has the most gorgeous dark and crispy skin when he is finished.

After seeing his chicken more than once, I asked him what he does.

First, Mike prepares his chicken the day before he want to cook it.

We both “spatchcock” a whole chicken as it will cook faster, which involves cutting out the backbone. (Sometimes I save this piece in the freezer, along with leftover bones for a future bone broth for soup.) Here’s a link to show you how to “spatchcock” a whole chicken.

Secondly, Mike puts his flattened chicken in a pan meant for the oven–I use one that has lower sides–about 2 inches–to catch drippings. Then, he dries off the chicken surfaces, salts the top, and puts the whole thing uncovered in the refrigerator to dry out until he wants to cook it the next day.

Third: roast the chicken. I roasted at convection 375 degrees as that works for my oven. However, I found out later that Mike goes much higher–400 or even higher at 450.

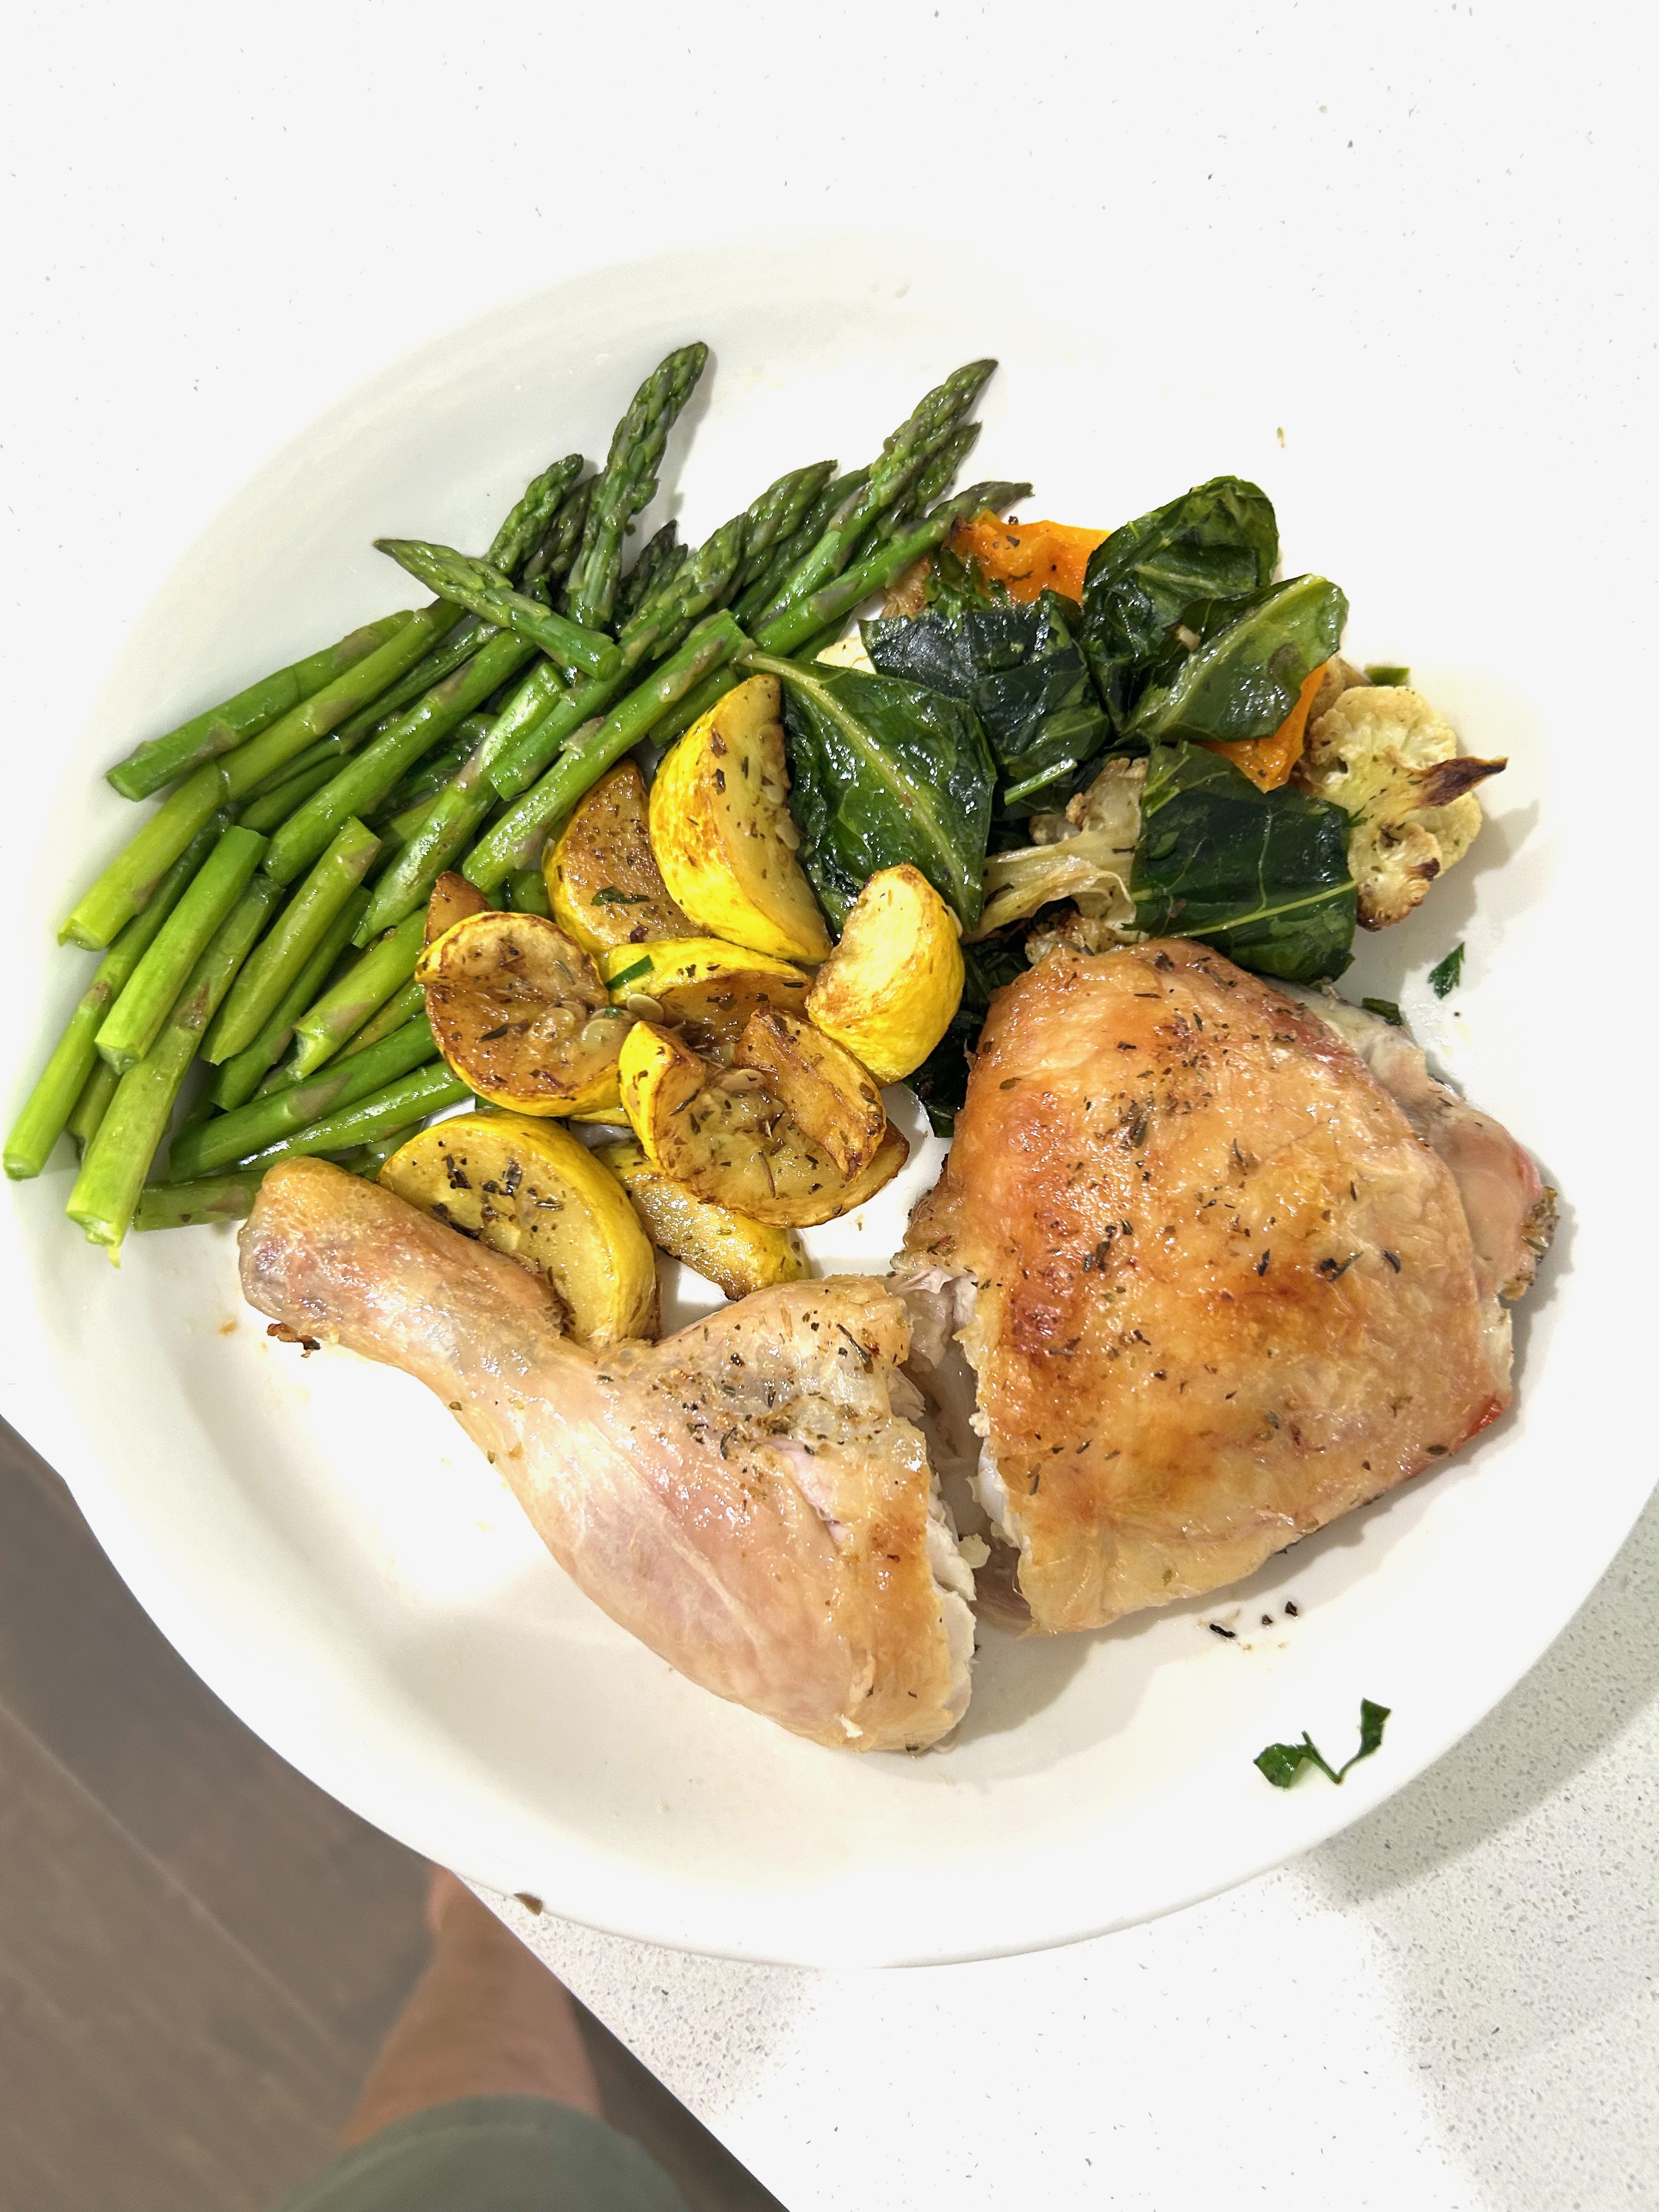
In my first attempt at convection 375 degrees and 40-45 minutes, I ended up using my broiler to further brown the skin. Here’s how my chicken turned out–which is NOT as brown and crunchy as Mike’s version at the higher temperature. So, next time… And perhaps the cooking time would be shorter?

And maybe, I might add a bit of fat to the chicken tops after the drying period in the refrigerator.
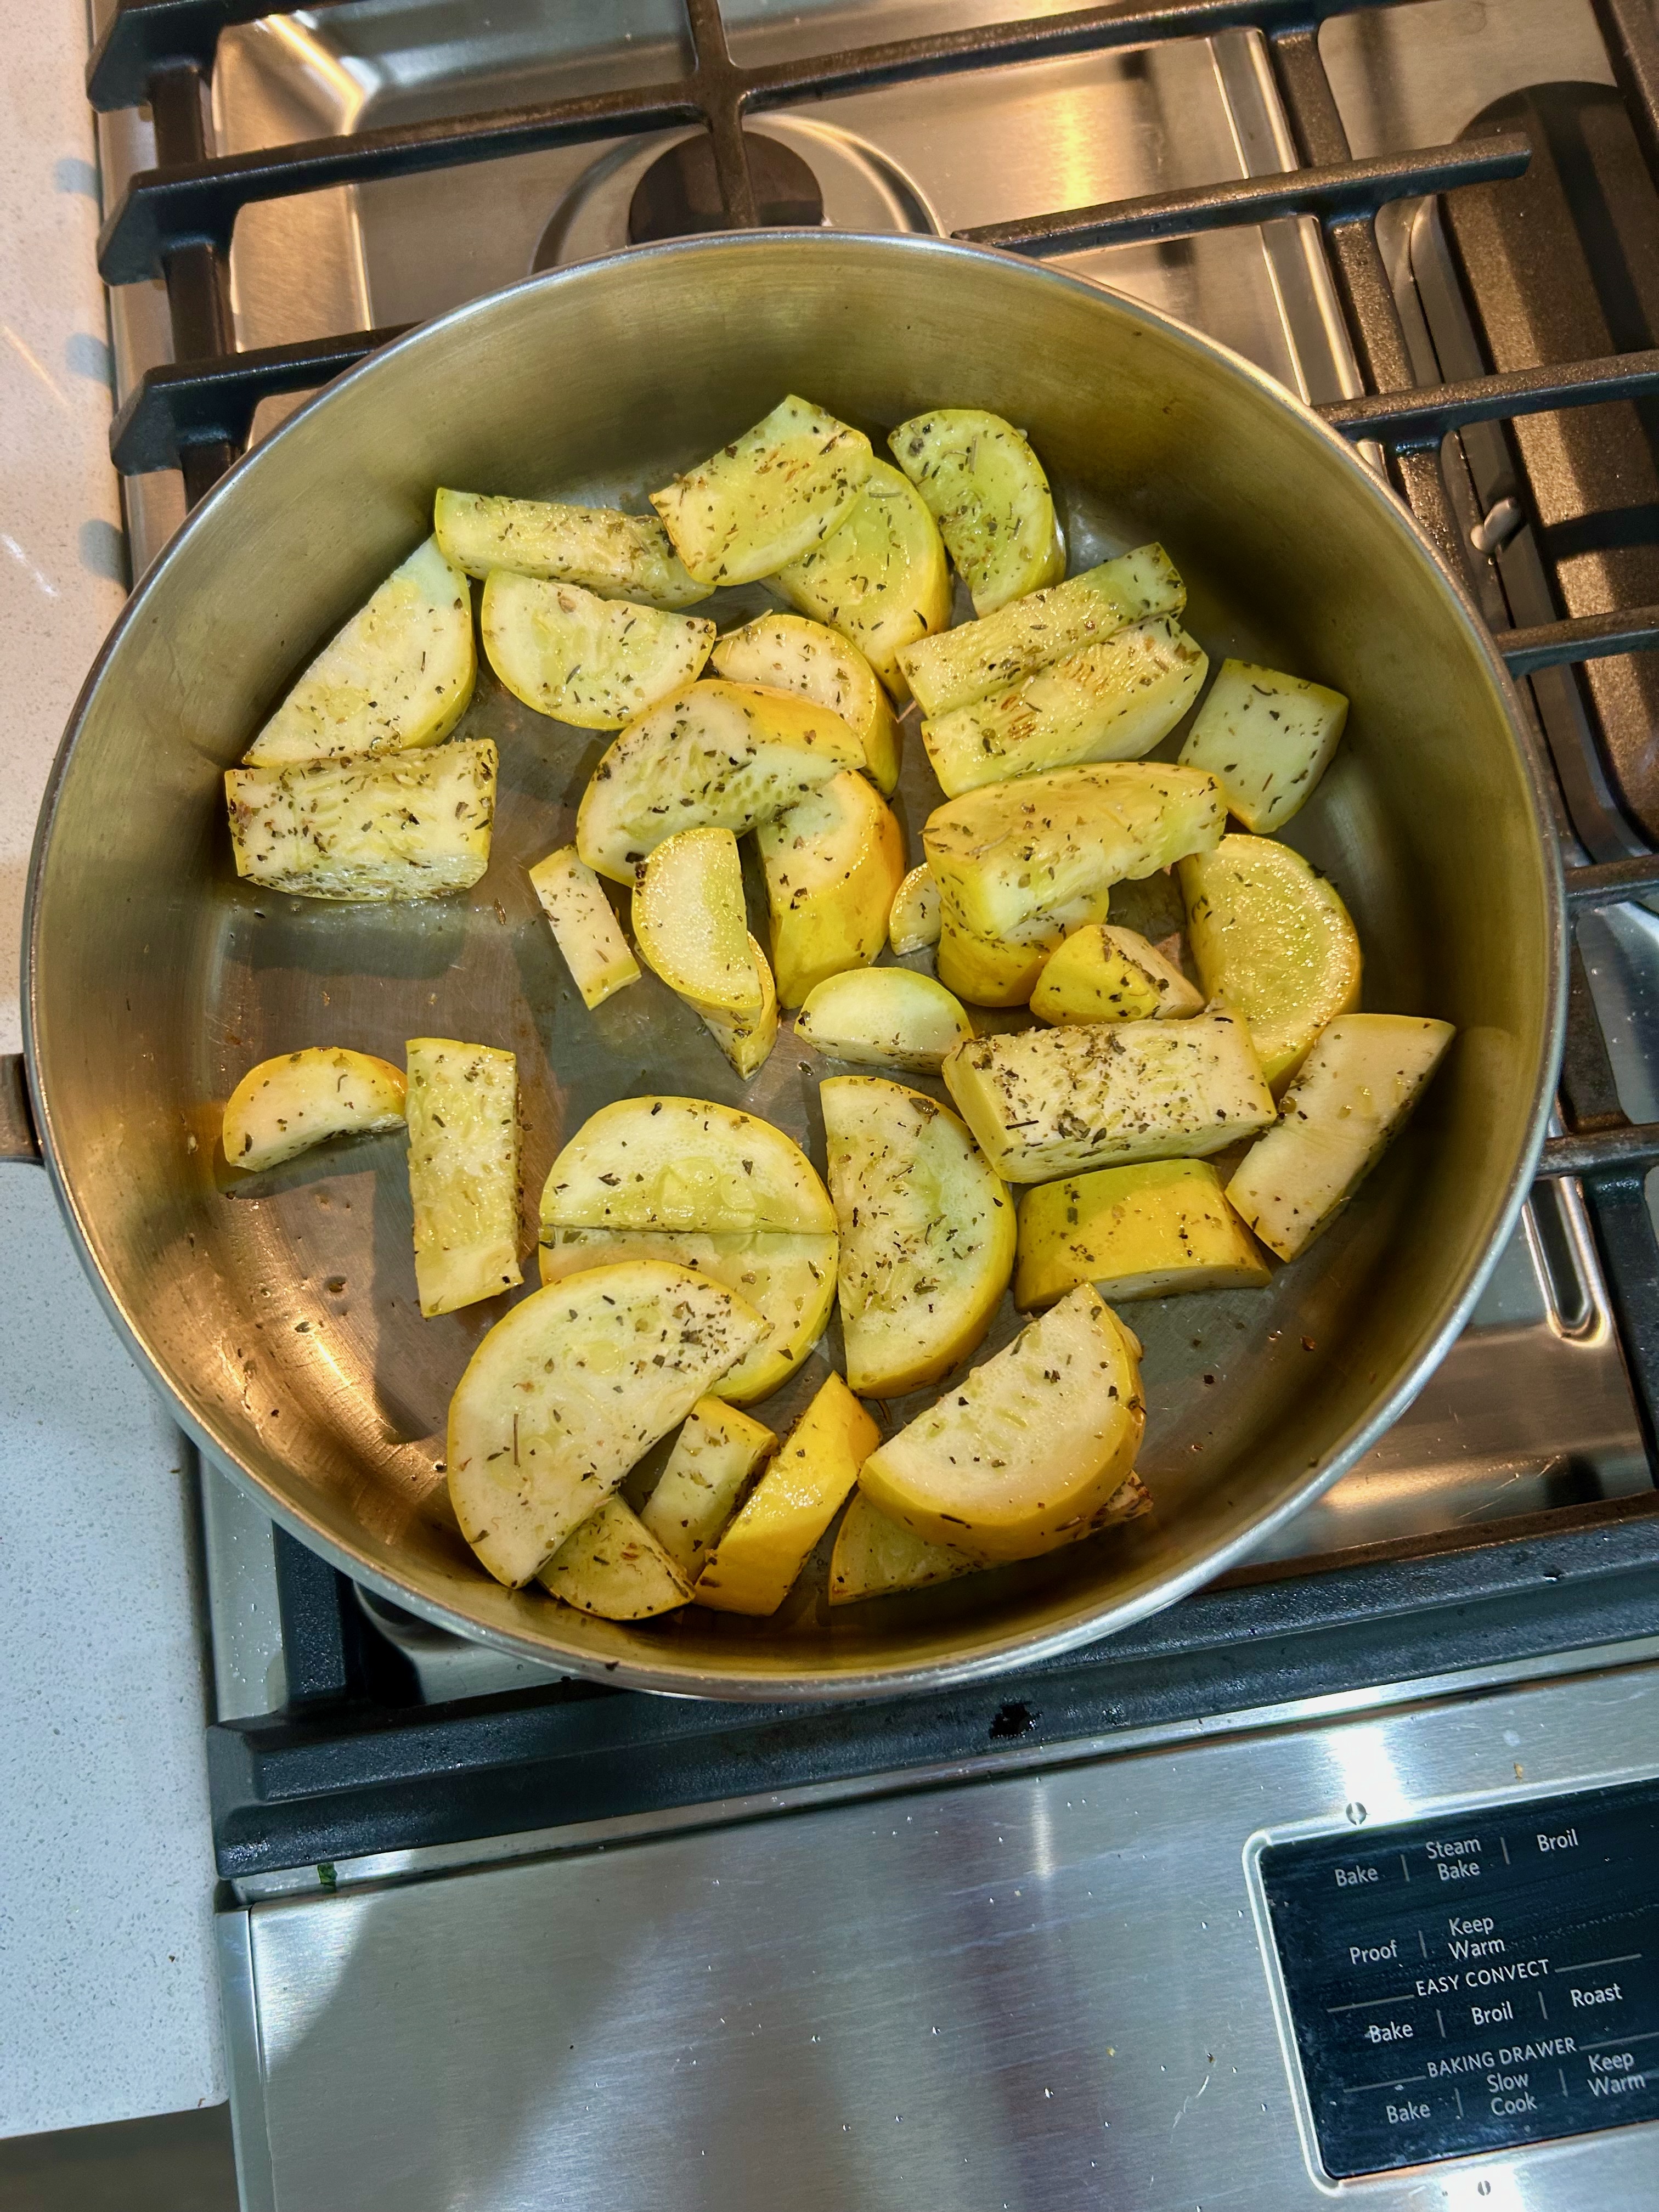
The organic yellow summer squash is in my grocery store now, and I’ve so been enjoying it. I like to pan fry it in a good fat–this time Ghee–and use some herbs and garlic if one has time to chop it. (Duck fat would be a good choice too.) Don’t overcook as the squash gets way too soft–so maybe higher heat and a close eye and turning frequently until browning starts.
On a gardening note, my azaeleas in the bed where I removed the Asian Jasmine are THRIVING. Clearly the Asian Jasmine was taking most of the nutrients in the soil, even when I fertilized. They are so happy now, as is the camellia down on the end.
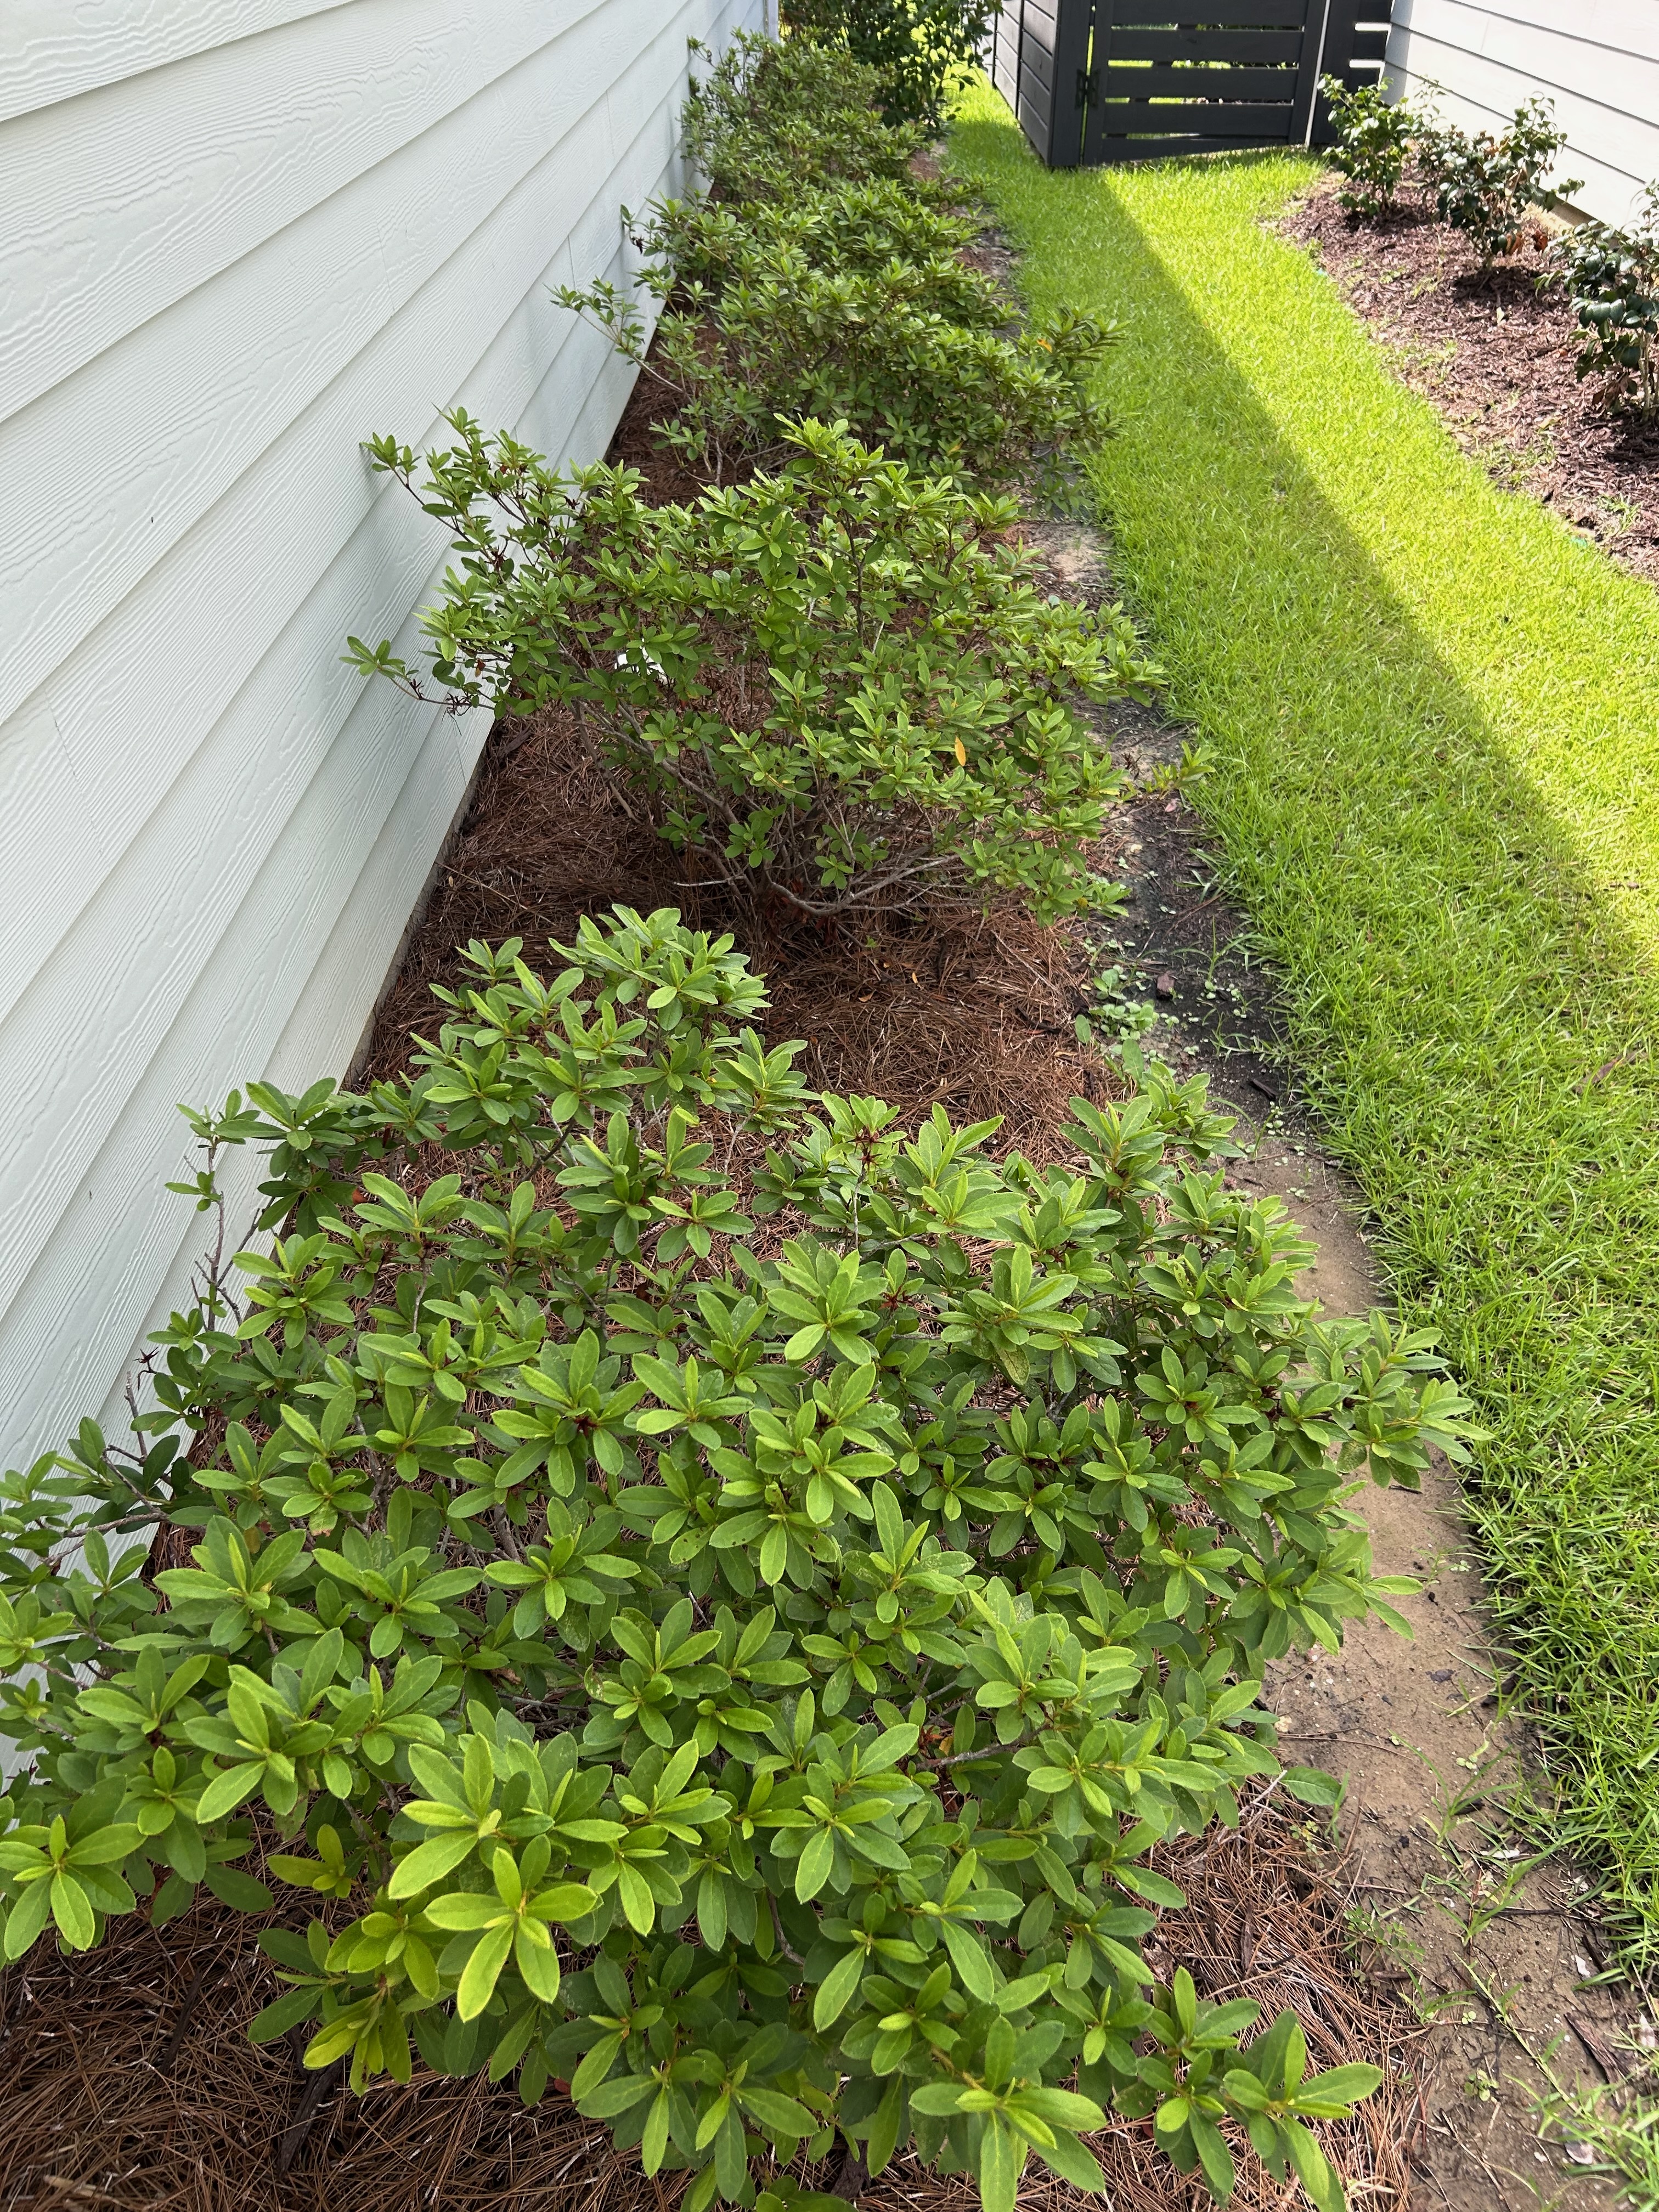
It’s a beautiful sunny day here today, with a morning shower that fed the grass and plants.
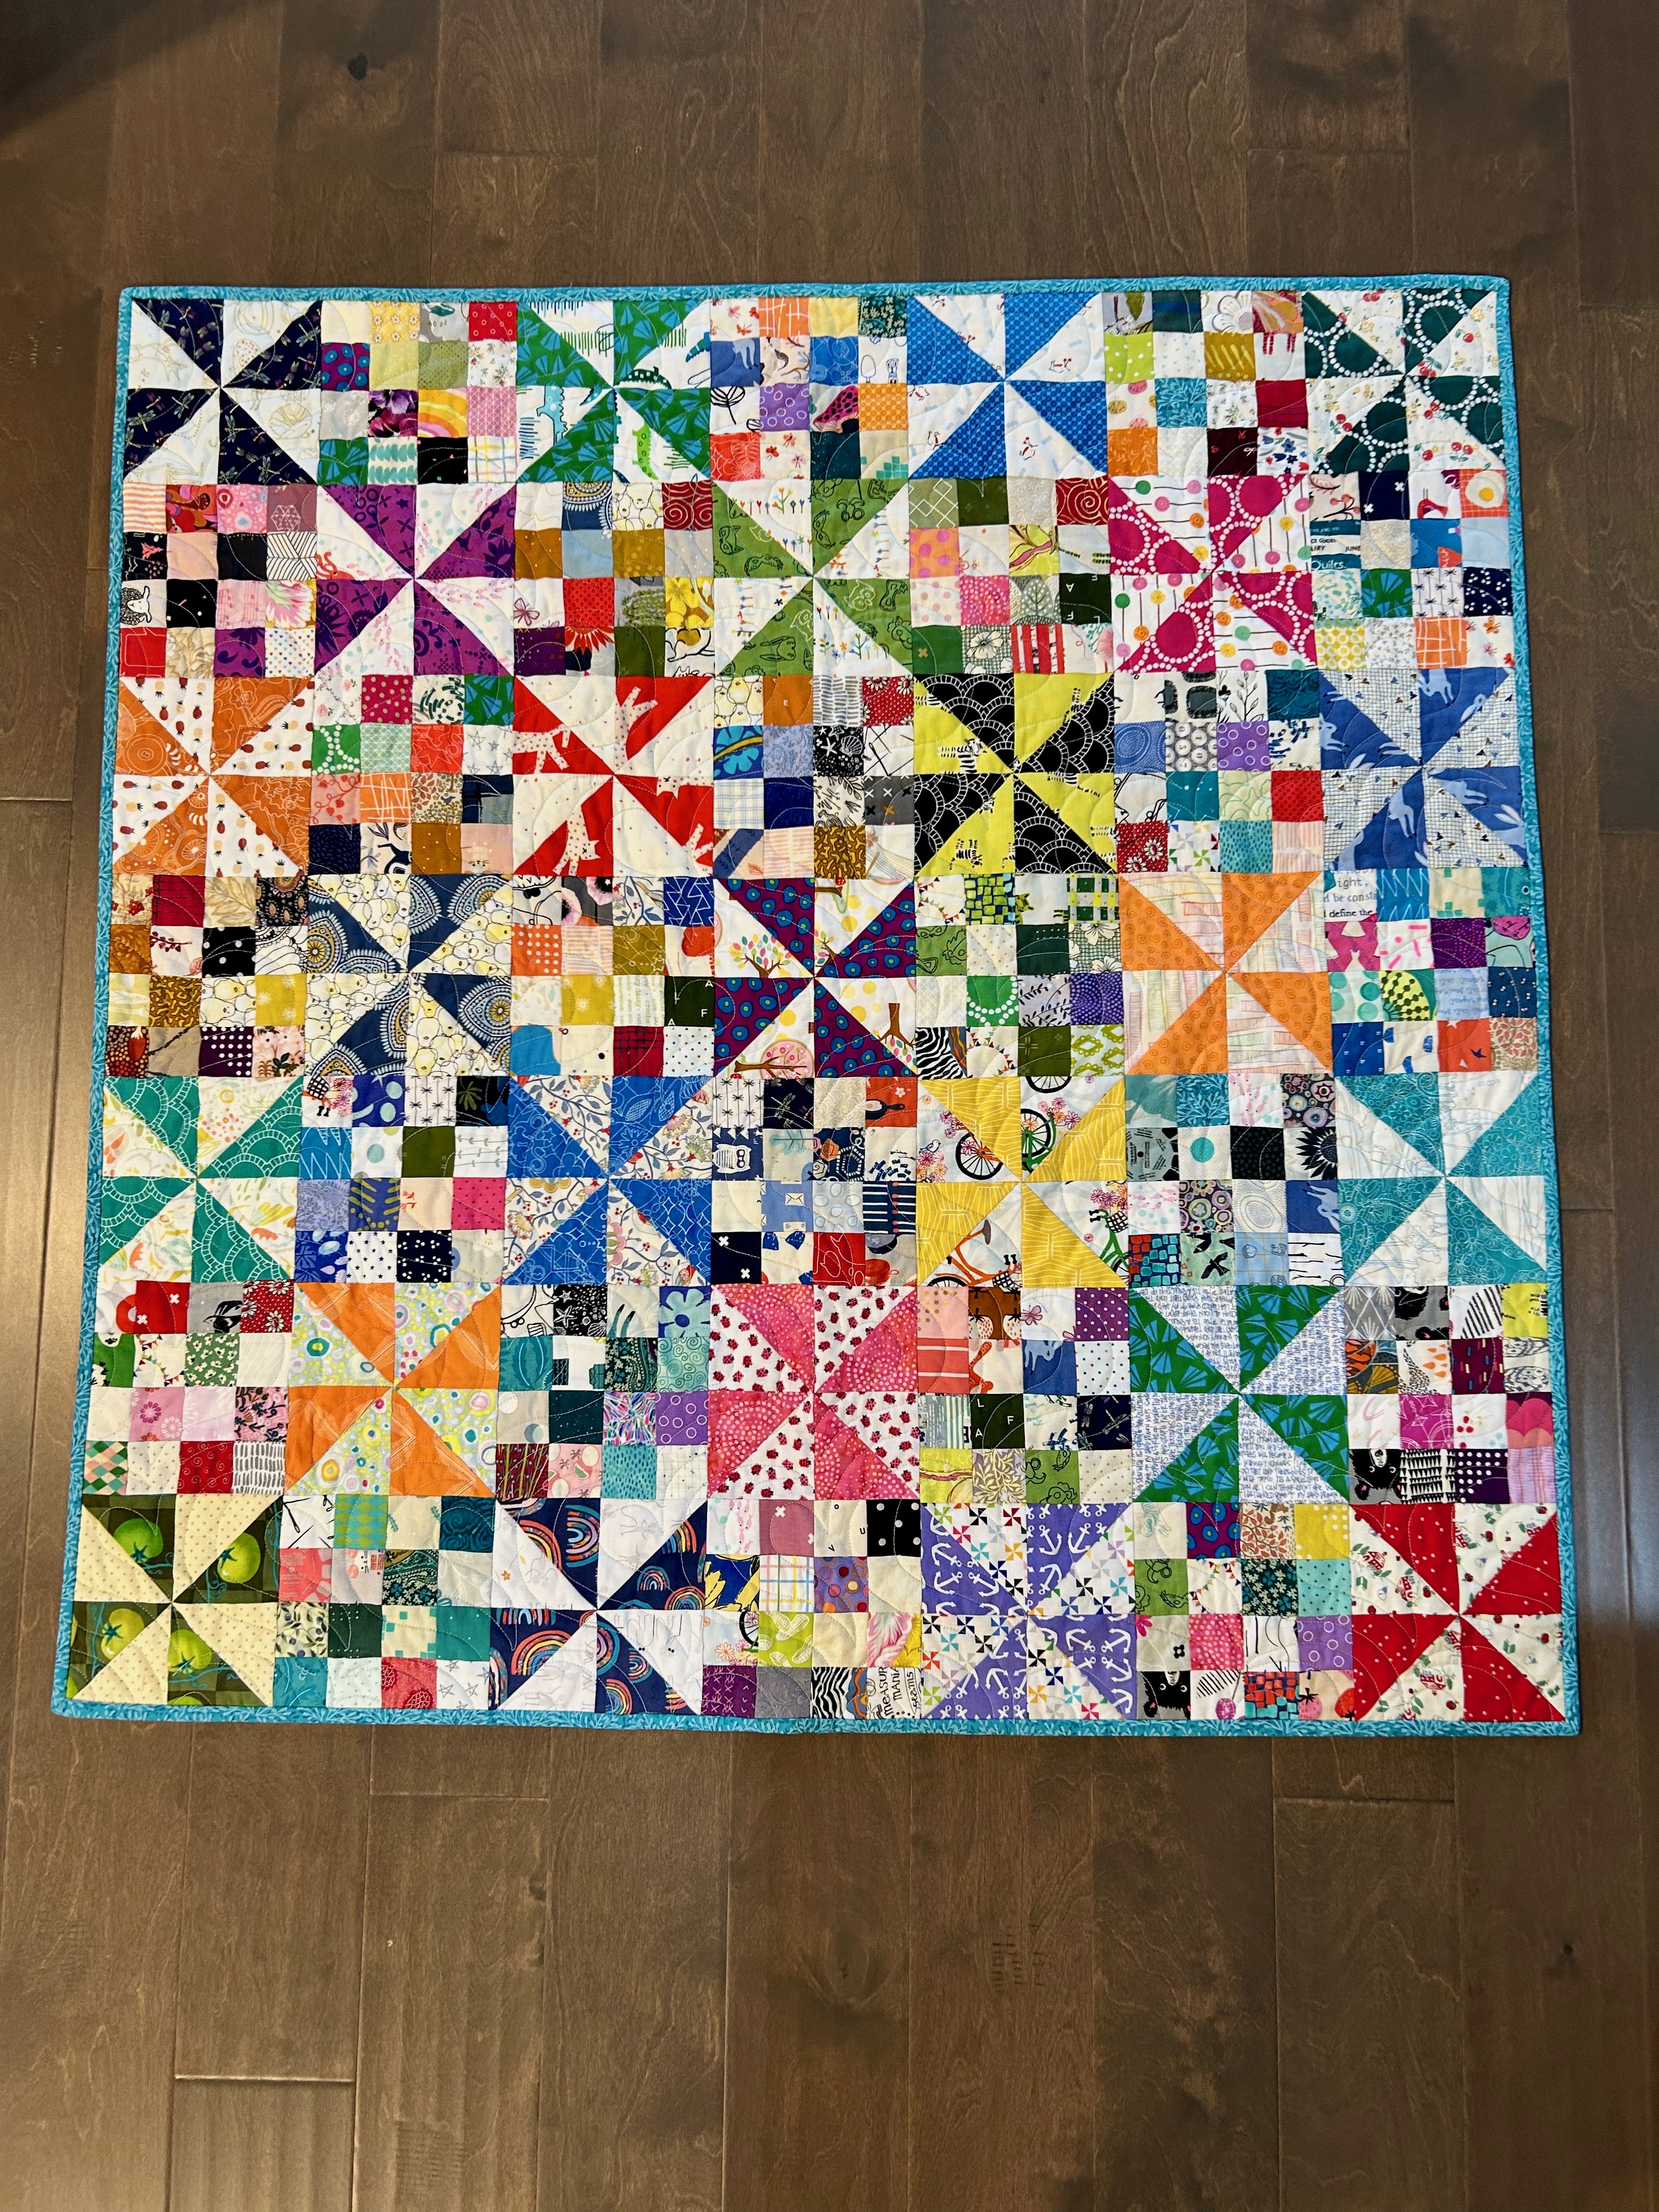
A Quilty Update, Including “Patches and Pinwheels 2”

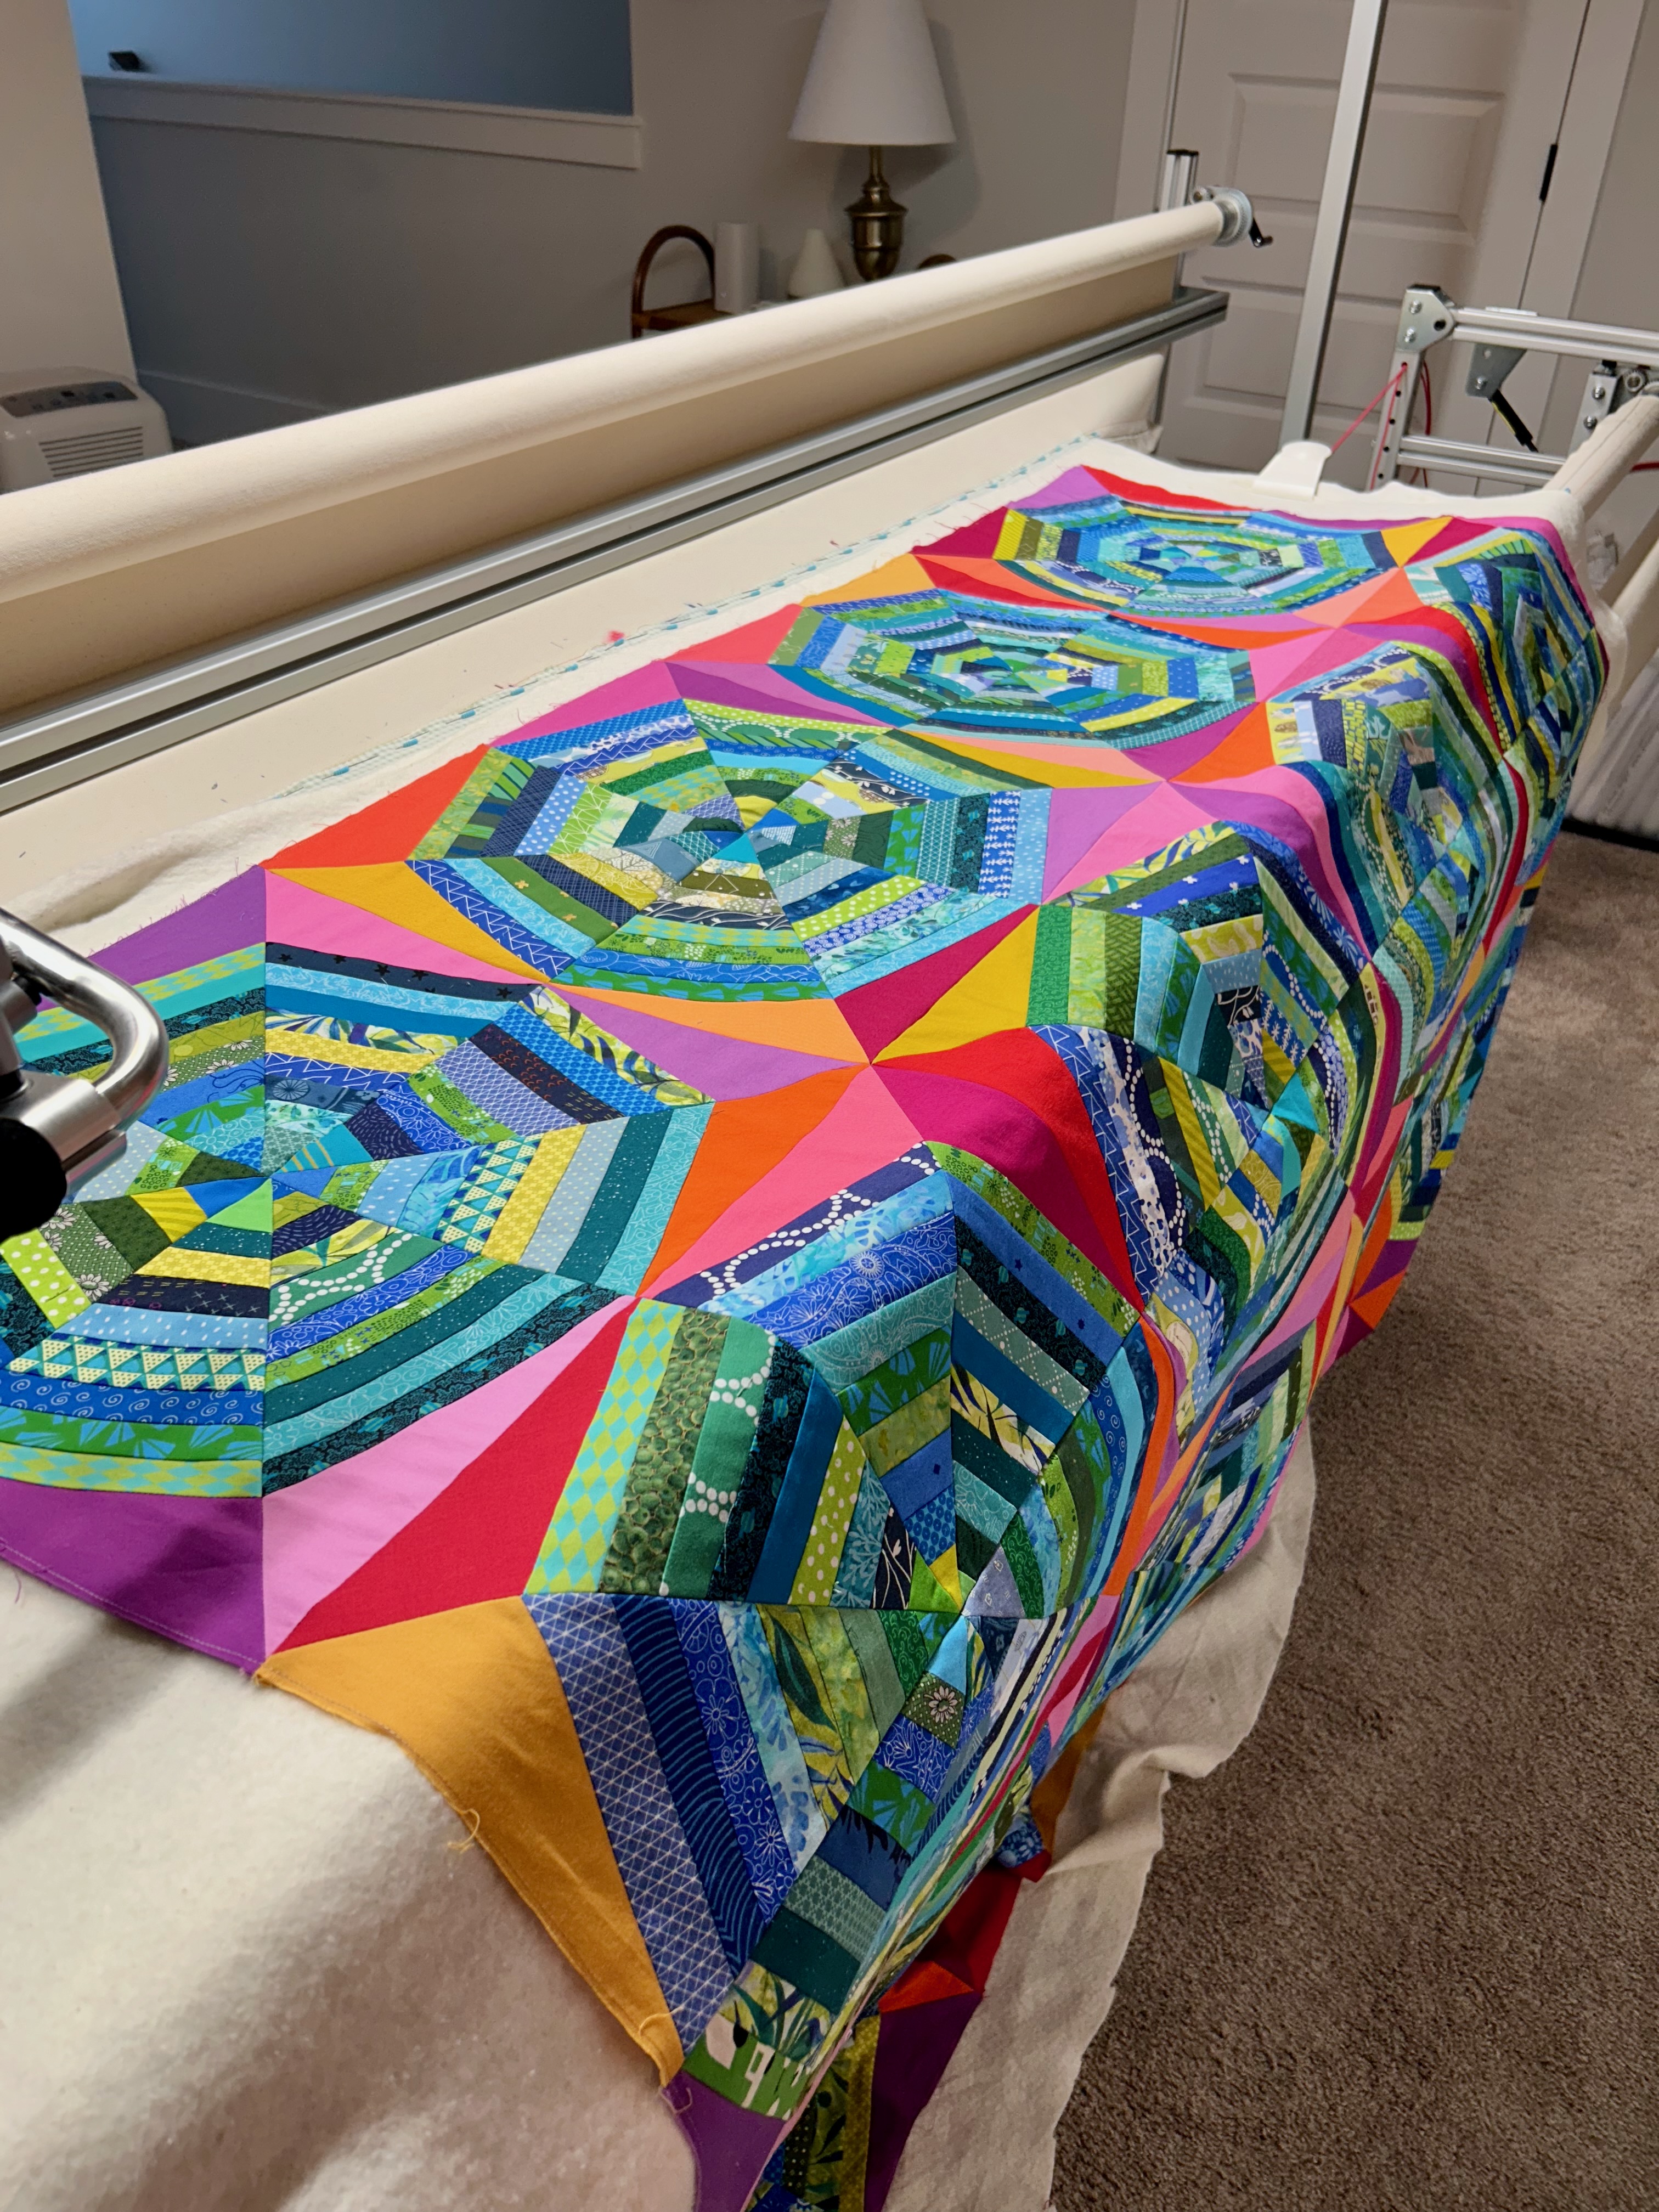
“Umbrellas” is on the longarm. I thought to finish it yesterday, but an ongoing AC problem happened again, so I got “waylaid and parlayed” as my Southern family would say to explain a delay of some sort. The good news is that my AC folks came today with the ordered new part, and as I write it is getting installed.

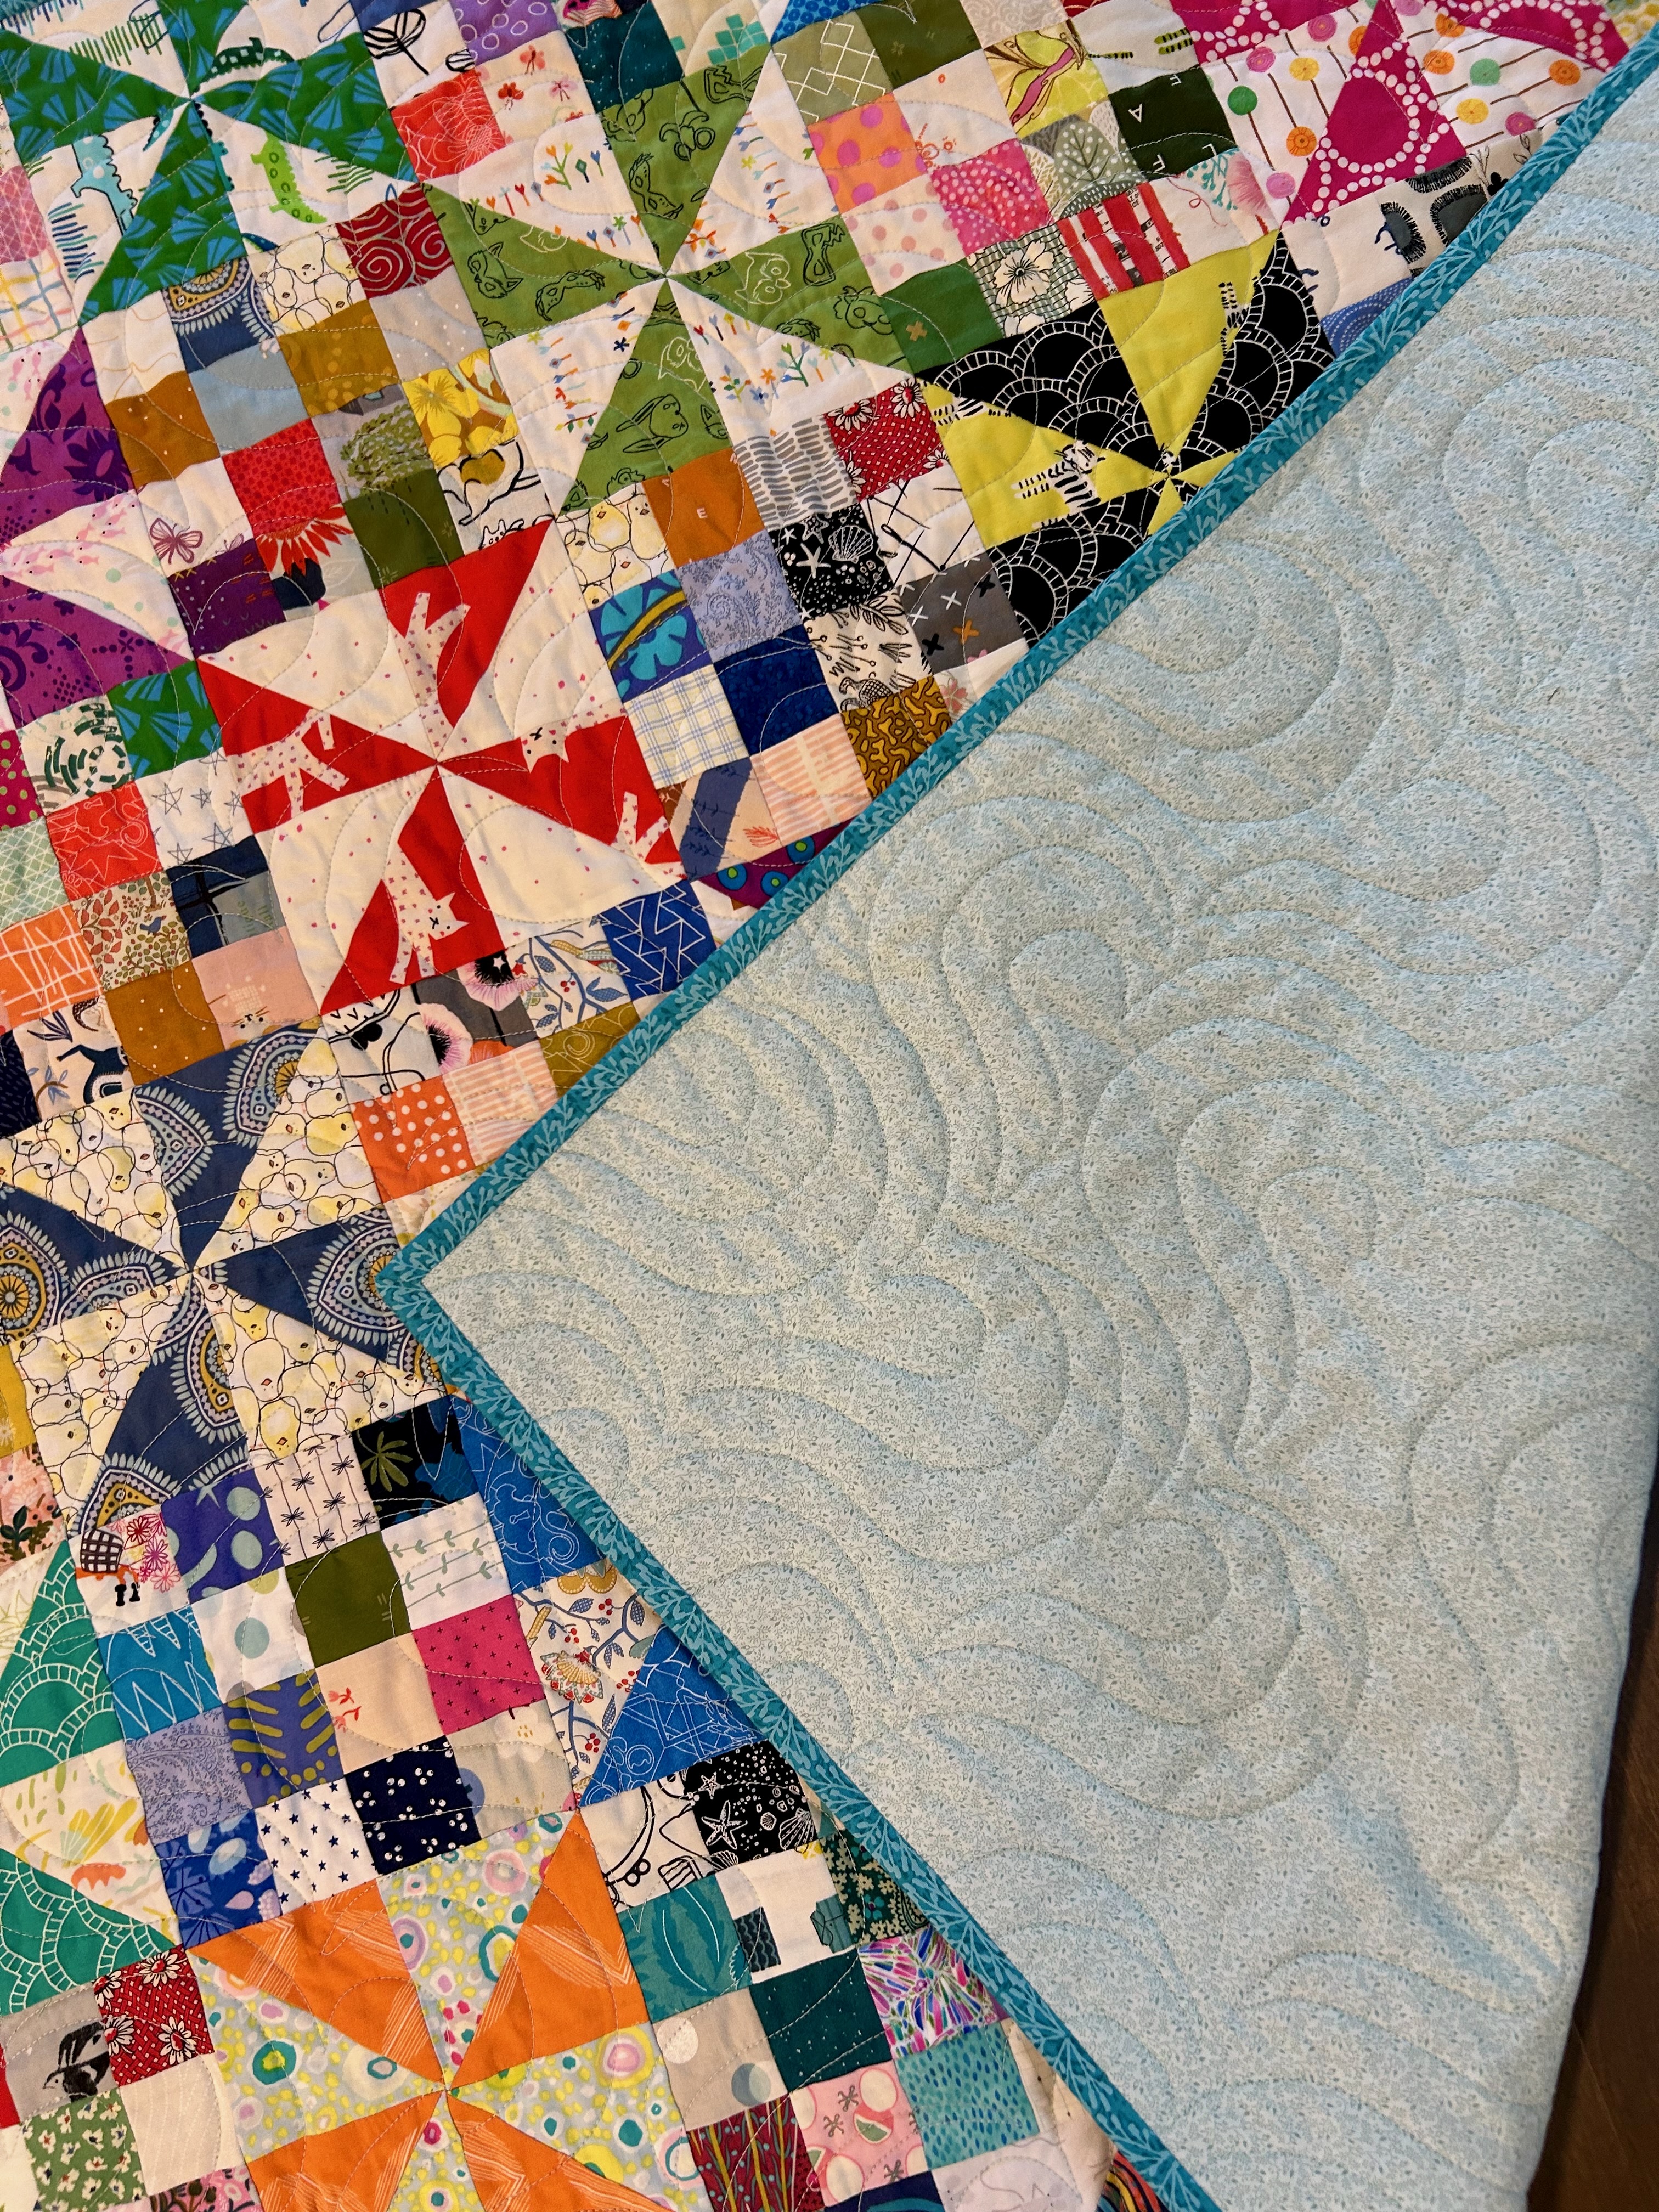
My second “Patches and Pinwheel” leader/ender quilt is done–“Patches and Pinwheels 2”–it’s a free pattern on Bonnie Hunter’s Quiltville web site–and it uses up small stash fabrics. In this case I used pre-cut squares from my 2-inch scrap bin and 3.5-inch strips mostly from my strip bins or my pile of small stash pieces.

This quilt will be a donation baby quilt for Patchwork Gals, and it is 42-inches square. The backing and binding also came from my stash. Patchwork Gals‘s donation reach is wide, and its members produce so many beautiful donation quilts and pillowcases yearly: needy women, foster children of all ages, quilts of valor, and a current project for Tunnels to Towers. Members also make sewing projects that are sold in the fall fairs in order to earn money for quilt fabrics, batting, and longarm quilting.

I think that a quilt top that is this busy needs a quieter backing. I quilted with the pantograph “Bayside” and used a soft grey Signature cotton thread.

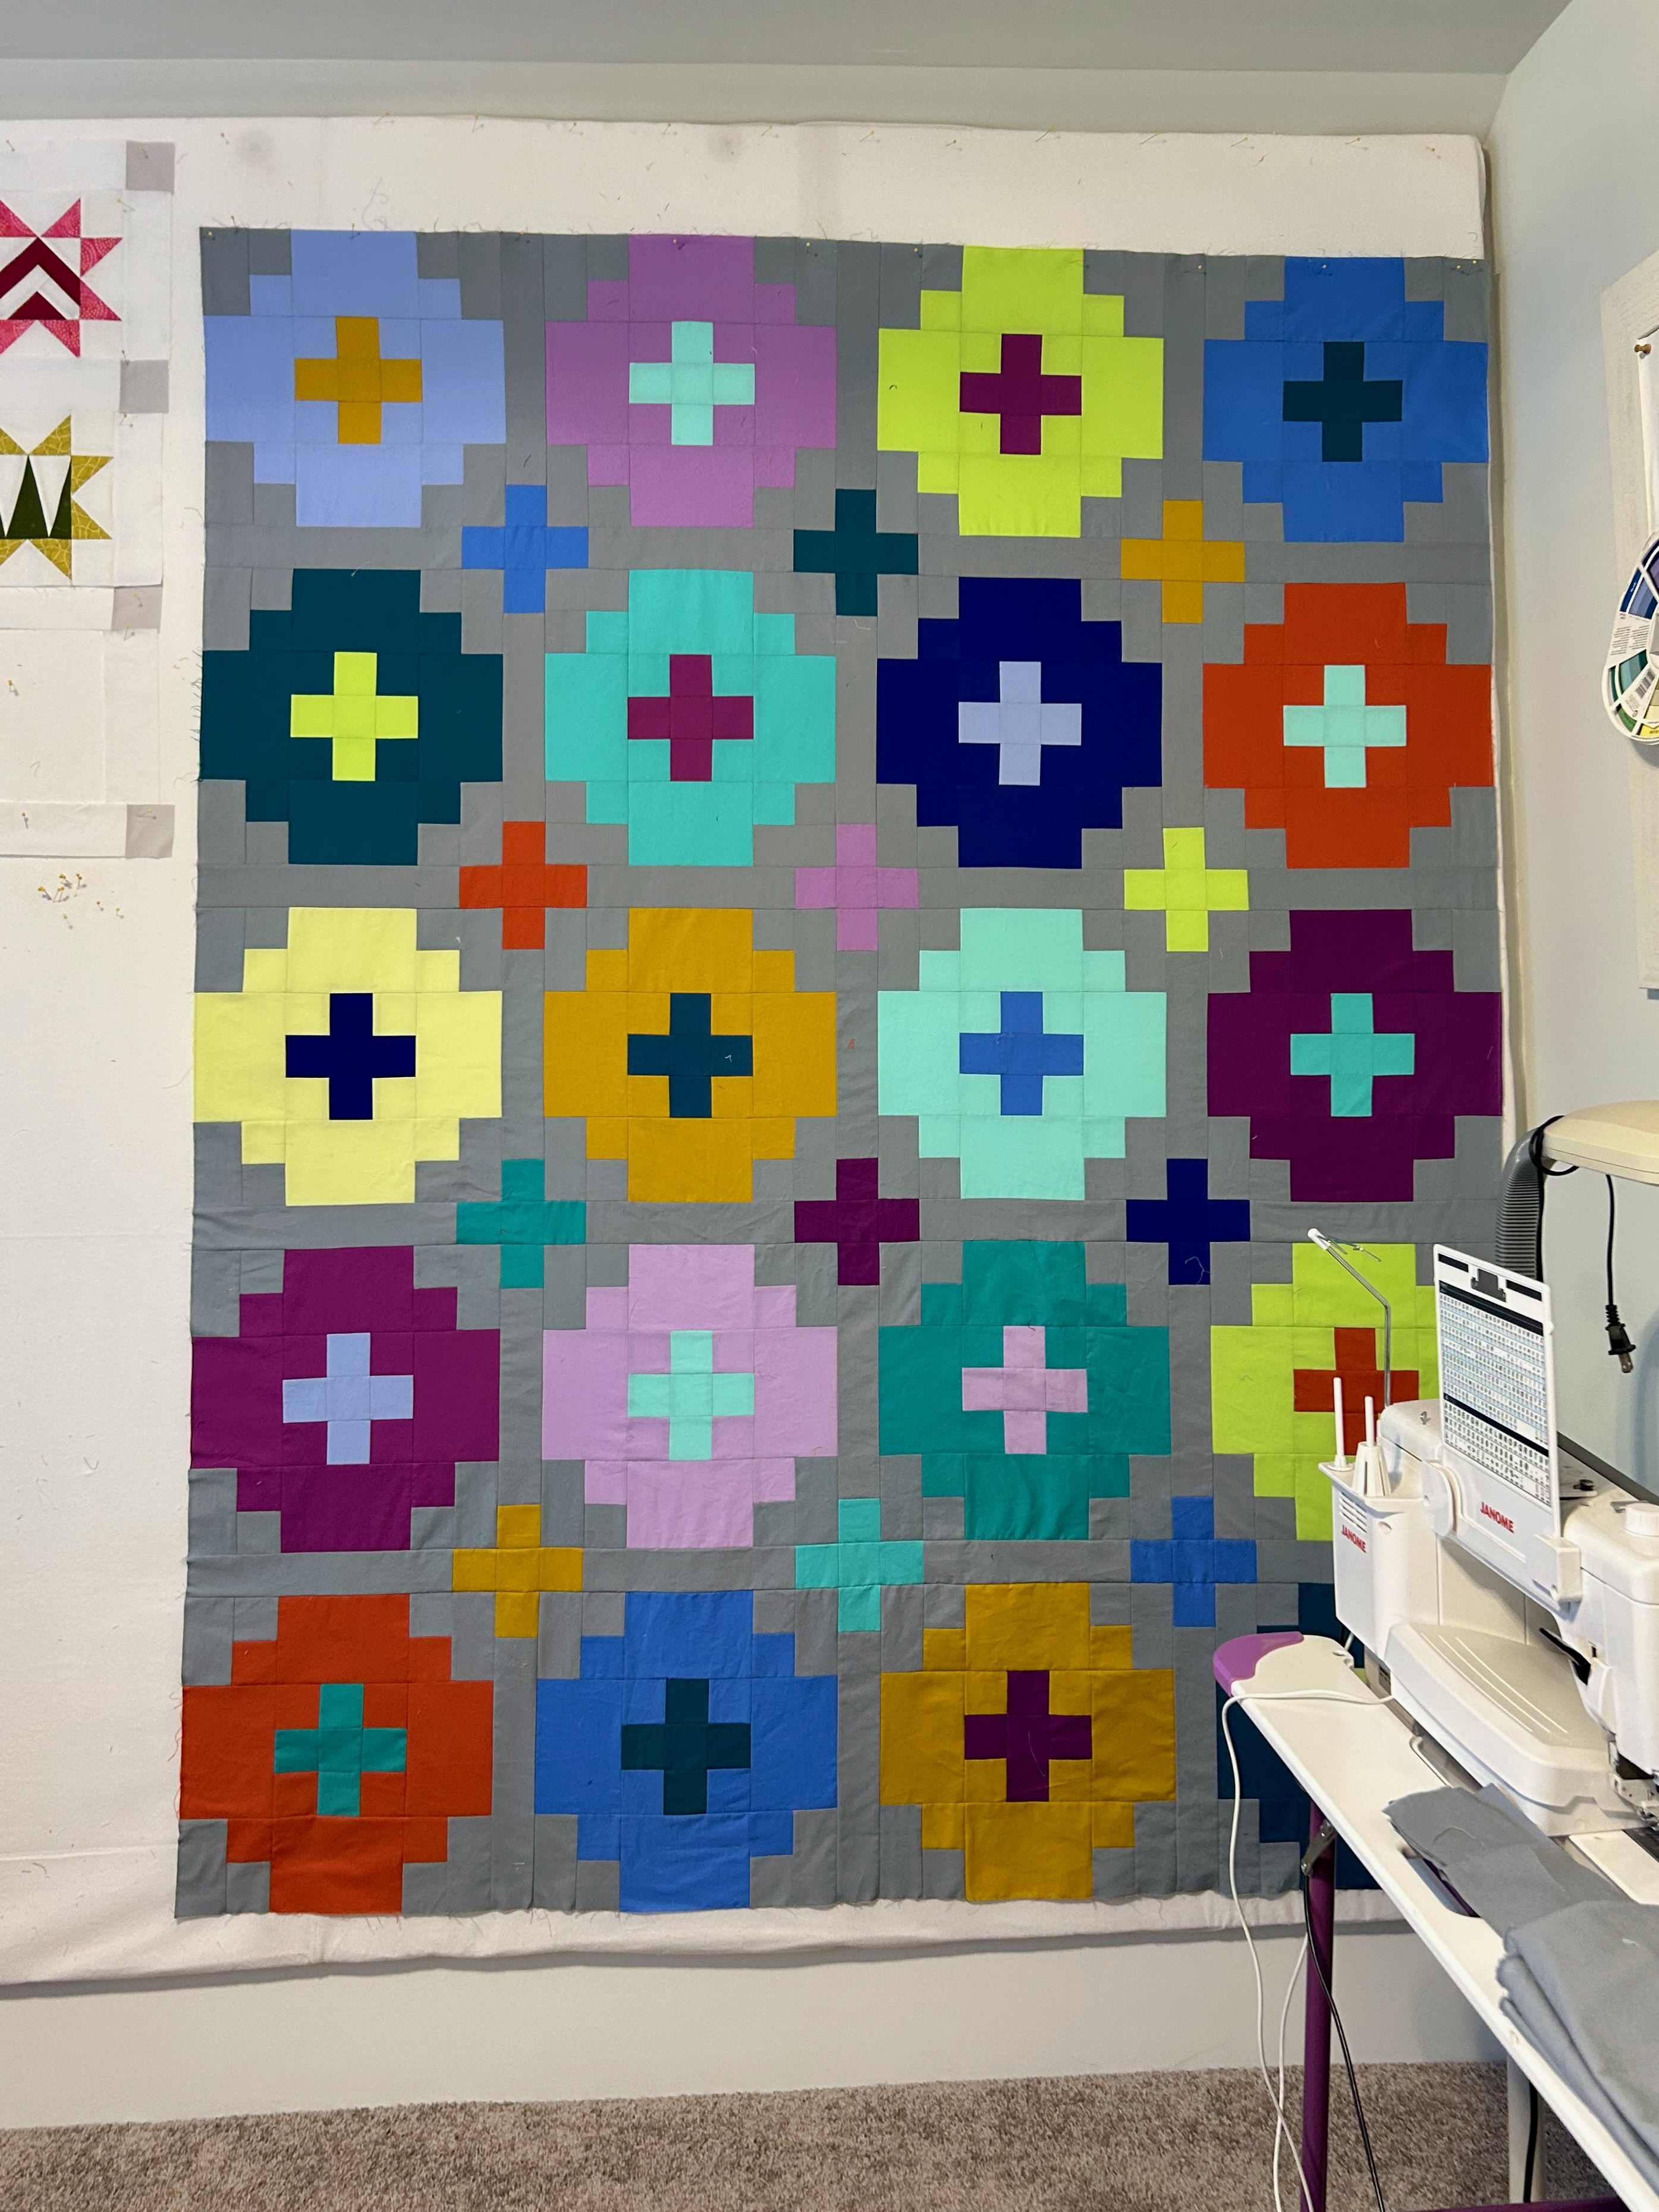
The “Cross Tiles” quilt top (Emily Dennis, Quilty Love) is done. It’s 78 inches long, and the 4 yards of fabric I had on hand and thought to use isn’t long enough, so I spent some time this morning online looking for a sale fabric that would work. I ordered 5 yards of one that I think will work, but you never know until it arrives. I think a quilt like this one needs a print backing that has at least some of the right colors and is interesting.

I am loving this graphic quilt. The blocks are 14 inches finished and make up REALLY FAST. They are also easy to cut–and I have a new ruler toy that came highly recommended by my quilty friends here–the stripology ruler designed by Gudrun Erla. I will write more on that topic later as I’m still learning all that this ruler can cut. The book I ordered also was back ordered and is now on its way to me. But so far, the strips and squares I have cut happen so fast that my head whirls AND each piece is perfect. PERFECT, every time.

Anyway, I am loving the medium grey field fabric (Kona Titanium) as I wanted a soft look for this quilt. A white or cream backing would be dramatically nice, too, but not soft and cozy like the grey. Plus, a white field fabric would be harder to keep clean if the quilt is used a lot, which I hope it will be.

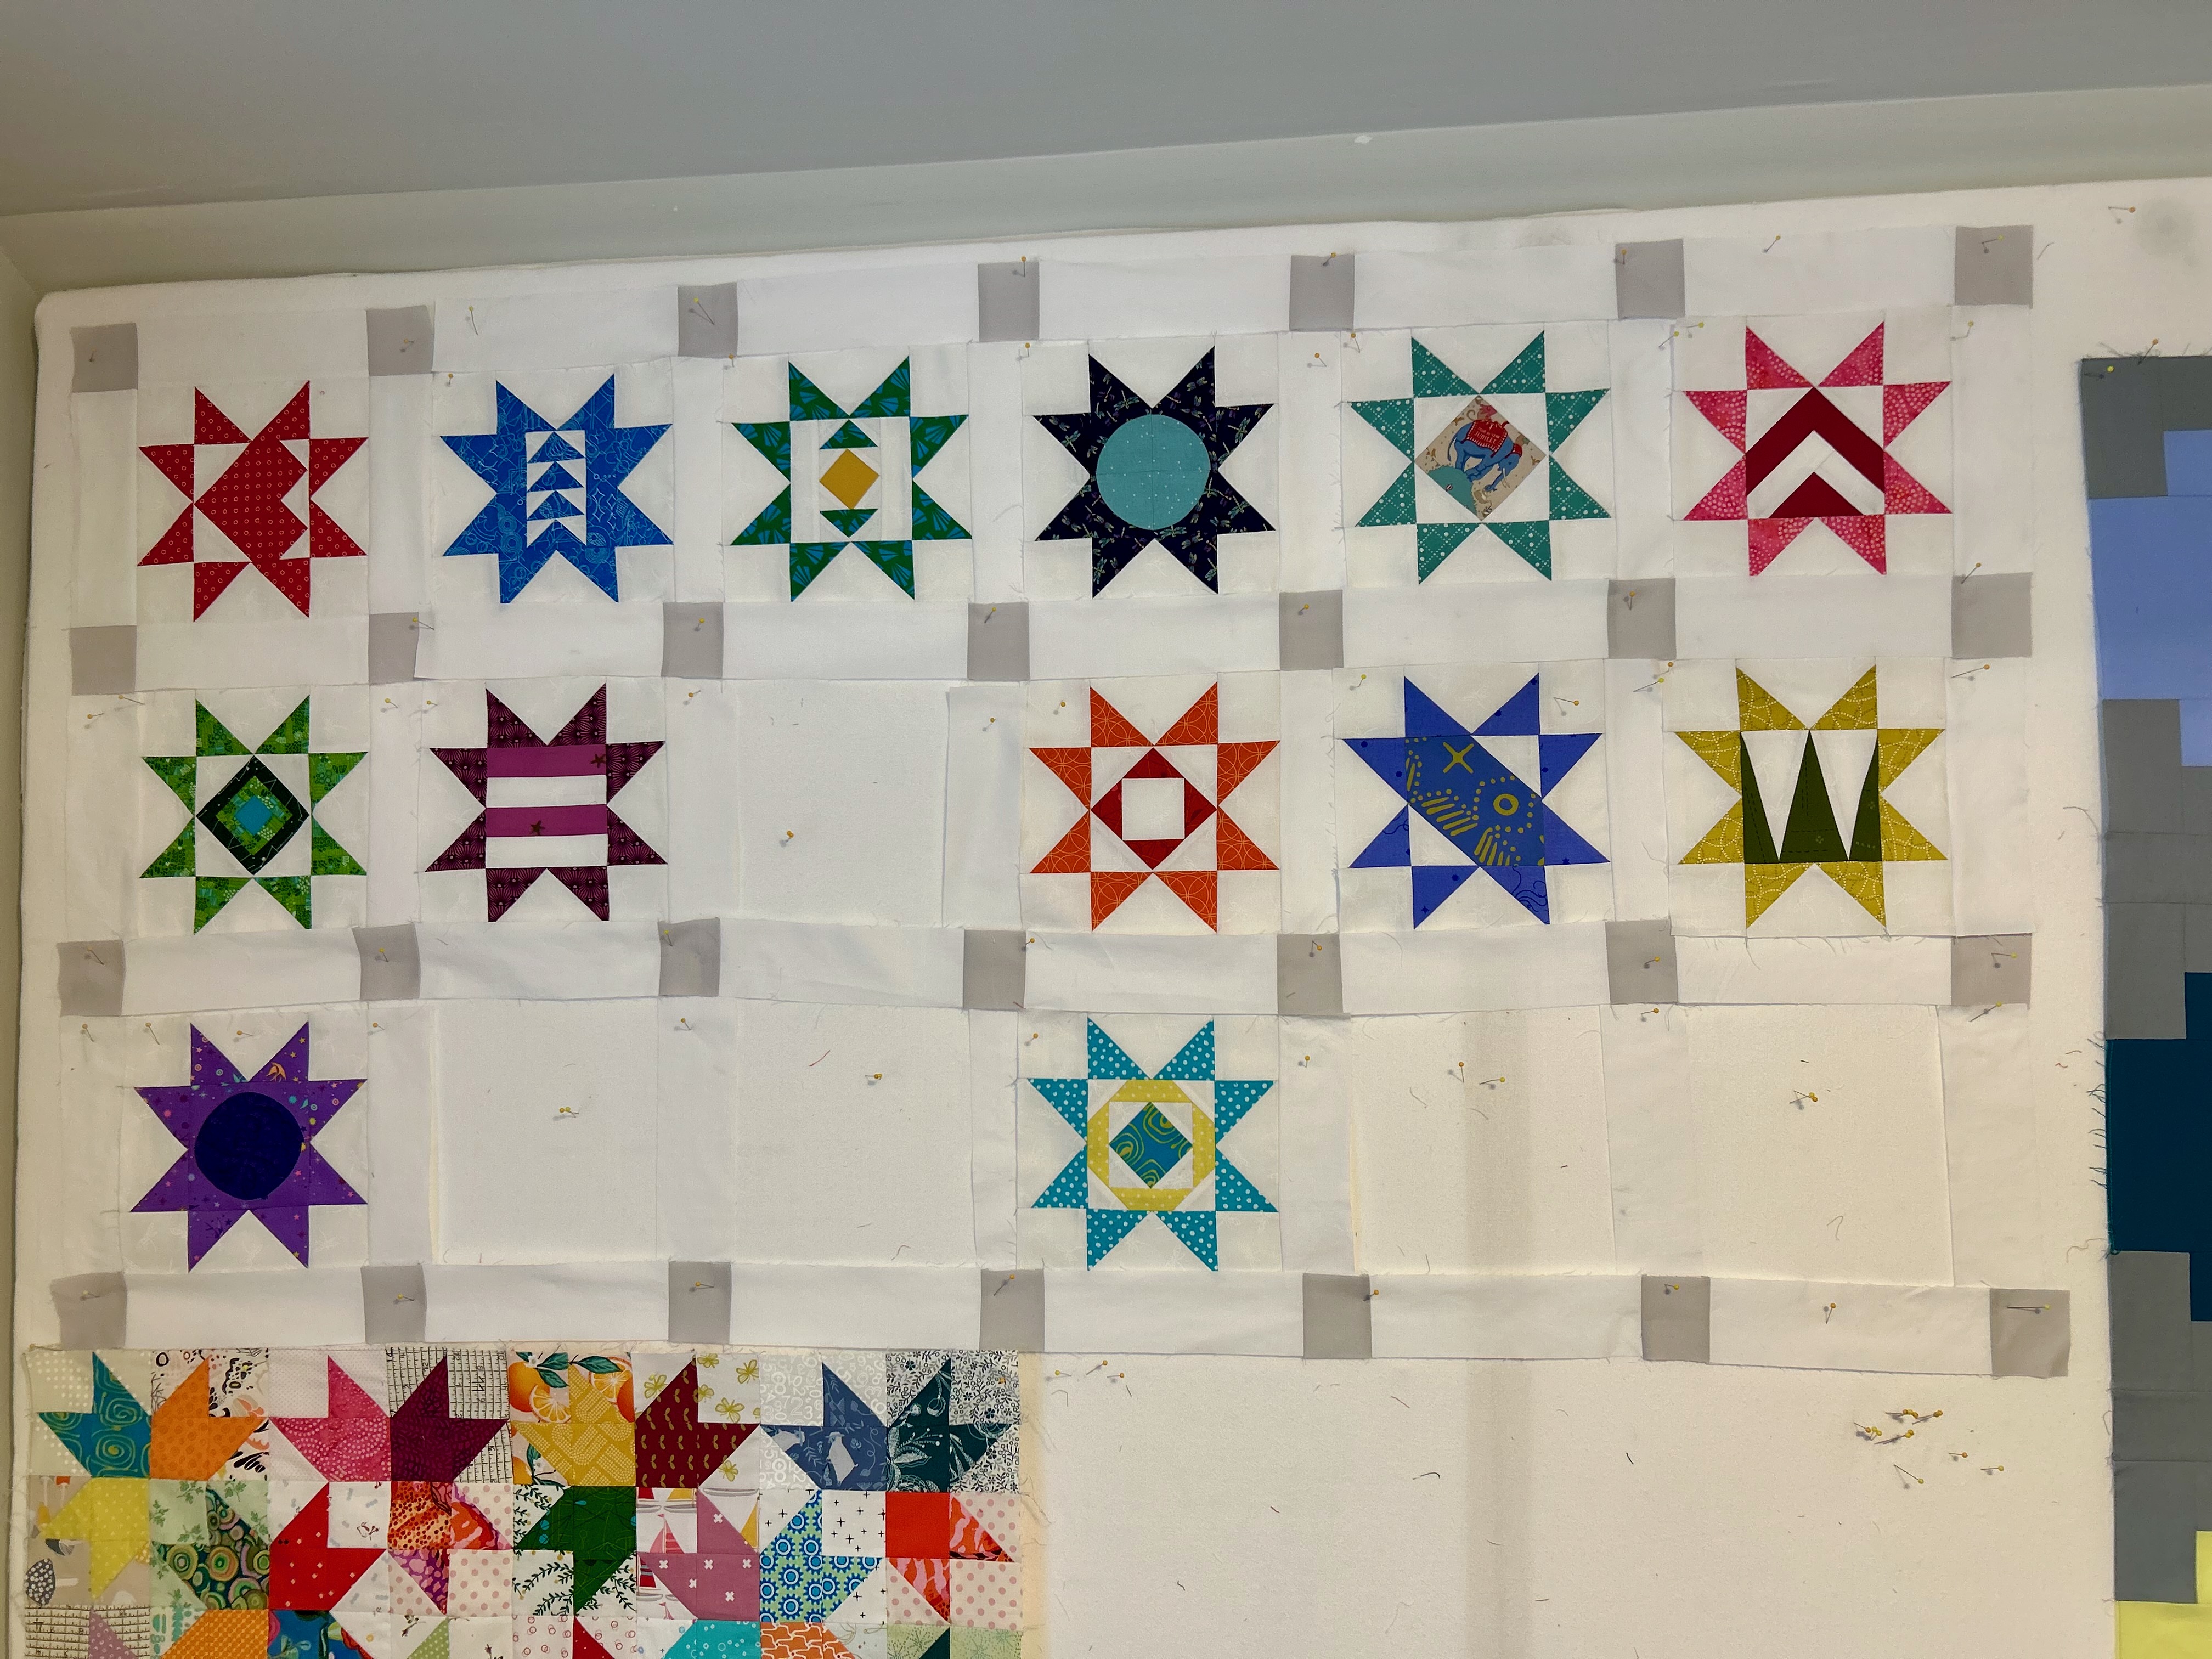
The leader/ender project “Scrappy Stars” from Leila Gardunia is growing. Leila used bright squares in her sashing, and I started feeling like they were distracting from the stars. I tried various soft colors, but settled on Kona Silver, and I’m liking their quietness, but presence, much better. (The circle block is my design.) The field fabric is Kona white.

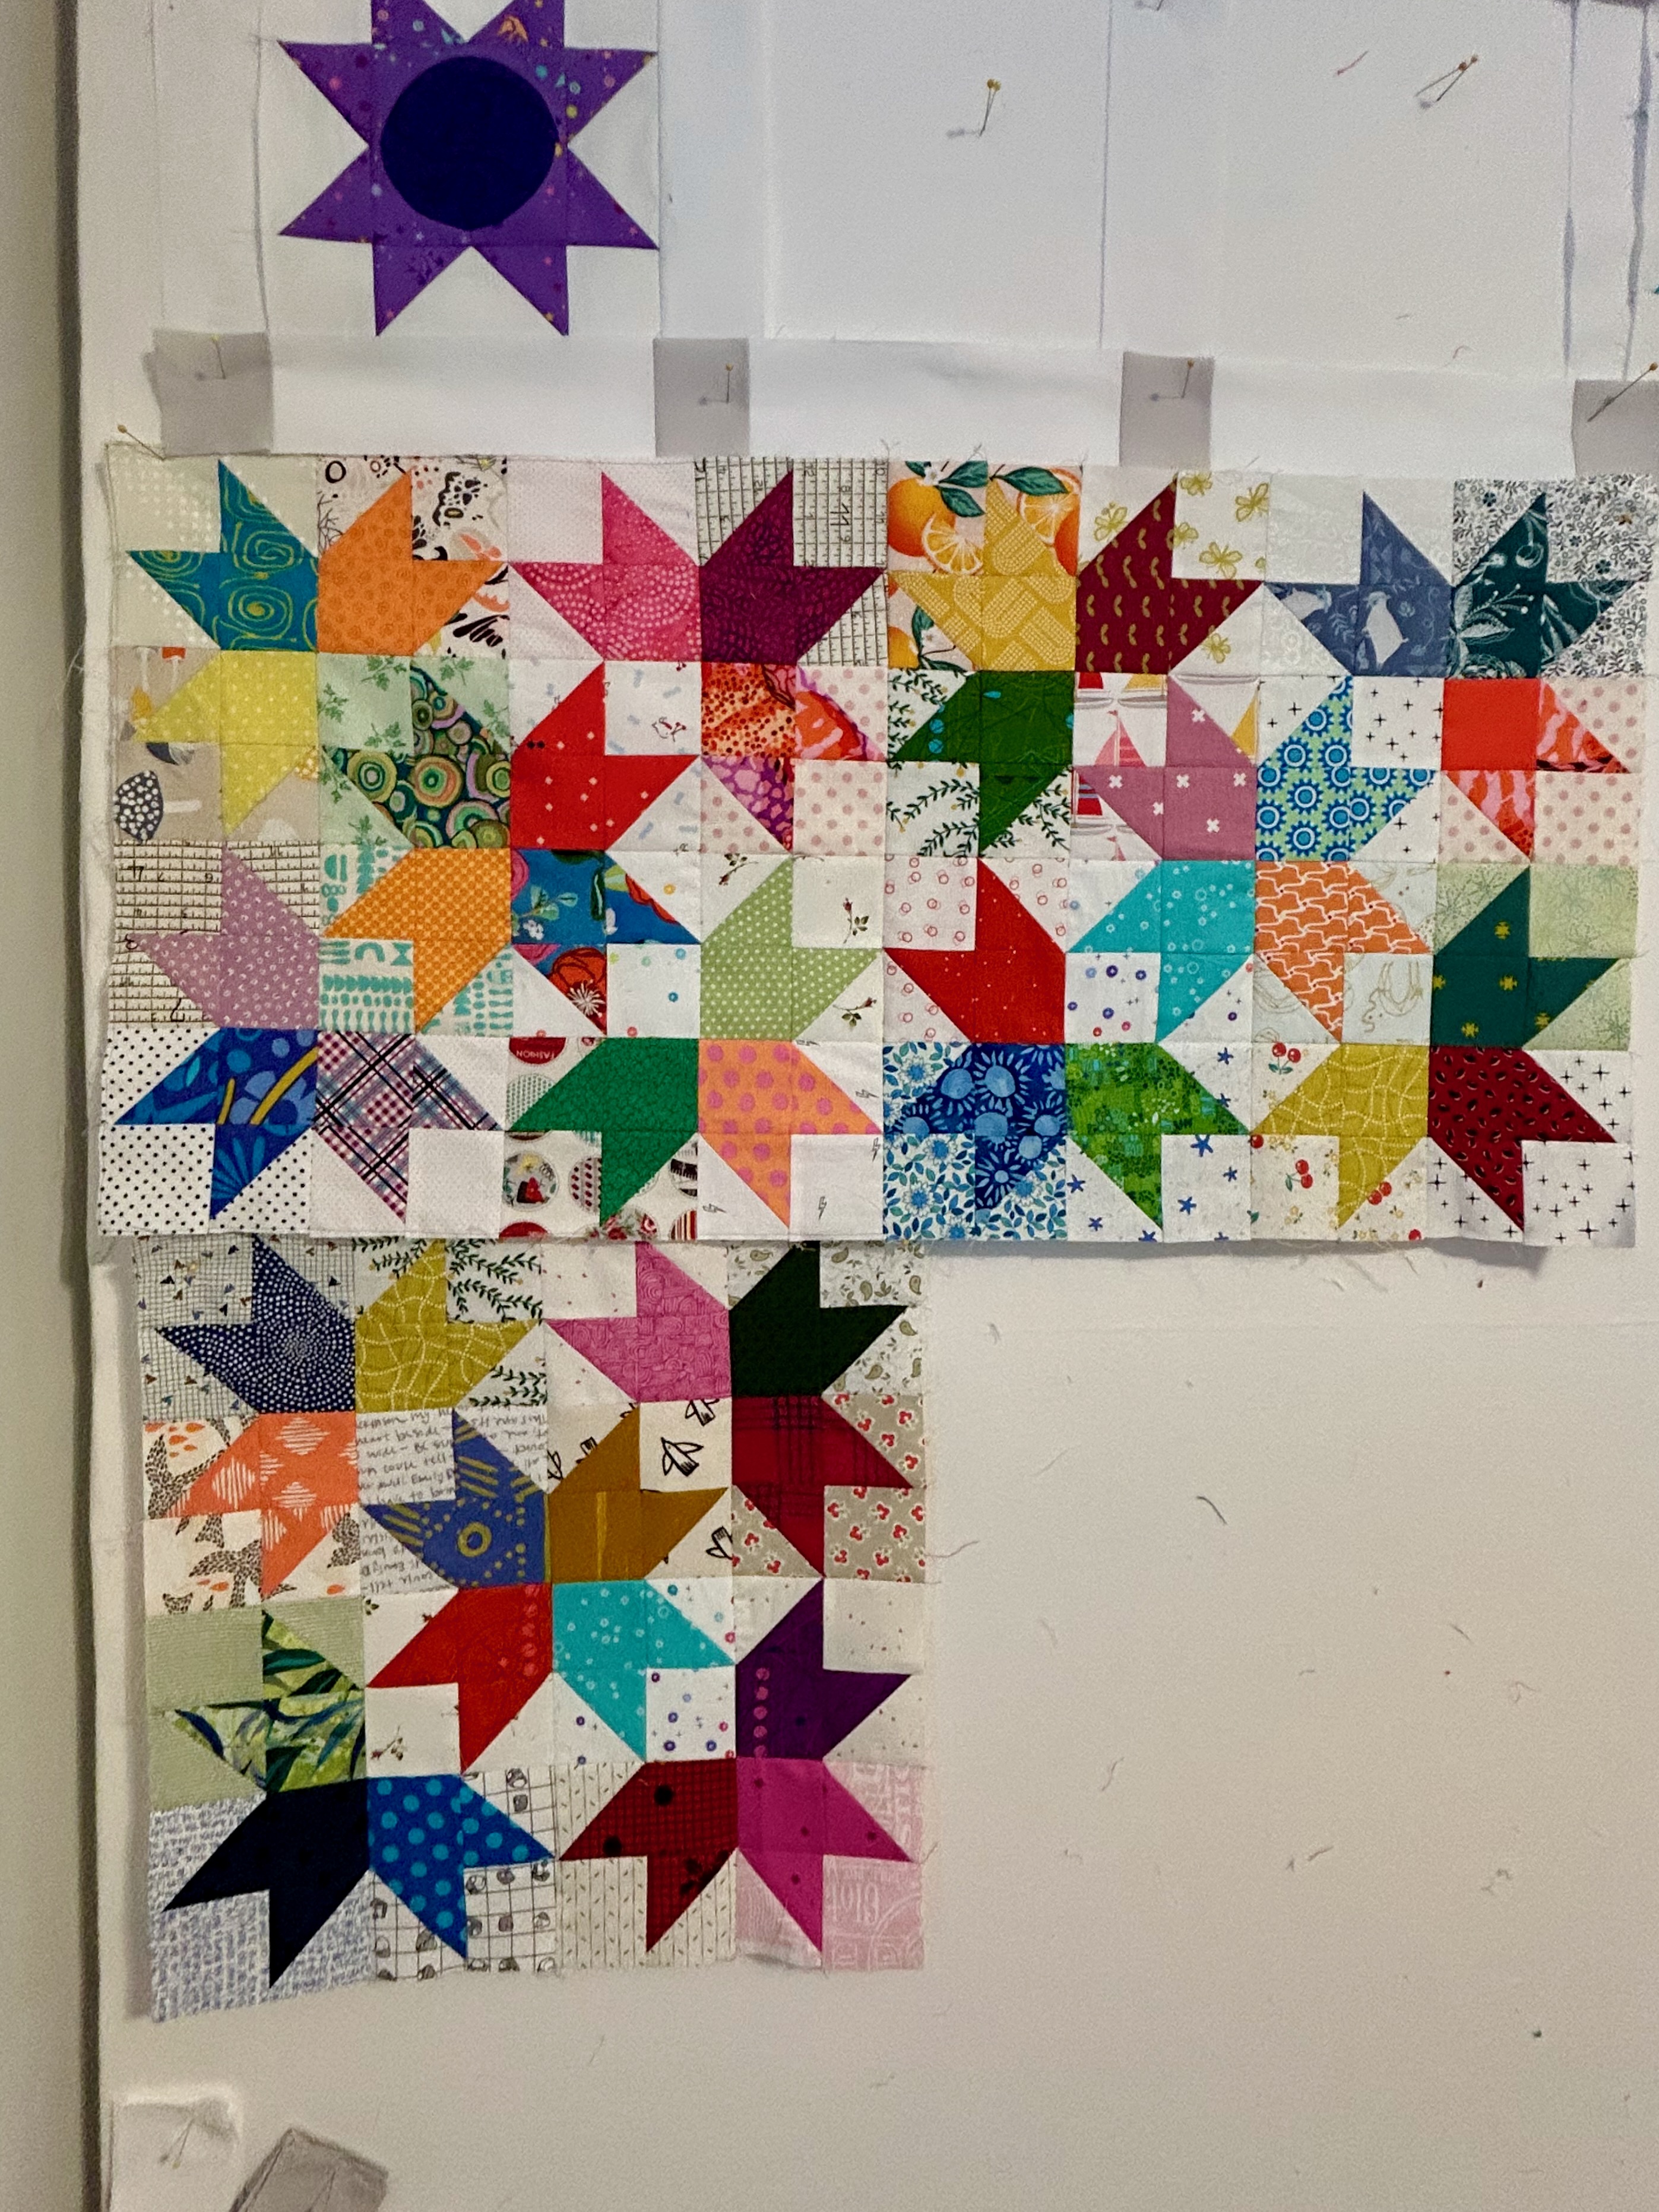
The other leader/ender is Bonnie Hunter’s “Tulilp Swirl,” a free block pattern released in July for her annual leader/ender project. I have been steadily making these blocks and now have a whole pile of them so will be adding more of these 16-inch squares to the design wall as there is now room on the design wall for these blocks to expand. I’m thinking 4 blocks by maybe 5 rows, but who knows. I like the secondary patterns emerging now–and how the eye can trace the central finished star down the row of them that is forming.

So, that’s where I am right now–and I’m really enjoying this summer time for daily sewing. And for recently completed big projects.