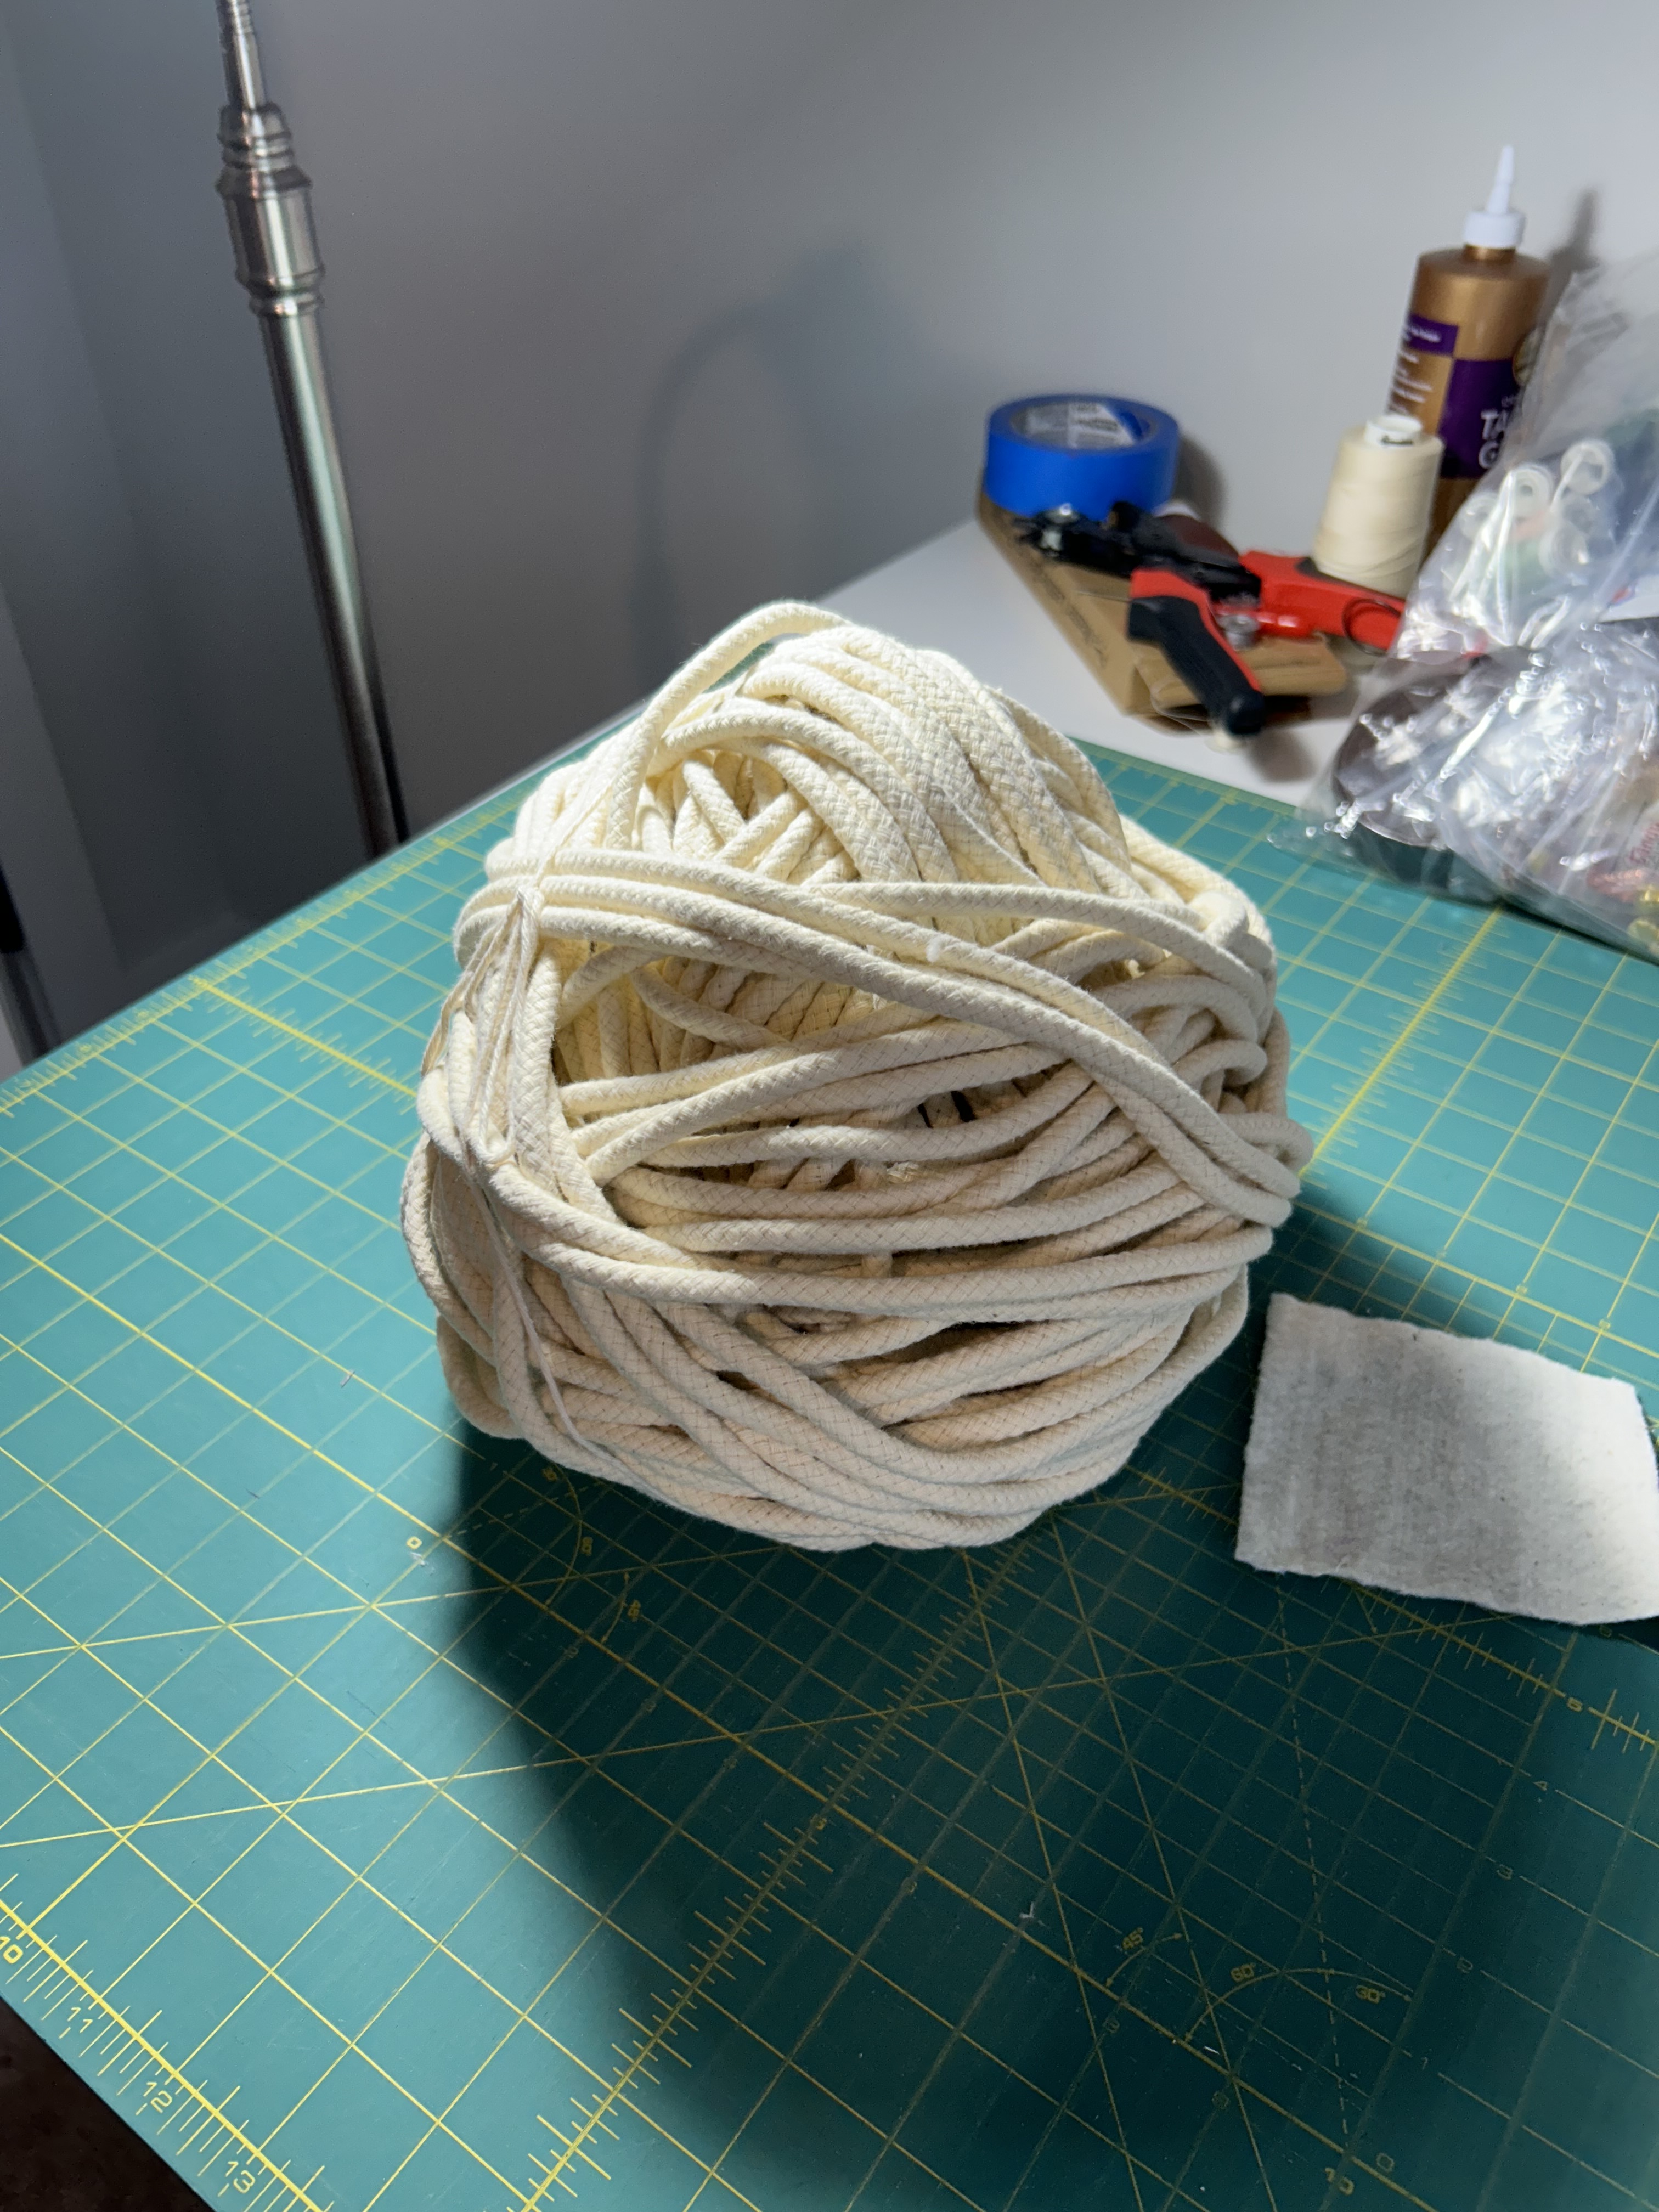
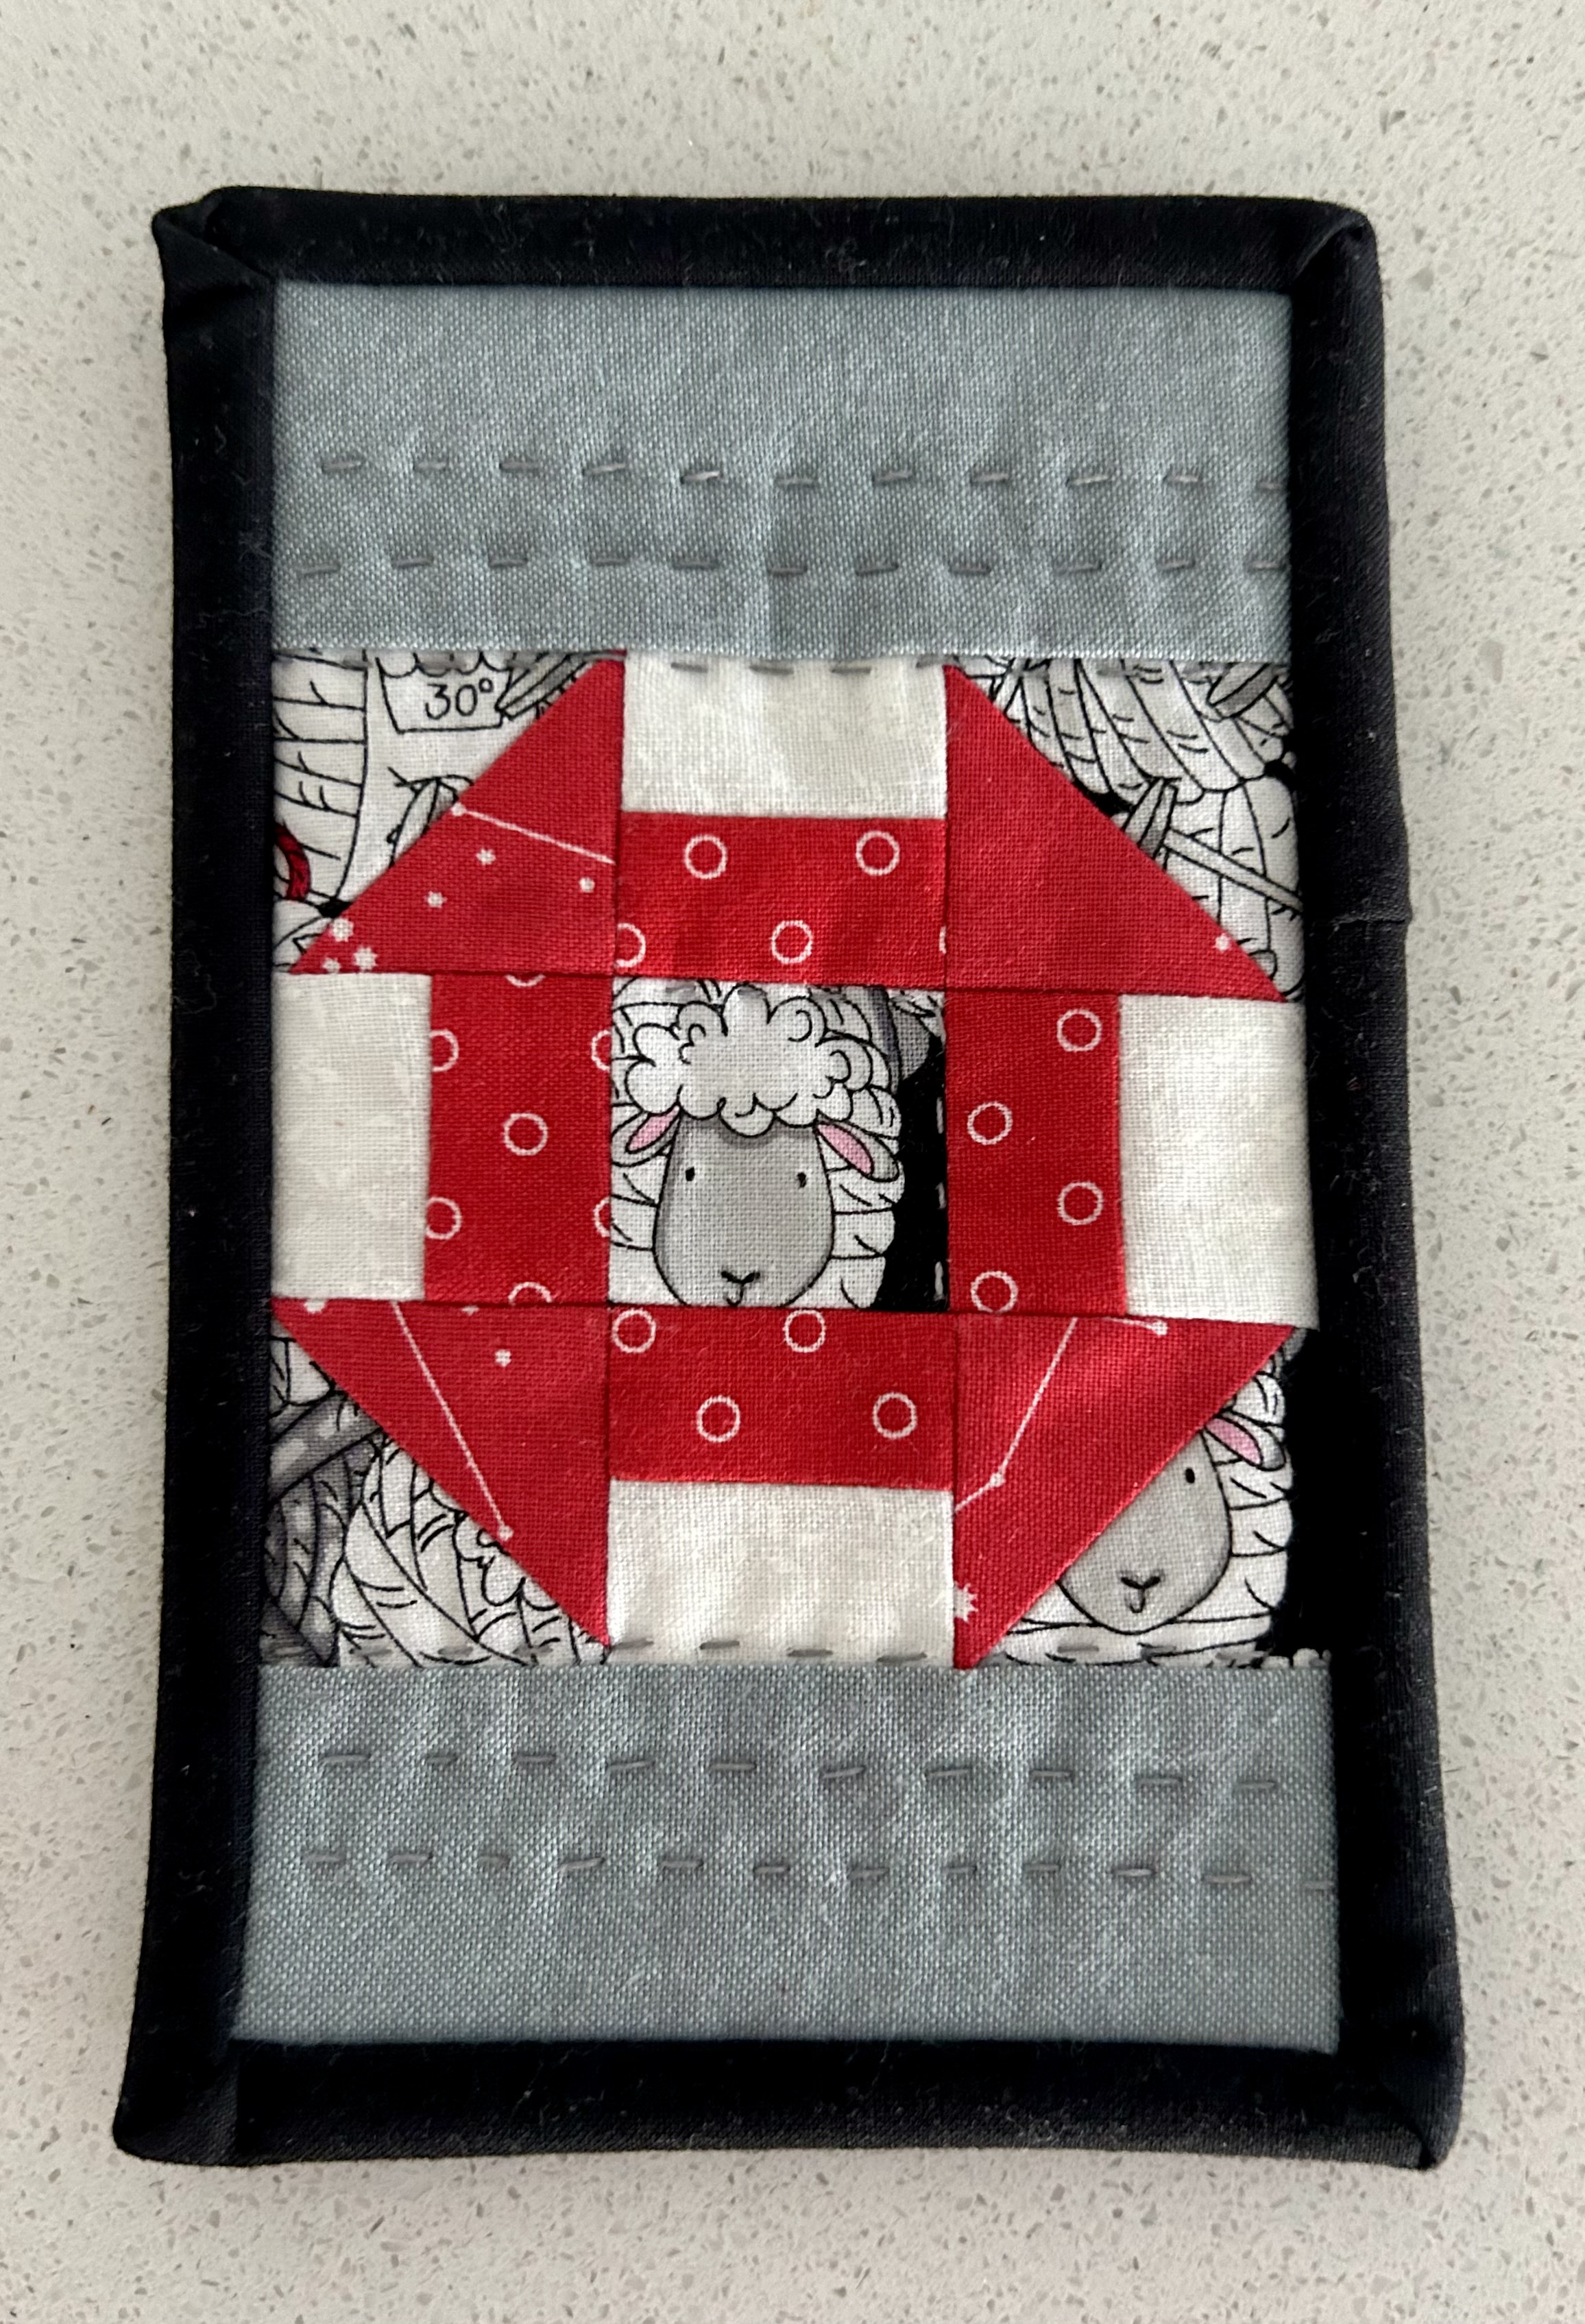
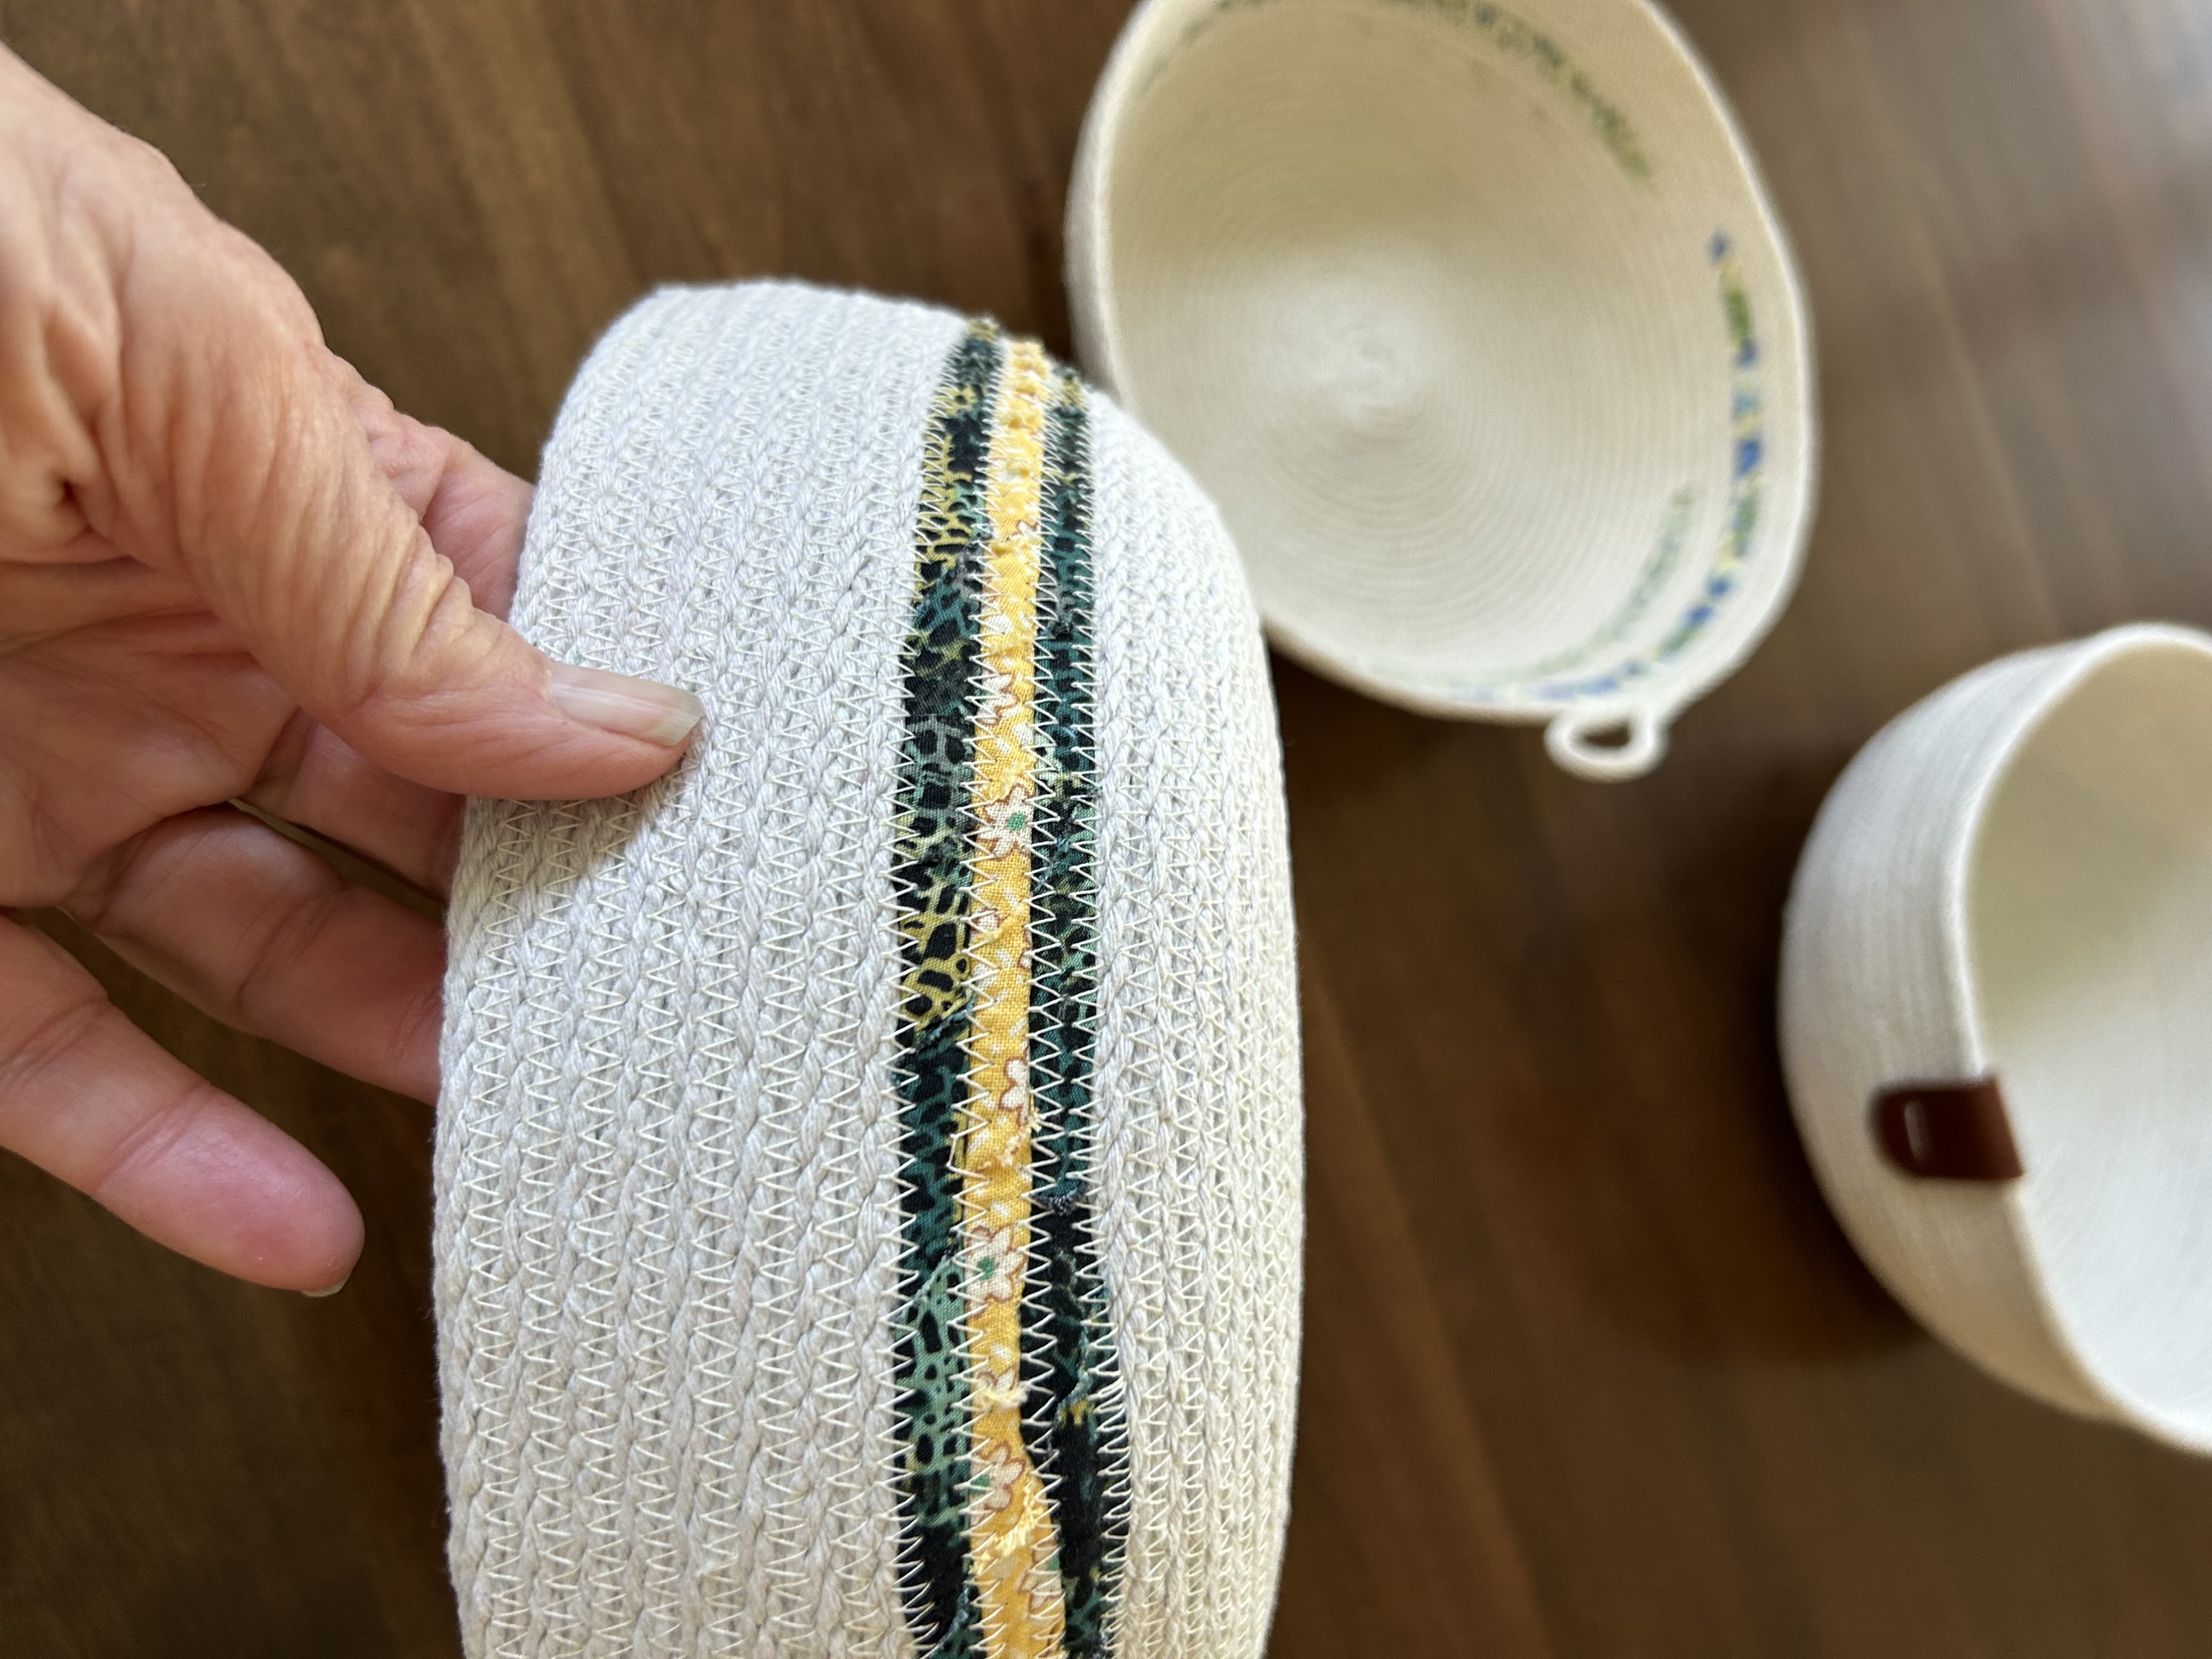
And a rope trivet too.
And a fall lamb soup/stew.
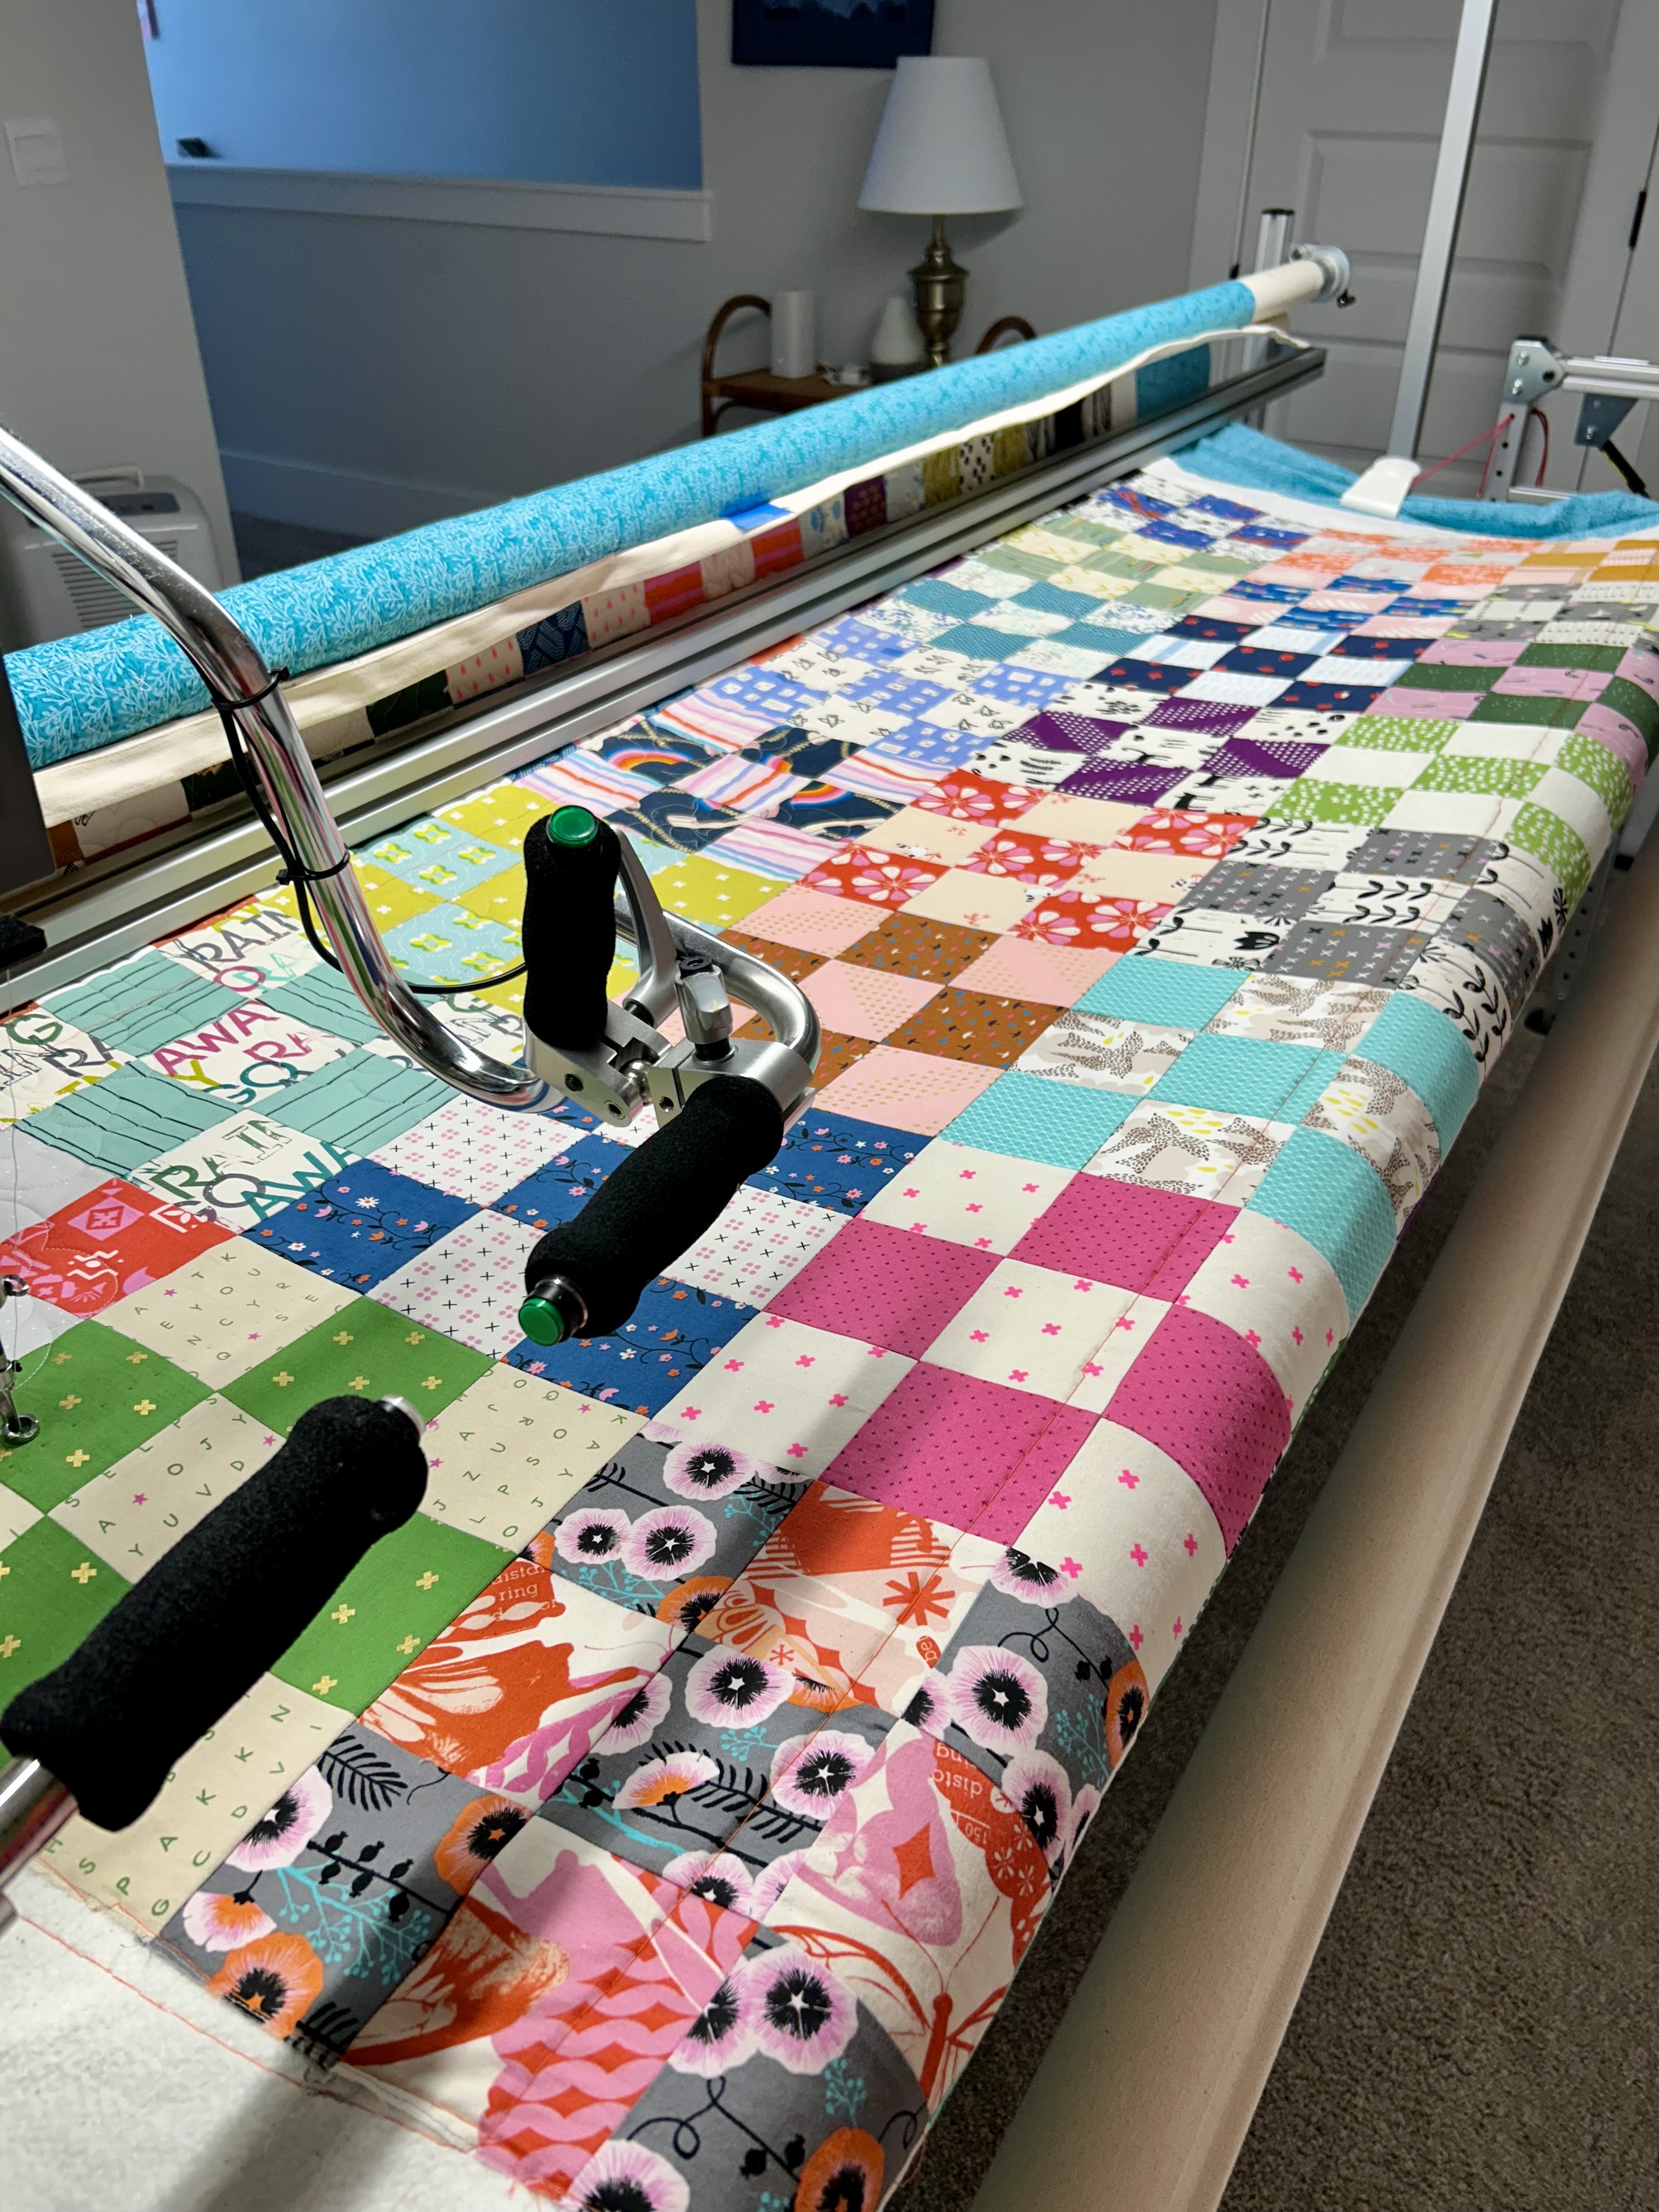
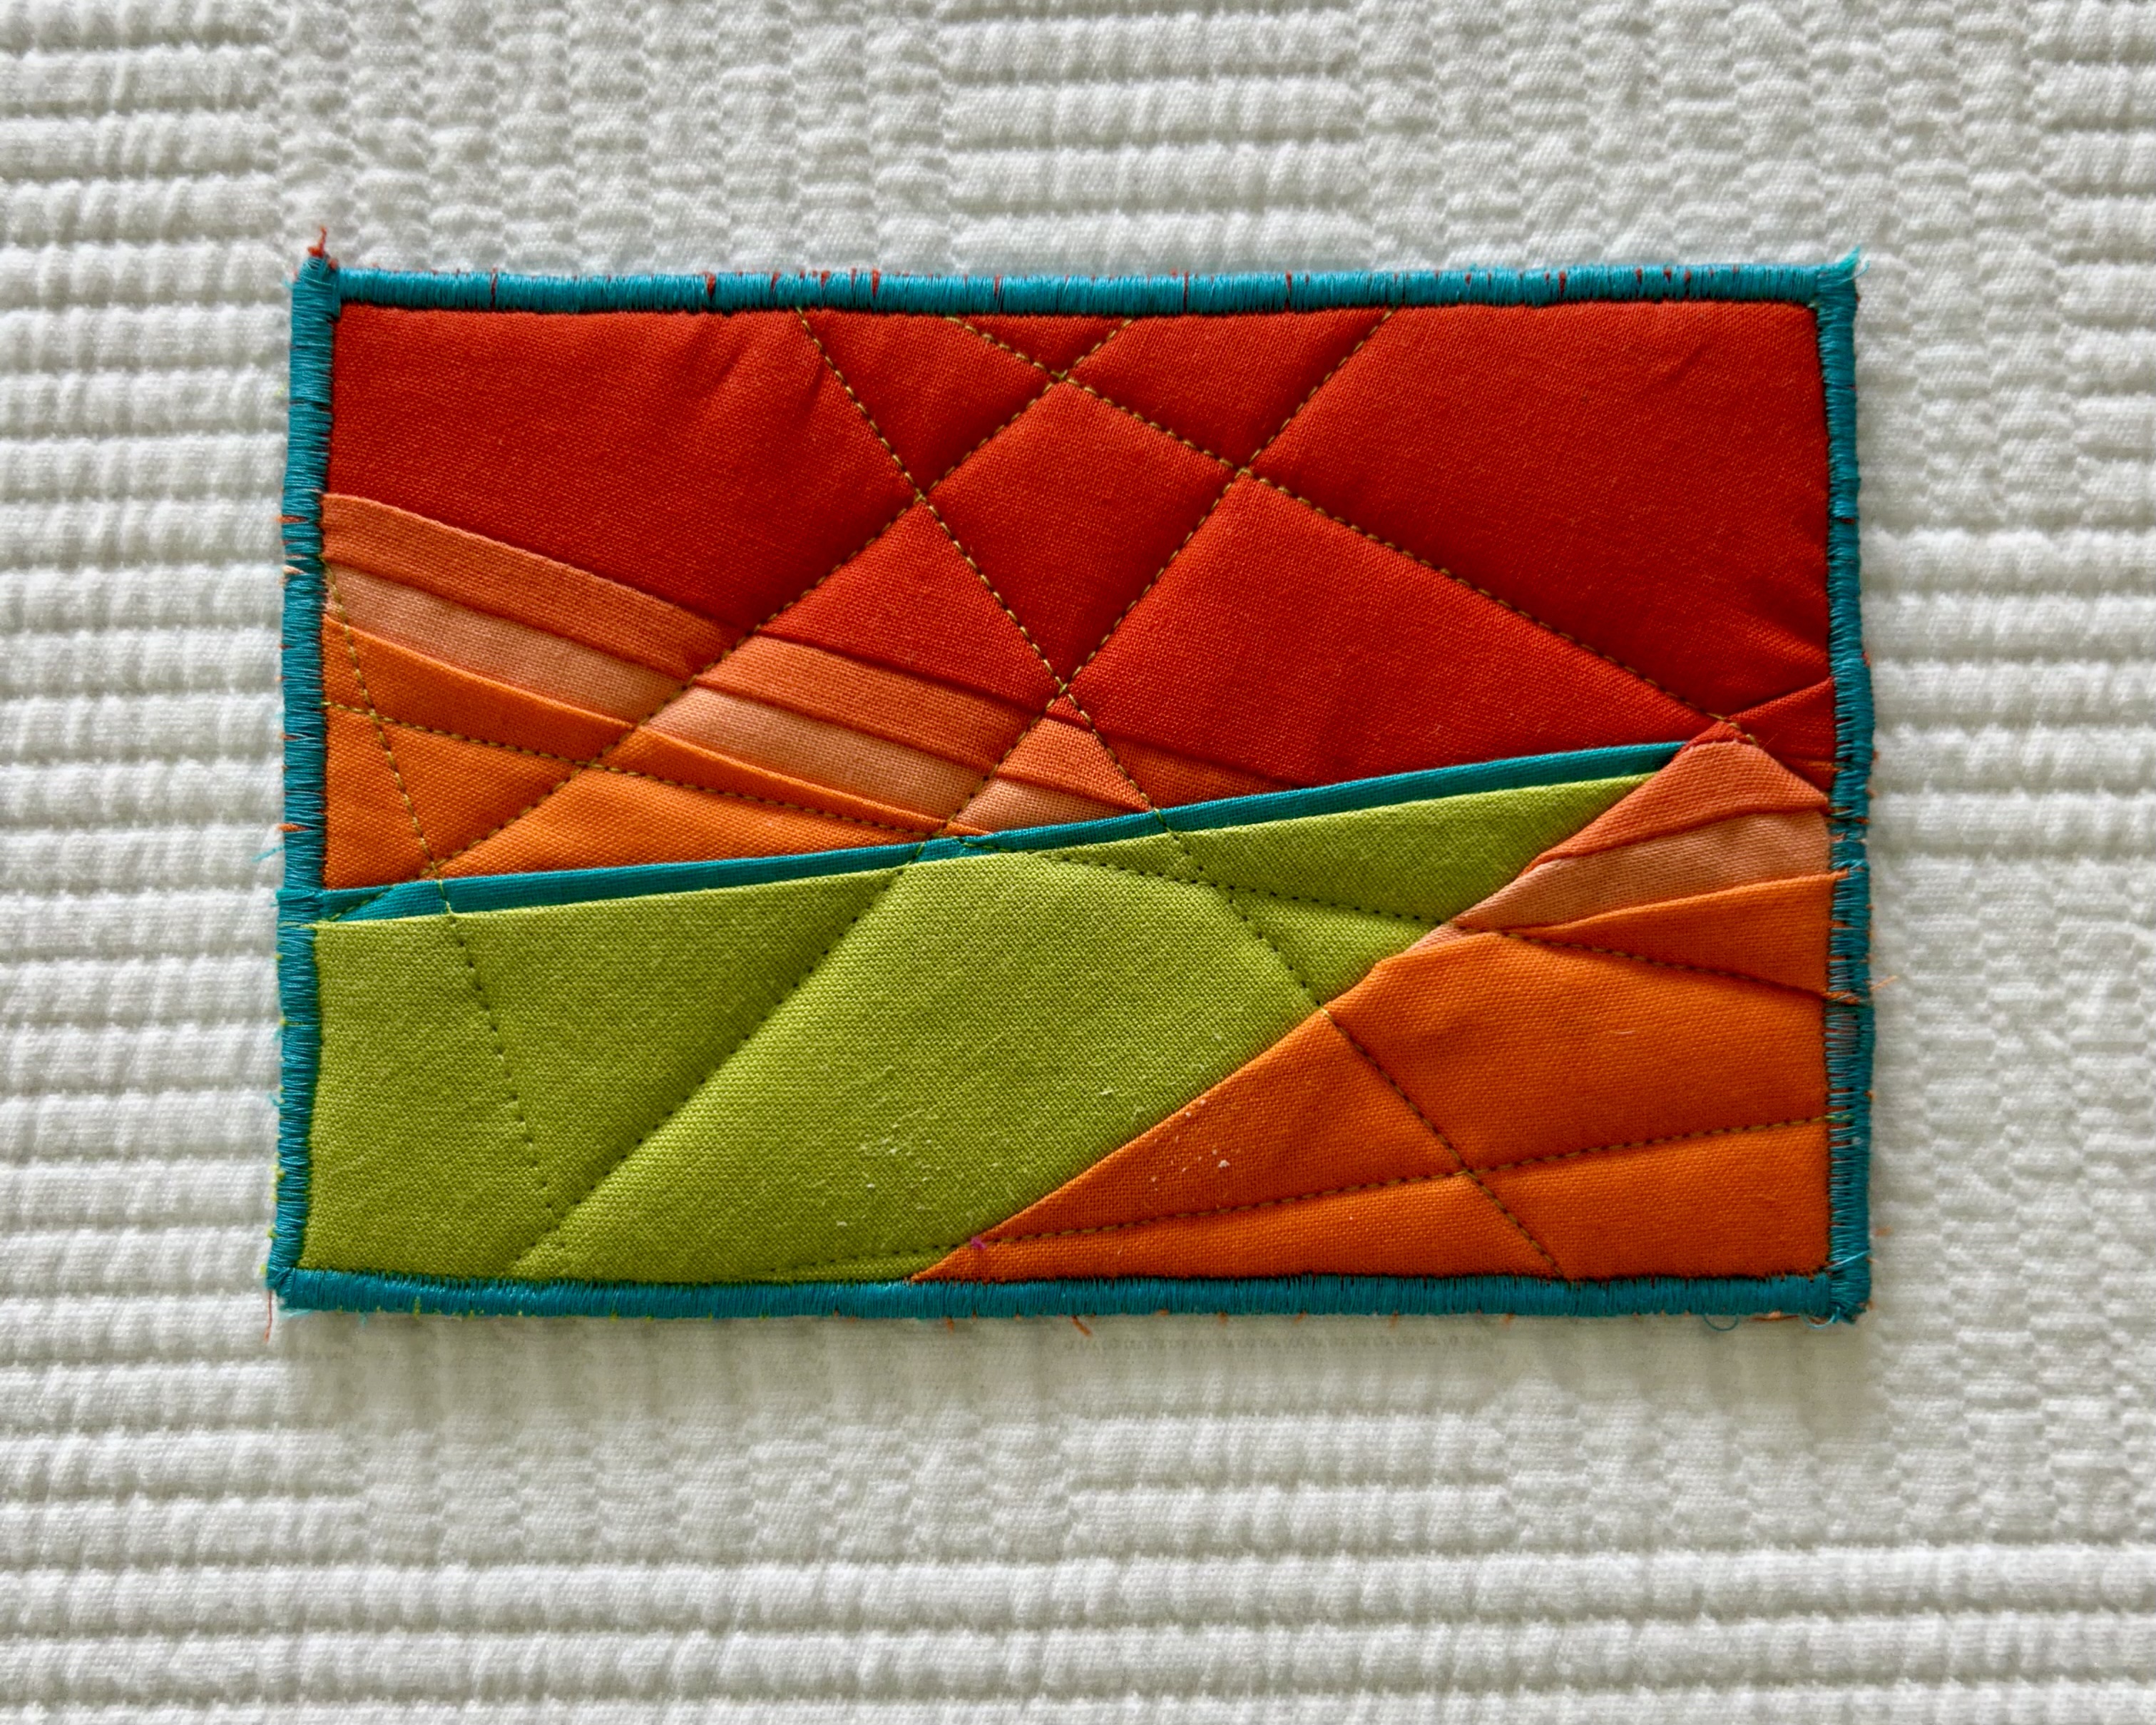
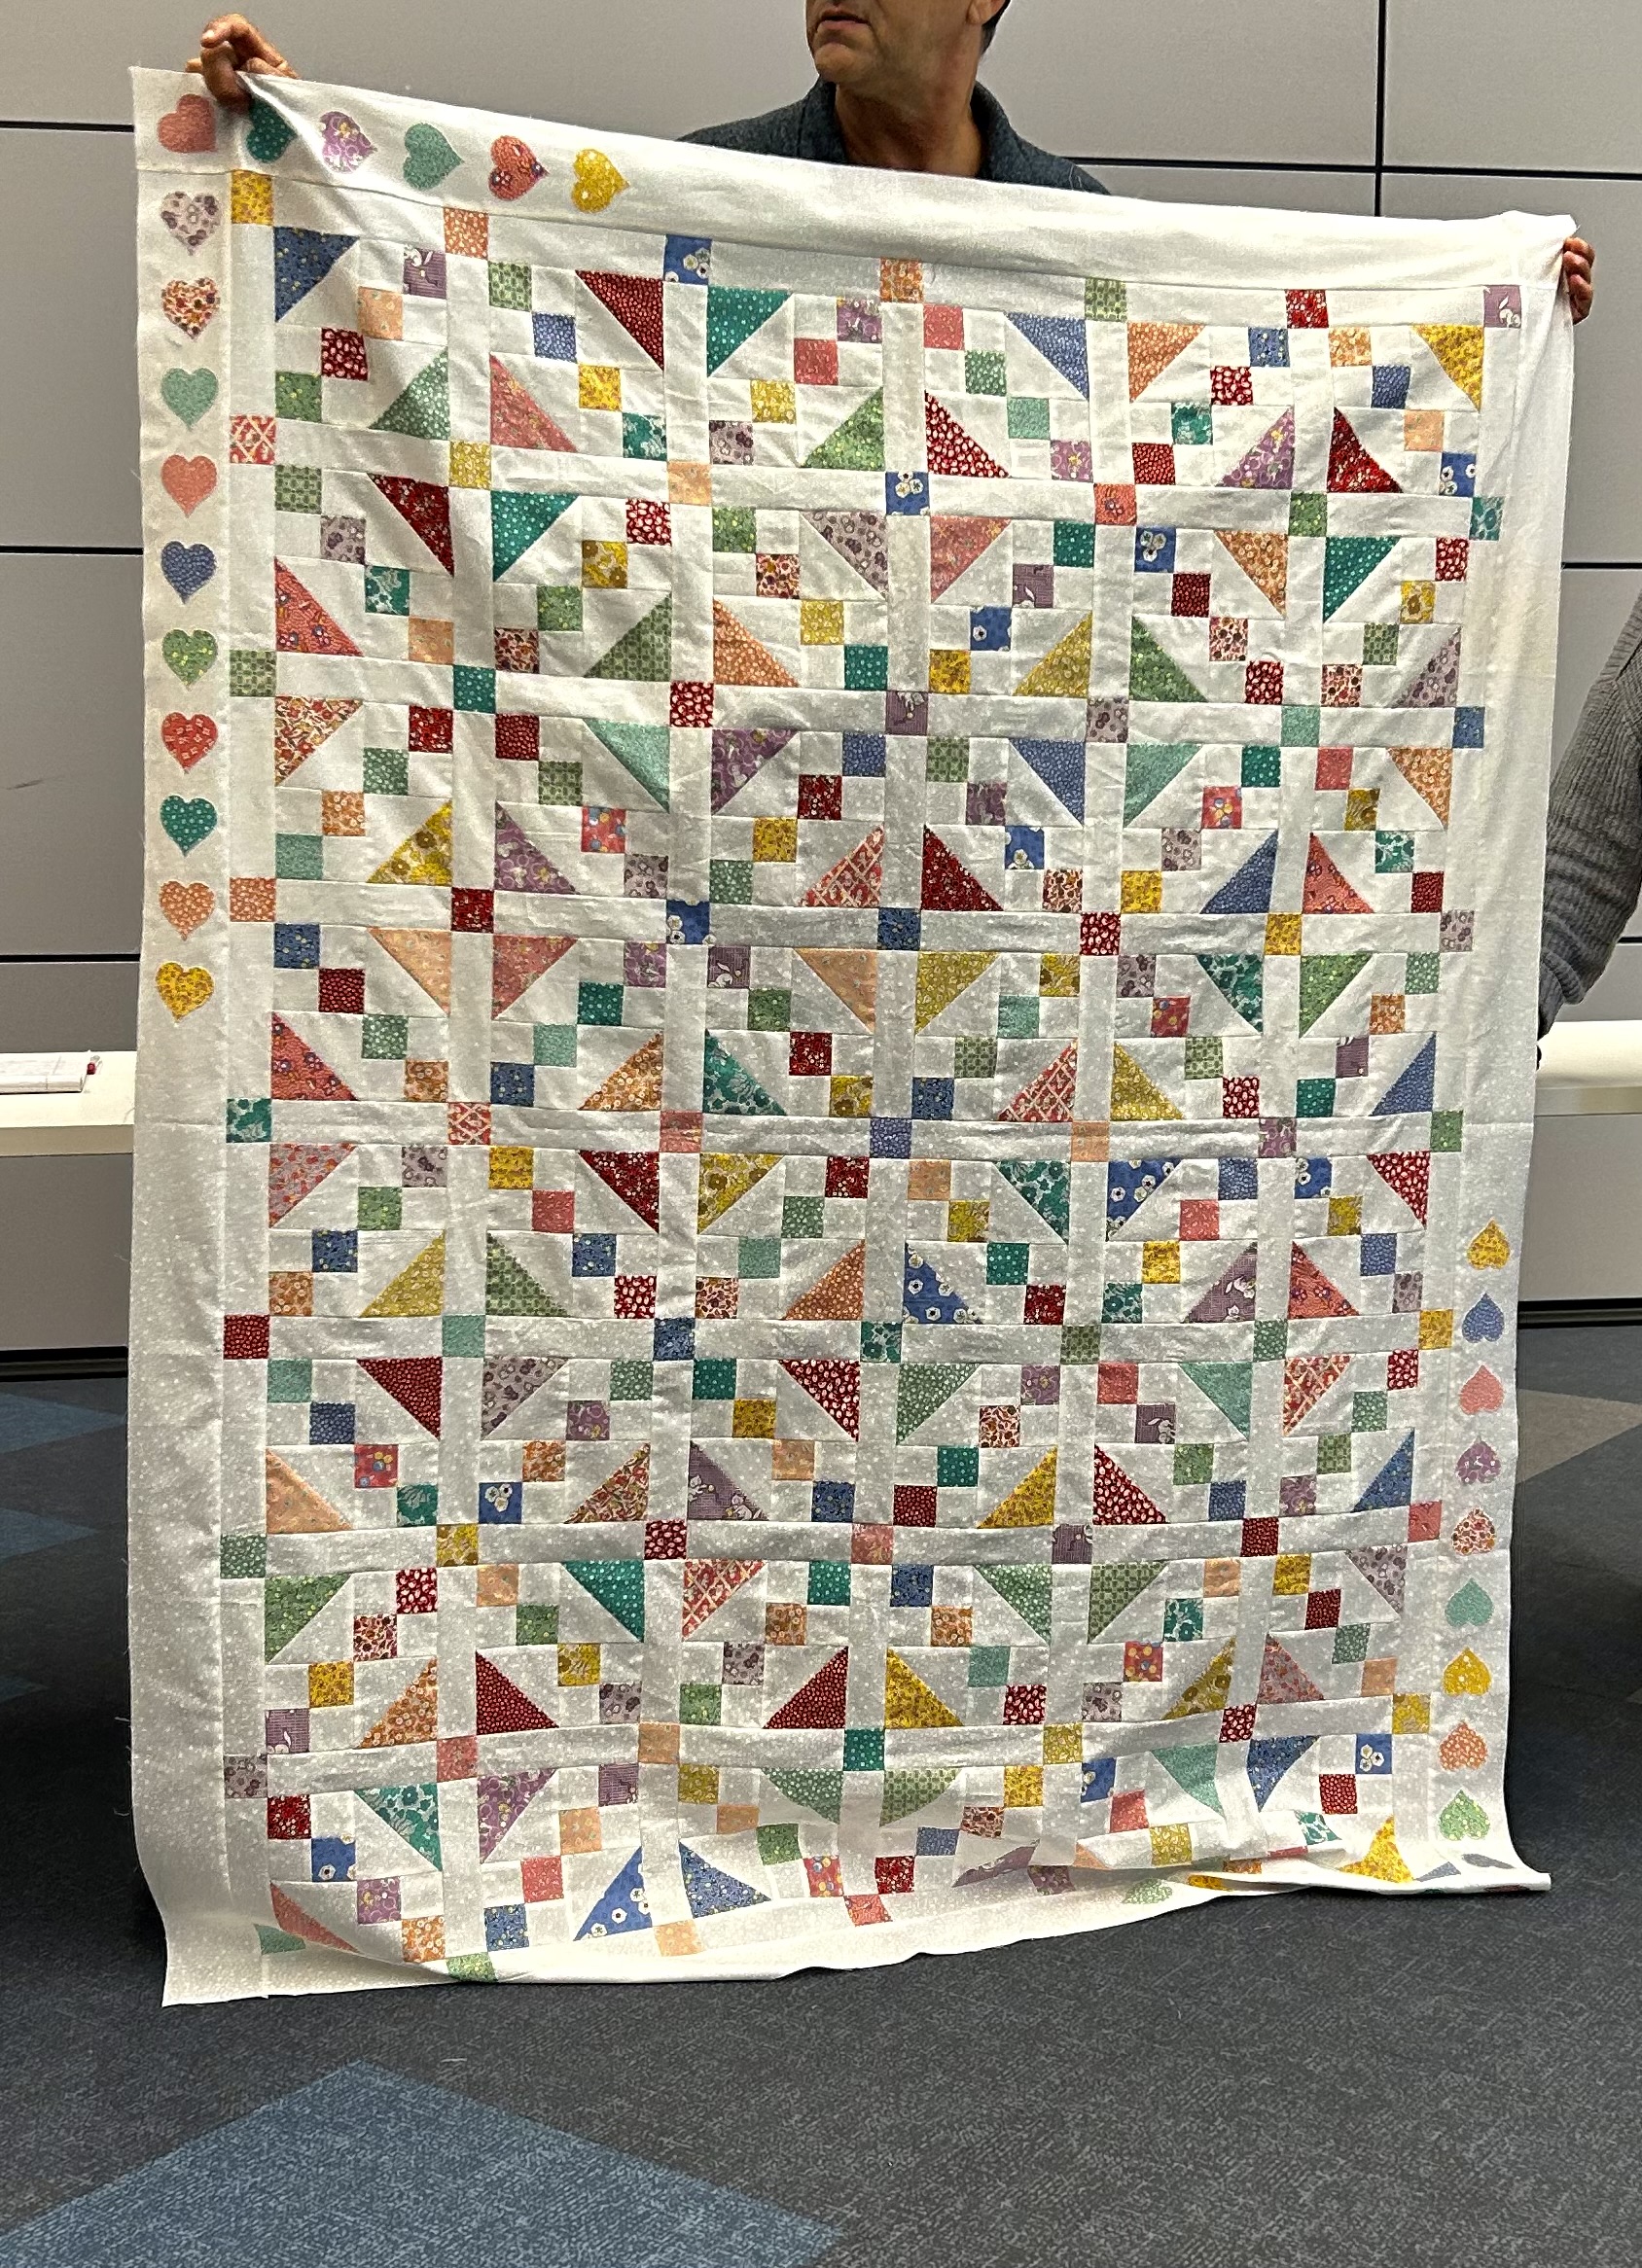
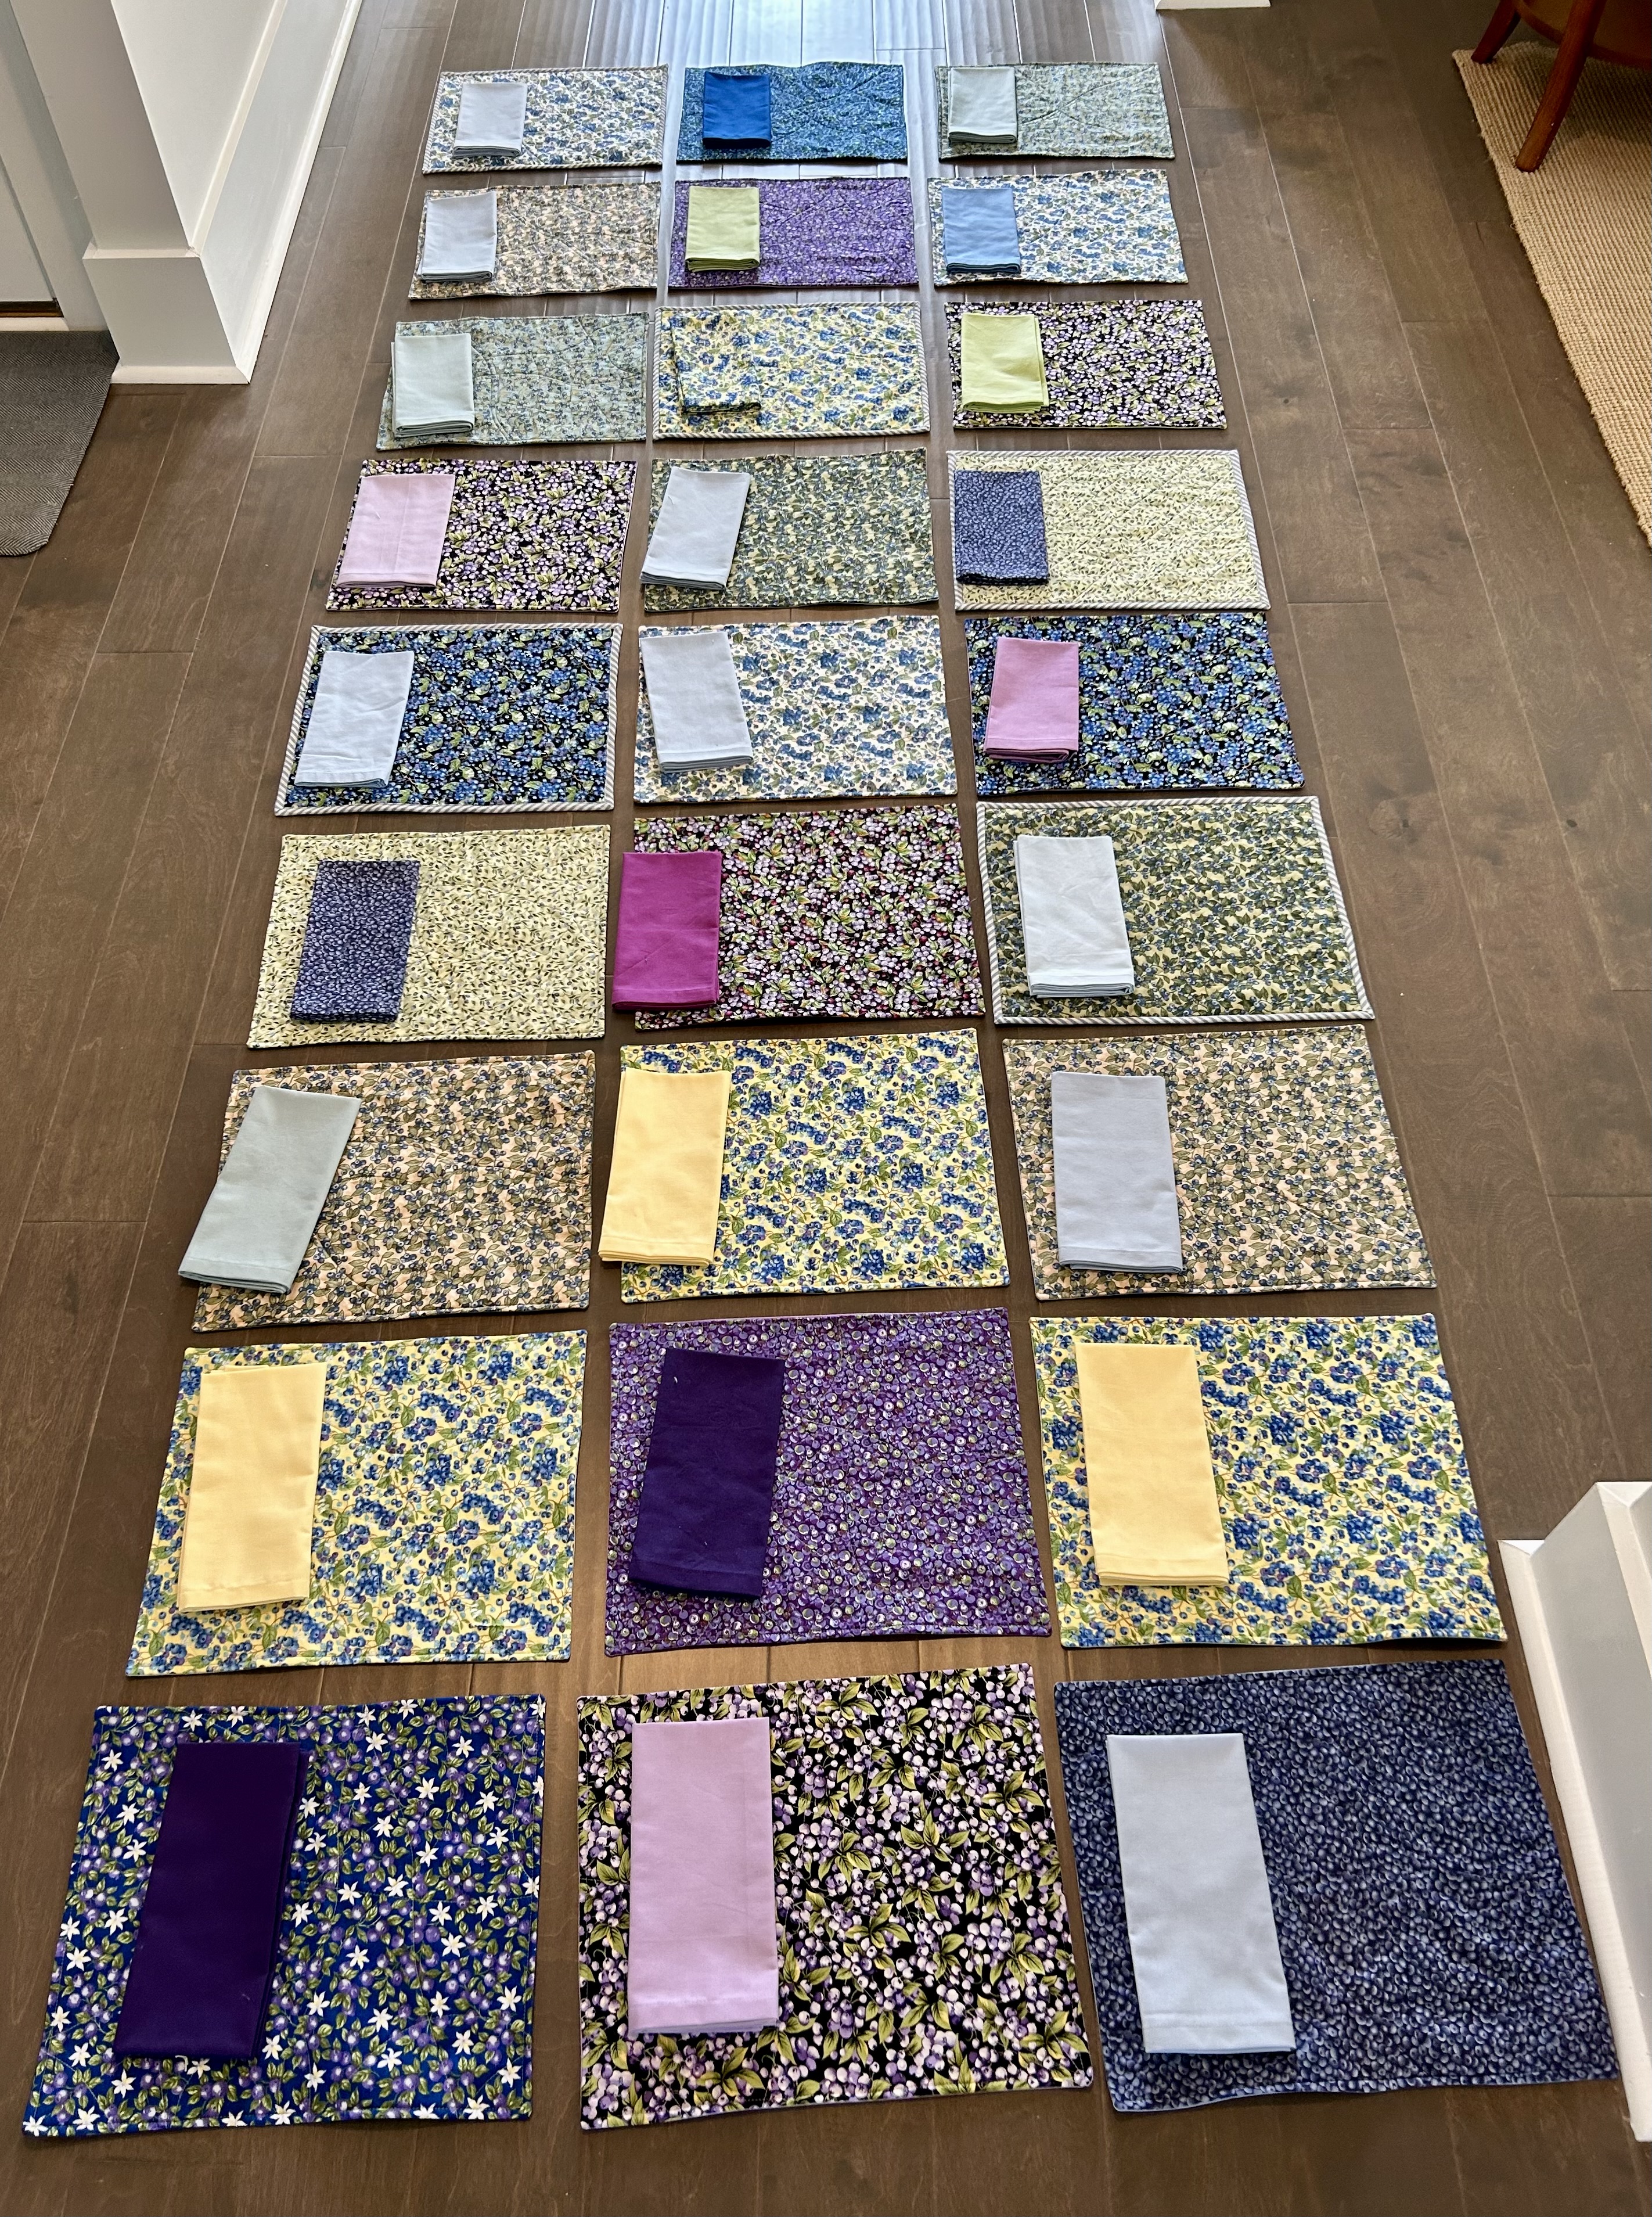
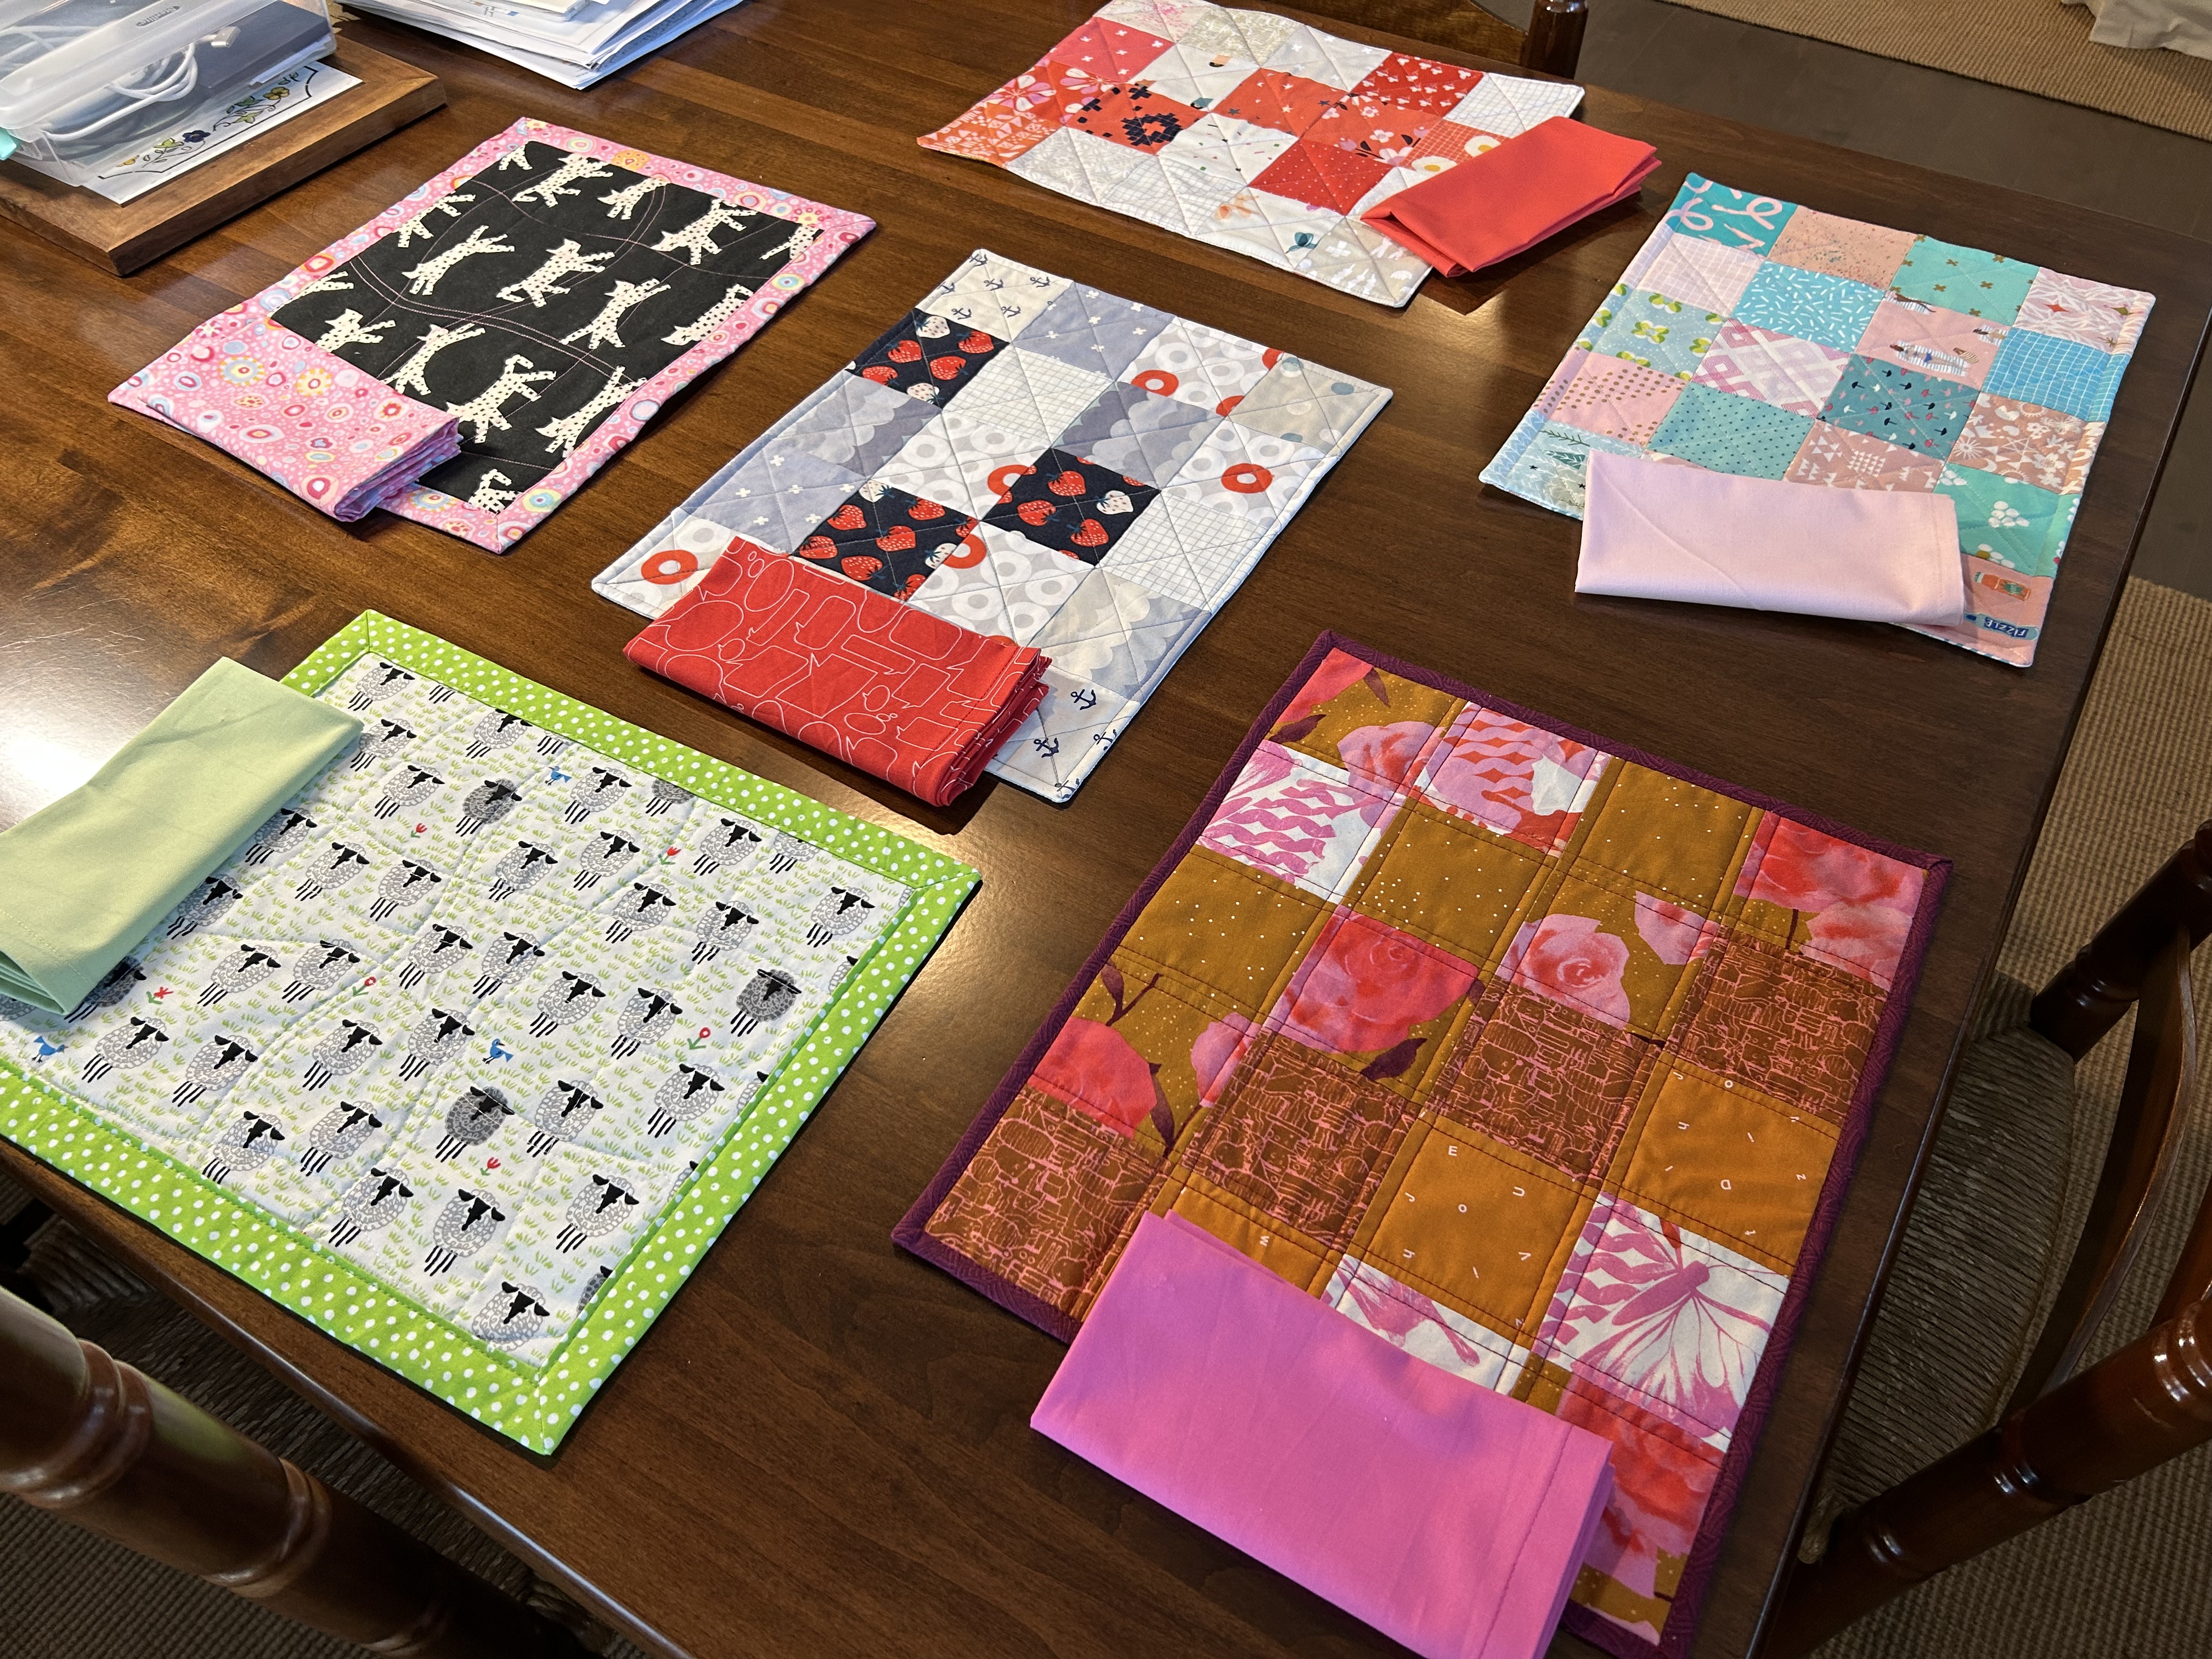
With the last of my units made for my online monthly class with Tara Faughnan, I made these adorable POTHOLDERS. (And the rope trivet for a neighbor, who also collected two of these potholders yesterday.)

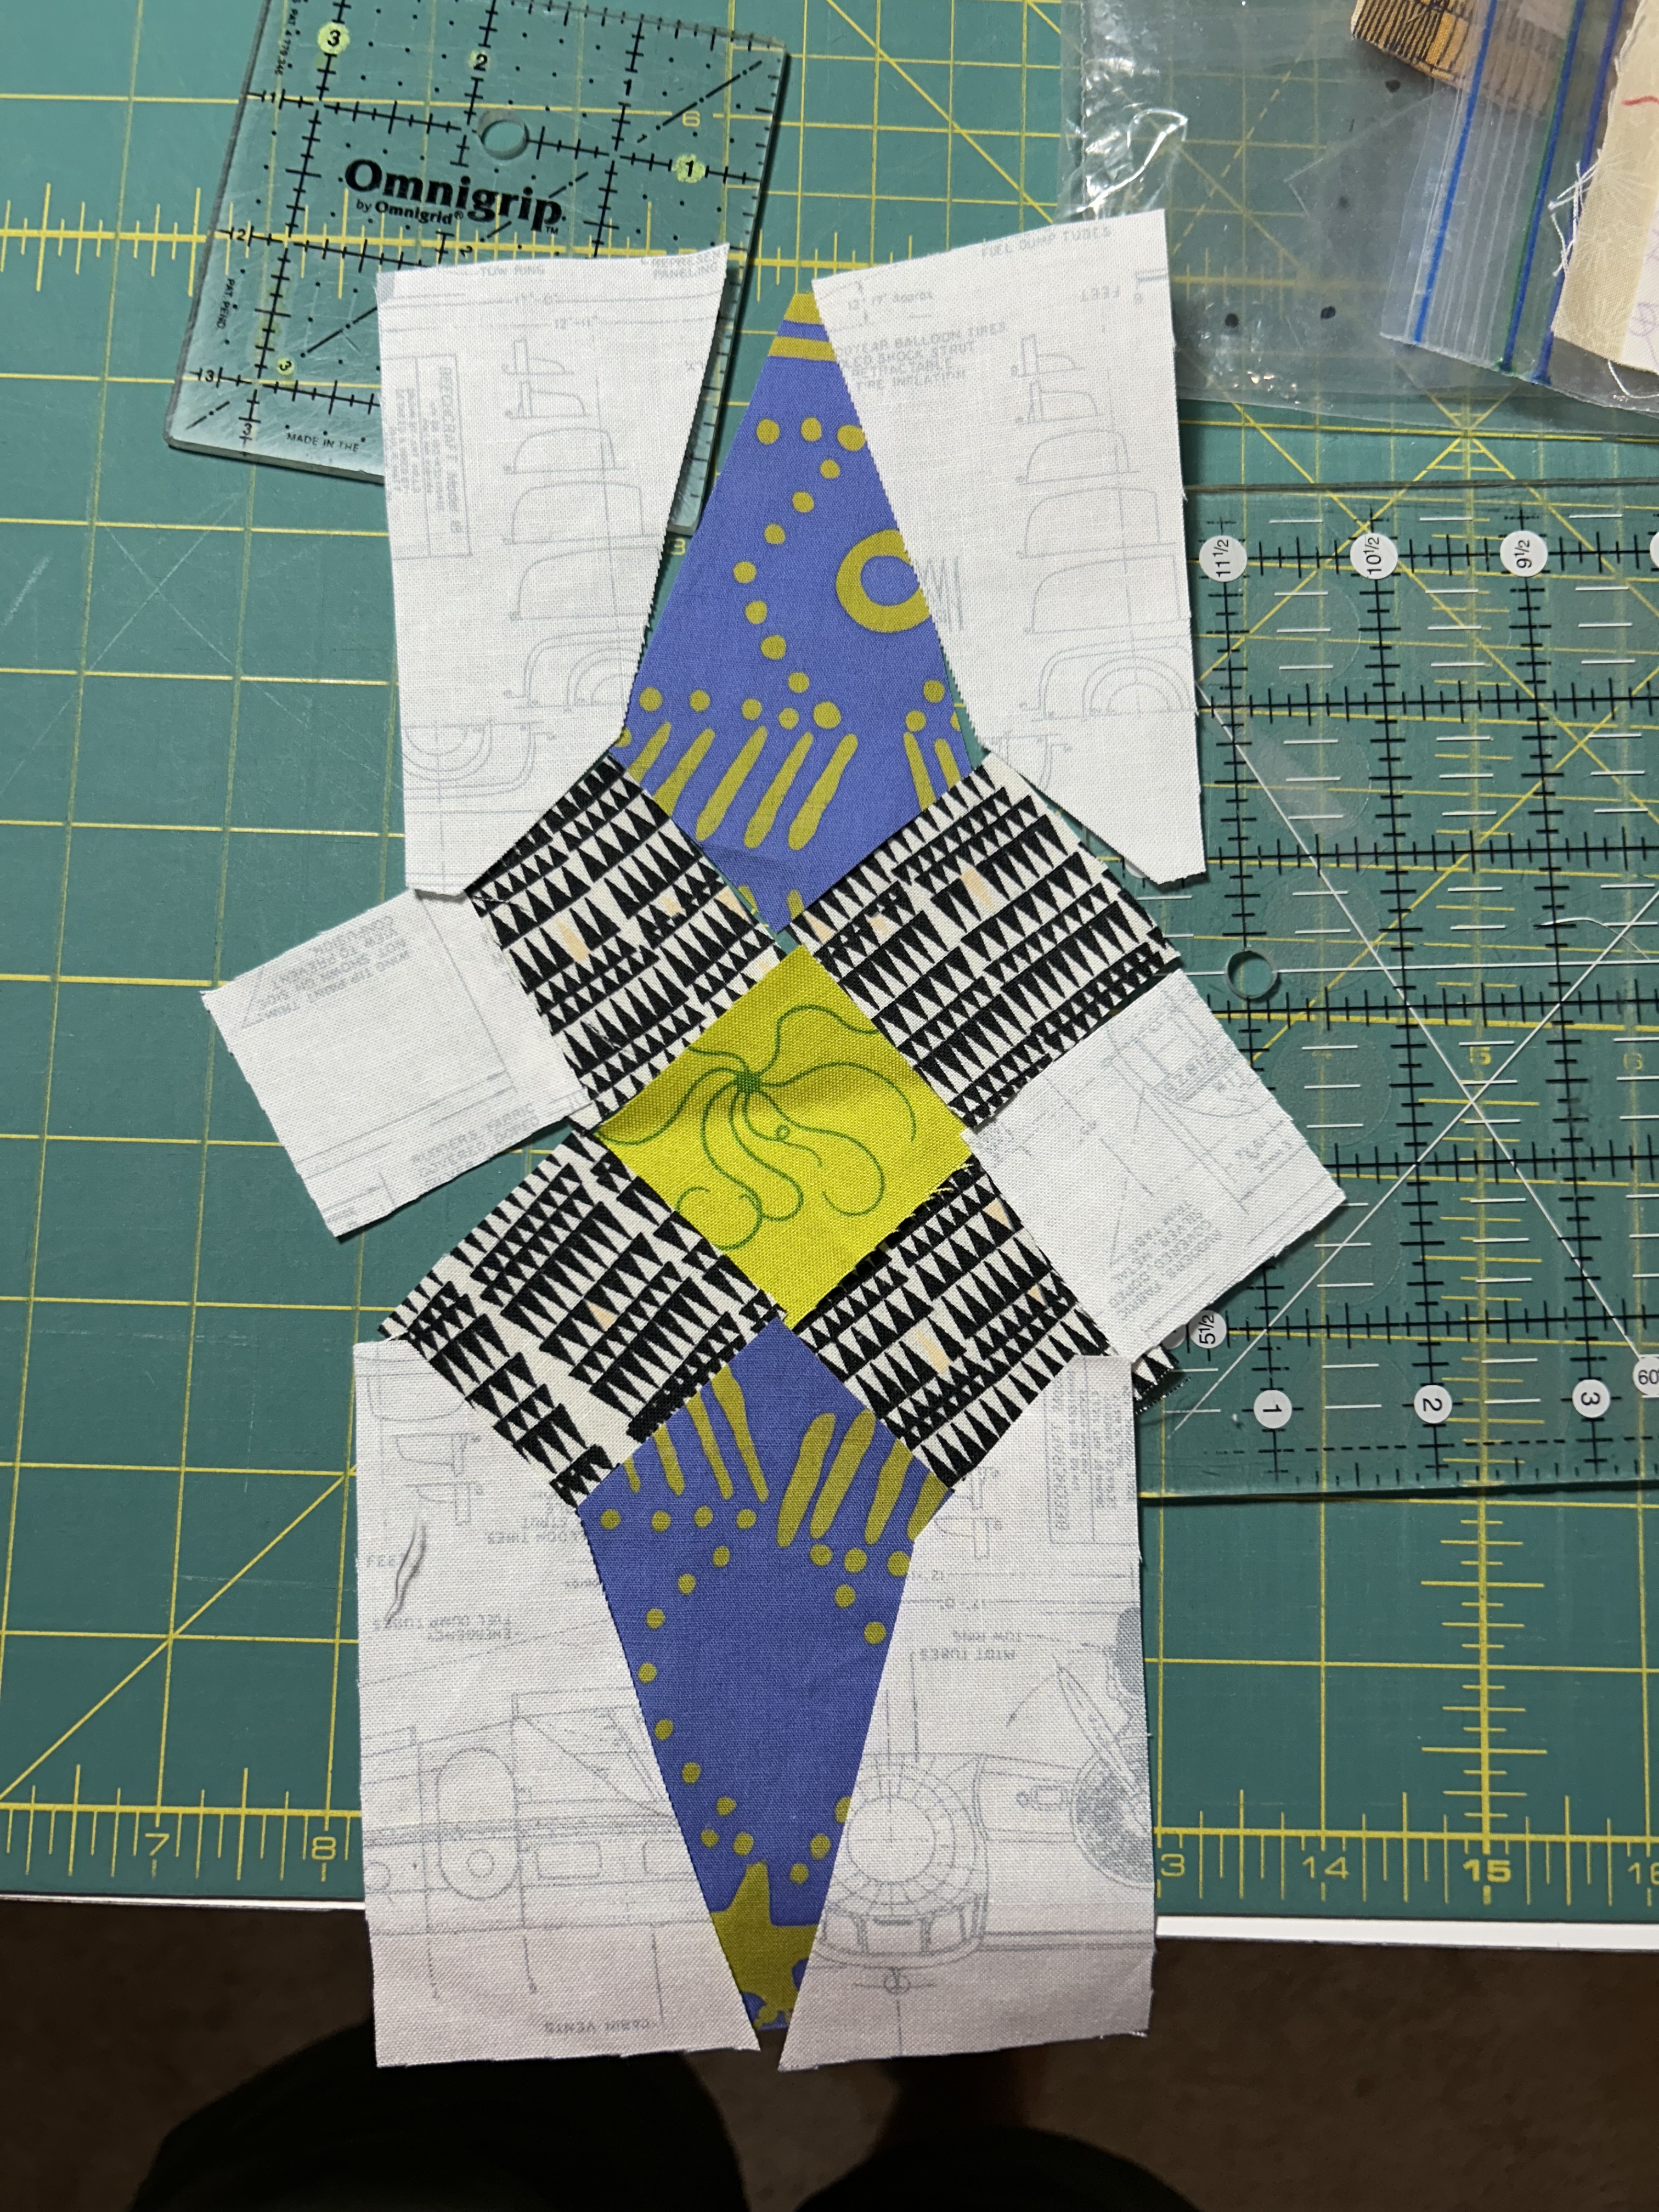
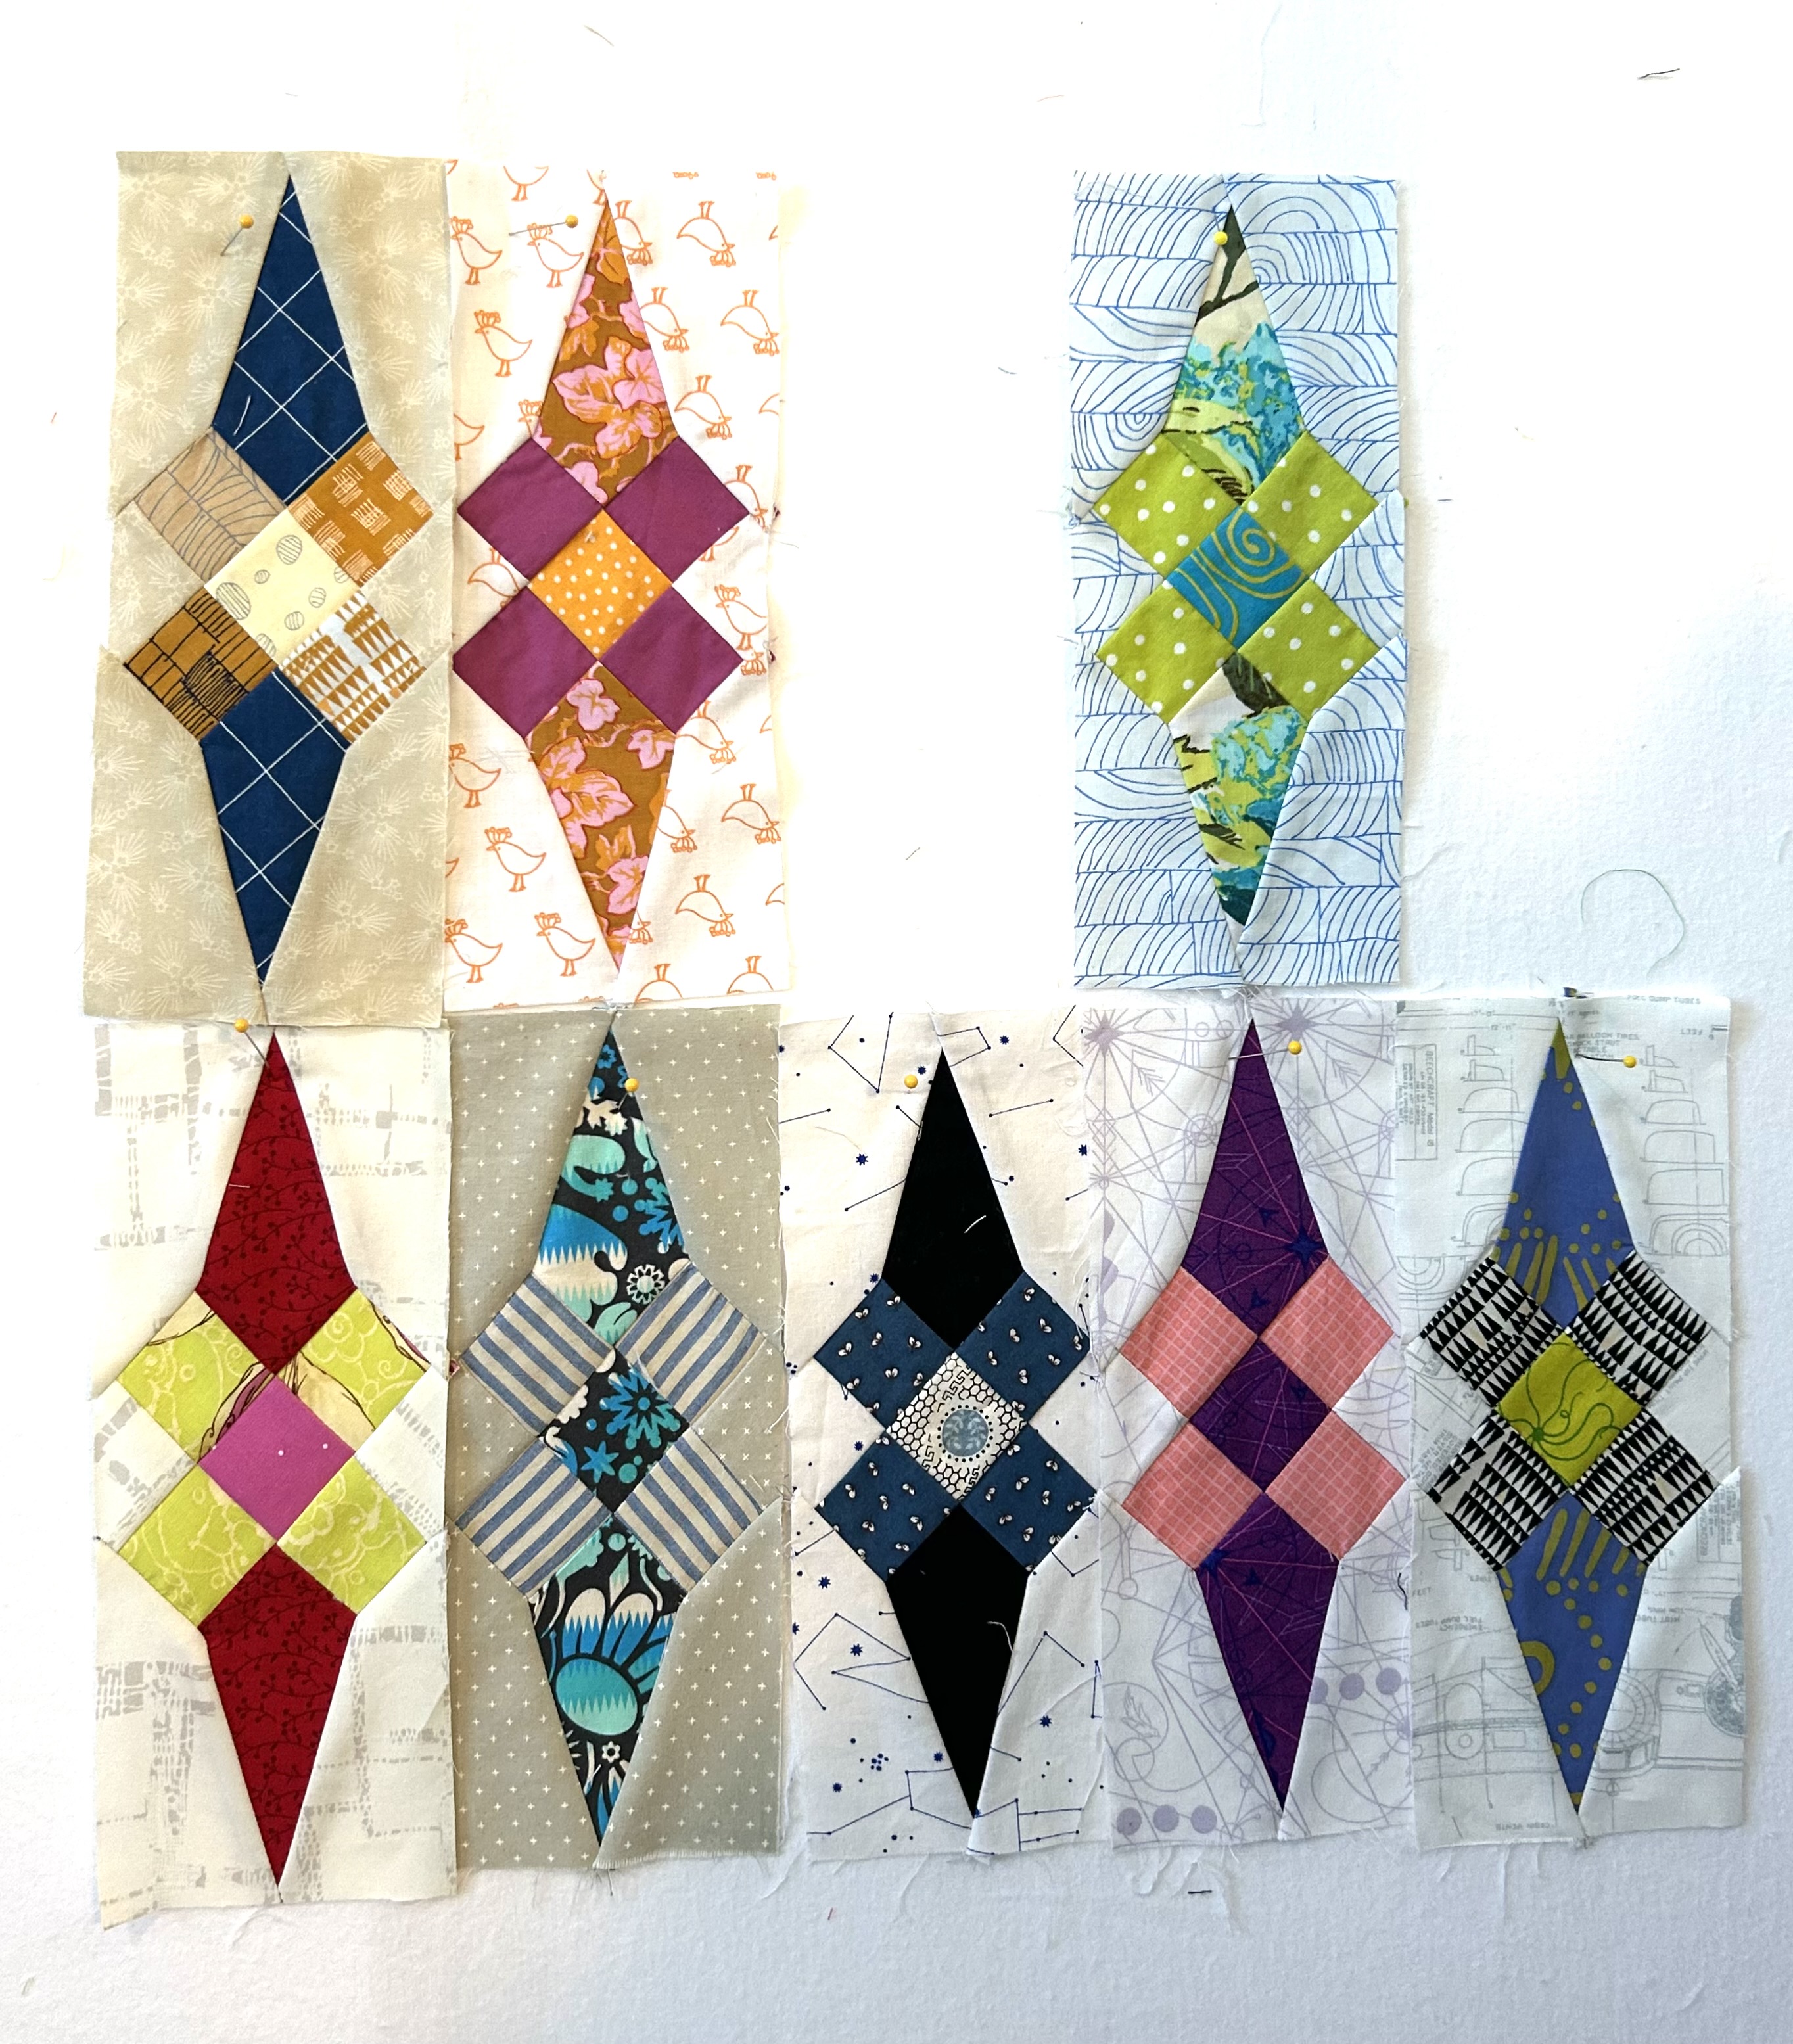
I wanted to just play with the leftover “hourglass” units I’d made to see what kind of patterns would emerge. Two of these (hourglass squares in the middle) are just the straight hourglass units–and they make the intriguing square–which would make a nice quilt block if set off with sashing. Hmmmm. Two use trimmed hourglass units combined with the half-rectangle triangle units and trimmed in an improv way. And one just uses up the remaining scraps from this month’s “play” block.
What was really fun was to figure out this new way to bind a potholder so that one leaves a tail that can be made into a loop. This way means NO need to join the two binding ends somewhere in the middle of the little potholder (about 6 inches finished). The end tail just folds over–turn in the raw ends–and sew it down. Then make the loop and sew it to the potholder. I sewed just outside the actual potholder as that was easier.
I’m sewing down binding on the last two projects from this month’s class, and it’s a good thing as the next project comes November 1st. It’s all good, and I certainly enjoyed this October project.
It’s cooler now, so it’s time for warmer dishes. I made a lamb stew the other day, and it has been rich and delicious. I bought a rolled leg of lamb some time back and unrolled it. I cut the thicker piece into a roast and cut the thinner piece into chunks for k-bobs or a stew–and froze the two packages. The roast was cooked some time back, and now, this stew.

I wanted some turnips, but couldn’t find any organic ones. They were a fall staple in Maine. But, I did find parsnips, so included those. The green is collards. The rest is chopped onions browned with lots of garlic–then carrots, potatoes, the parsnips, red peppers that needed using, some onion chunks, and herbs–all thrown into the pot after I browned the onions and garlic–then when the mixture started caramelizing, I threw in the meat and cooked for a bit, the added water.
It has been delicious!