I always make bias bindings for my projects that require bindings. The only time I don’t cut bias bindings is when I don’t have enough fabric for a bias binding that I really want to use, but I can cobble out a straight-cut binding from that desired fabric.
Why bias binding? Bias binding wears better over the long haul. And, yes it is easier to install. Straight-cut bindings have only one to three strands at the fold line, whereas bias binding has cross-hatched threads at the binding fold.
I use the same method I use for bias binding to install a straight-cut binding on to a project. Why? The bias seams are less bulky. Way less bulky. Often you don’t even notice bias binding strip joins.
Note: I’m not going to talk about how to sew the binding to make nice corners on your quilt–but here’s a video from Jenny Doan of Missouri Star that covers everything, including how to do the corners. I learned several things I’ll try from watching the video. My method is a bit more “fiddly” than Jenny Doan’s but it works really well for me. Also, my final seam joining is different from hers, but maybe I’ll try it too.
To cut bias binding, press your fabric and place it on your cutting board–it doesn’t matter if it is right side or wrong side up. Line up your long ruler on the left side of the fabric on the 45-degree angle mark. (You will later cut off the points to join the fabric strips you cut–but make sure the 45-degree line does line up with the grid on your cutting mat. Or make sure you have a clear straight line on the left.) *Note that I just pulled this fabric to show you how to line it up and I didn’t iron it. I would not cut it without pressing it.)

Draw a marking line down the ruler if you are going to need to move the ruler further down to reach the right side of the fabric. Cut along that line–you will now have two pieces. Put one aside, remembering you can return to it for long strips if needed. The less strips, the less seams in the binding.
If you want a smaller, shorter cut, you can also line up the 45 degree line on your ruler at the TOP of your fabric. Again, make sure it is on a strait edge–the fabric or the lines on your cutting mat. Here’s a pic with a piece of paper to illustrate:

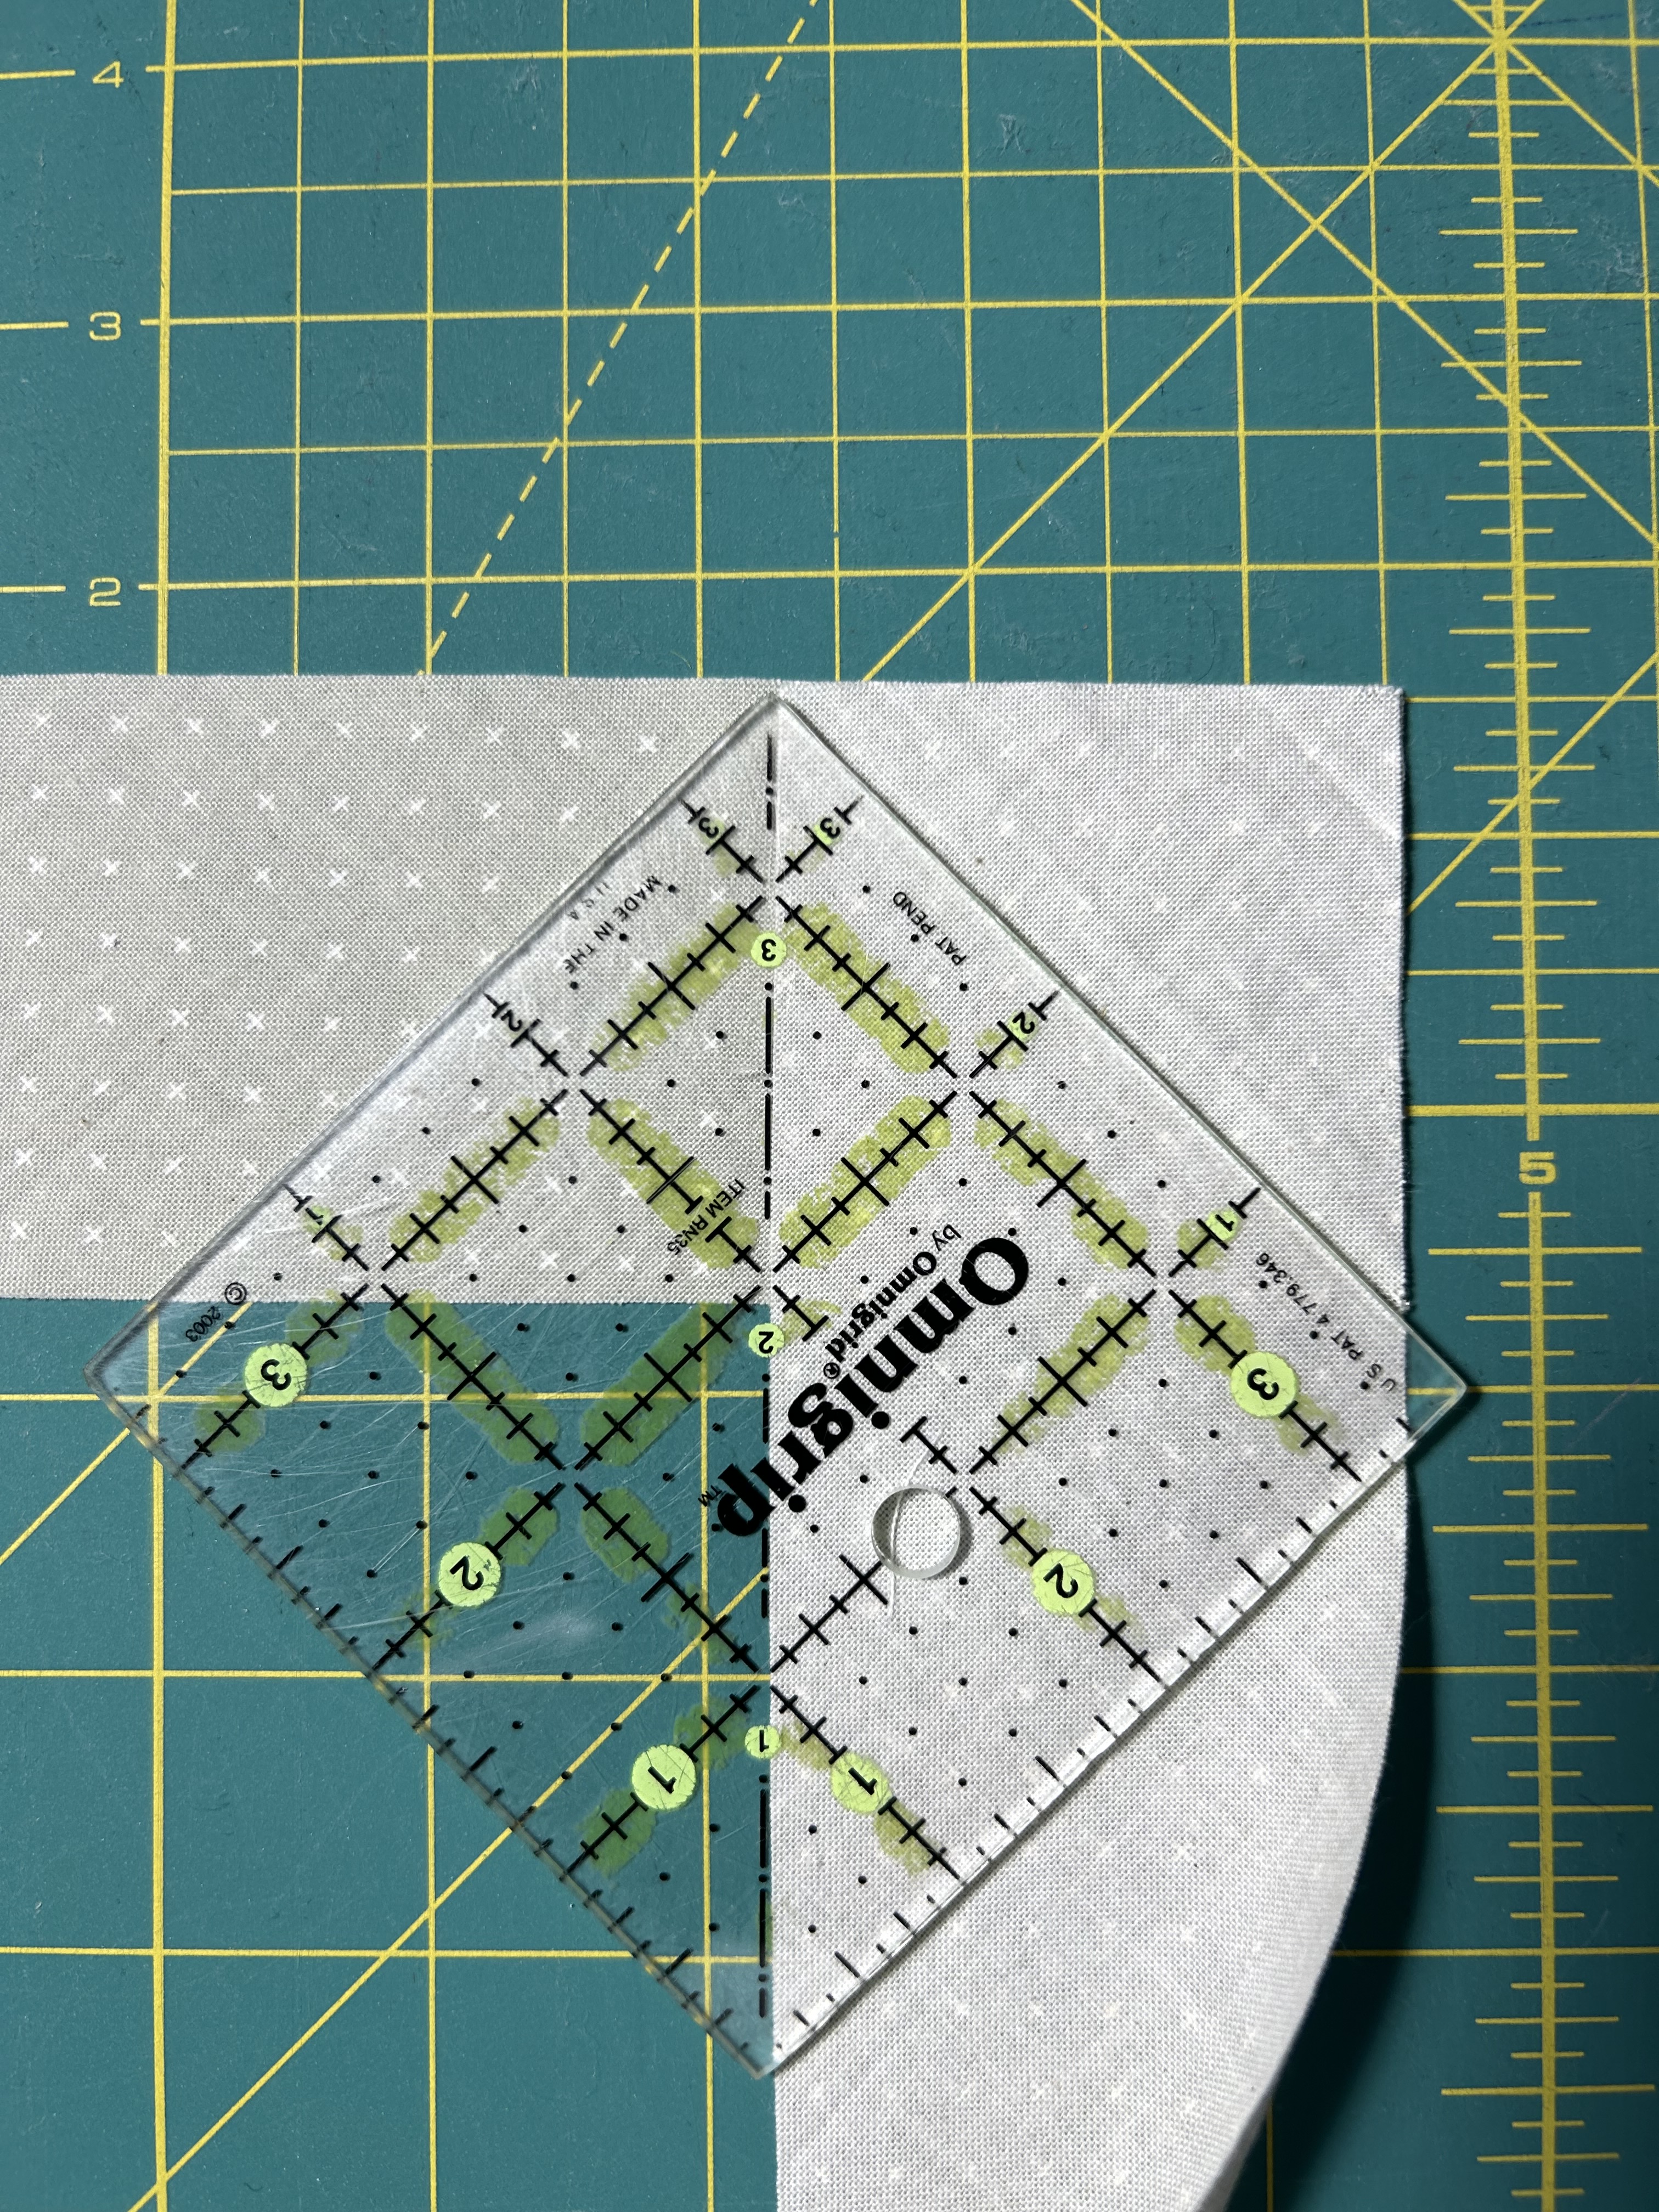
I cut my bindings at 2 1/4 inches as that makes a plump, tight binding for me with no loose floppy space at the binding fold.
Cut the points off of your strips before joining them right sides together. Line them up like this photo shows. Make sure the right sides of the two strips line up together. Mark the place on the top piece where the bottom piece ends and line up your ruler from that mark on the bottom to the top. Make sure the top of the ruler will let your pencil touch the point and is on the bottom the mark you have made. Draw a line and sew on it. I will pin the top right corner to keep it stable while I sew.
When you have all the strips sewn together, trim the seams at 1/4 inch and press them all to one side.

Then press the strips in half, lining up the raw edges. Note that in the pic below I have not yet ironed the left side of the strip.

On one end of your strips–the end you’re going to start to sew on to your quilt, open up your strip and cut a 45-degree angle–so that the point is at the TOP and when refolded the fold is at the bottom.

Now you are ready to install your binding. So go to Part 2.
