Start by placing your strip with the pointed end you just cut on your quilt where you want the end join to happen. I usually do that on the right side of my project. And I start sewing about six inches BELOW the end, so that the end is free/loose.
If I’m putting binding on a big project, I just start sewing. If I realize that I’m going to have a join near a corner, I follow quilter Bonnie Hunter’s method of just cutting and sewing a new join of the strips well above the corner–using the method I showed in Part 1 of overlaying two strips and sewing on the diagonal..
If the project is smaller, I will pin the end to the quilt edge and walk the binding around the project to make sure I don’t have a seam join in a corner area.
Sew down your binding in the usual way that miters the binding on the corners. Stop sewing 6 to 8 inches from the start of your binding with its joining 45-degree cut point waiting for you. You need some space to work with to join the ends.
Lay your top strip, where you have just stopped sewing along the edge of the remaining bare edge, extending it below where your join will be and turning up the end to get it out of the way.
Lay your left had strip with its point over the strip you just laid out.

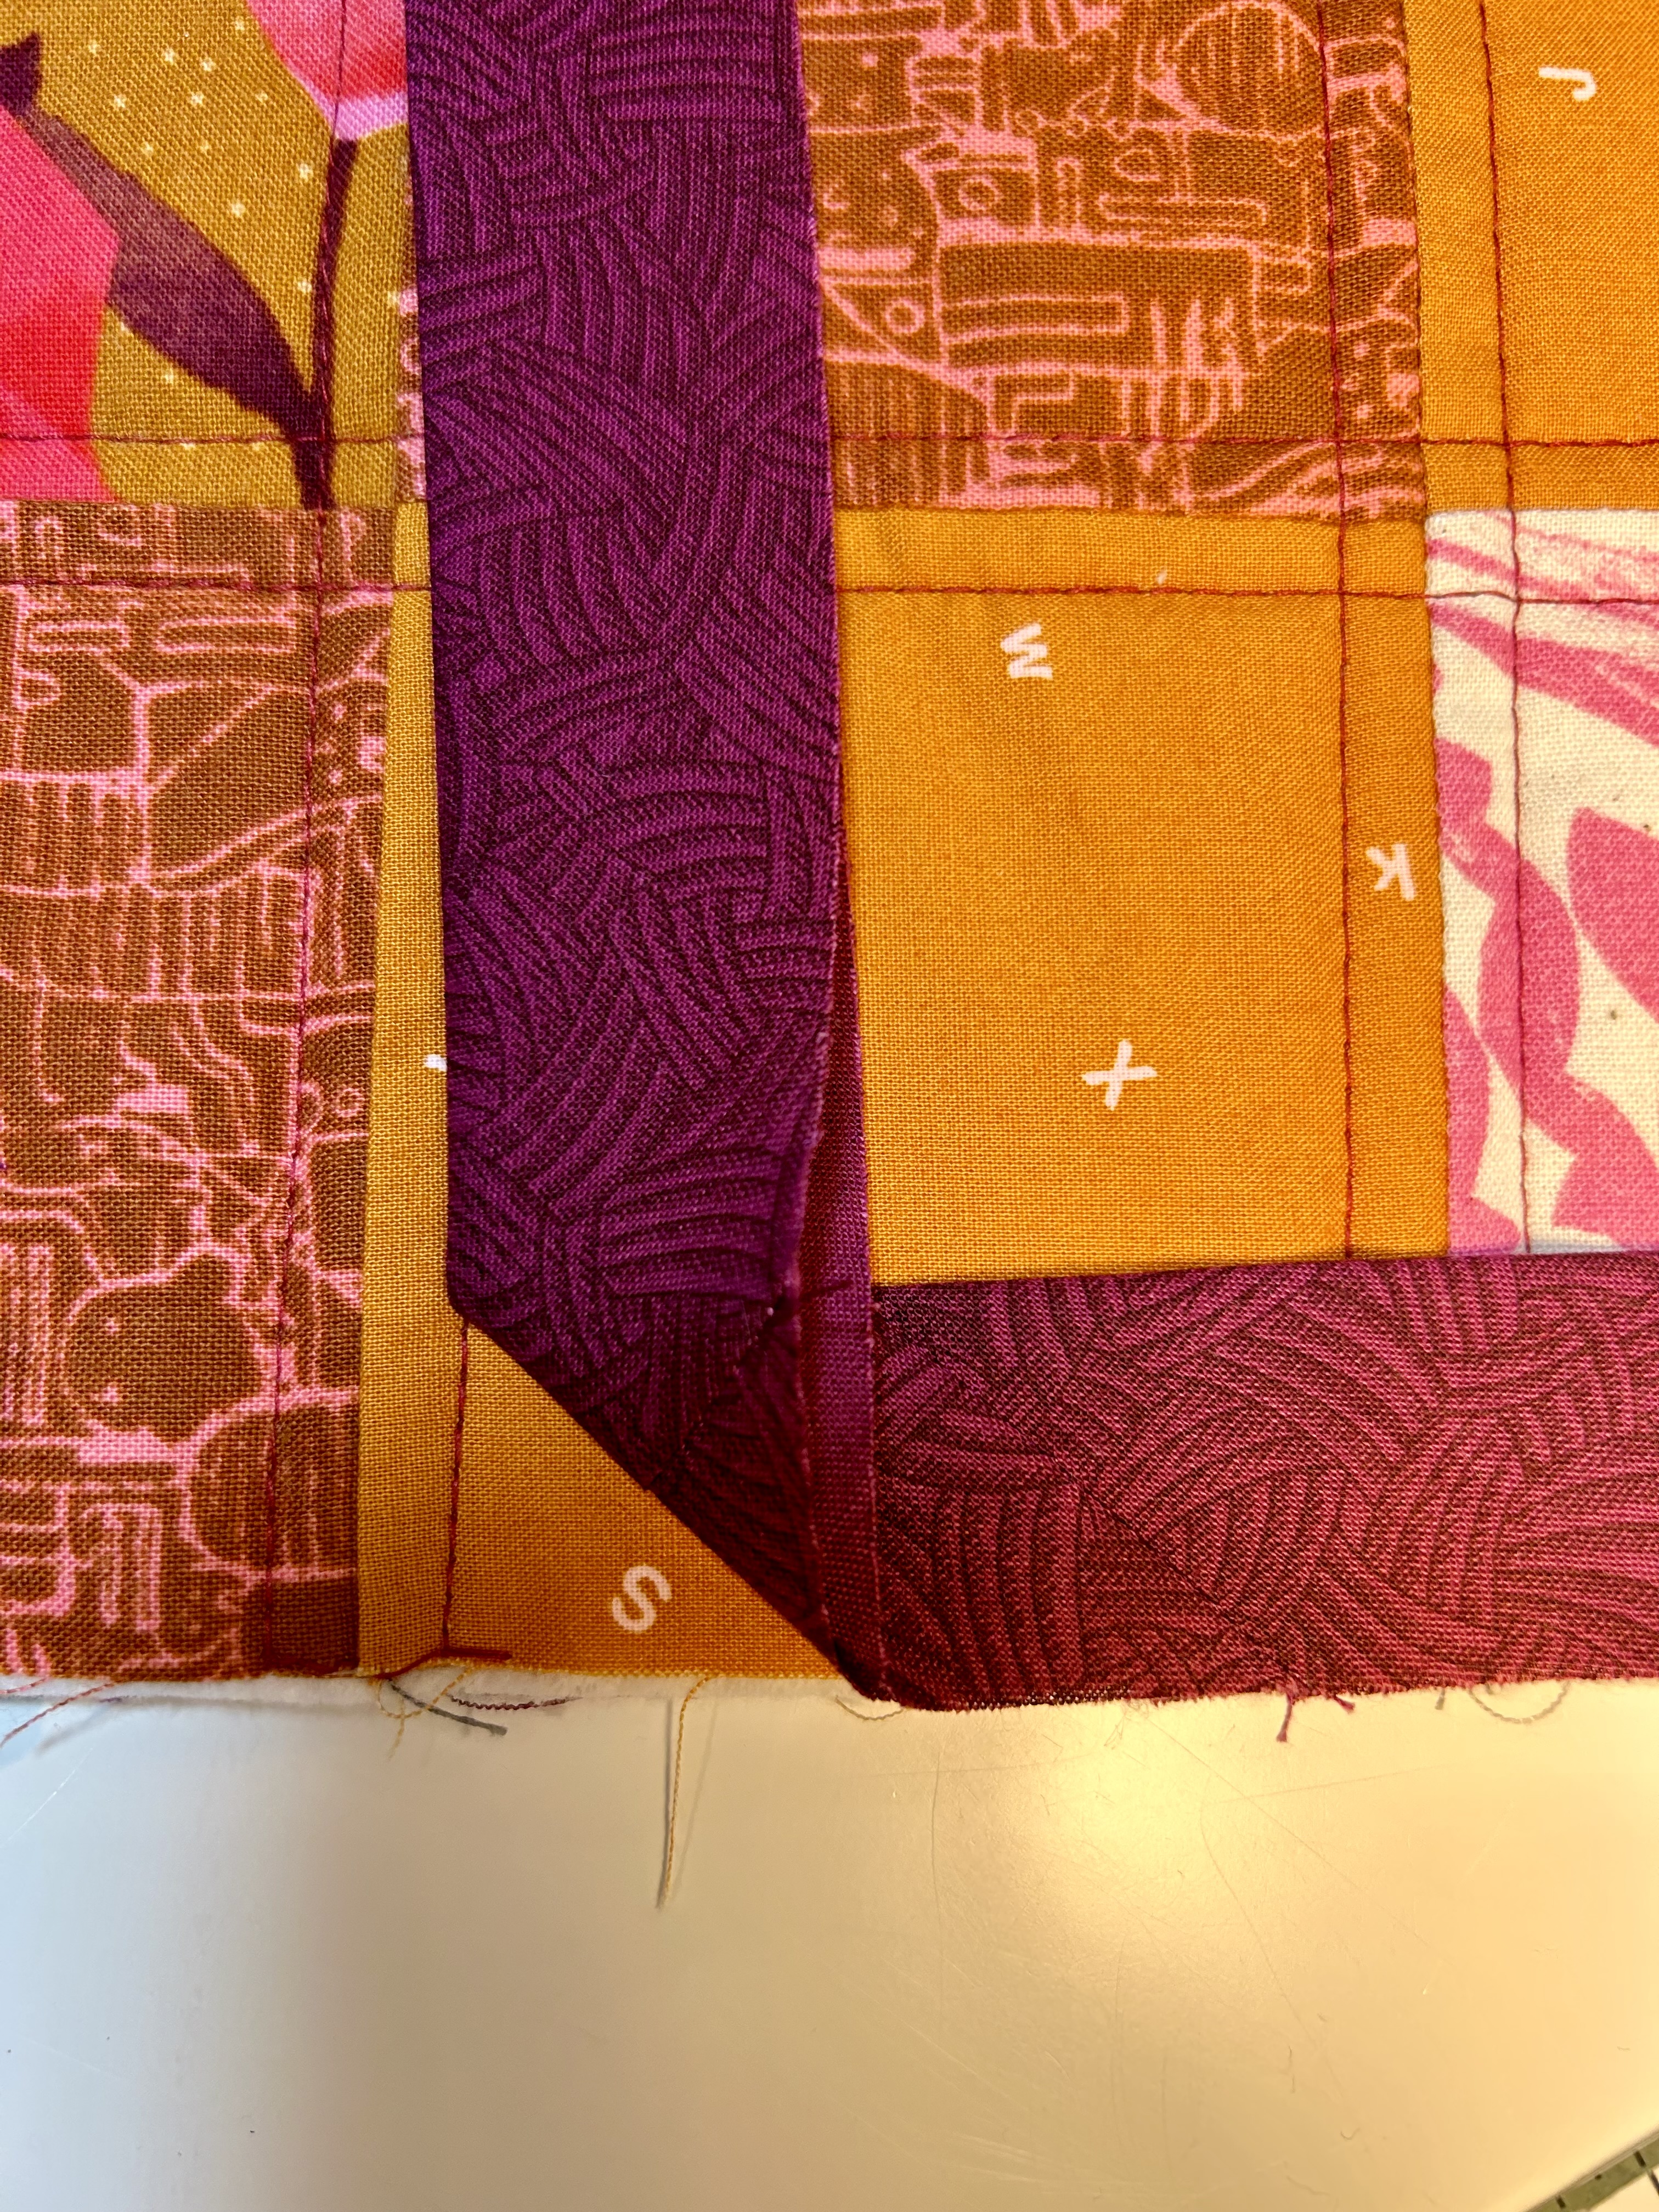
With a marking tool make two marks on the LOWER binding strip that YOU CAN EASILY SEE. One at the bottom of the LOWER strip and one at the TOP of the fold where the upper strip turns down. You can make these marks without unfolding the strips, but here is the bottom strip unfolded so you can see that you will establishing the 45-degree angle you need in the right direction/angle to work with the top, left strip. After you make these marks, push the left strip out of the way.
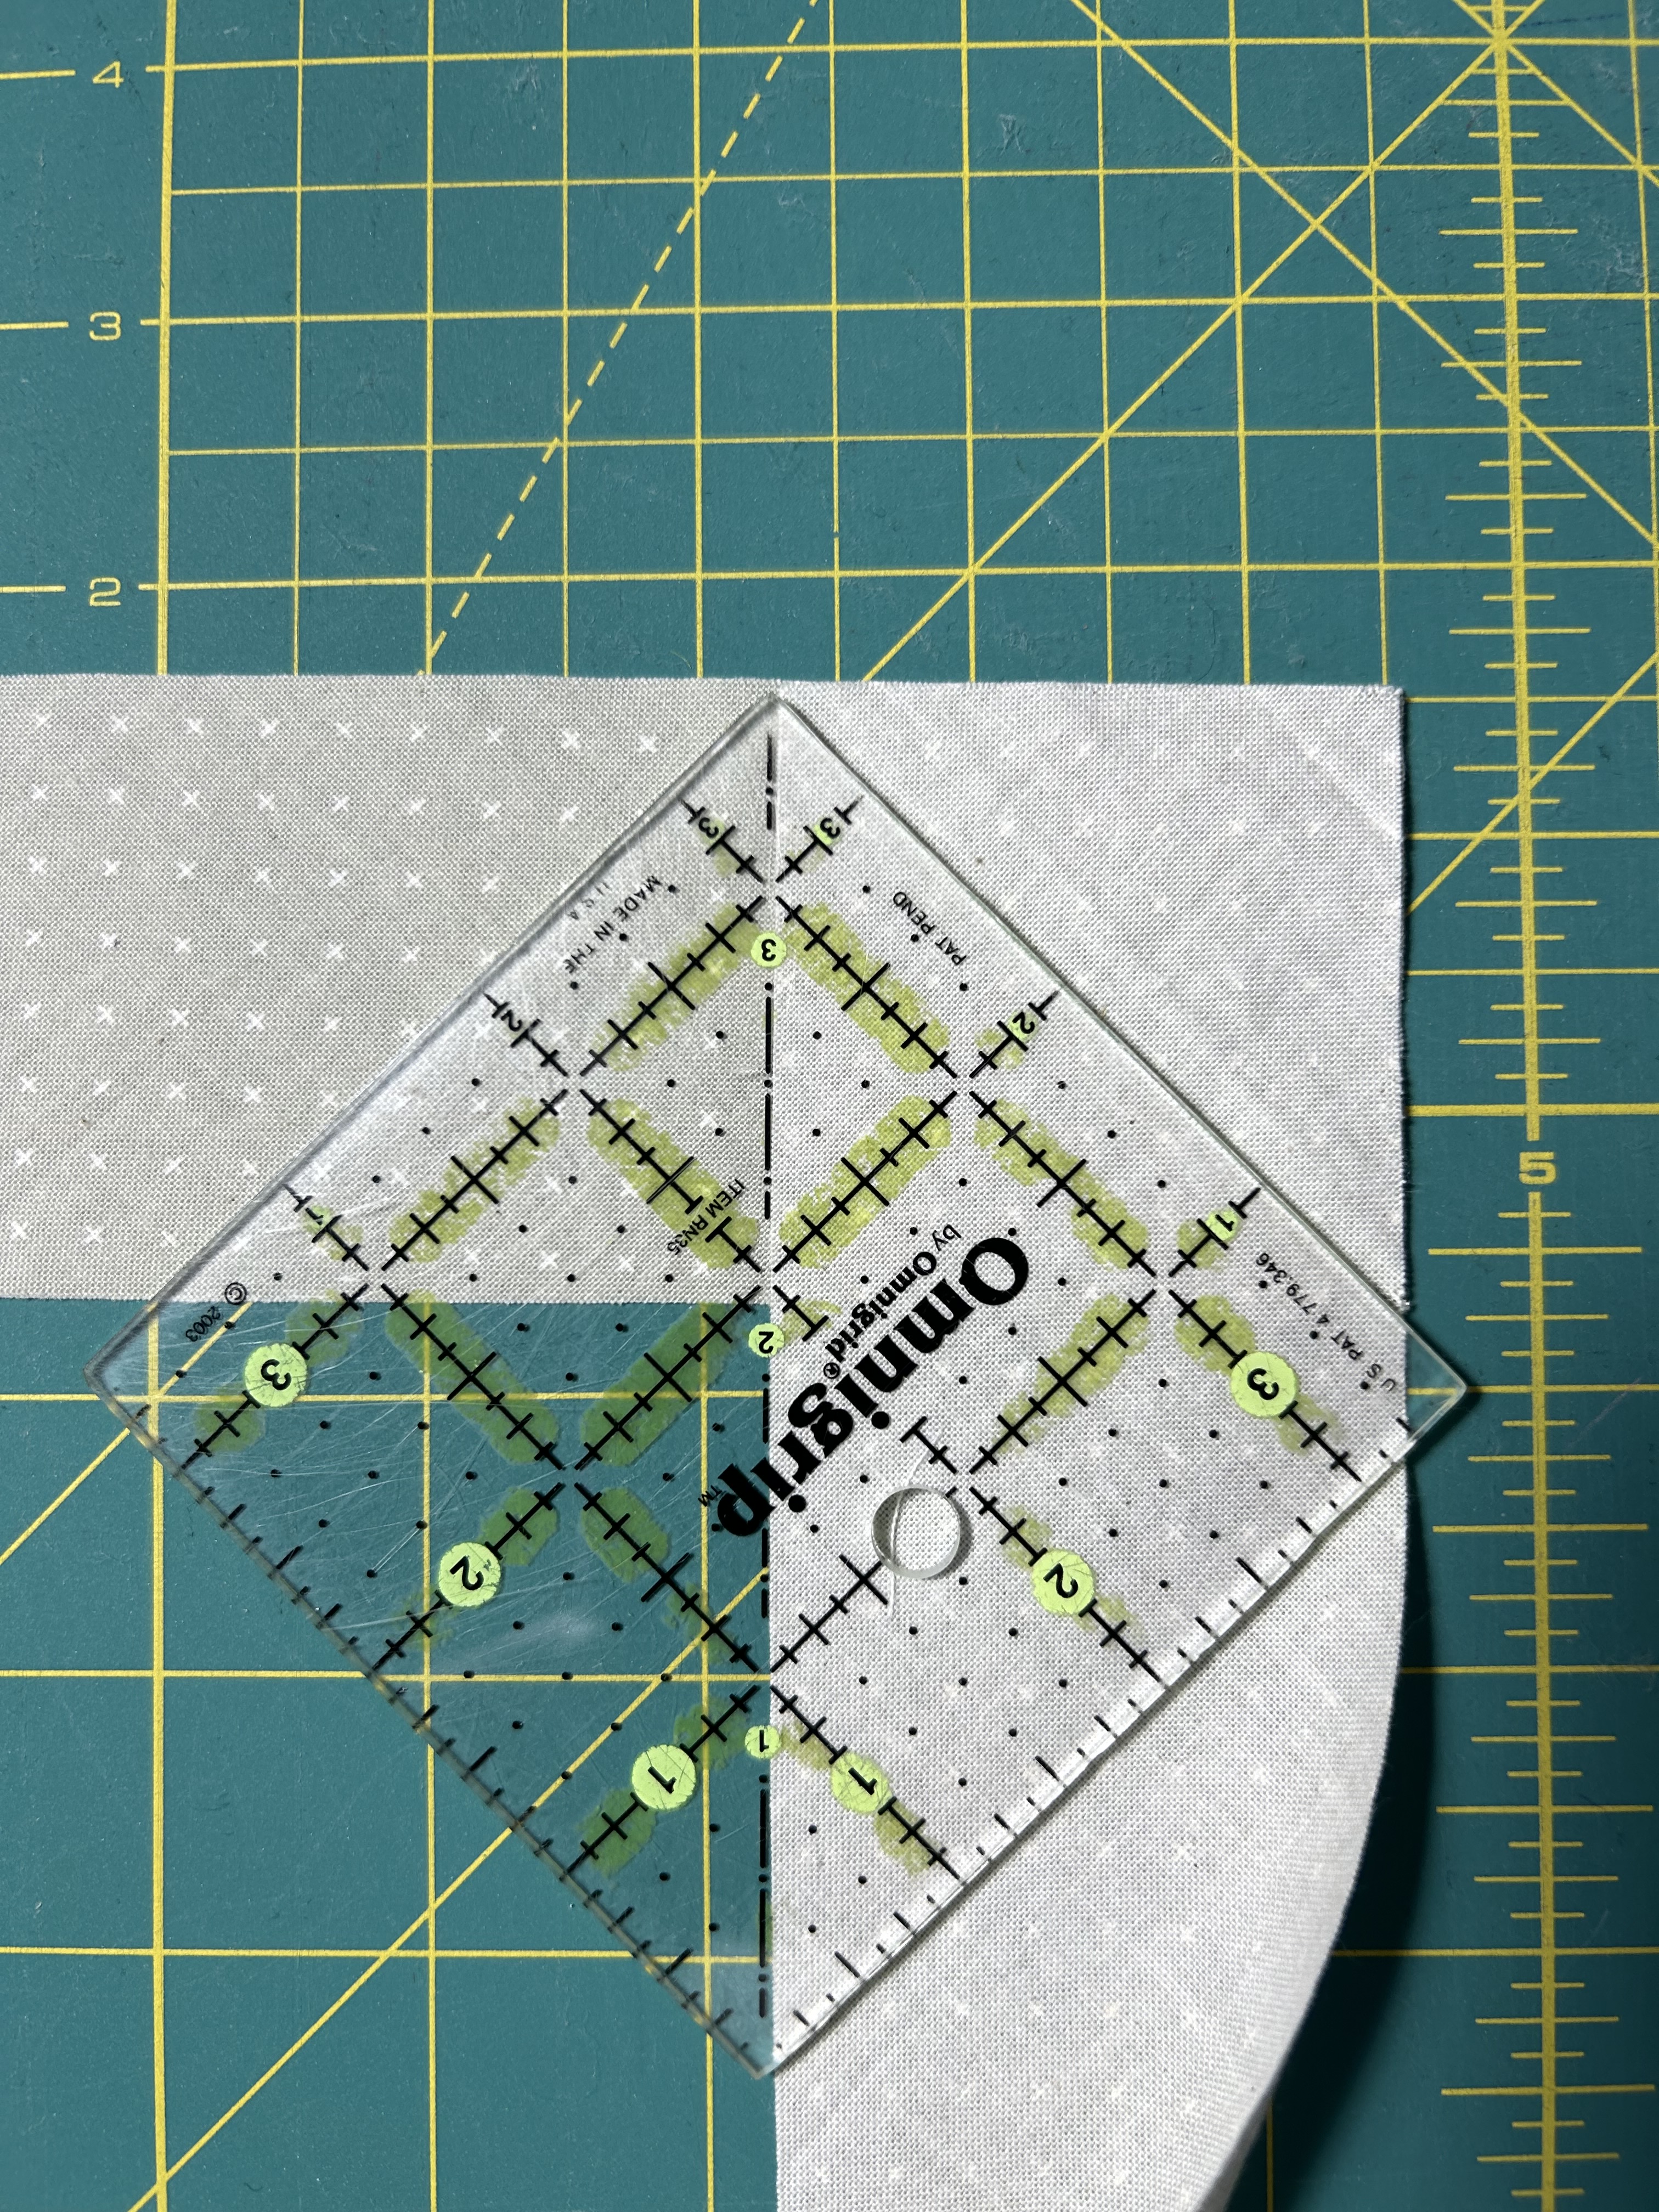
With the bottom strip UNFOLDED, Line up your ruler along the marks at the 1/2 inch line (IMPORTANT–1/2 INCH, not 1/4 inch) and with the 45 degree line straight across the bottom. You need the 1/2 inch to compensate for both sides of your seam. I don’t draw a line along my orientation marks and measure from that line as they would show on the binding. I just use the little marks I made.
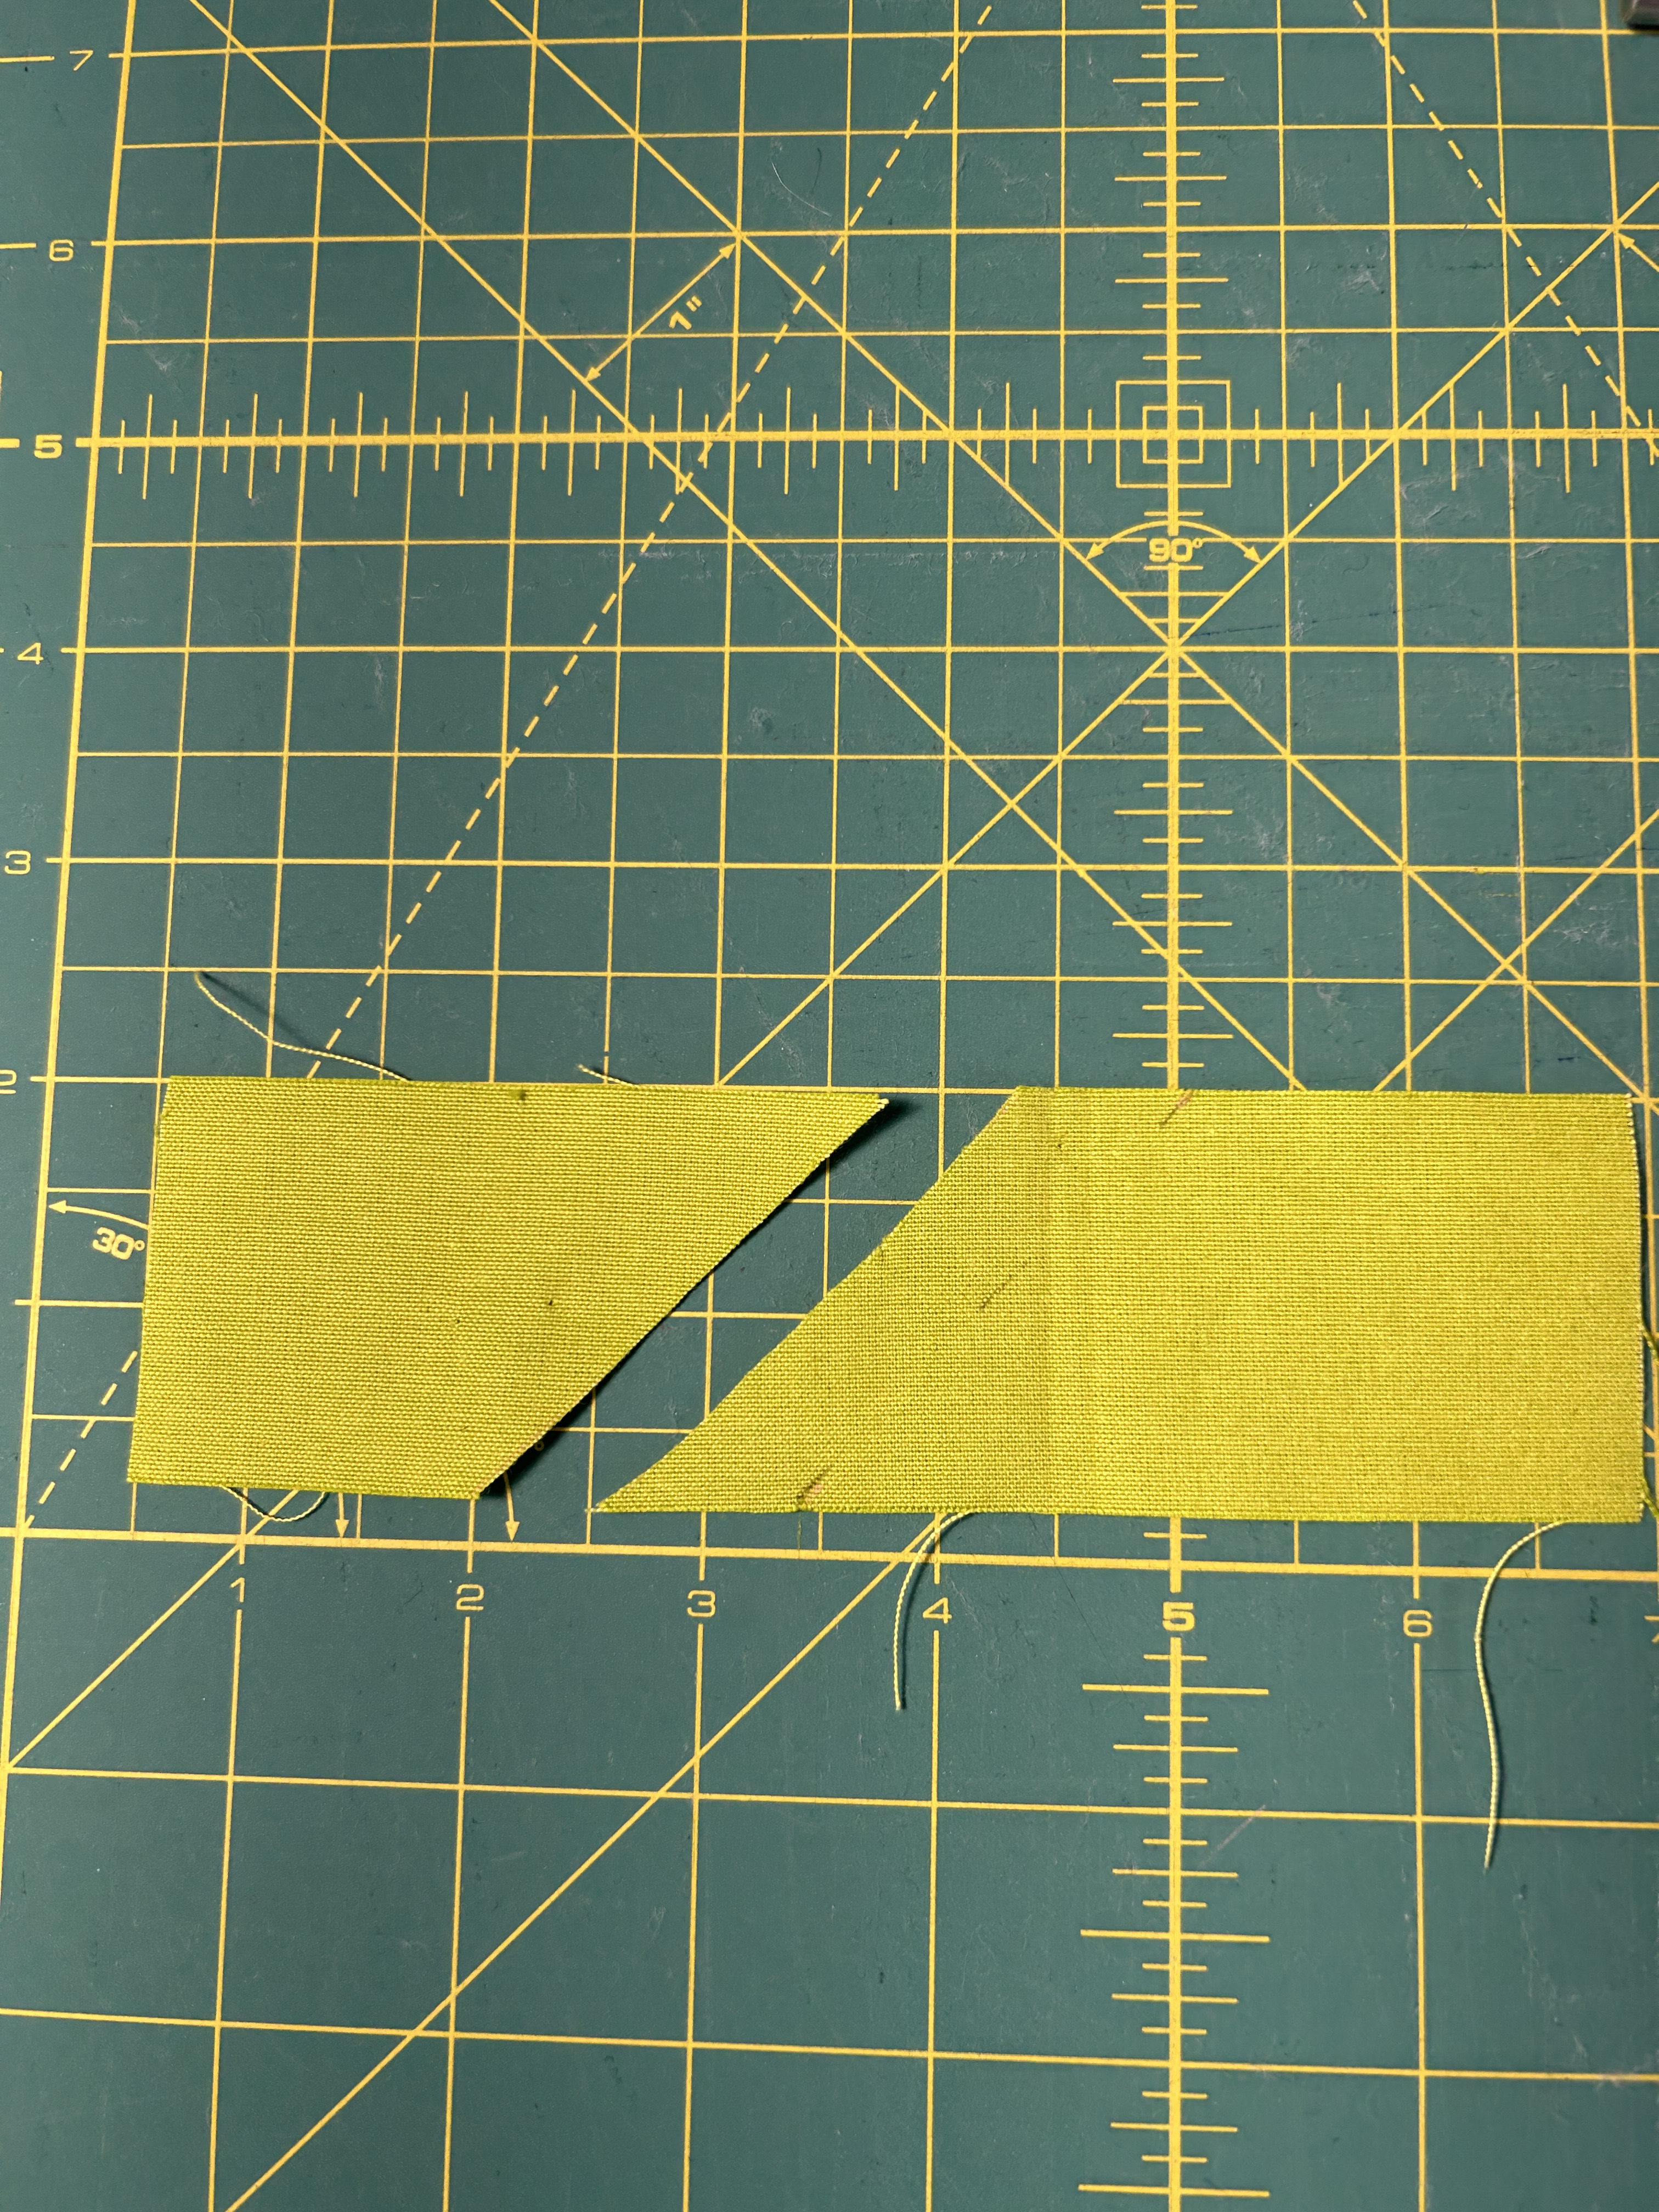
Here are your marks, taken from the binding on the left–after I cut on the 1/2 inch line. This pic shows how these two angles are organized. Left points to the top; right to the bottom.
Here is the ruler properly lined up, but AFTER your cut. See the 45 degree line on the bottom?

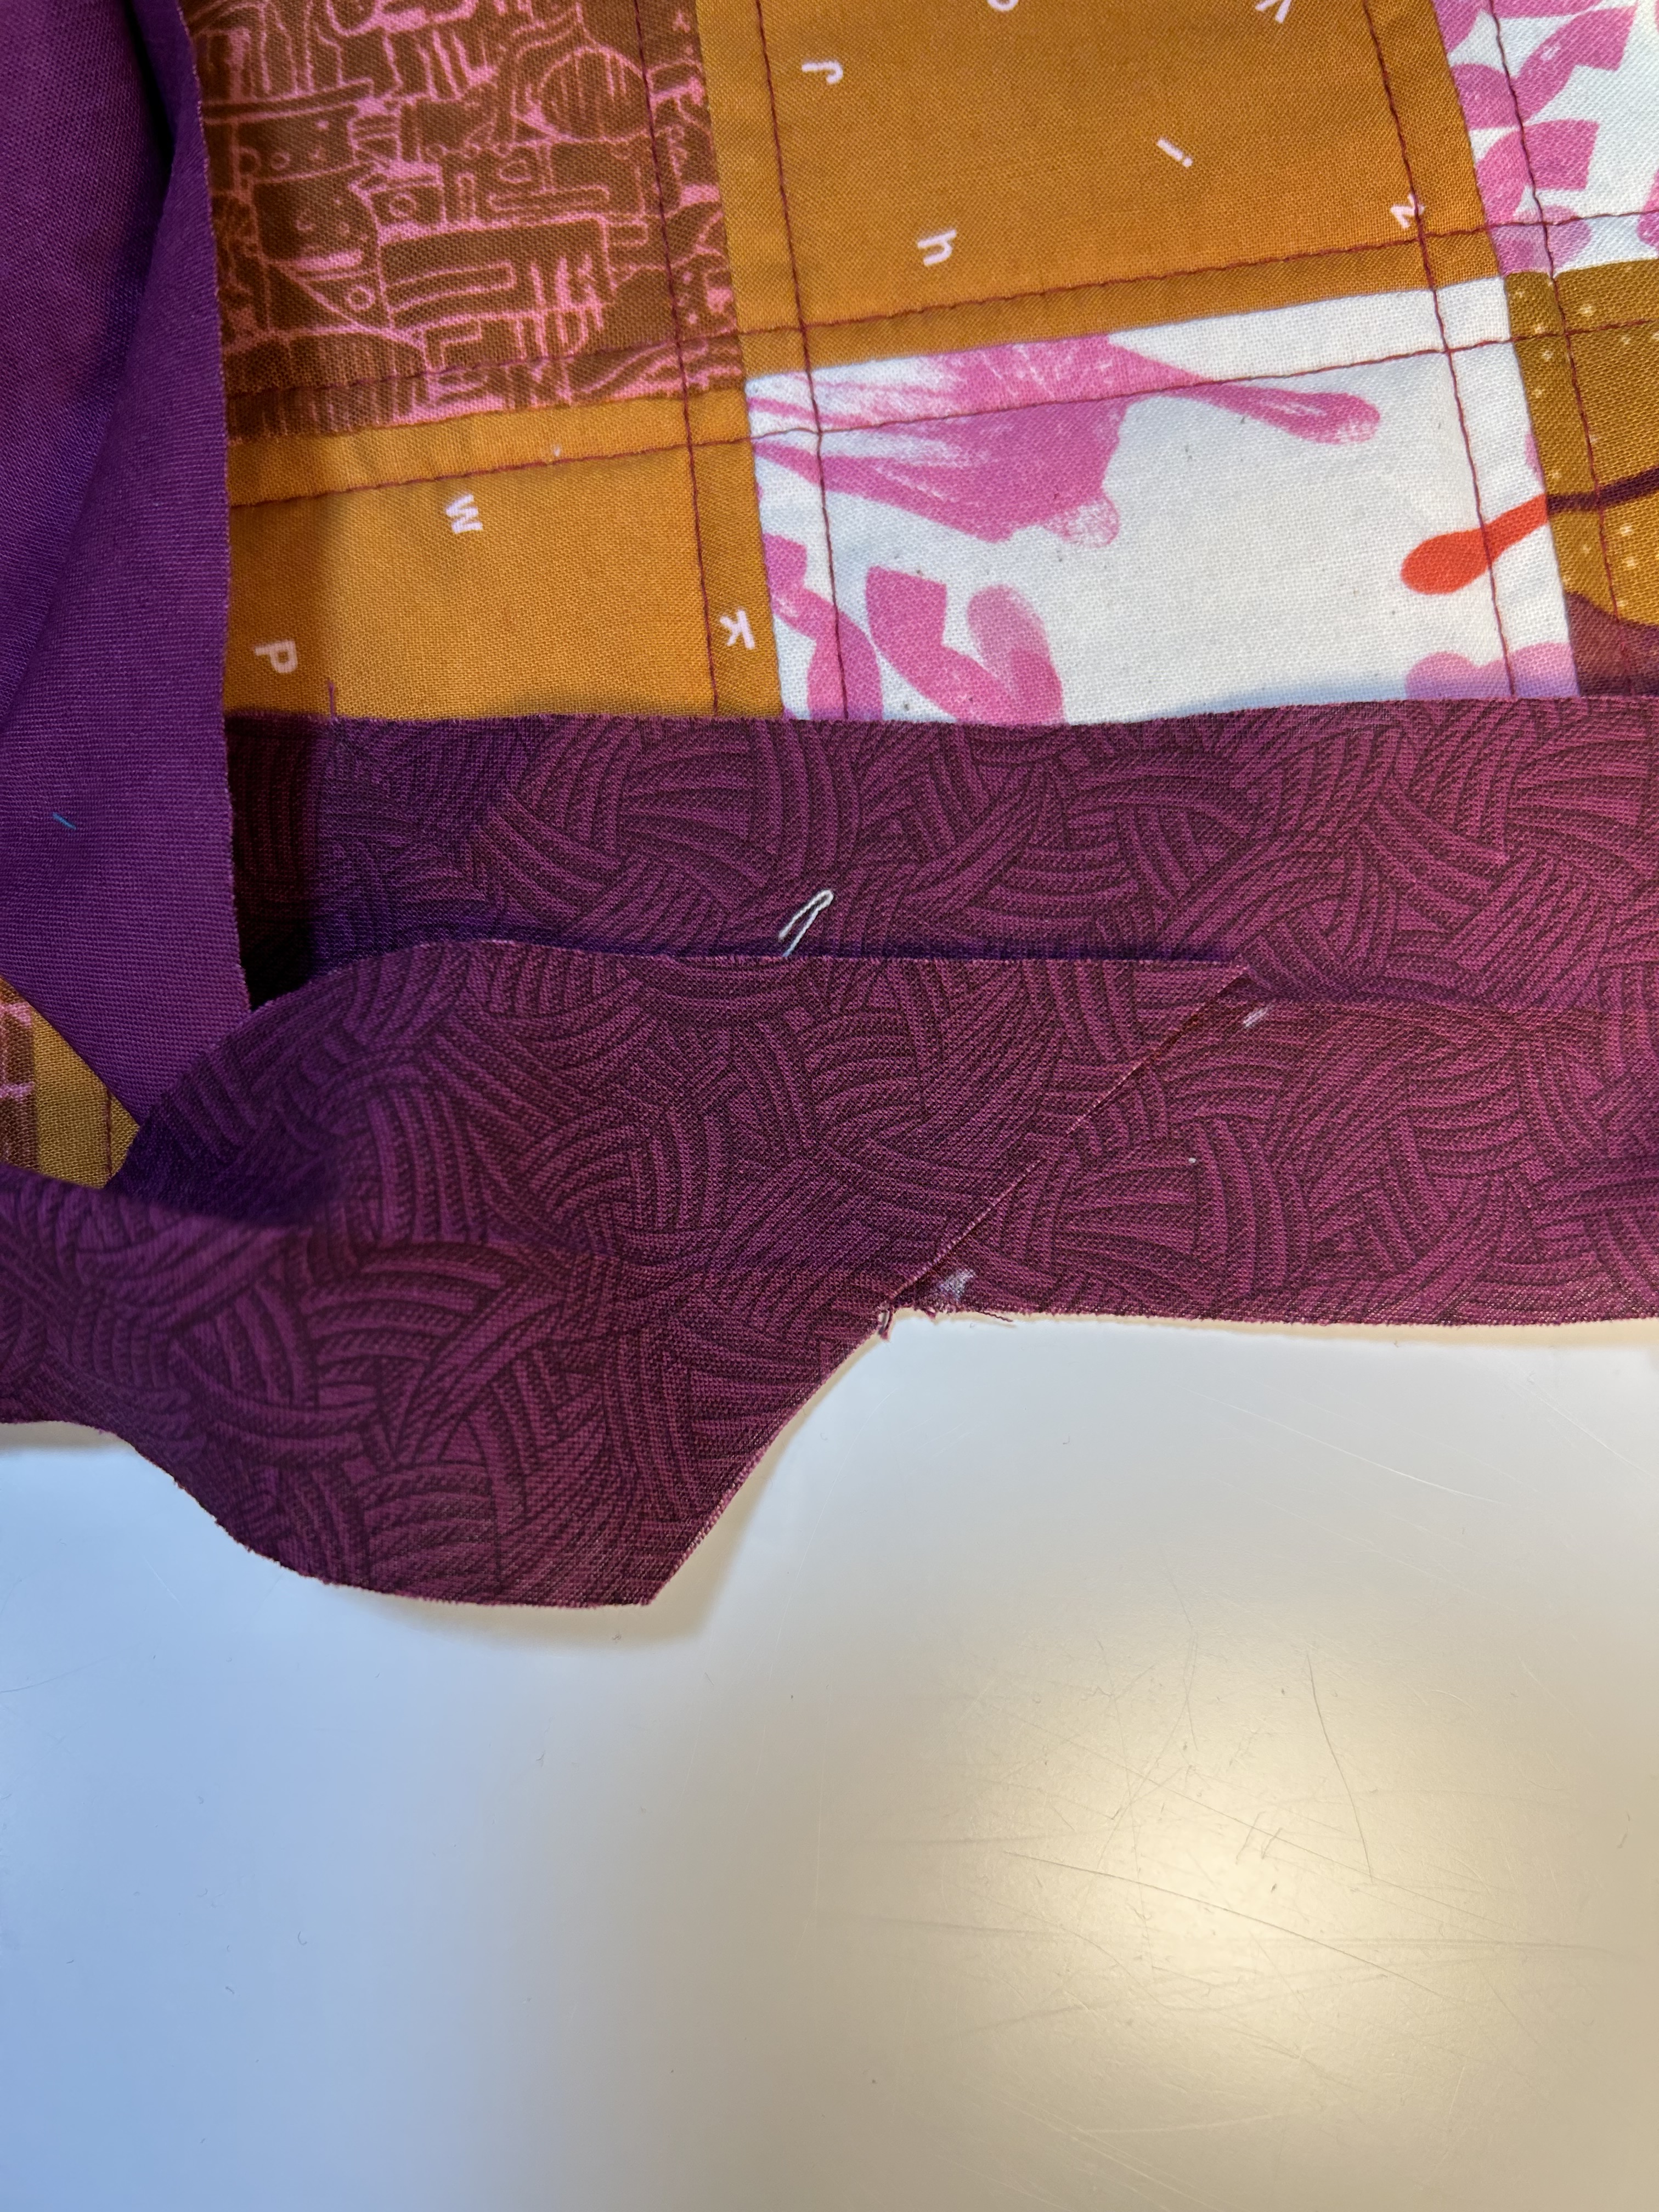
The two ends can now be joined. I line them up and pin on the left end at 1/4 inch until I am sure that the seam is going to be even. (You can also try to match the folded creases on both pieces with a pin.)
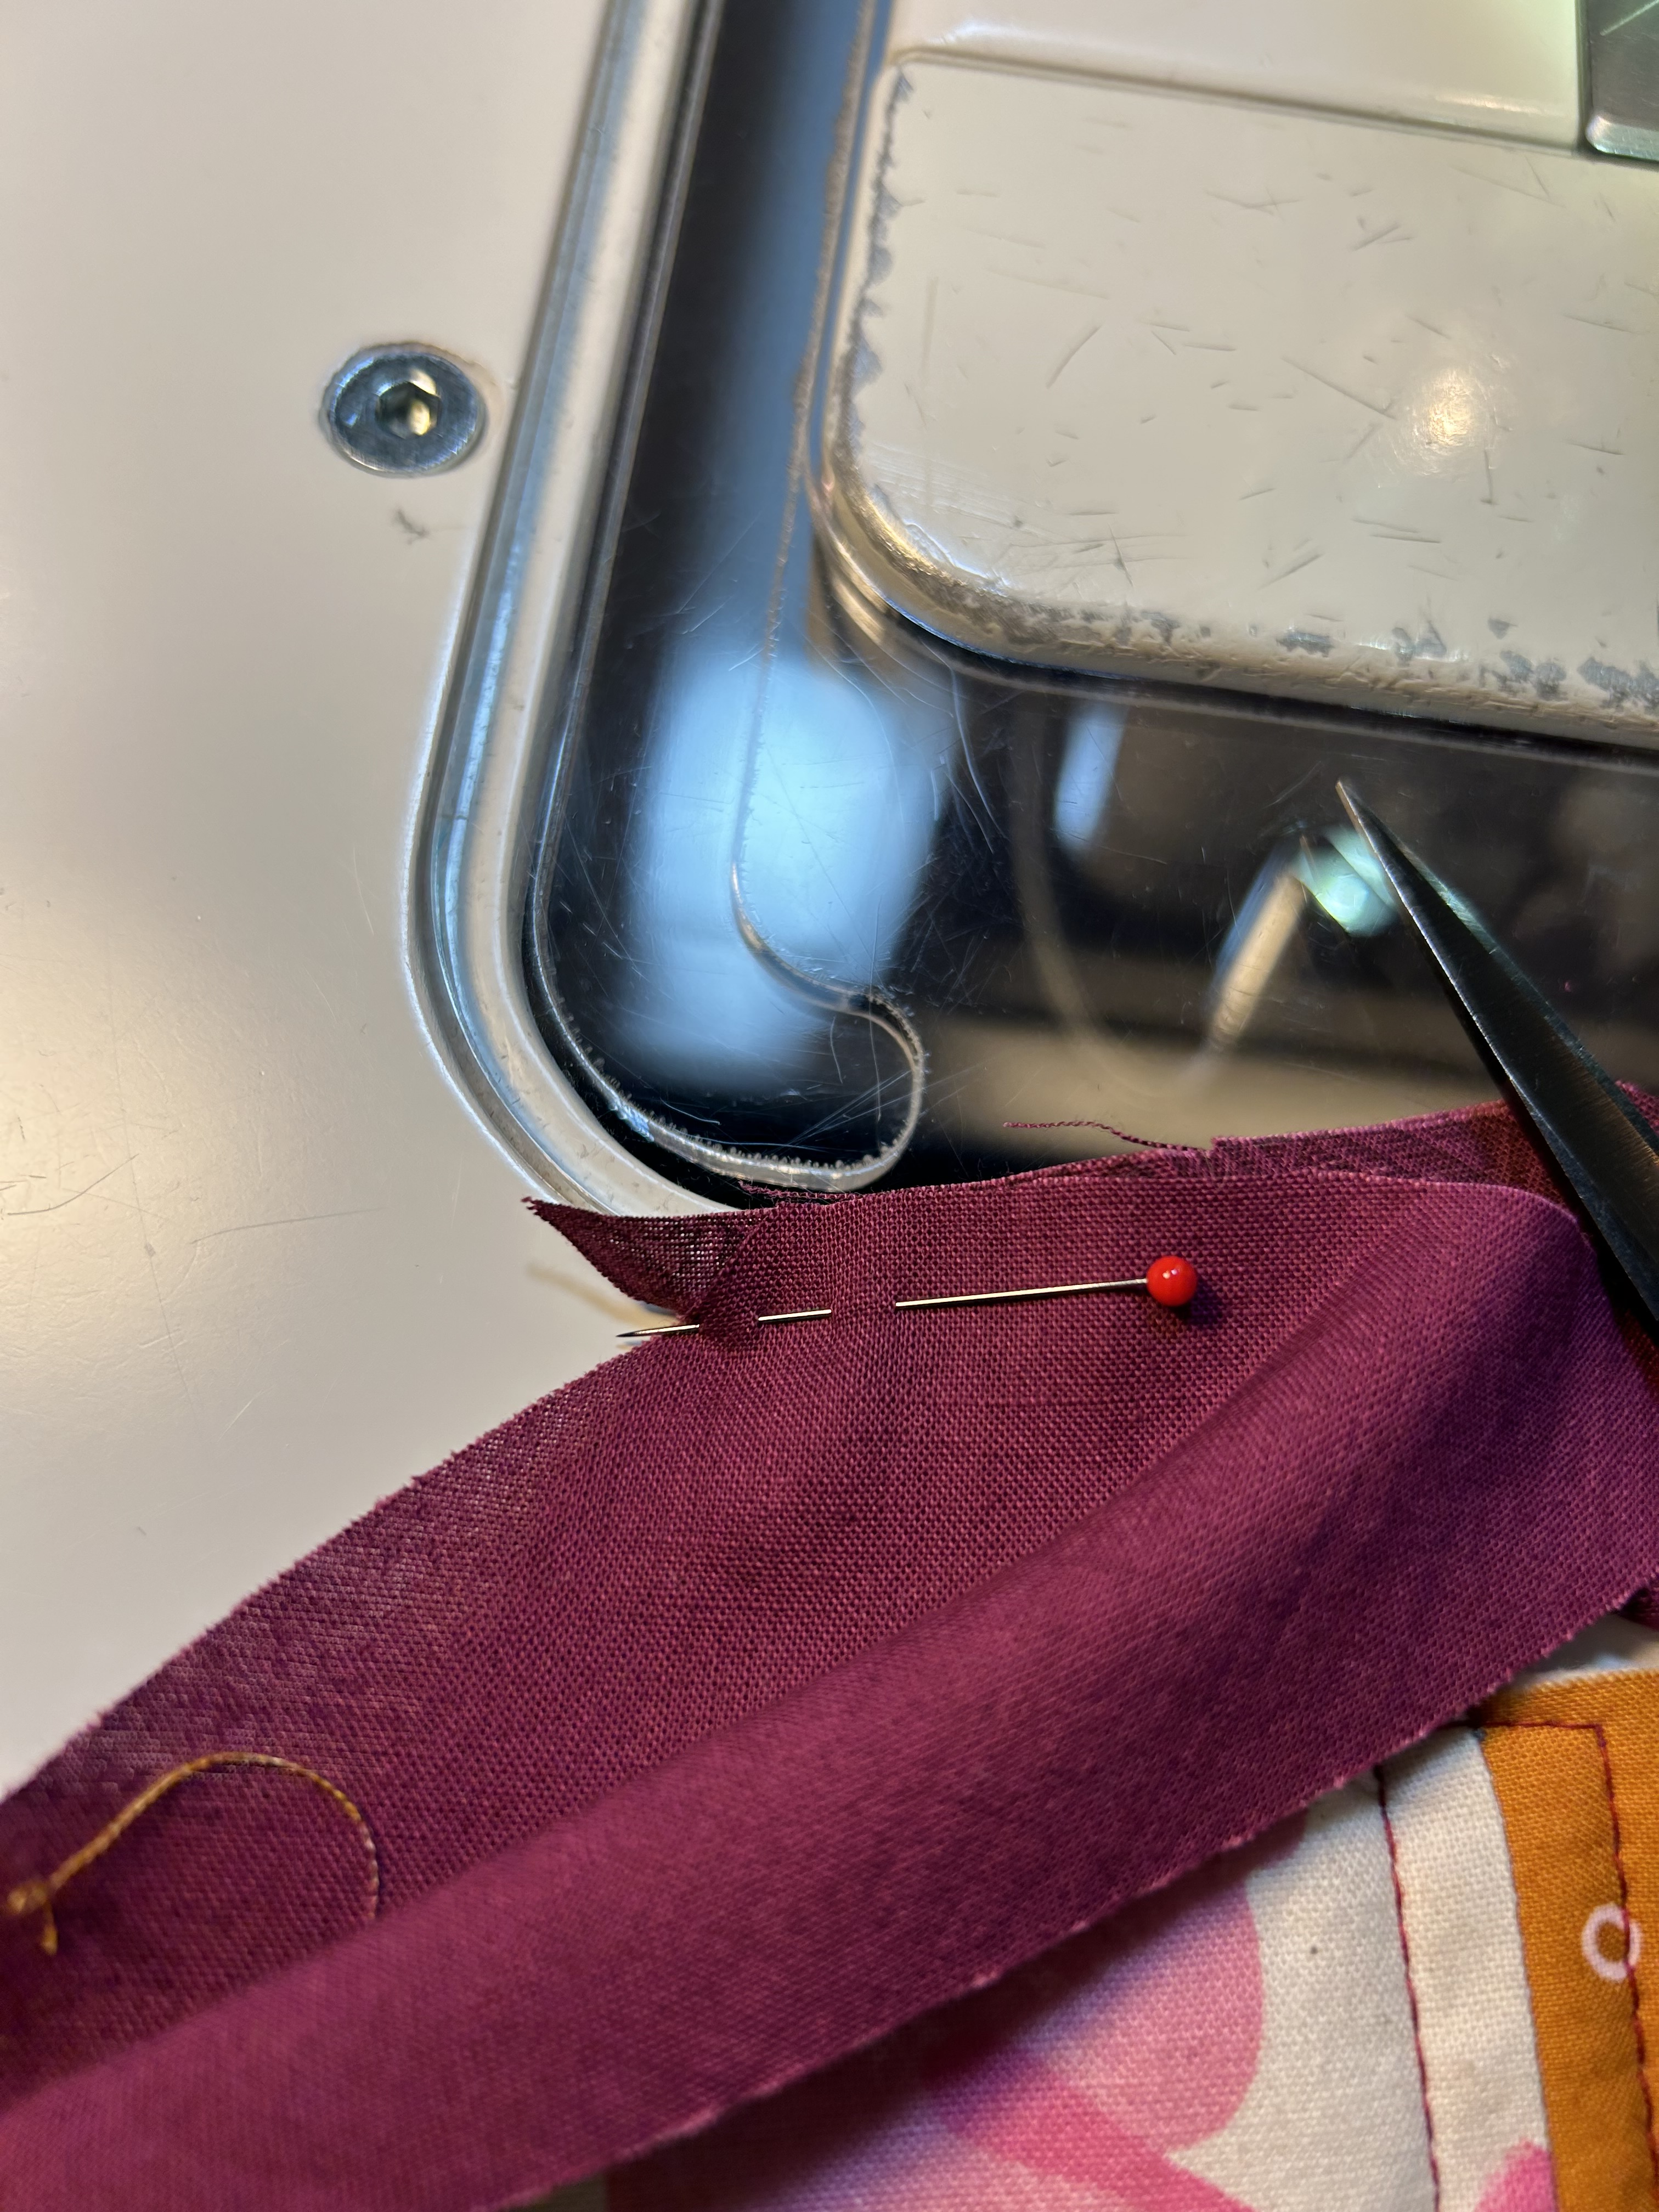
This part is fiddly. But you can see below that I’ve got a good join so the two sides will be even after being sewn. I don’t really worry about the right side,

Pin and sew the seam. Sewing this seam with the walking foot attached is tricky, so I use a leader/ender piece to get started.
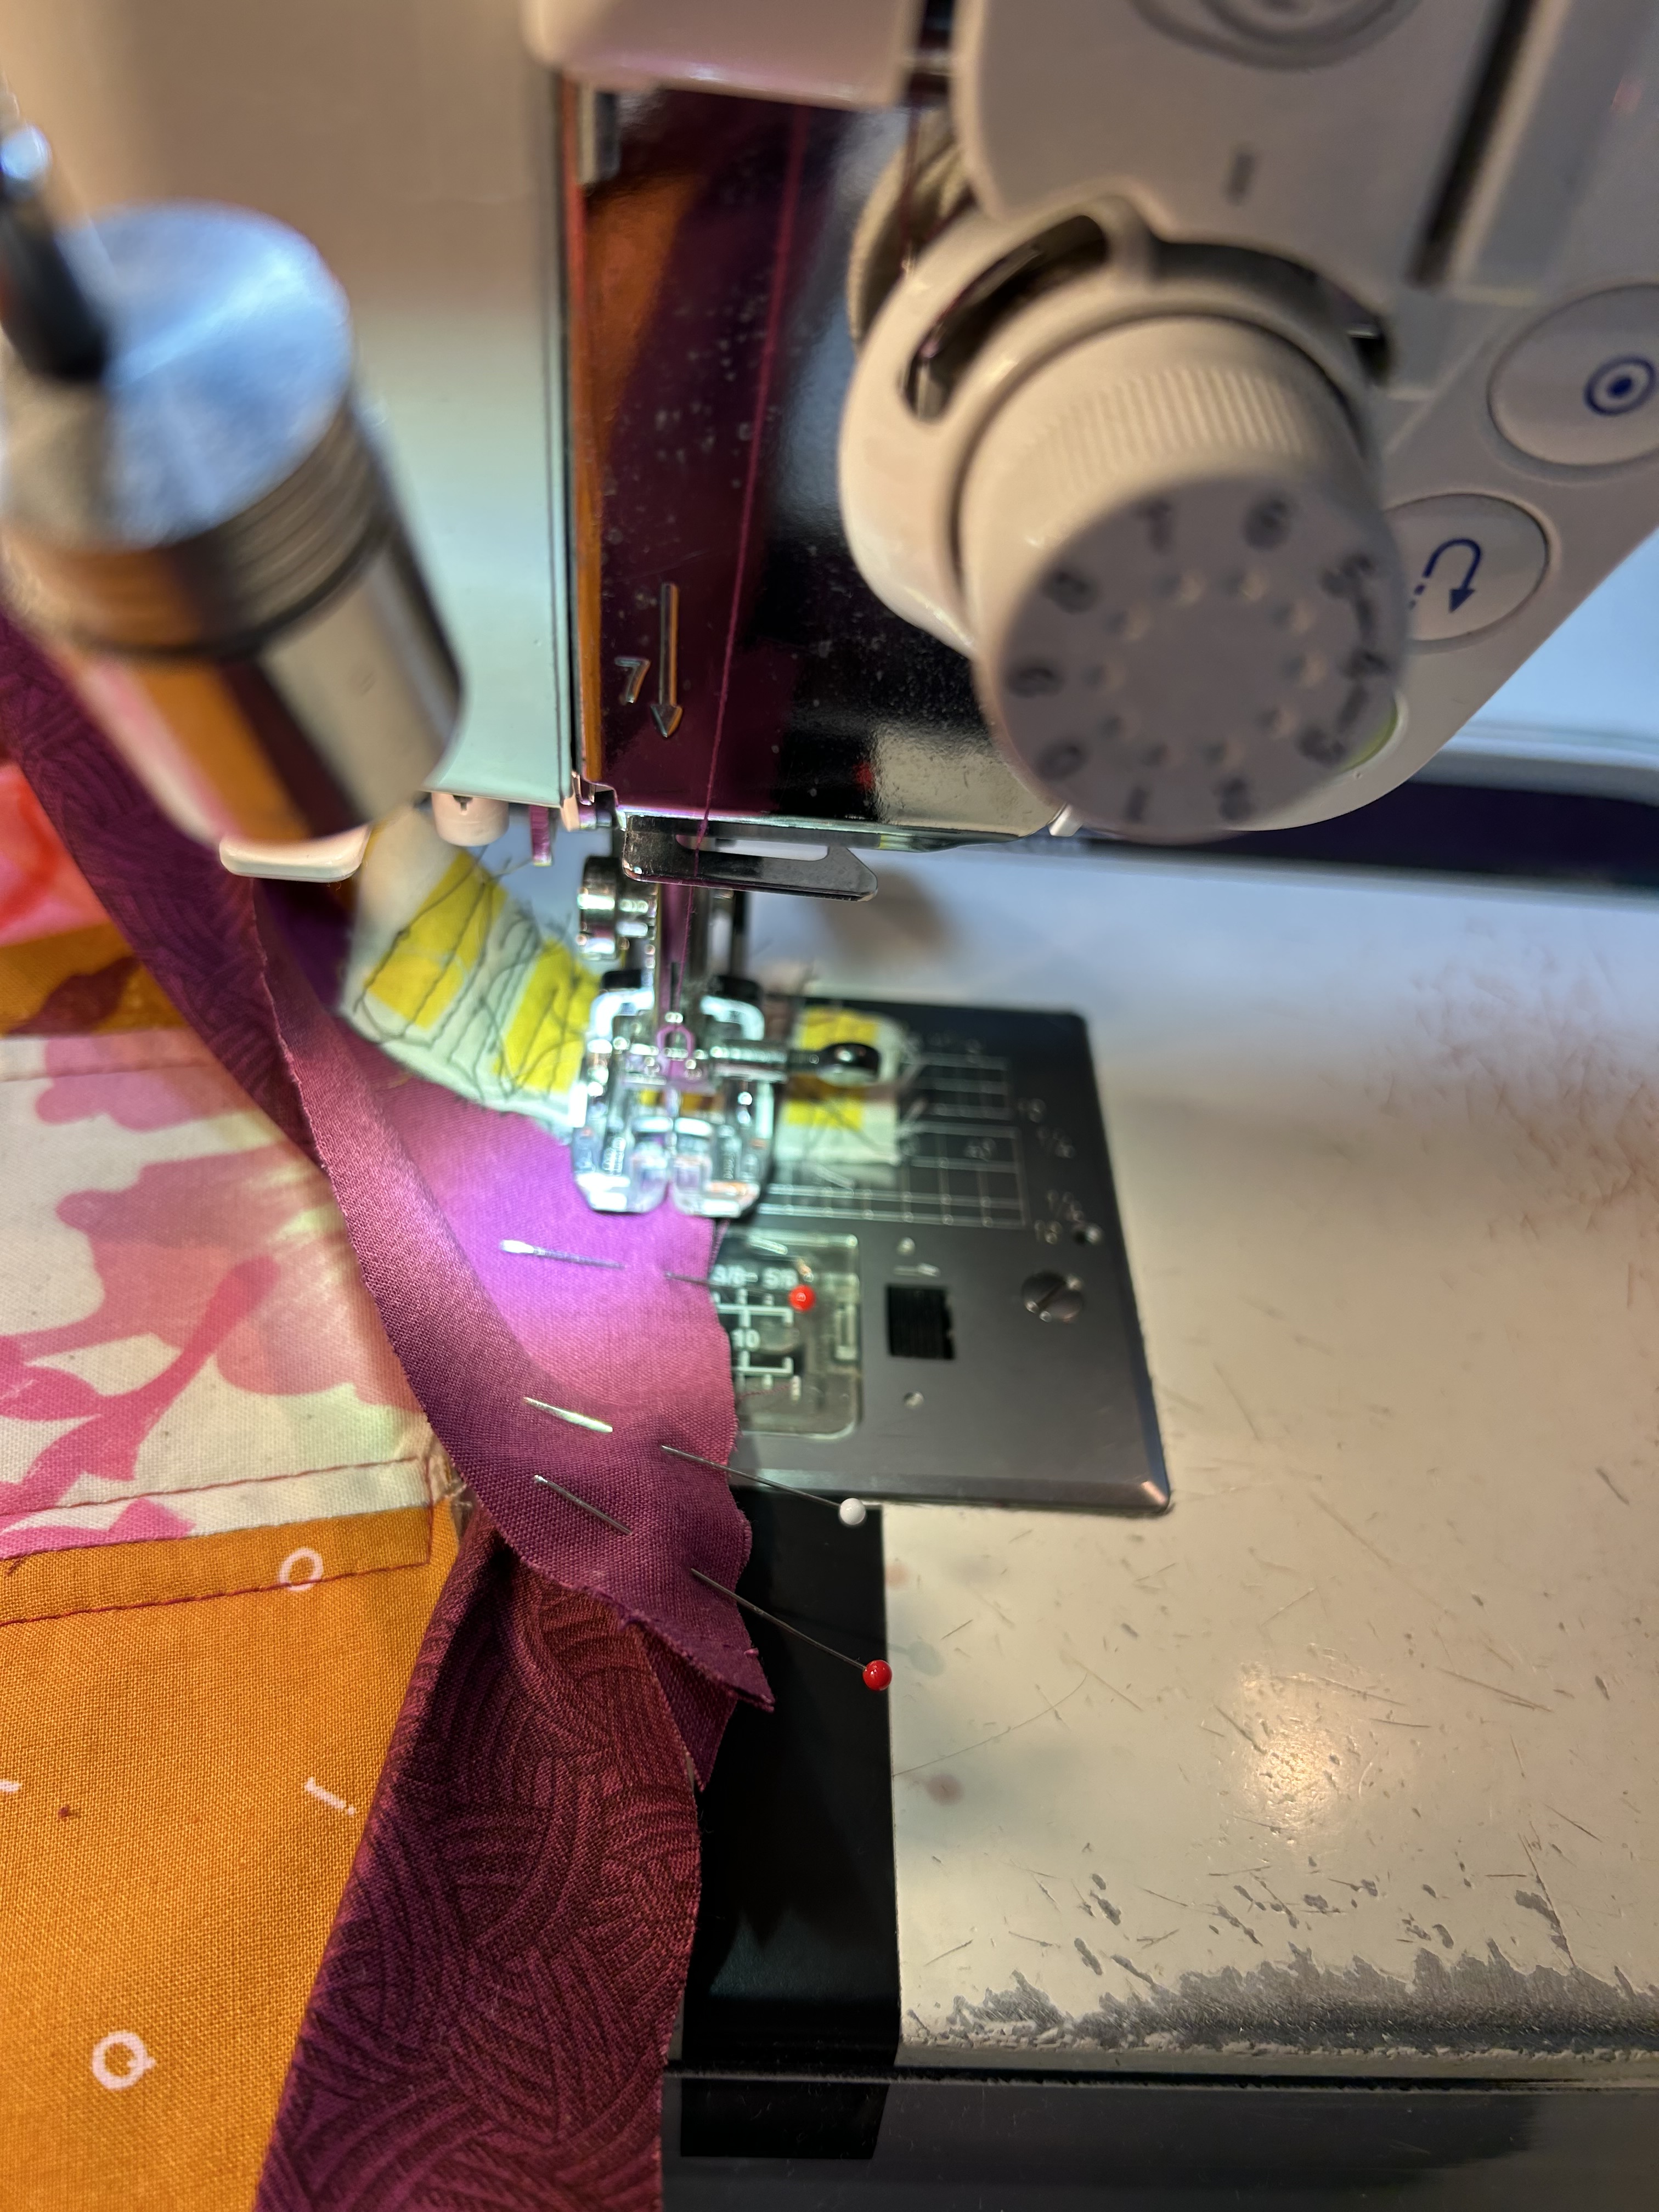
I keep a wooden roller around for seams like this so I don’t have to go to the iron–as the iron is hard on bias edges and you have to take the whole quilt with you to the iron. You could also finger press this seam.

Then fold the piece in half again and trim off the point that is extending beyond the edge of the binding. The binding should fit into the remaining space on your project perfectly. *You can also see in this picture below the amount of space you want to leave on the side of your quilt to join the two edges and then to sew down the remaining piece of the now-joined binding: it’s 10 or 12 inches.
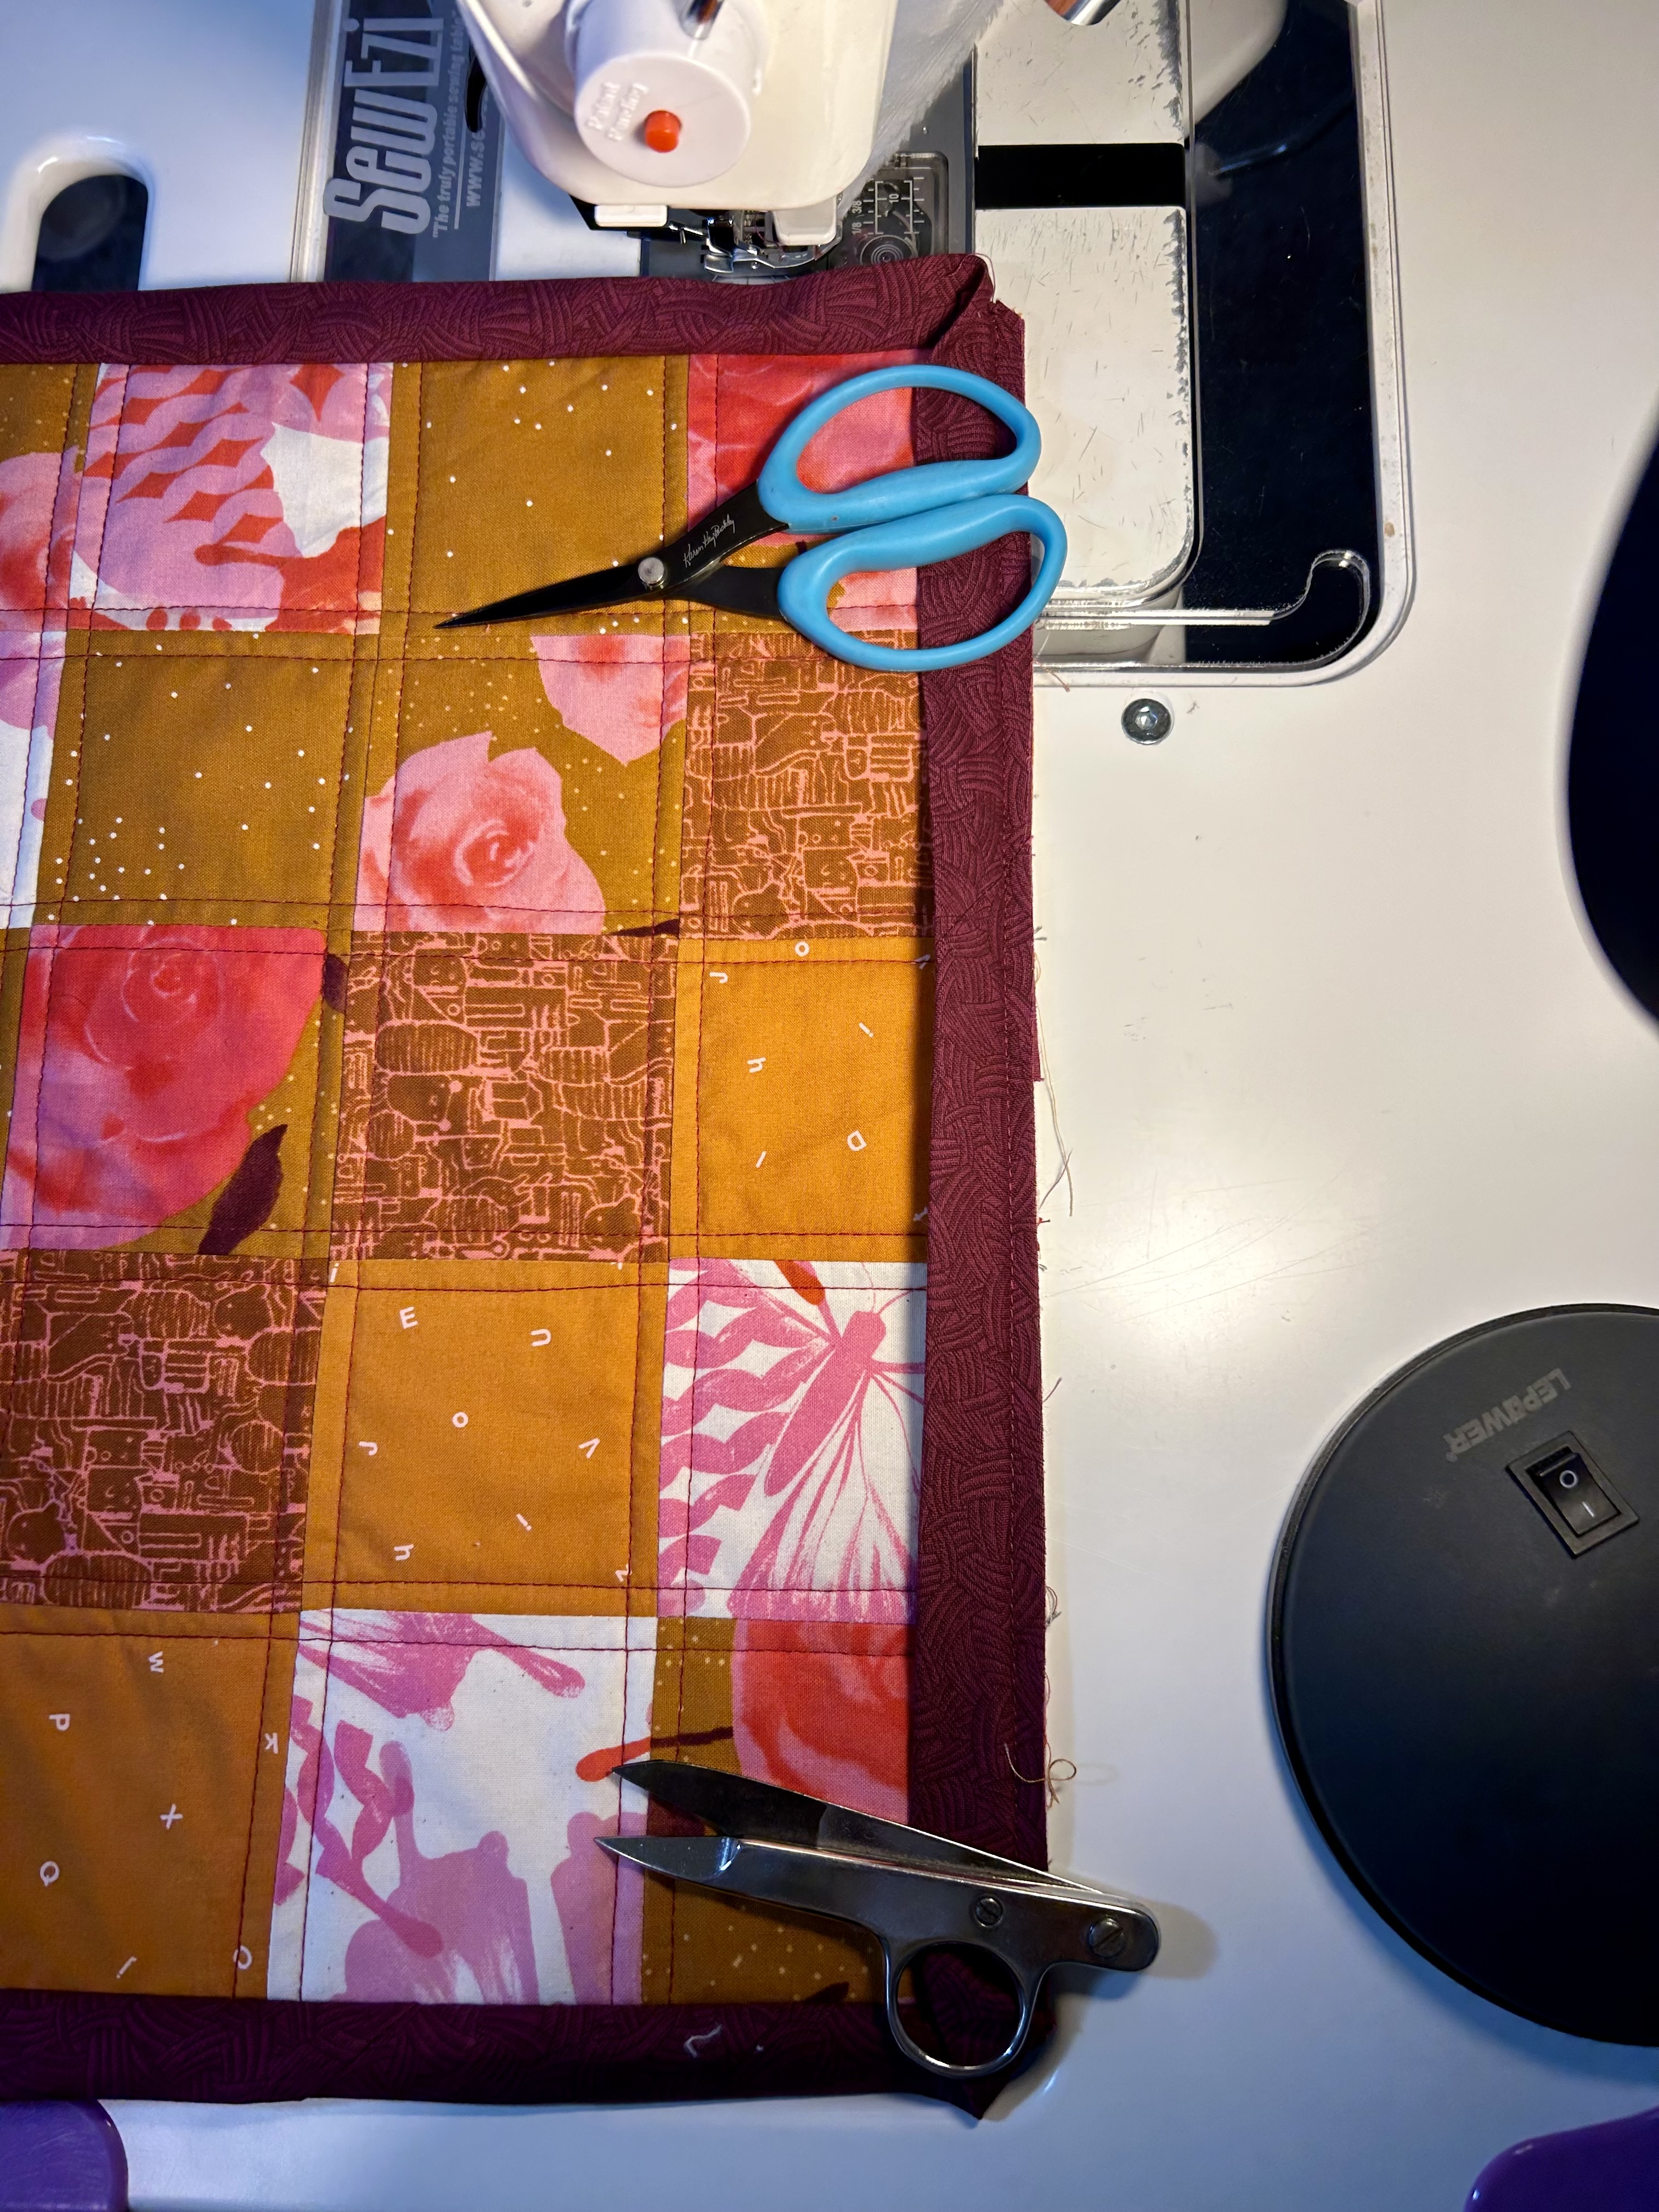
And now YOU ARE DONE!
