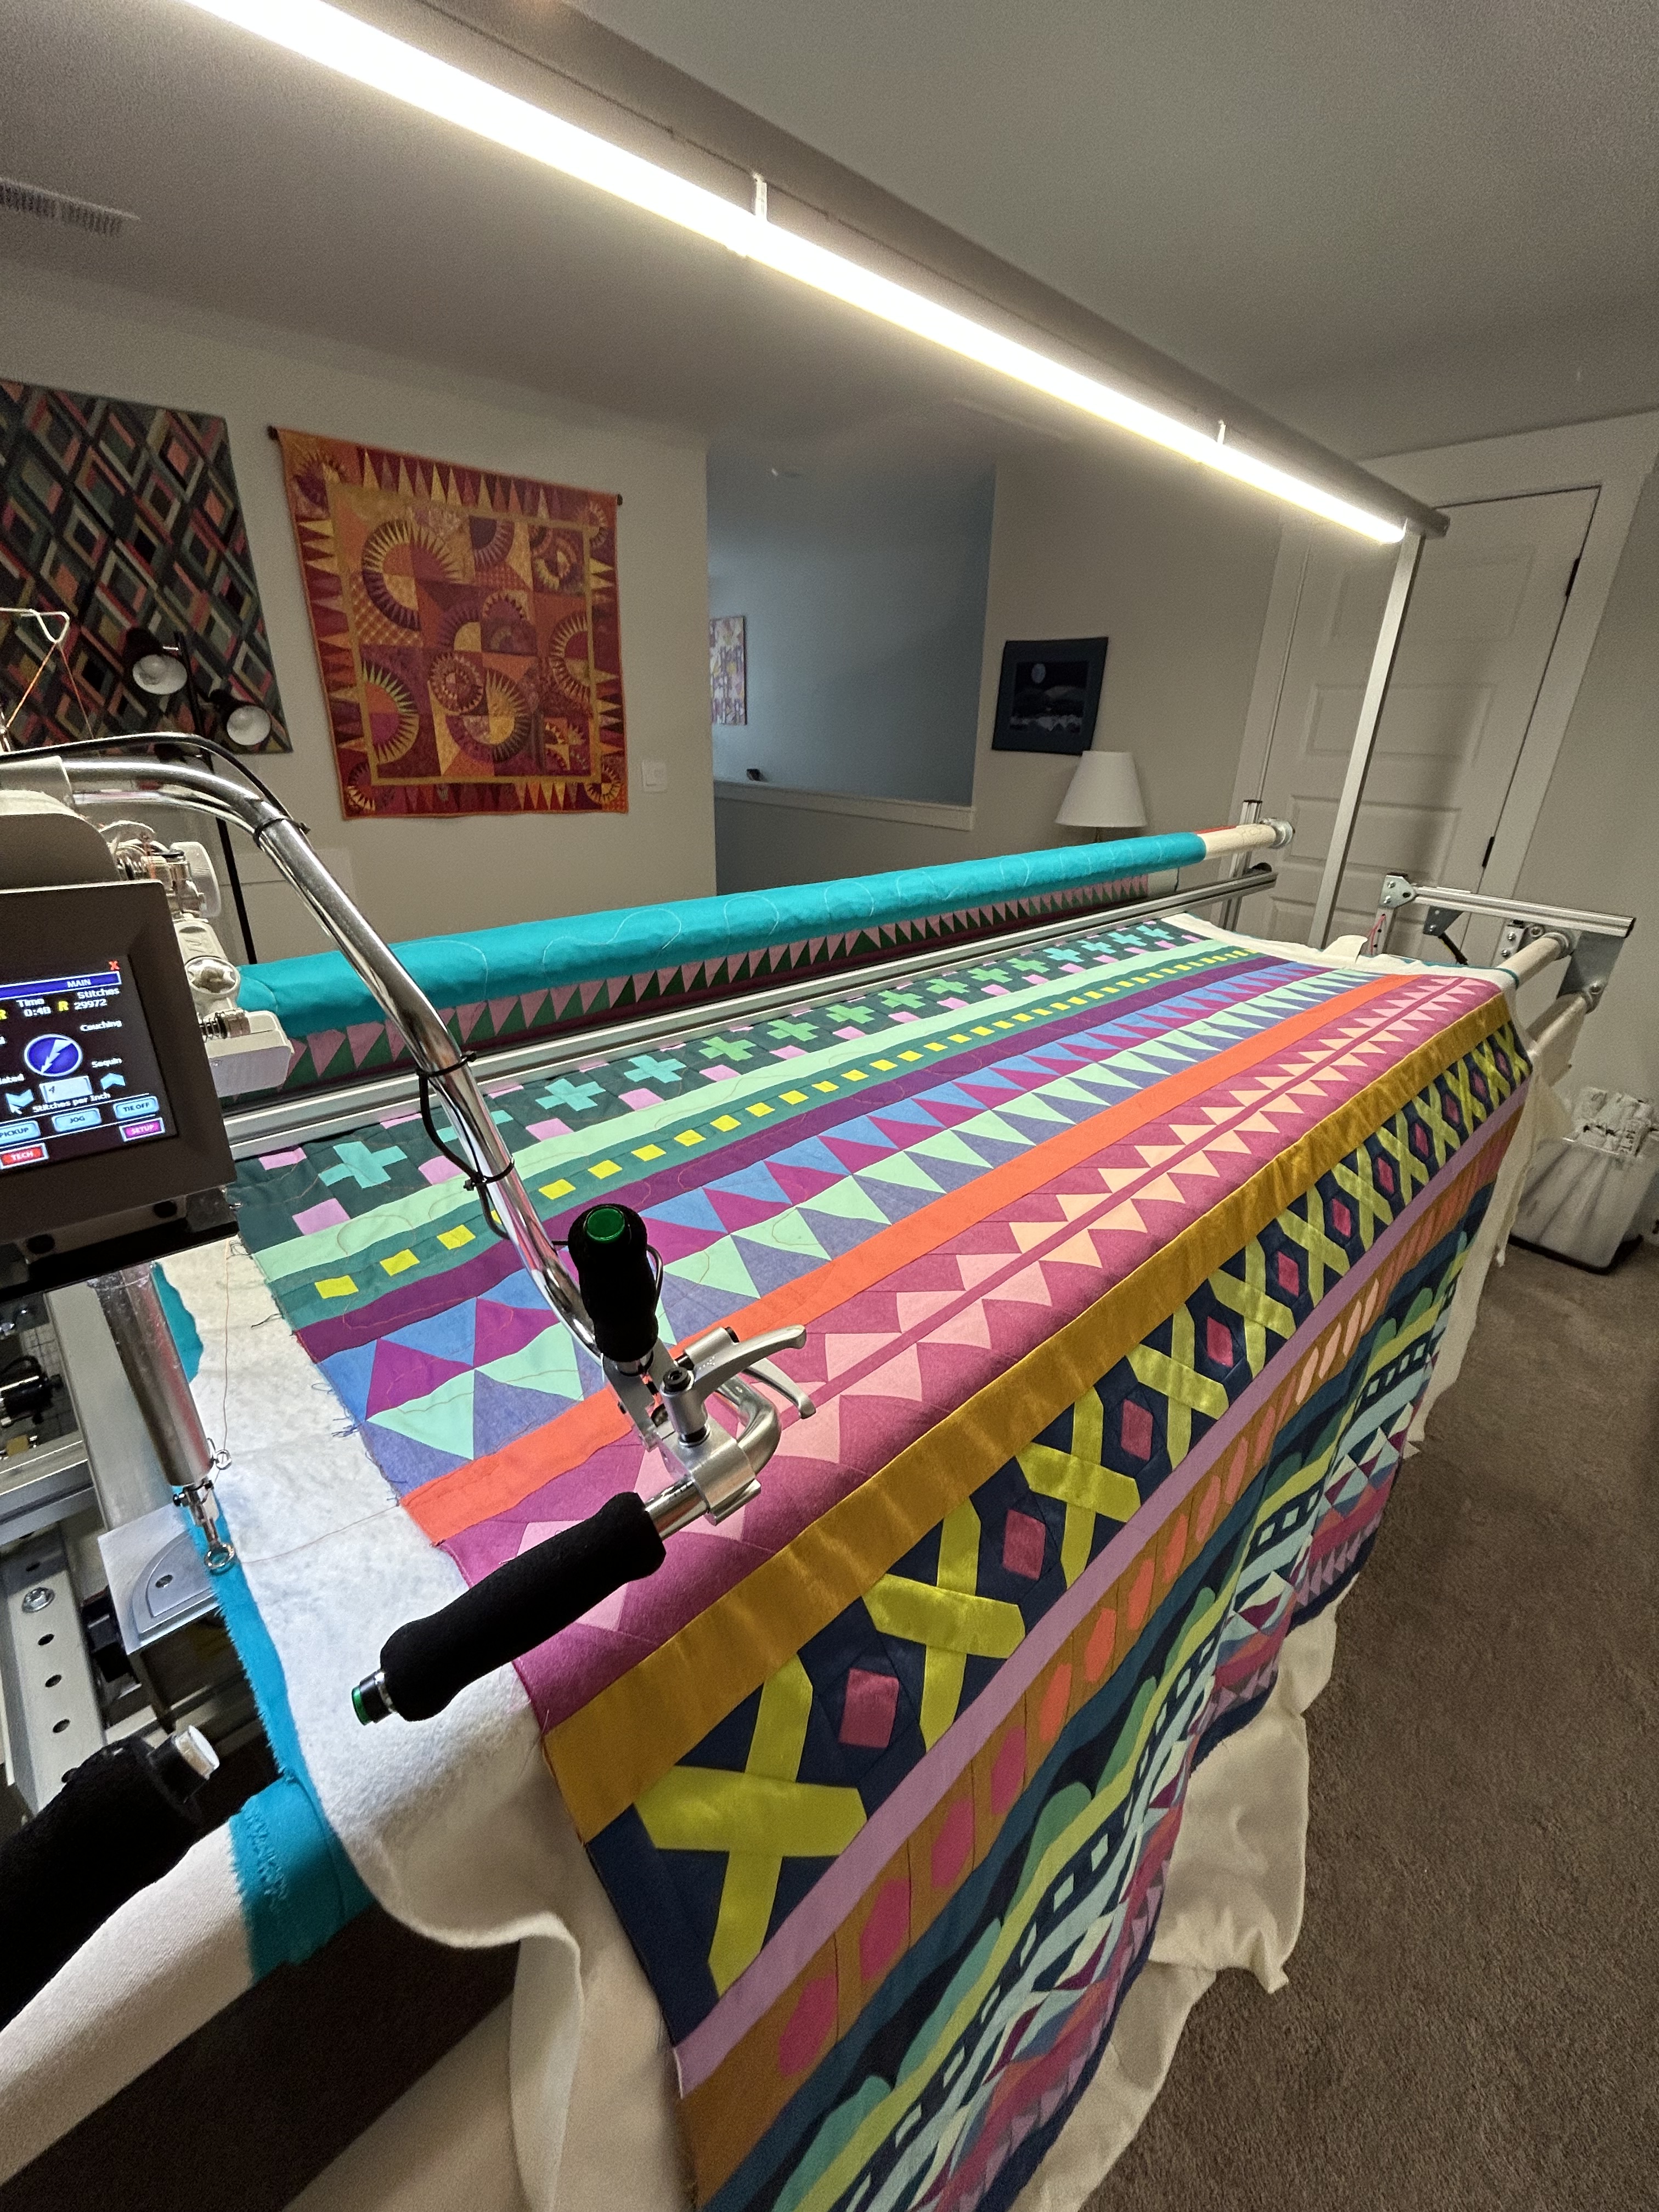
…is all in one piece.
Well, except for the border.

I started this English Paper Piecing project in June of 2018. That’s FIVE YEARS for heaven’s sake. There are SO MANY tiny pieces, and I have spent COUNTLESS hours prepping all the templates. Plus, sewing all the curves is so, so hard. I’ve used up a whole roll of artist tape along the way.
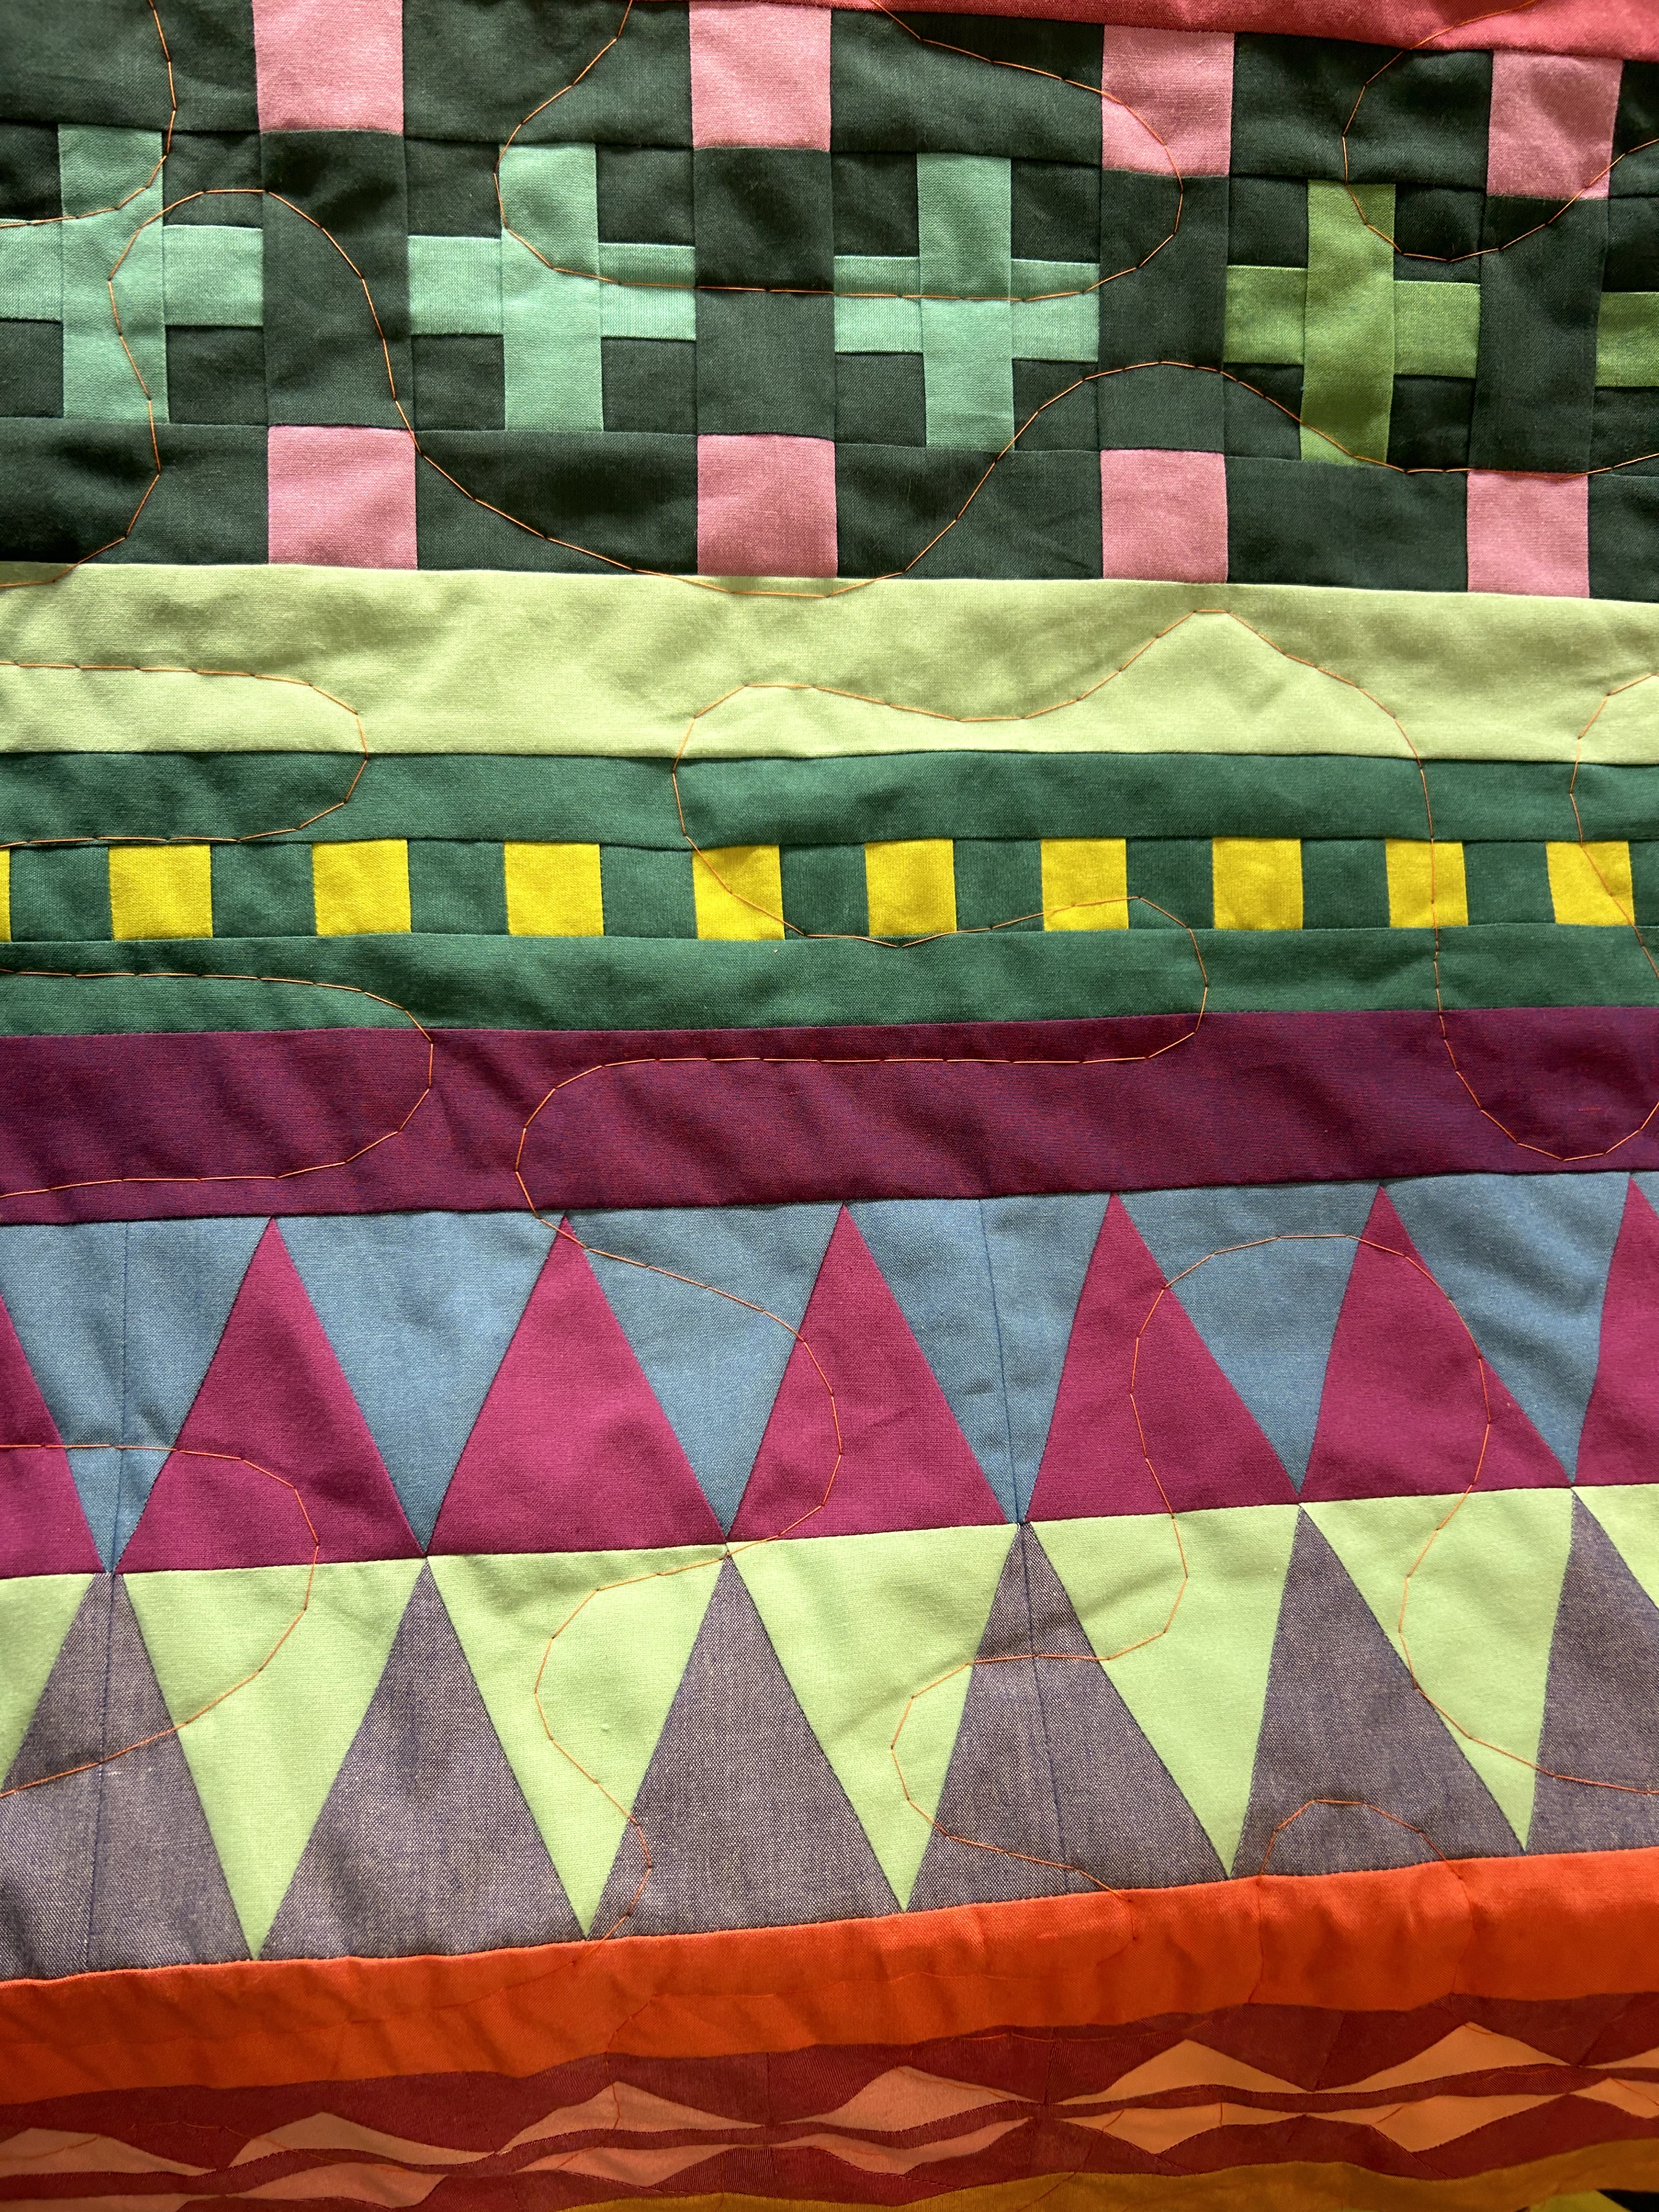
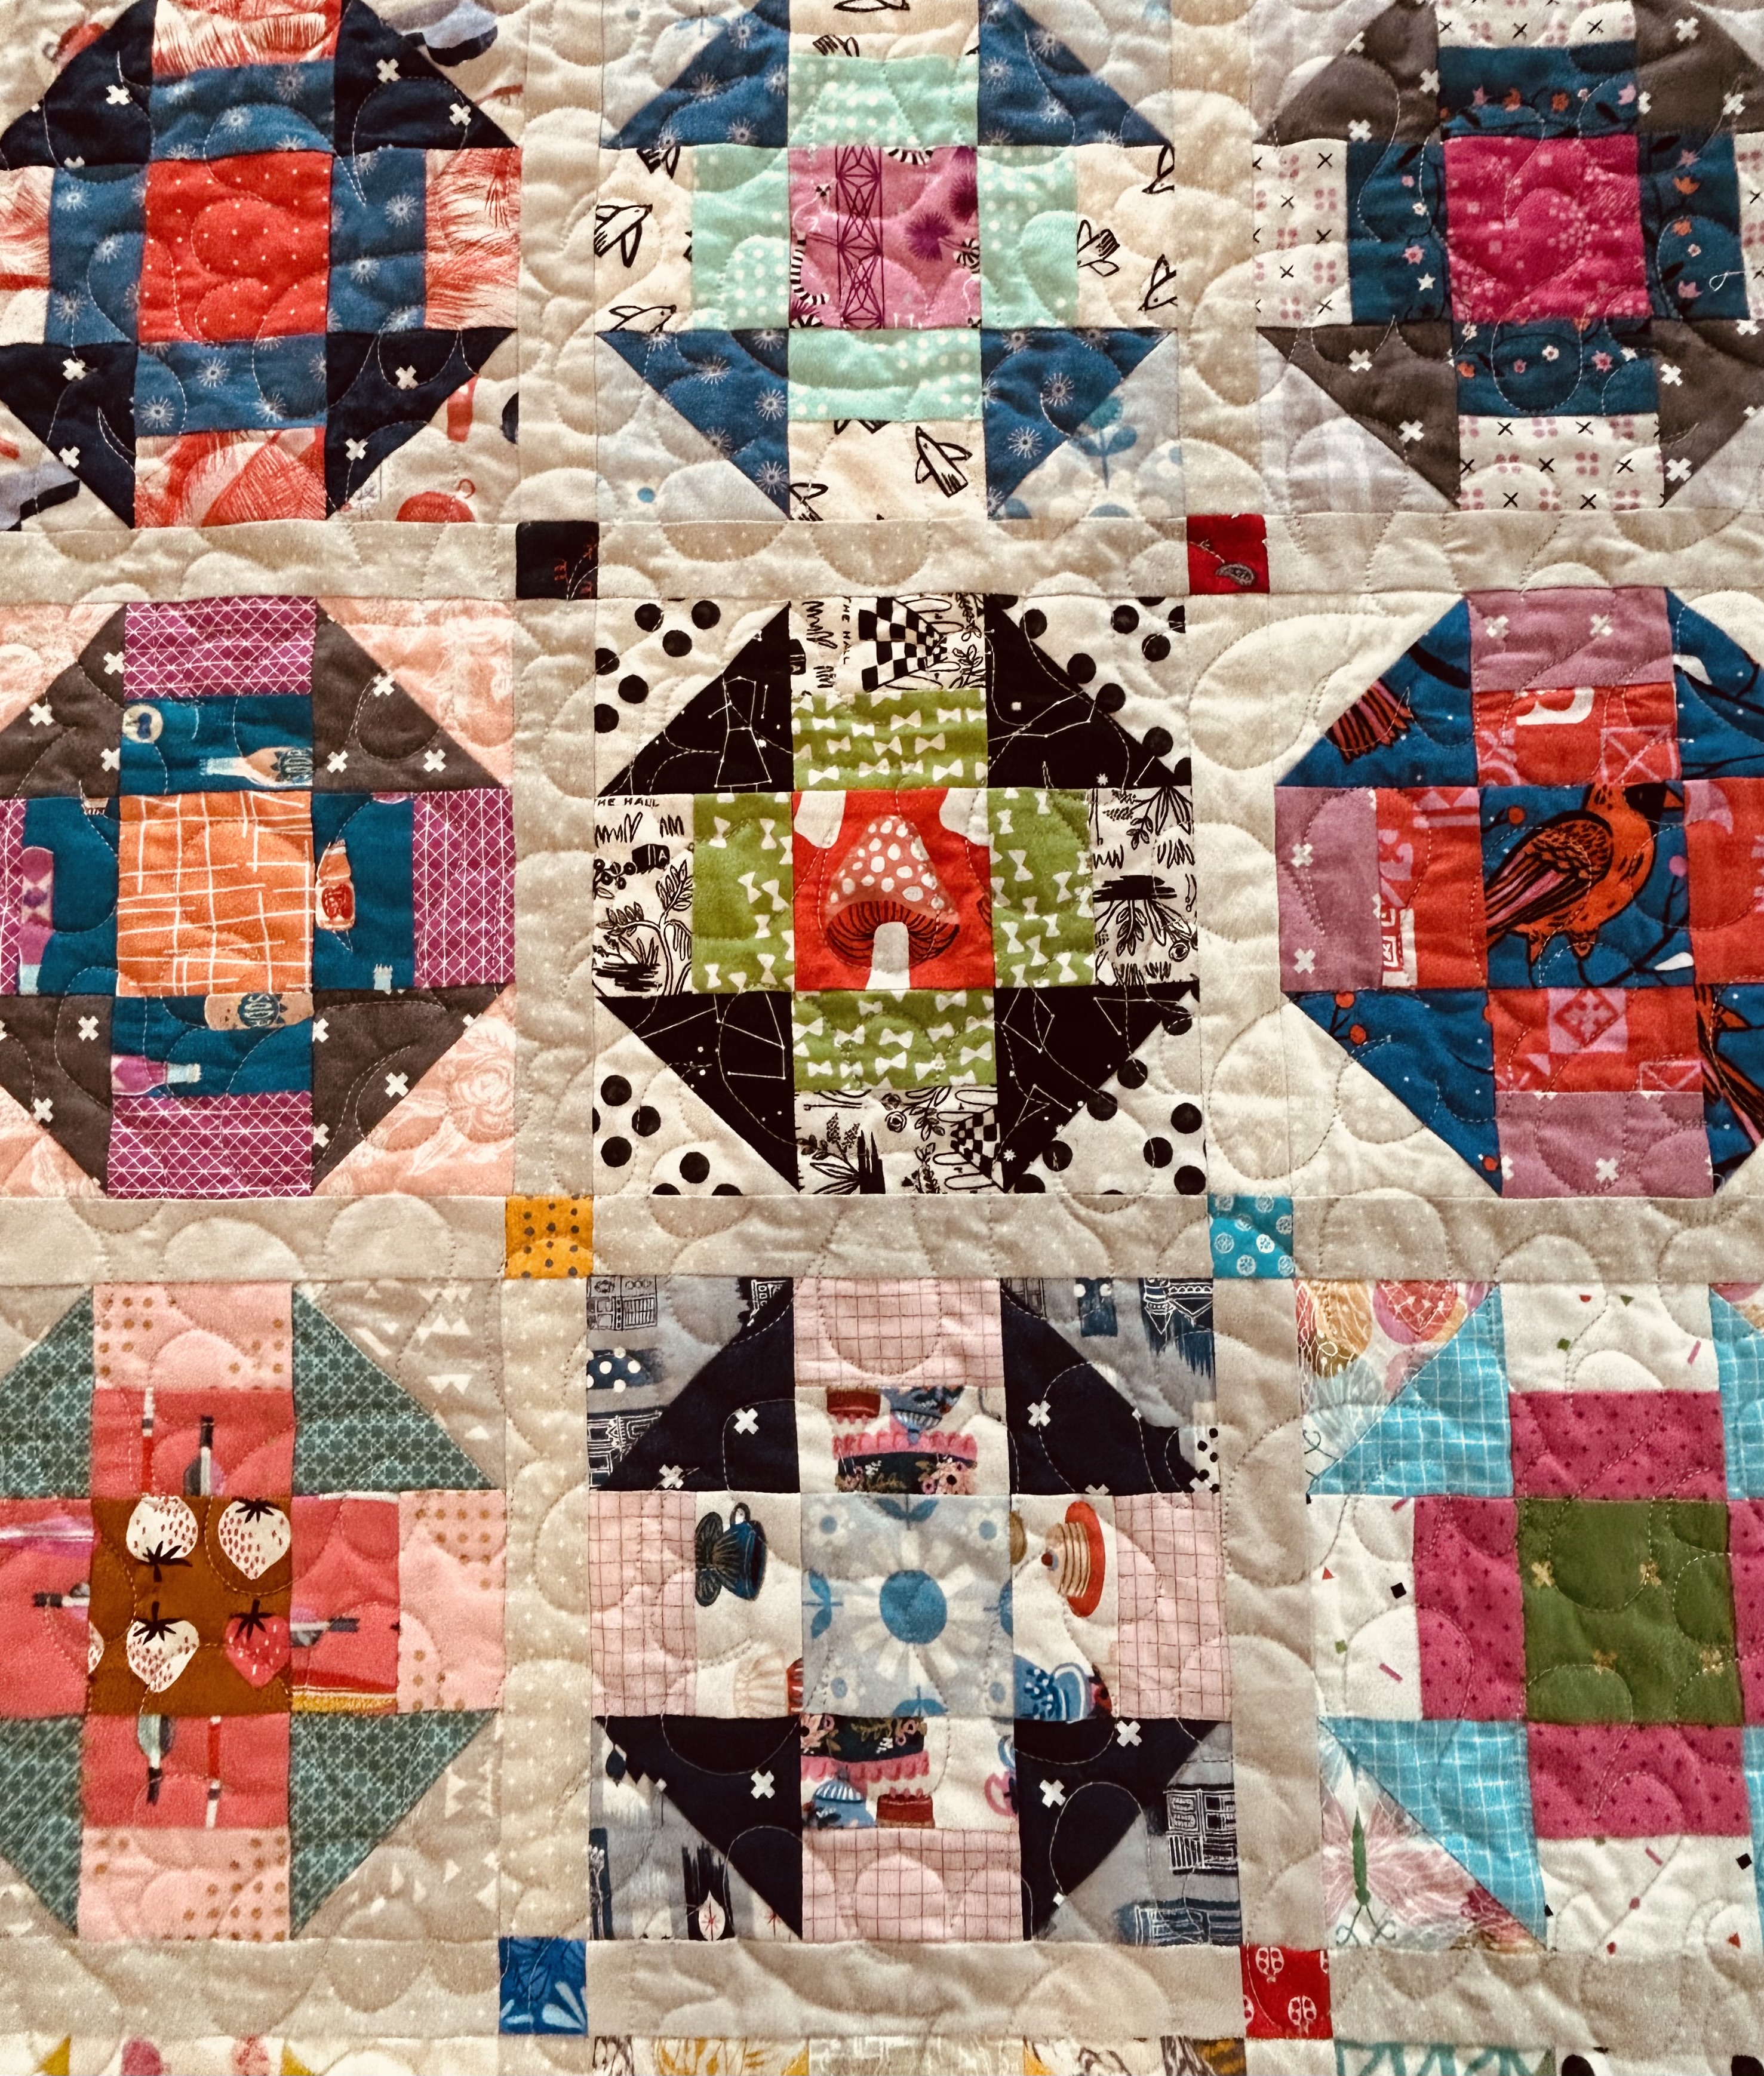
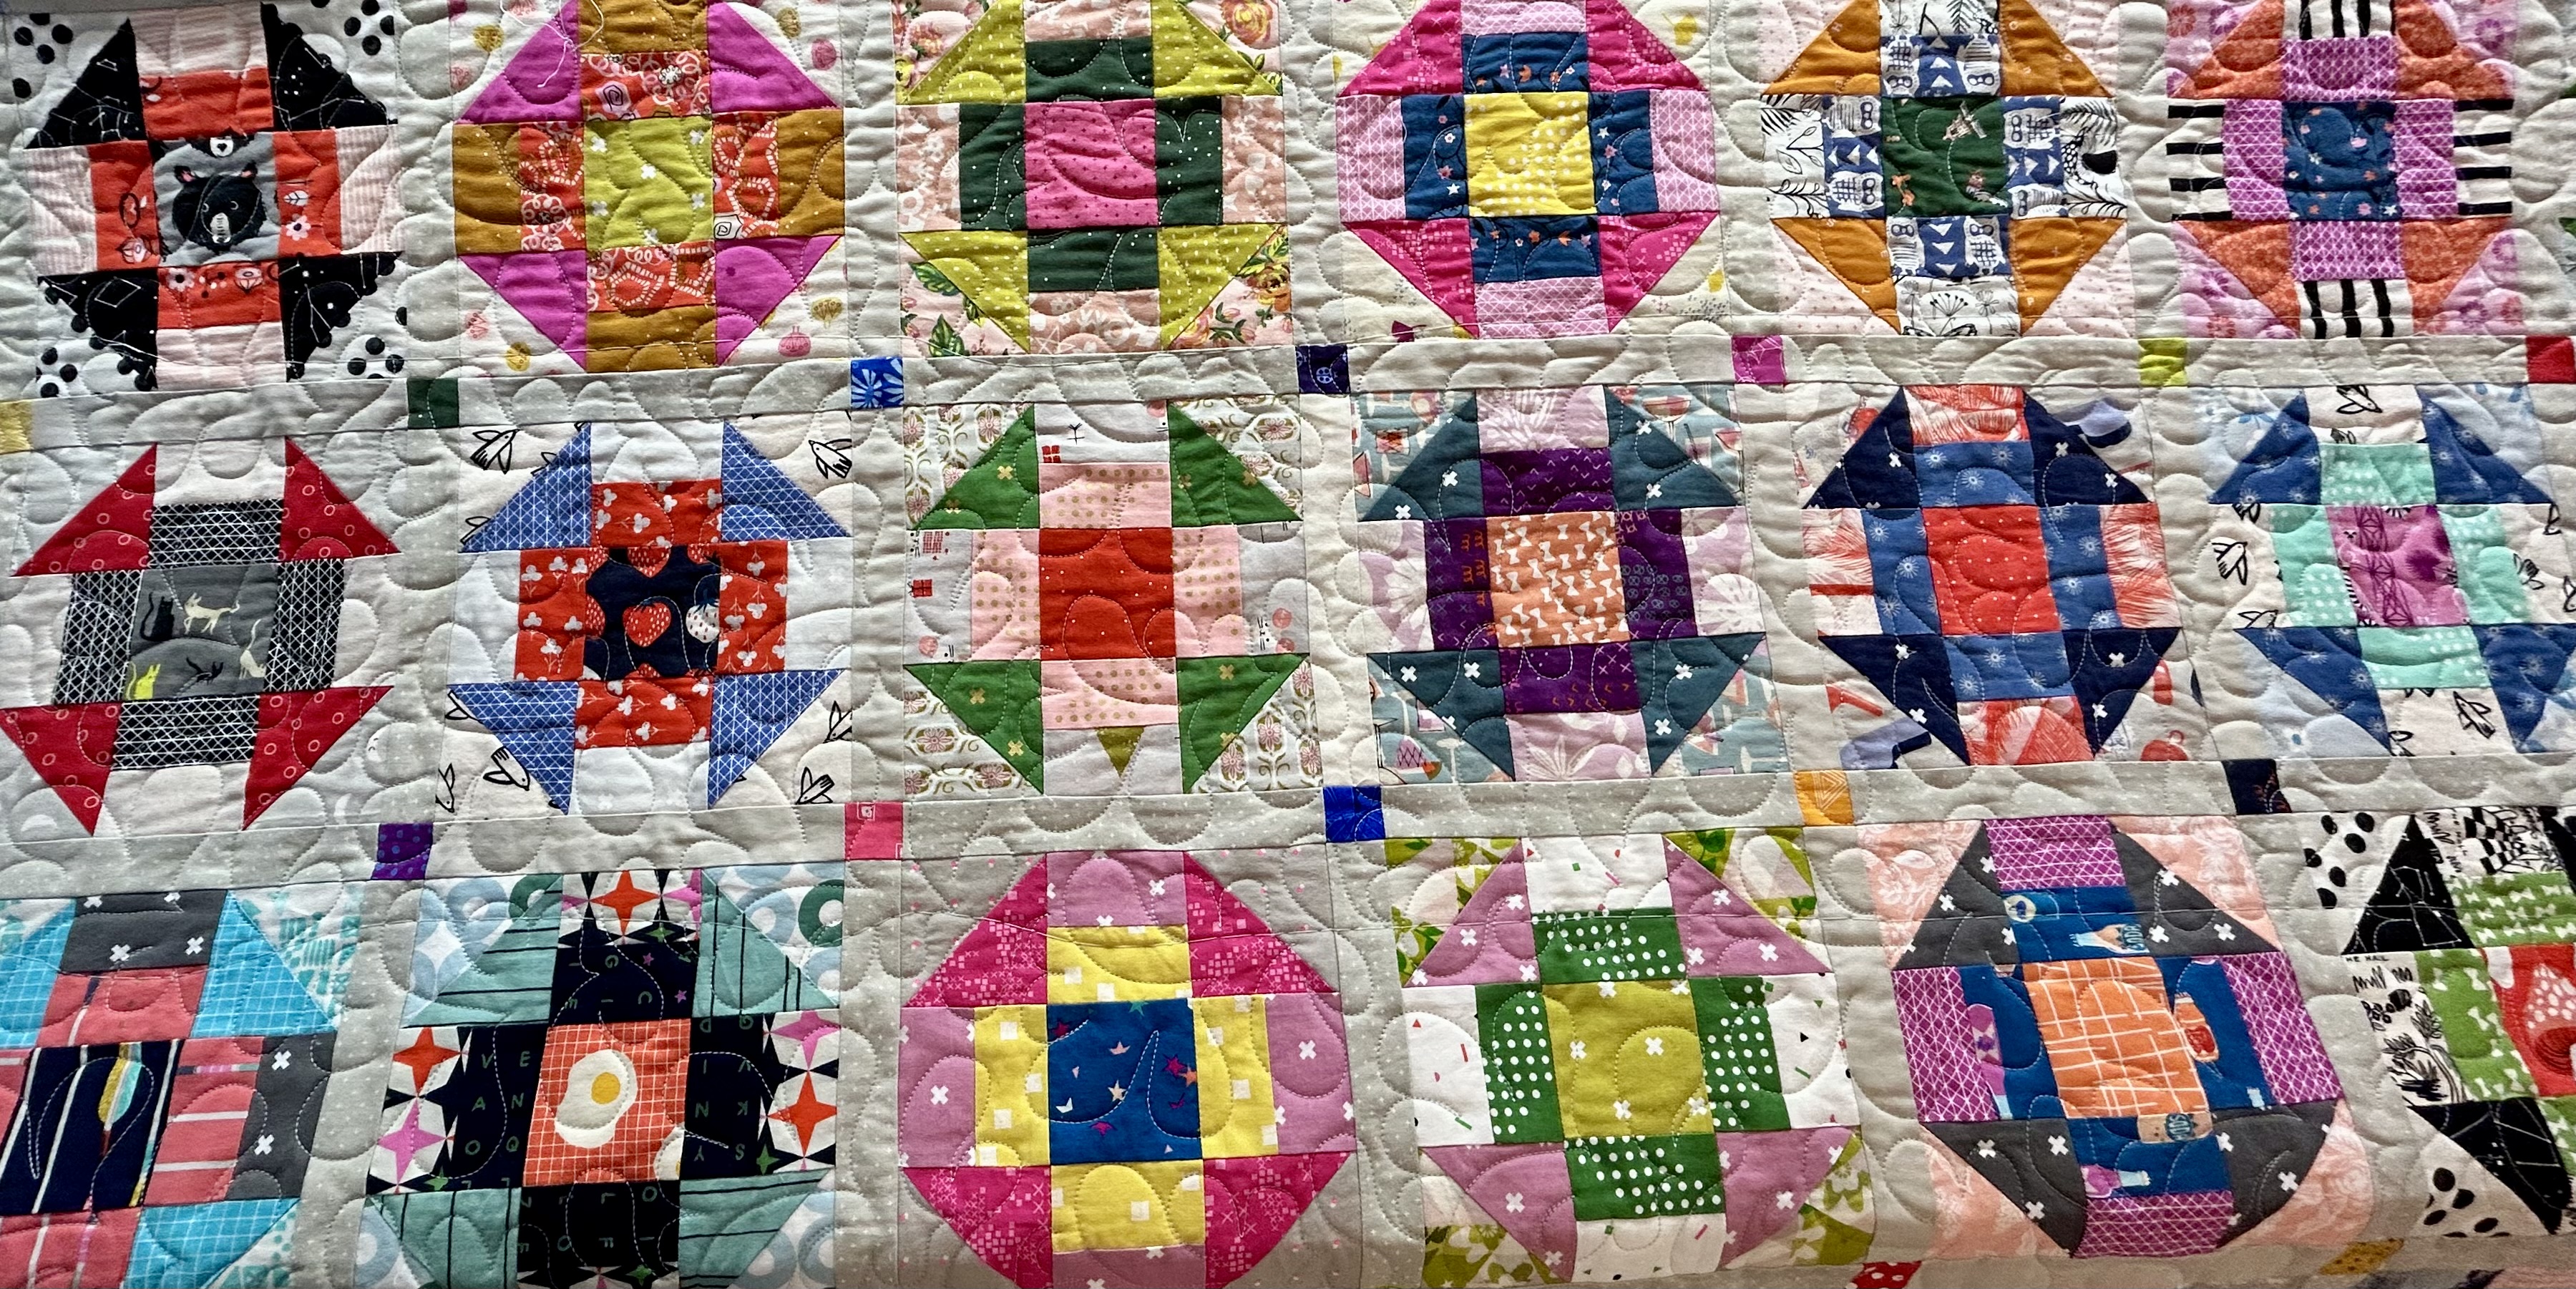
The block centers are all Cotton+Steel/Ruby Star Society. The rings are solid pastels, and the ring centers and the 4-patches between the rings are all dark solids. The outer border will square it off and is made of BIGGER (thank heavens!) pieces–all dark solids.
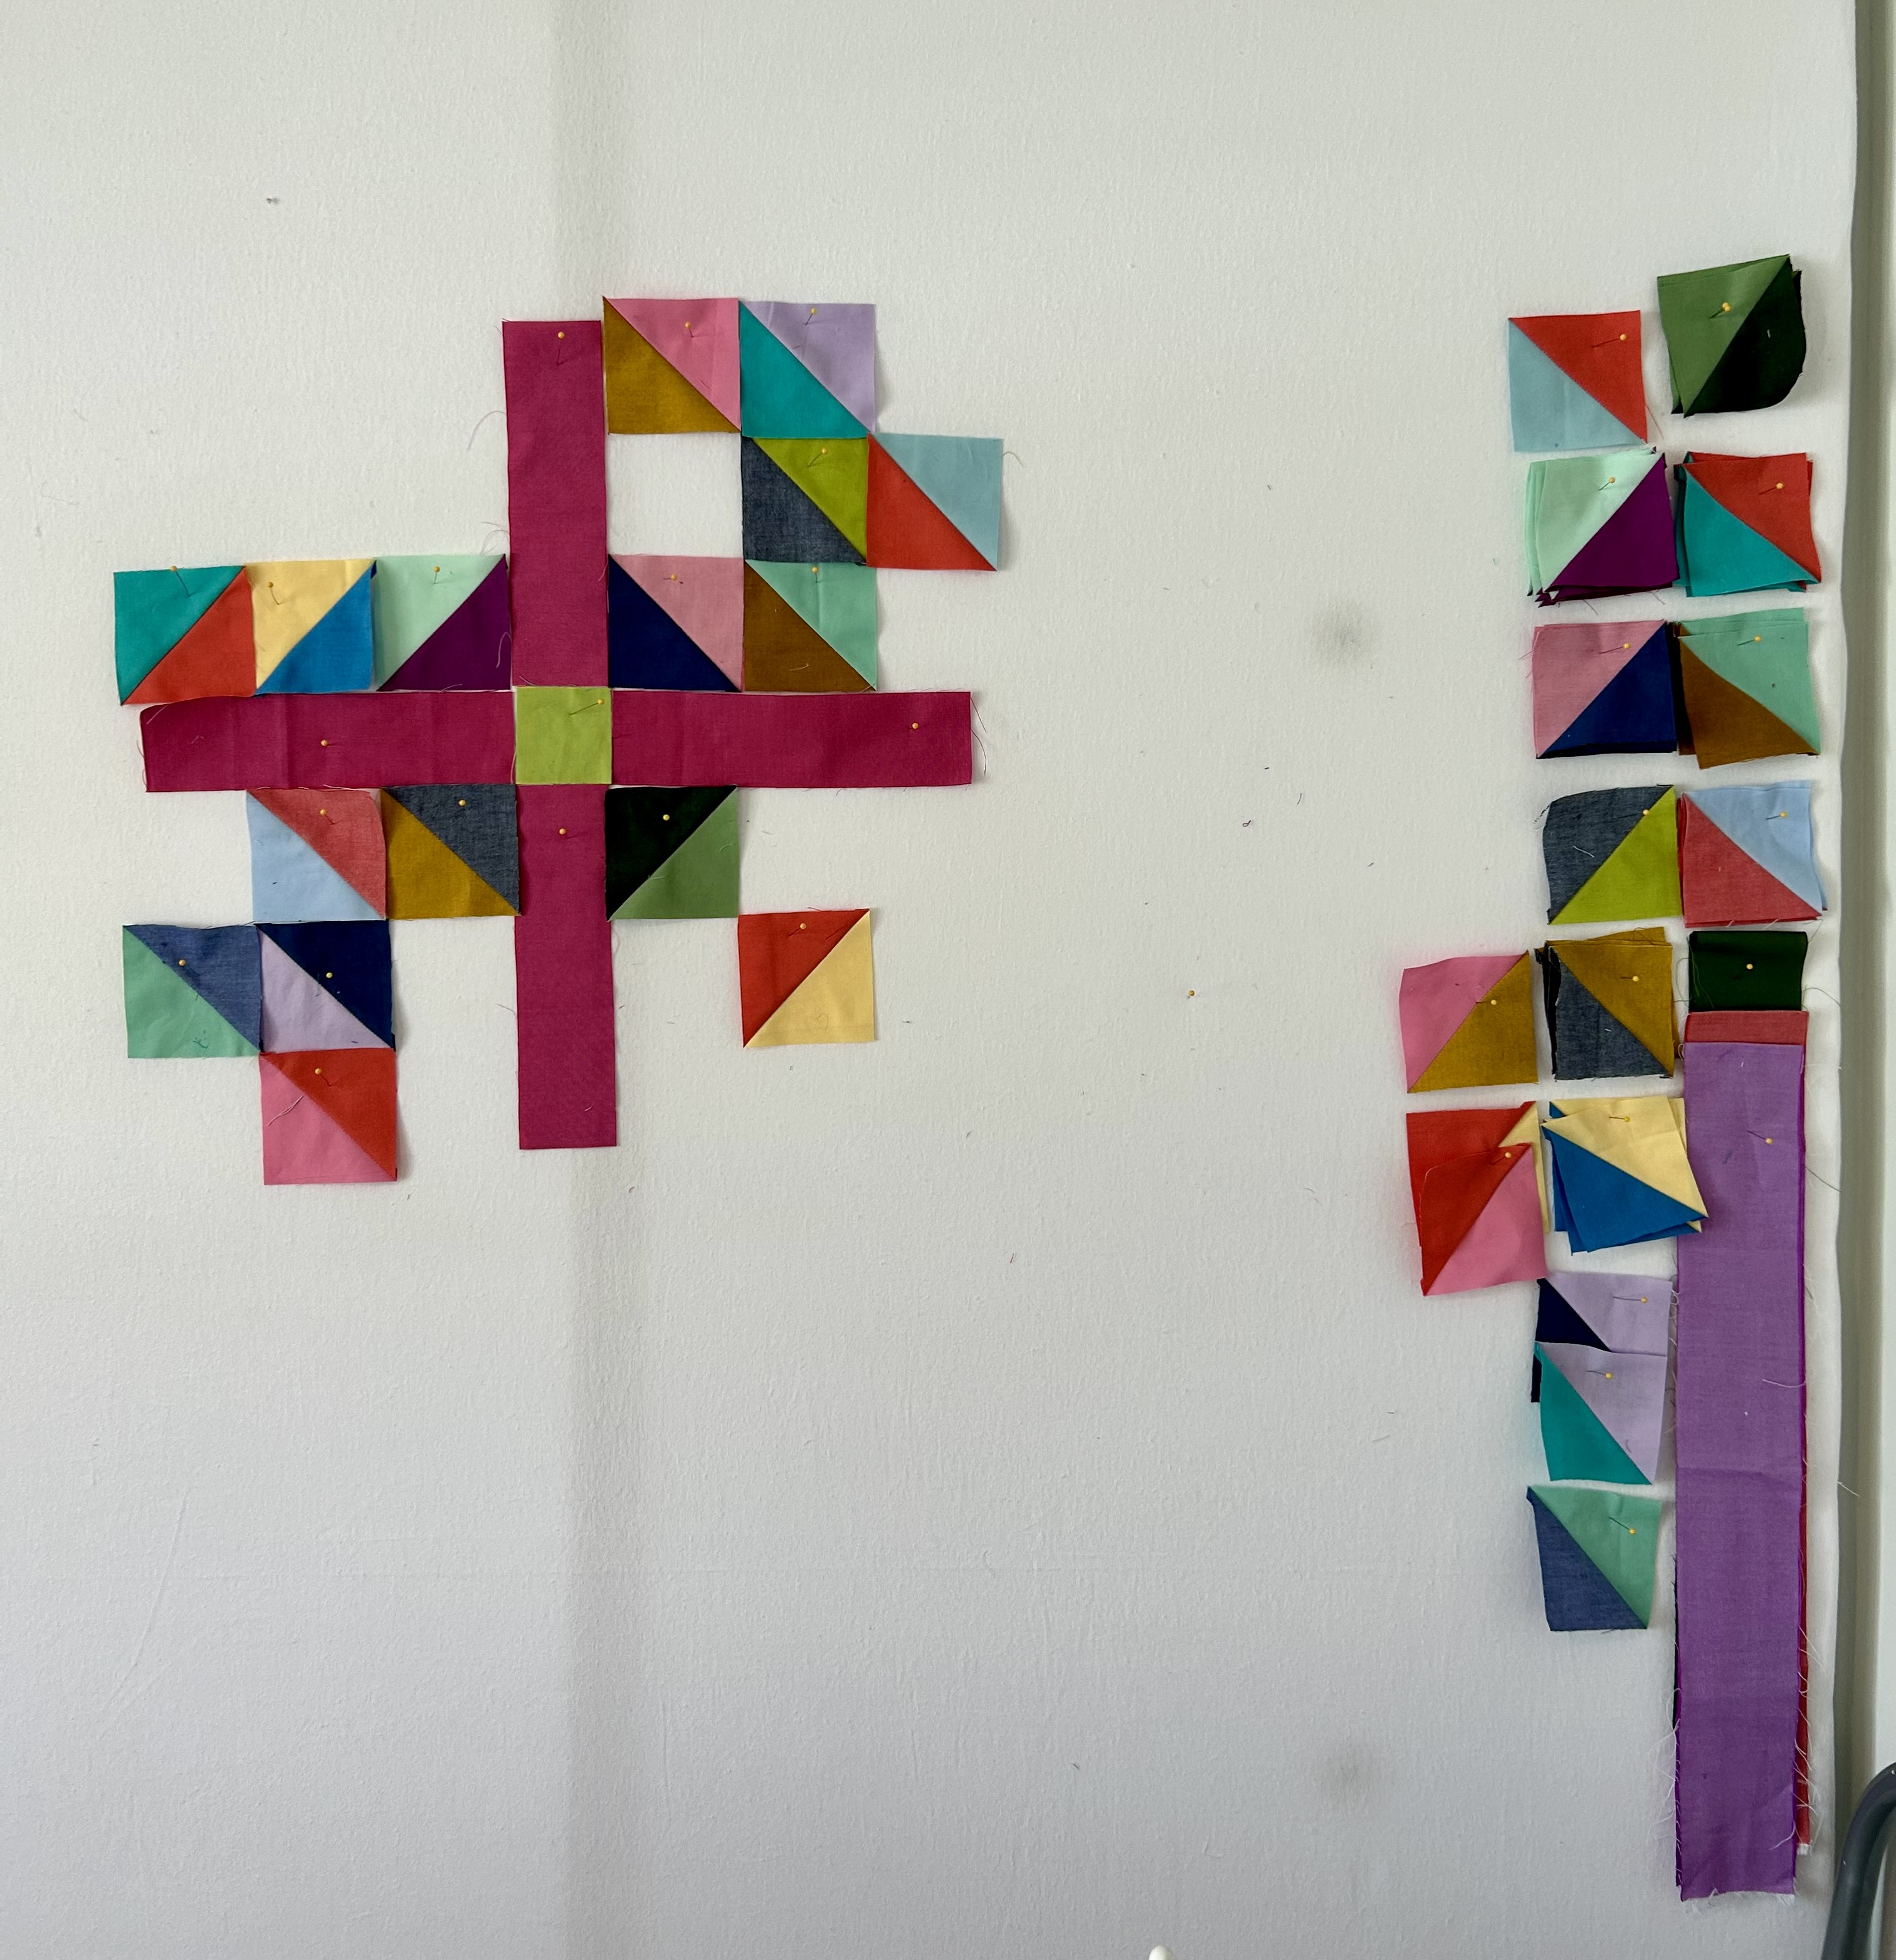
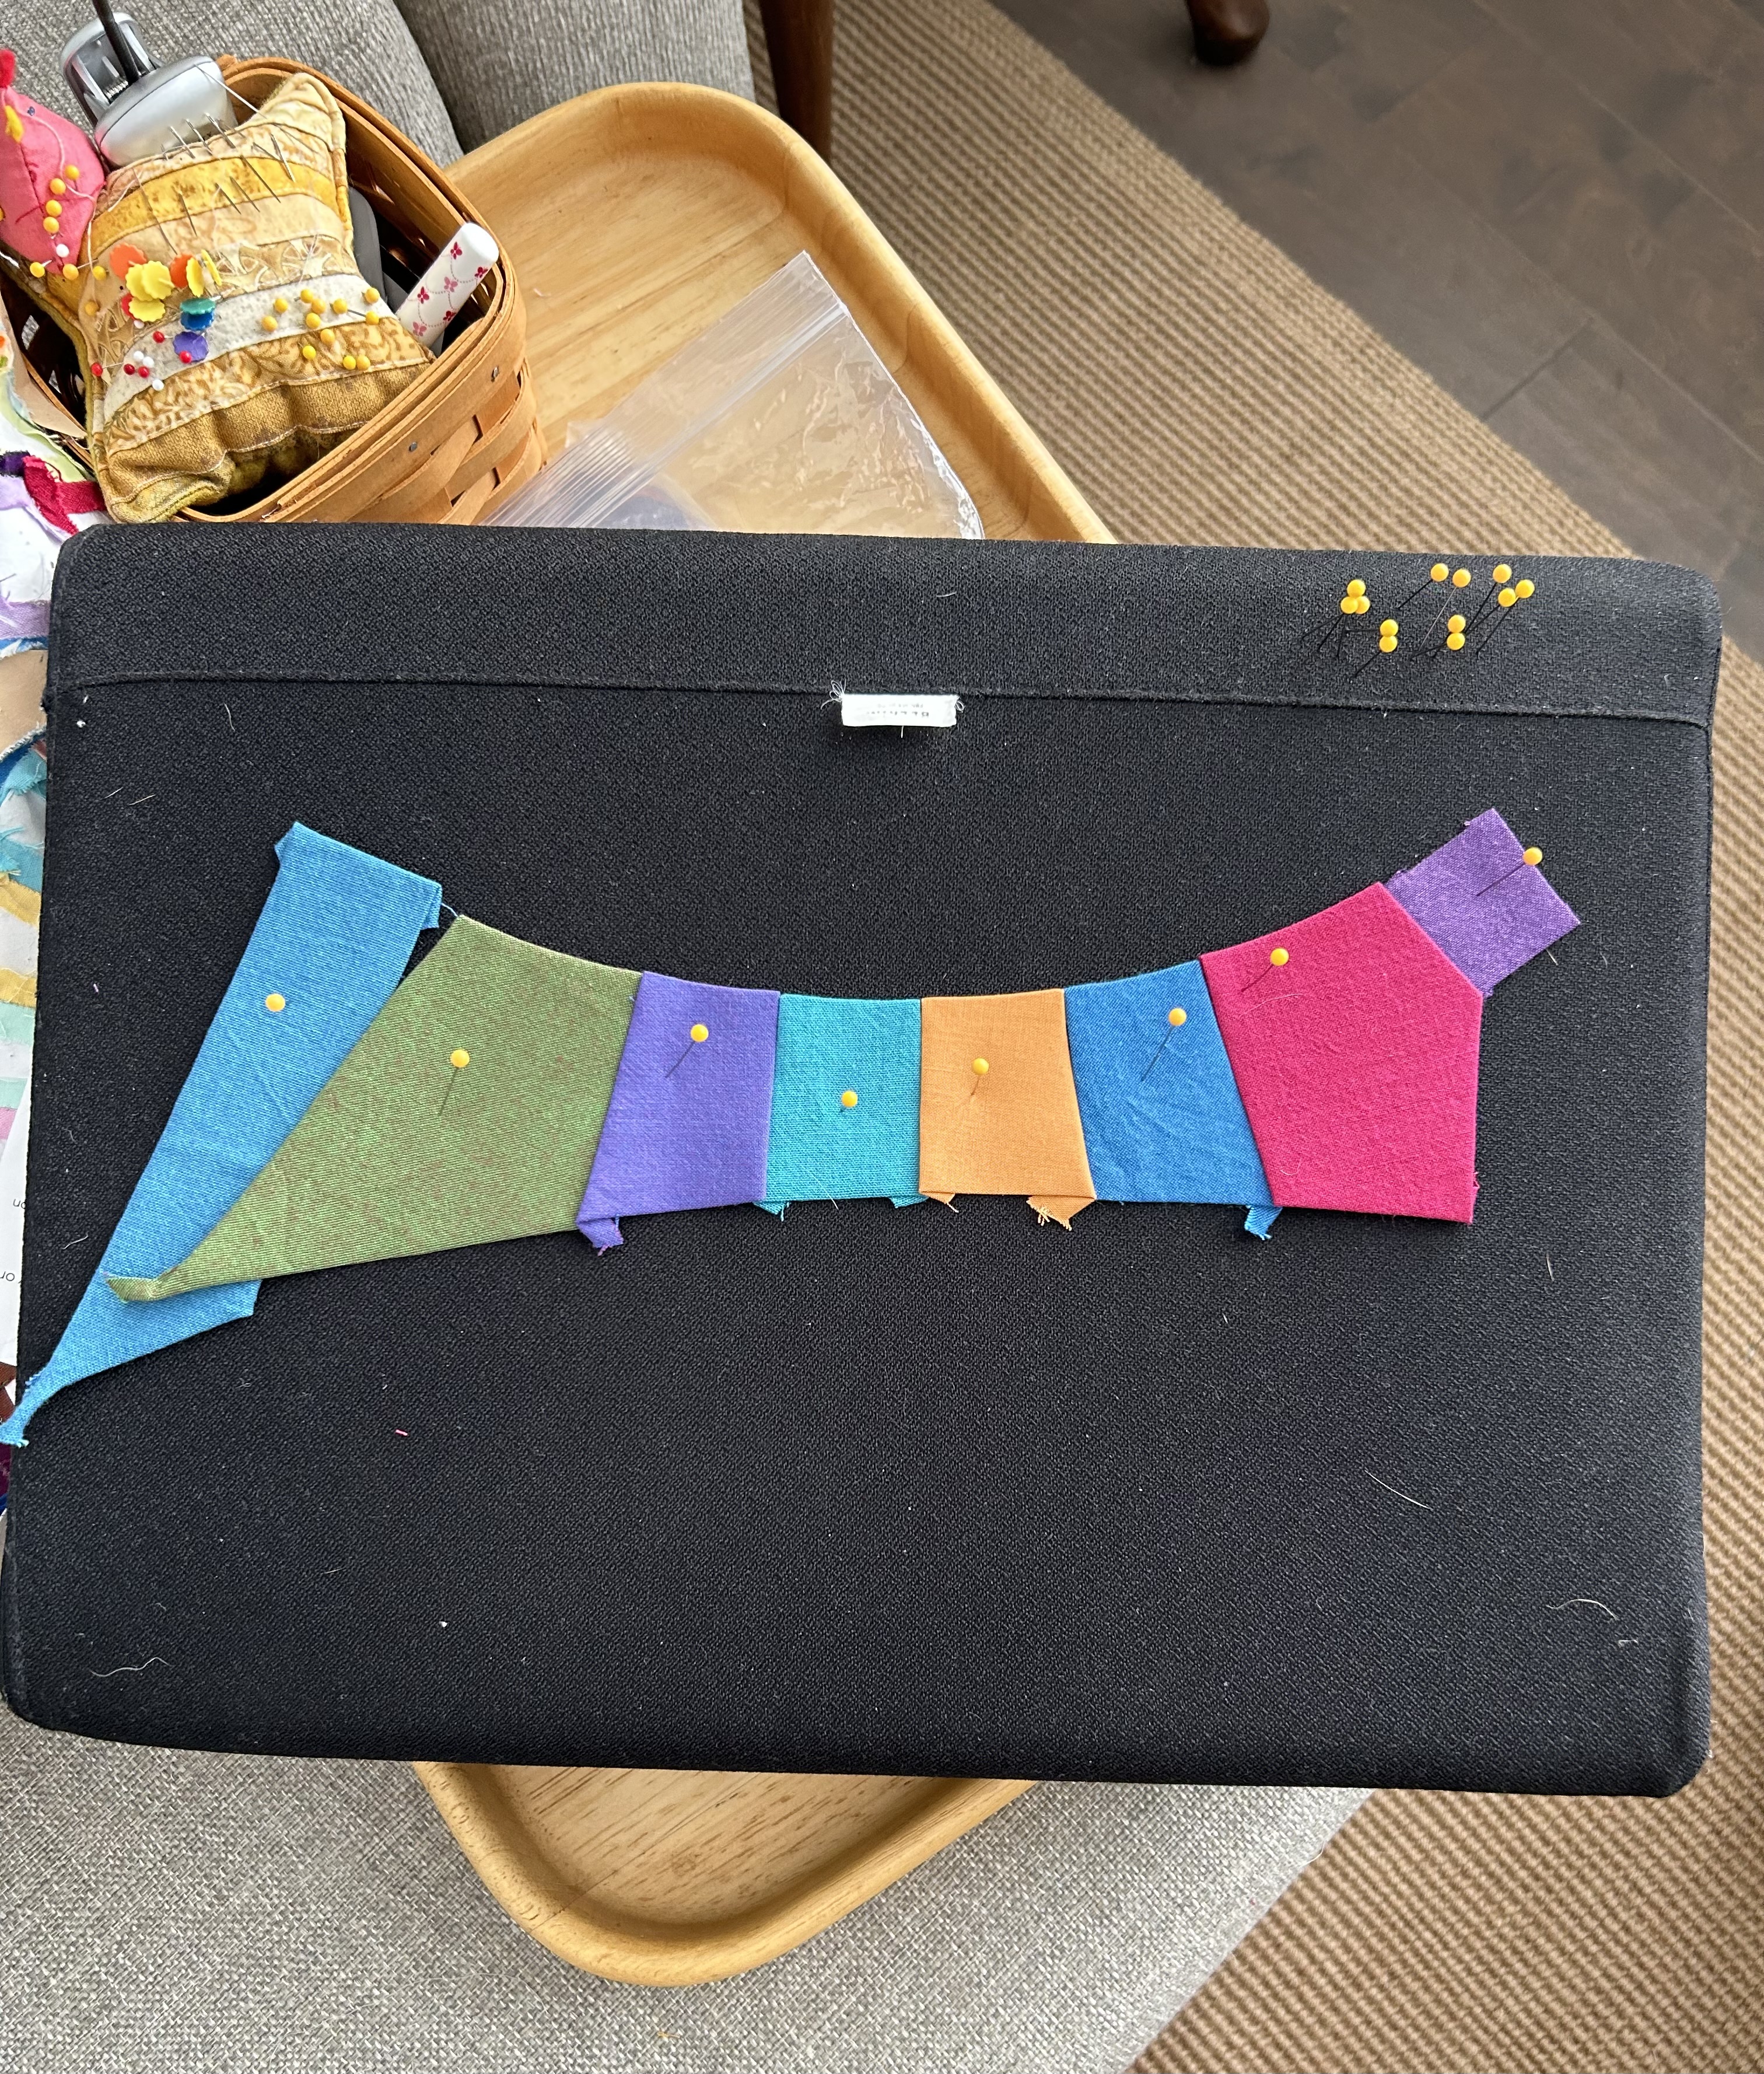
I got the two large pieces joined by Monday at some point and ironed the top. I spent a chunk of time late Monday and Tuesday cutting and making the border templates. Here’s an example of one of the border units–a corner piece. They will be turned so that that little square goes down into the quilt and will finish off the 4-patchess. So, yes, more curves to sew!!!
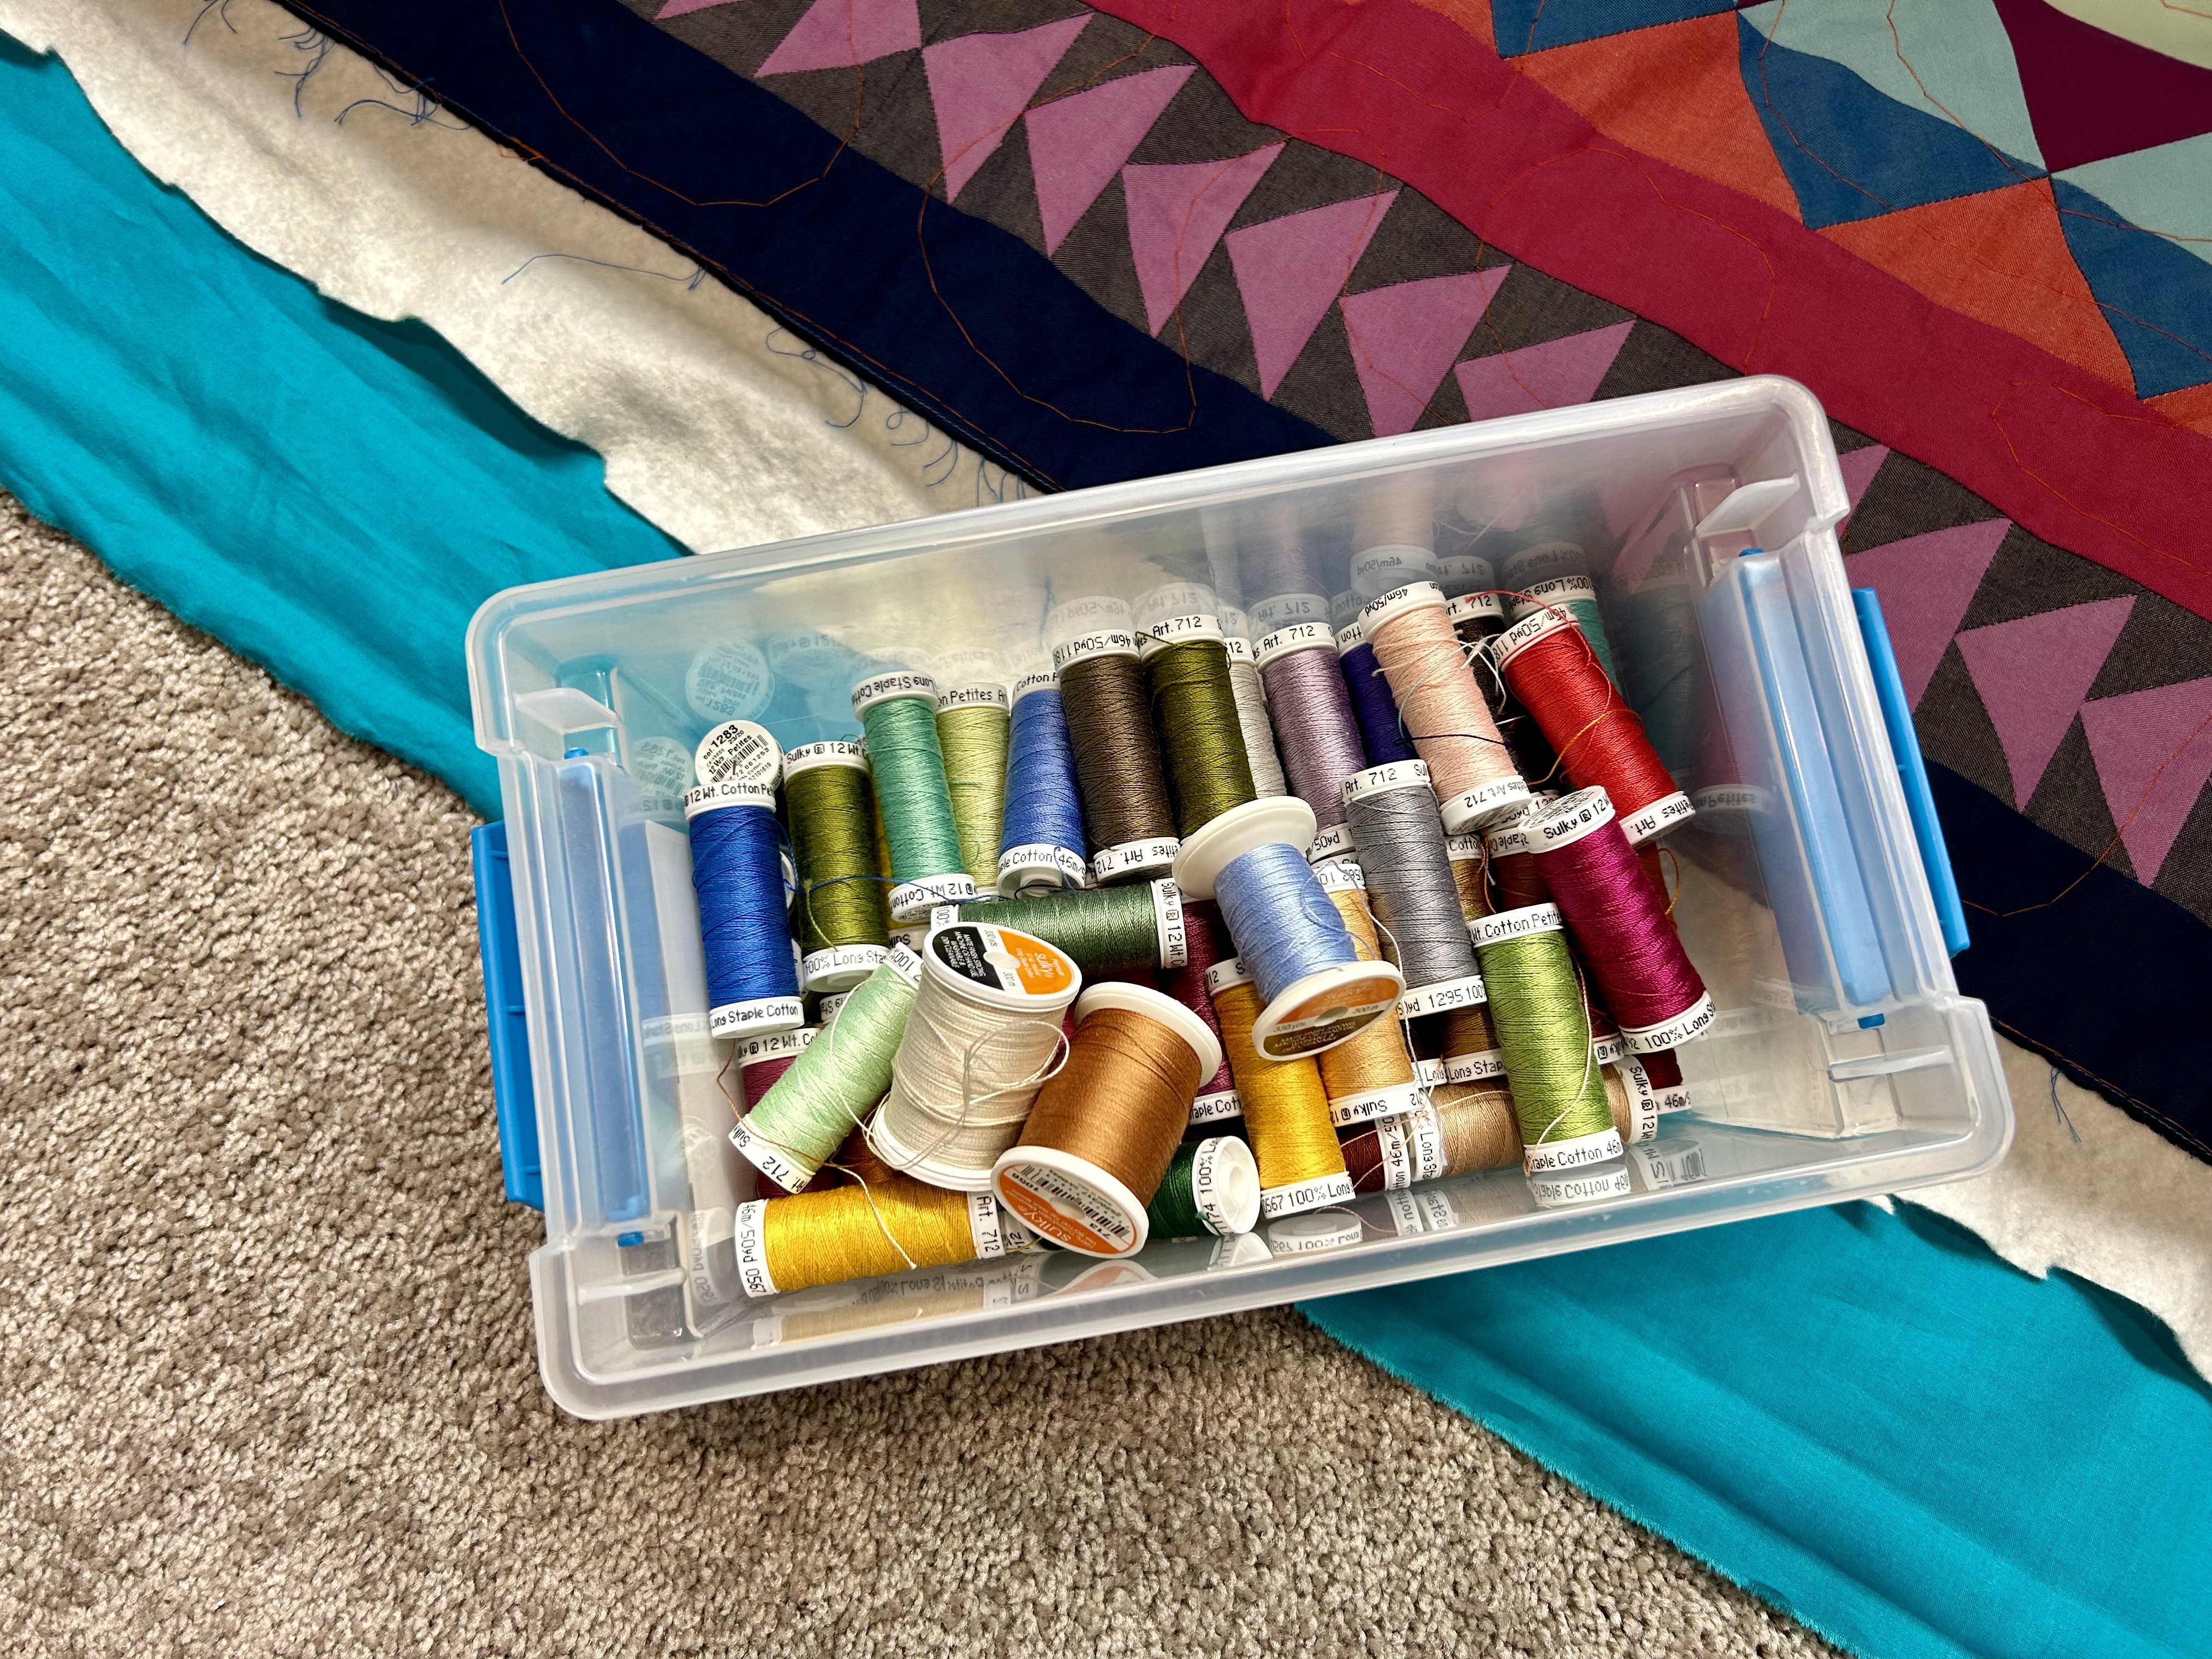
Here’s the real problem now. All those templates now have to come OUT of the quilt. I pulled out templates for hours yesterday and don’t feel like I made much of a dent. I’ll leave the templates around the edges until I sew in the borders–for stability.
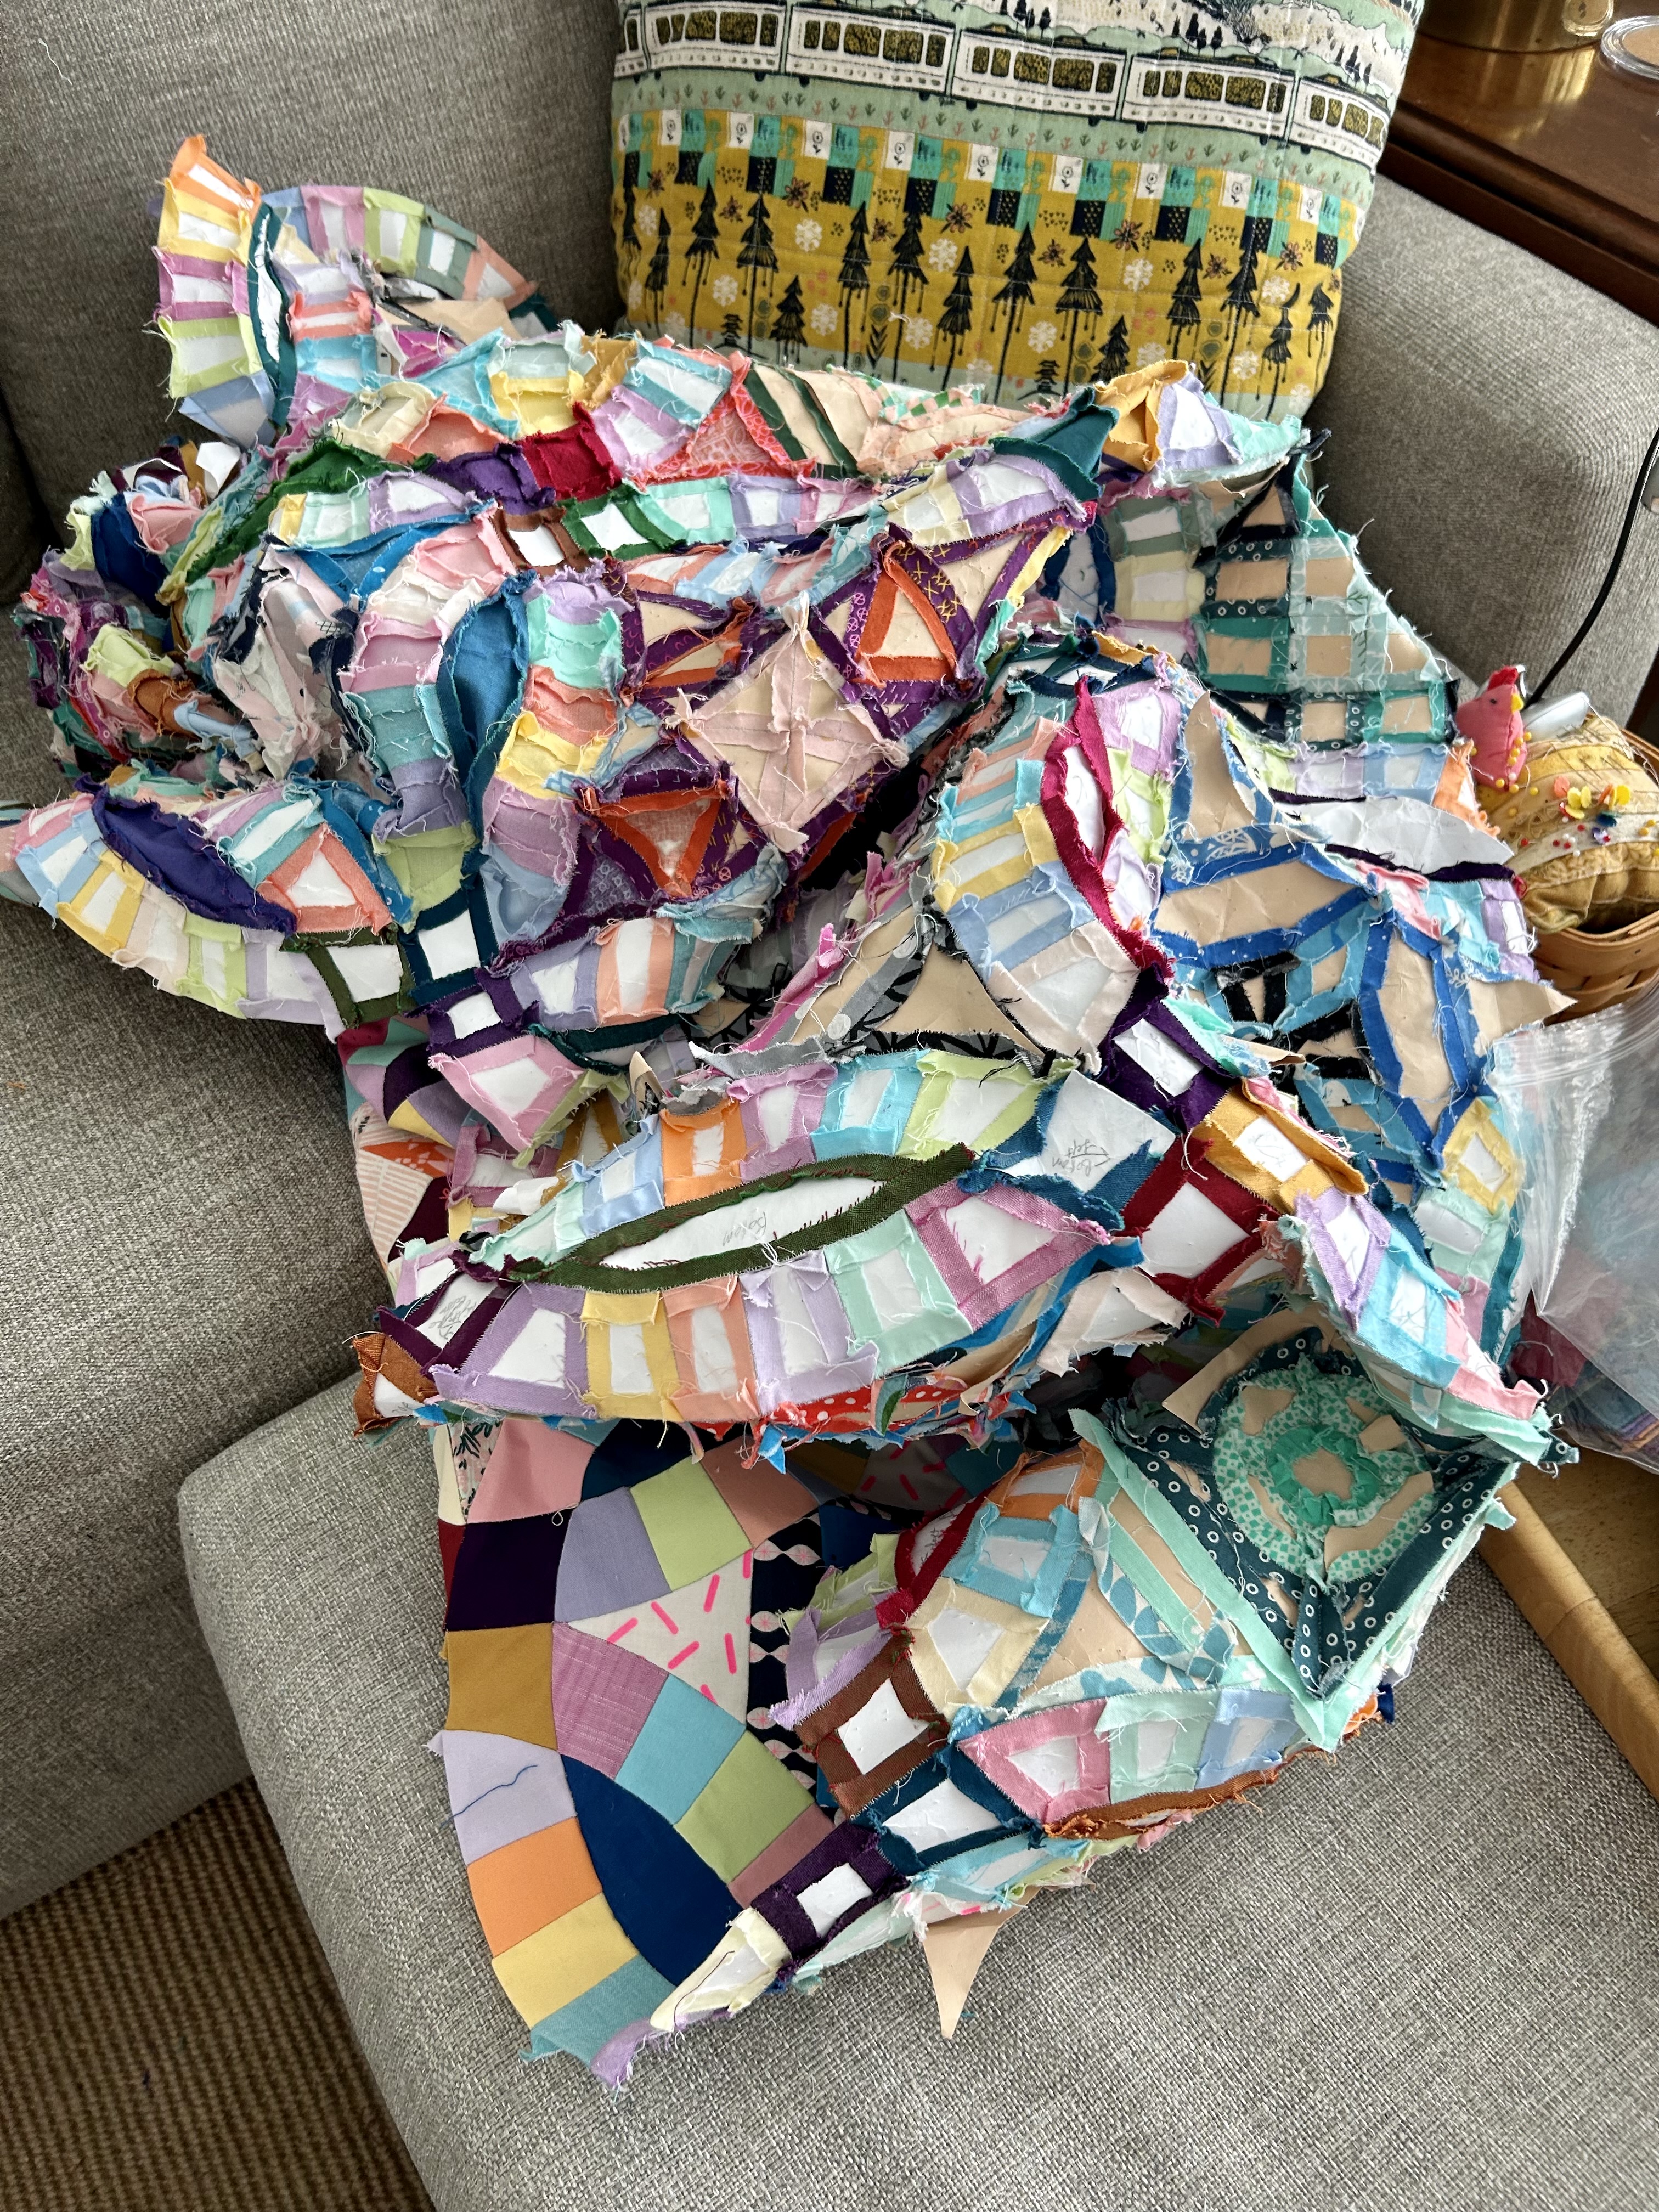
The thumb nail on my right hand is so, so sore this morning. Tweezers to the rescue!
I might as well just settle back and listen to a book or tv as this part is going to take DAYS.
Meanwhile I had a LOVELY weekend with two granddaughters staying overnight Friday and Saturday. We kept busy, which included three swims in the pool to which I have access as part of my HOA. We visited, shopped (bead store for making a necklace and a bracelet), went to the library, cooked (a soup lesson here), watched tv, made popcorn, and in general had a lovely weekend. (This granddaughter weaves friendship bracelets with a kind of hard loom.)

And, sale cotton fabric from Missouri Star arrived, and I’ll make a long tunic to go over leggings. It’s a new pattern that I’ve had for about a year and have just been too busy to make it. I am needing lighter clothes here in South Carolina.
Here’s the first post on what has turned out to be “the quilt from hell.”