Turkey Tracks: October 15, 2013
How to Feed Your Gut
More and more information is appearing daily about the importance of keeping your gut healthy.
You may recall from other postings on this blog that I compromised my gut health over the years–and have paid a pretty hefty price for doing so. It turns out that I have a genetic sensitivity to gluten–tested by a reputable lab sanctioned by the government with a fecal test. (Blood tests don’t often catch these kinds of food allergies.) The hefty price is that when I harmed my gut by eating gluten and other foods that let the opportunistic gut flora and fauna we all carry get out of control–read sugars and too many carbs here–they perforated the walls of my gut and food particles began to escape into my bloodstream–which, in turn, created conditions where my body thinks it is being attacked and produces a classic histamine reaction. My blood pressure drops, I lose all muscle control, and I pass out and have to be hauled off to the hospital where I recover in time. It takes days to get my brain fully functioning again.
This falling domino sequence did not happen overnight. It took years. And I ignored all the warning signs: reactions to red wine, allergic runny nose and sneezing after eating a food my body did not like, irritable bowel reactions that could strike without warning, the yo-yo effect of constipation followed by diarrhea, weight gain, and on and on. I didn’t stop until I started passing out and my list of foods that would set off the reaction began to grow and grow until I was afraid to eat anything for fear of setting off an attack.
You can’t take a pill to “fix” this kind of thing. The only way out is to heal your gut. And to do that, you have to stop eating any kind of processed food and to start eating nutrient dense whole clean foods that nourish your body.
So, guess what is one of the very best things you can do? Eat lots of lacto-fermented foods EVERY DAY at EVERY MEAL. This food has more probiotics and enzymes than any probiotic product you can buy in a store. Lacto-fermented foods are changed in ways that make them even better than they were when raw. It’s how people used to store foods before canning and freezing came along. And, note that canning kills foods and freezing is an energy drain. I reserve freezing real estate for things like meat, local fruit, and roasted tomatoes, where it takes many tomatoes roasted down to fill a pint jar.
But, first, let me explain that “lacto” is from the wild ingredient that lives in the air, lactobacillus. Cultured milk products also contain lactobacillus, so that’s where you might have first heard that term. And I learned all that and how to make sauerkraut first from The Weston A. Price Foundation’s Sally Fallon Morell and Dr. Mary Enig’s book NOURISHING TRADITIONS (a must have in your library). Then, I built on that knowledge after a few years with Sandor Ellis Katz’s book WILD FERMENTATION.
Katz was the Maine Organic Farmers’ and Gardners’ Association keynote speaker at the Common Ground Fair this past September. He has a new book out that is more comprehensive than WILD FERMENTATION. The new book, I think it’s called THE ART OF FERMENTATION, includes fermenting meats–like corning beef, for instance–which is something I really want to try.
Thus, Katz was in our region, and that sparked other programs on lacto-fermentation. One such was given by Ana M. Antaki at the Belfast Library–and Margaret Rauenhorst and I went.
Here’s Margaret outside the library–we got to the program a bit early. Belfast had all sorts of clever benches done by various local artists and placed all over town.

Margaret is important here because her recipes differ a little from mine–and it’s important to realize that there are different ways to lacto-ferment foods. For instance, I first learned to lacto-ferment cabbage into something we call sauerkraut (which bears little resemblance to cooked cabbage that’s fermented) from NOURISHING TRADITIONS–the excellent book from Sally Fallon Morell and Dr. Mary Enig of The Weston A. Price Foundation. That recipe uses some whey drained from yogurt along with a bit of salt, whereas Katz does not use whey. And Margaret, who does not refrigerate her sauerkraut at all, says the whey makes it go softer quicker.
And Ana Antaki uses glass jars with a bailer and rubber seal (Fido jars) to lacto-ferment, whereas Katz uses mostly crocks. Ana likes the bialers and seals as she says they let out gasses that form but do not let in outside air. I use, in addition to jars with rubber seals and bailers (FIDO jars) and crocks, half-gallon Mason jars because that’s what I have on hand and because I have the refrigerator room to store them so they stay cool. The crocks require a bit more attention to keeping liquid levels high enough. The Mason jars maybe need to have the gases inside let out from time to time if the jars are in places that are not cool enough. I do have questions about the glass Fido jars not letting in enough “wild” organisms not so much to help ferment the foods, but to let even more of the “wild” of nature do even more work.
Ana and her husband Roy put up ALL of their produce from their Weeping Duck Farm every year using methods like lacto-fermentation and dehydration. They do not buy any fresh produce all winter. And it’s important to realize that the food inside the jars/crocks stays as fresh and bright as the day you put it into the container. Ana has kept lacto-fermented jars for as long as five years before eating the contents.
Lacto-fermentation takes only two ingredients: salt (real sea salt please) and water (no added fluoride or chlorine). How simple is that?
And there are two methods: one for foods you want to cut or grate into small pieces and one for foods you can preserve in larger chunks.
Both methods could not be simpler to make and are delicious.
Sauerkraut and Sauerruben (a mixture of grated root veggies) put grated veggies into a bowl. One then adds salt and whatever spices or herbs one wants. (Ana adds less salt than Katz, but Katz says to use salt to your own taste. Ana adds 3 tablespoons of sea salt to about 5 pounds of veggies.) NOURISHING TRADITIONS adds 4 tablespoons of whey dripped out from yogurt and 1 tablespoon of salt. (I don’t know if the whey from commercial, processed yogurt would work–it is a dead food.)
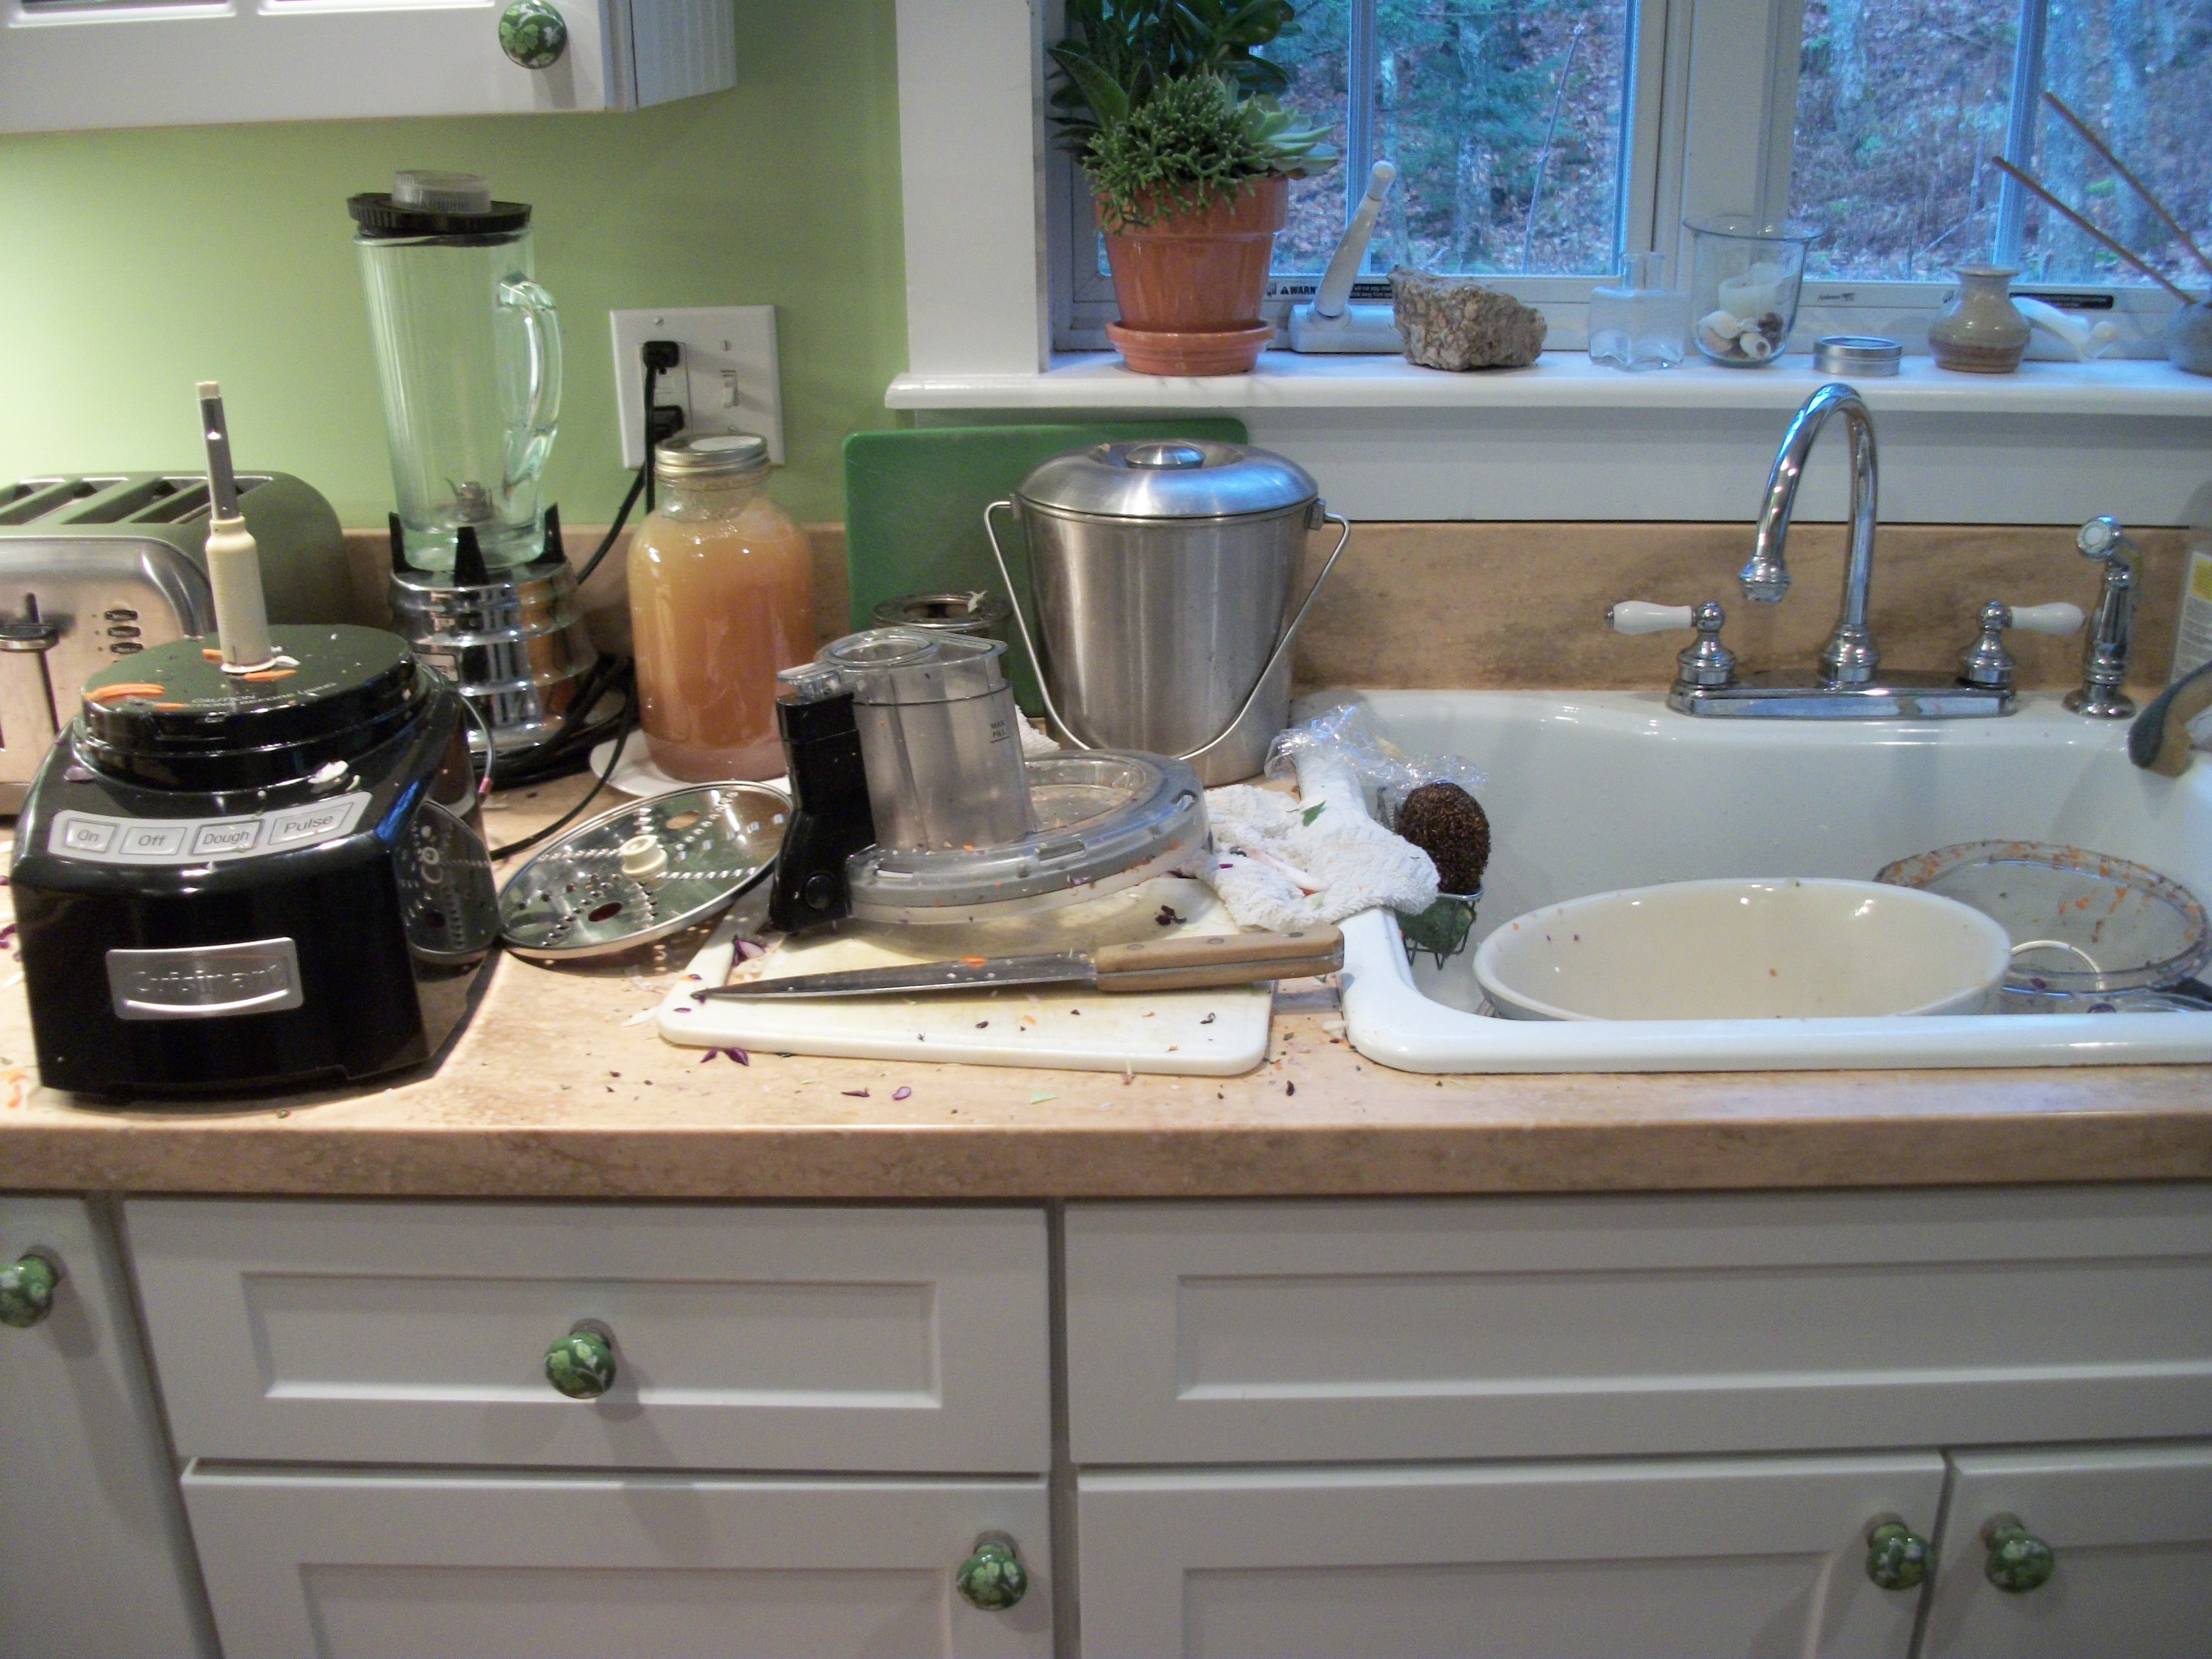
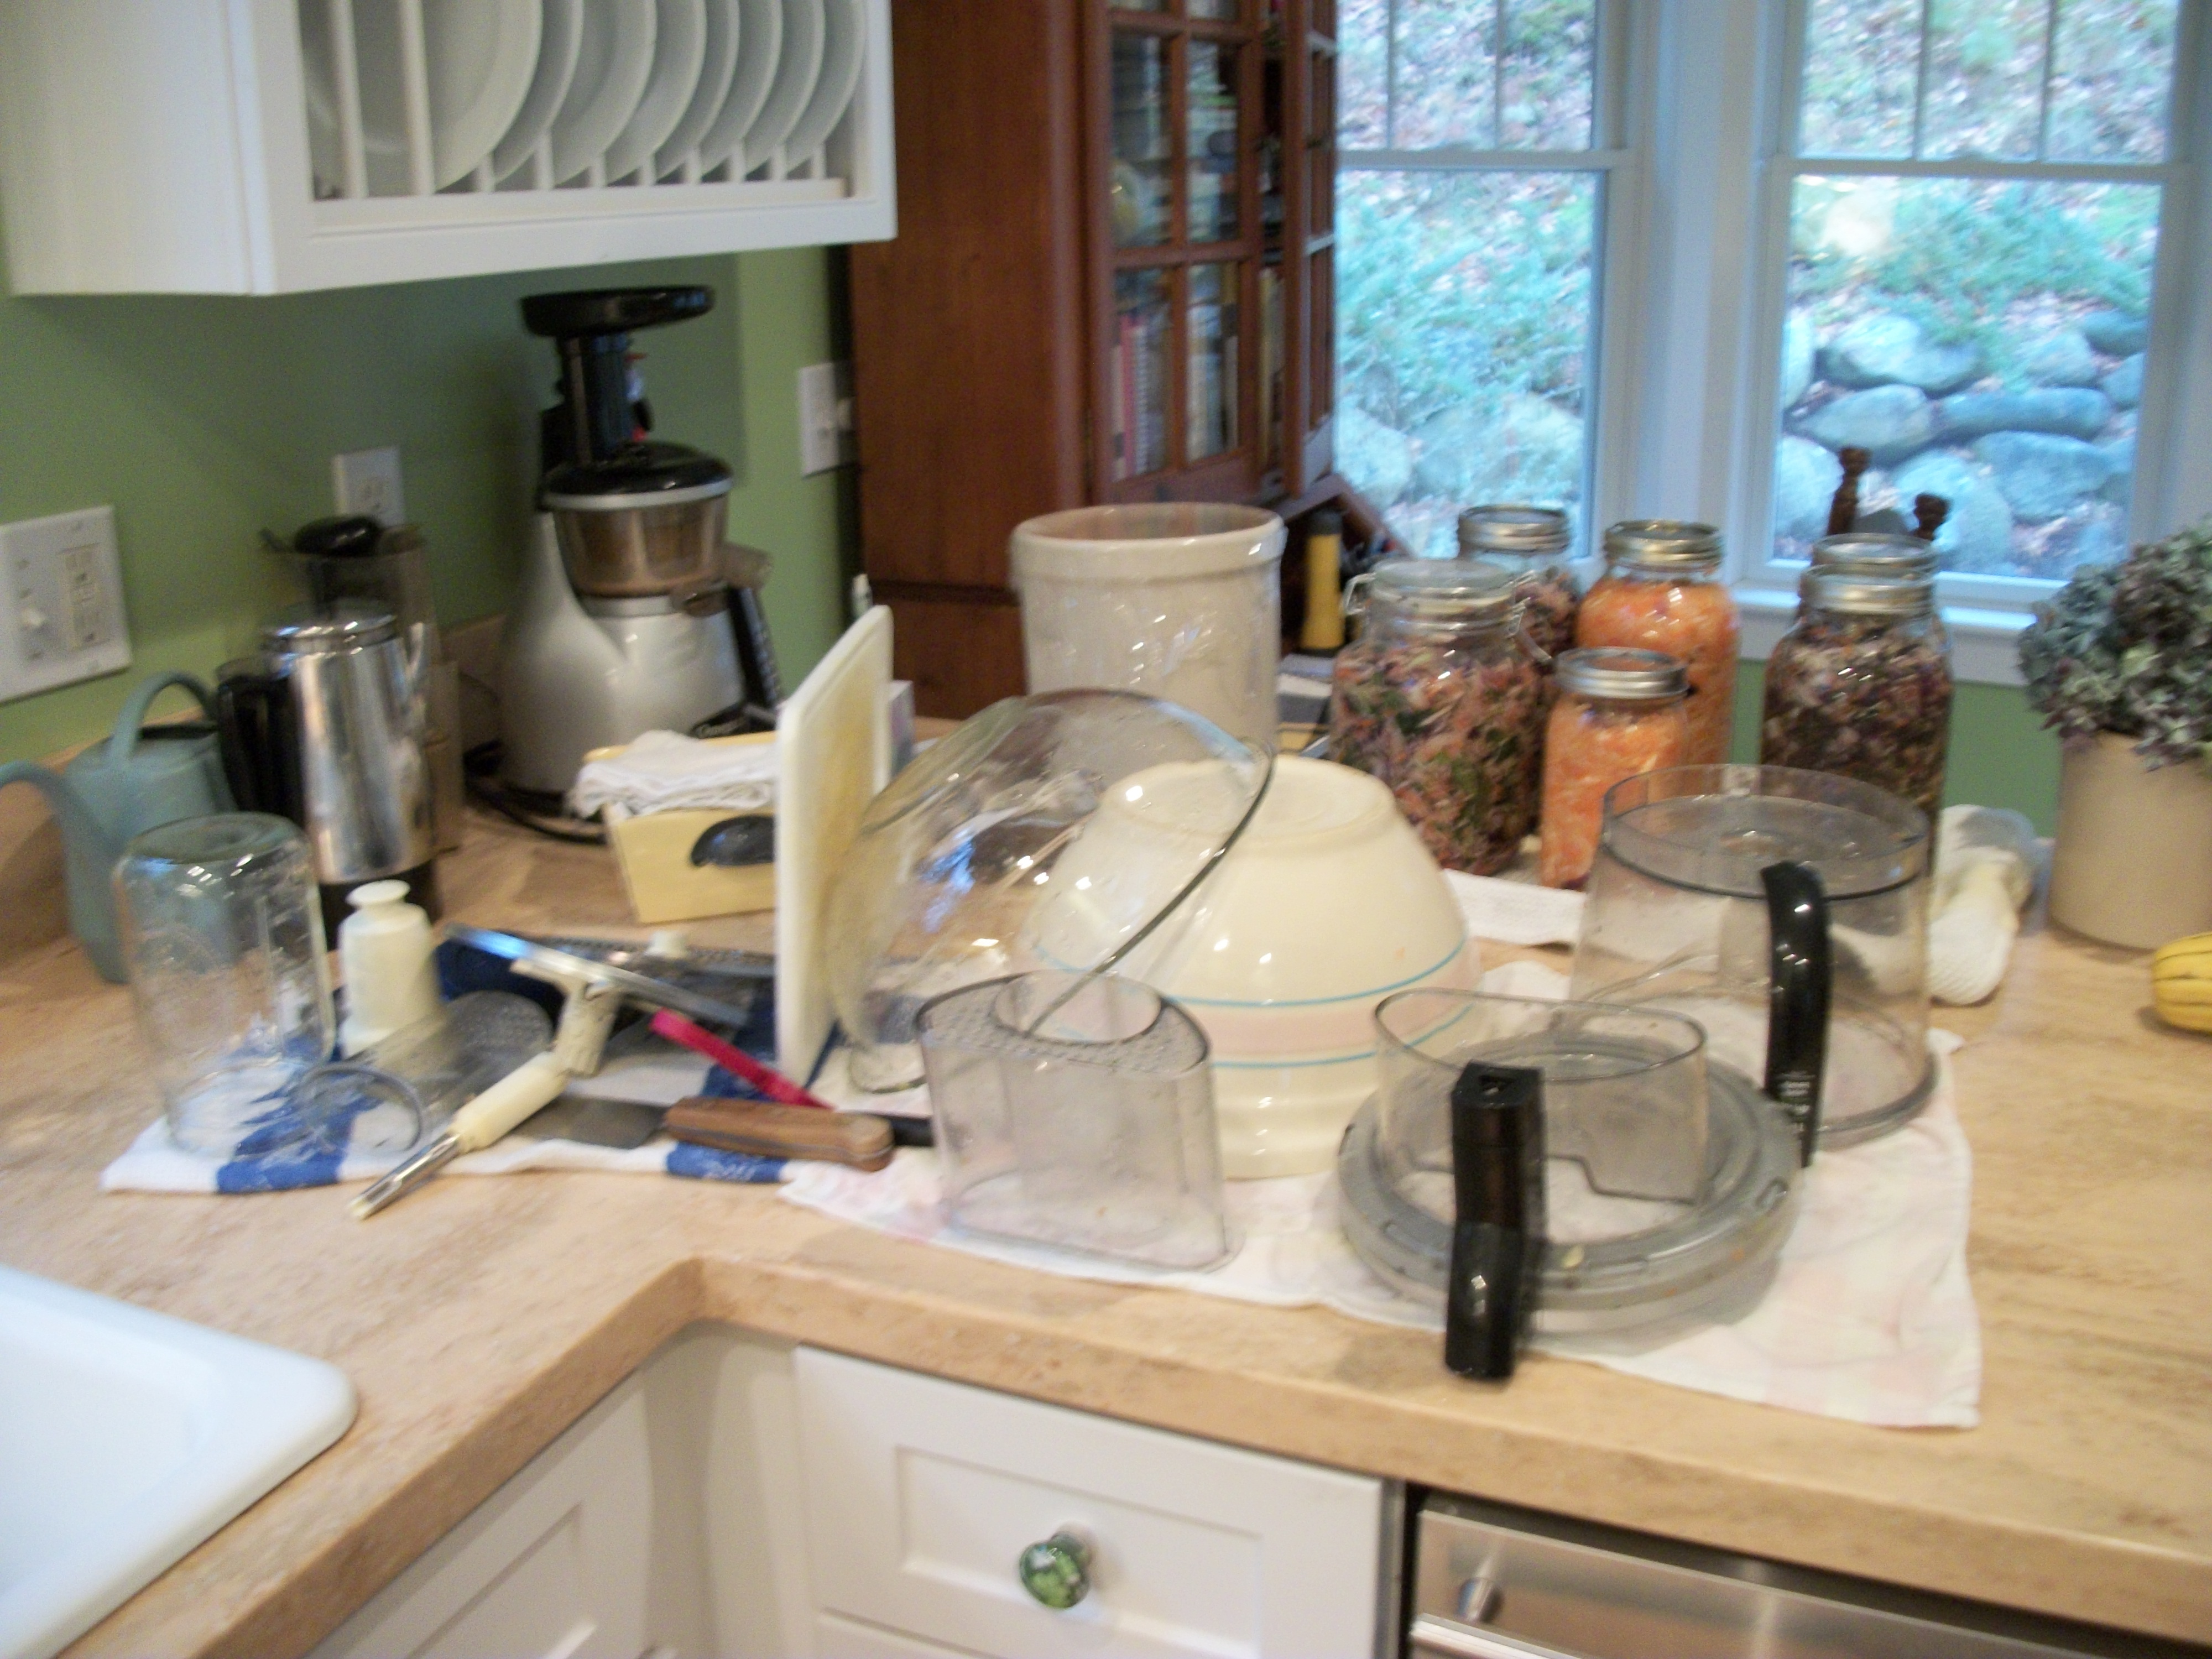
Here’s a bowl of grated cabbage with bits of carrot–you could also fine-cut the cabbage with a knife.

I started using a pestle to bruise the cabbage enough until it started rendering its liquid–until I saw a 6-minute video Katz put on utube that showed him using his hands to squeeze the cabbage. That seemed to work a bit better.
Once the cabbage renders enough liquid, one just packs it into a jar and lets it sit. I turn mine upside down a few times a day and refrigerate it after a few days as that slows down the fermenting action. I still use 4 tablespoons of whey and maybe only one tablespoon of salt, but I don’t stress about it. I add things like some caraway seeds. Garlic is good in anything. You could add some herbs from the garden. Use what sounds good to YOU.
You can start to eat any of these foods after a few days. But the longer they ferment, the more they “develop” interesting flavors that are richer and deeper. Refrigeration slows the reactions.
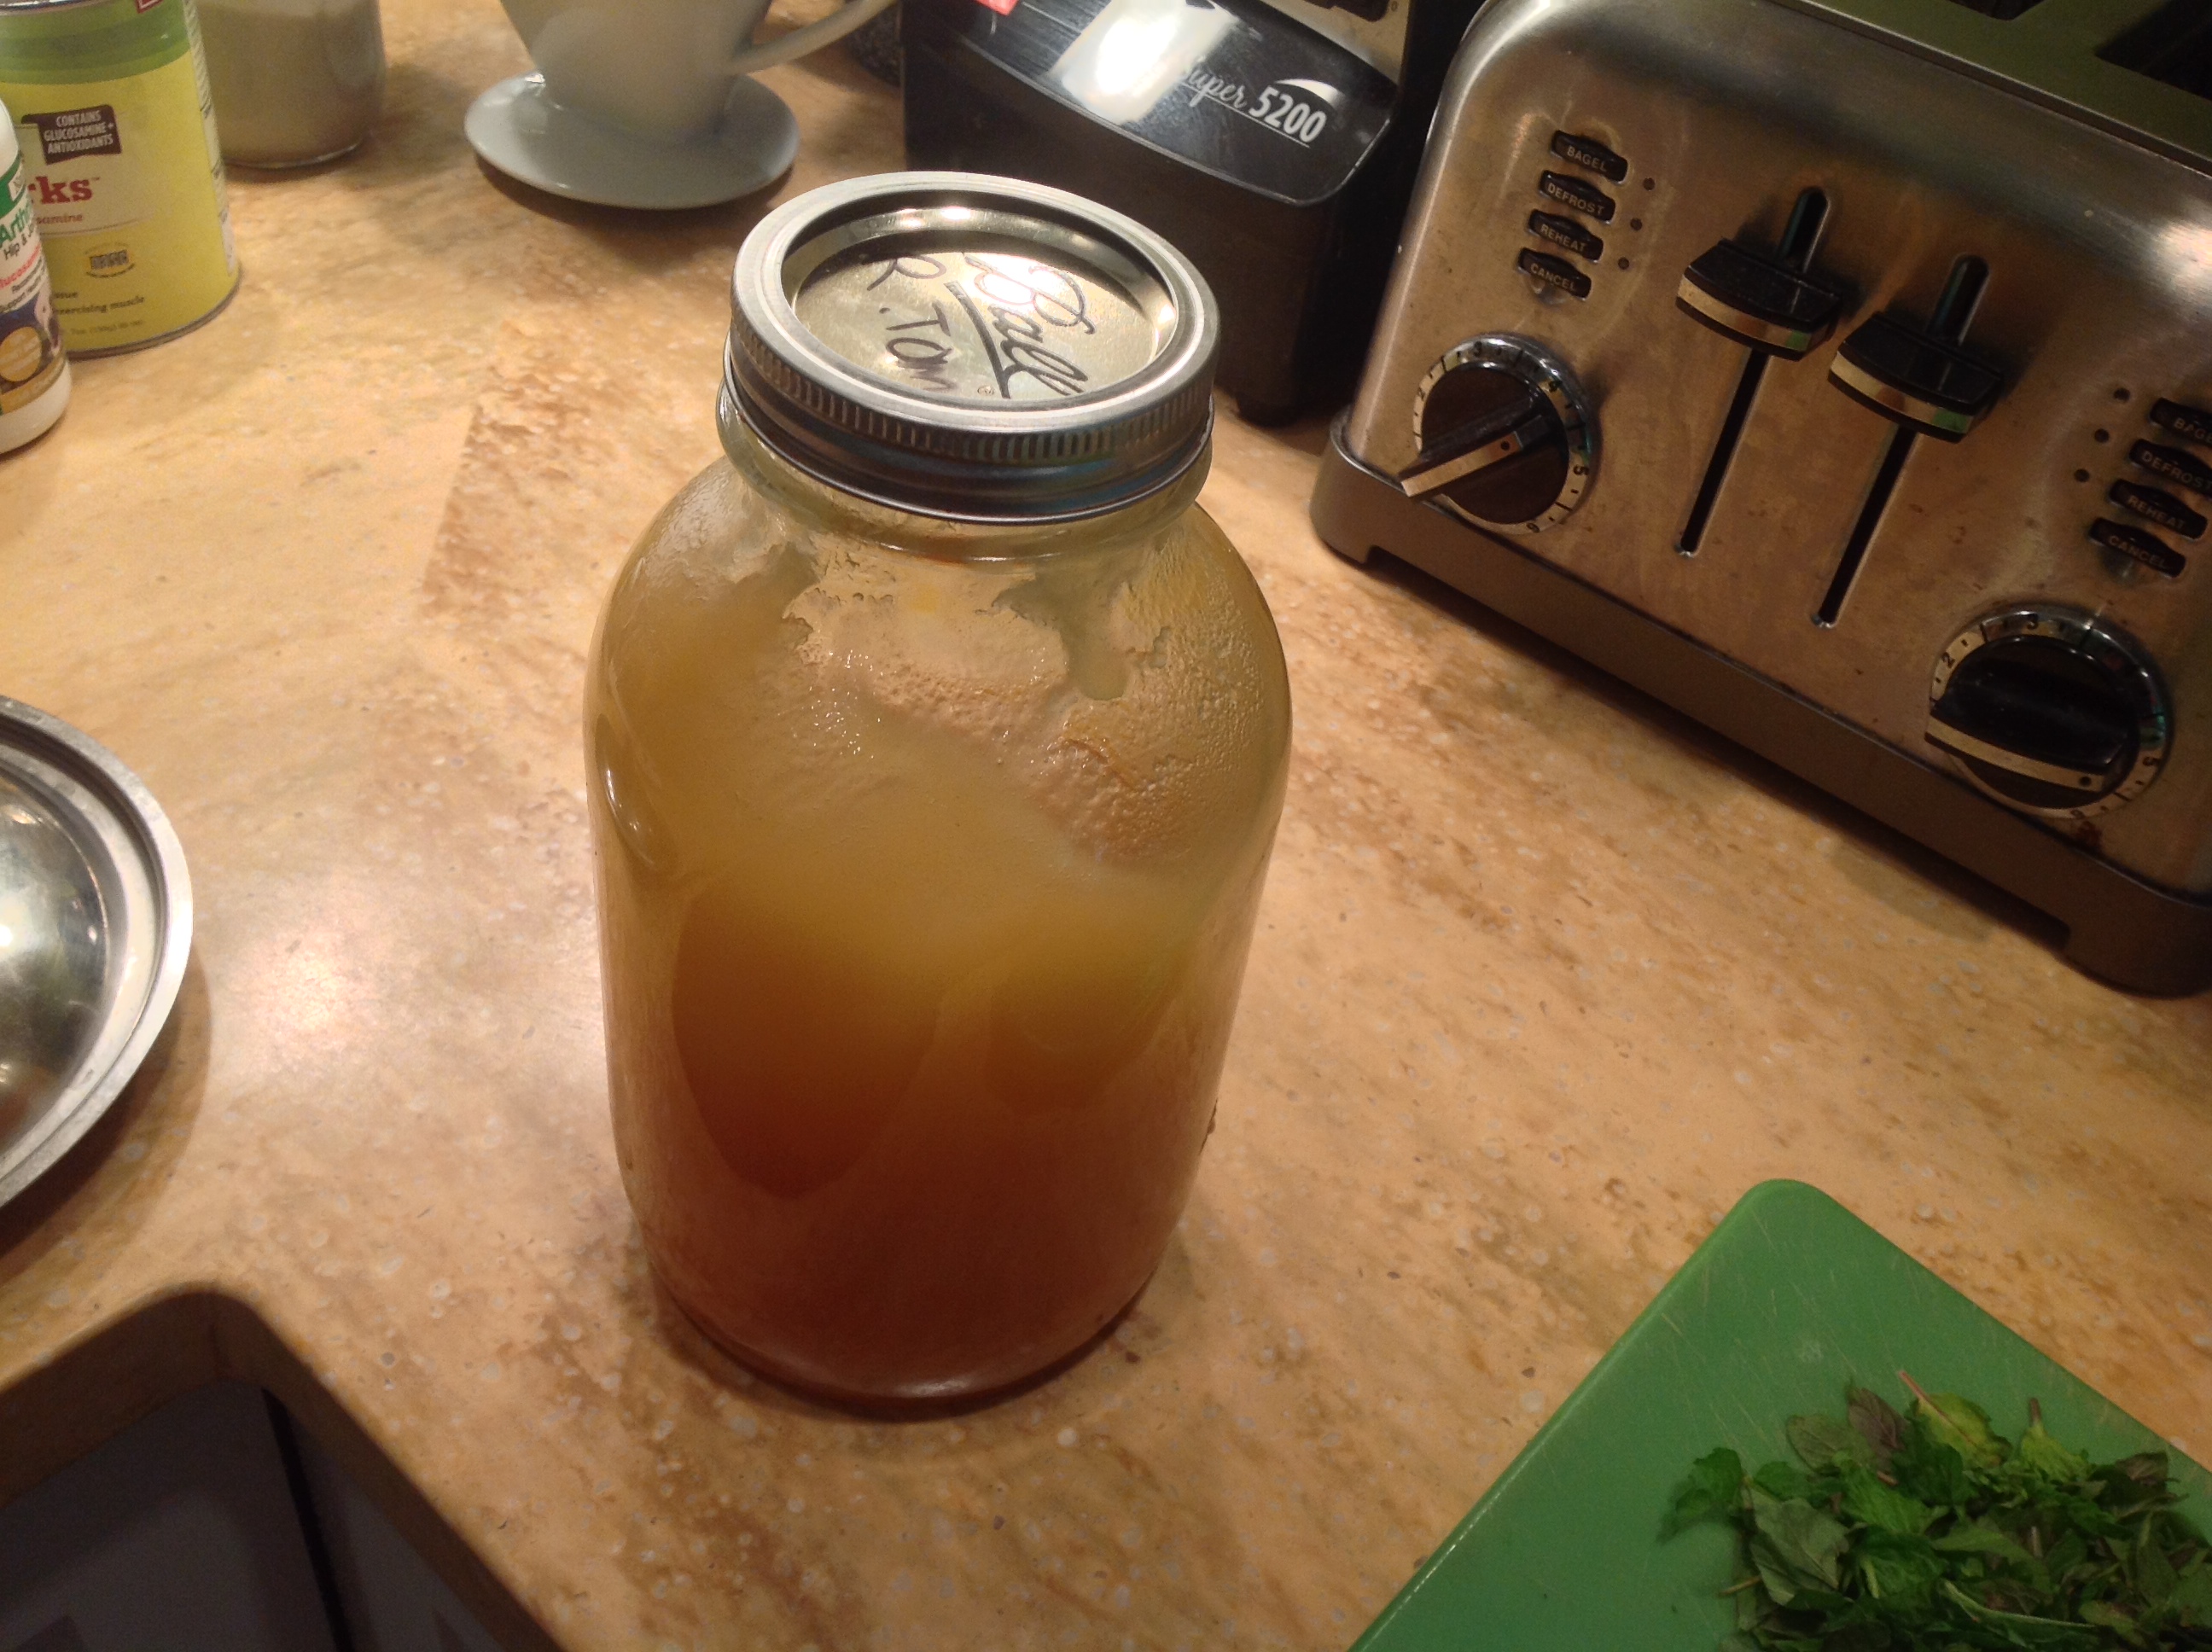
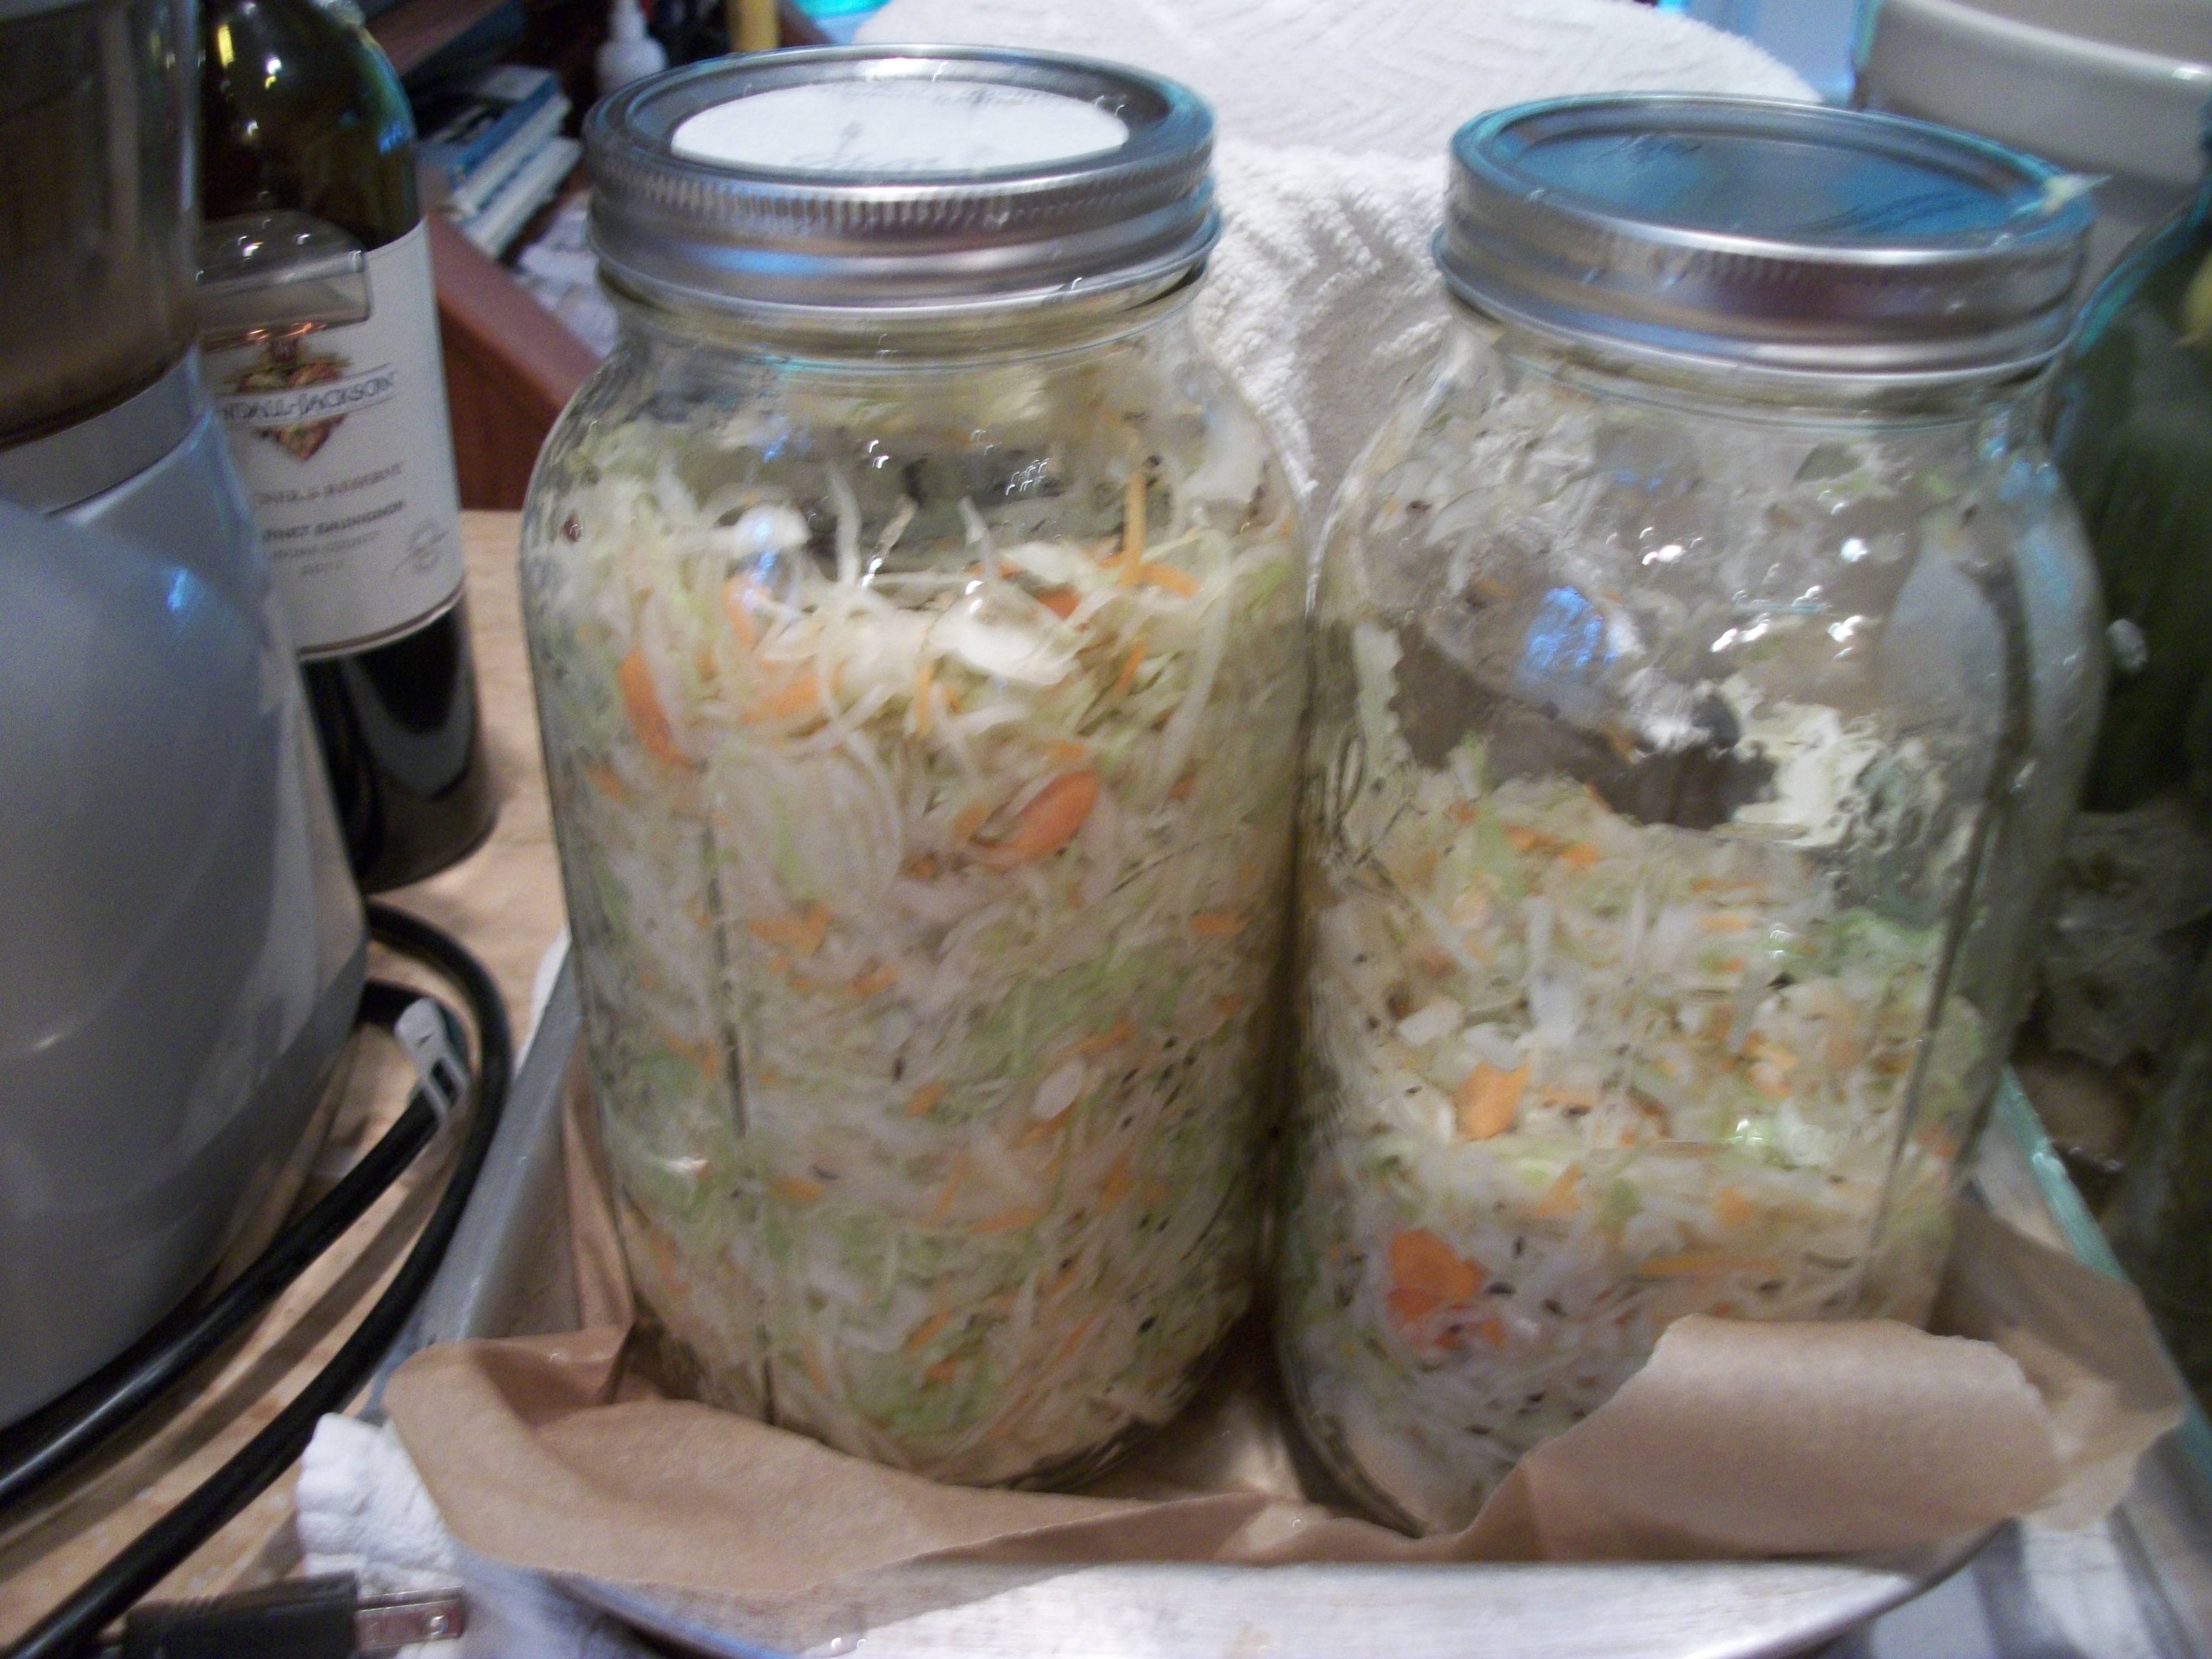
Here’s the sauerkraut packed into a jar:

After after a few days, I was able to put the contents of the half-filled jar into the full one…
If you use a crock, you need a plate you can push down over the top of the veggies to make the liquid rise and cover them–and a weight to keep it pushed down–like a Mason jar filled with water–and a clean dish towel or cheesecloth over the top–tied around so fruit flies that are very present this time of year don’t get inside. You want this food to be able to breathe.
The other method involves cutting up veggies, adding spices and or herbs (I put whole garlic cloves into everything as it is a great immune builder–and I eat them as I go along) and pouring some brine over the mixture until the jar is full. Ana uses wooden popsicle sticks pushed down into the neck of her jars to keep the liquid covering the food–and that works really well.
The brine is simple–you can mix in 3 tablespoons of sea salt to one liter of water. Katz uses about 6 tablespoons for about 8 cups and replenishes evaporated liquid with a mixture of 1 tablespoon salt to one cup of water. You just put the salt into cold water, stir it around, and pour it over the veggies.
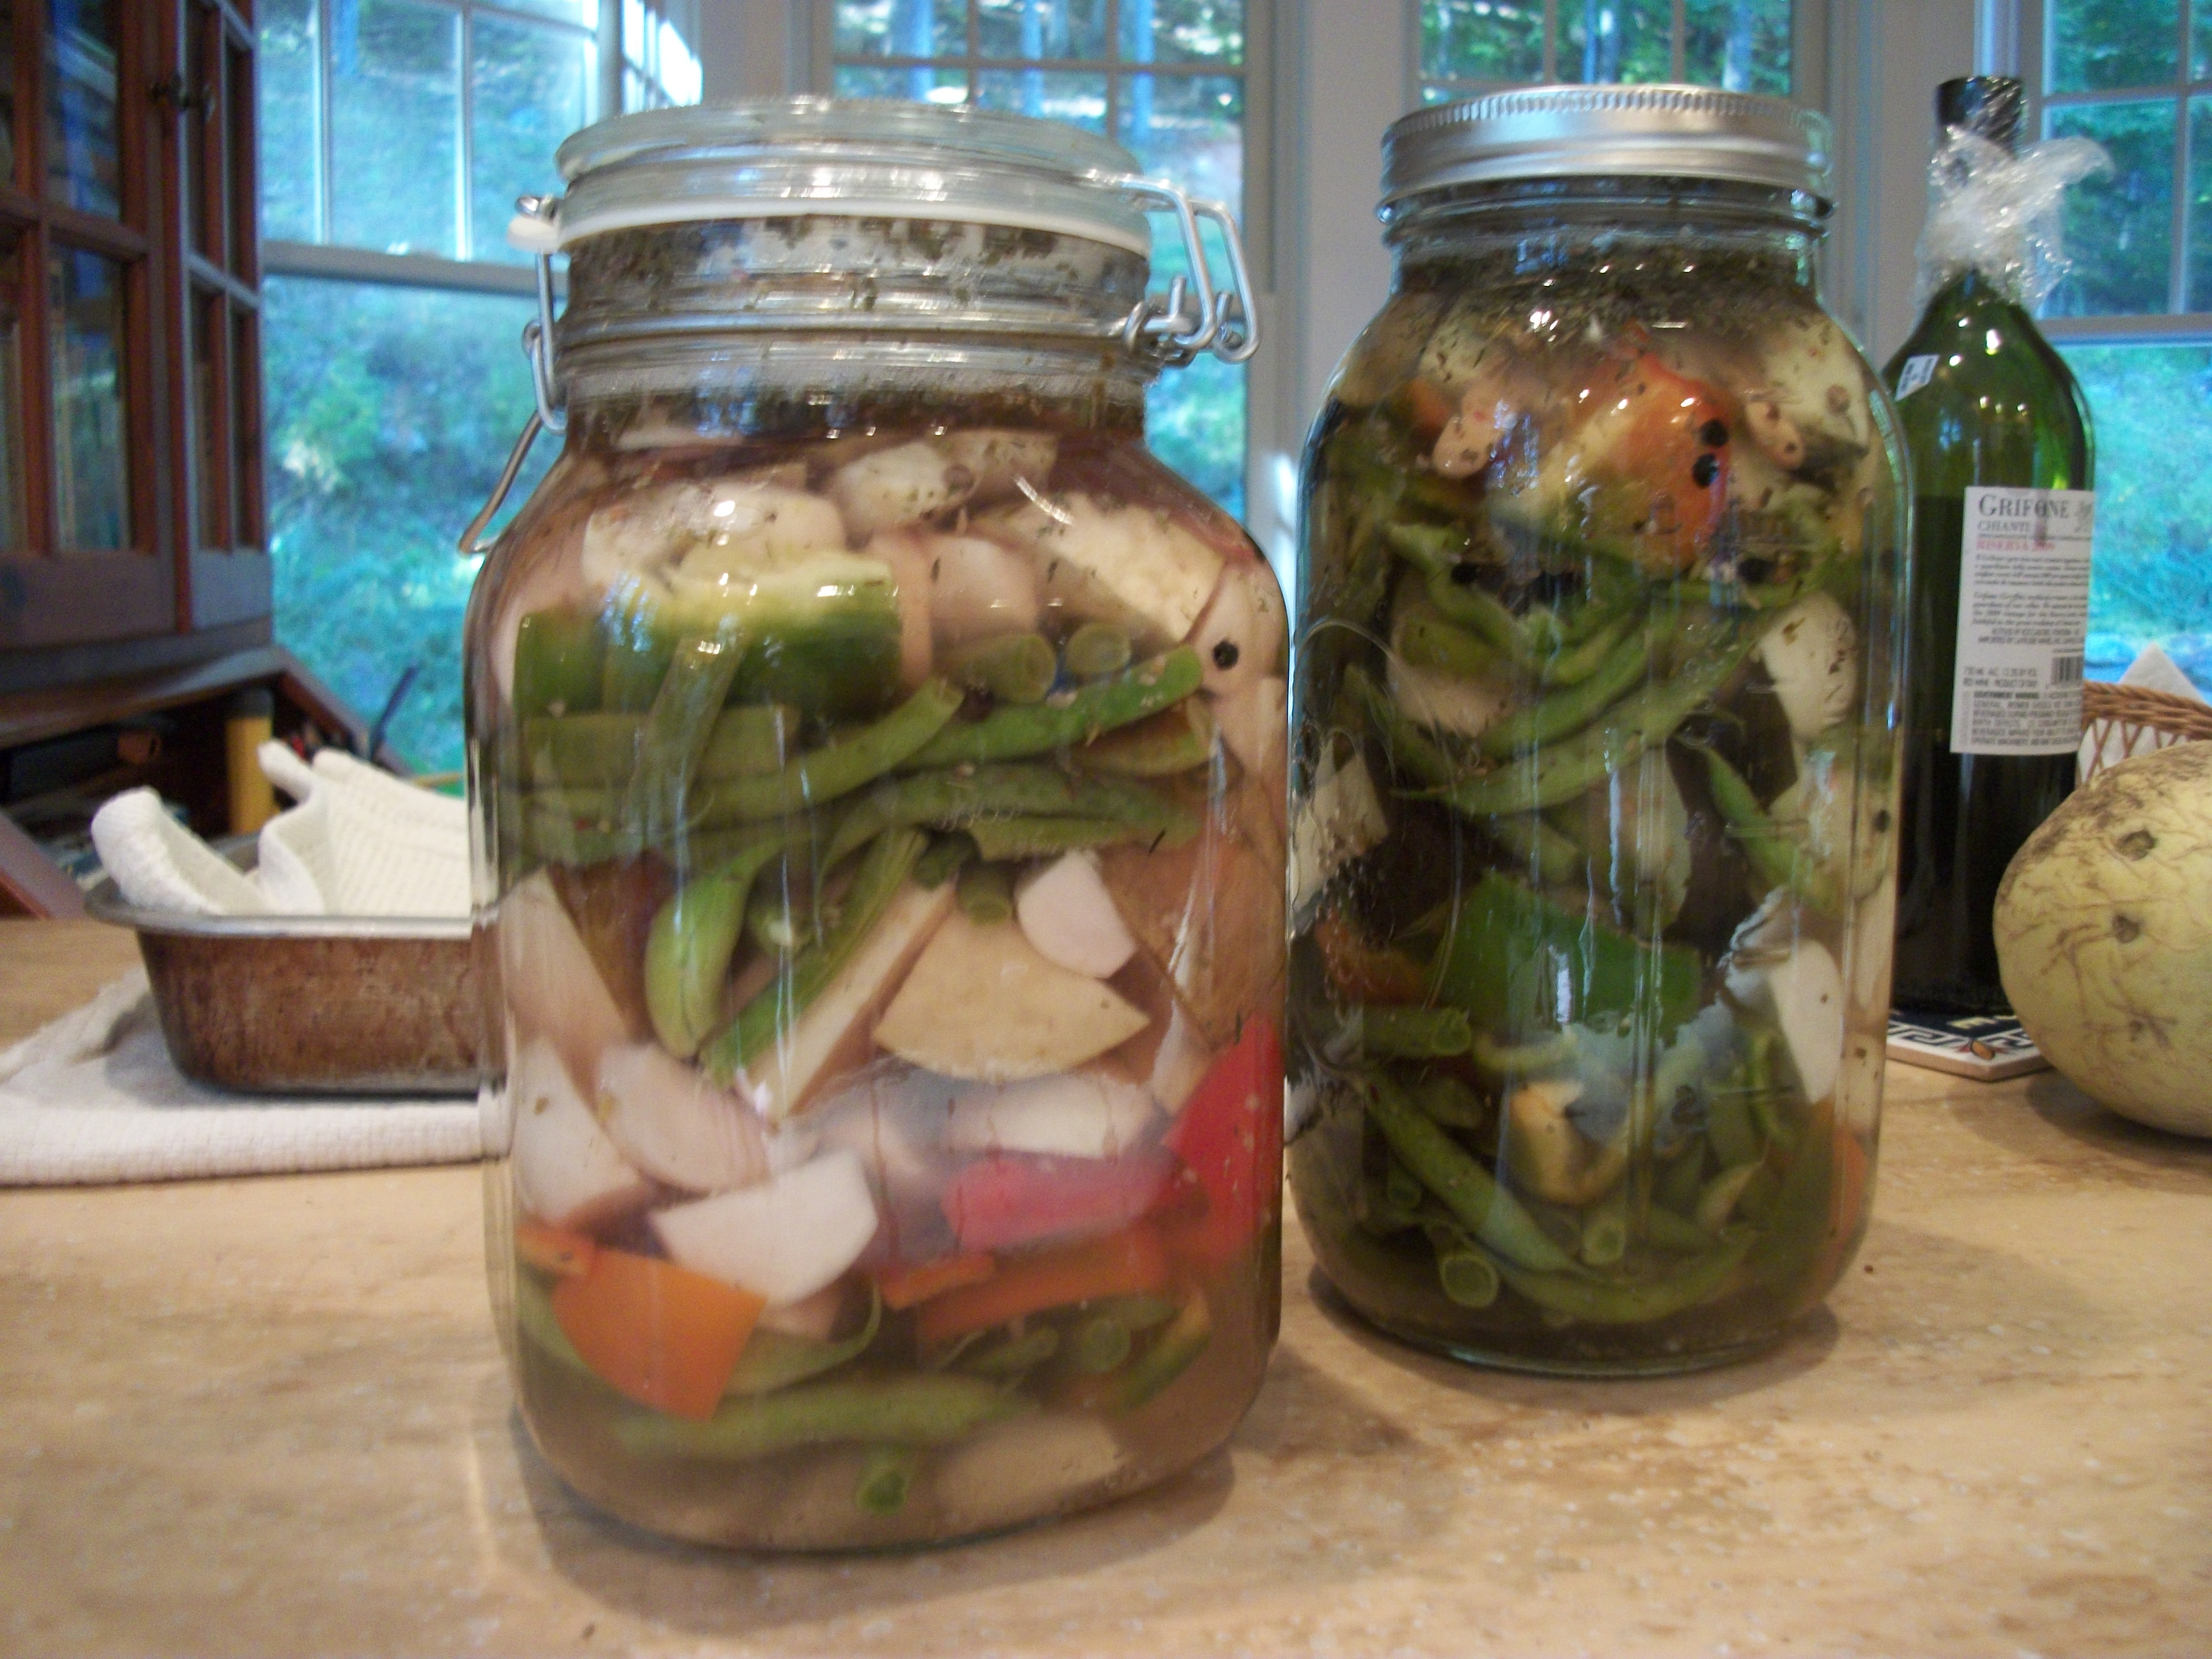
Here are my mixed veggies:

This batch has eggplant cut into chunks, carrots, beans, salad turnips, green peppers, red peppers, and so forth. Green beans are delicious done this way. And, of course, Katz has a recipe for New York garlicky pickles that is delicious! I can’t get enough of them.
It’s wise to always put a fresh jar/crock into a pan or a container so that if there is overflow, it won’t ruin anything. Especially with the crocks and especially if they are fullish. With the jars, you will see bubbles rise to the neck of the jar and when you see a ring of bubbles–or bubbles rising if you pick up the jar and shake it–you know all is well. Again, putting a jar into a cool place slows the reactions.
Remember that the veggies are in an acid environment–so will not go bad. And remember if using a crock, it’s entirely normal for the top of the liquid to “bloom” with white bits and blue bits. Just skim those off. They don’t hurt anything any more than the white and blue bits in blue cheese. It’s normal. It’s WILD.
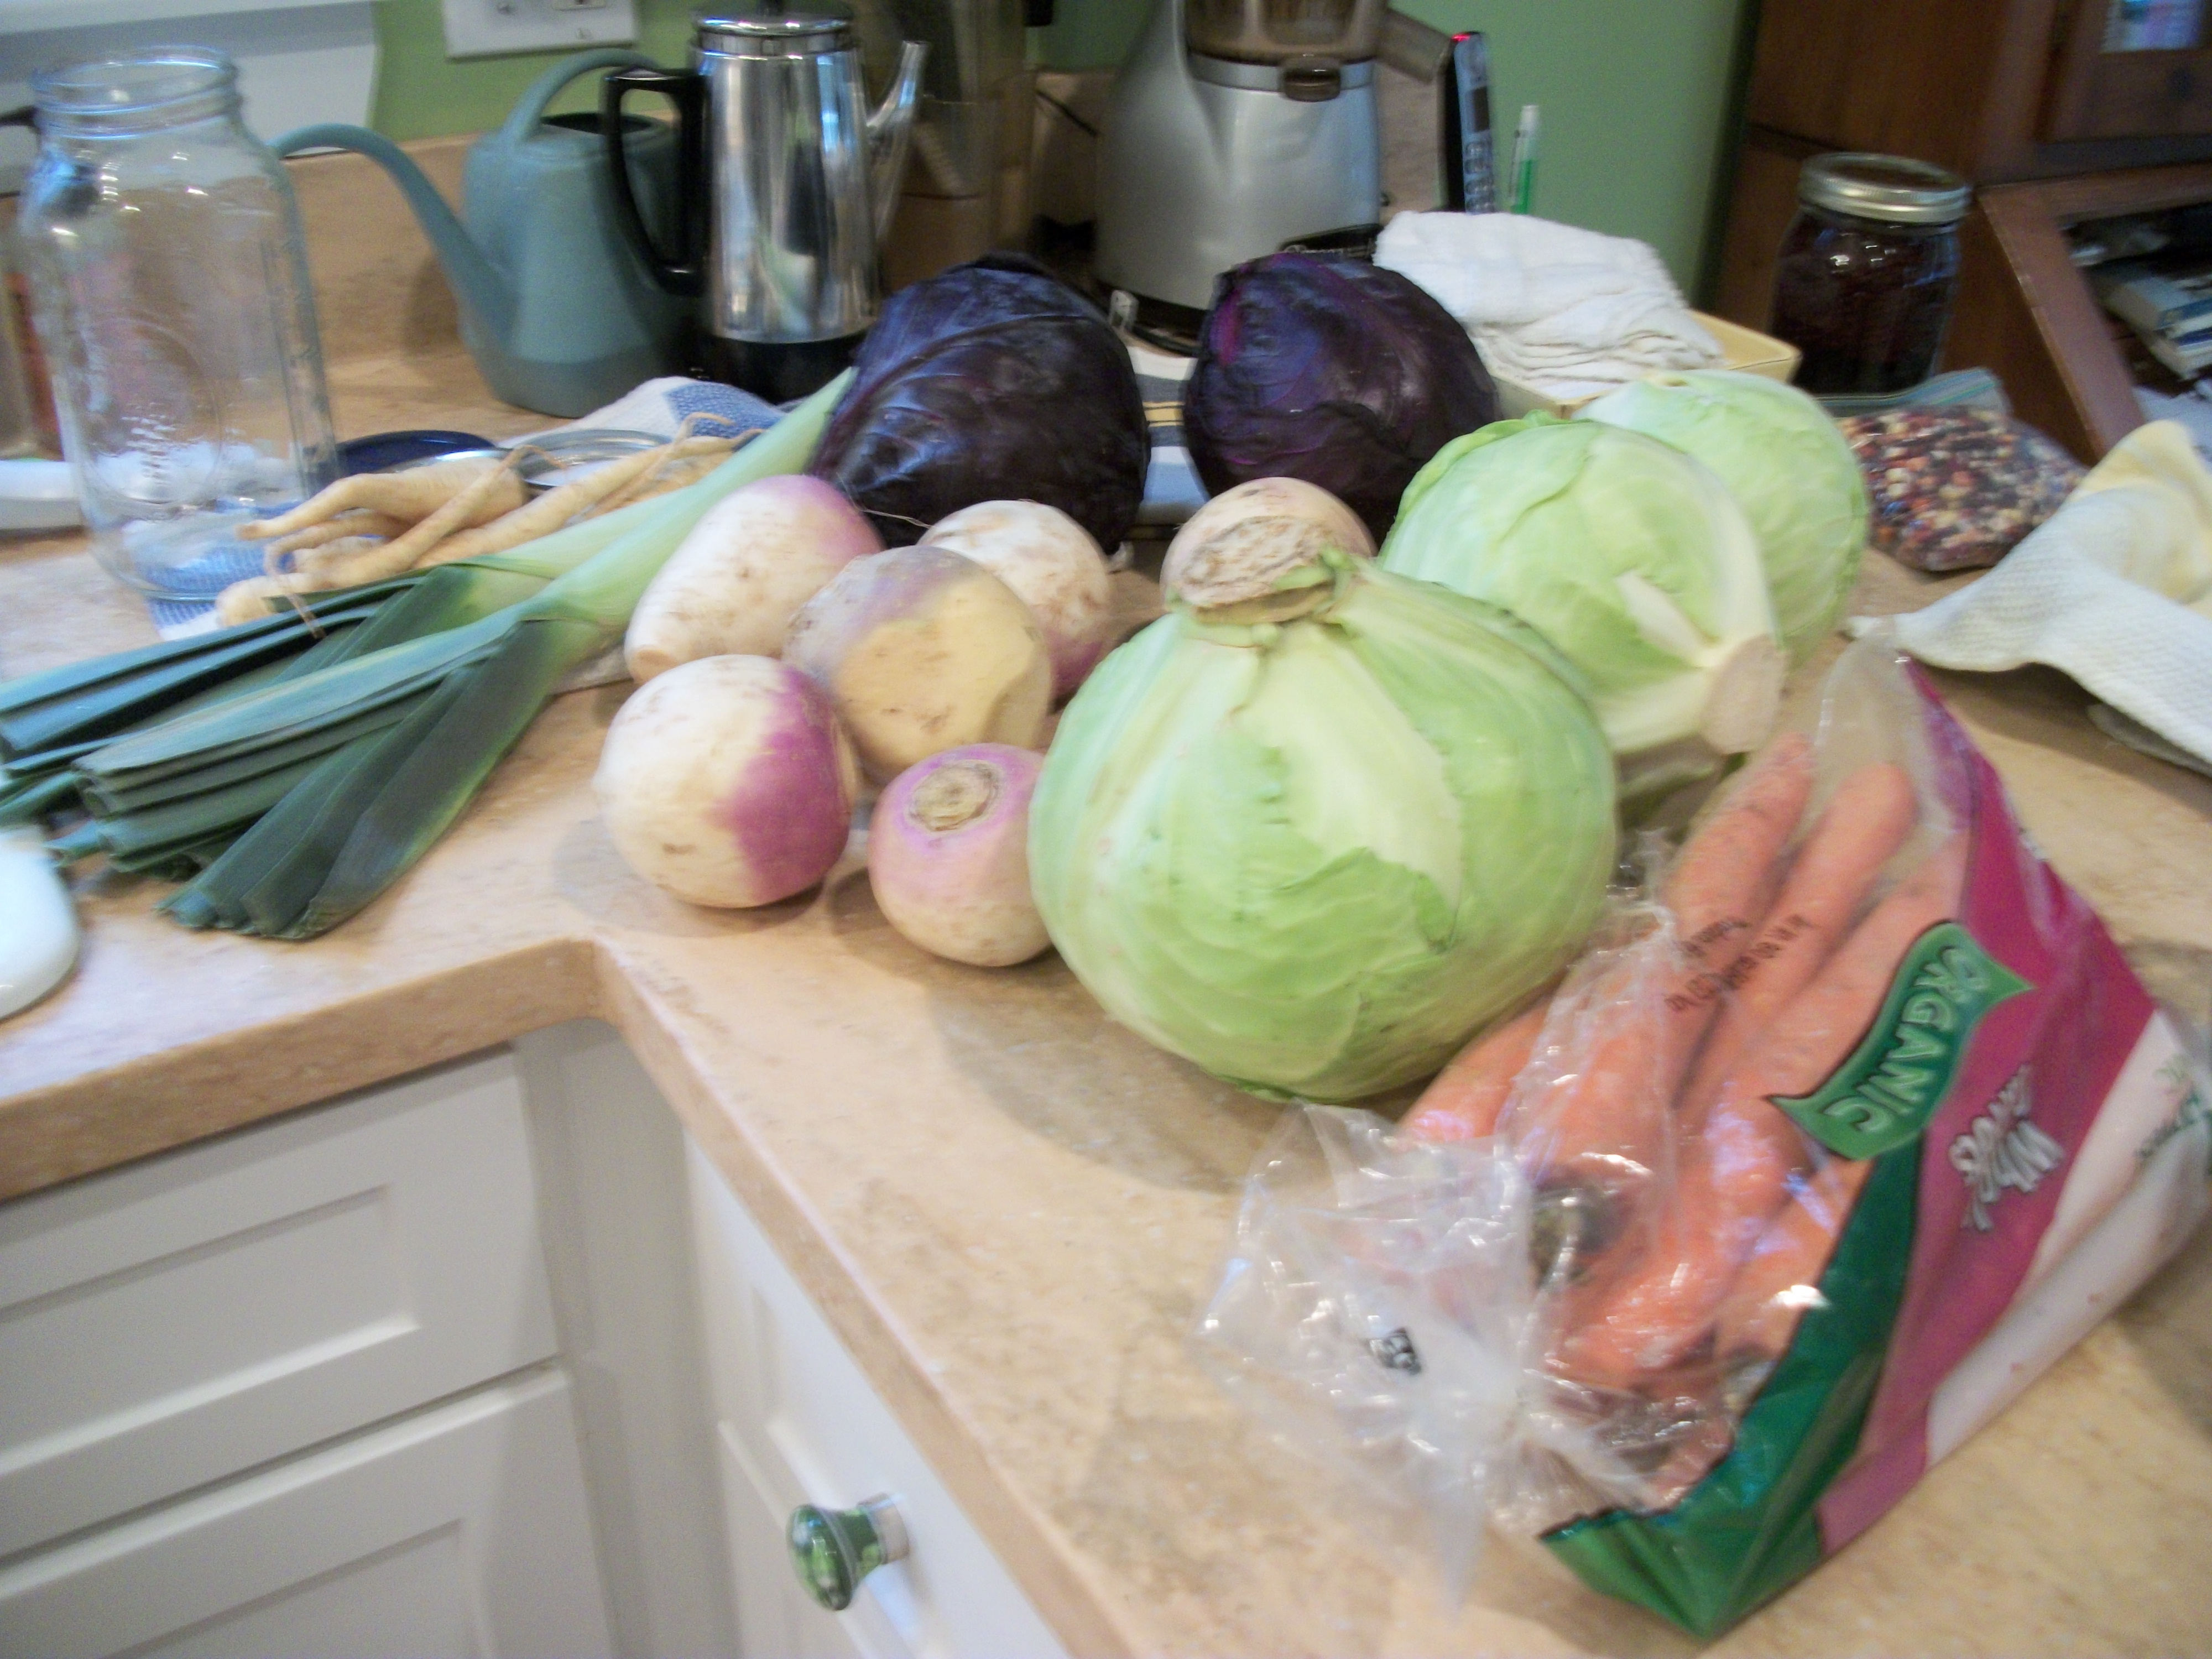
I just tasted a crock I did two weeks ago of grated turnips (about 4 pounds) and carrots (1 pound)–with added sage from the garden. It is DELICIOUS! It has no “turnipy” taste at all–is just clear and fresh and lovely. I’m going to transfer it to a glass jar and think about doing it again and adding in some parsnips… And, maybe, rutabega as I have some. I might have grated in some Daikon radish and I did add garlic… How healthy is that?
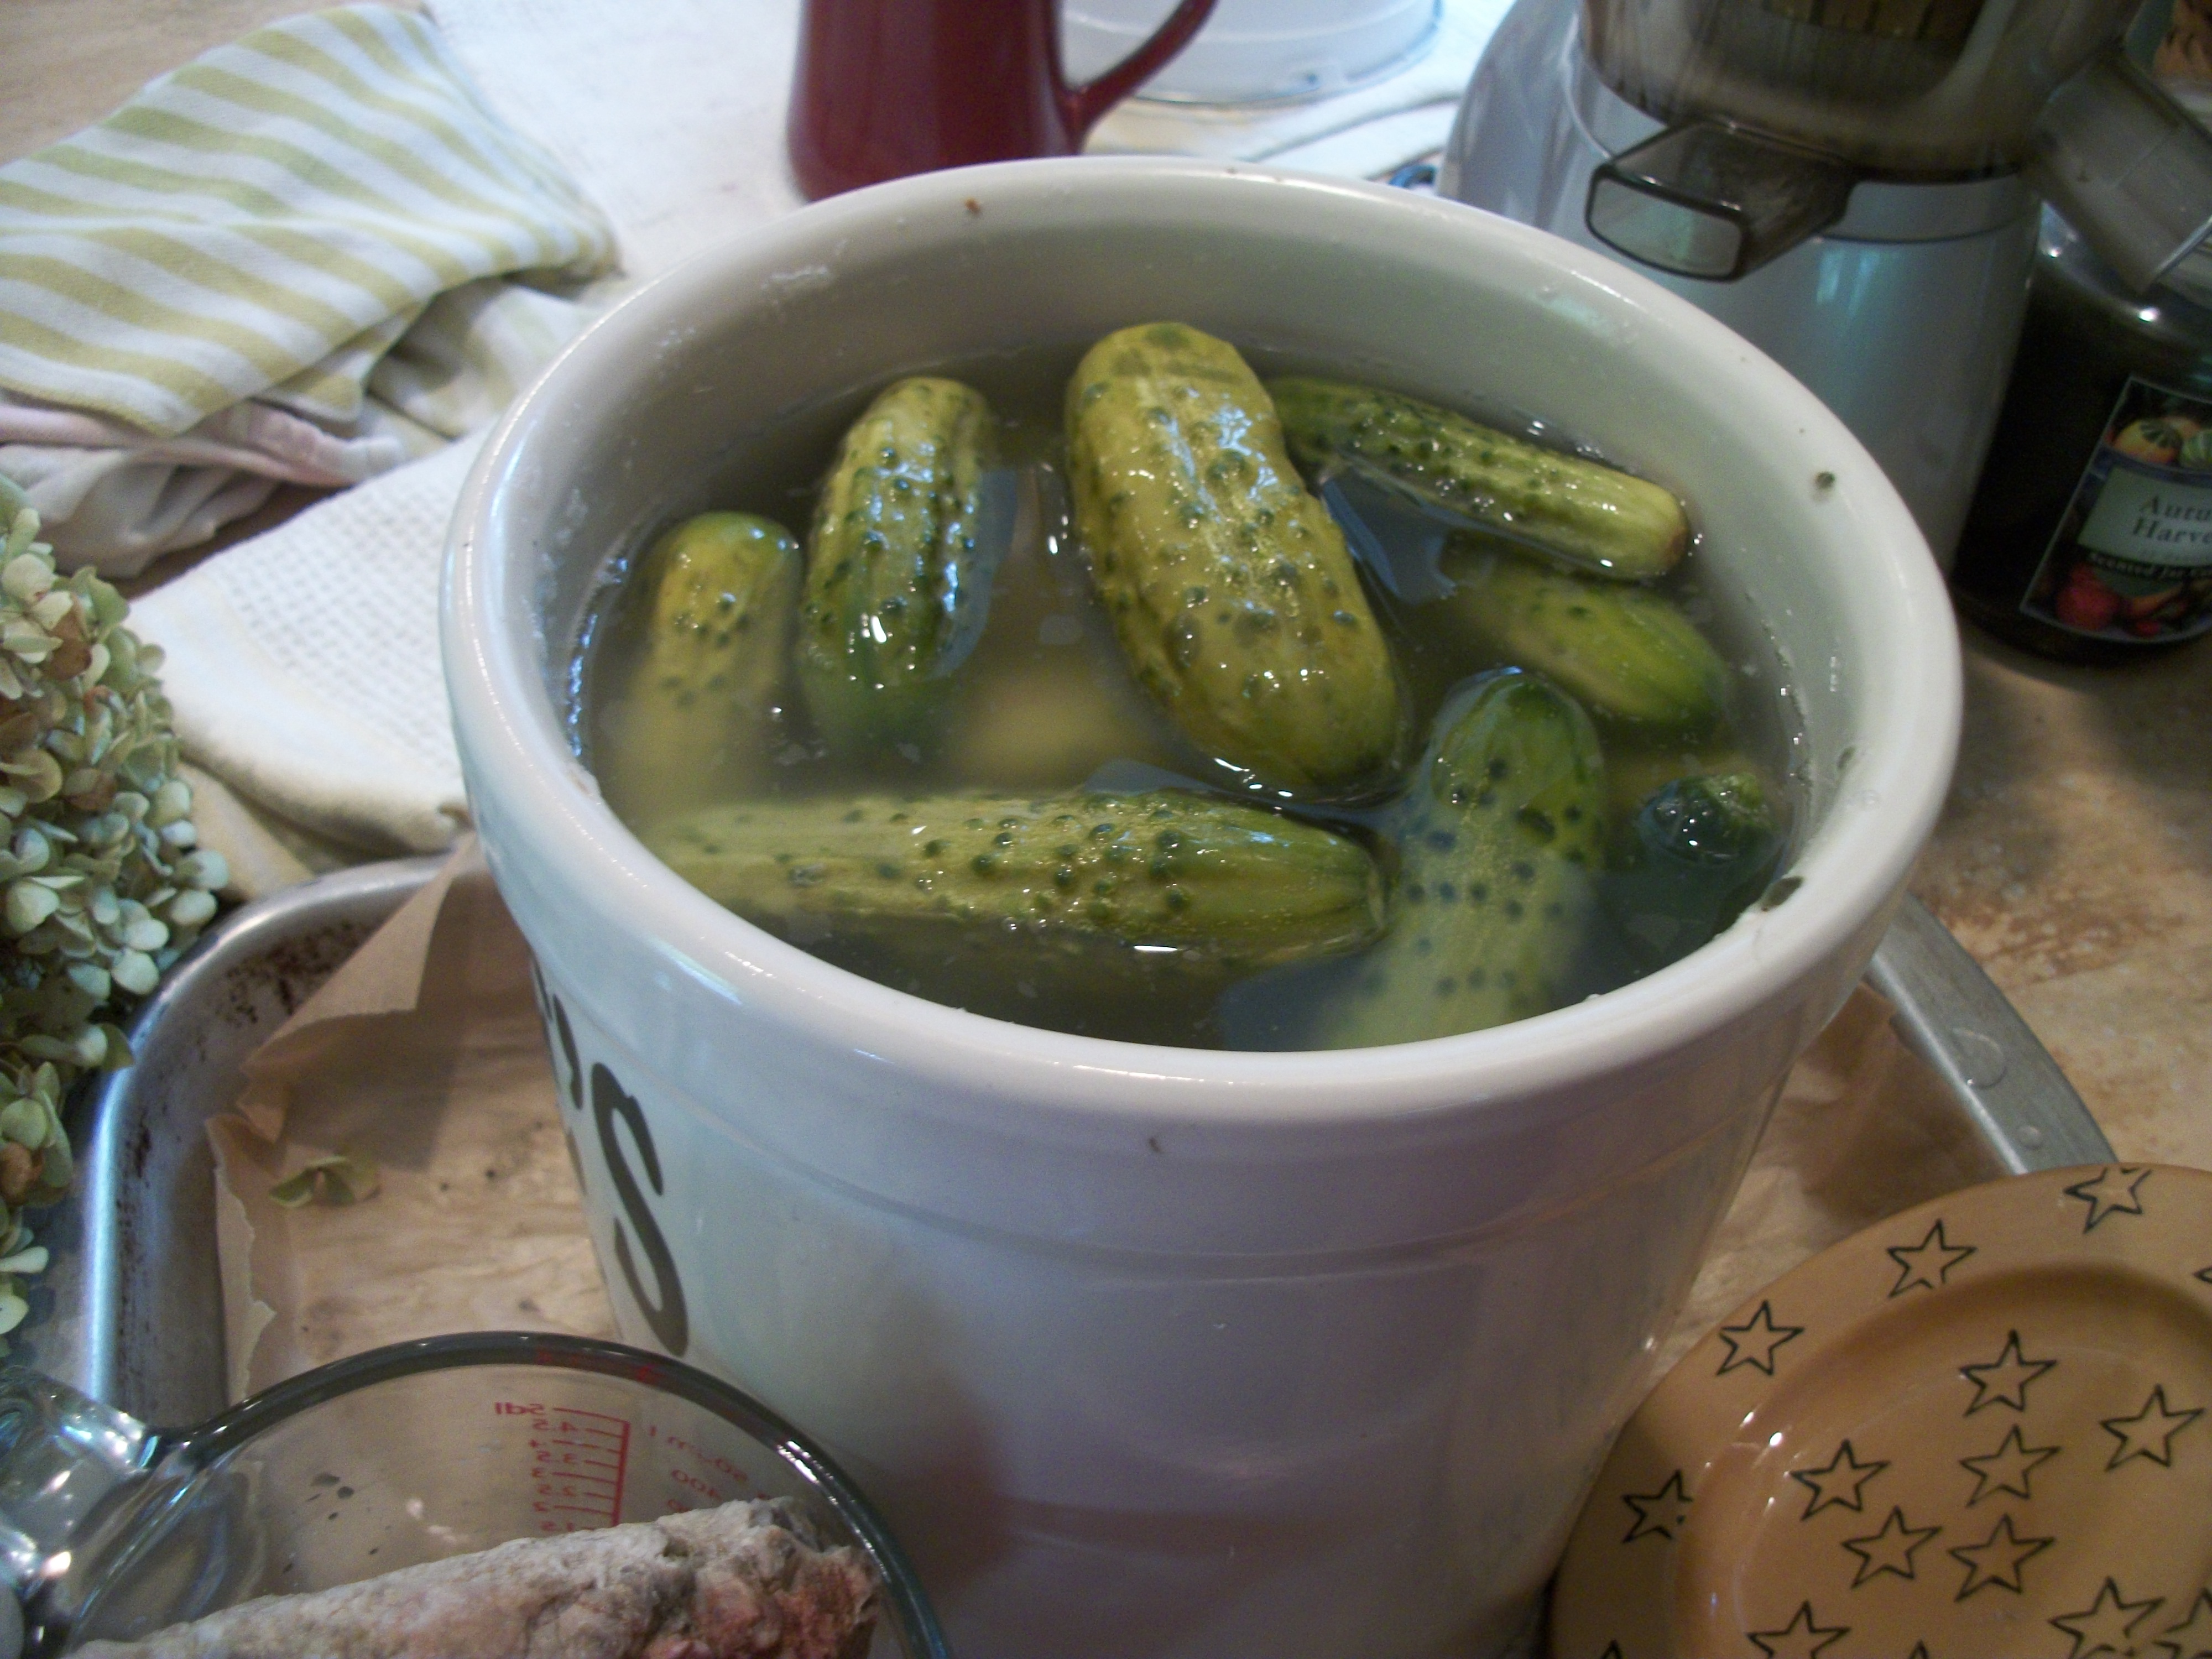
So, here’s a picture of the New York garlicky pickles this summer–lots of garlic, grape leaves to keep the pickles crisp, some peppercorns, and fresh dill:

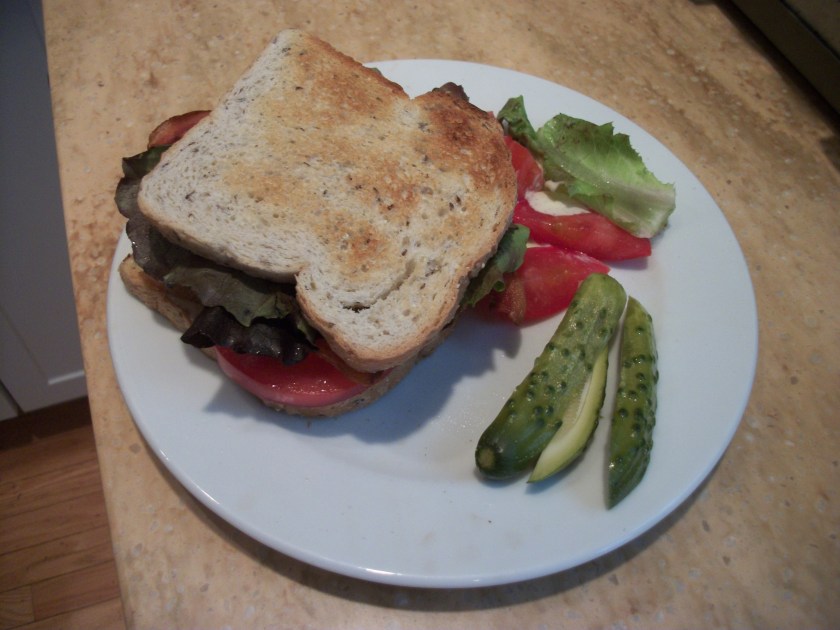
And a summer favorite–a bacon, lettuce, tomato (from your garden), slivered onion sandwich with homemade mayo and with a pickle on the side: