I had a request to blog about how I hang my quilts.
I can do that.
Note that one can always hang a curtain rod with its own supports that is long and just switch out whatever quilt one wants from time to time. I think Bonnie Hunter hangs quilts this way in her Inn. If you don’t know Bonnie Hunter, check out her blog.
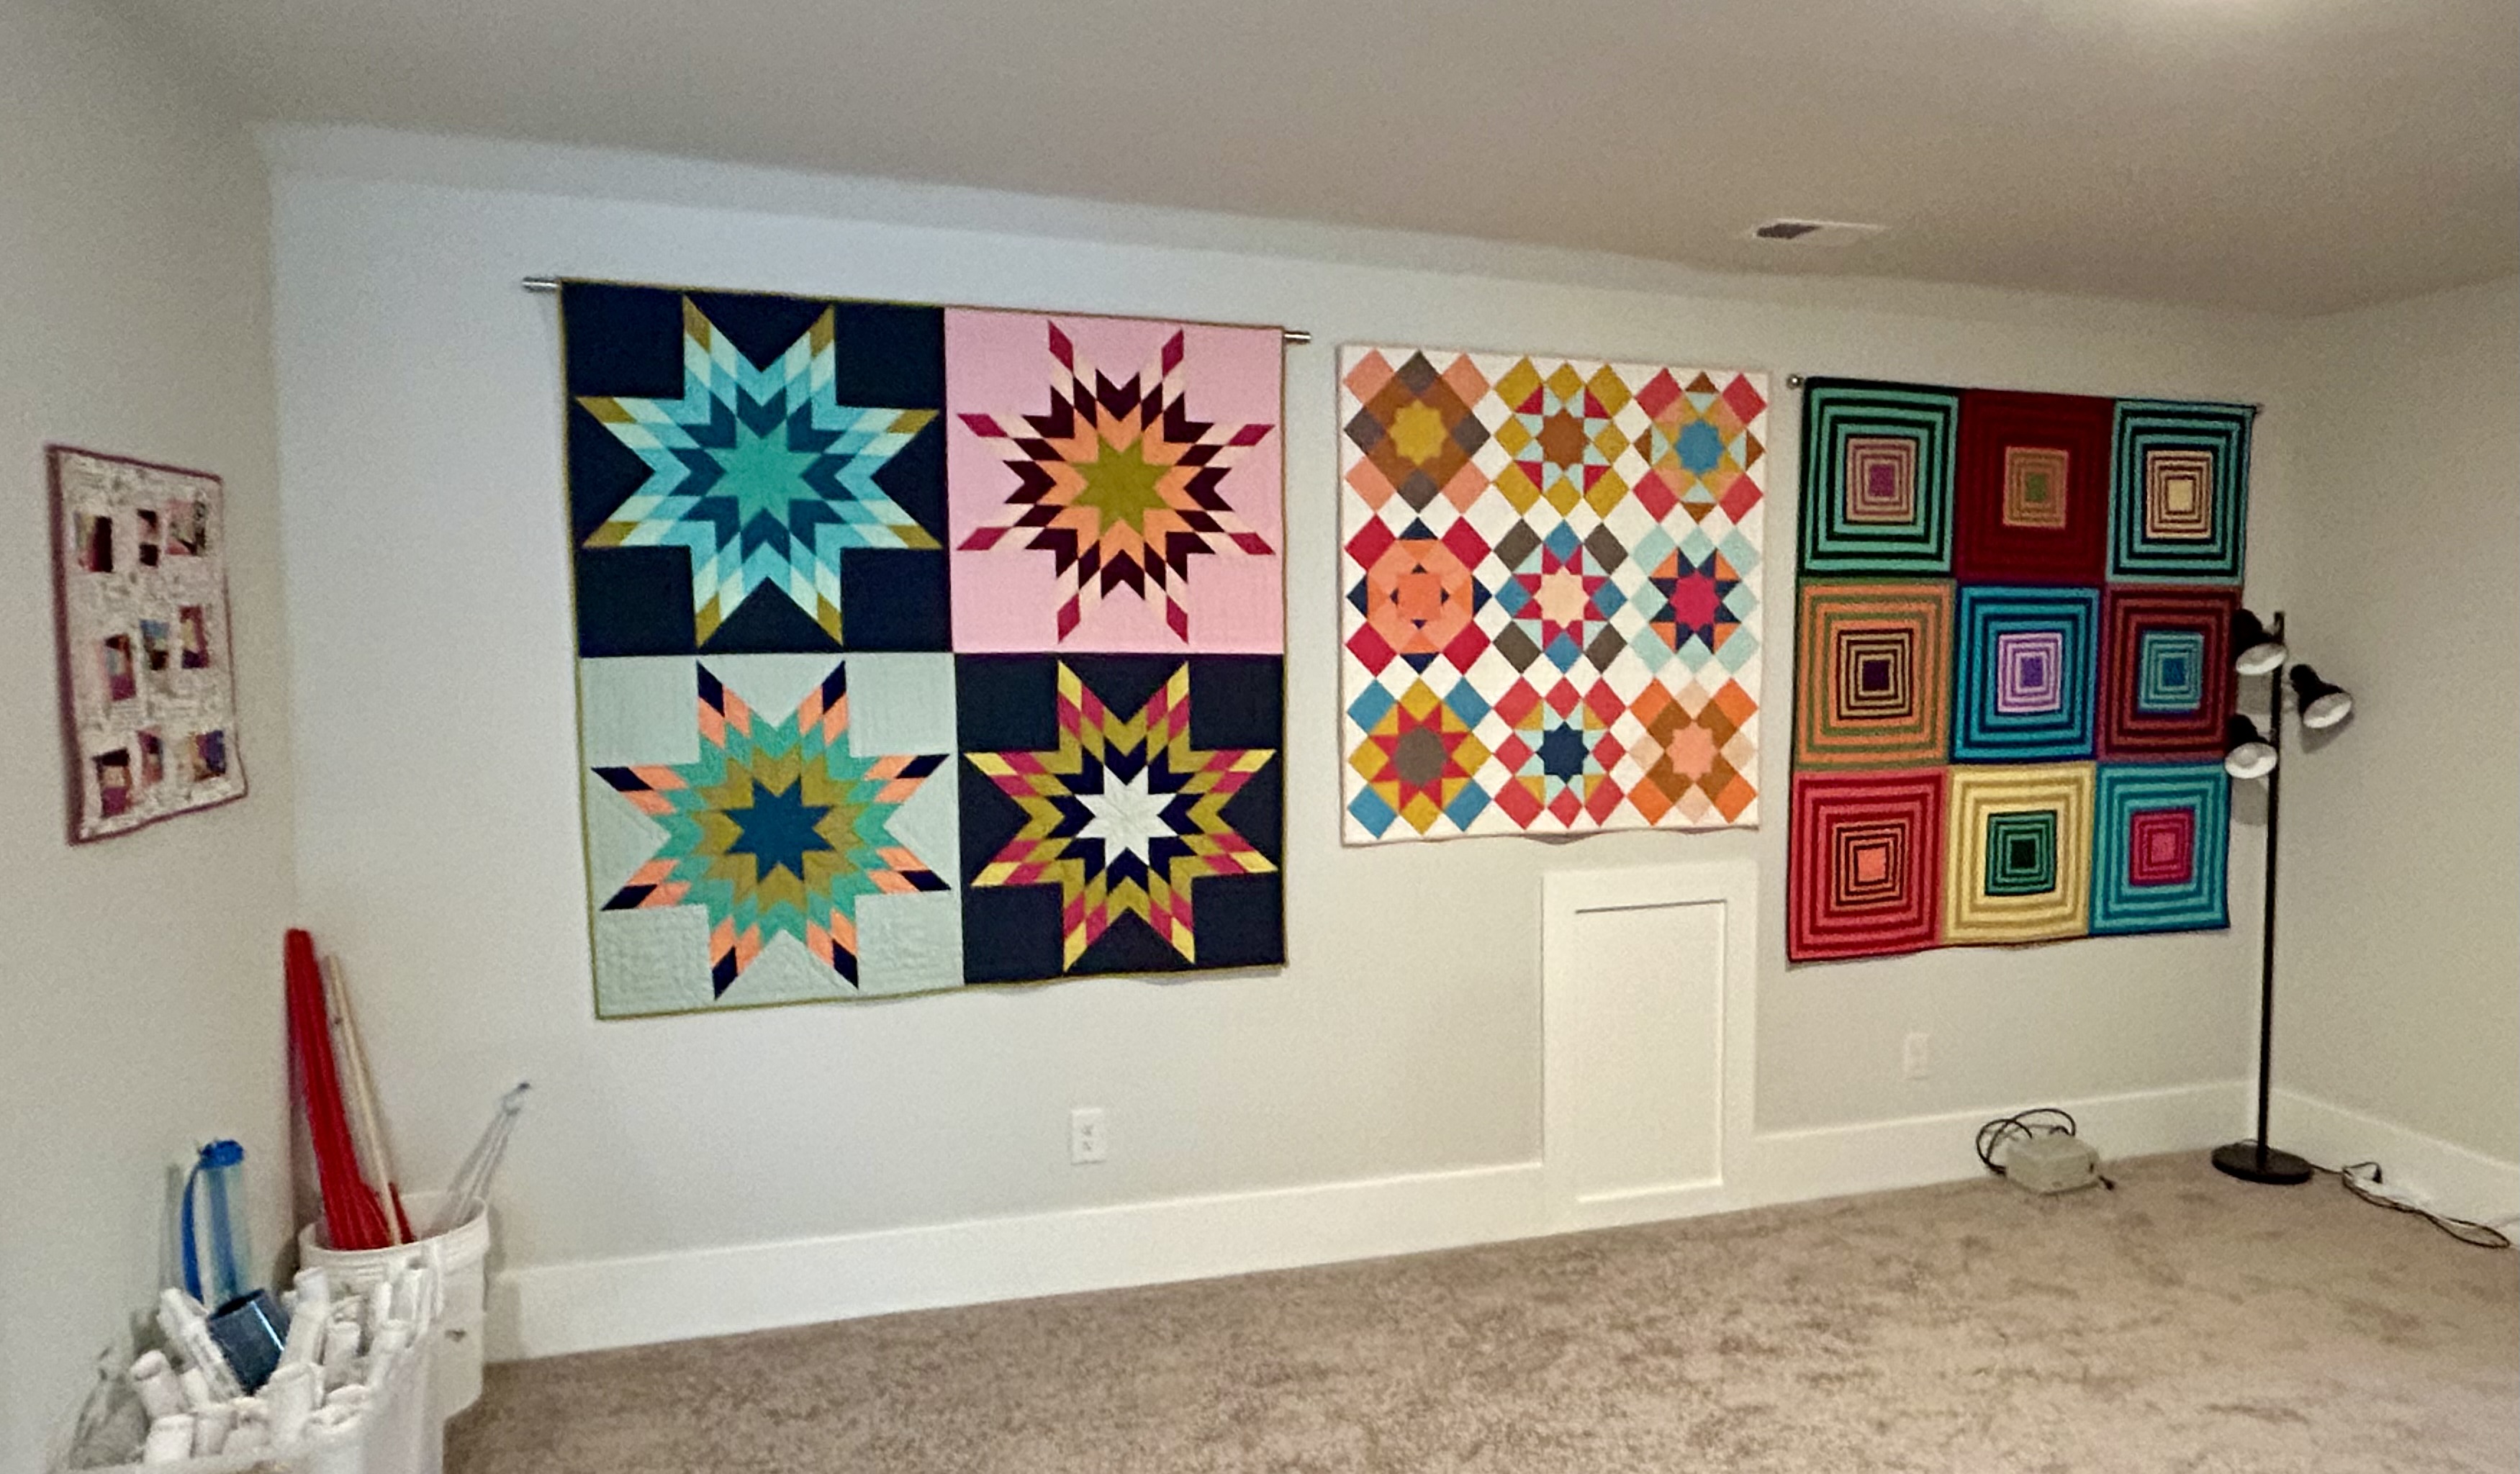
Note, too, that for really heavy, bigger quilts, I use curtain rods with decorative ends. Note that the middle quilt below, as it is not as wide or heavy, uses an invisible dowel wooden rod which can be bought at most hardware stores and cut to size. You want the SMALLEST dowel/curtain rod that can support the weight of the quilt without bending as you don’t want a bulge at the top of your quilt. And you want the quilt to sit at the top on the rod so that the rod is at the top and not down into the quilt–where the bulge of it can detract.
Thus, the most important thing with hanging quilts is installing a hanging sleeve that is level with the top of the quilt AND that allows space on the outer sides for the dowel/rod to show.
I double a wide band of fabric (for a big quilt about 4 inches, which means a piece about 9 inches wide. I cut and turn in the sides twice (neat finish on the sides) so that the sleeve leaves space on either side for the dowel to peek through. A curtain rod’s ends are always going to show–but you have to figure out where to position nails so they don’t show–they can hide just inside the edge of the quilt if you leave proper space between the binding edge and the sleeve edge. Dowels should not be cut wider than the binding on the quilt as you want to hide the dowel in the gap between the edge of the sleeve and the binding outer edge. I double the 9-inch strip and press it before sewing the sleeve’s two raw edges to the quilt top when I install the binding.
For a big quilt I might machine baste the sleeve into the seam allowance first. And some quilters recommend splitting the sleeve into two parts for a wide, heavy quilt. Next, after binding, you have only to sew down the bottom of the sleeve.
BUT, and this is important, there is a method for sewing down that bottom edge as you have to place it a bit above where it would go without allowing for some excess hanging room. But not high enough from the bottom so that the top of the sleeve starts to show over the top edge of the quilt. Mostly I bring that bottom edge up about 1/2 inch, but I always test with a rod to make sure I haven’t gone too high. Pin and sew down the bottom edge of the sleeve.
You can see the excess fabric on the outer sleeve side in the picture below. The bigger the dowel/rod, the bigger amount of excess fabric you want. And here, I should have gone higher at the bottom of the sleeve so the dowel would locate higher near the binding.

See the bulge at the top?

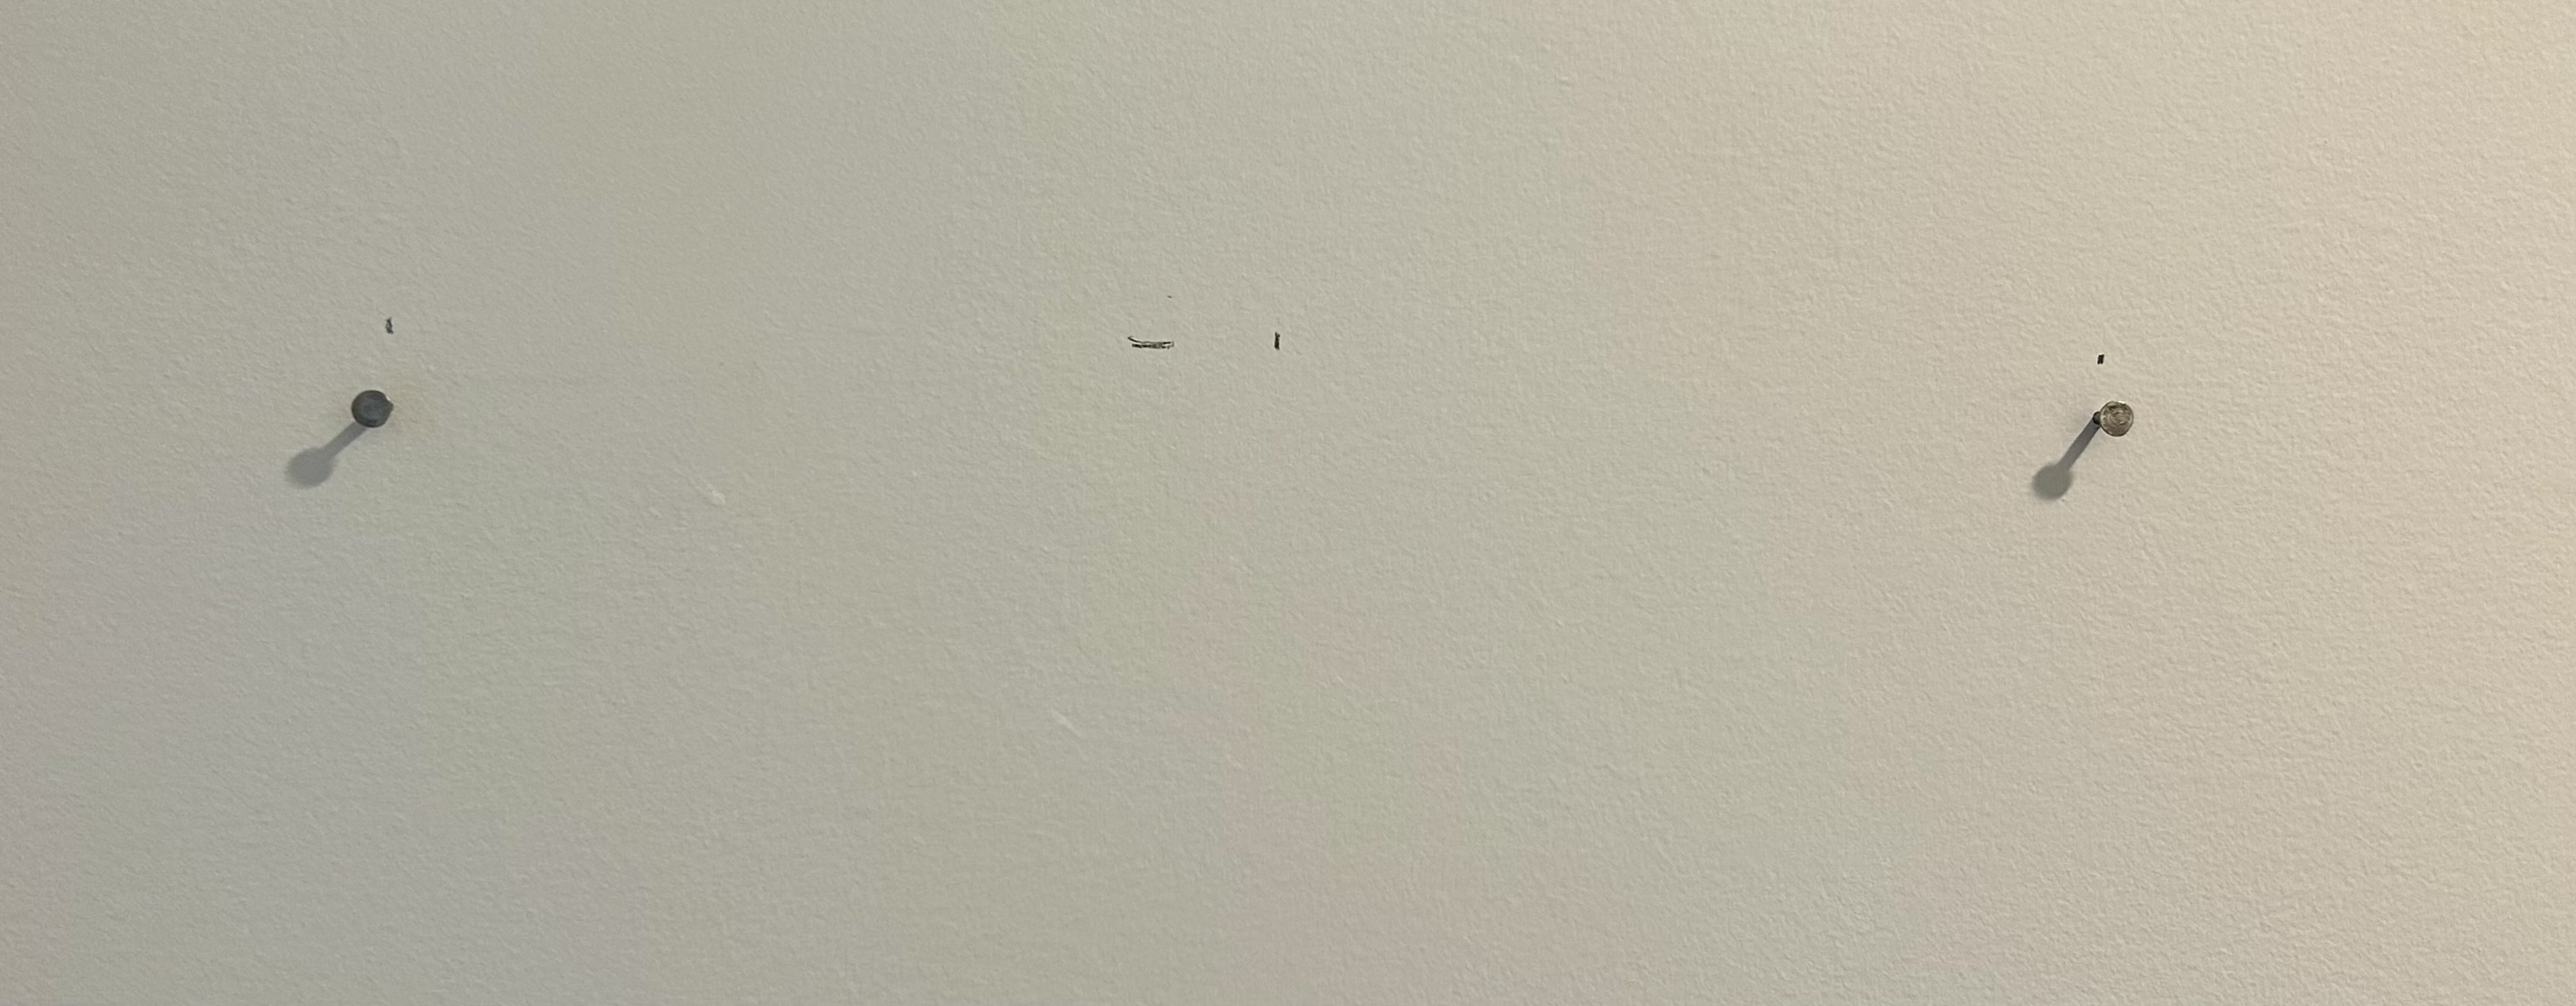
I use nails that have a head big enough to hold the dowel so it won’t slide off the nail. For a bigger, heavier quilt you will need bigger nails. But always get ones that have bigger heads.

Lay your dowel where you want it on the wall and mark where you want the nails to go. Remember to put the nails at least 1/4 inch or a bit more from the edge of the dowel. The position of the nails will be a bit different for a curtain rod depending on the decorative end of the rod. The nails have to be inside those ends and very close or inside each side of the quilt edge. Then use a leveler to make darn sure the dowel/rod is level. I have a long leveler and a short one. After I put in the nails, I use the leveler again to make sure all is level at that stage. And I check again after I hang the quilt as it is fairly easy at that point to remove a nail and replace it if needed.
Remember we do the best we can all along the way to make sure a quilt is square and the top level. But quilts are rarely perfect. Fabric stretches, things shift. Just do the best you can. Remember the nails have to fall below the top binding on the quilt.
I measured from the ceiling down to line up the quilts below. And for the 4-season trees, I used matching white rods–and when the top two were hung on their rod, I used my long leveler (about 3 feet) to place the vertical placement of the lower rod so it was in line with the top rod and its nails.

If you want to remove or change a hanging quilt, you pull out the nails, patch the hole with sparkle, sand it totally smooth, and repaint the patch with matching paint.
And, there you have it.

This is awesome!! Thank you for all the detail and different tips & tricks! After I finish my elephant quilt I’ll come back and review all this again before I make the hanging sleeve and decide whether I want to use a dowel or curtain rod 😀