Yesterday, Friday, was a cooking day–after a morning trip to Whole Foods for ingredients I cannot get closer to home. And, Whole Foods is not really all that far away–maybe 15 minutes, depending on traffic.
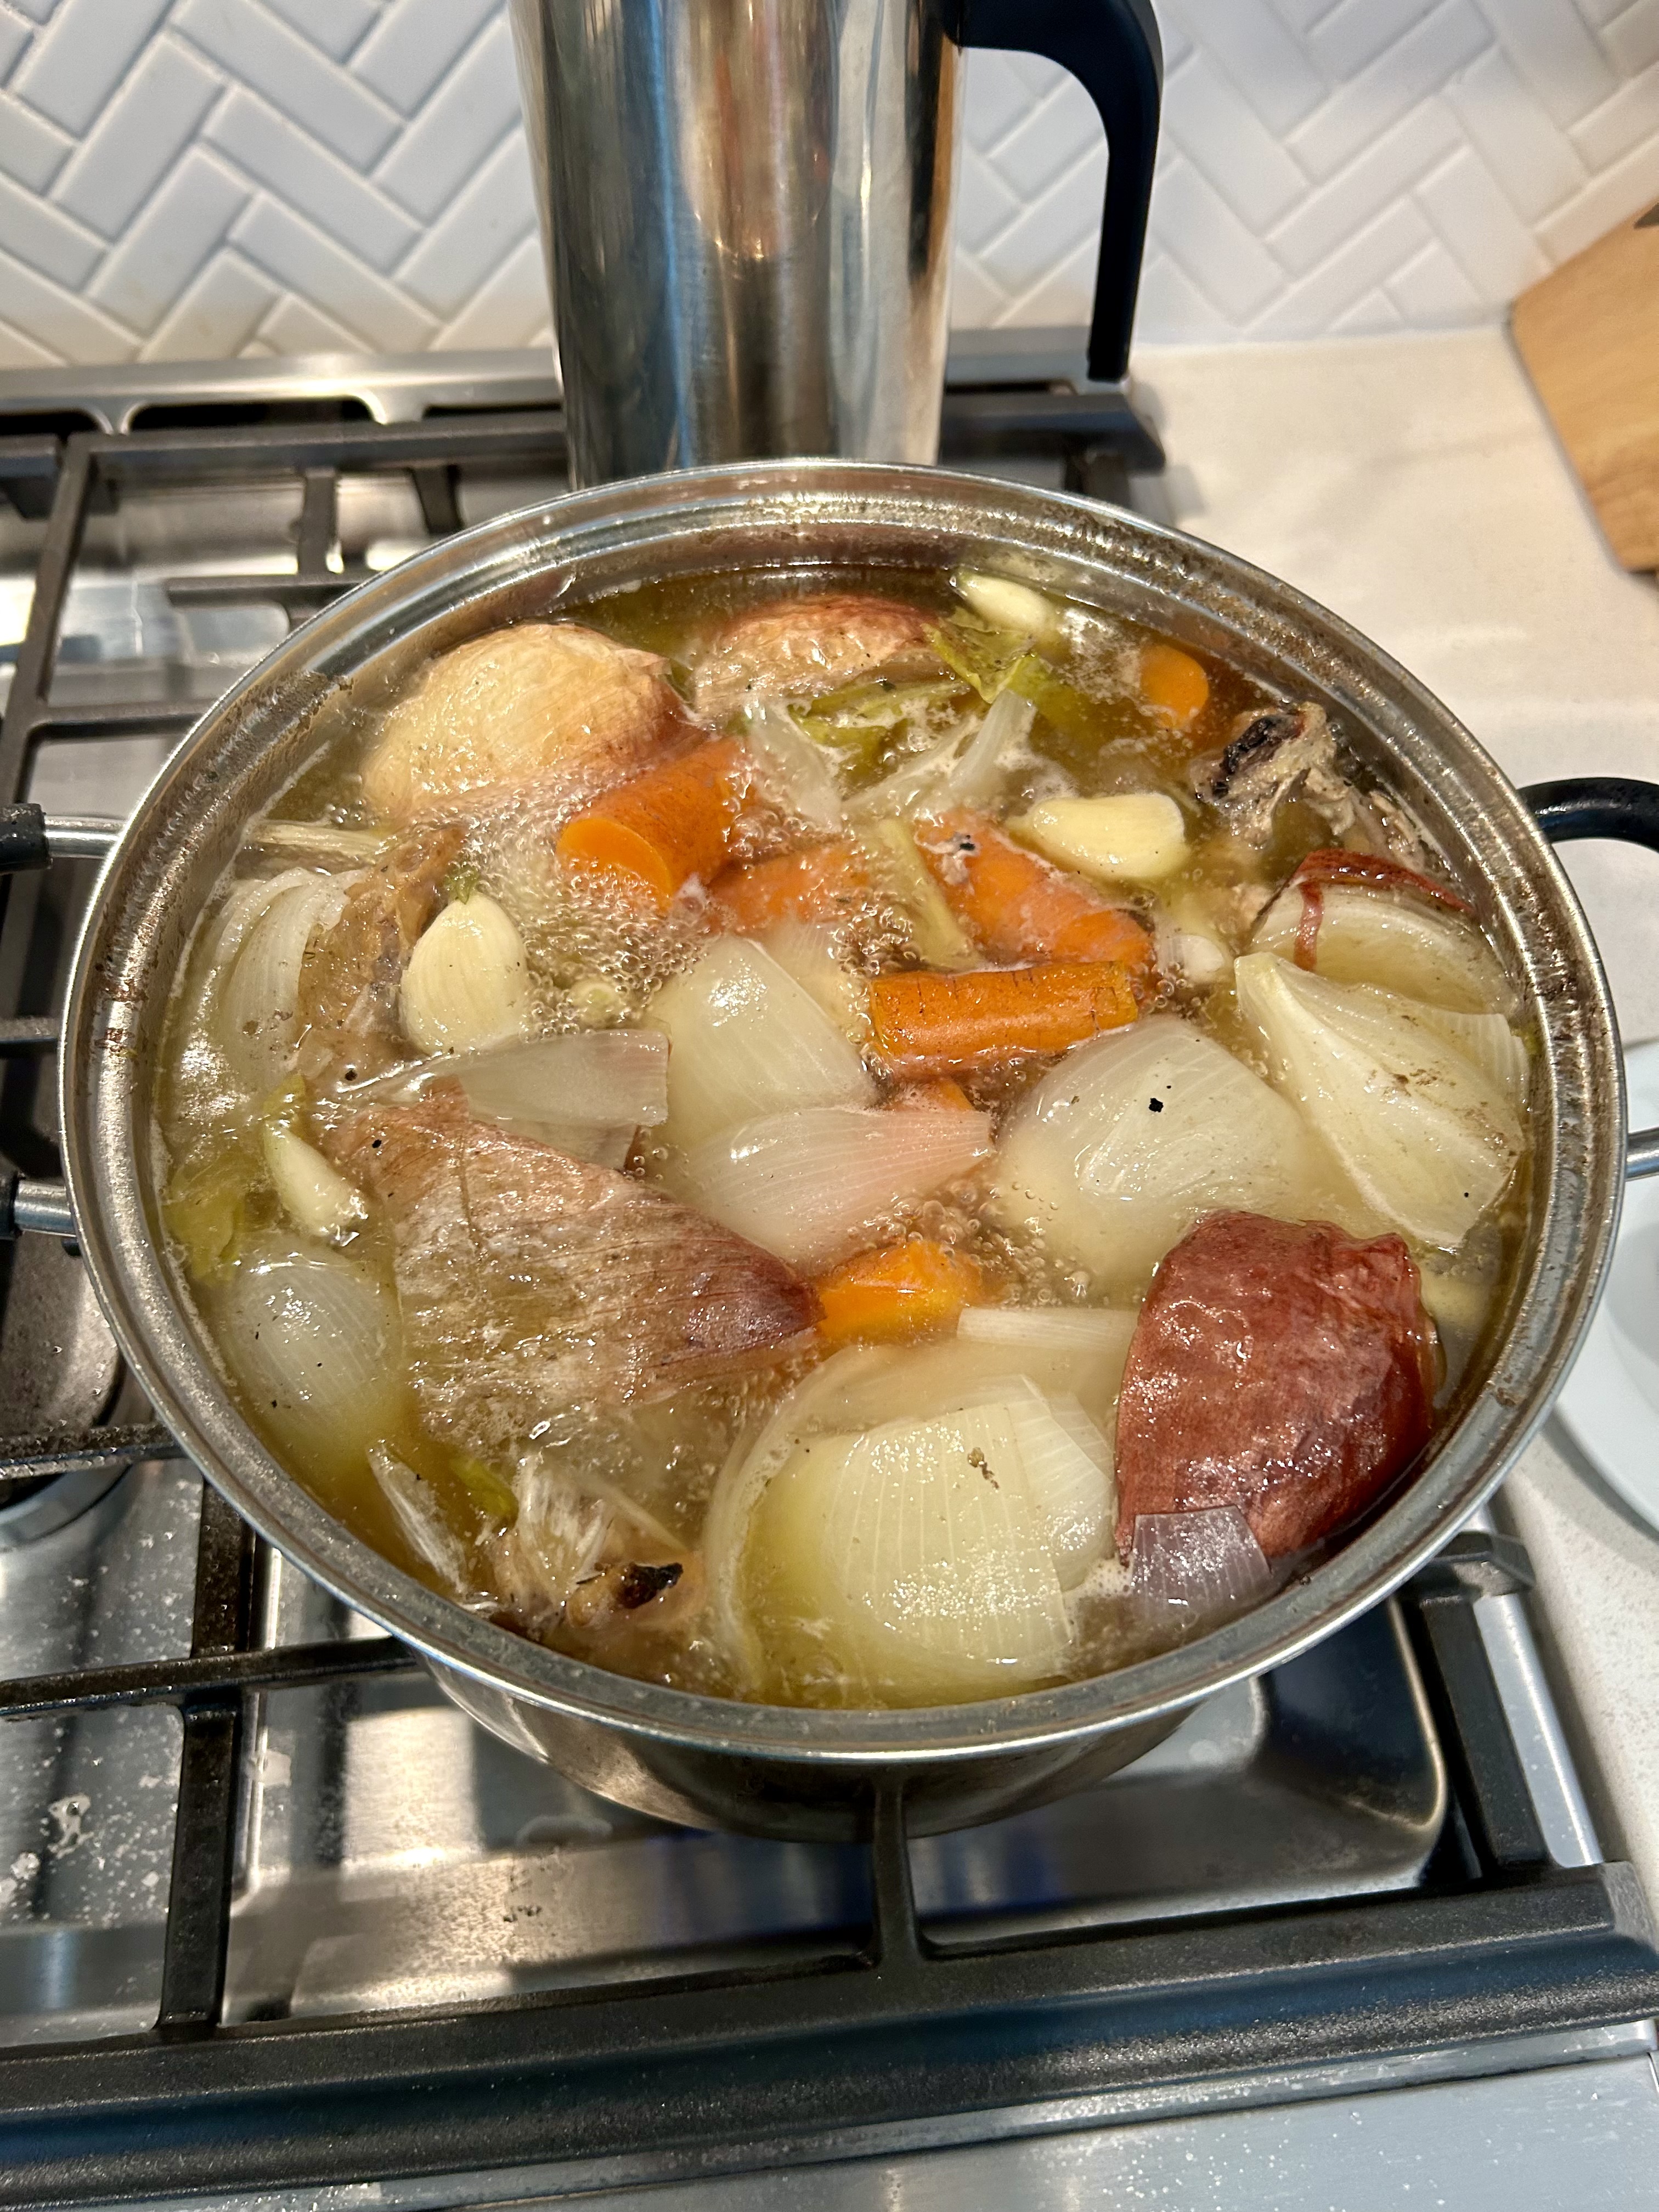
The saved chicken bones were taking over my little freezer, so it was time to make a bone broth–which I froze as I’ll have a granddaughter here for a weekend in early June–and she wants to make soup.
The broth turned out to be lovely and dark–and rich with fat, some collagen, and, hopefully, some glycine. Note the skin left on the onions–which I do if the onions have no mold anywhere. The skins add lovely color.
I found some recommended beef gelatin at Whole Foods that I had been seeking. And a nice rice mixture, though I prefer sprouted, organic rice, which I think Trader Jo’s carries.

Gelatin contains vital ingredients for human health: good fats, glycine (an essential amino acid), and collagen.
Check your fingernails–if they are soft and flexible or peel easily, you are lacking these essential health foods. And that’s because people today are not eating meat products where the connective tissues and fat have been left intact. People are eating neat butchered parts. In other words, boneless, skinless chicken breasts will not float your health boat. Nor will lean steaks or hamburger. And, no one eats organ meats much anymore. I could go on about eating nose to tail, but I do the best I can with what I can find in the market.
But, adding some good quality gelatin, I think, is a good idea. I can, actually, add a bit to my coffee each morning. Or some other warm drink. And I will add some to the future soup. I’ll figure out a daily plan.
My nails are really strong. So no worries there. And I don’t snack between my two daily meals and my breakfast of coffee, raw local honey, and lots of raw heavy cream. And I have super high energy levels from the daily fats I consume, energy that is steady and long-lasting. But it doesn’t hurt to make sure I’m getting enough collagen and glycine.
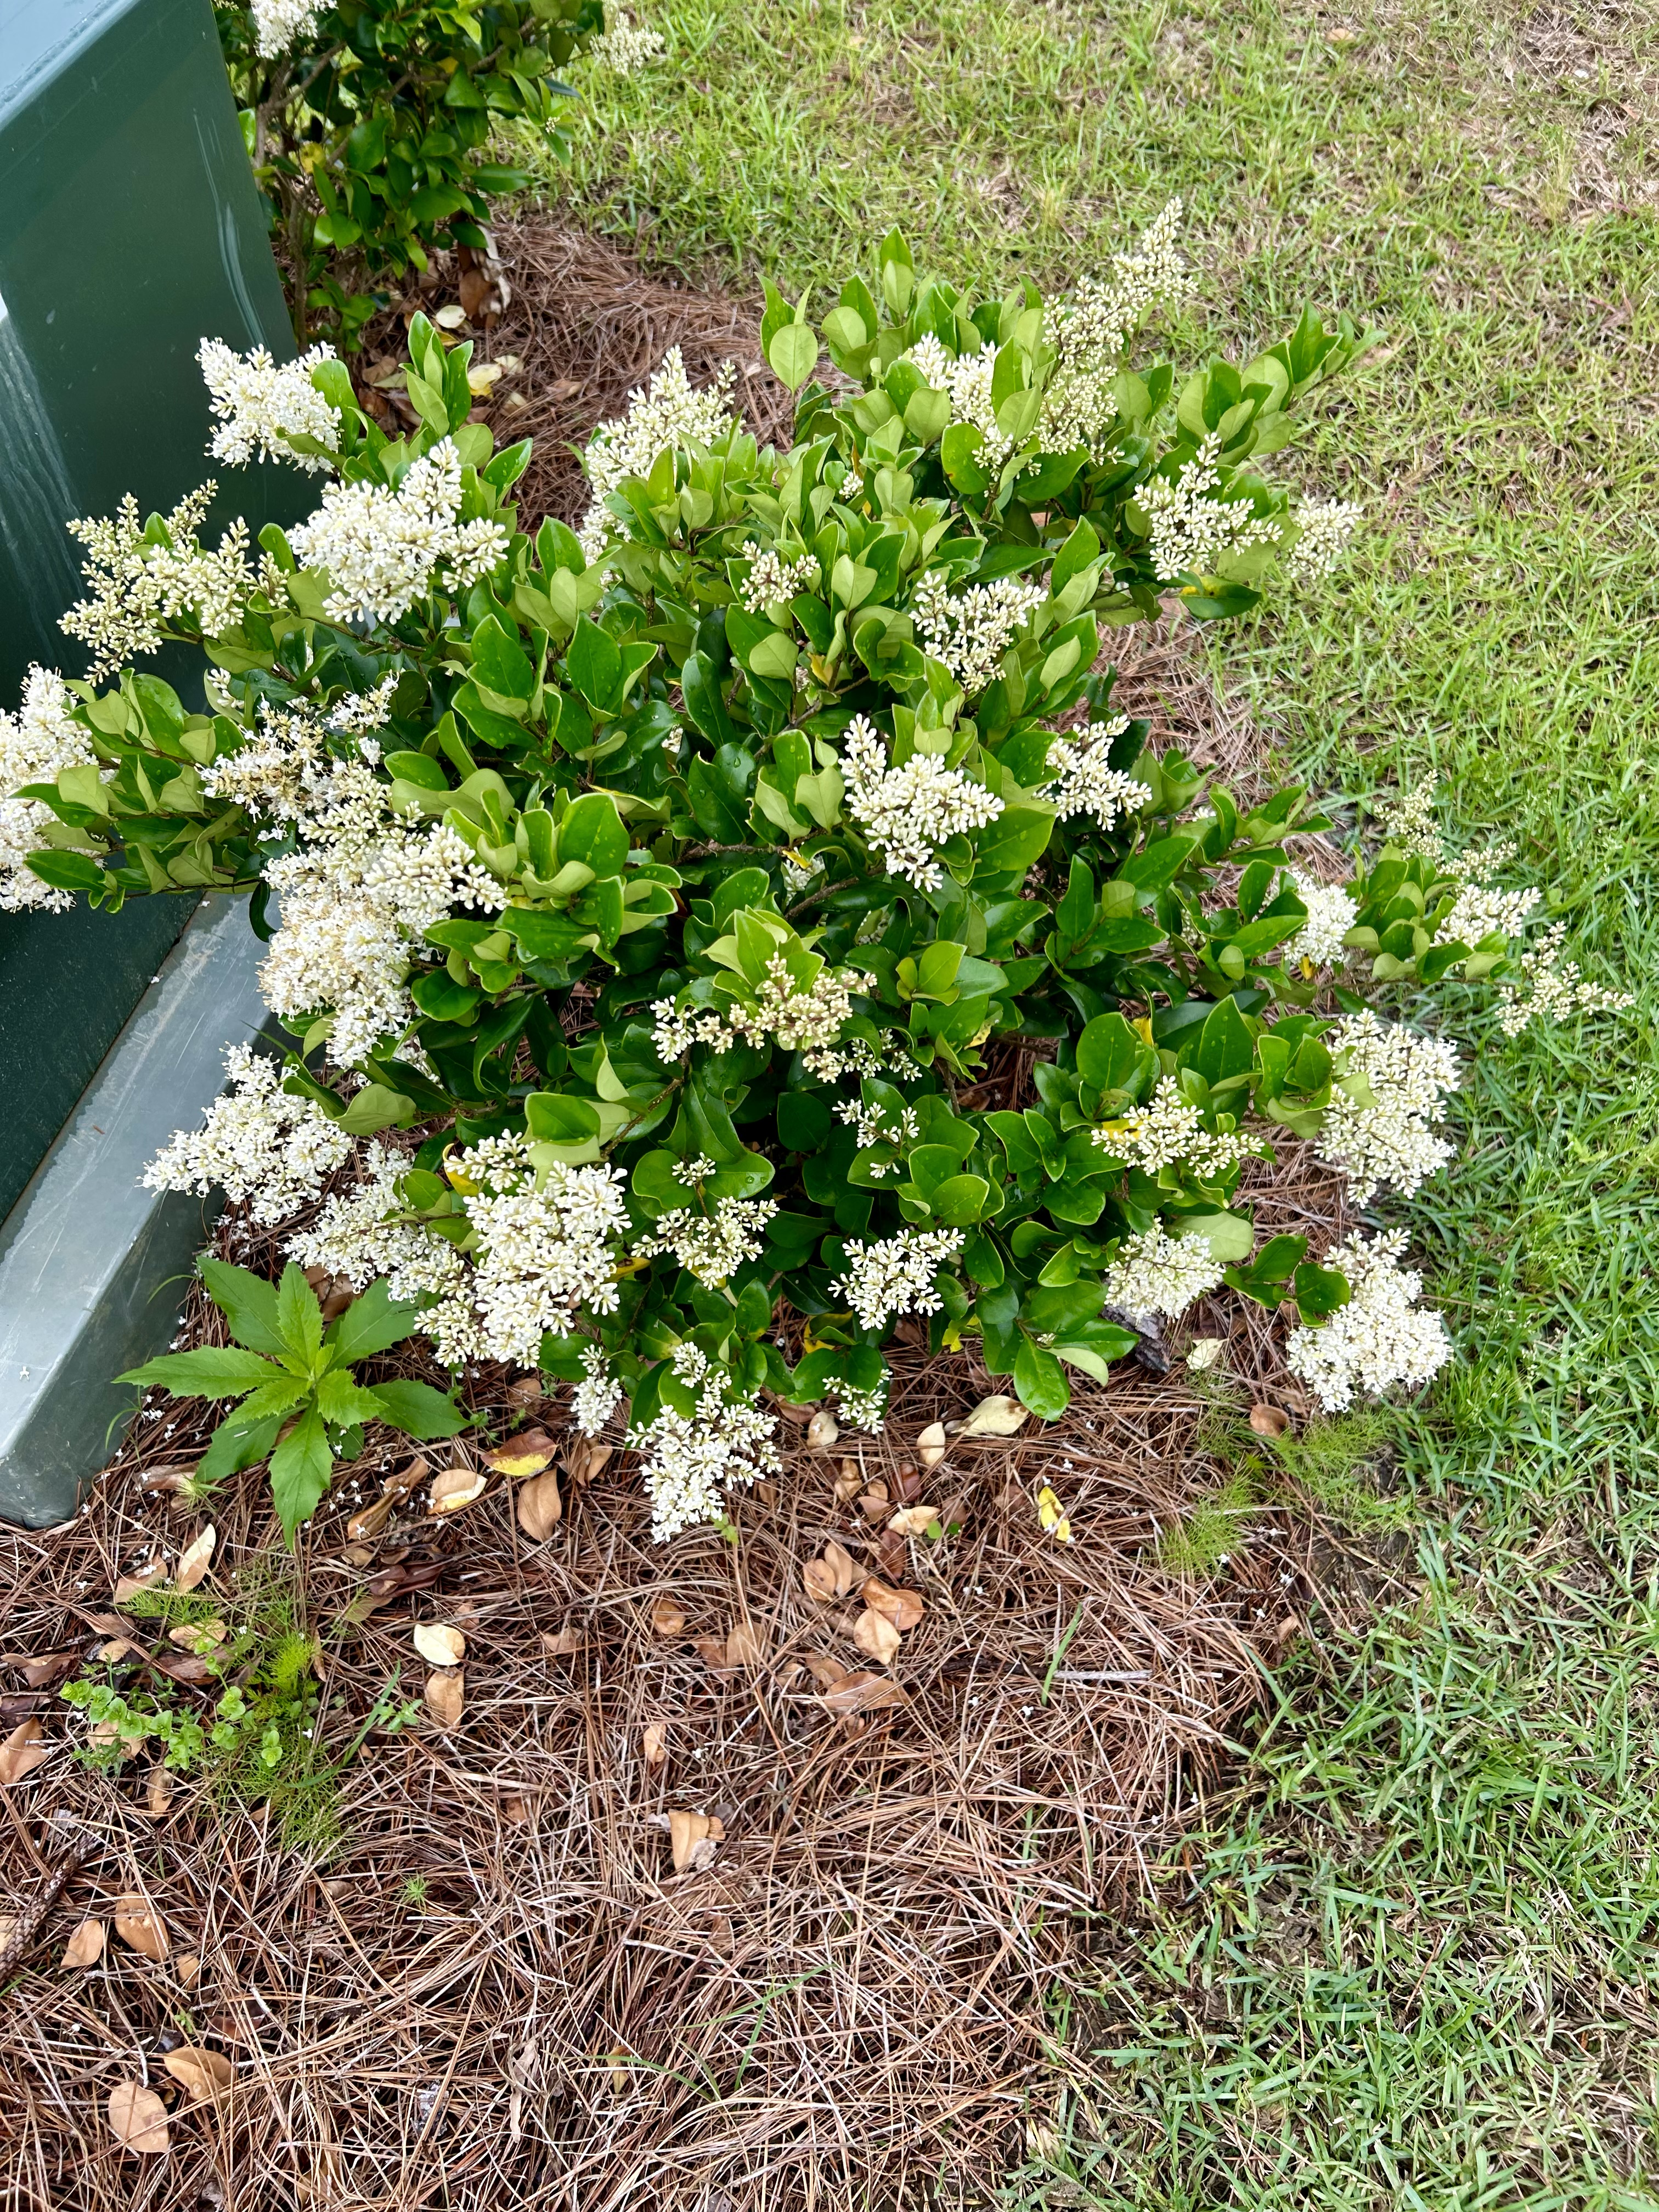
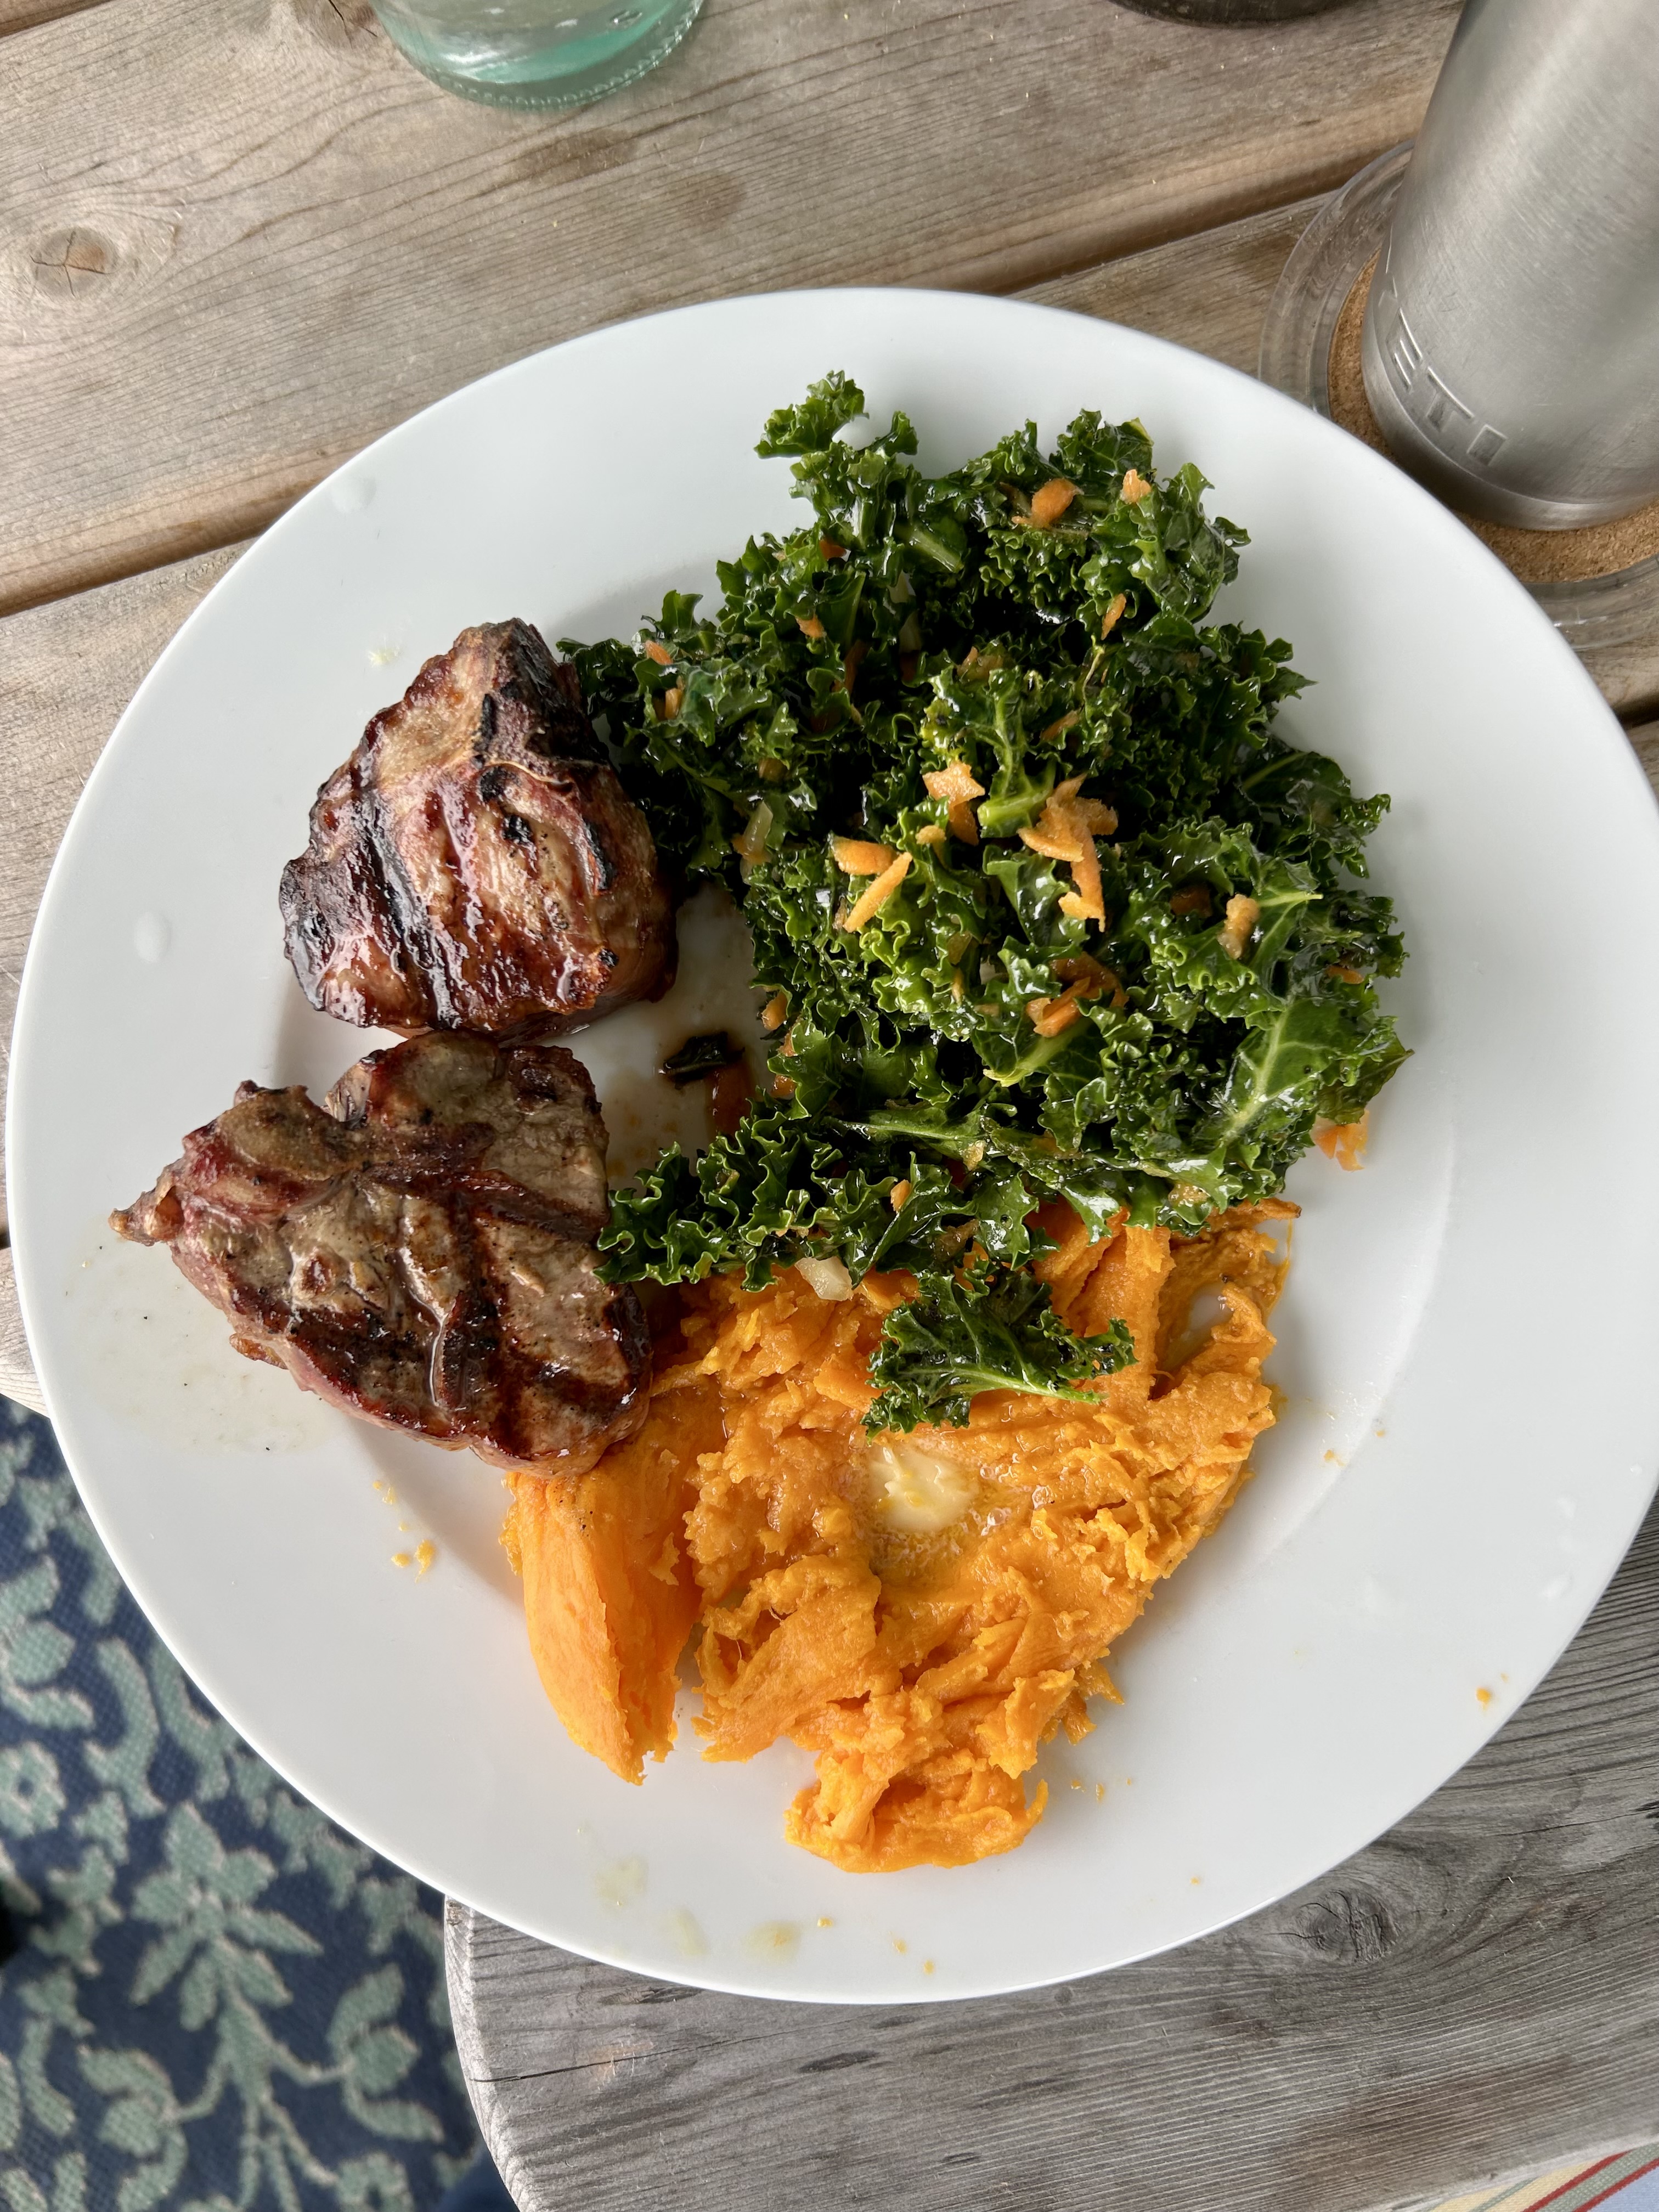
I made a delicious raw kale massaged salad–and added in some onion, grated carrot, and herbs–mint and basil from the herb garden. I didn’t add an acid or the normally-used Parmesan cheese, but you could add fresh lemon juice and the cheese–the acid and salt helps break down the kale as you massage it after adding olive oil.
Later I added a teaspoon of white vinegar–and that helped with both flavor and breaking down the leaves. The tiny experimental amount seemed to be ok in terms of being a histamine trigger.

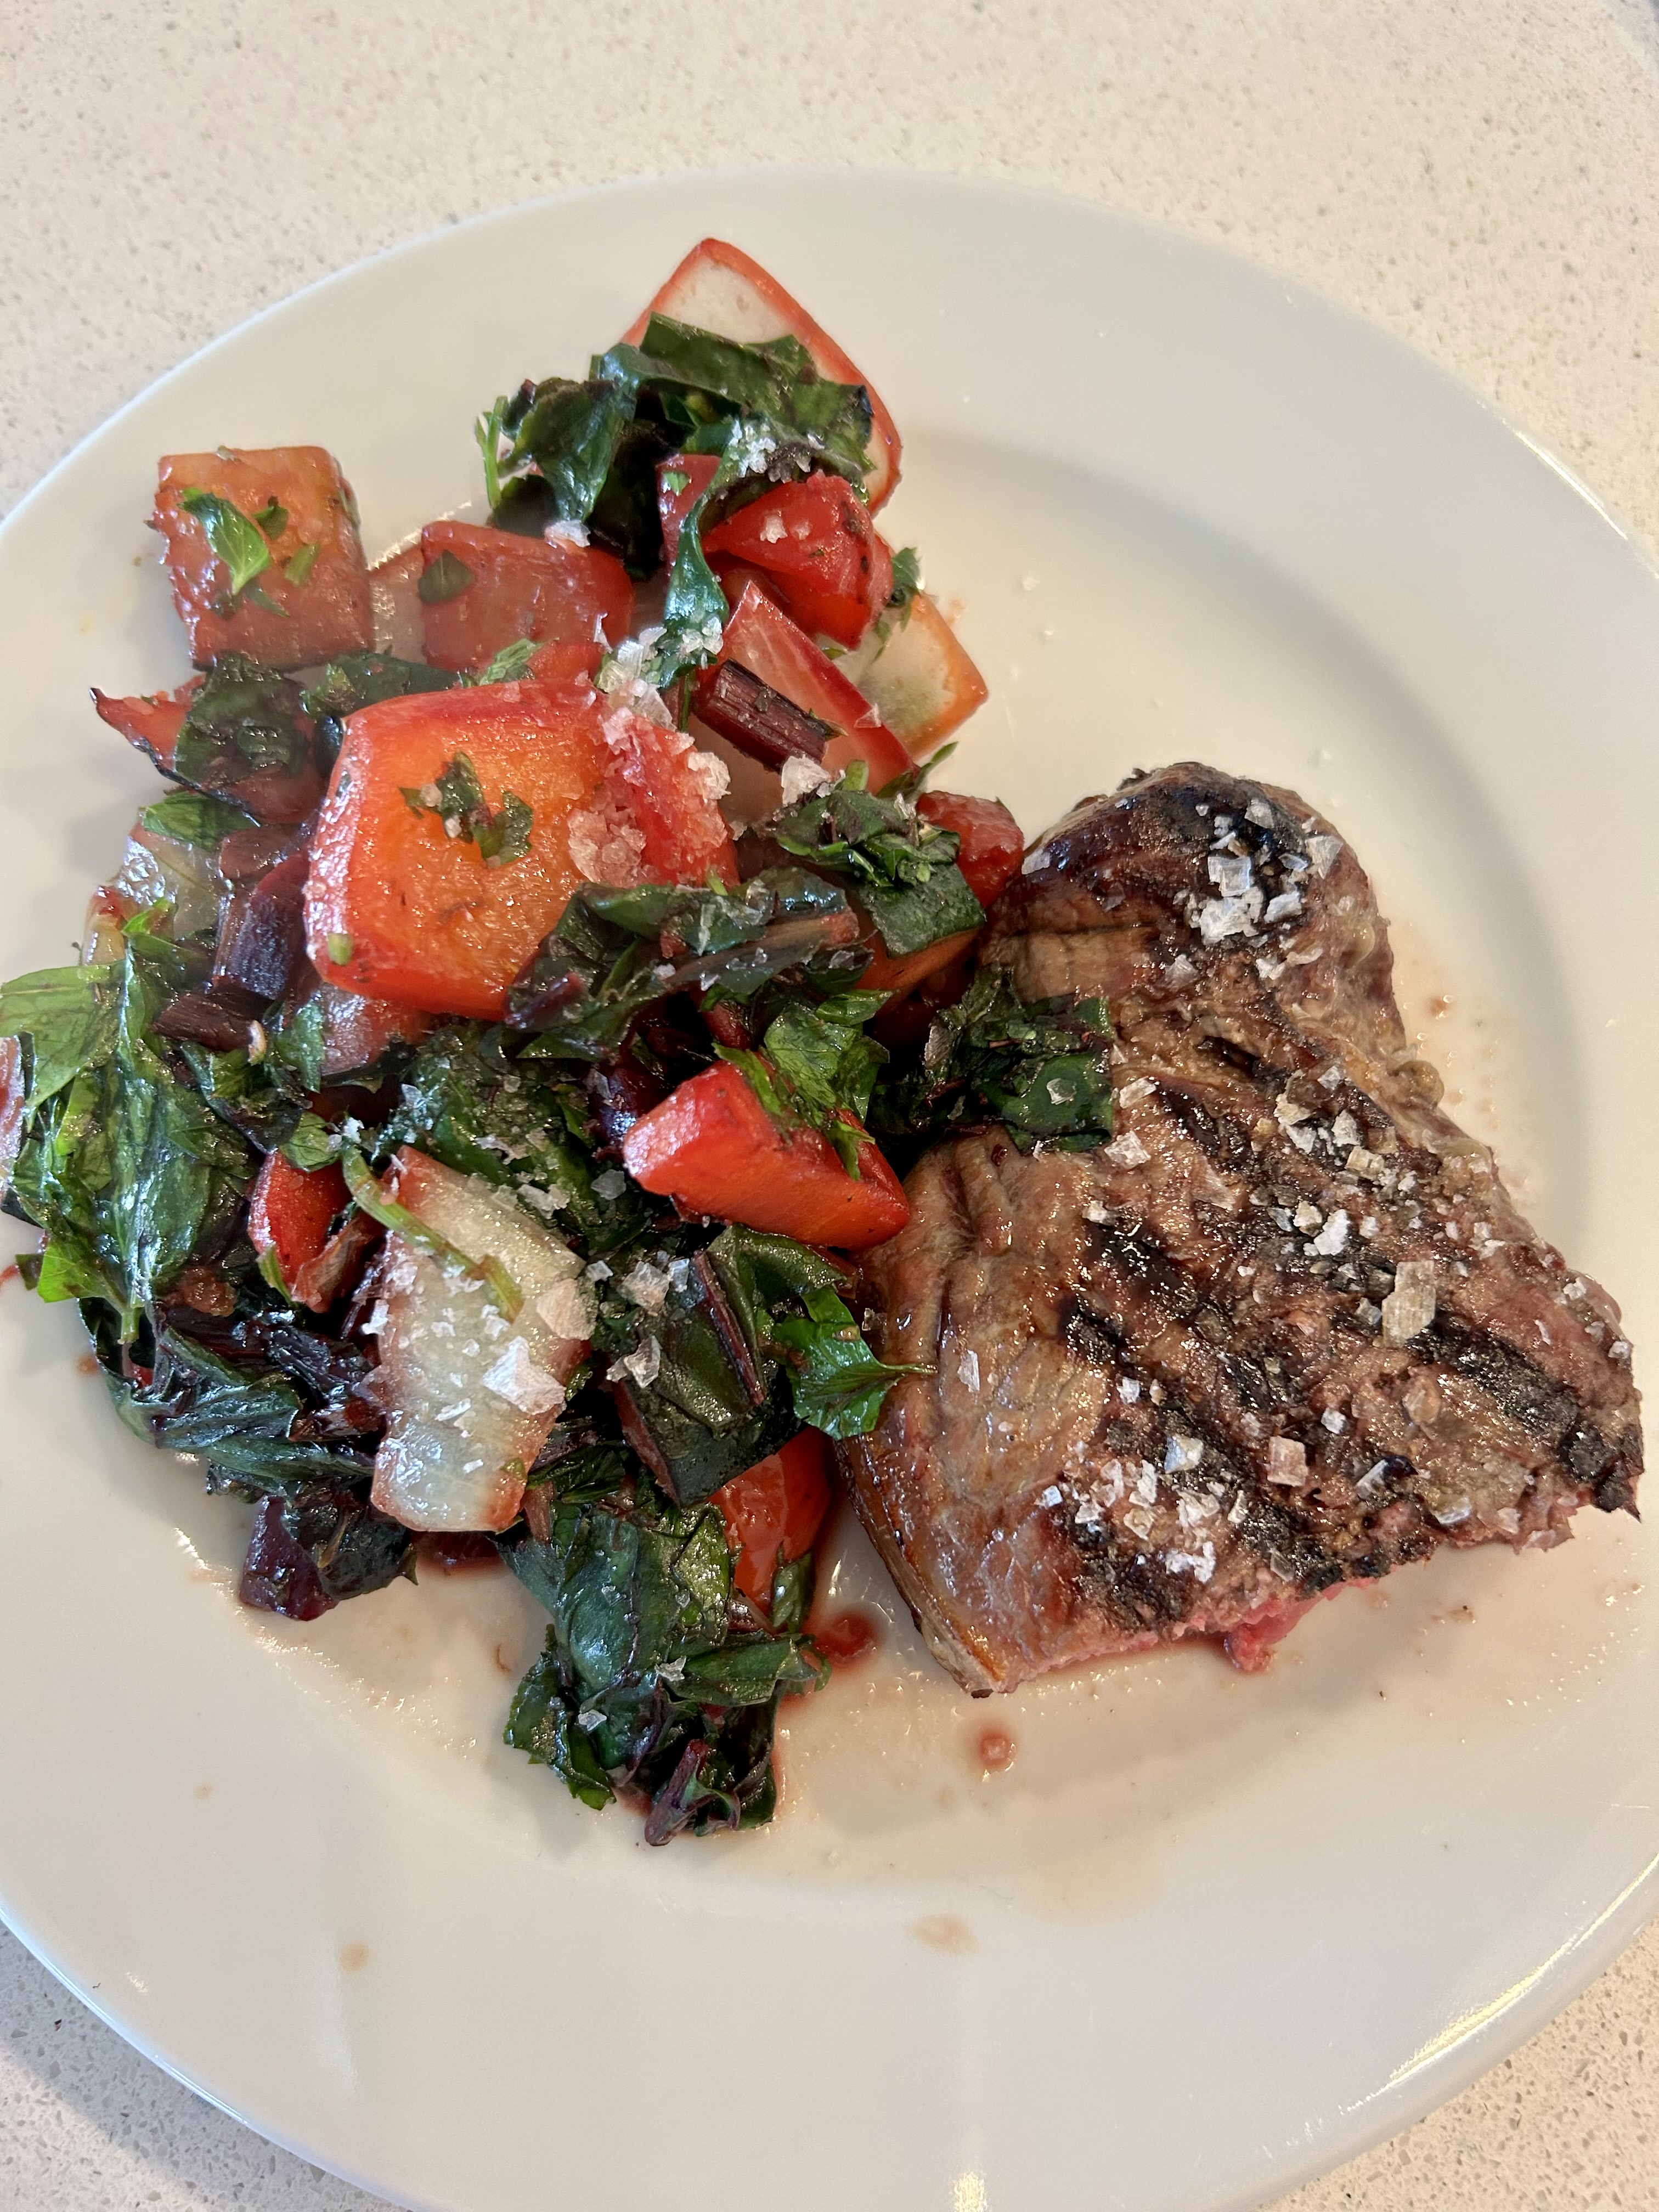
While the cooking was going on, I roasted a sweet potato in the oven and grilled some lamb chops when the sweet potato was almost done. You can just see the raw butter melting over the sweet potato half I ate–the other half is now an asset in the refrigerator.
Dessert was the after-dinner espresso while reading my current book.
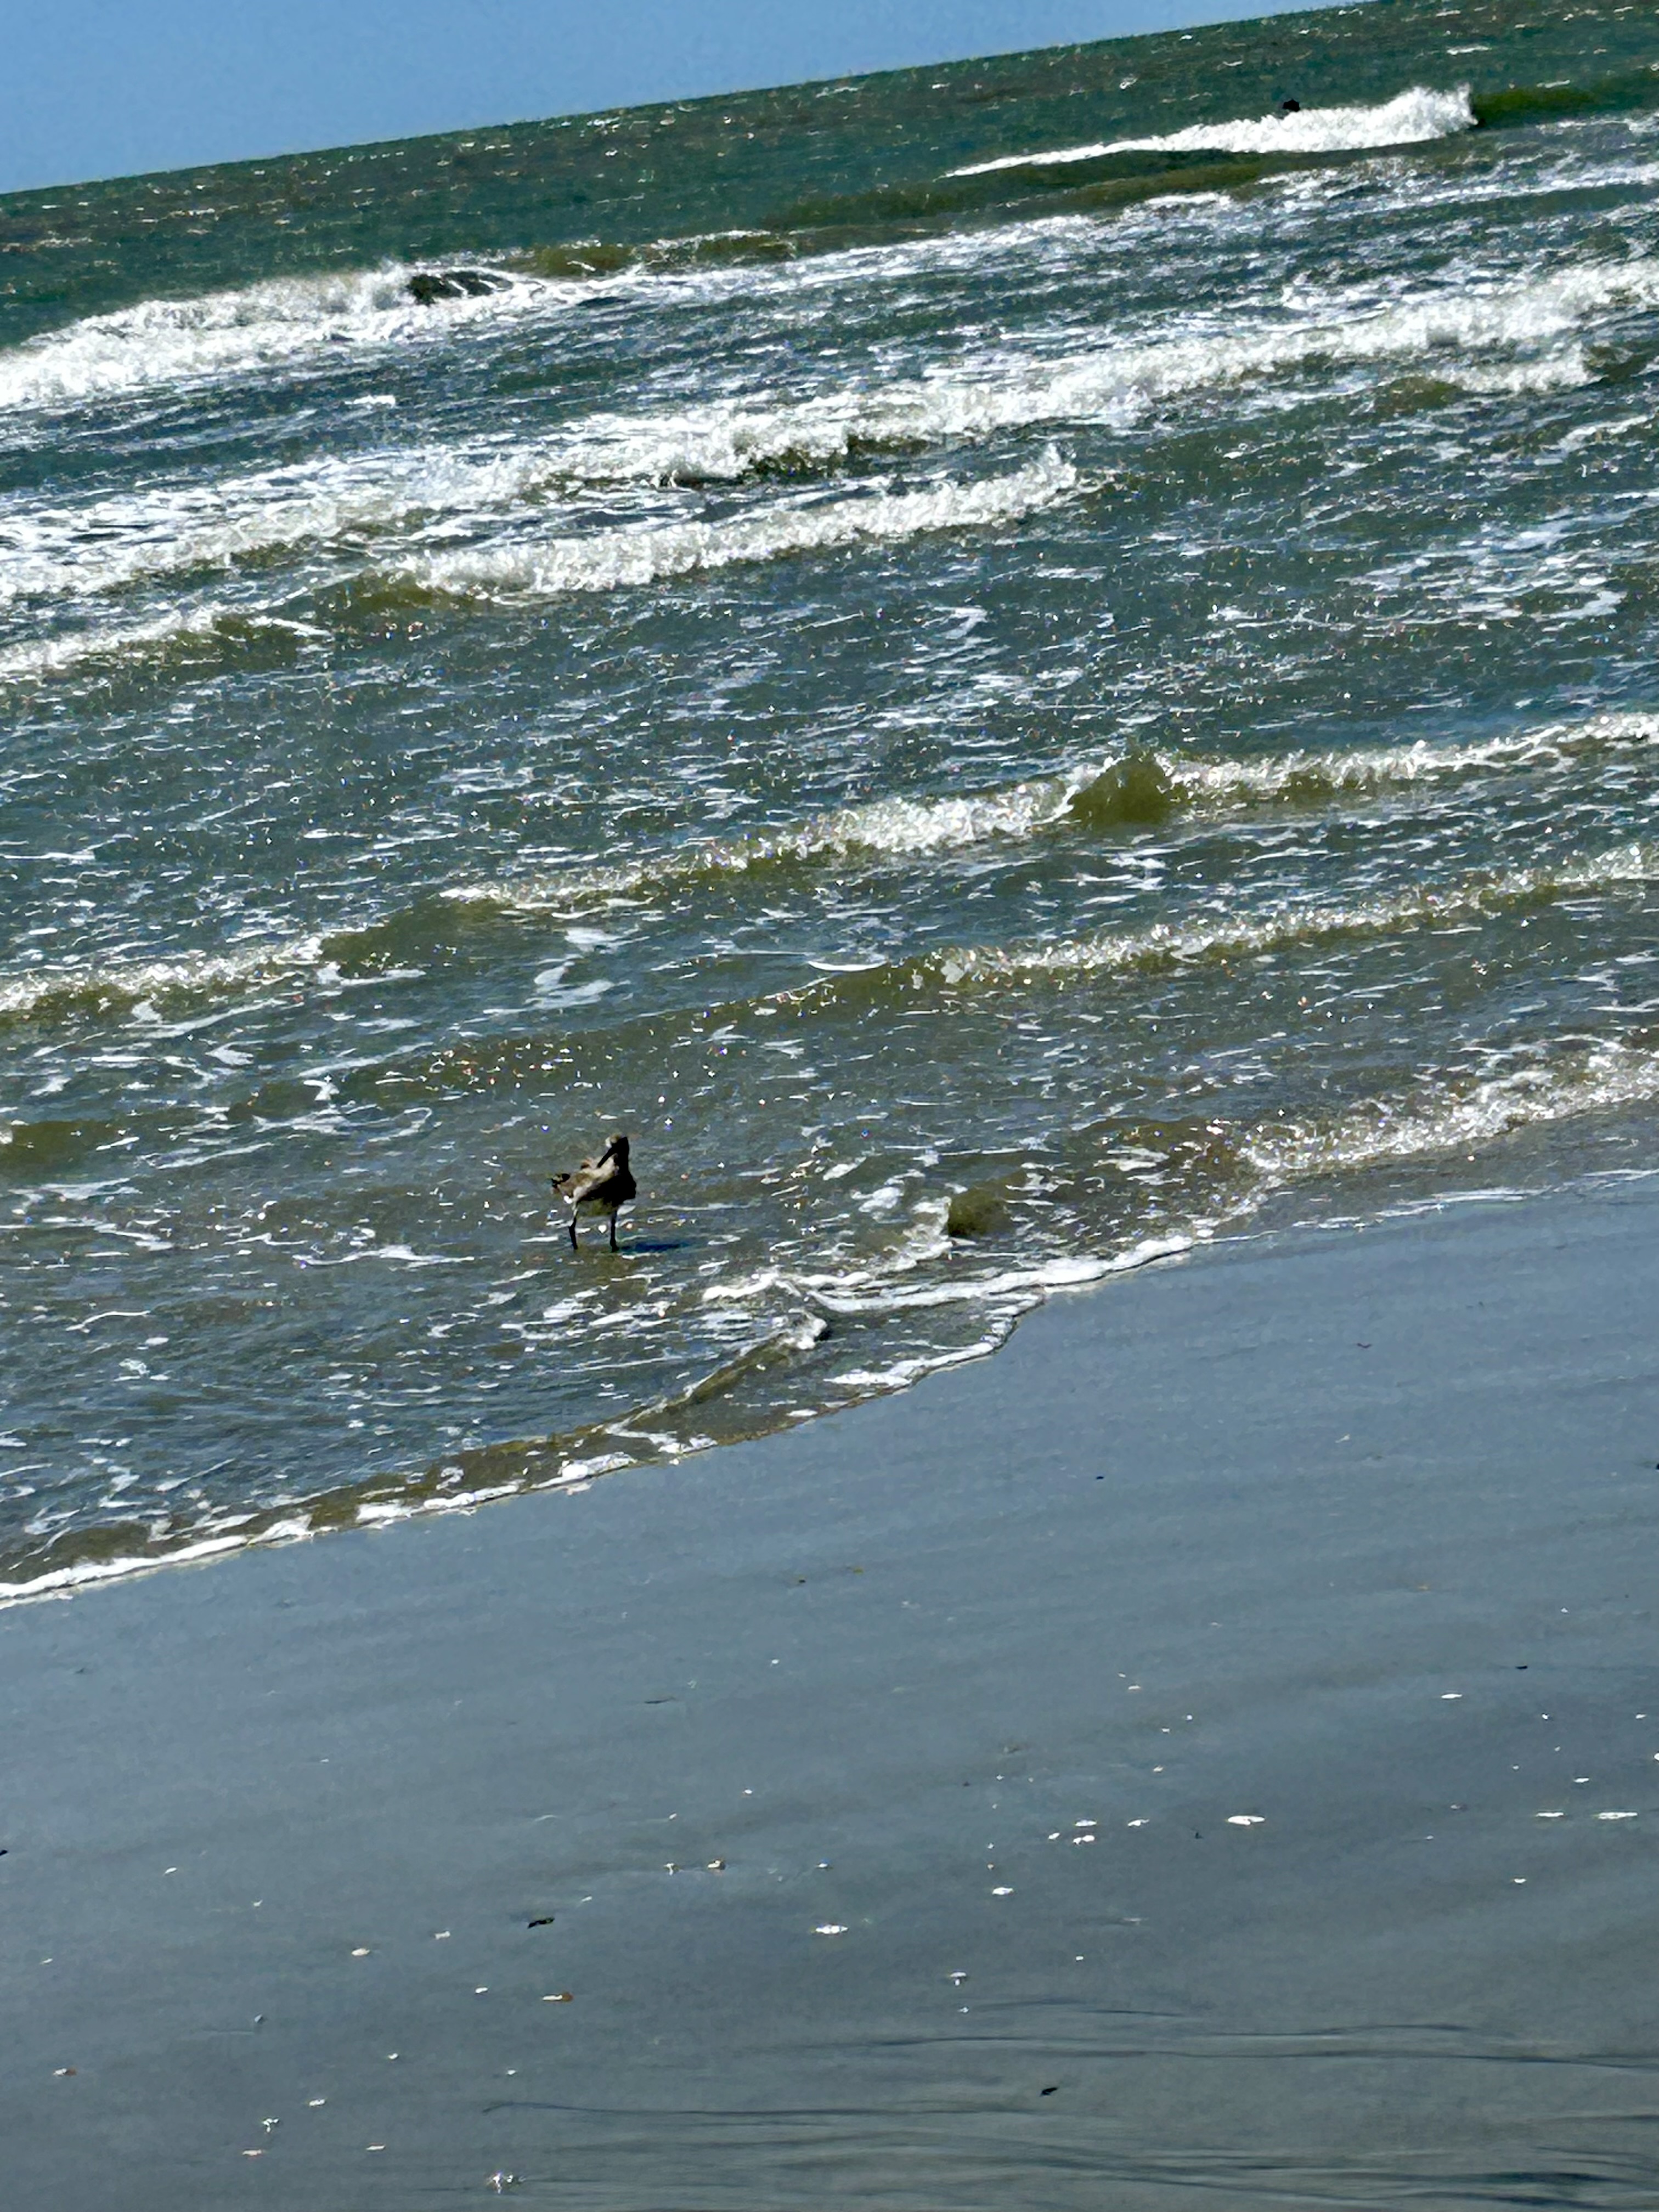
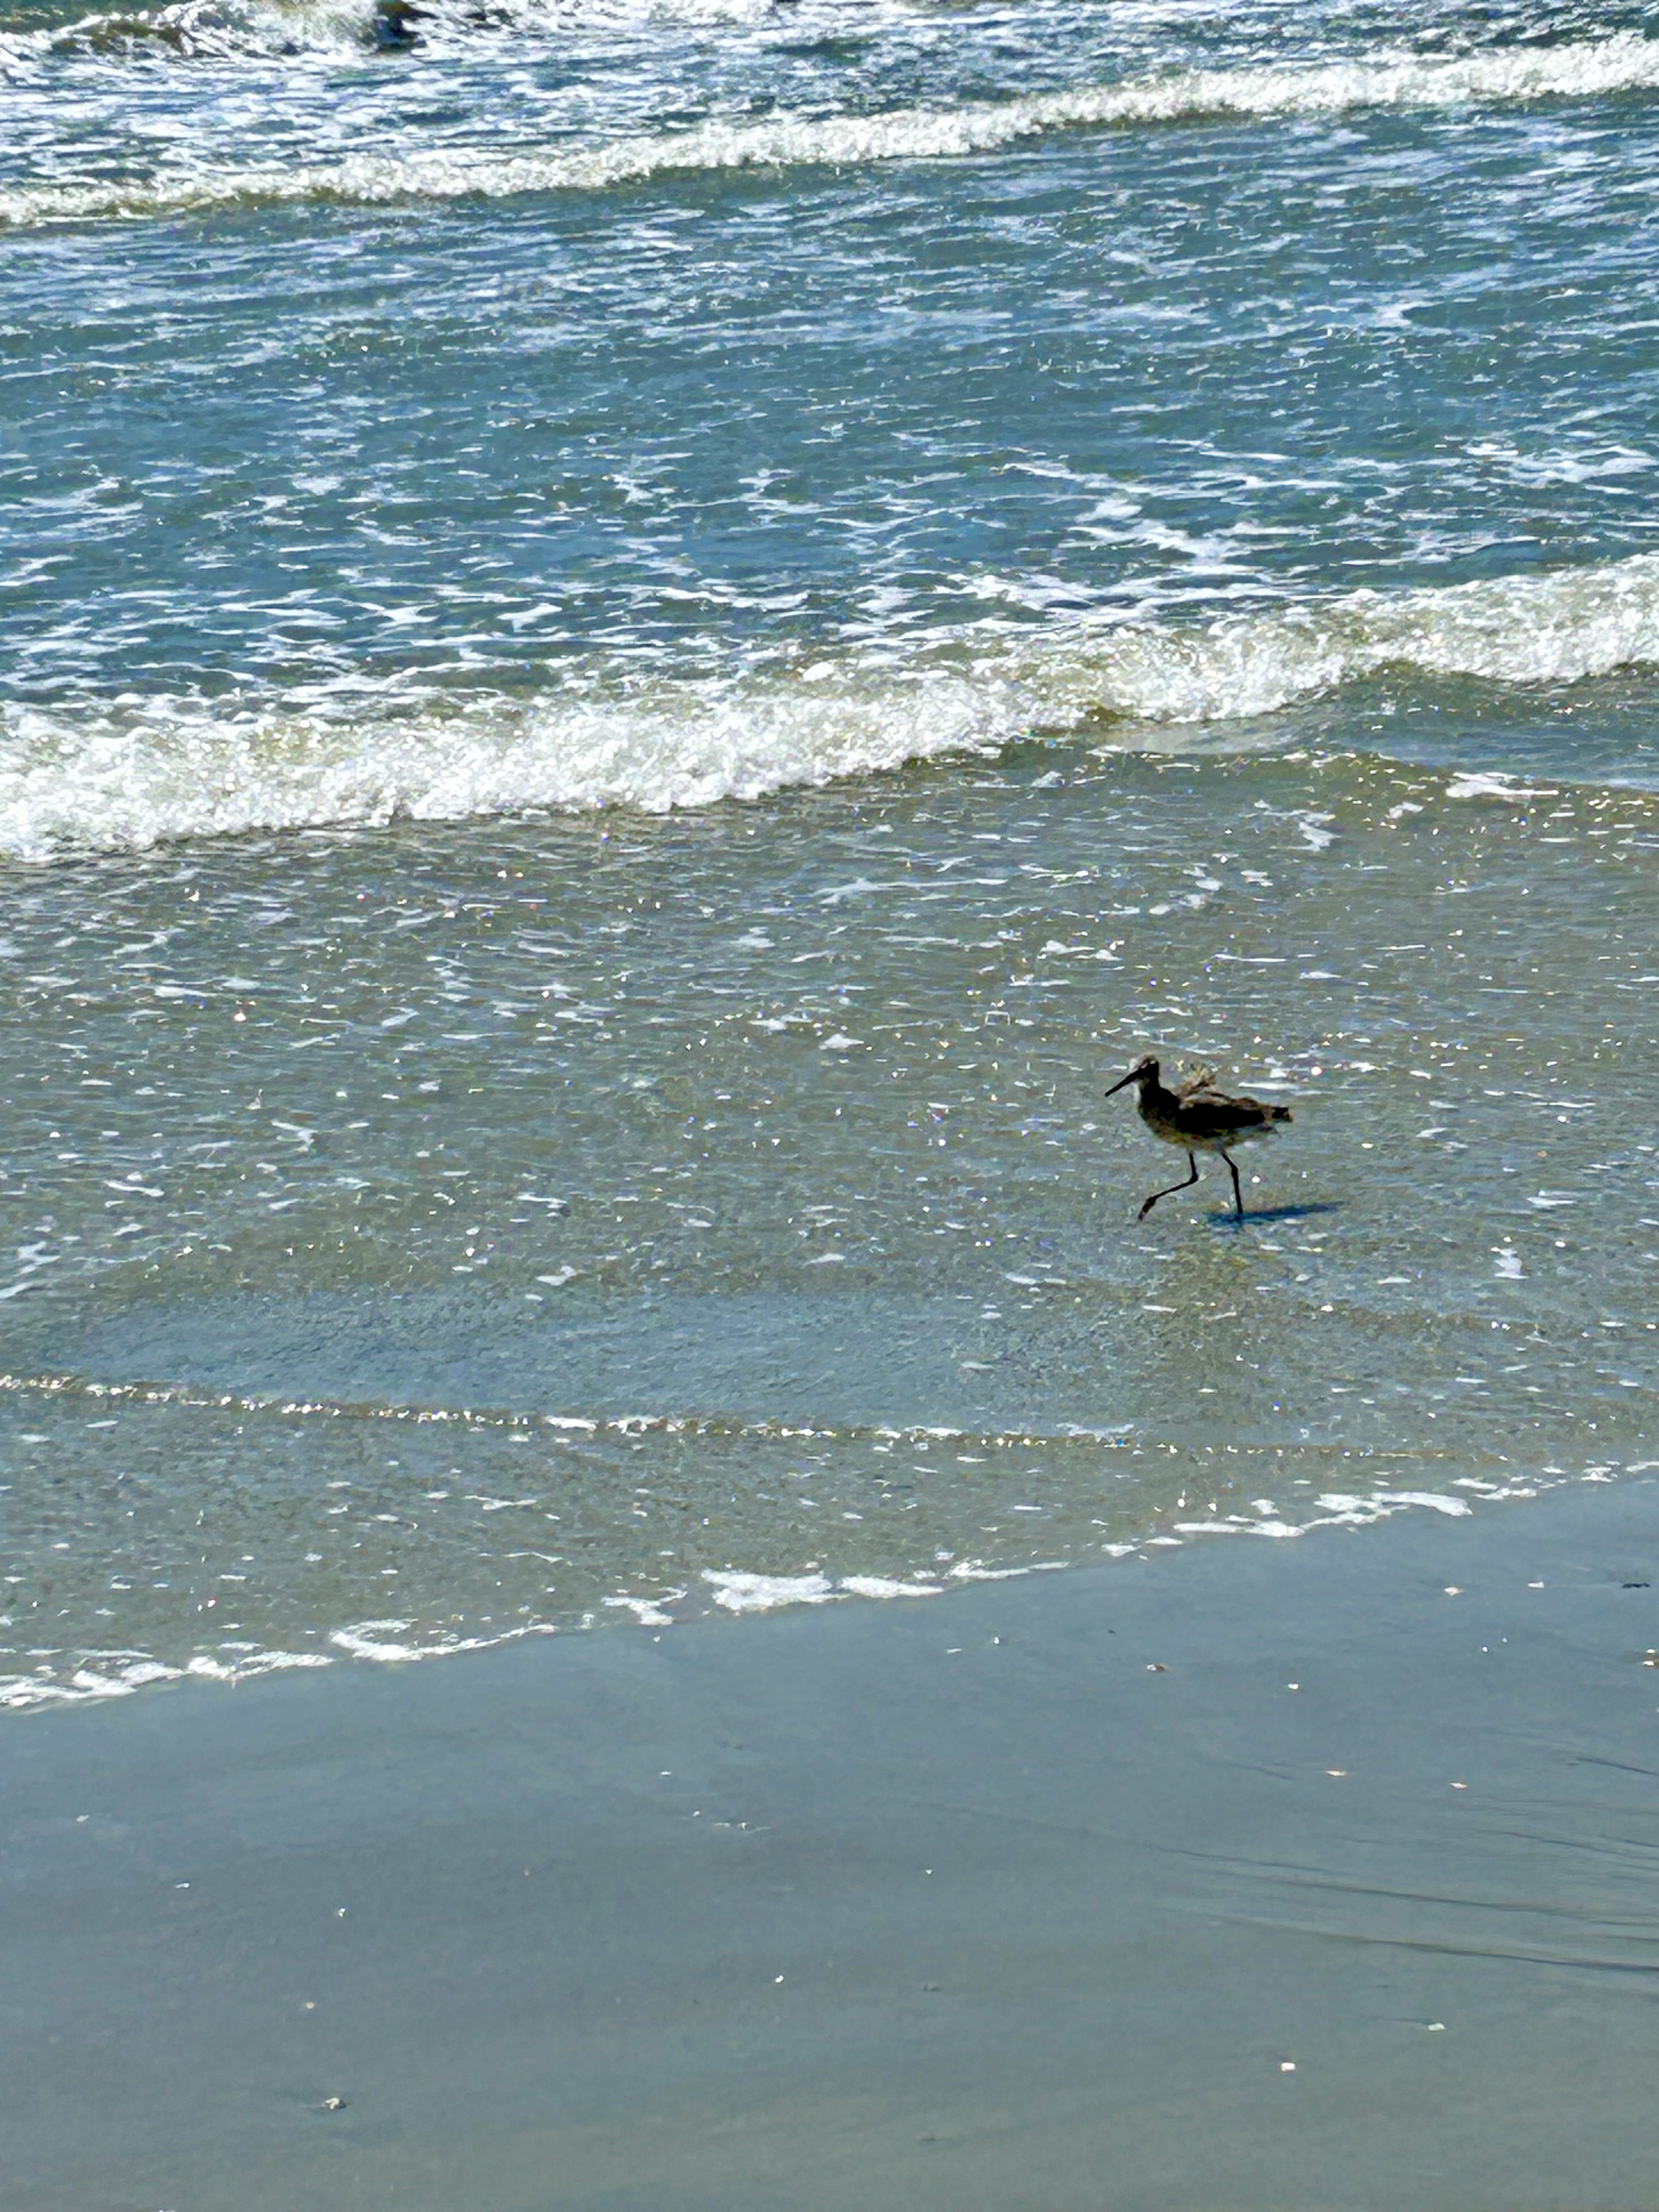
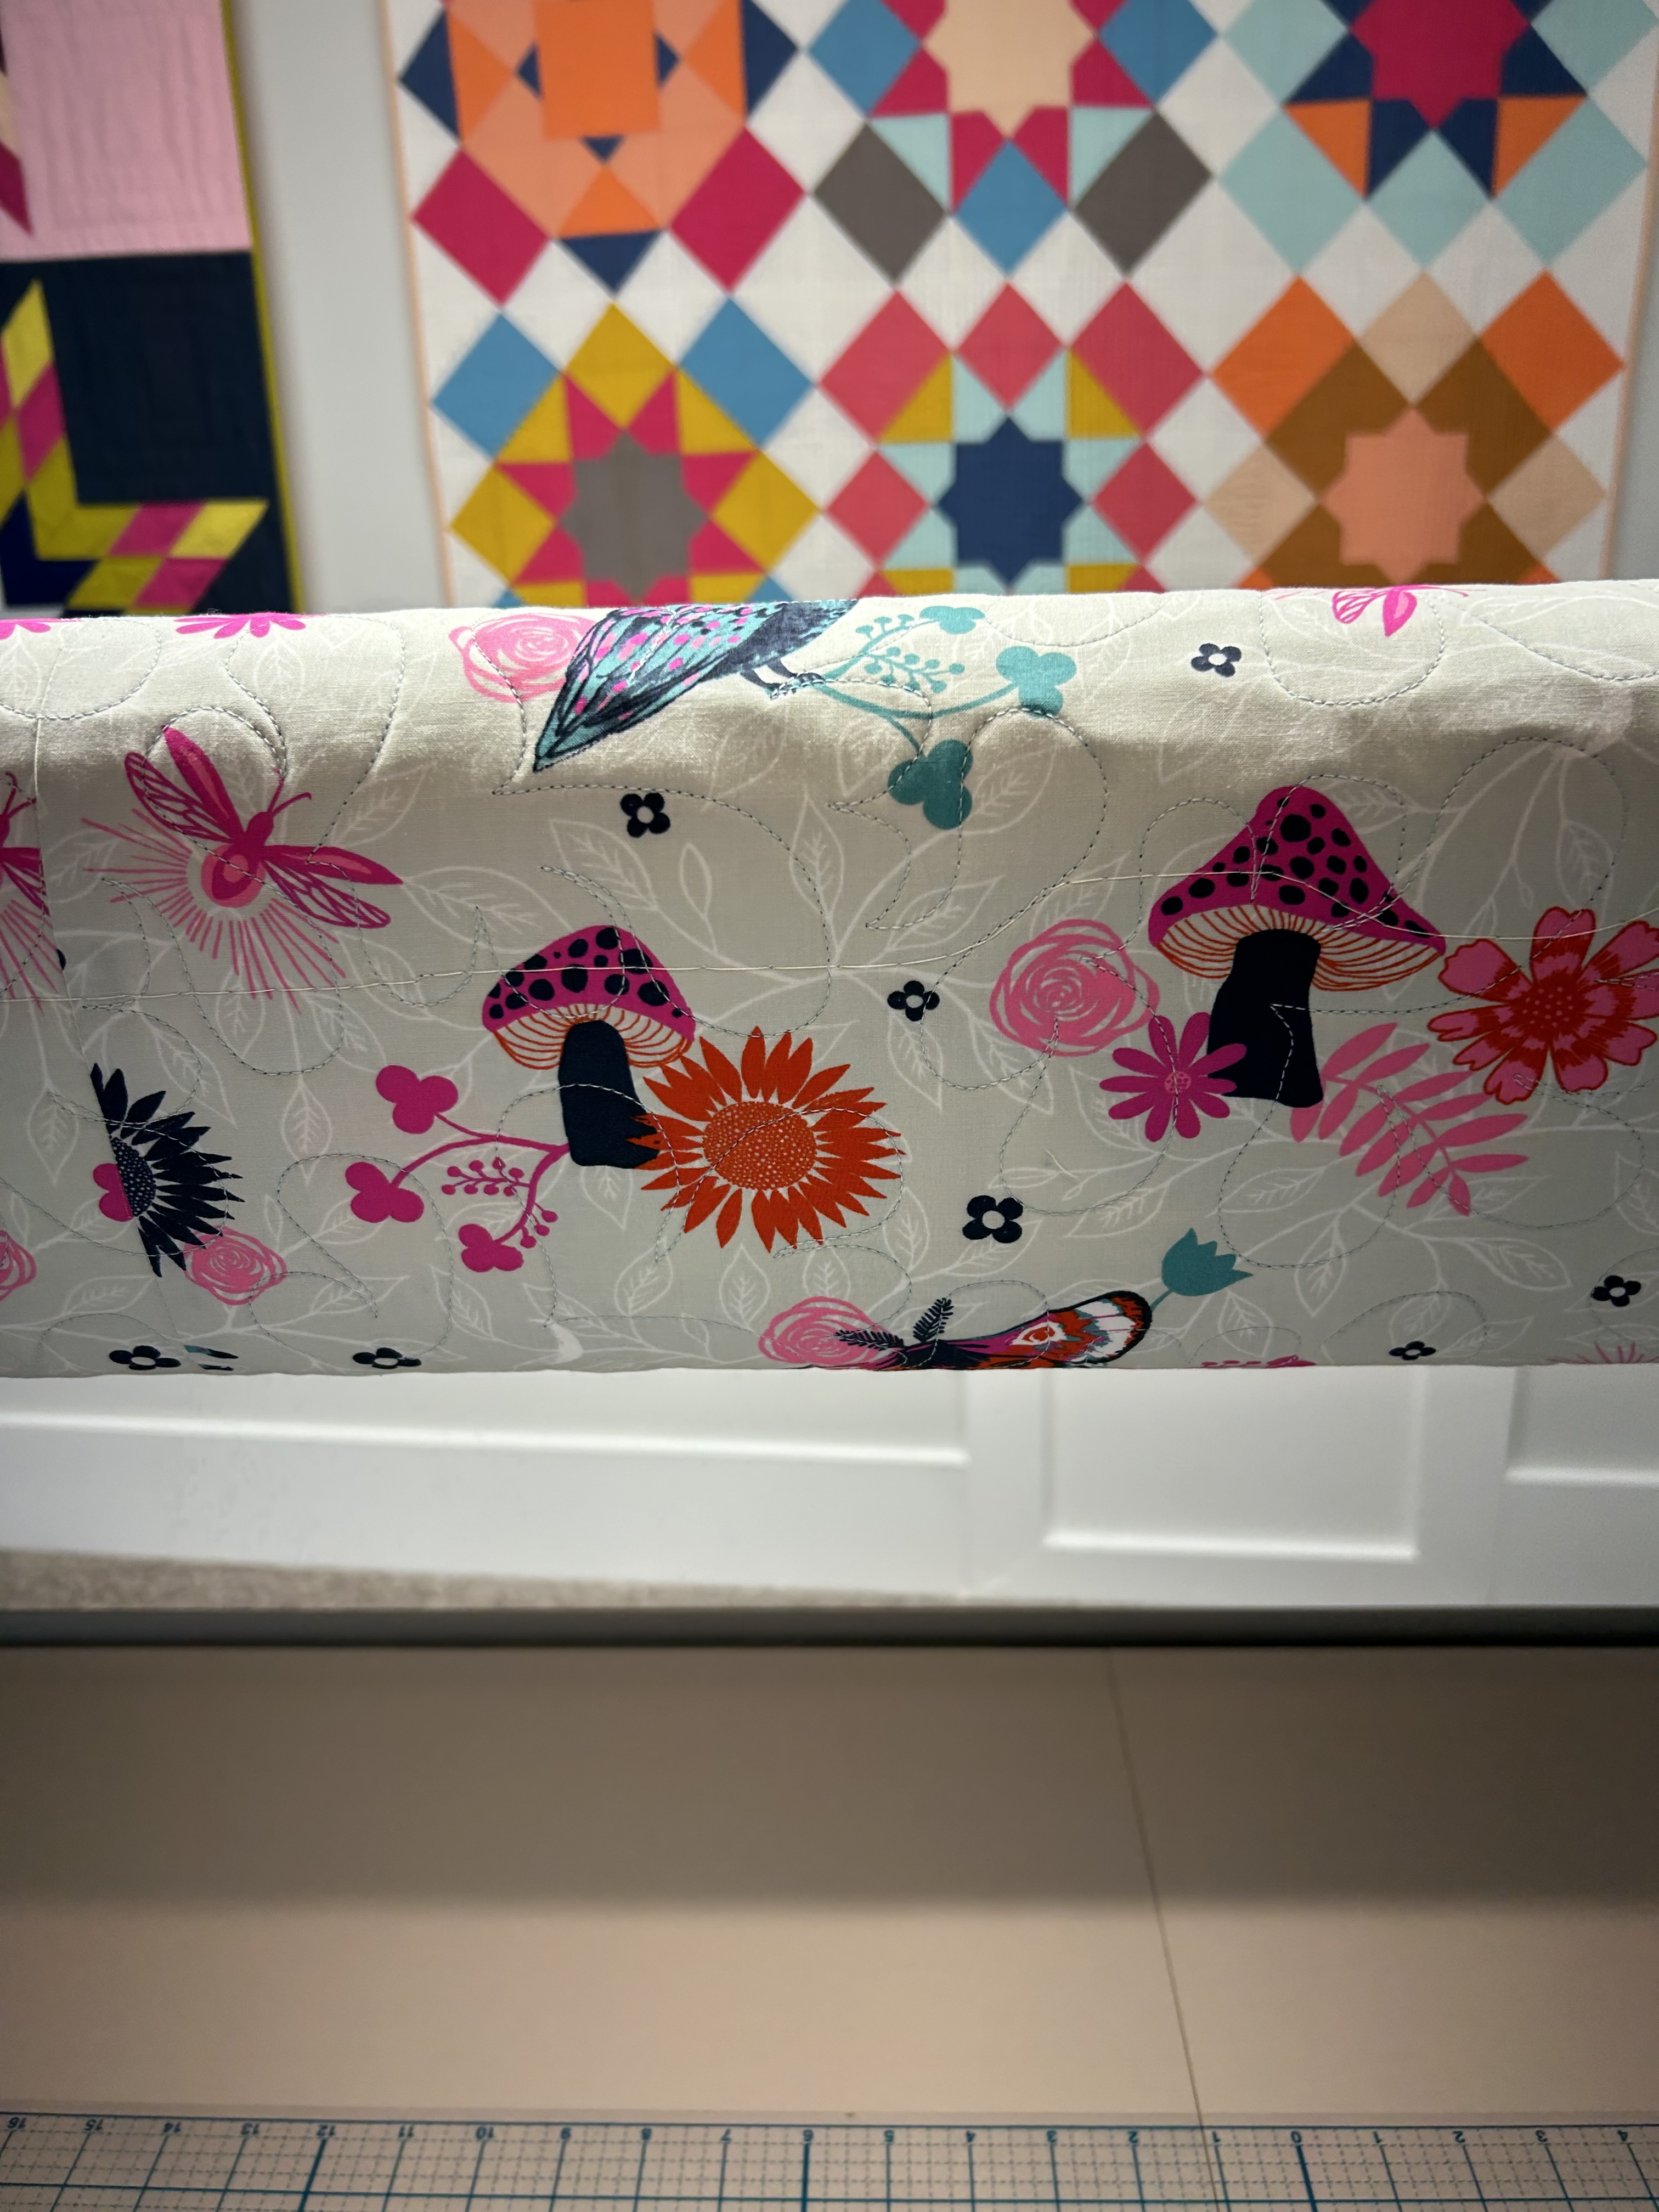
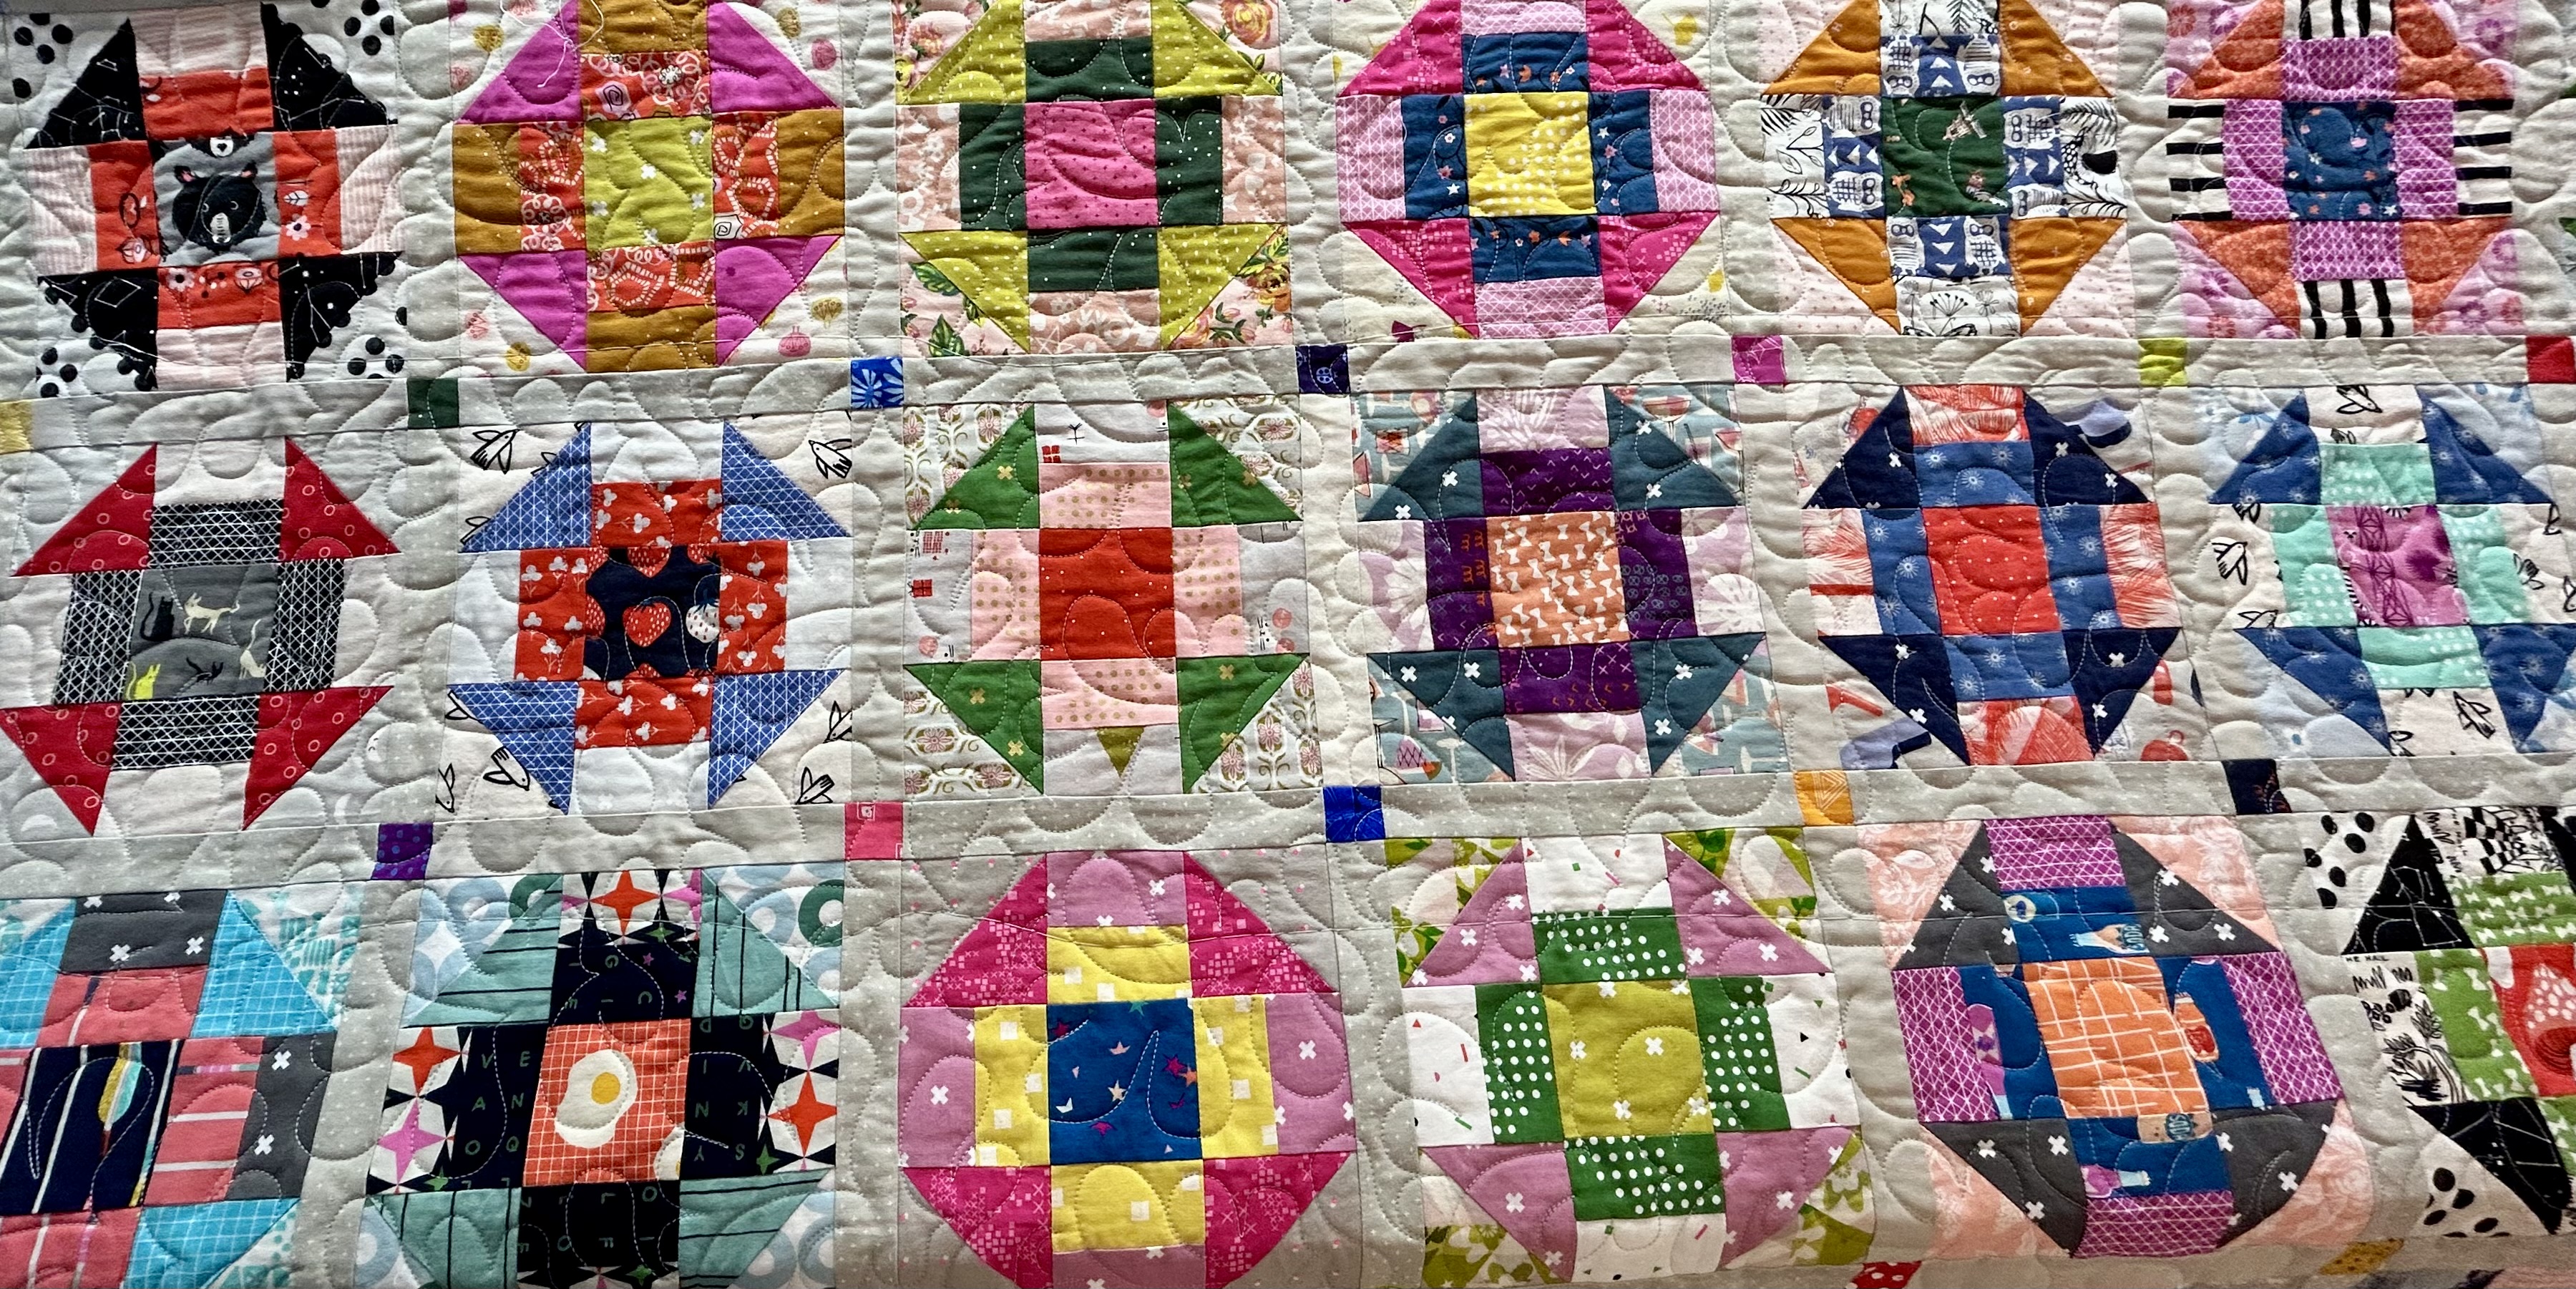
In the late afternoon I watched a granddaughter win that day’s tennis match in a local tournament. And in the early evening, there was time for sewing.
Supper involved some sliced cucumber, a glass of milk, some leftover grilled chicken, a bit of sliced sweet onion (contains needed sulfur), and tv.
It was a good day.